Week 5 Challenge : Surface wrap on Automotive Assembly
AIM :
To perform surface wrap for the automotive assembly geometry.
OBJECTIVES :
- Check for the geometrical errors and delete surfaces which are unwanted for surface wrap.
- After geometry cleanup, merge all 3 models together.
- For the merged geometry, perform surface wrap of target length 3mm and write a detailed report of the procedure followed.
INTRODUCTION :
The surface wrapper wraps the geometry of interest to create a volume that does NOT have intersecting surfaces or non-manifold edges. The surface wrapper can be used when parts are overlapping, have duplicate surfaces or when your input has to high level of detail. Note however that the result of the surface wrapper does not provide a good base for volume meshing.
The model's size, mass, and general shape remains, but the surface features and details are simplified, which can result in faster analysis computation. You can determine the level of detail retained by determining the mesh size to use, among other options.
The difference between surface meshing and surface wrapping is as showcased below.
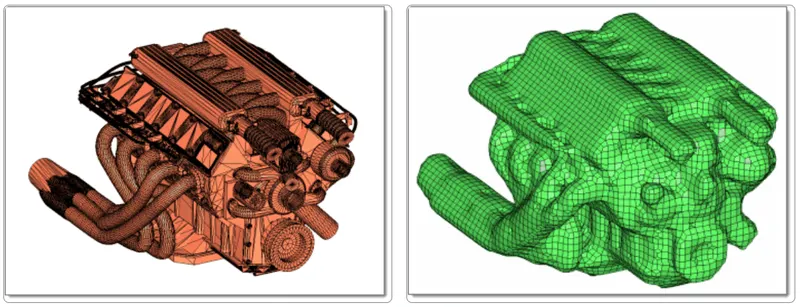
Surface wrap meshes are appropriate for external flow analysis or wind tunnel type models.
PROCEDURE :
In order to perform an effective surface wrap over the geometries, we need to get rid of as many unwanted components throughout the geometry as we can. In order to do so, we perform topo cleanup of the geometries.
TOPO CLEANUP
The first and foremost step is importing the geometries into ANSA. We perform topo cleanup for each component individually and merge them together later on. The various components of the automotive assembly are as follows.
1. ENGINE
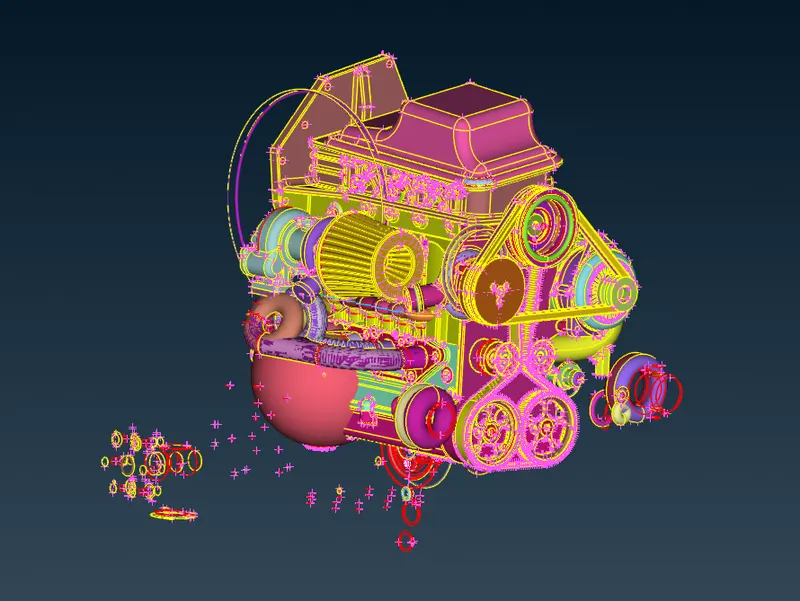
The imported geometry of the engine component is as shown below. We can observe that there are various unwanted components, curves and errors in the geometry, which we need to refine as much as possible.
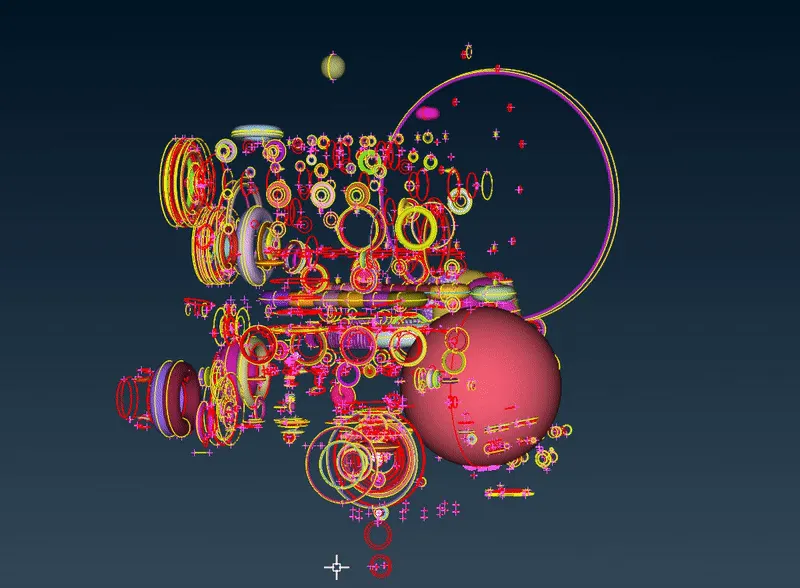
By hiding the main components of the engine, we can observe the various unnecessary parts which we need to filter out and retain the necessary surfaces only.
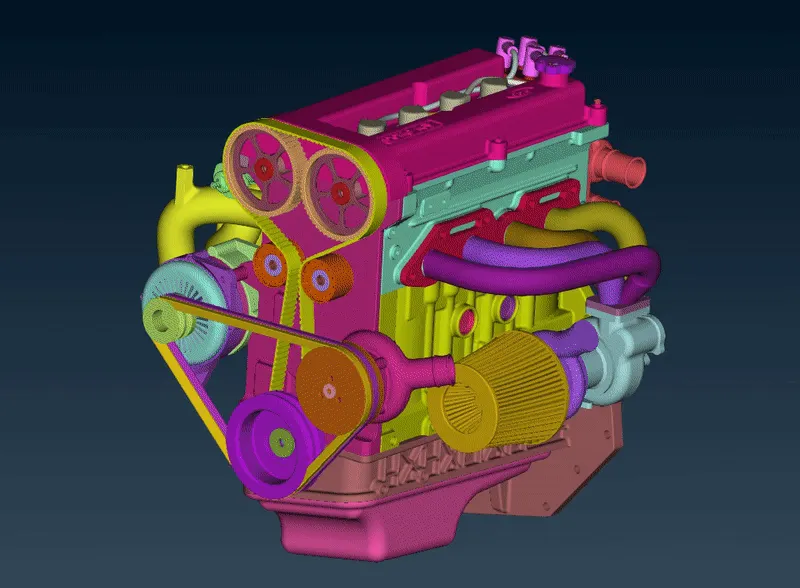
Thereby, performing topo cleanup on the engine geometry and deleting all the unnecessary components, we obtain our final engine geometry as shown.
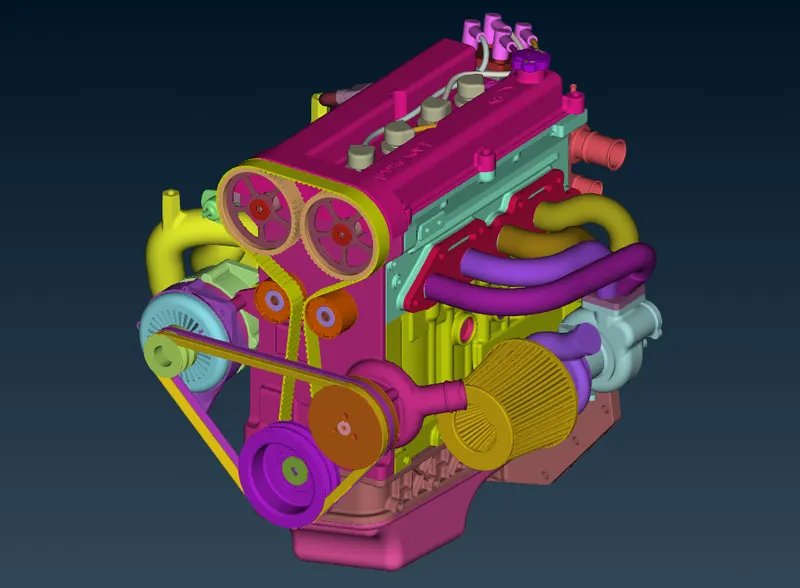
`360^o` View of Engine after Topo Cleanup :
2. GEARBOX
We import the gearbox geometry into ANSA to perform topo cleanup. The imported geometry is as shown.
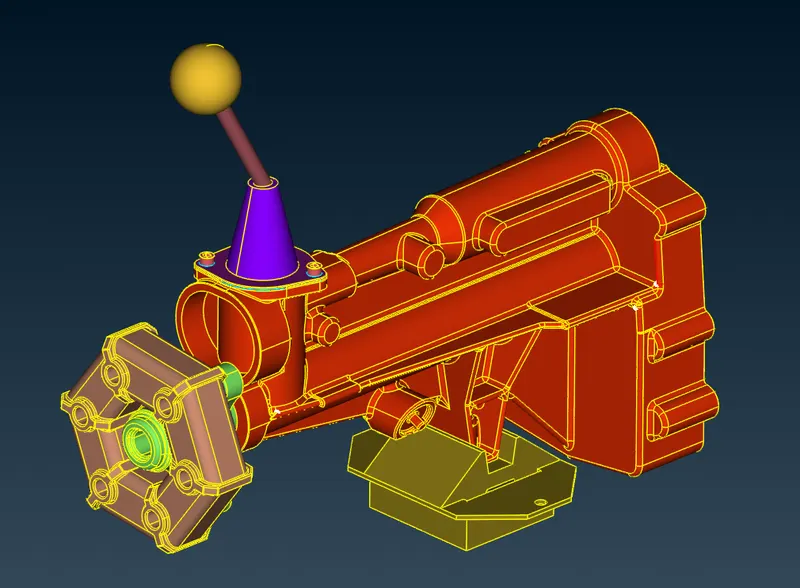
From the geometry, we can observe that there are a few triple CONS formed due to the overlap of unnecessary surface. We are going to solve these triple CONS by deleting the unnecessary surfaces.
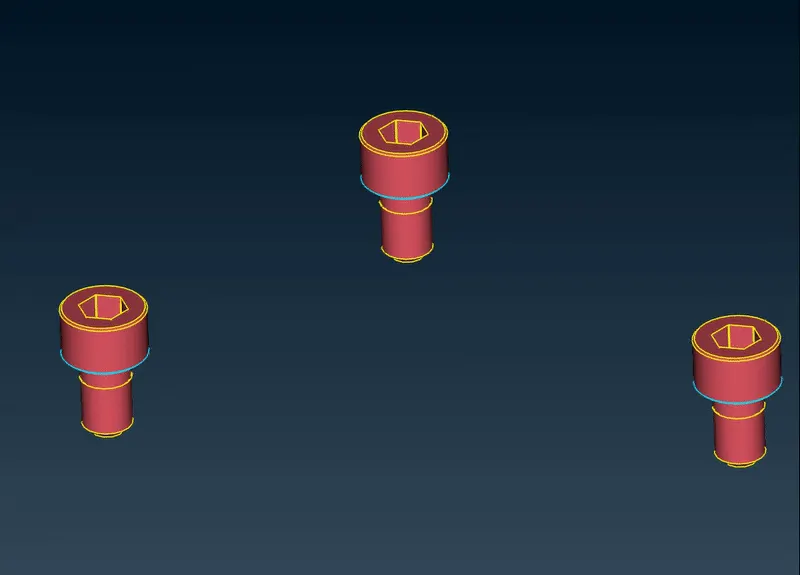
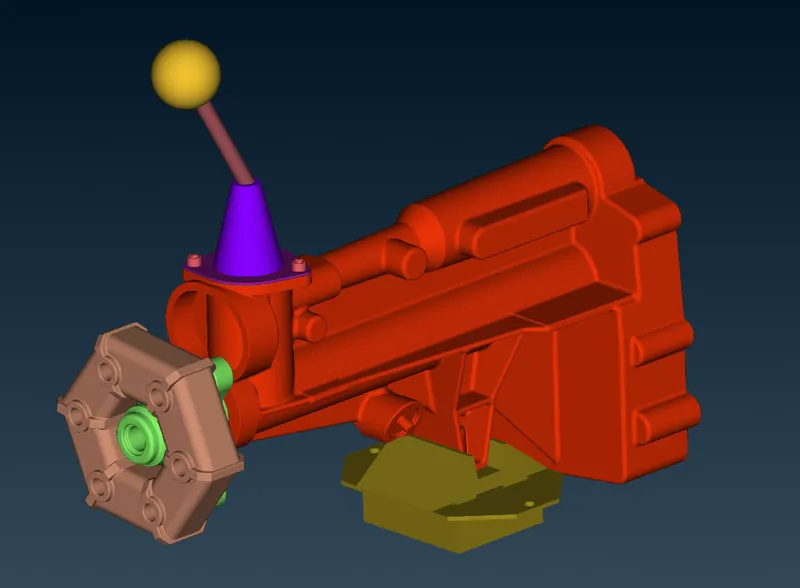
Thereby we obtain our final geometry as shown.
3. TRANSMISSION
The imported geometry of the transmission component is as shown.
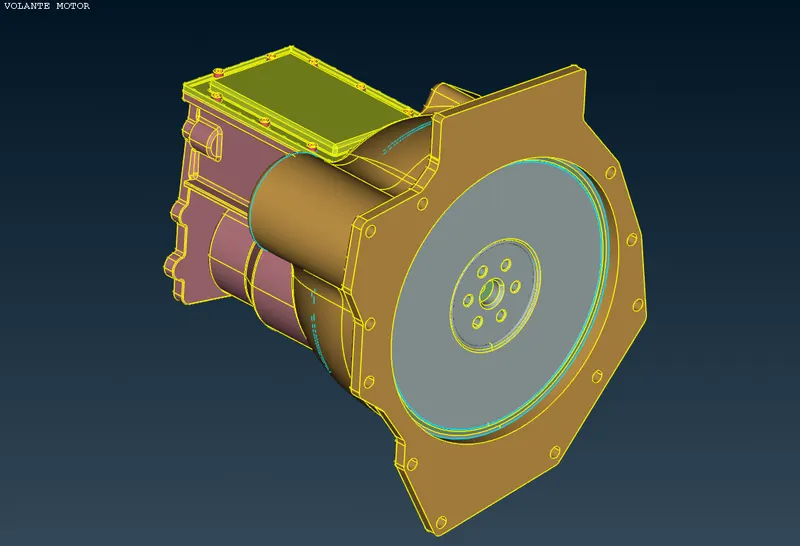
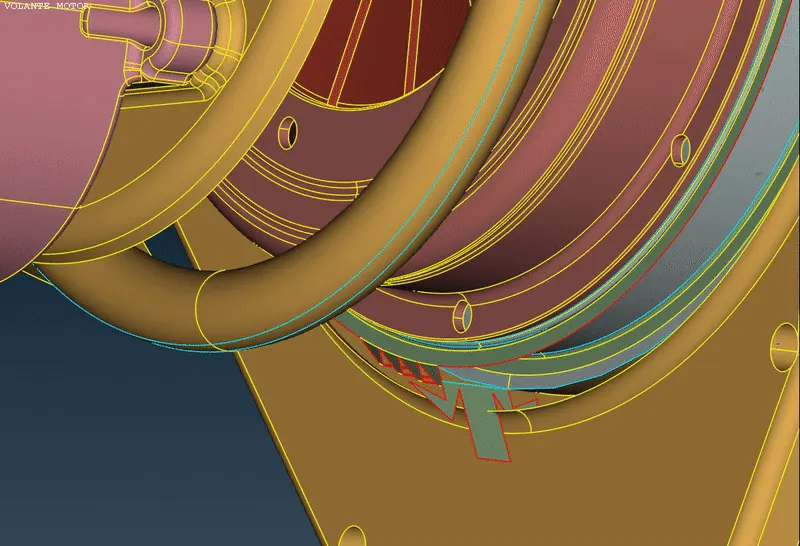
In order to cleanup the geometry, we delete a few of the unwanted components which are intersecting with the geometry as follows.
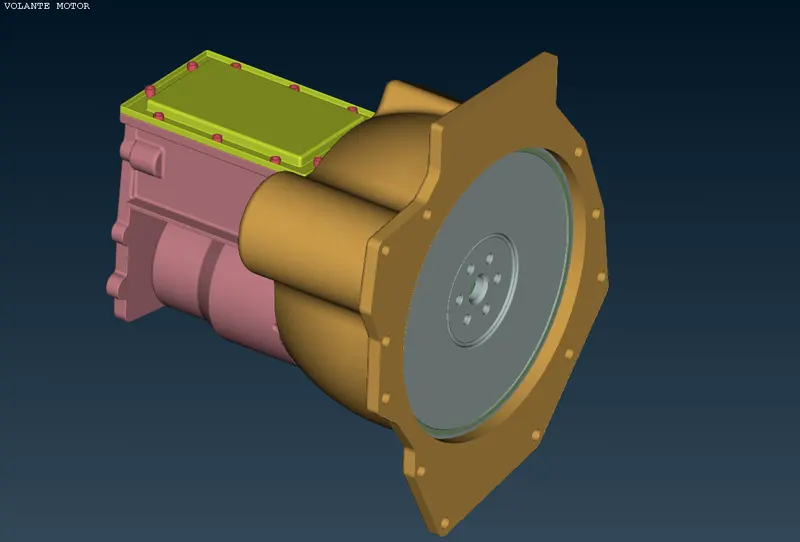
The final geometry after topo cleanup is as shown.
MERGING THE COMPONENTS :
After performing topo cleanup for the individual components (i.e., engine, gearbox & transmission), we then move on to merge all these three components together so as to obtain a single component.
We use the ‘merge’ function to combine the geometries together. We retain the default settings of the merge parameters and make sure there are no errors after merging the geometries.
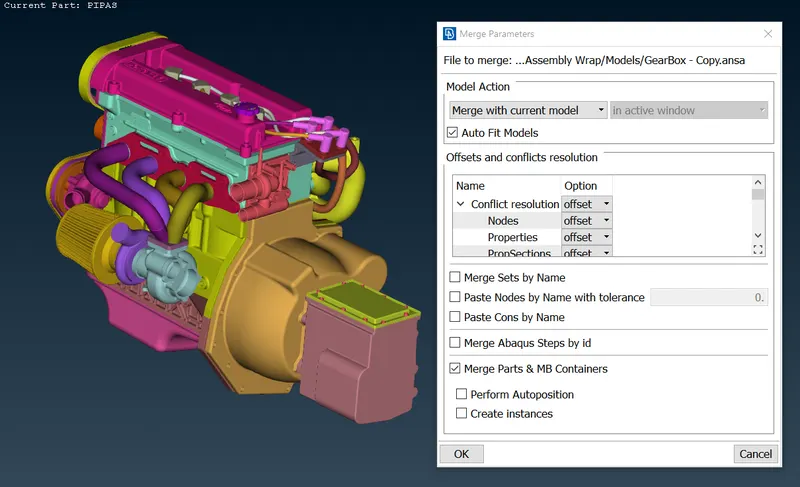
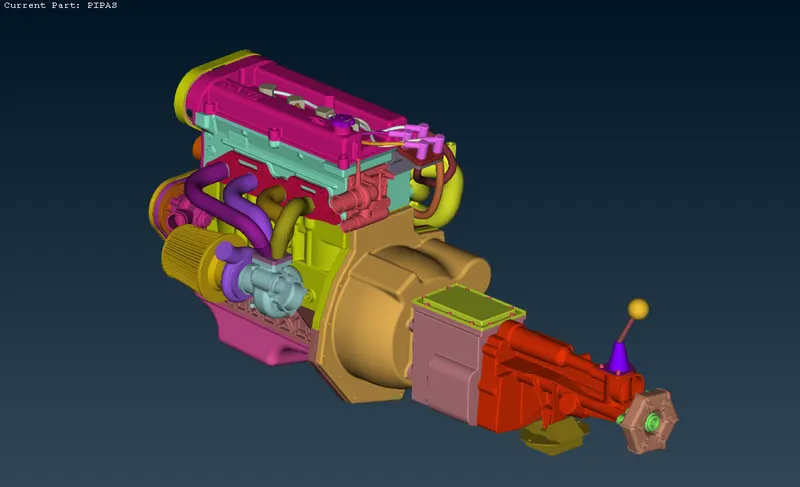
The final merged geometry consisting of the engine, gearbox and the transmission altogether is as shown. Further, we can move on to surface wrapping of the geometry.
CLOSING THE GEOMETRIES
Before we move on to surface wrapping, we first need to close all the open surfaces by creating new faces so that the meshing does not get distorted around these areas. New surfaces are created over holes and openings of the components as follows.
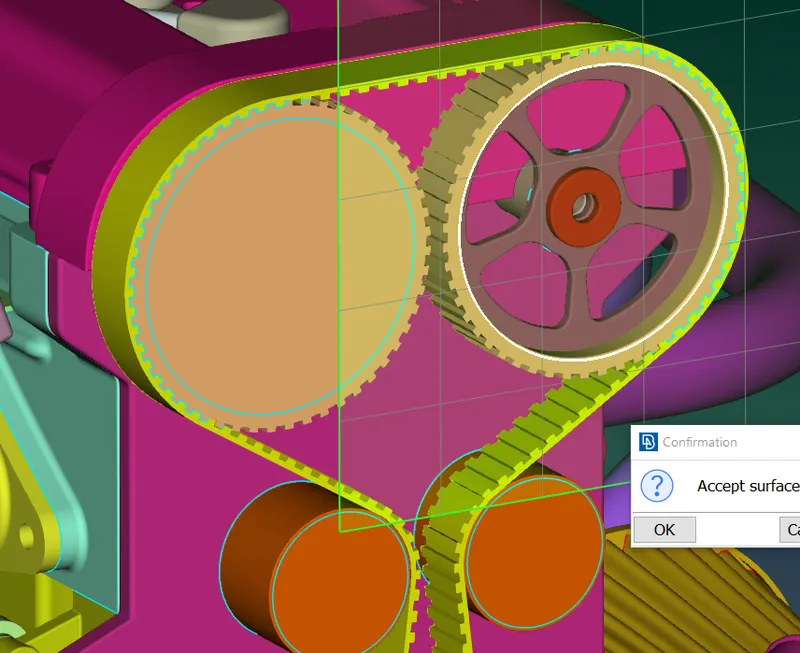
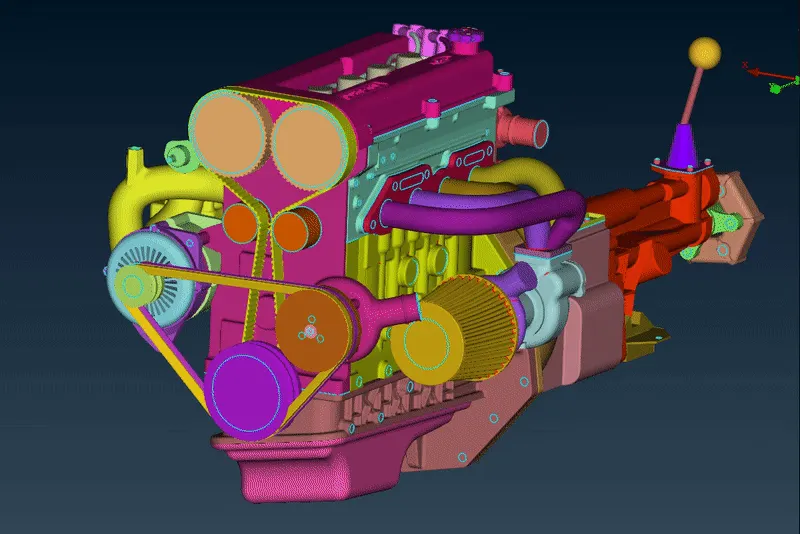
These surfaces are closed such that there are no dents or distortions in the surface wrap. The entire geometry is closed as shown.
SURFACE WRAPPING
After all the surfaces have been successfully closed, we then move on to generate surface wrapping for the whole geometry. Here, we generate a constant length surface wrap of target length of 3 mm such that the components are captured in detail.
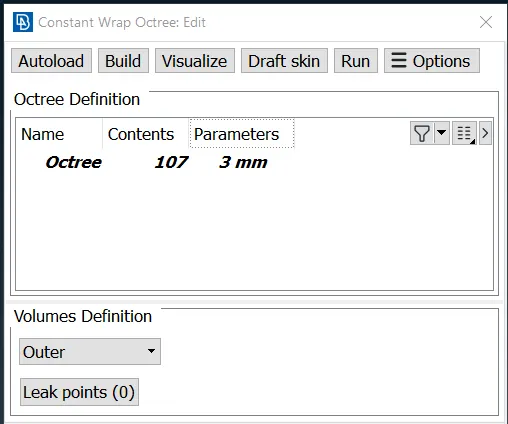
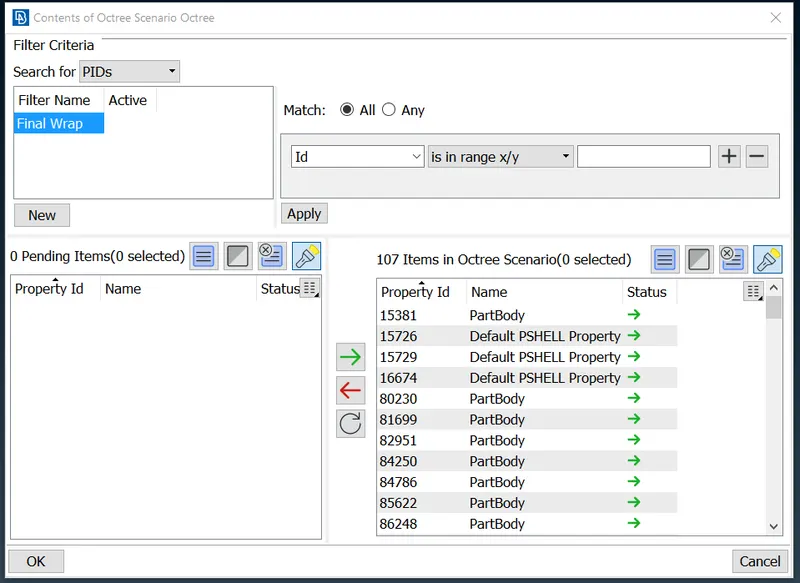
First, we define the contents of the octree scenario, which include the components which we are supposed to generate the surface wrap over. We select all the components in the geometry (107 items) into the octree scenario and thereby defining them.
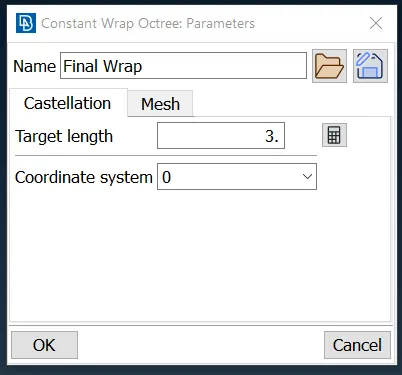
Next, we define the target length parameter of the surface wrap as 3 mm.
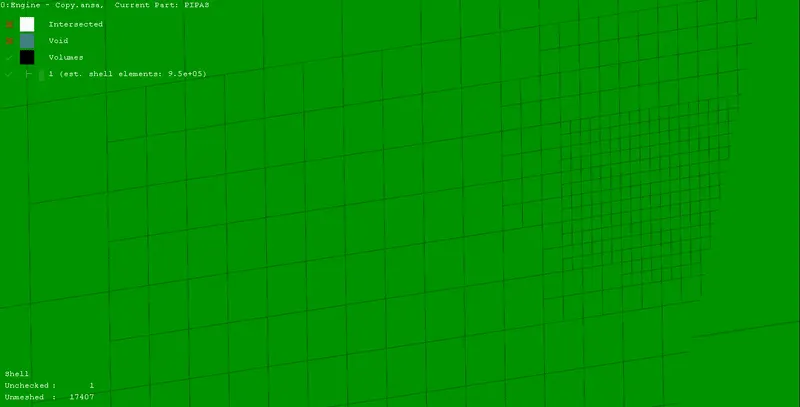
We first visualize our surface wrap to make sure it is generated properly, as the wrapping process is irreversible.
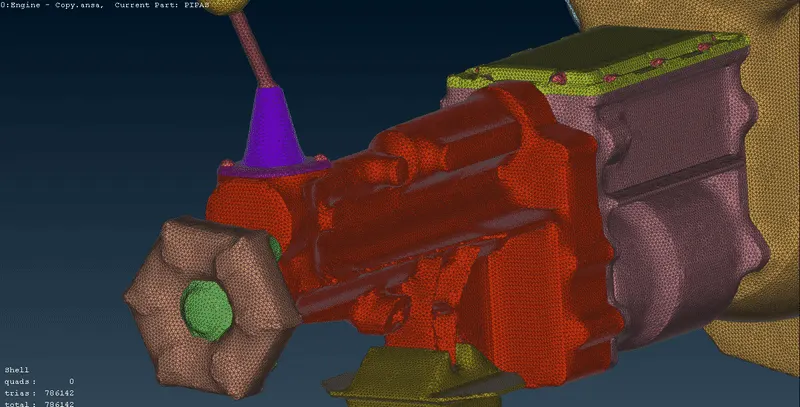
After confirming the visualization, we finally ‘run’ the meshing so as to obtain our final surface wrap as shown.
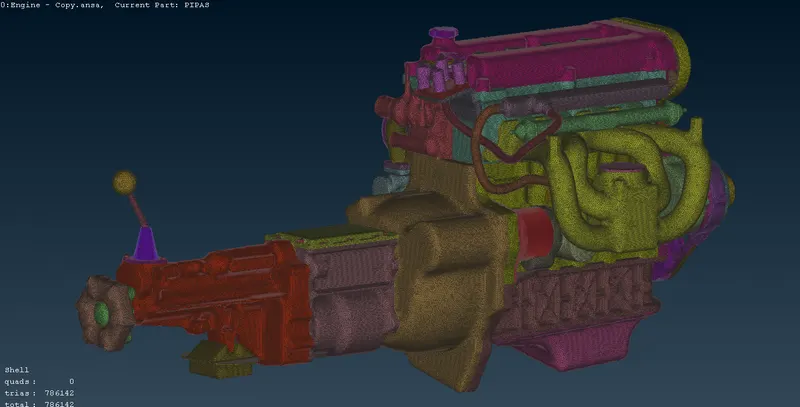
Detailed View of Surface Wrap :
Final Model File : https://drive.google.com/file/d/1A4vK0E2MpVzo_4EU-t4gUE38Gm9YNwr4/view?usp=share_link
CONCLUSIONS :
Topology cleanup and geometrical simplification has been carried out for each individual part of the automotive assembly and all the unnecessary components have been deleted.
The engine, transmission and gearbox components have been merged together to form one single geometry. Further, all the open surfaces have been closed by creating new faces over them and surface wrapping has successfully been generated for the same.