Week 5 Challenge : Surface wrap on Automotive Assembly
CHALLENGE-5
Aim : Surface wrap on Automotive Assembly
Objectives :
- For the given models, check for the geometrical errors and delete surfaces which are unwanted for Surface wrap as shown in the videos. After clearing geometry, Merge all 3 models and perform surface wrap. Target length for Wrap = 3 mm.
- Write a detailed report on steps followed to finish this challenge.
Theory :
- What is mean by surface wrap ?
- surface wrap is nothing but a type of mesh. In surface wrap we are doing meshing over the surface only in external part. We are not worrying about internal parts,errors.
- This will be done only for external flow analysis.
- Whenever a complex geometry gets and we want to do external flow analysis we are going for surface wrap.
- The surface wrap means it do meshing by taking shape of geometry and look like we have wrapped a mesh over the surface. for that we are clearing only external errors and not worrying about internal parts.
Procedure :
1. Importing Geometry :
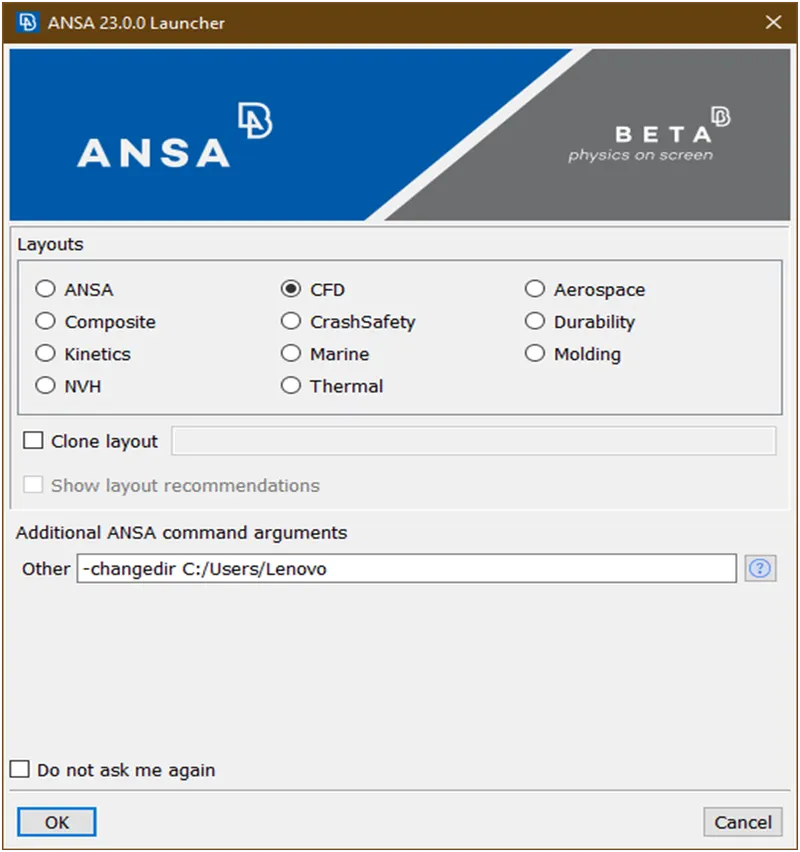
- Open the ansa software then the dialog box come as shown in below figure and For CFD applications it is recommended that ANSA is started in CFD mode, by selecting the corresponding option from the launcher window. This will allow the better setup of the software interface for CFD pre-processing.
- At ansa command argument write ‘-performance_mode 3’ for smooth running the software in regular laptops/pc because to run the this software we required high configuration but our pc’s are not build to run these softwares as shown in below figure
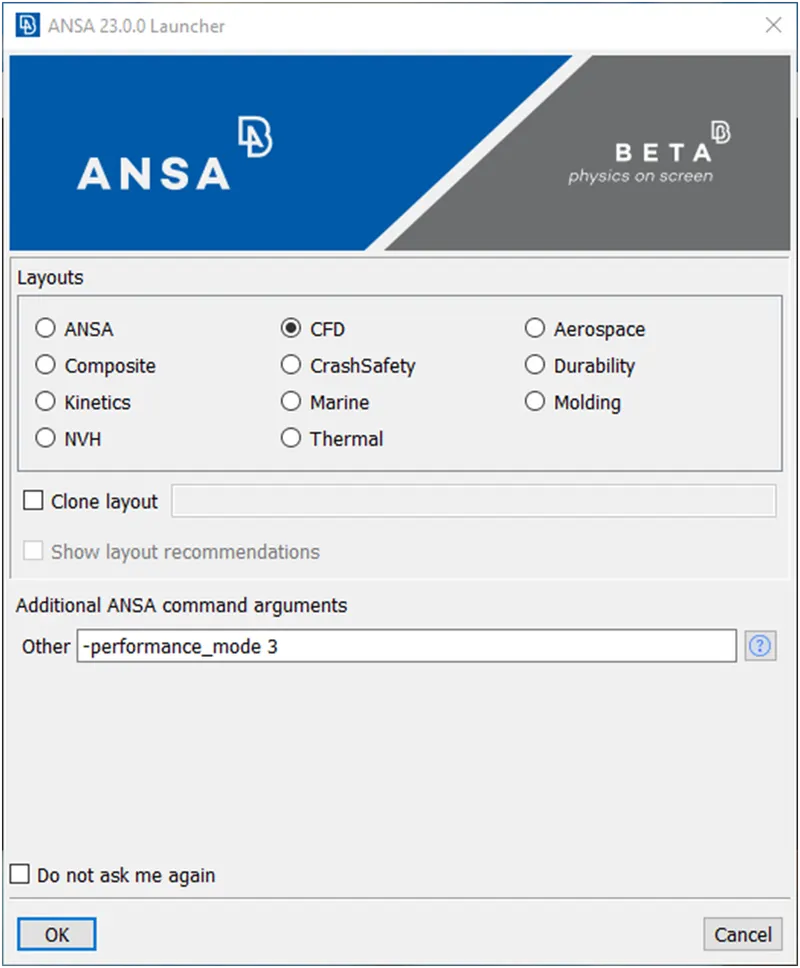
Then click on ok.
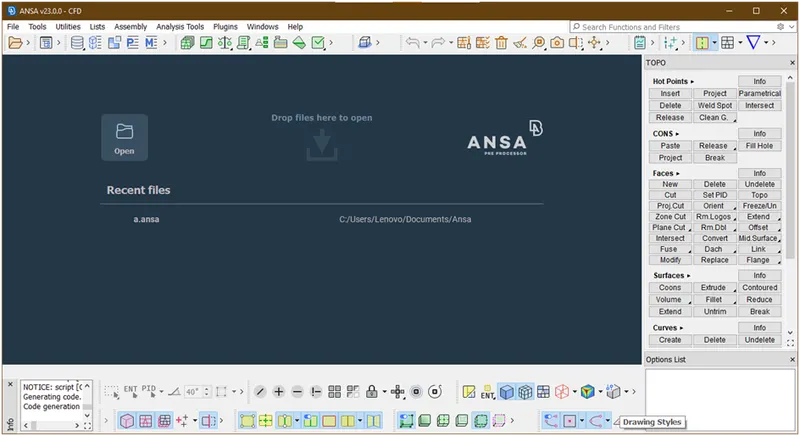
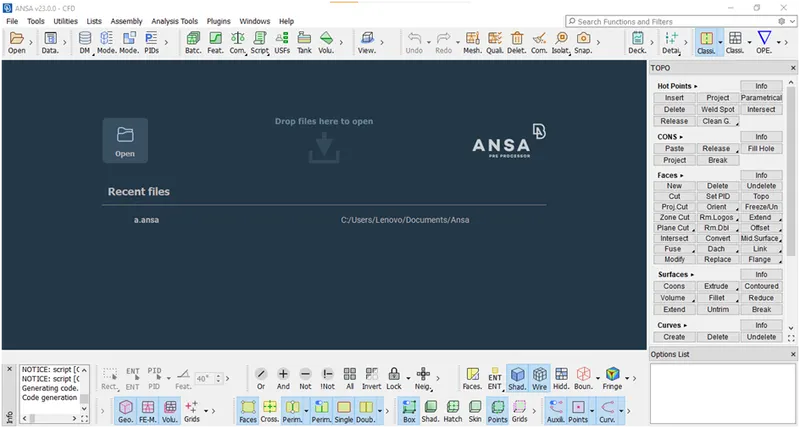
- Now the ansys user interface is open as shown in below figure.
- Now ,right click on bottom menu then the dialog box is open as shown in below and find show lables and click on radio button.
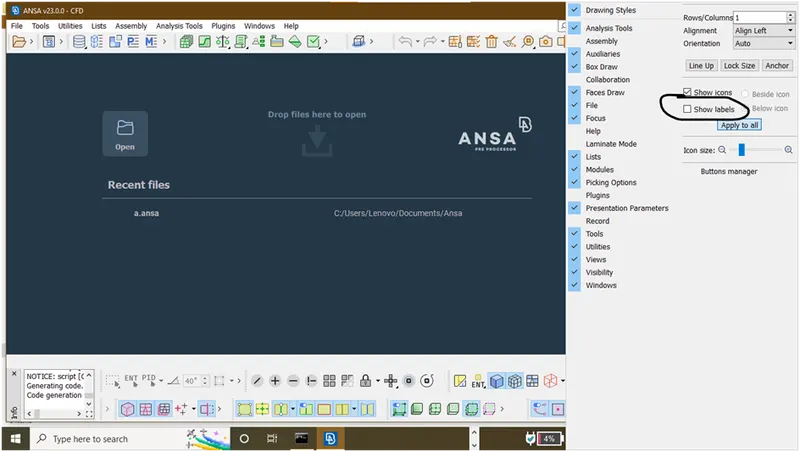
Now the lables will show as shown below figure.
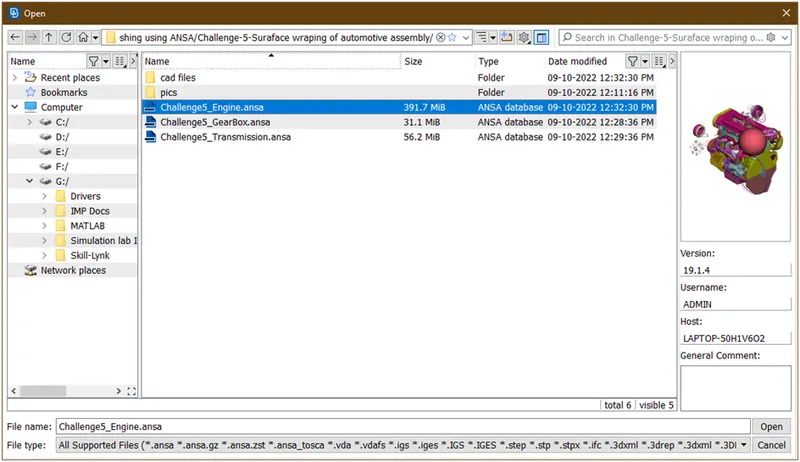
- Open the engine geometry and lets clear the geometrical errors.
The geometry looks as
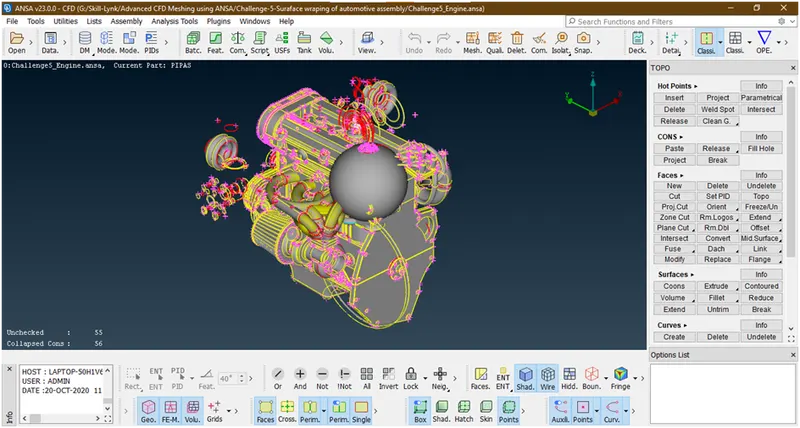
2. Geometry cleanup of engine :
- Lets goto the topo mode for geometry cleanup.
The user interface looks as
- This is in entity mode so lets enable pid mode by pressing ‘Alt + v‘
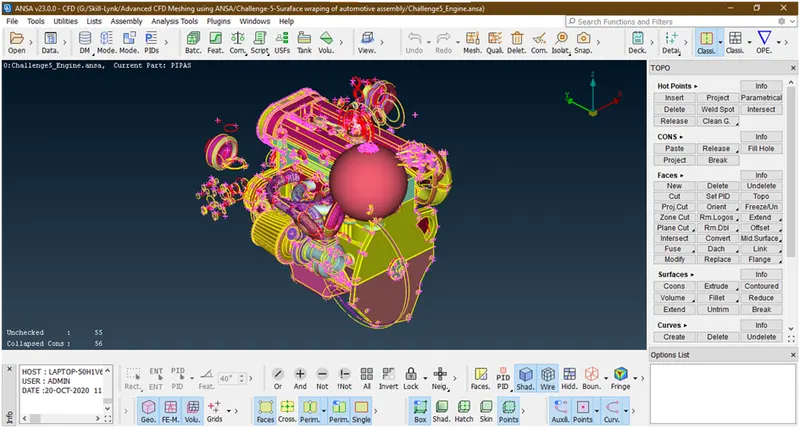
Ths is in pid mode.
- Lets directly go for universal delete option to delete an unwanted faces.
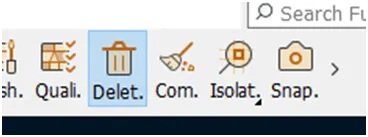
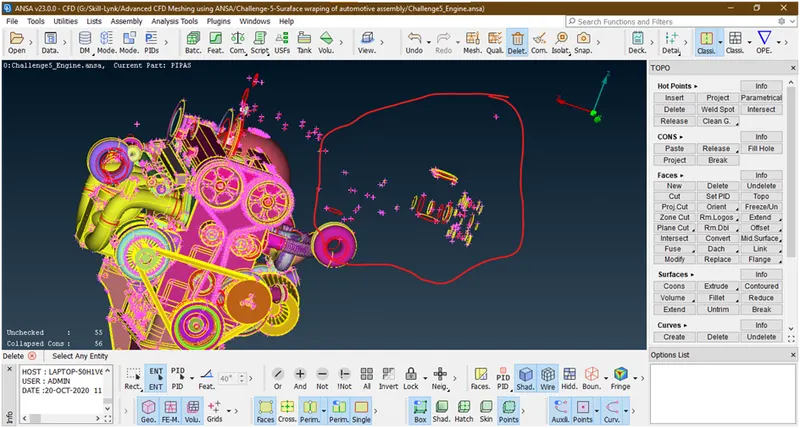
Let delete these unwanted parts.
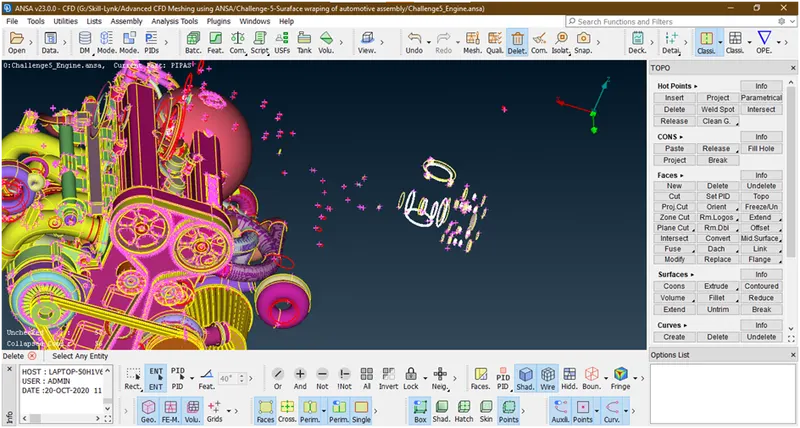
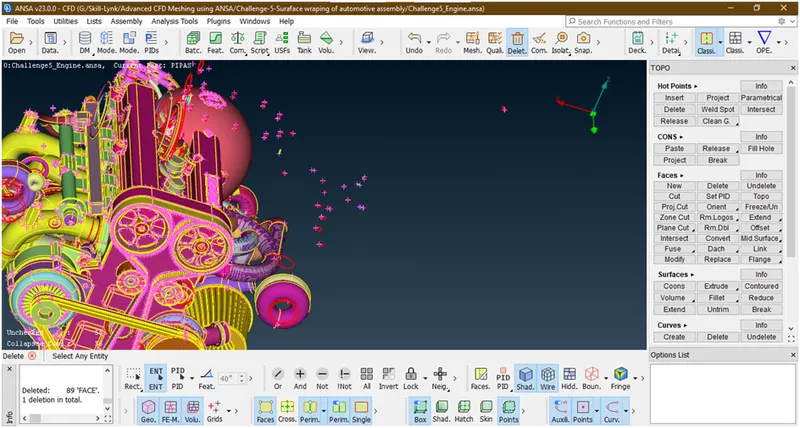
Similarly we are deleting the faces which are not connected.
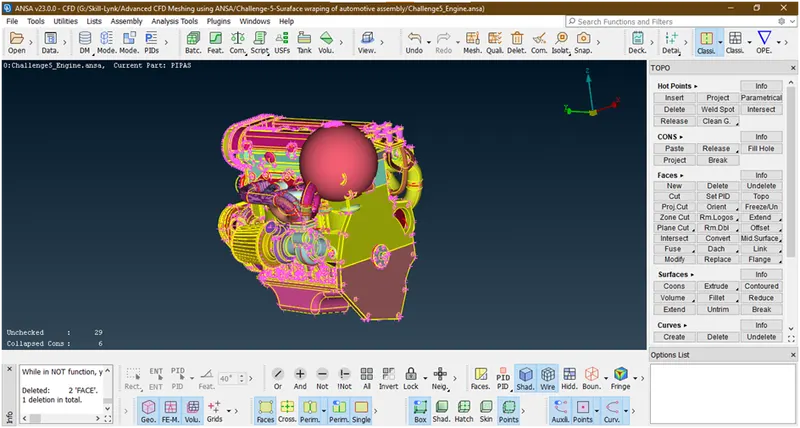
We have deleted the external parts which are not connected.
- Lets try to hide this ball and see is it important or not. for that we are using not operation.
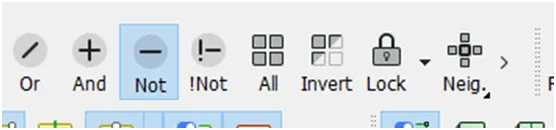
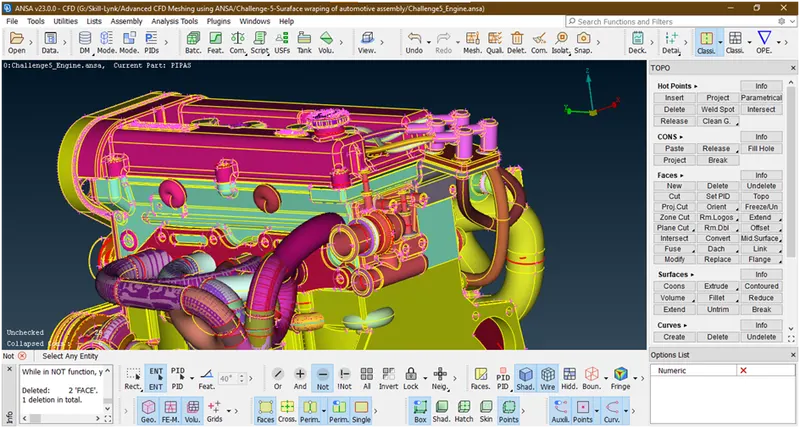
Now this ball is not important so click on all and goto the universal delete and delete this ball.
- Lets apply topo to all geometry to autofix some errors and to visible the errors. For that goto faces->topo-> box selection of geometry-> hit middle click. Its done.
- Now by looking geometry there are some unnecessary tubes are present in this geometry so we are trying to delete this directly
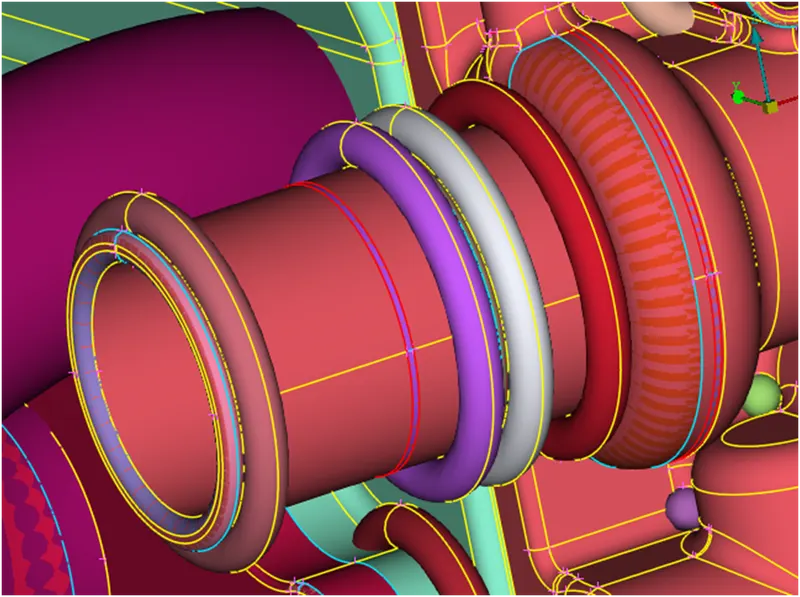
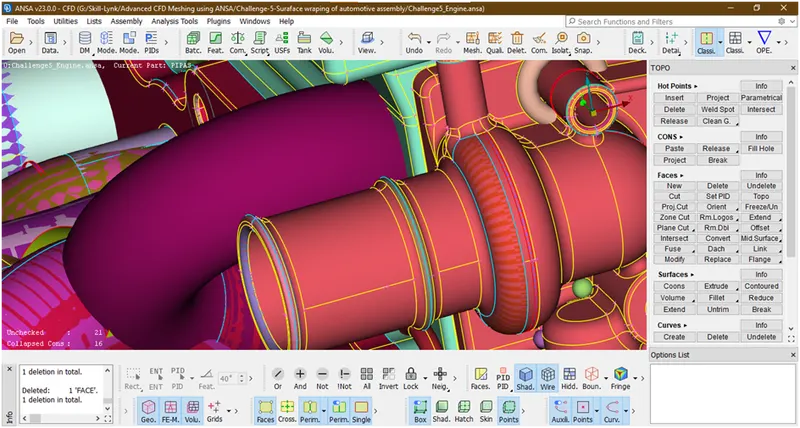
We have deleted and some red cons,blue cons are seeing lets check by using not option . hide some faces.
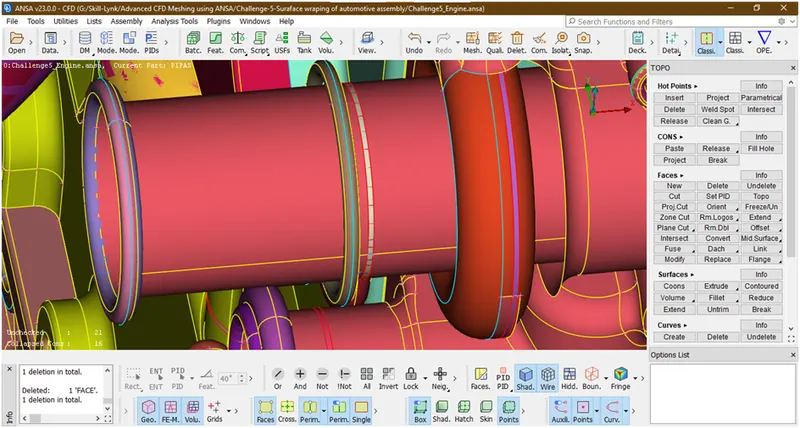
We have hide the surfaces and find out these are unnecessary tubes so lets try to delete this.
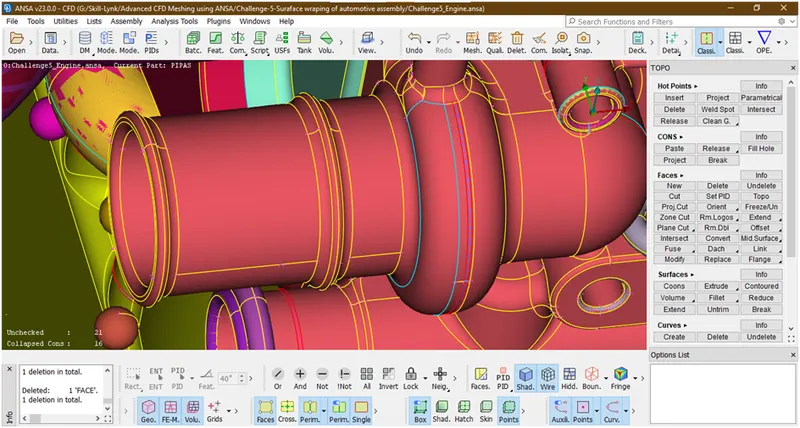
This triple con is due to overlap surface so lets try to delete this.
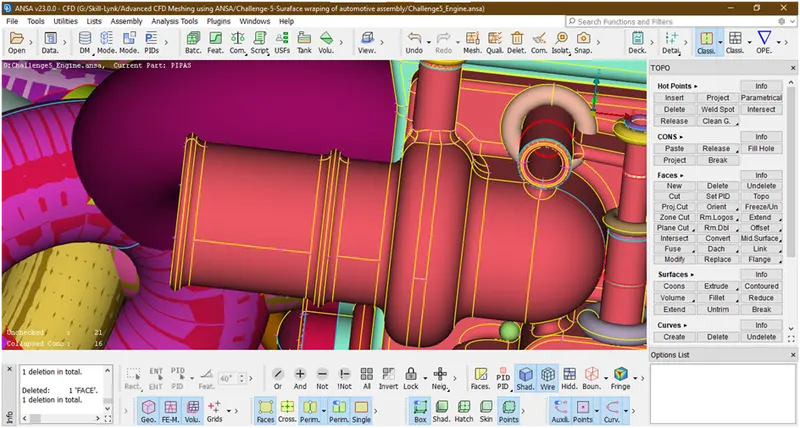
Similarly we are doing this in all geometry.
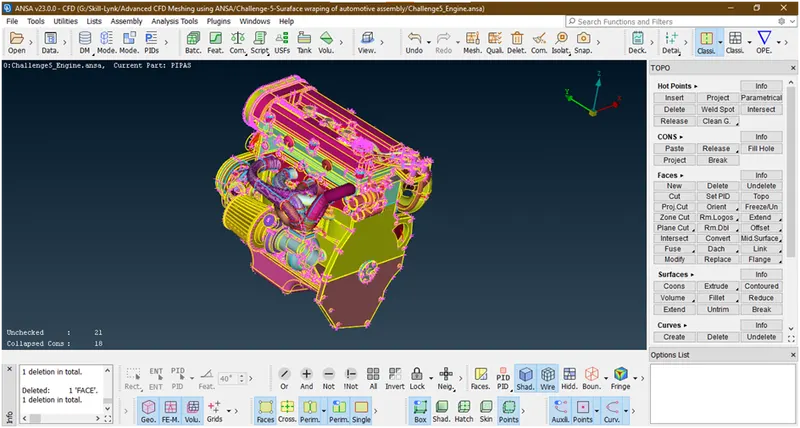
- We have deleted the tubes which are possible. There is a huge amount of tubes and components inside the engine and are also connected which are not usable so we are trying to delete this together. for that we are hiding the important parts of engaging by choosing not tool and pid mode of selection.

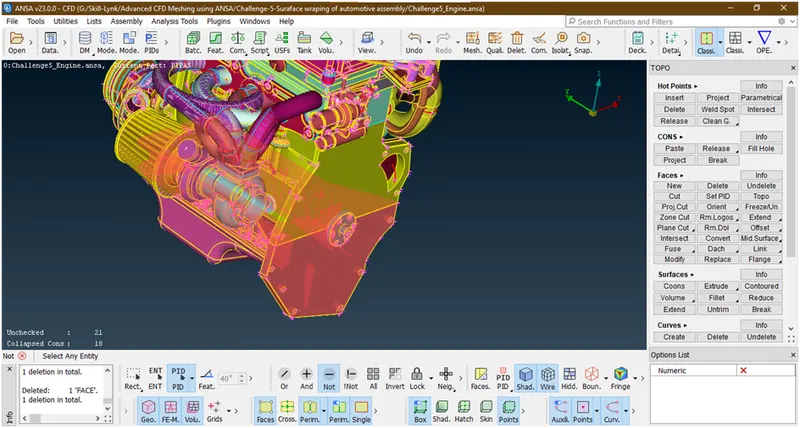
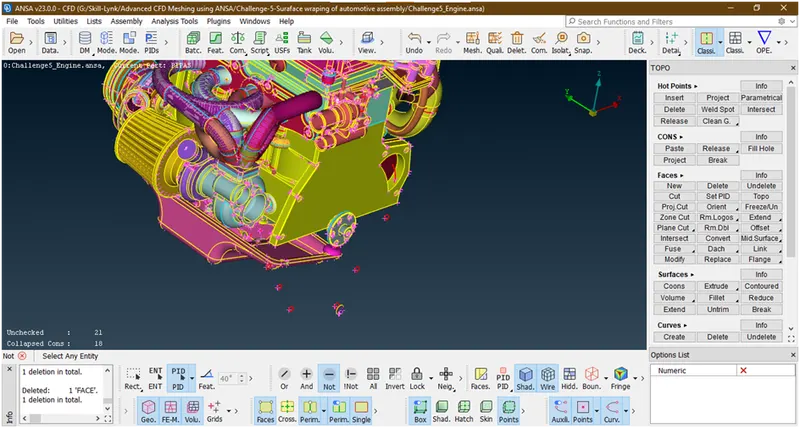
Similarly we are hiding the imp parts of engine.
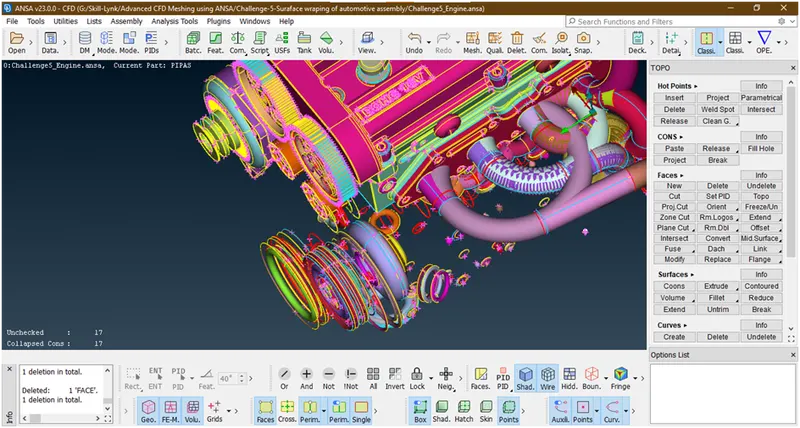
When we are selecting these parts the tubes are not selected as shown above.
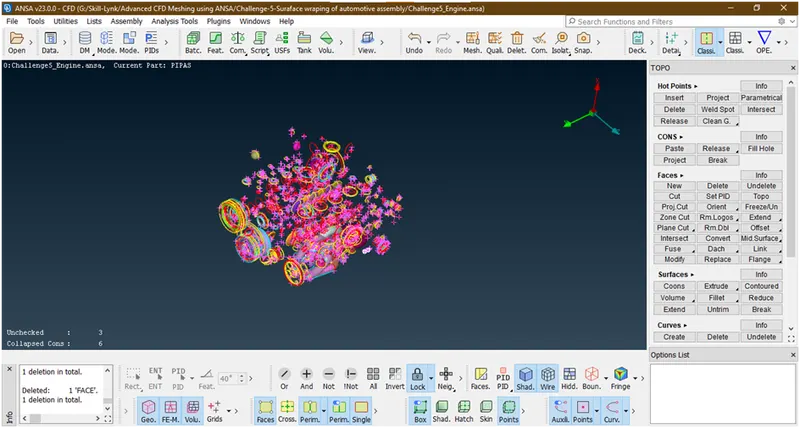
now we have successfully hide important parts. now click on lock and inspect the geometry if anything left and if its found then hide this one.
Now we have done all. Now delete these unnecessary entities by using universal delete tool and box selection.
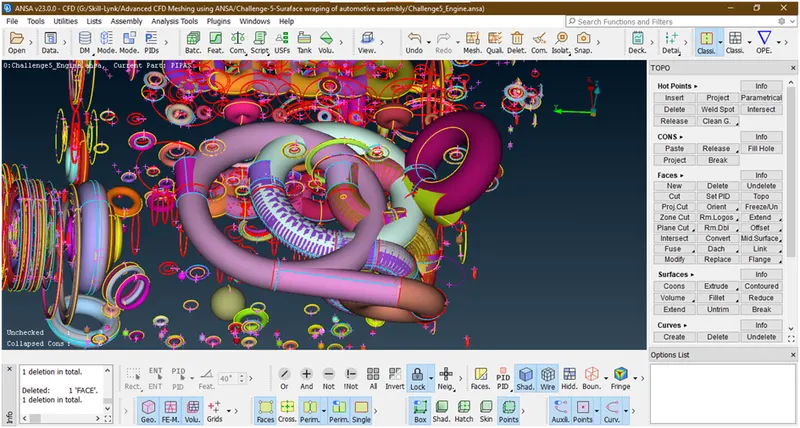
These pipes are also we are deleting because they are outside and not in proper position and causes an error while doing surface mesh.
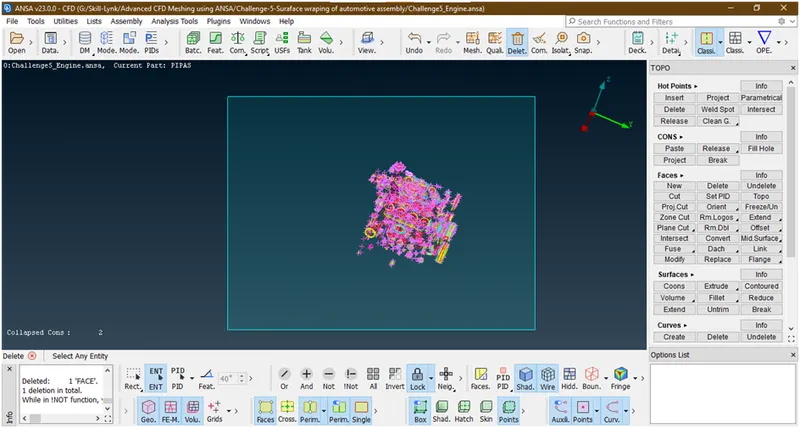
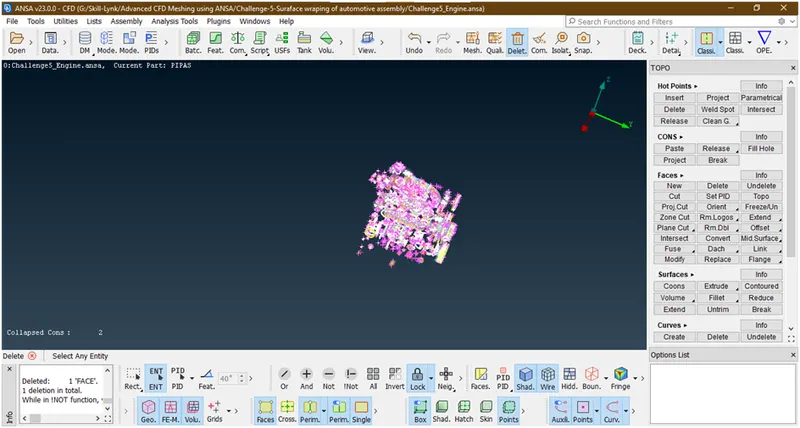
Click middle key then it will deleted then remove lock and click on all.
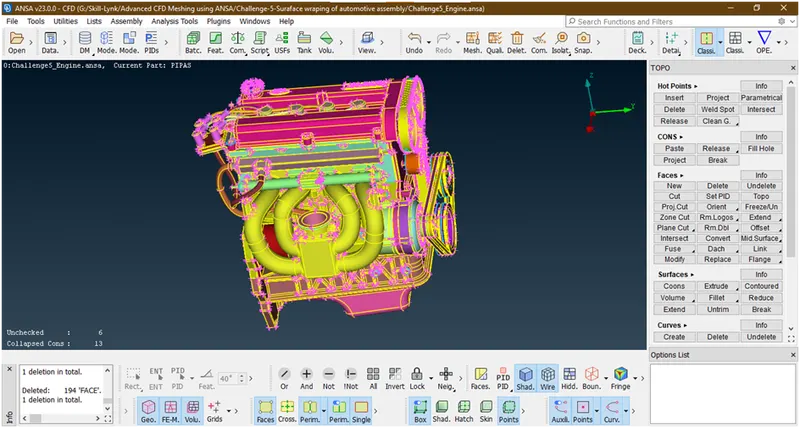
Now we have deleted the all unwanted surfaces.
- Now we are clearing all single cons and triple cons from outer surfaces.
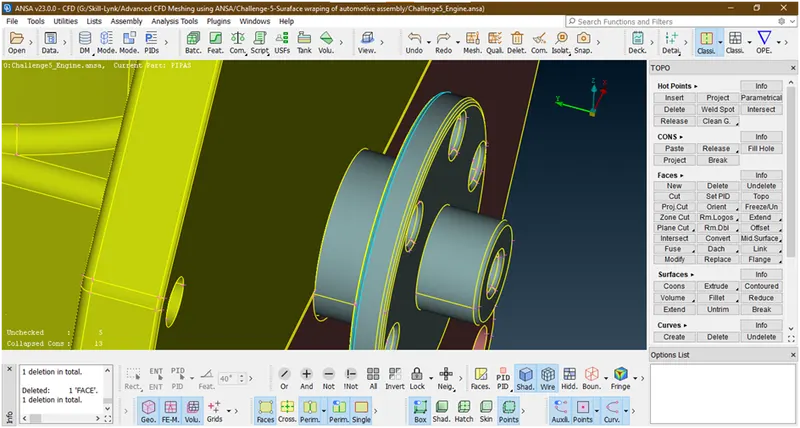
This is due to overlap surfaces. so lets hide some surface and delete this triple con face.
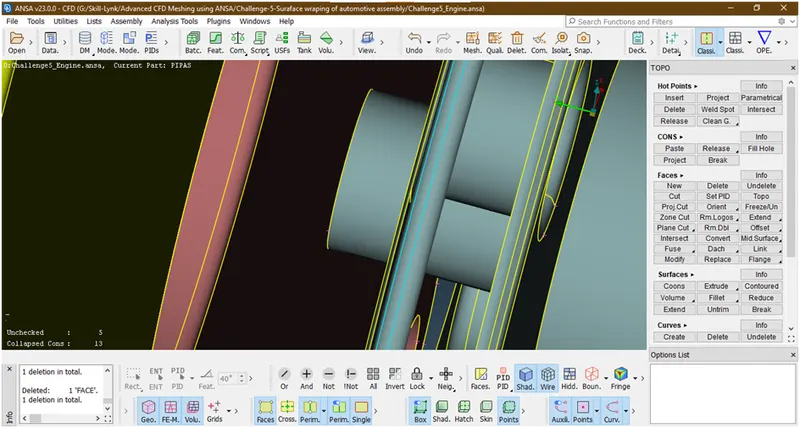
We have hided the surfaces.now lets try to delete this triple con surface.
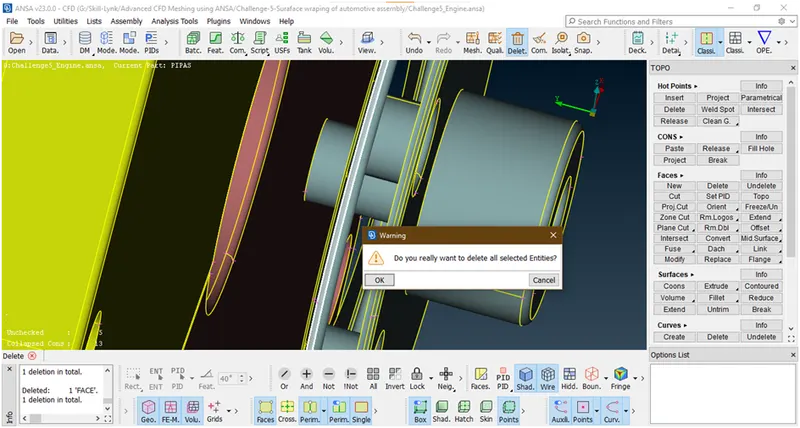
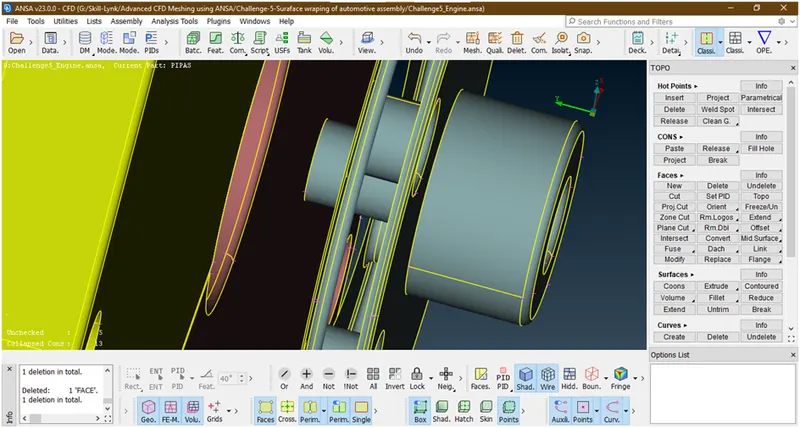
Now click on all
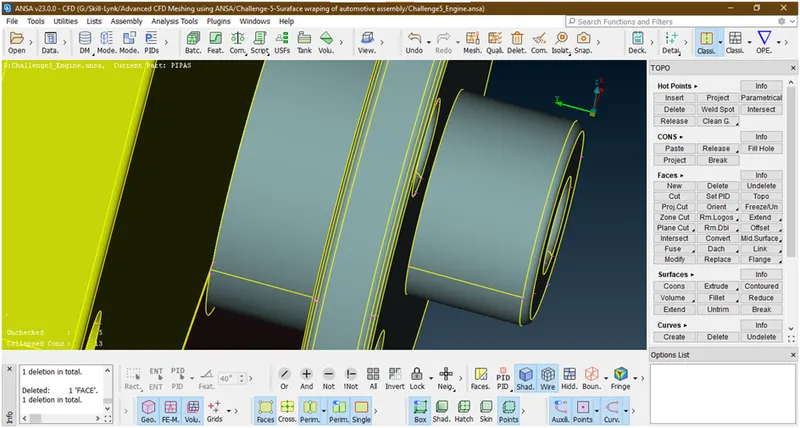
It has been removed.
- Similarly we are doing in all geometry part.
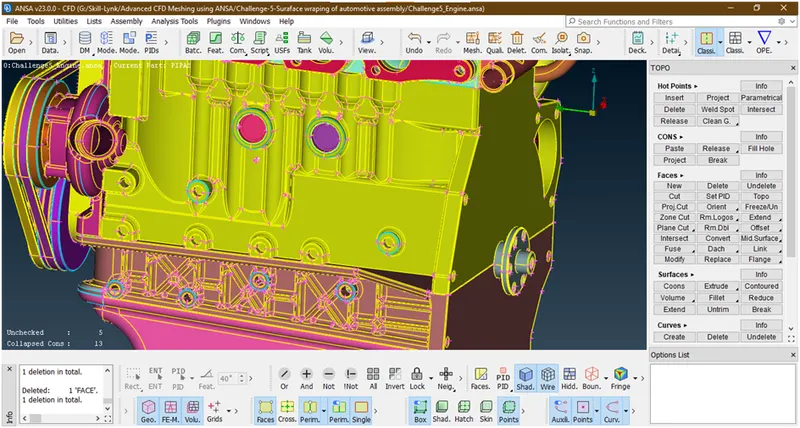
Lets try to remove these triple cons by same procedure
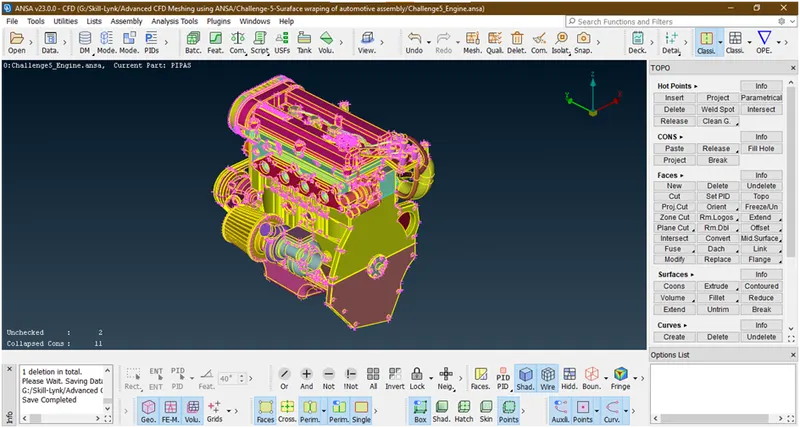
Now we have almost cleared all triple cons in the engine part. now save this geometry.
3. Importing and geometry cleanup of transmission file :
- Open the transmission file
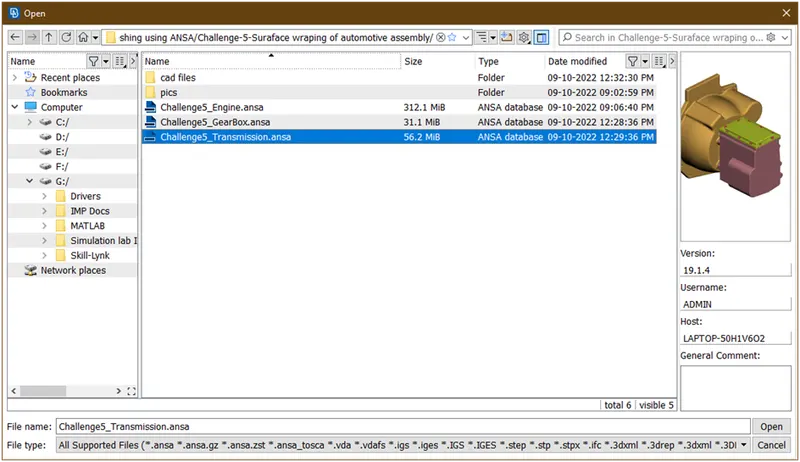
Geometry looks as
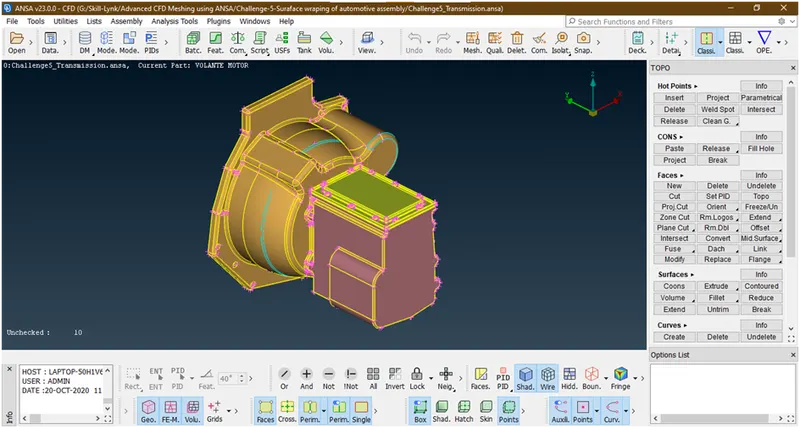
- Clear the single cons and triple cons from external surfaces
Hide this by using not tool
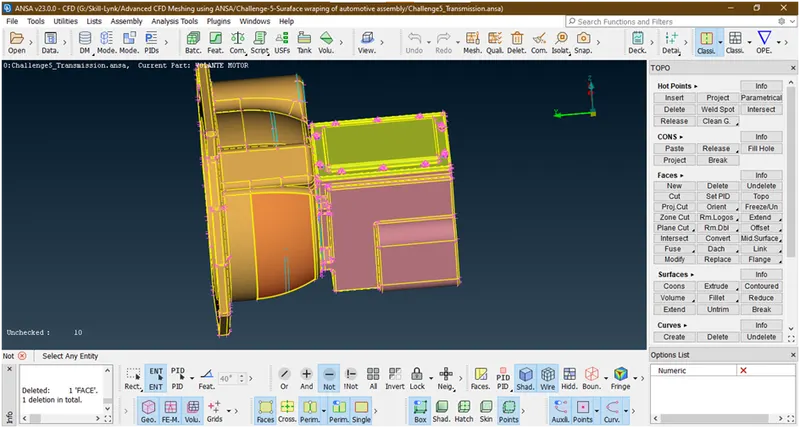
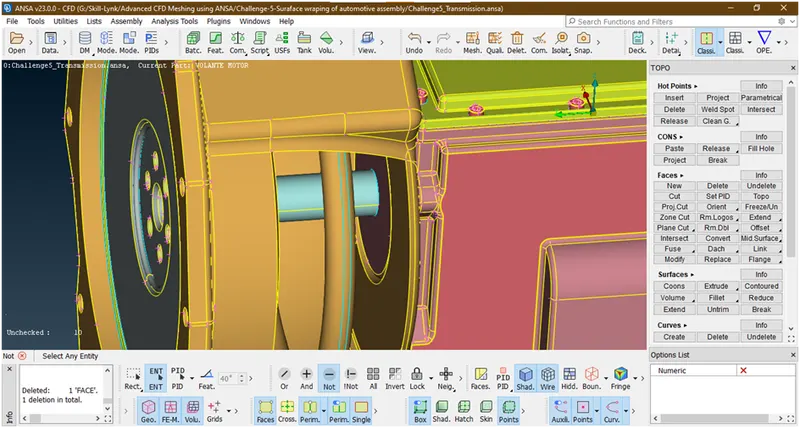
Now we are deleting this triple con
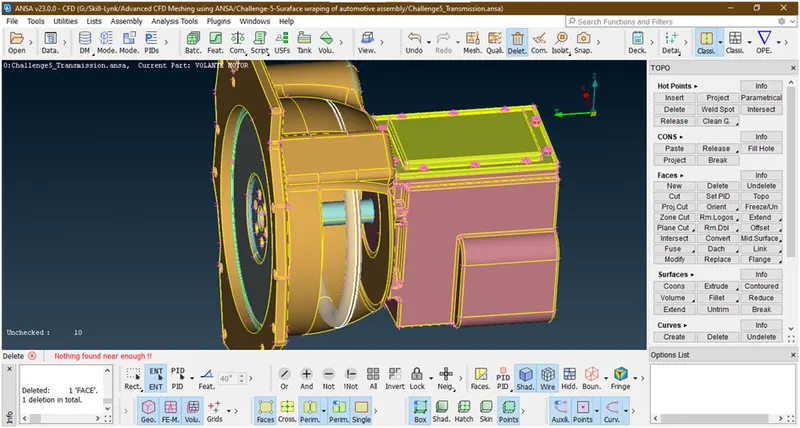
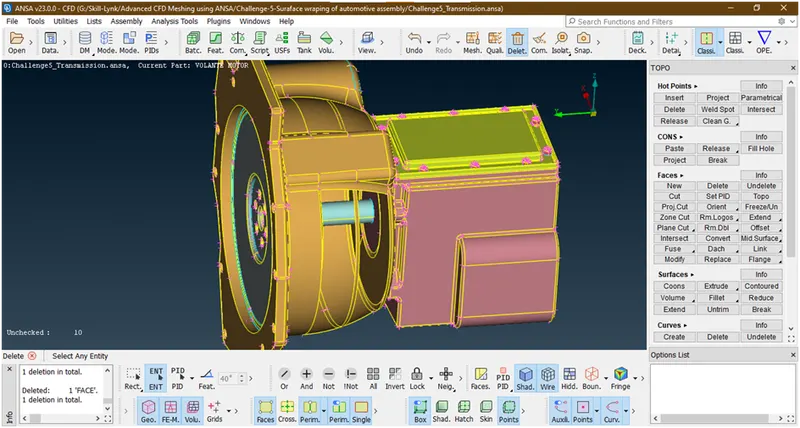
It has been deleted.now click on all.
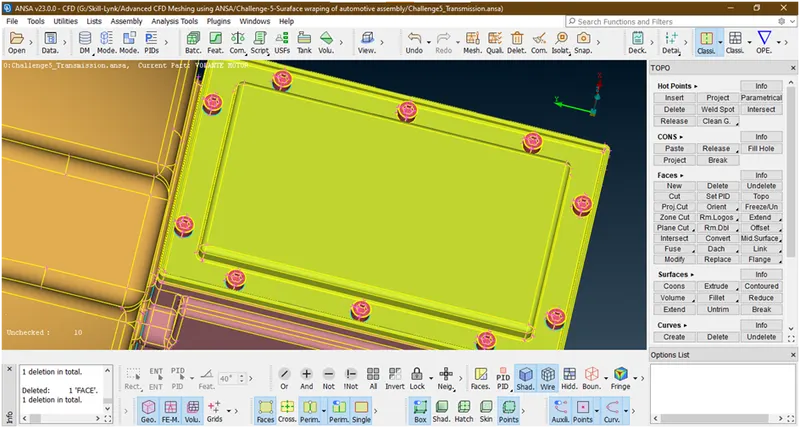
Now the triple cons shown in bolts so we are trying to isolate this.
Click on inot->pid selection

Now click on bolts
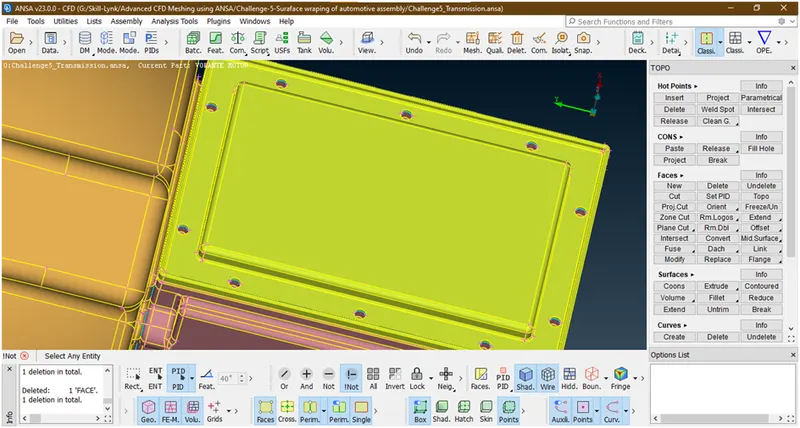
Press middle key, the bots are isolates.
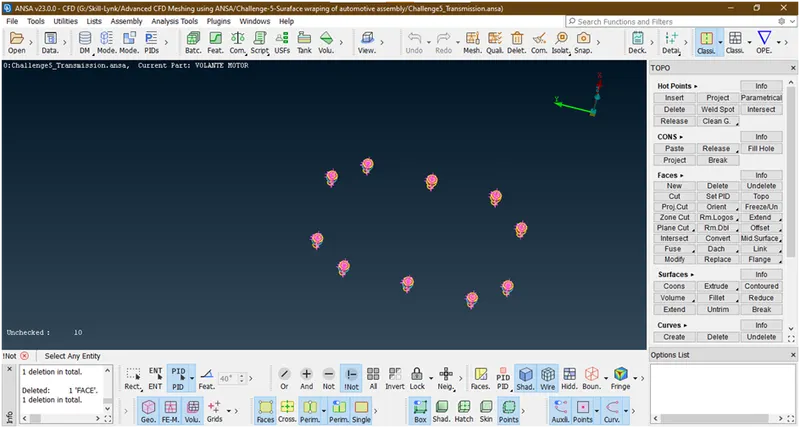
Now it has been isolated. now let’s try to clear triple cons.
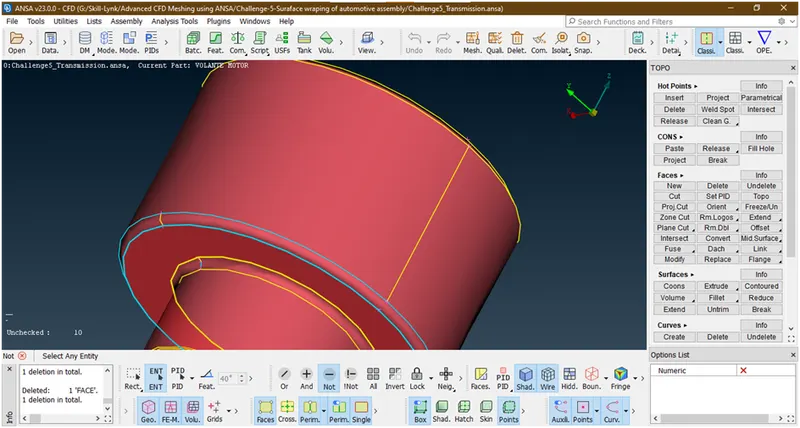
Hide this face.
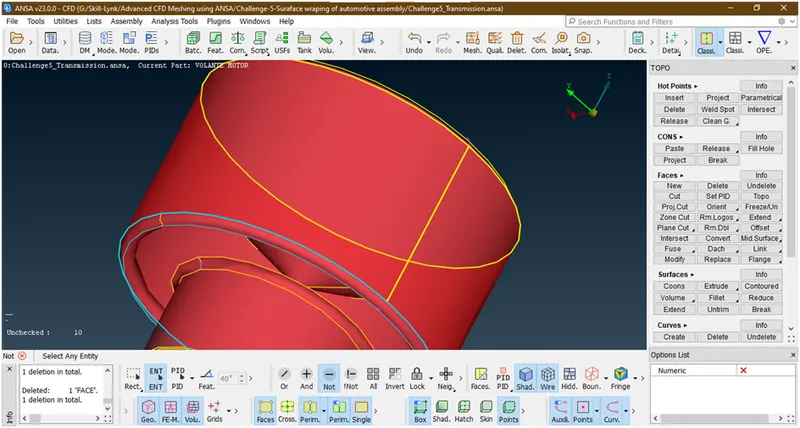
Hide this face
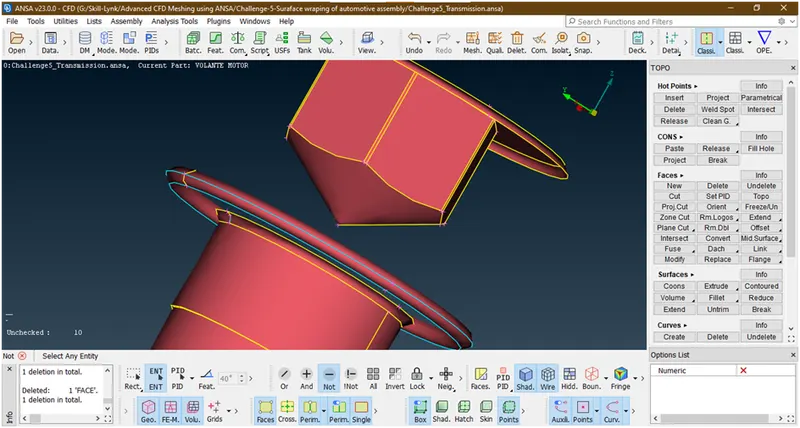
Now try to delete this internal surface.
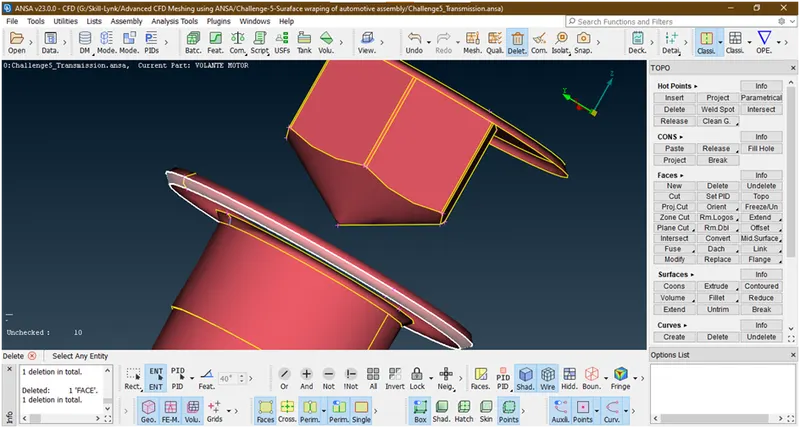
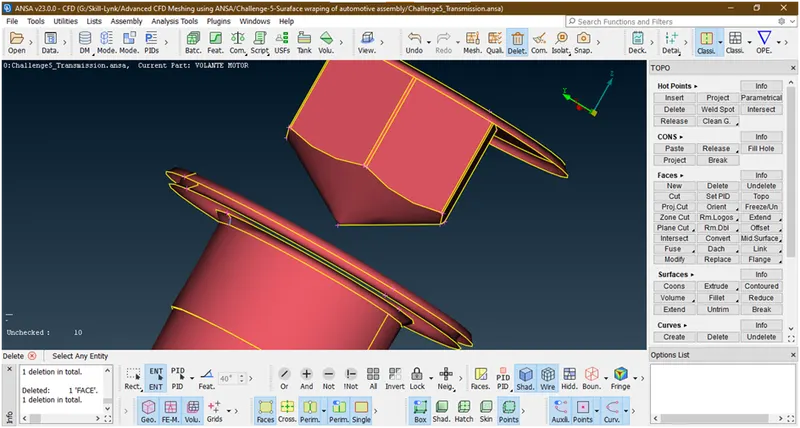
Now click on all.
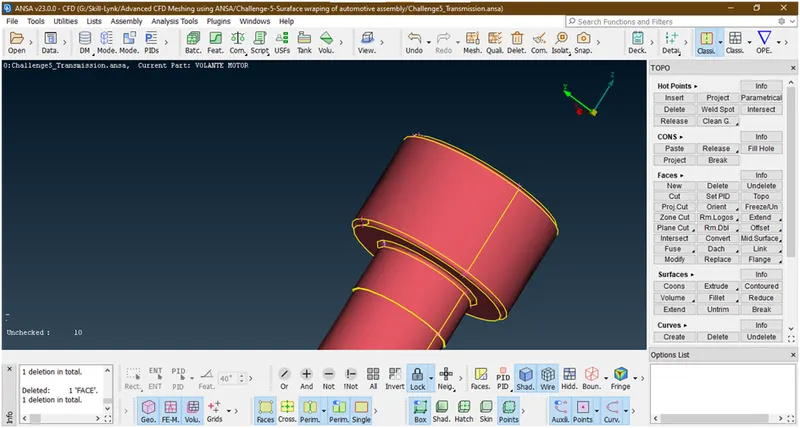
It has been removed. now similar procedure doing for all bolts.
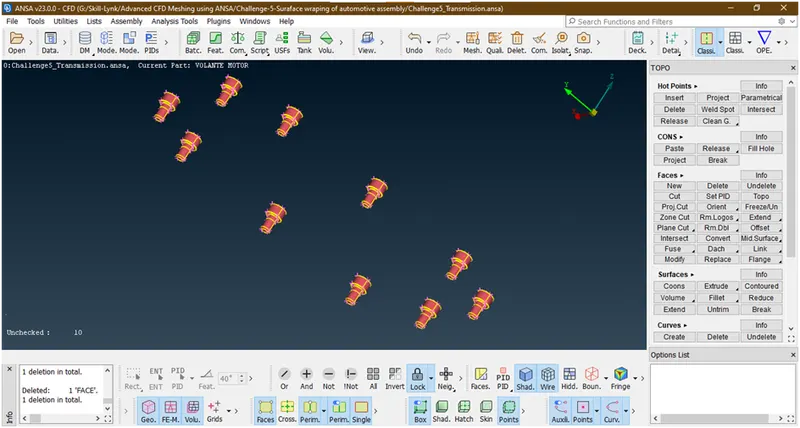
Now we have removed all triple cons from bolts. now click on all by removing lock.
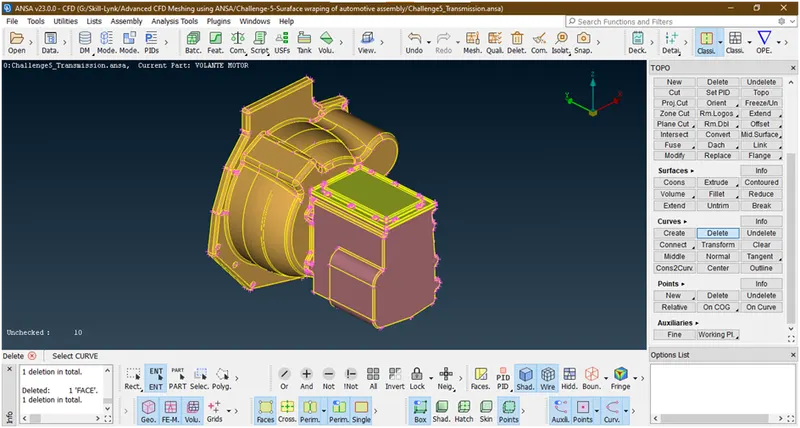
Now it has been done.
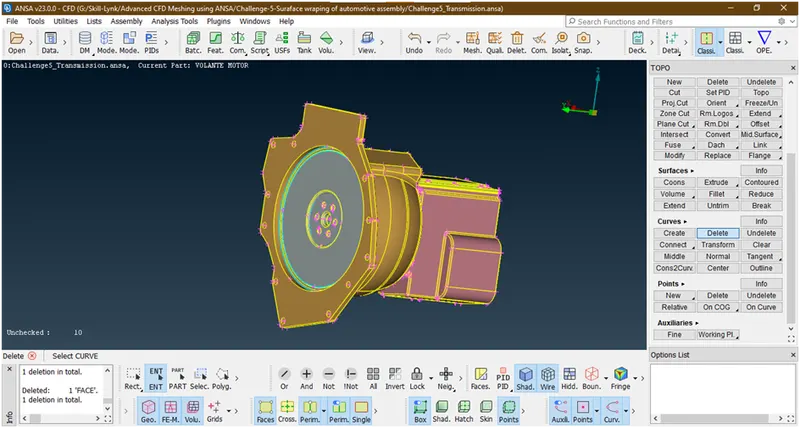
These triple cons we are not worrying because when we merge this file these triple cons becomes an integral part. now save this file.
4. Importing and geometry cleanup of gearbox :
- Open the file
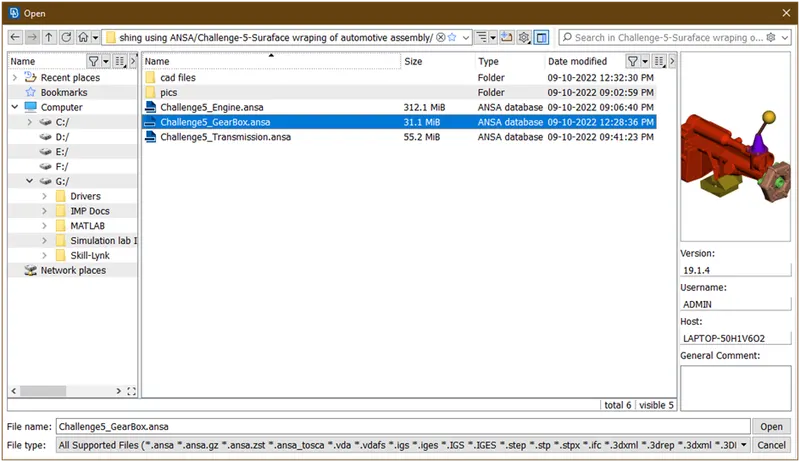
Now the geometry looks as
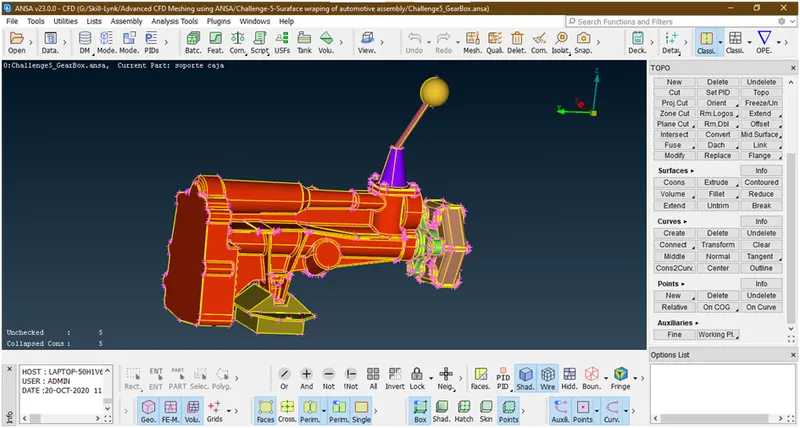
- Now clear the single and triple cons in this.
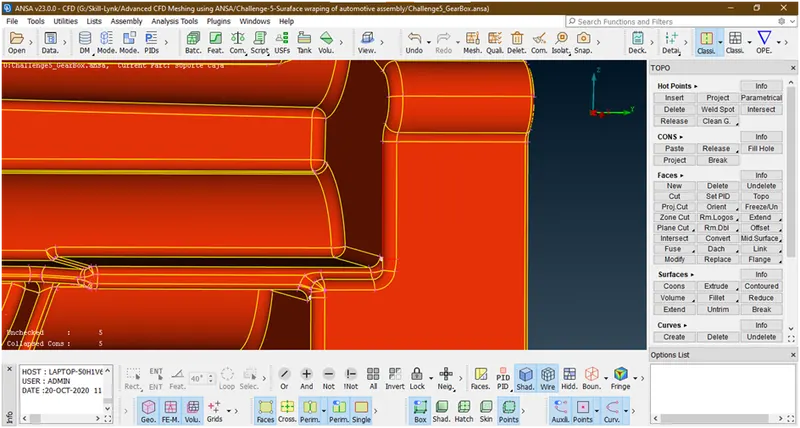
Here is one single con lets hit an topo.but it cant removed.so we are deleting and recreating face.
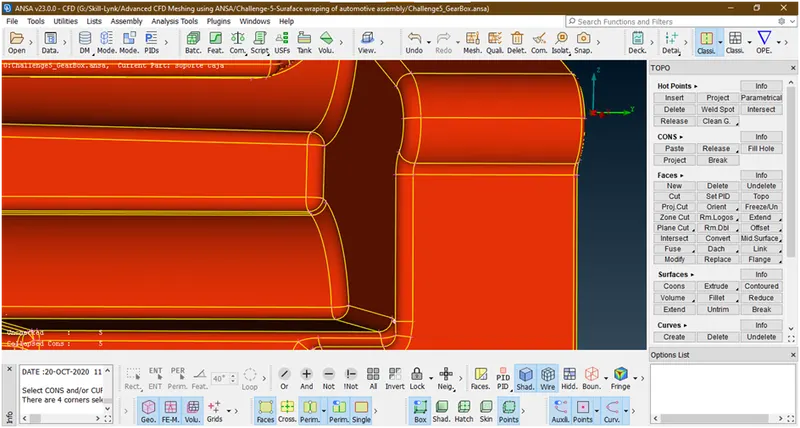
Now there is a triple cons in bolts
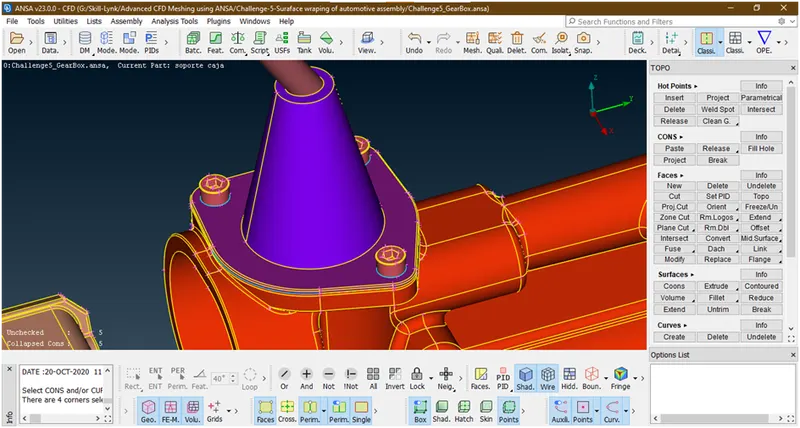
lets isolate these bolts by using inot and pid mode selection.
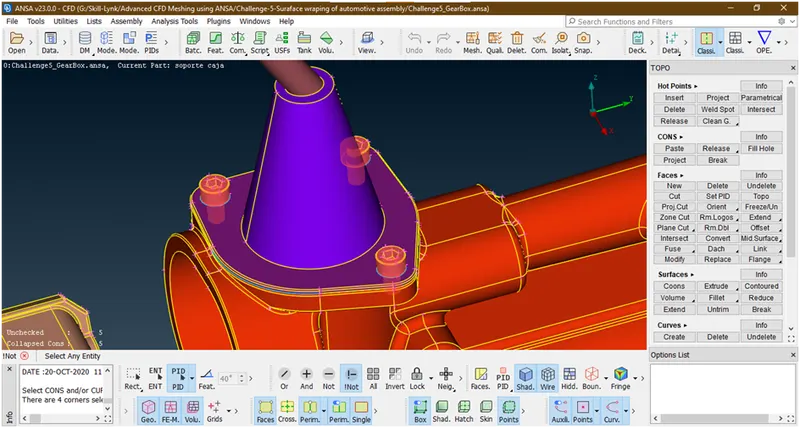
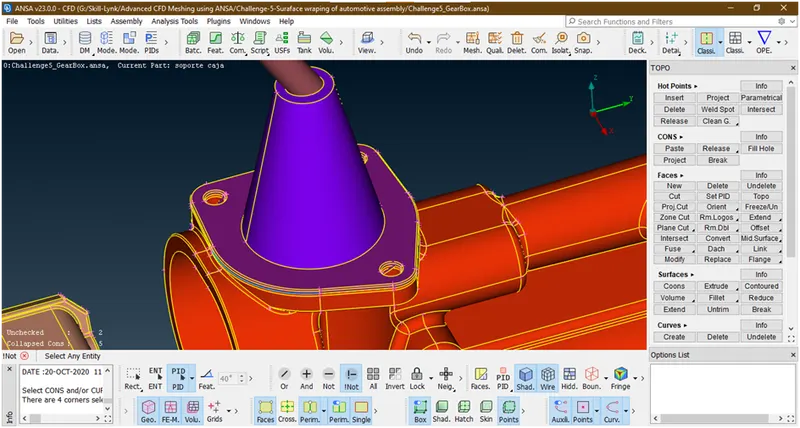
Hit the middle key
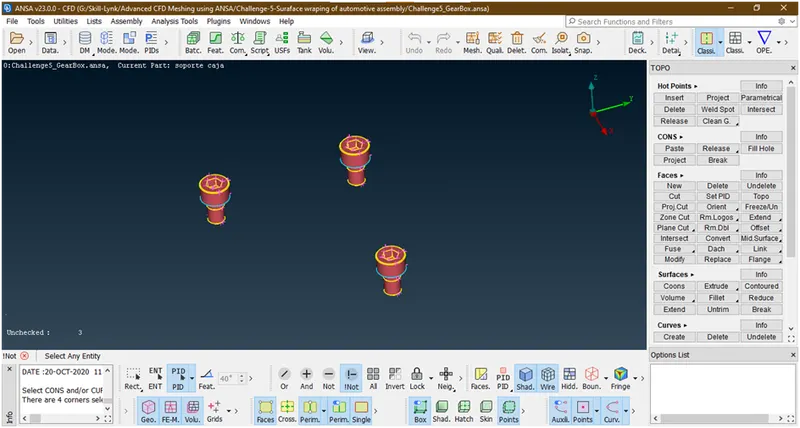
As mentioned above we are deleting internal faces/overlapping surfaces.
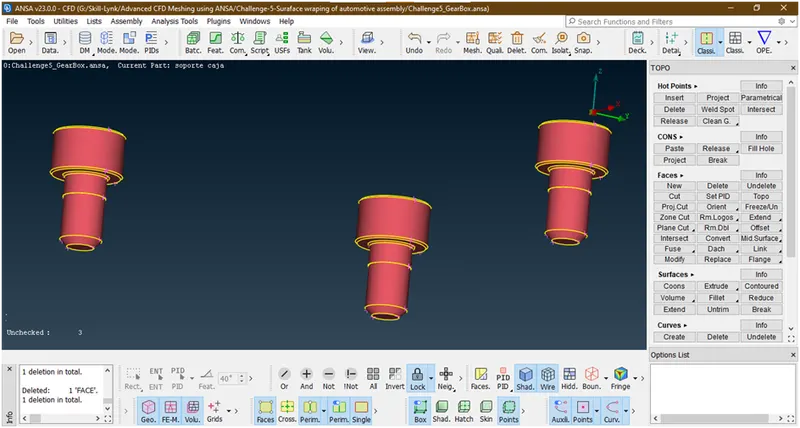
Now click on all.
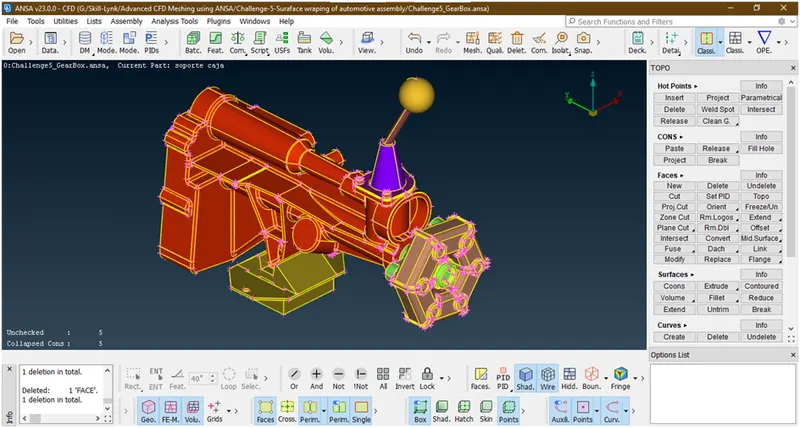
Now we have removed all triple cons from outside.now save this file.
Now its time to merge these files.
5. Merging the files :
- Open the engine file.
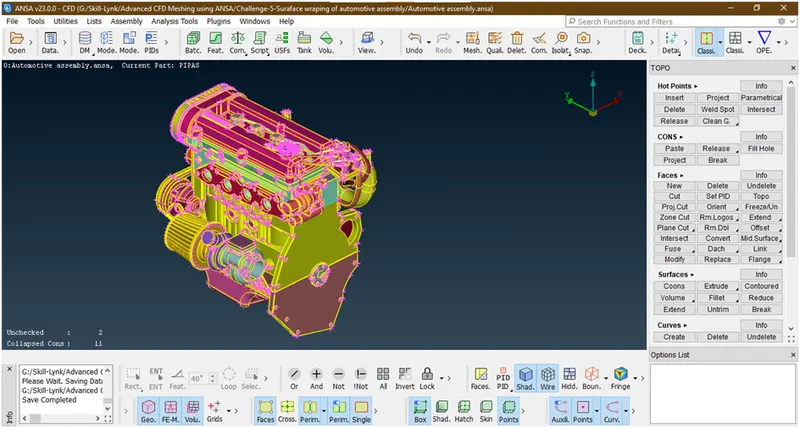
Now we are merging the files.
- goto files-> merge
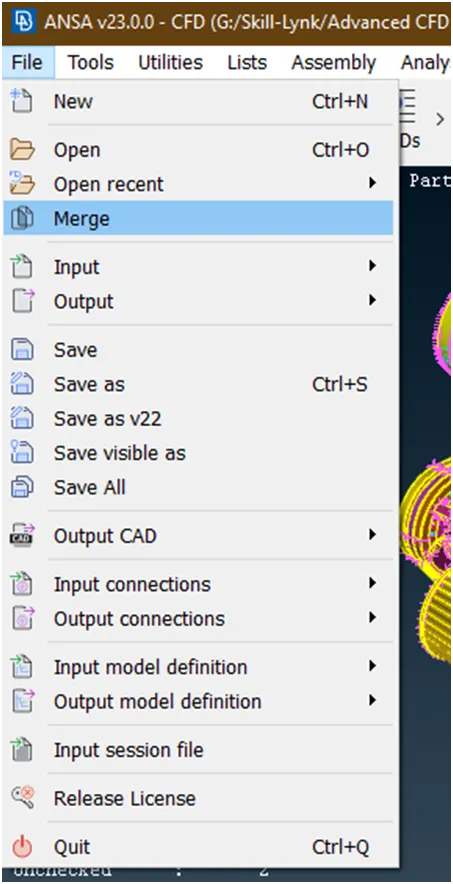
Then a new popup opens
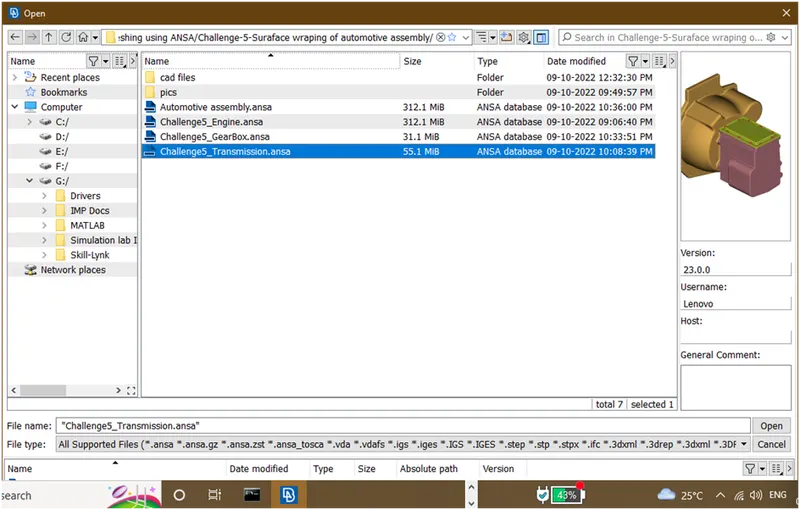
Now select the files which we want to merge and click on open. Again a new popup opens
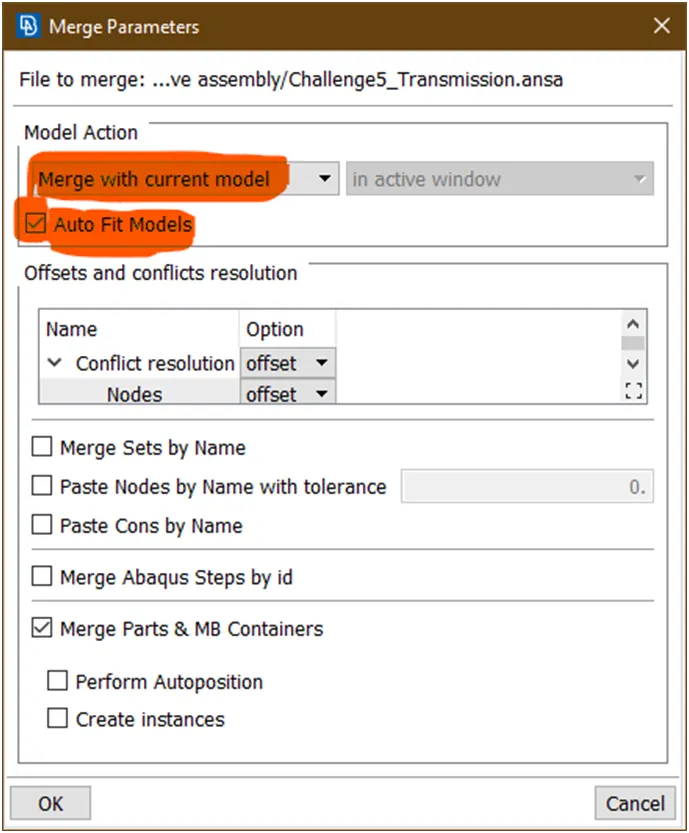
Then select the ‘Merge with current model and click on check box to on auto fit models’ then click on ok. And wait.
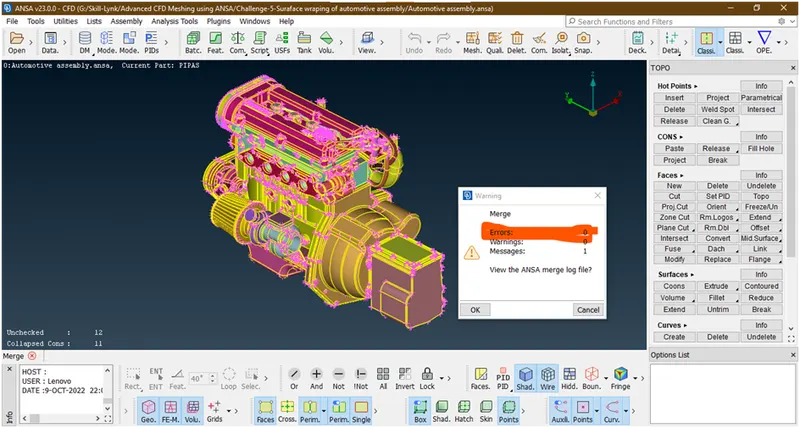
Now it has been merge. Make sure that there are no warnings while merging. then close this tab.
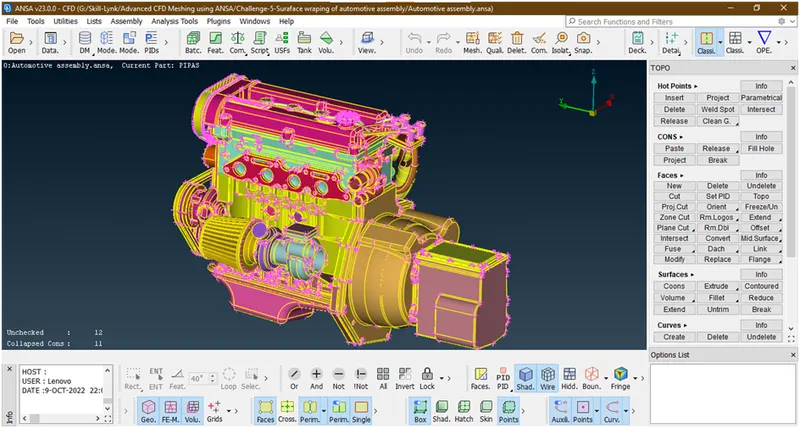
- Similarly we are merging the gearbox file.
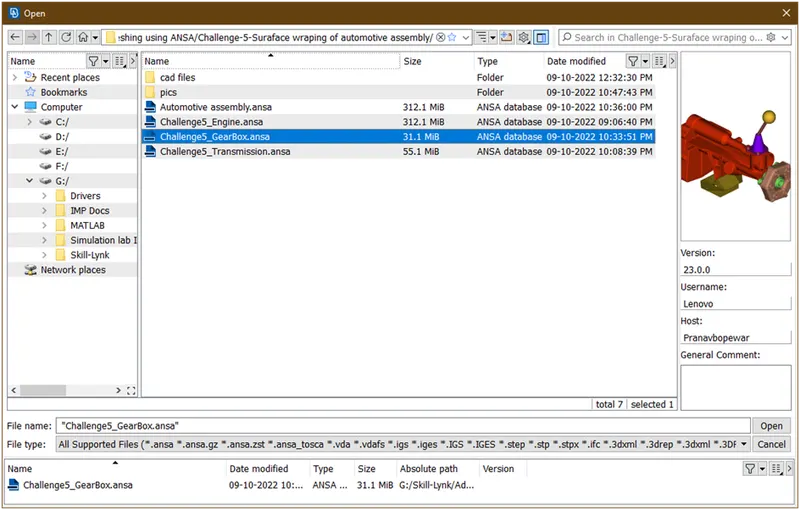
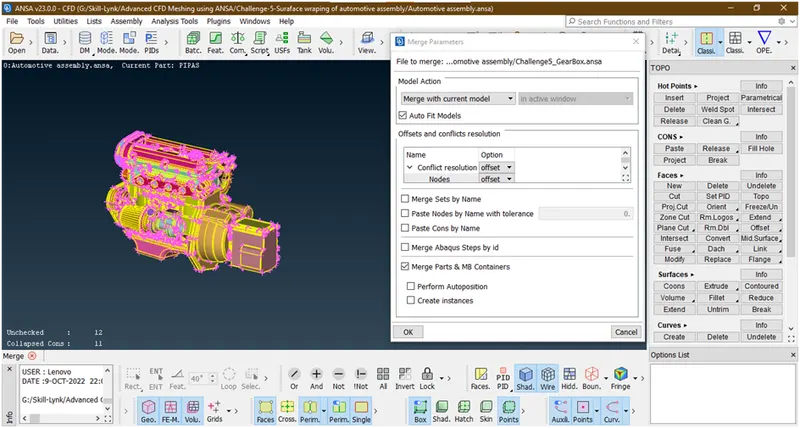
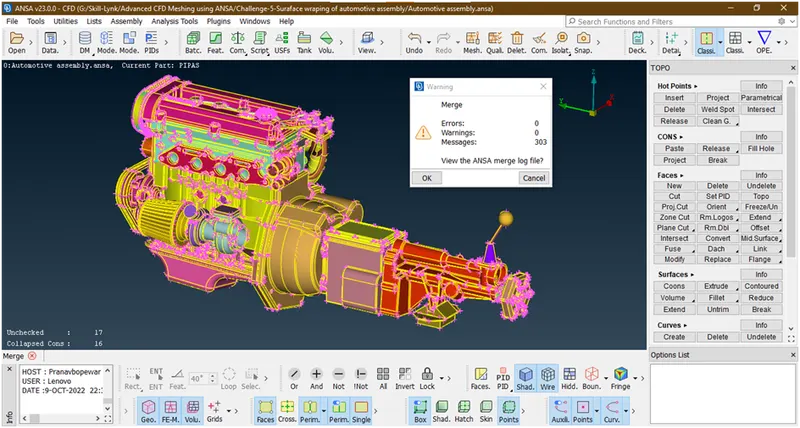
Now its done.
6. Geometry cleanup of assembly :
- The assembly looks like
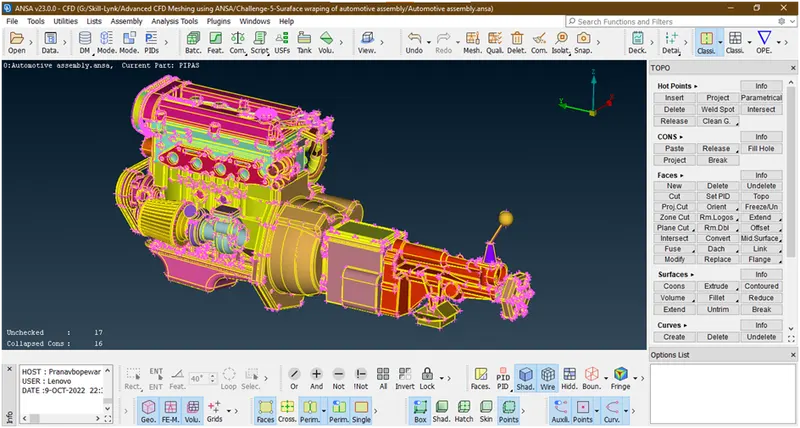
- Here the task is that close all the openings to get water tight mesh i.e. surface wrap. For that goto faces-> new-> and create a face by using various options like coons and fitted and loop/entity mode section.
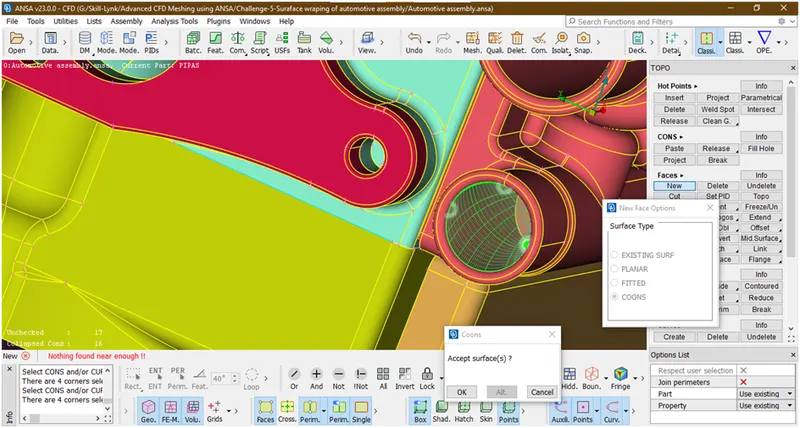
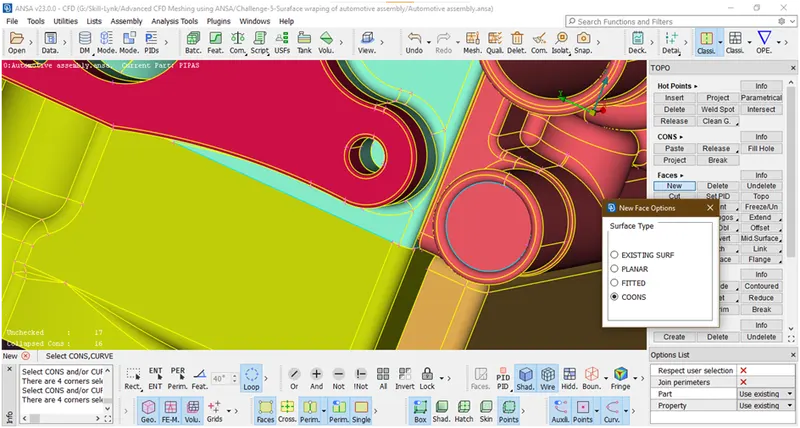
Similarly we are doing for all geometry.
The final geometry looks as
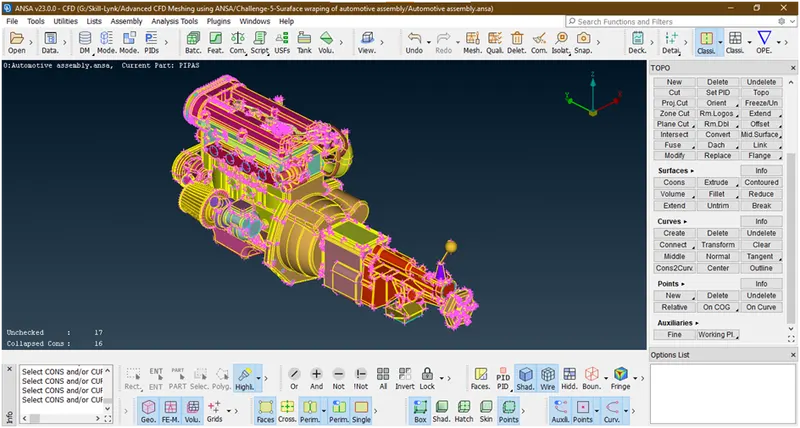
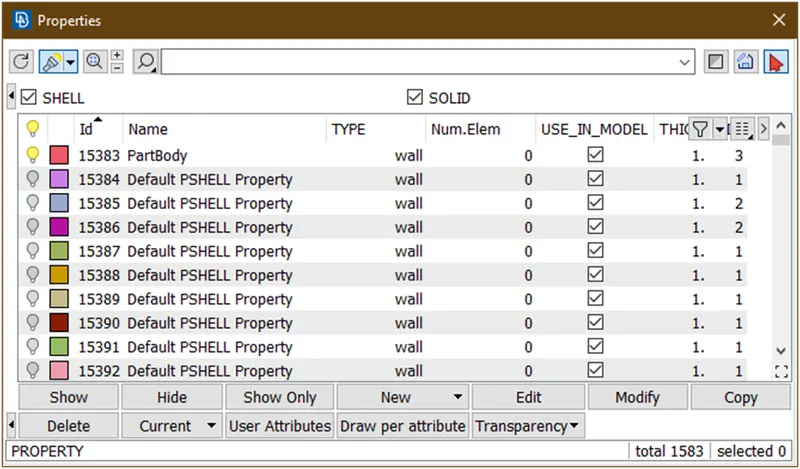
- Lets delete unnecessary pids.
Now click on compress a new popup opens
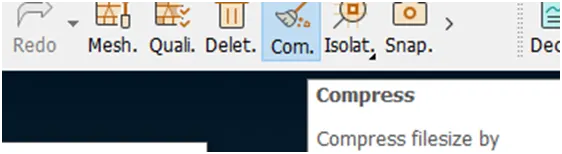
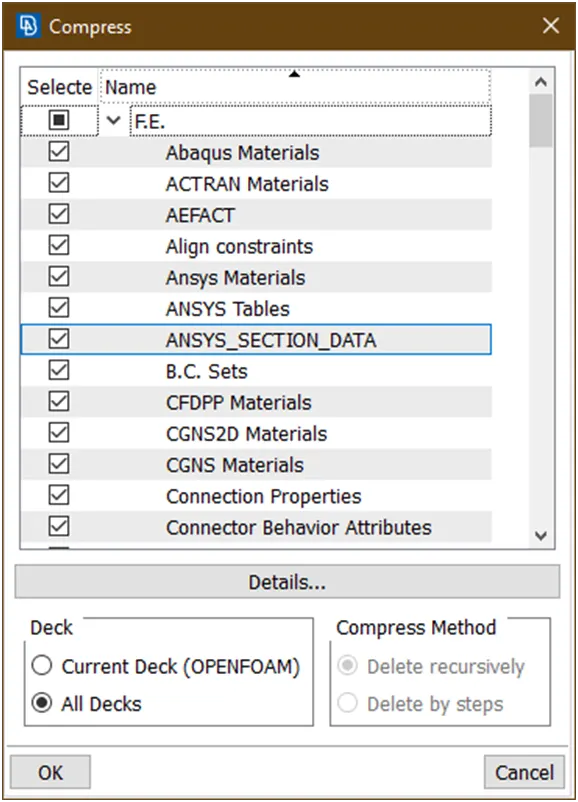
Click on ok
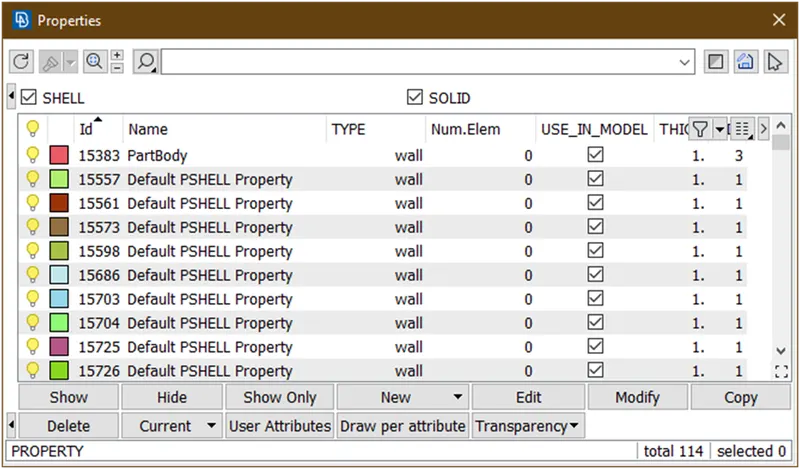
Now we have deleted all unnecessary pids .now we are going for surface wrap.
7. surface wrap :
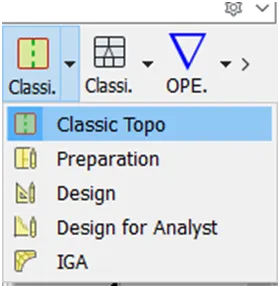
- goto the classic mesh model.
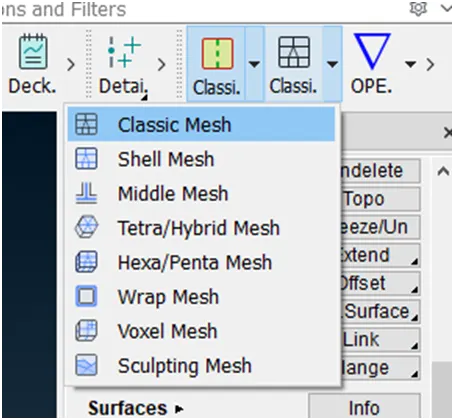
The user interface is
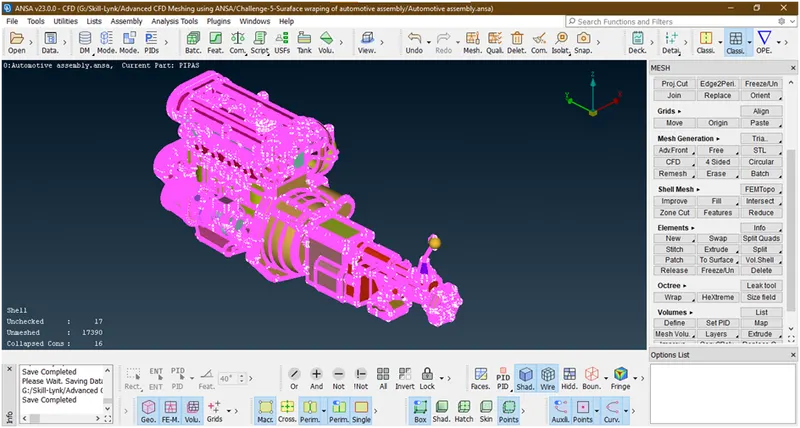
Here Target length for wrap = 3 mm.
- now we are going for surface wrap. goto octree-> wrap -> constant length (or) elements -> wrap -> constant length
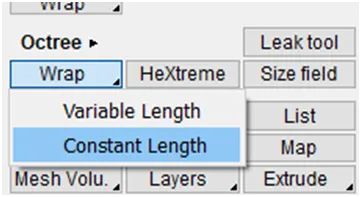
Then a new popup opens
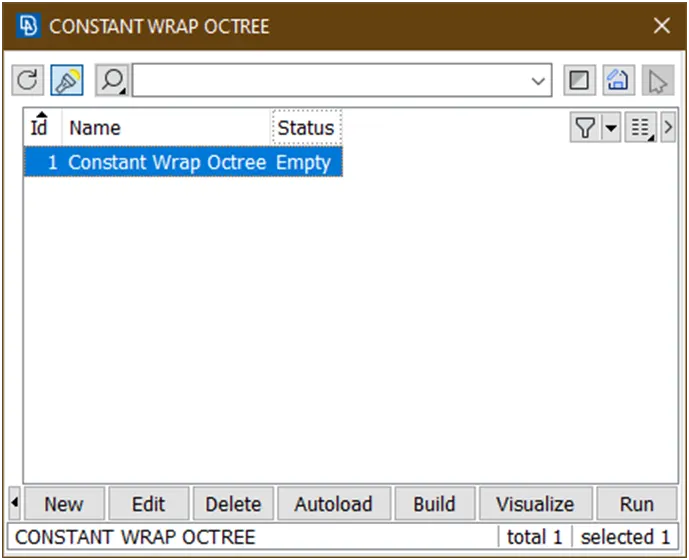
Double click on highlighted part again a new popup opens
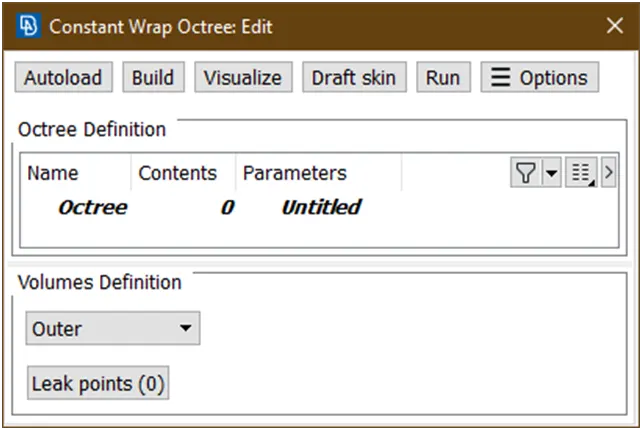
Firstly double click on '0' contents, new window opens
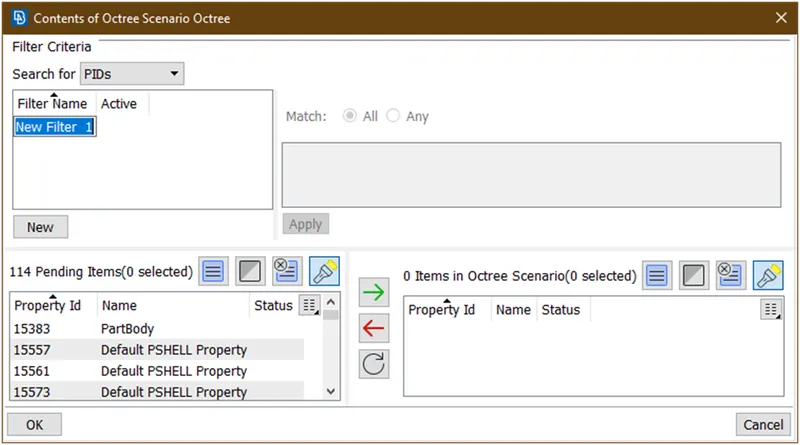
Now select all items as shown below
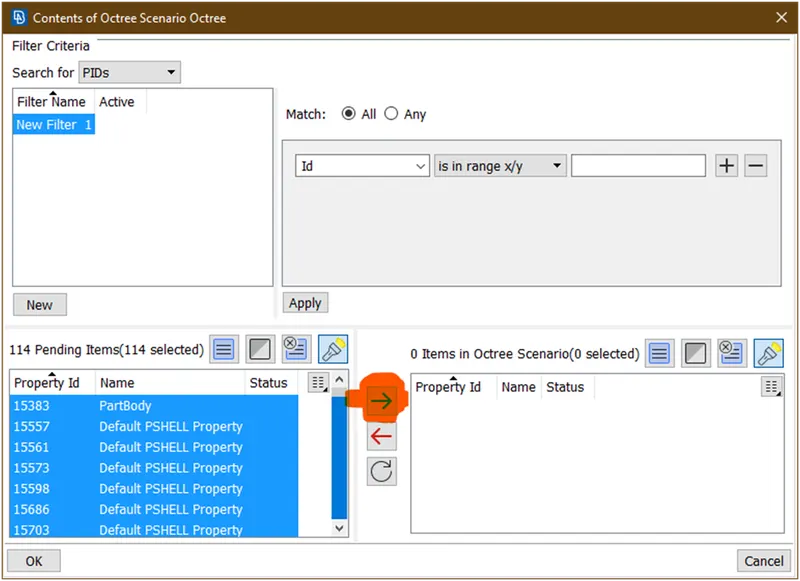
Then click on green arrow
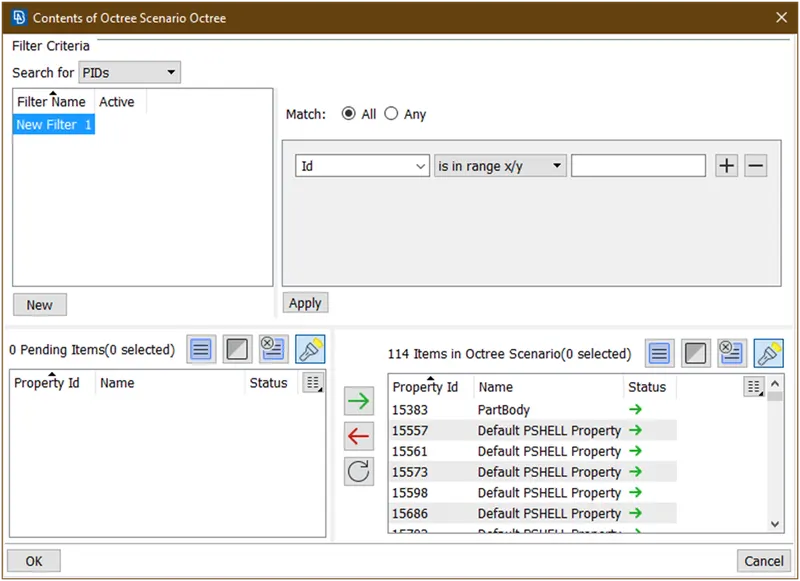
Then click on ok.
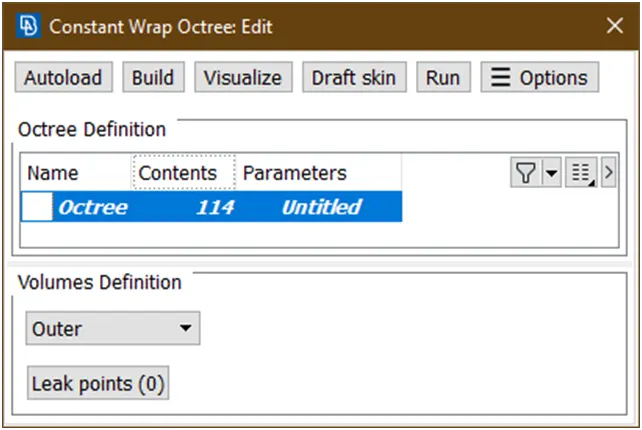
Now it showing 114 contents. Now double click on 'untitled' a new window opens
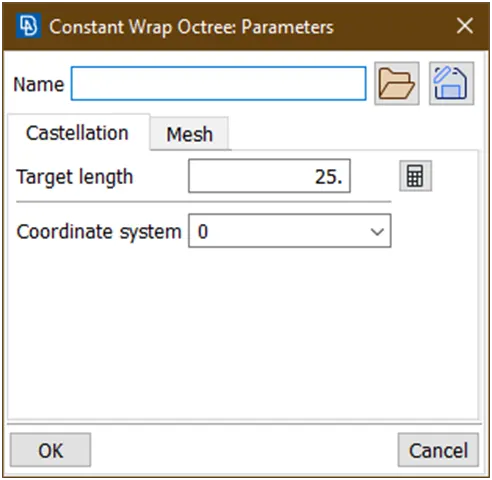
Give name and target length=3
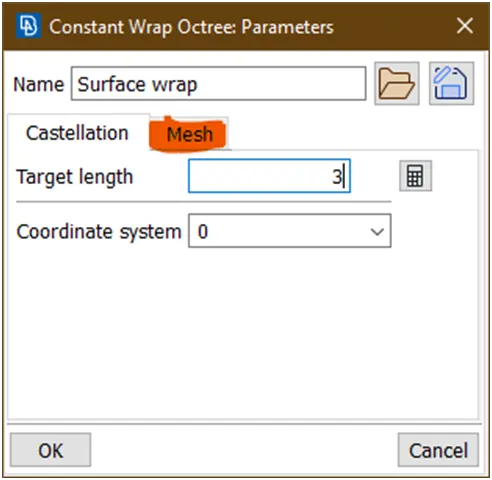
Then goto the mesh
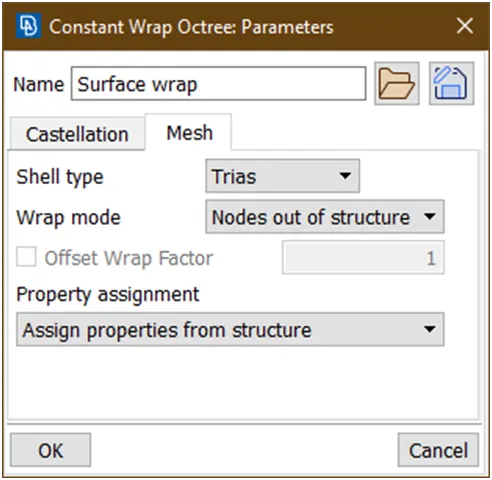
Then give shell type=tria. Now check all parameters are given correct or not then click on ok.
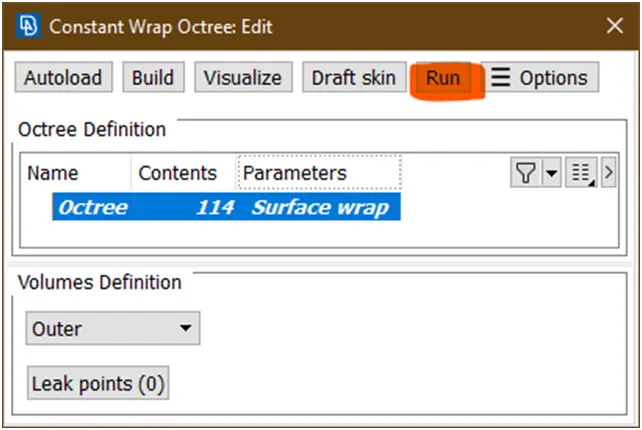
Now here 114 contents and surface wrap as a parameter seen. after that hit the run and wait until surface wrap has not to be done.
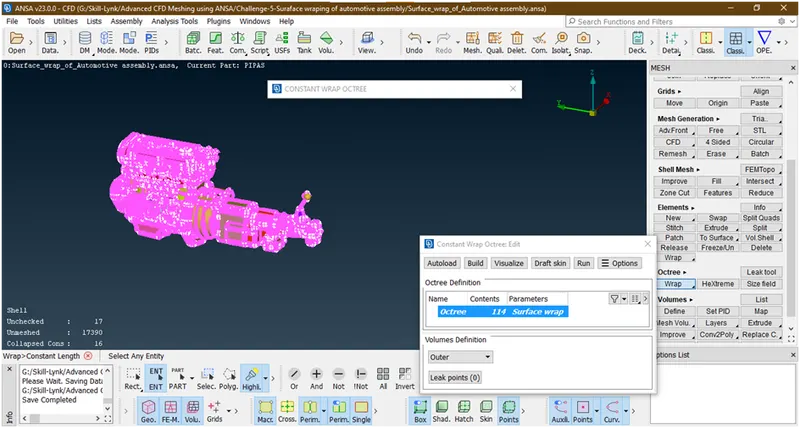
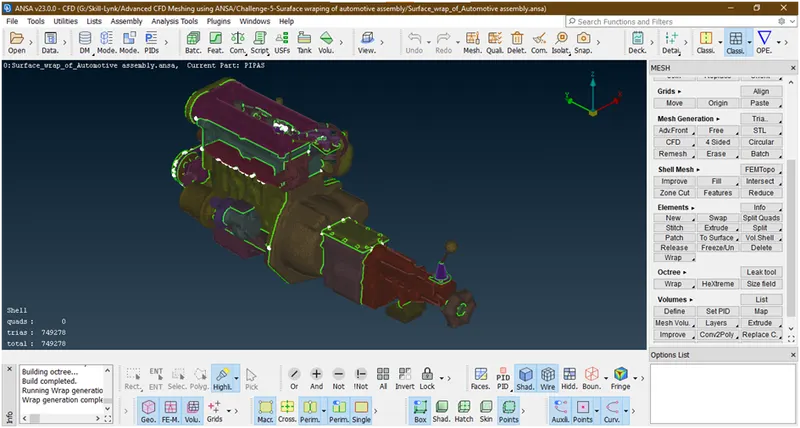
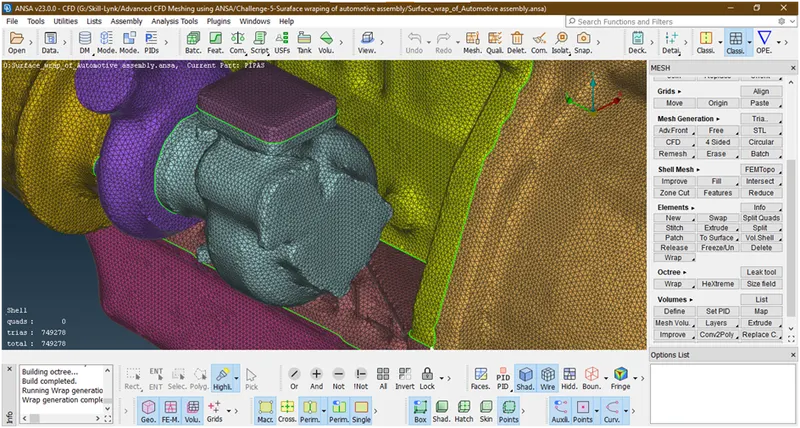
Now its done the surface wrapping. It just like a wrapping a paper on pen, etc. with this I am concluded.
Results :
- The final surface wrap looks like
Conclusions :
- I have learned what is mean by surface wrap.
- I have also learned where the surface wrap we are doing and how its done in ansa.
Output files :
- Surface wrap of an automotive assembly
https://drive.google.com/file/d/1JZSJNzk7PvWwq0pn8Y_clBHAhftdaZdm/view?usp=sharing