Week 5 Challenge : Surface wrap on Automotive Assembly
1. Introduction
Surface Wrapping is a technique which is used to when the parts are observed to be overlapping or have duplicate surfaces. This in general is observed because of making detailed part drawings. It when executed, will create volume that does not have intersecting surfaces or unnecessary edges.
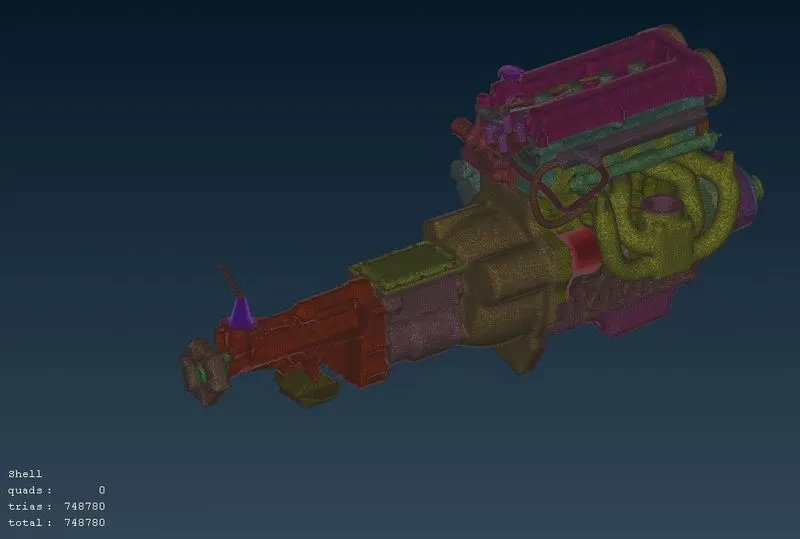
In this challenge, it is required to check for unwanted surfaces and geometrical errors that can be deleted and execute Surface Wrap on the geometry of Automotive Assembly with a targeted length of 3mm.
2. Topology Clean-up
It is necessary to check for the geometrical errors like cracks, needle faces or single cons before proceeding to meshing. All the three geometries Engine, Transmission and Gear Box would follow the same procedure of deleting unnecessary geometrical errors.
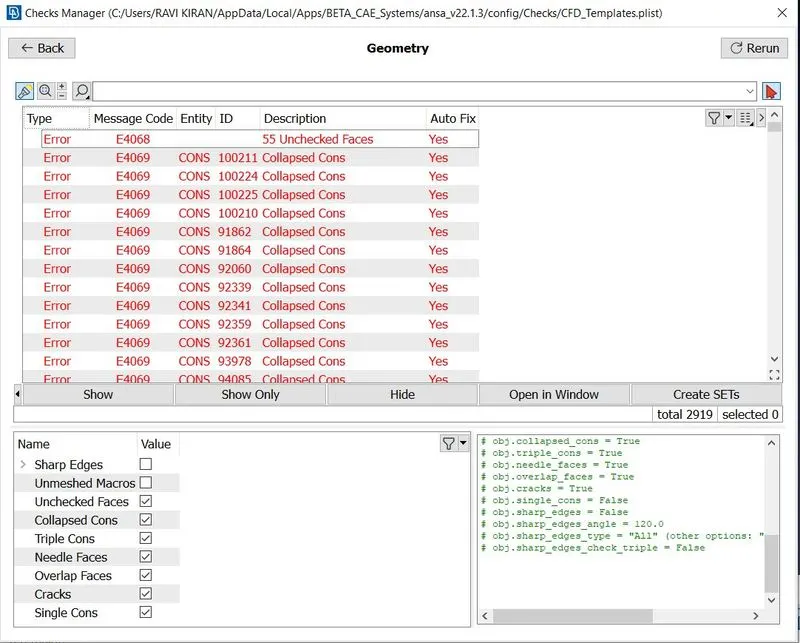
- Geometry check is to be done on the geometry to look for all the visible errors of single cons are to be checked for apart from Triple cons being ignored as to create a closed structure for surface wrap.
- All the additional PID regions which represent the creation of the fillet surfaces are deleted by hiding necessary PID regions making it easy for identifying them as represented below.
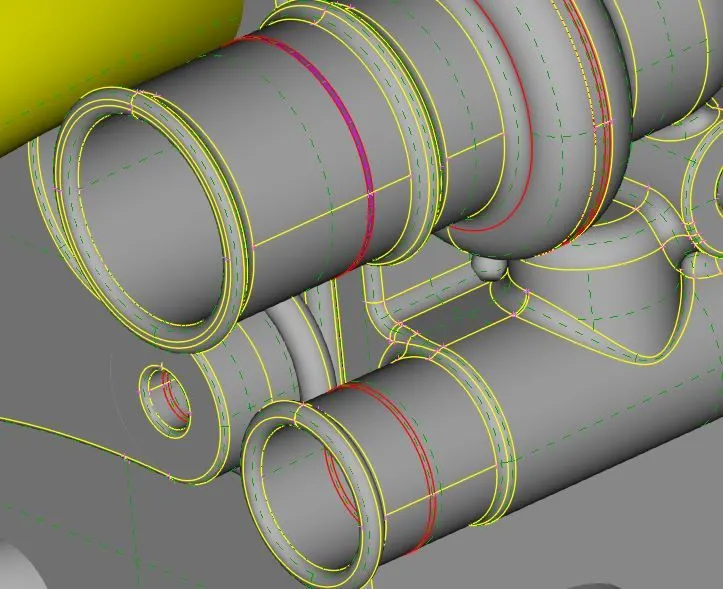
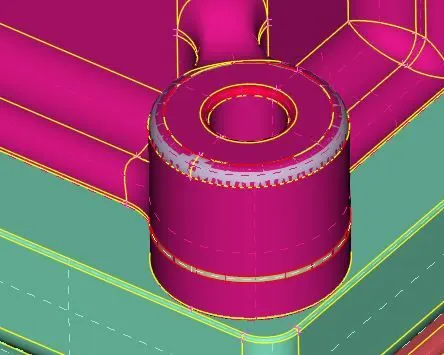
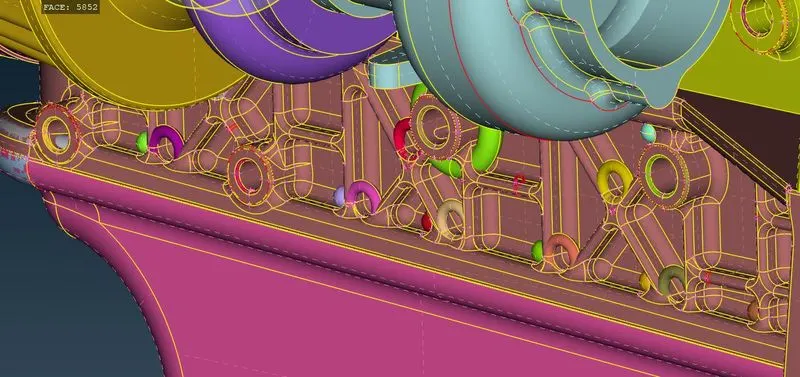
- Upon deleting them, all the overlapping surfaces causing unwanted single and triple cons are deleted by using the same method above.
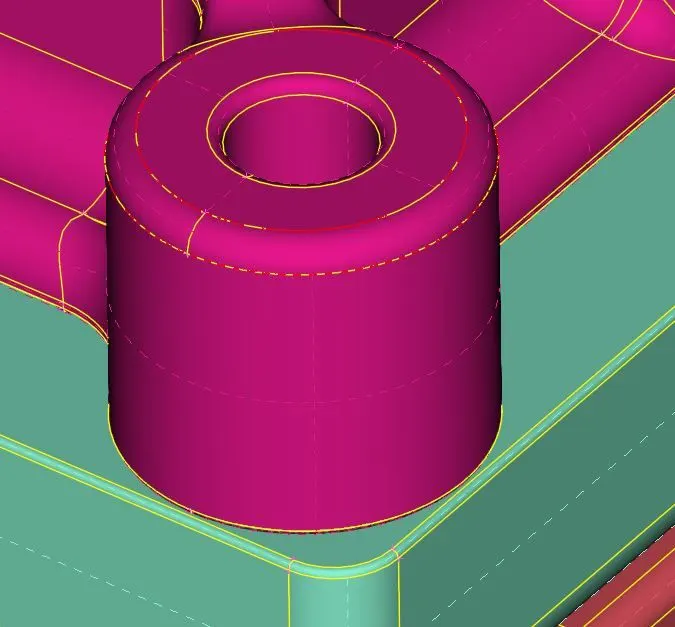
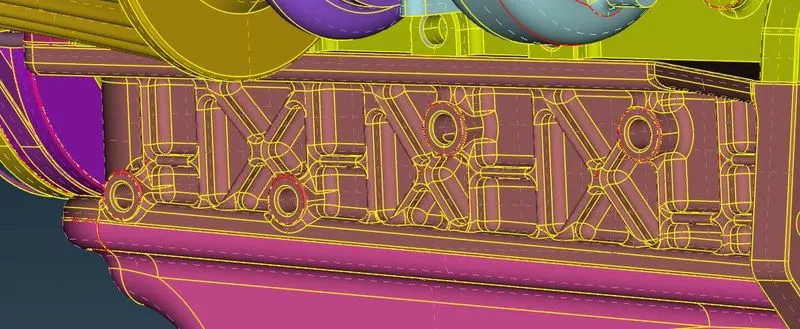
- Once these are done, geometry check is performed for further Cracks, needle faces or collapsed COONS which can be auto fixed by selecting them all, right click on them and click on Fix. Which prompts to rerunning the check and further does not display these errors representing the fixes are done.
- At this point Triple Cons are ignored as some of the triple cons are created to cover the openings in the geometry to perform the surface mesh.
- All the deleted PID regions which can still be seen in the Properties section can be deleted by using the “Compress” Option.
- All the above steps can be followed for the other two geometries of Gearbox and Transmission as represented below.
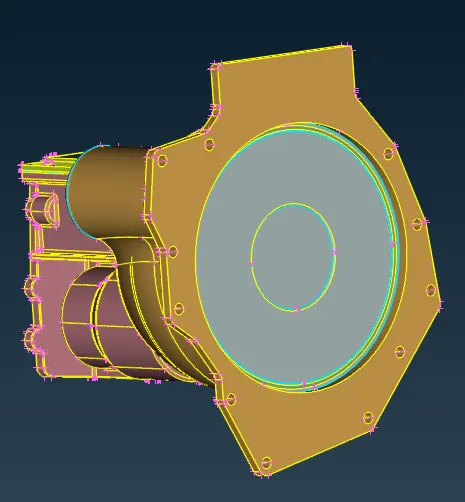
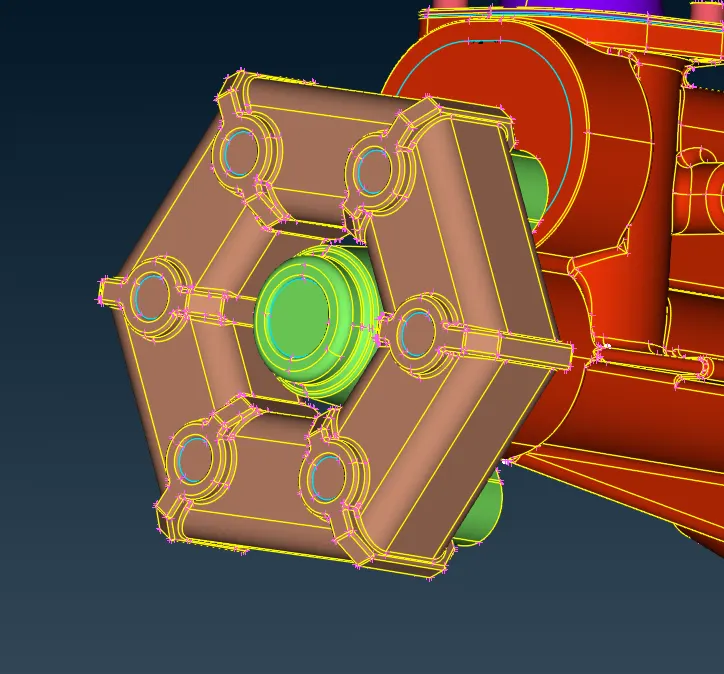
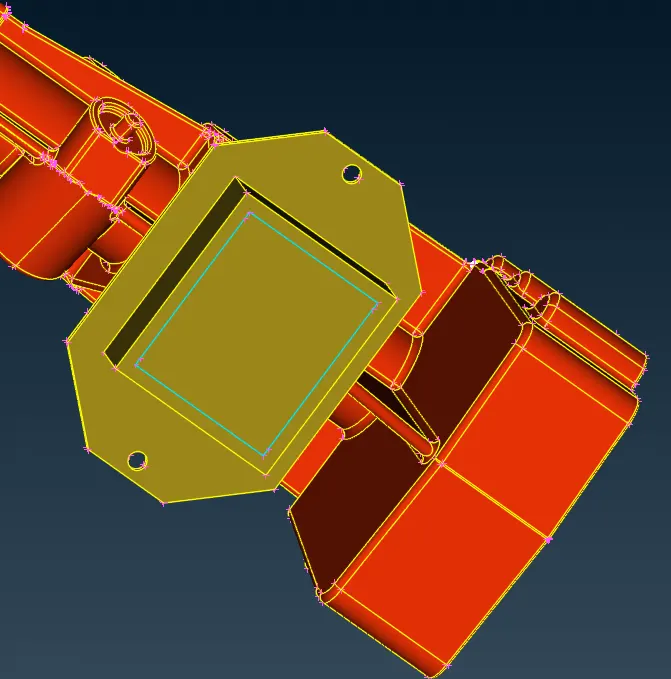
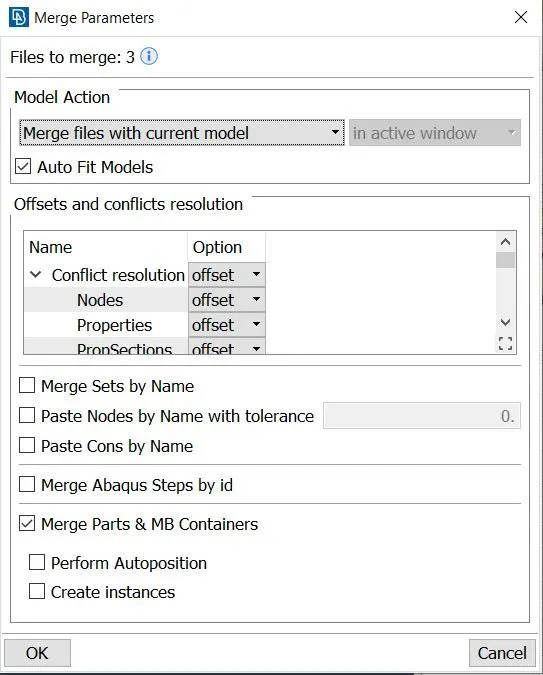
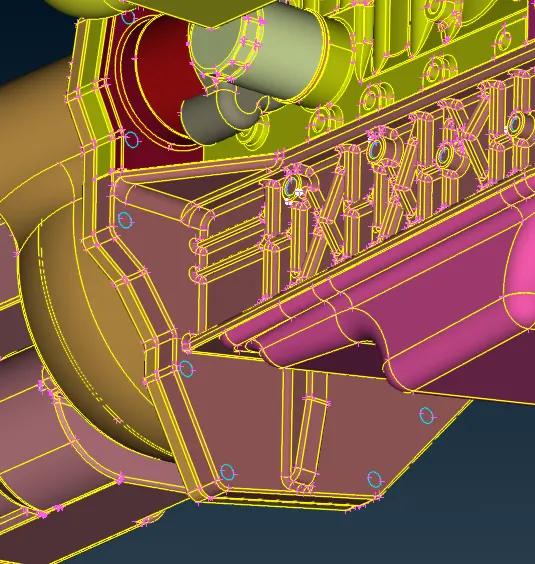
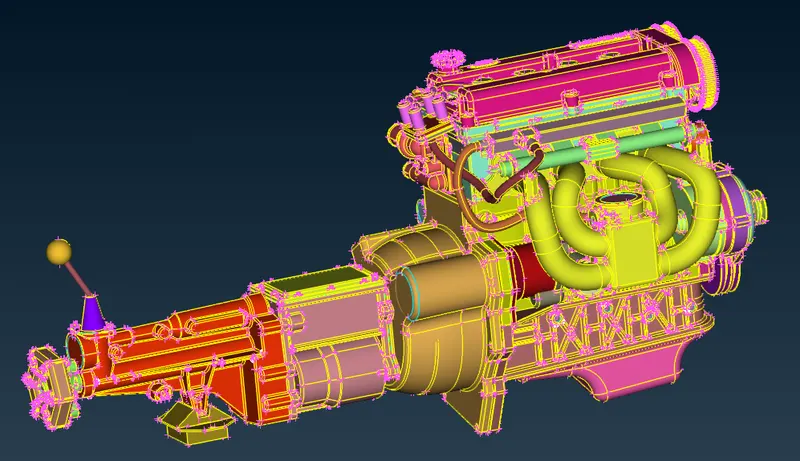
- These same steps are to be performed for the remaining geometry to make them error free and further merging them as a single geometry. This can be done by using MERGE option in the Files Section and then selecting the required ANSA files which needs to be merged. A pop-up window will be opened which needs to be closed by clicking on OK generating a merged geometry.
3. Surface Wrap
To perform Surface Wrapping, the below steps are to be followed with their respective representations.
- Now it is needed to be navigated to the MESH deck from the TOPO deck.
- In the MESH deck, in the “Elements” section, WRAP option is to be selected which further requires for choosing between two options of wrapping. “Constant Length” is to be chosen resulting in opening of pop-up window.
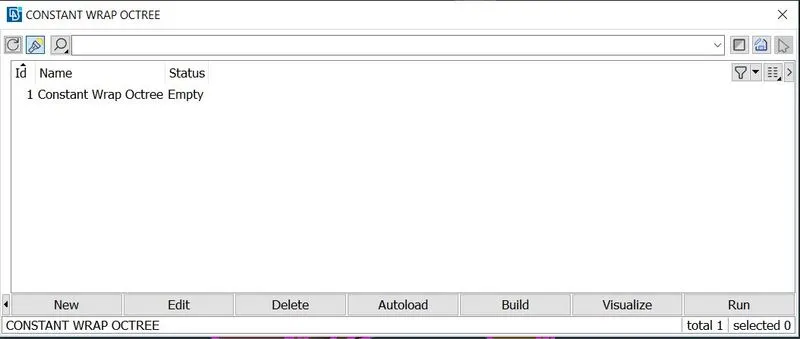
- Double clicking on Empty section under Status opens an edit window. On this window untitled under Parameters section is to be double clicked opening a pop-up window for parameters. Name of the mesh and the target length is to be provided. In this case, the target length is 3 mm.
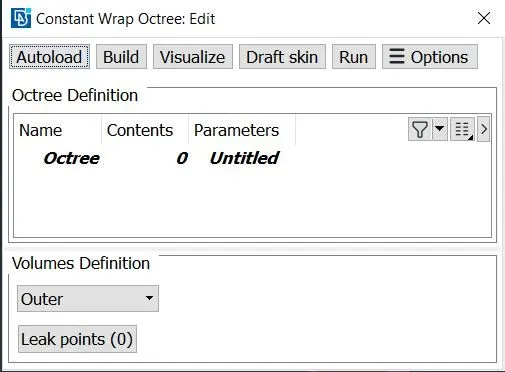
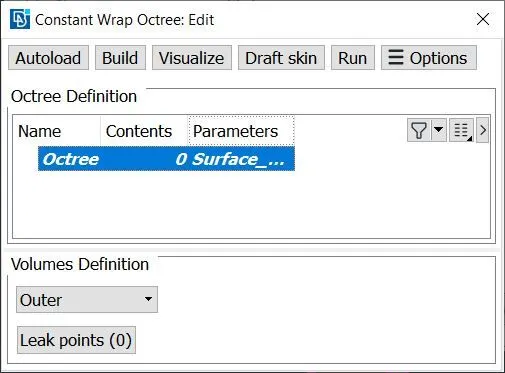
- Now contents are to be selected by double clicking on it which opens contents window. All the properties are to be selected and these selected items are sent to the right side of the window by clicking on the Green Arrow button indicating all the selections are to be Surface Wrapped.
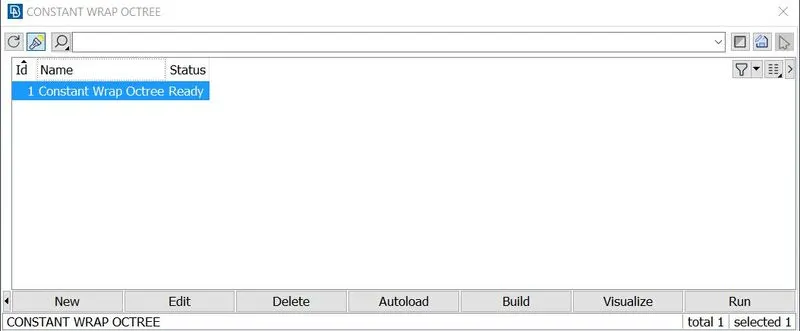
- Selecting OK and then running the Surface Wrap will give the required result with the target length of 3 mm which is as shown in the representation below.
4. Conclusion
This challenge leads to exploring and understanding how to perform Surface Wrap technique to mesh the entire geometrical structure with a required target length and also understanding how to use MERGE option in-order to make different geometries to one single geometry. To support the output geometry, the output geometry files has been shared with the model link below.
Model Link: Challenge - 5: Surface Wrap on Automotive Assembly