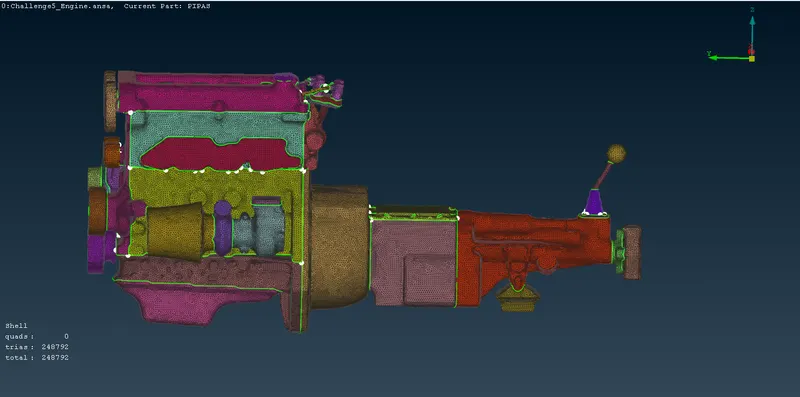
Week 5 Challenge : Surface wrap on Automotive Assembly
AIM:
- To mesh the given models,
- Check for geometrical errors,
- Delete unnecessary surfaces for the surface wrap,
- And merge all the 3 models to perform surface wrap.
PROCEDURE:
ENGINE:
- Import geometry from file->open->file location->challenge5 Engine.ansa.
- Initially always the geometry will be in wireframe mode.
- Click on SHADOW mode and enable labels to show the tool names.
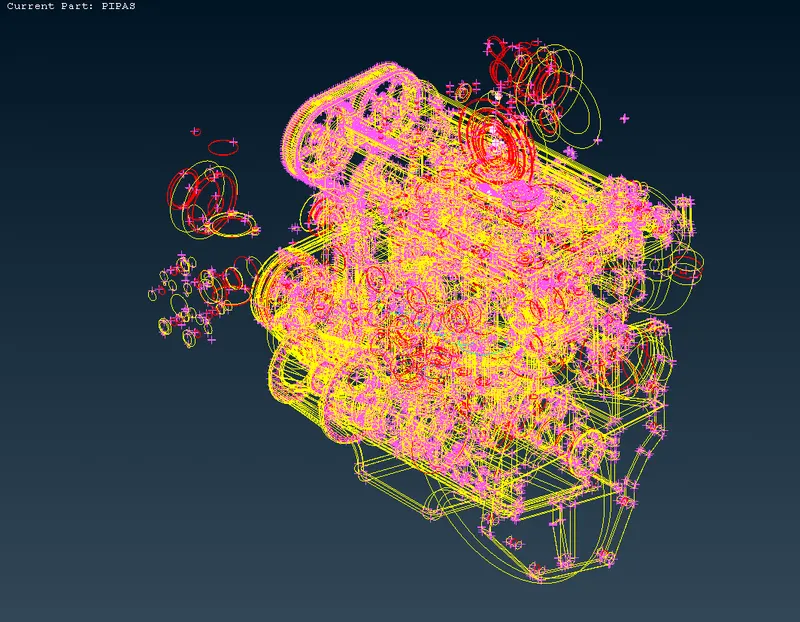
- Shadow mode:
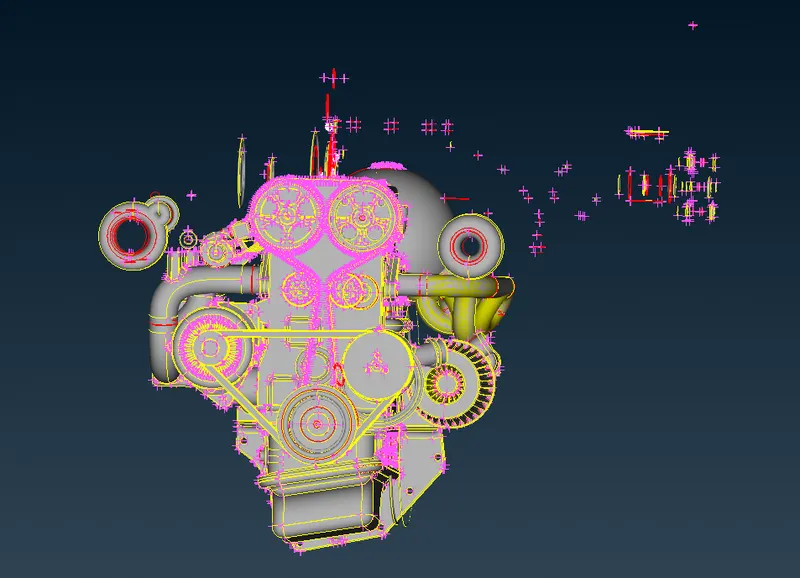
- Change ENT to PID mode.
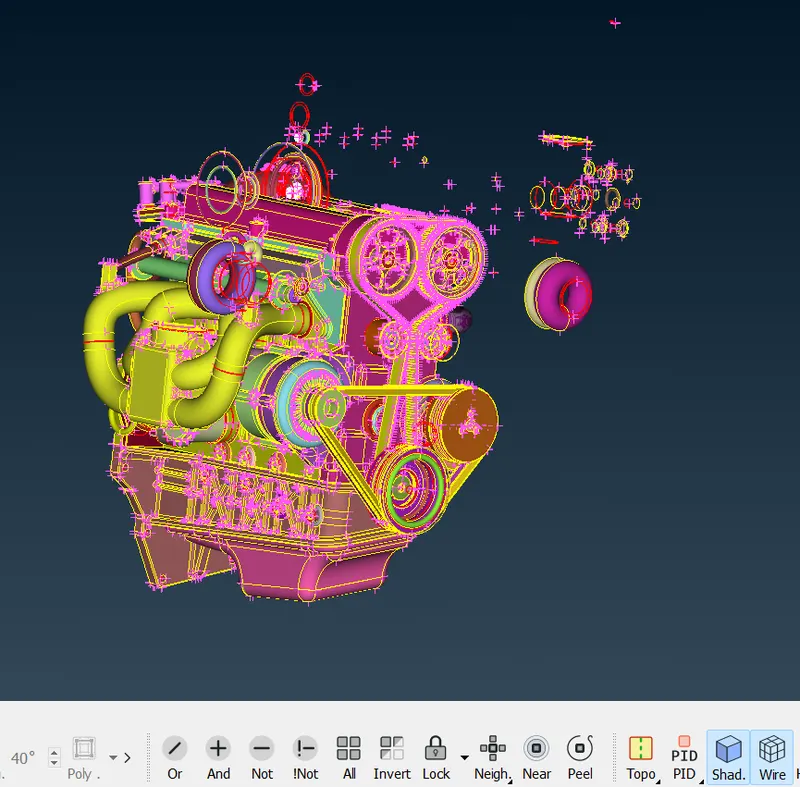
GEOMETRY CLEANUP:
- Delete unnecessary parts which are present in the engine.
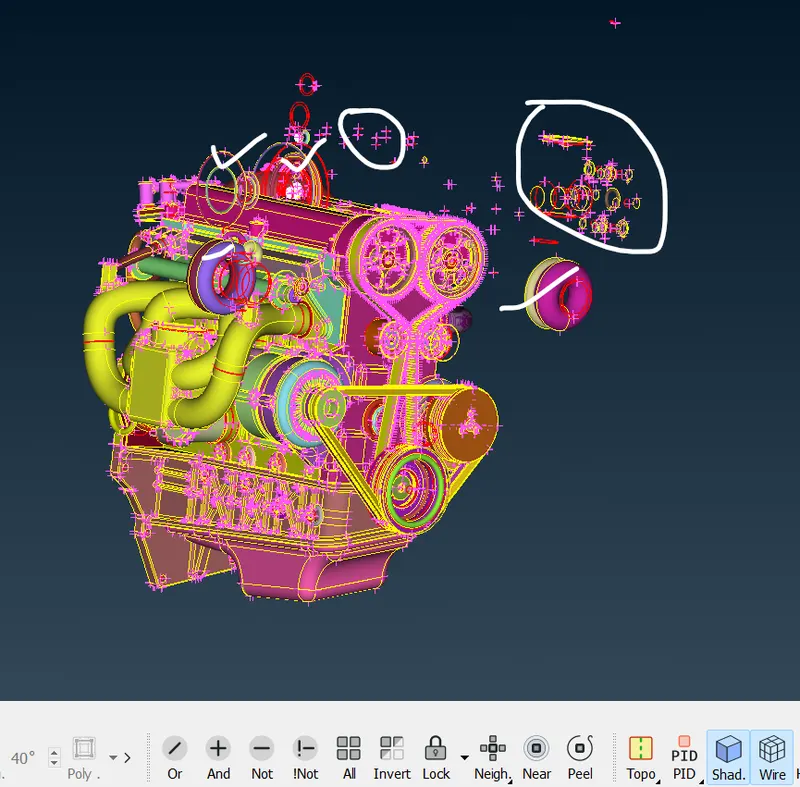
- In we are going to clear the unwanted parts except for engine parts.
- In this picture if we observe the balls and rings are overlapping the surfaces.
- So, delete it directly.
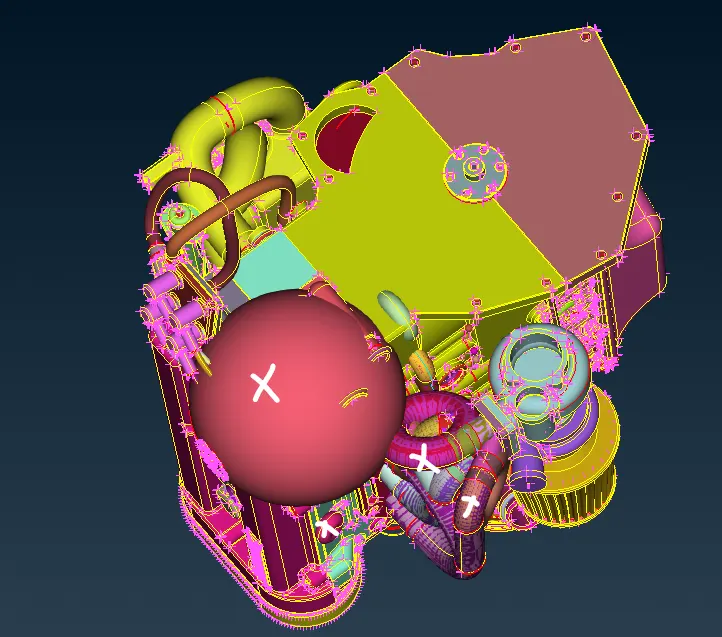
- From this highlighted ring we can clearly say this is not an engine part.
- Delete the parts which are present like this.
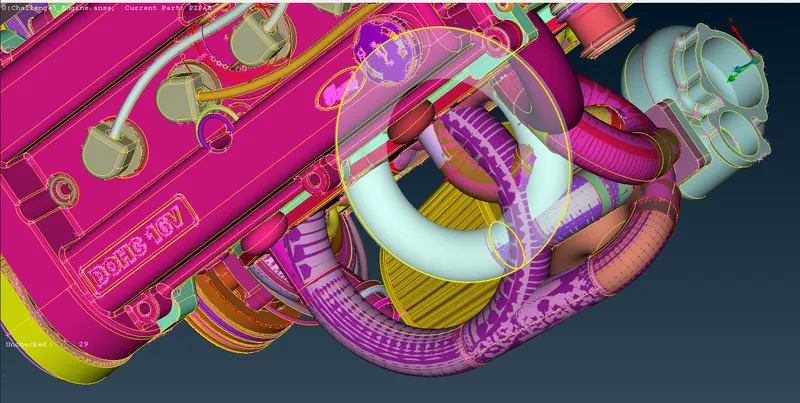
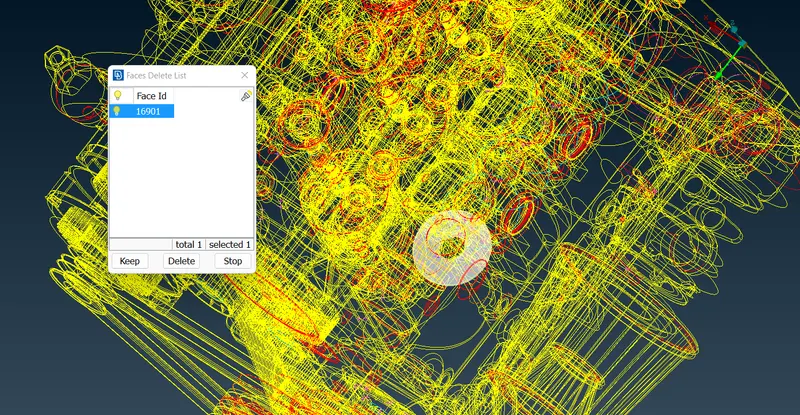
- Here there are so many unwanted parts that are present, so use NOT and PID to hide engine parts.
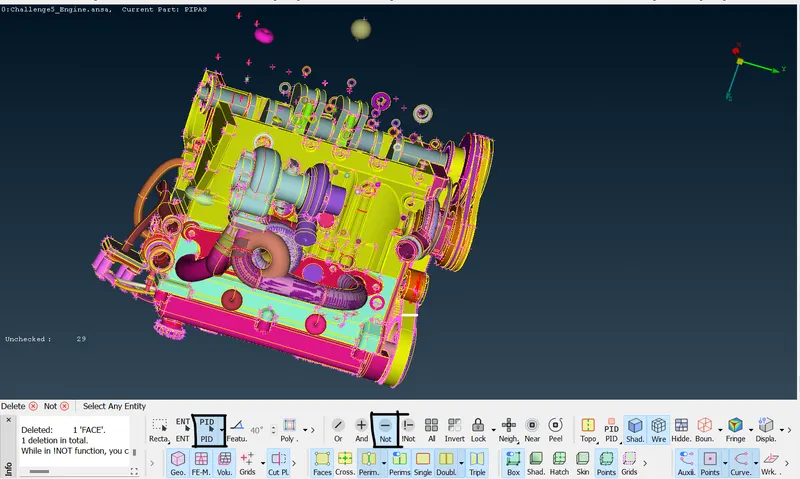
- I hid the main engine parts and these are the remainings.
- Use universal delete and delete unwanted parts.
- But before deleting, make sure it is unnecessary or not.
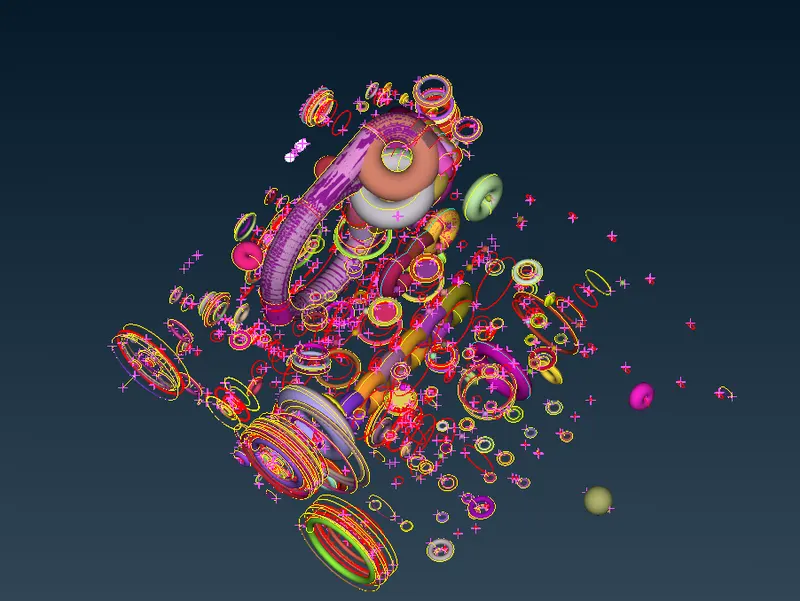
- We can directly delete these rings.
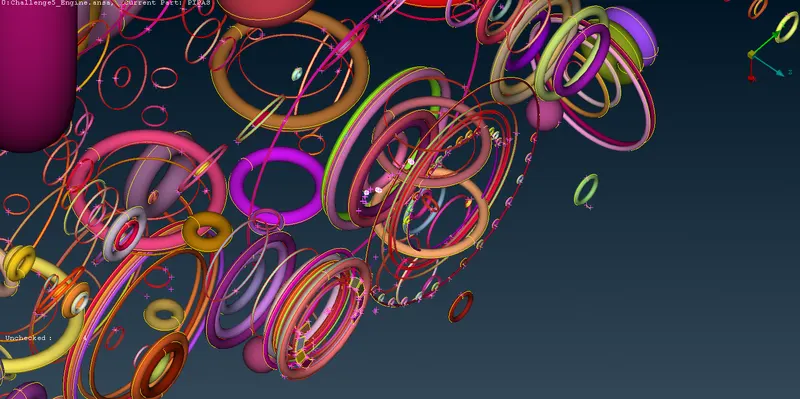
- These are the remaining parts after deleting,
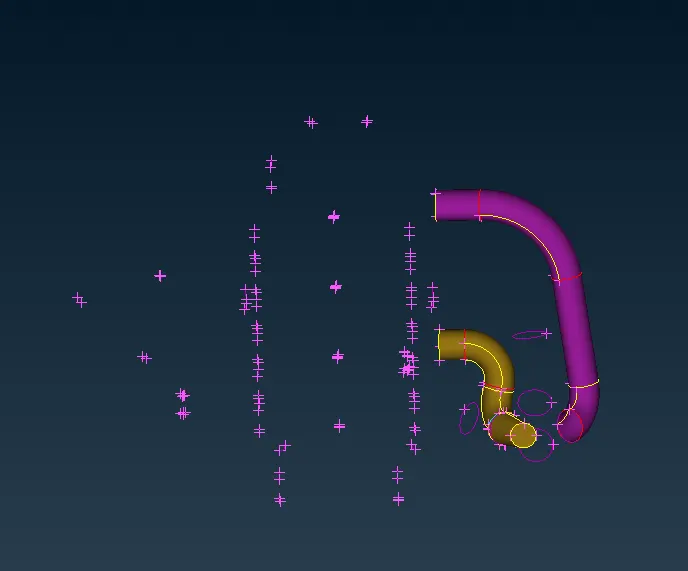
- Now do all and check for other errors,
- We can delete the above surfaces also.
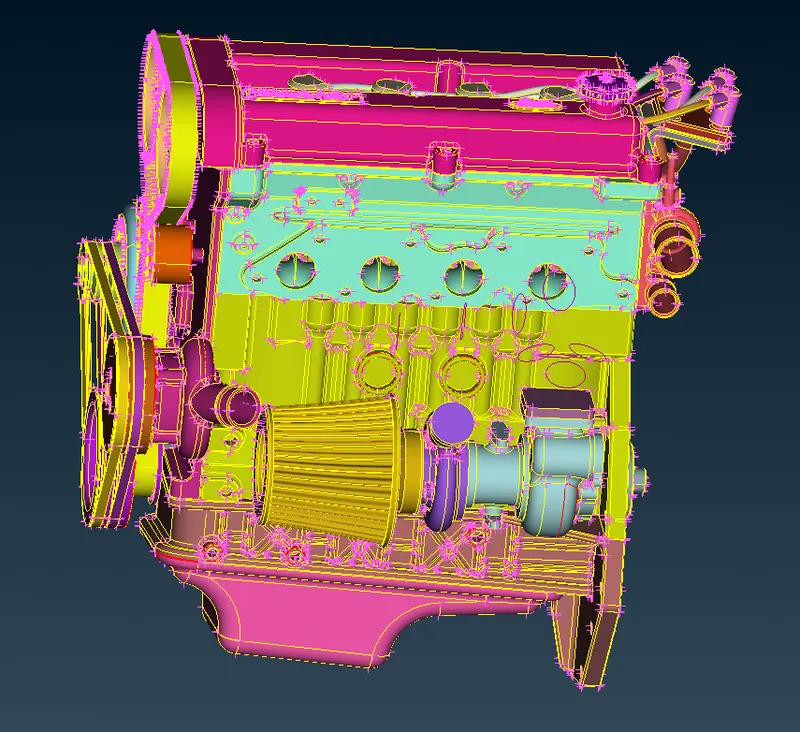
- Delete these coons using TOPO->CURVES->DELETE.
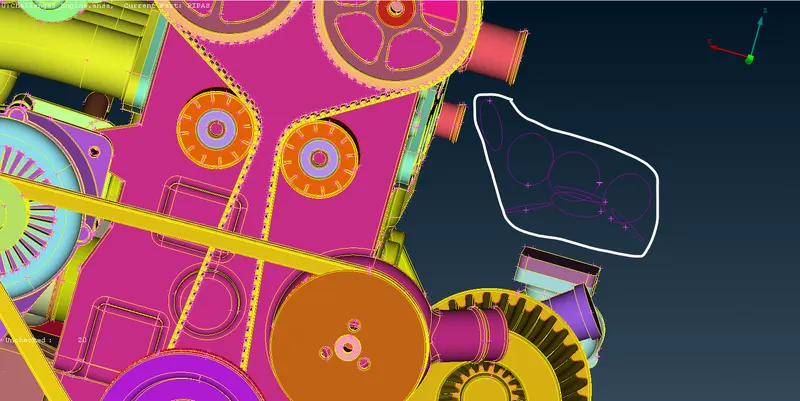
- From now we can check one by one part and clear red and blue coons.
- Here it is showing red coon,
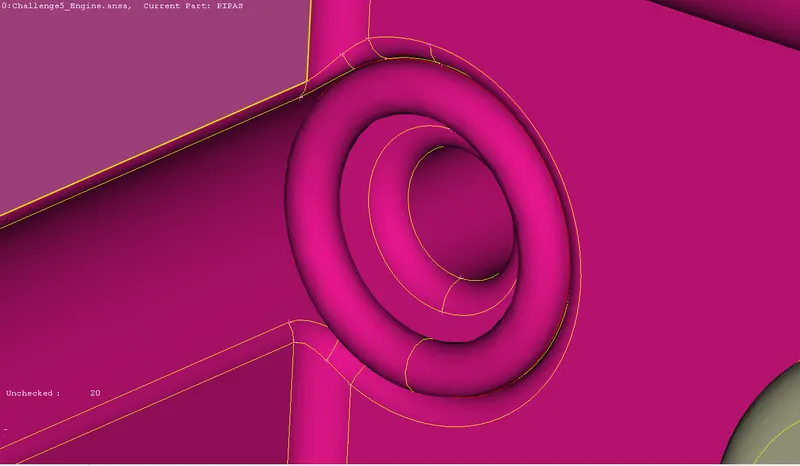
- First hide the outer surface and see what is happening inside.
- The ring is getting selected, so delete the ring and do topo.
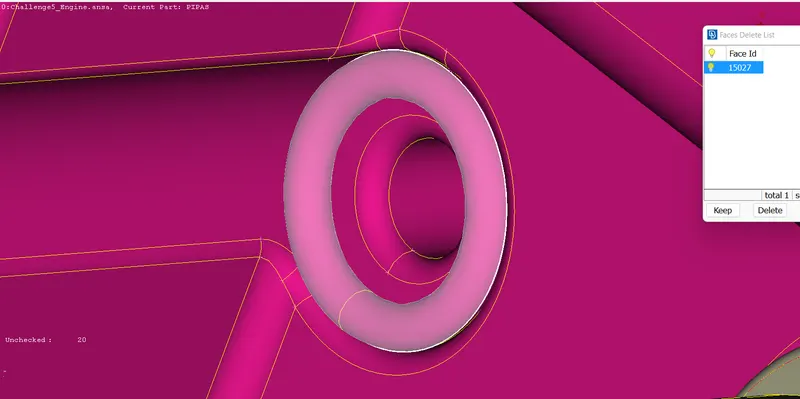
- It's done here, do the same for others too.
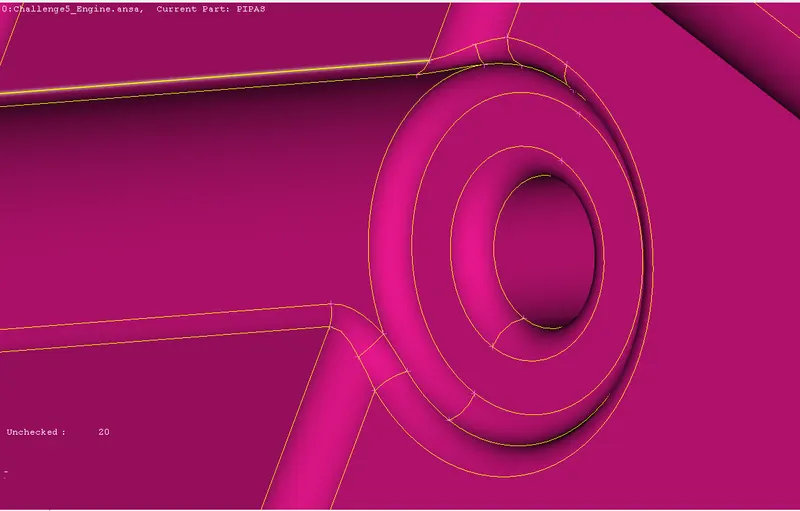
- Delete this surface.
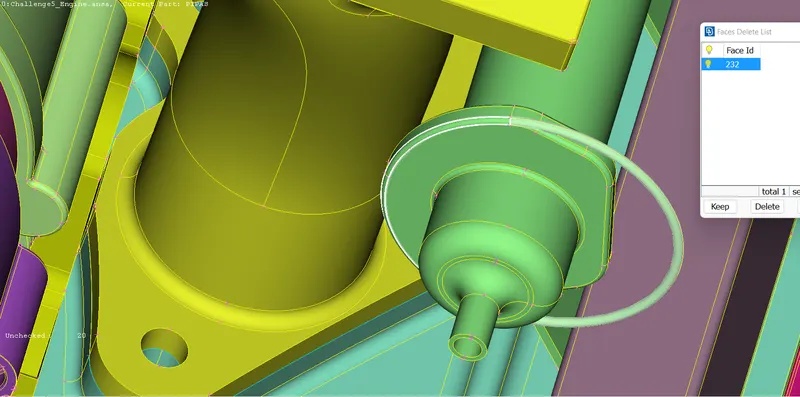
- Do TOPO.
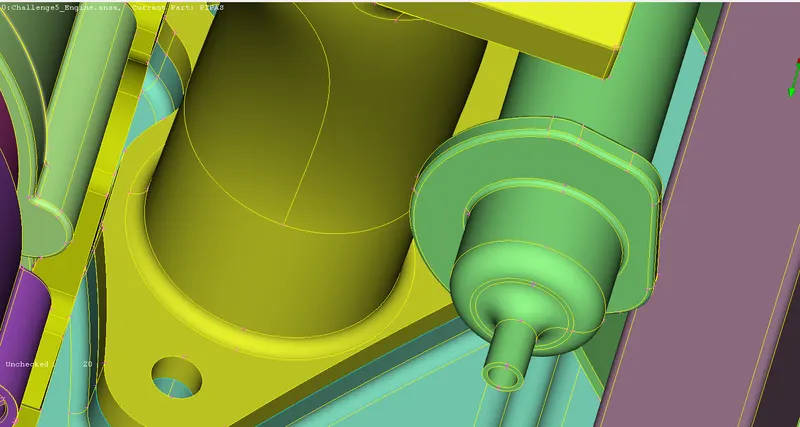
- Do the same procedure for all and show the before and after images.
- Before,
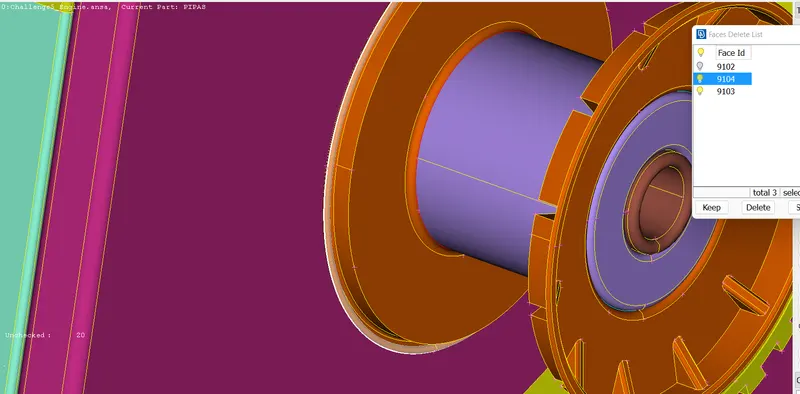
- After,
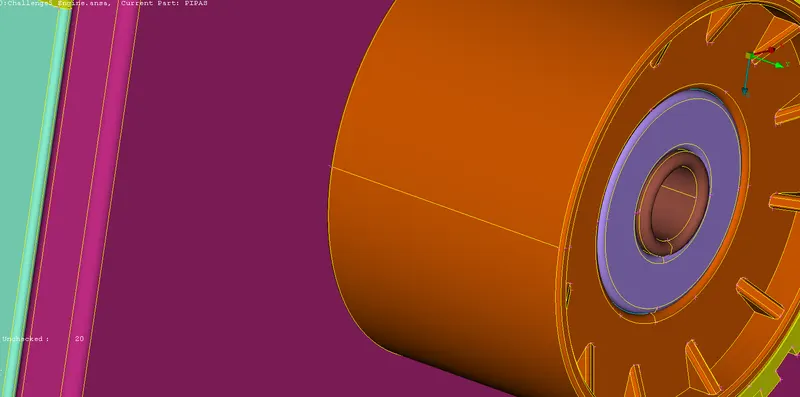
- Hide the upper surface and delete the inner extra surface.
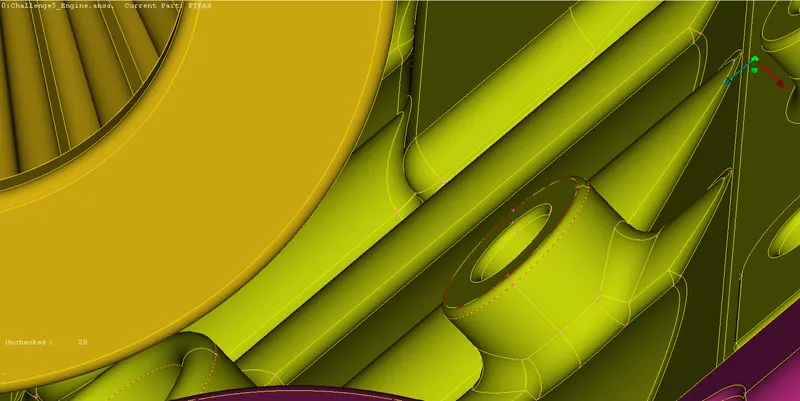
- It's done.
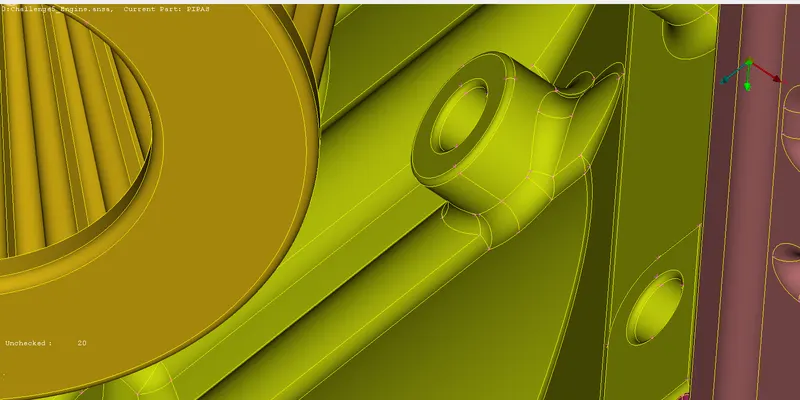
- We can delete the bells directly.
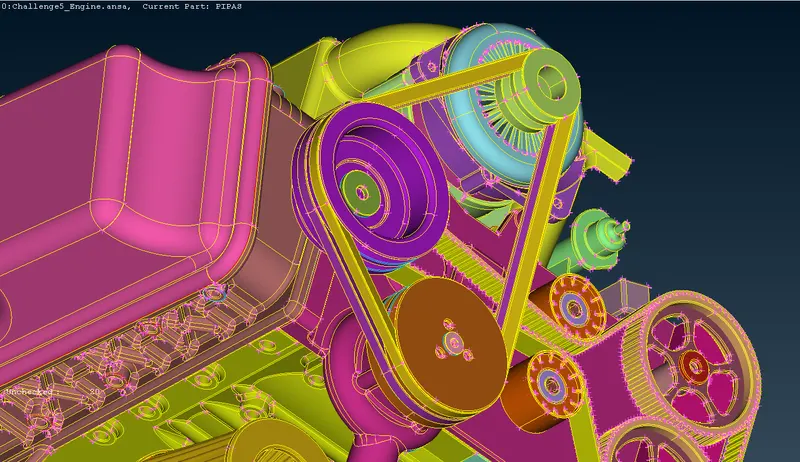
- Now clear these blue coons as we did before.
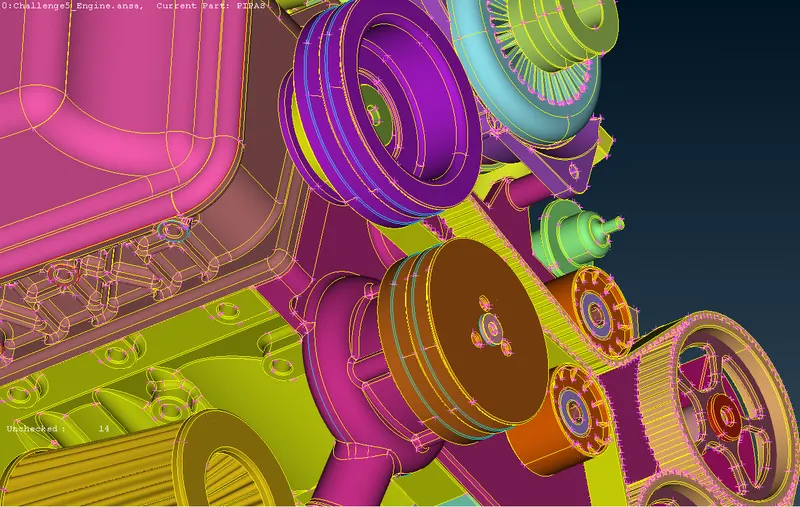
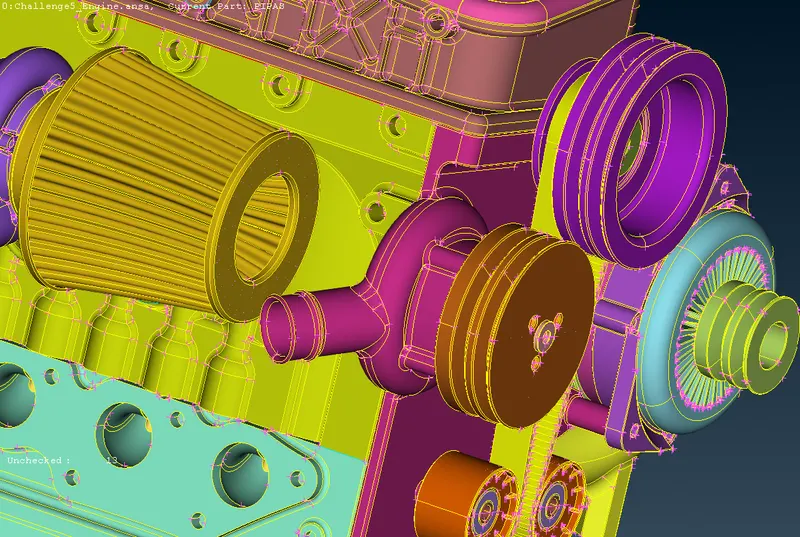
- Hide the upper surface and clear these blue coons.
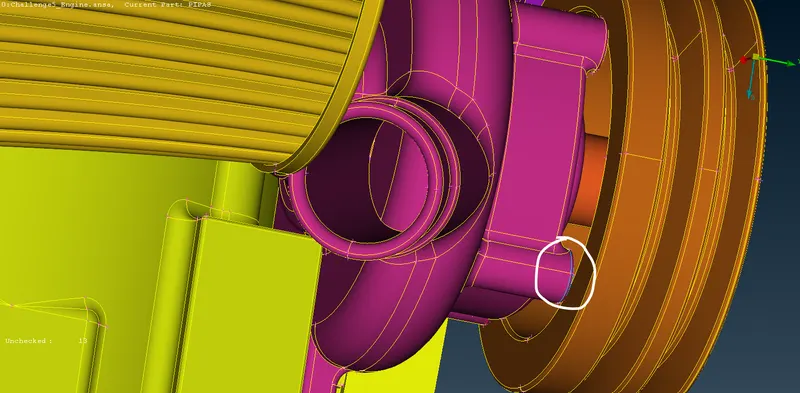
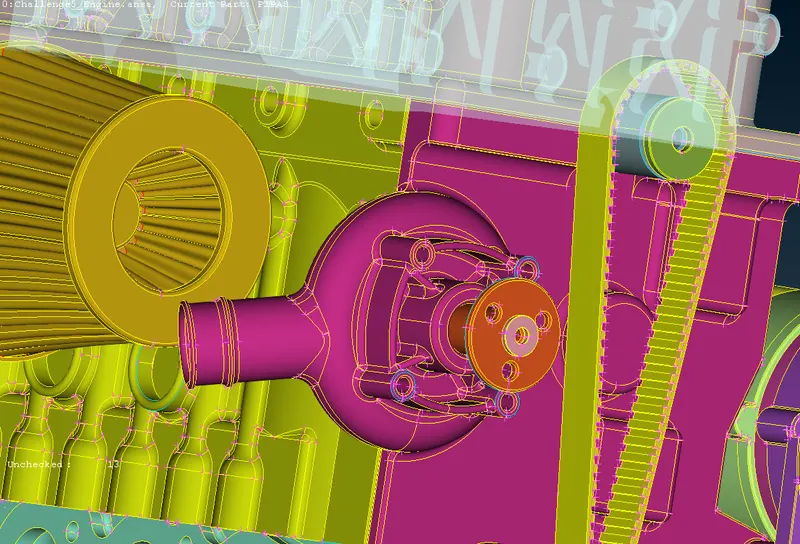
- Blue coons are cleared.
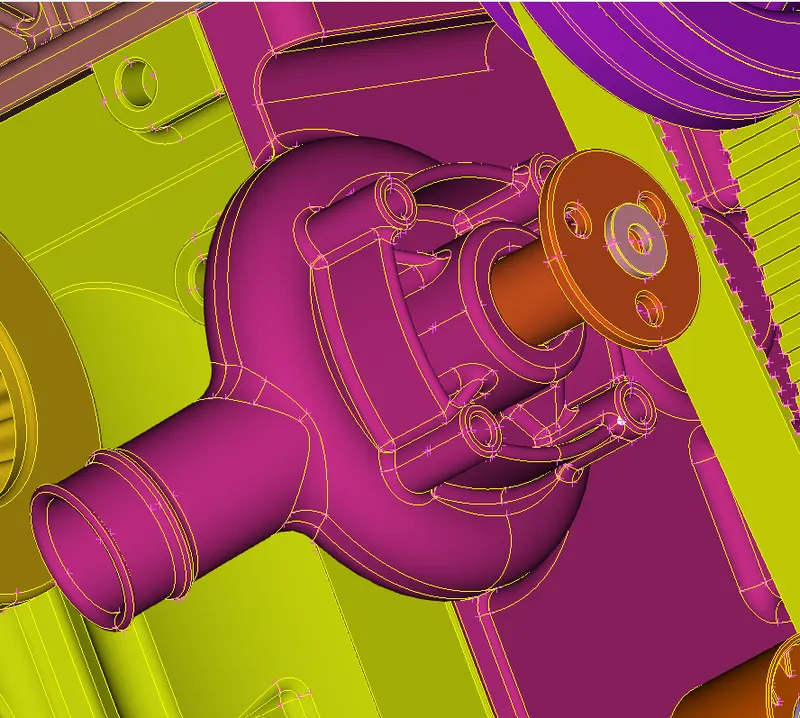
- Now focus on these parts and clear the errors.
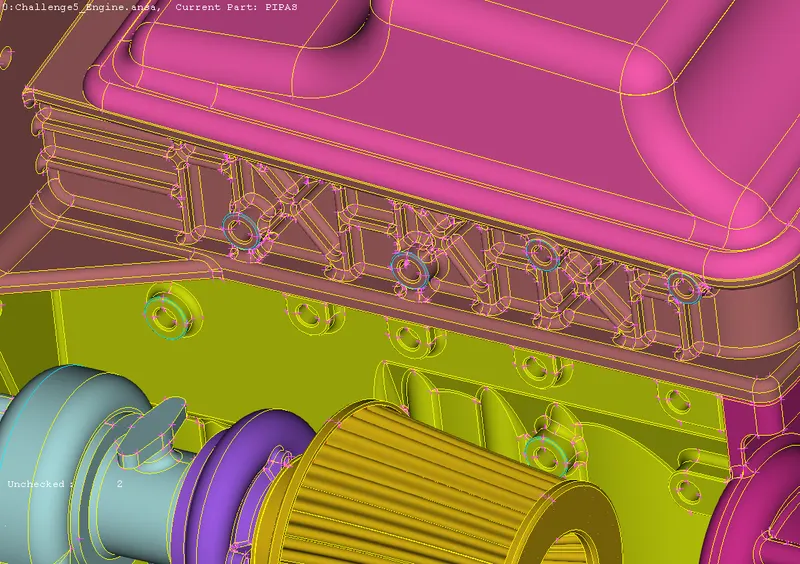
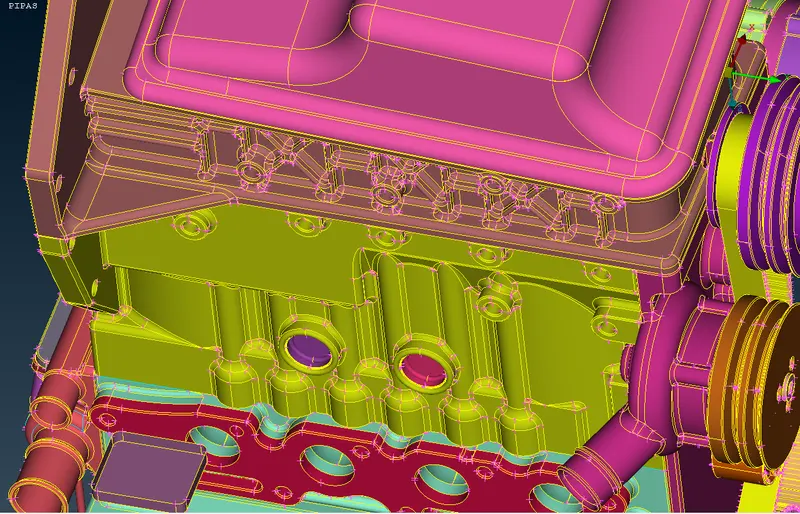
- Isolate the surface and delete the inner surface.
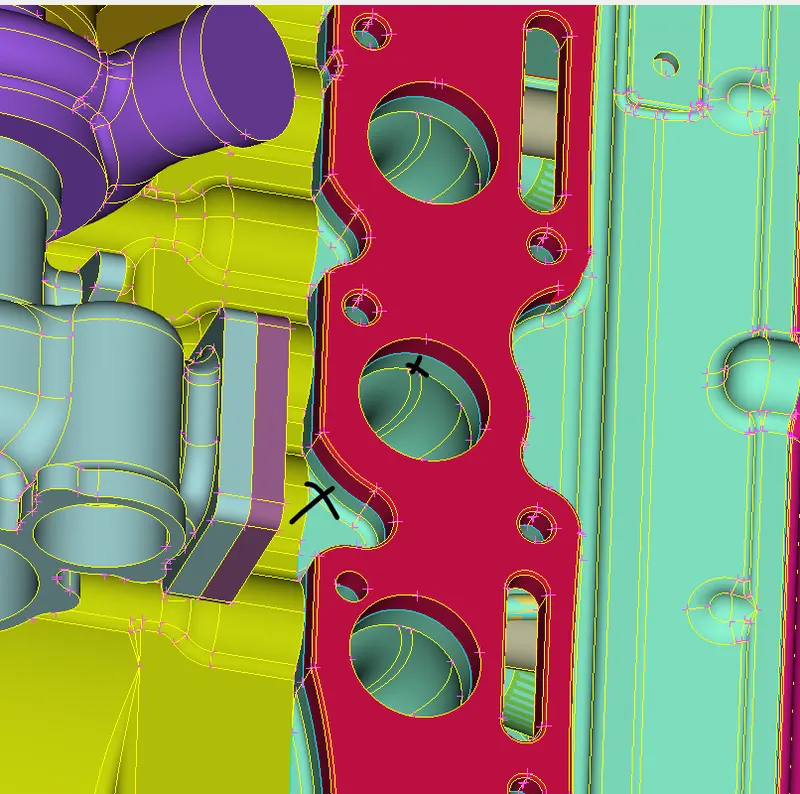
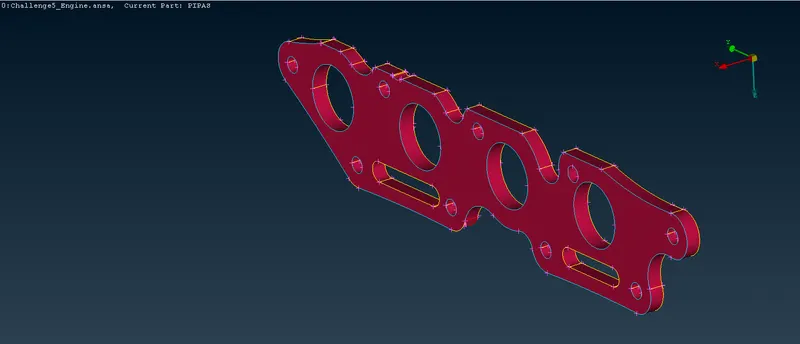
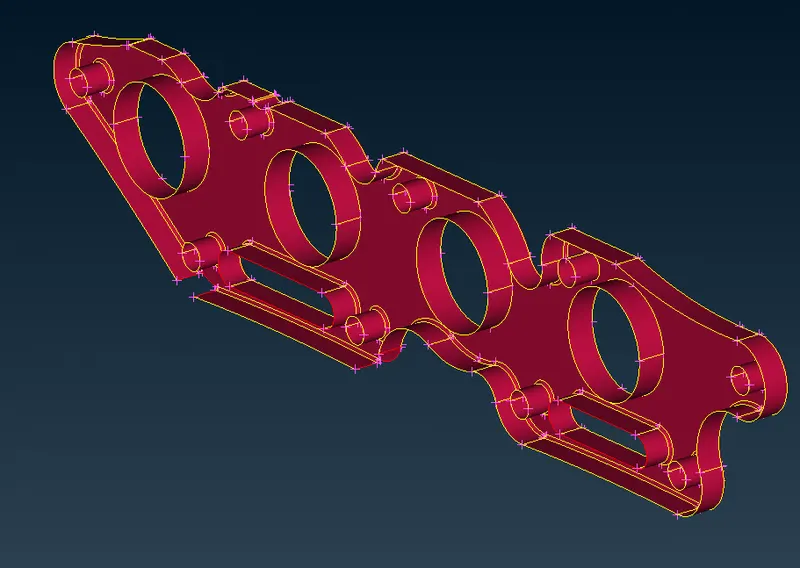
- Do all, it's done.
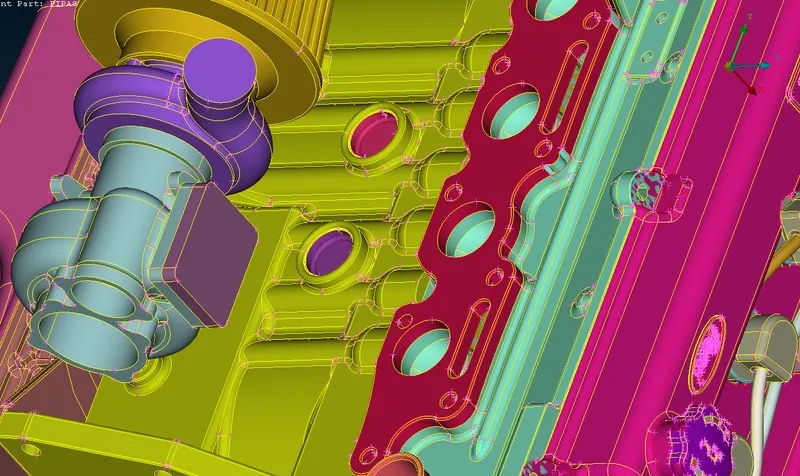
- Close the opens if it is completed.
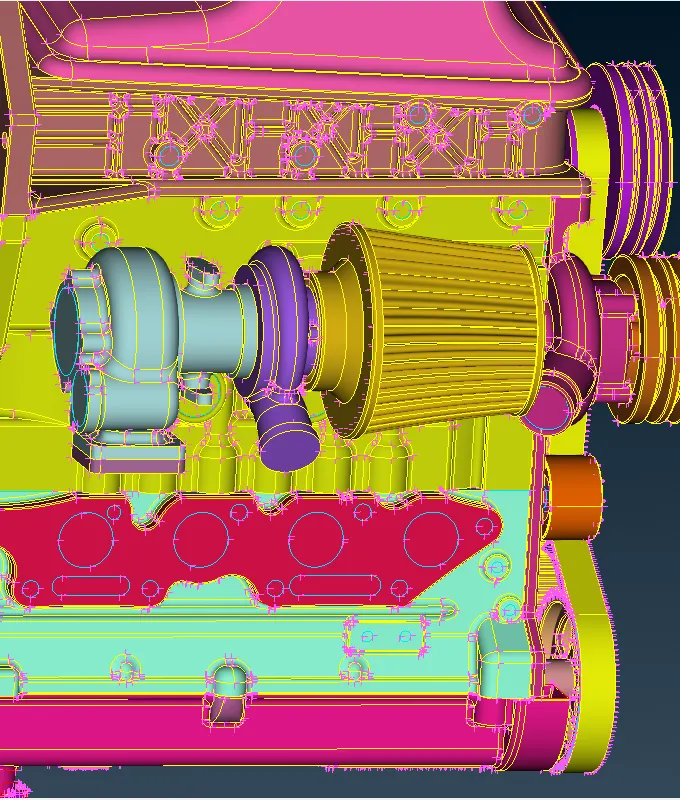
- Close the red coon surfaces.
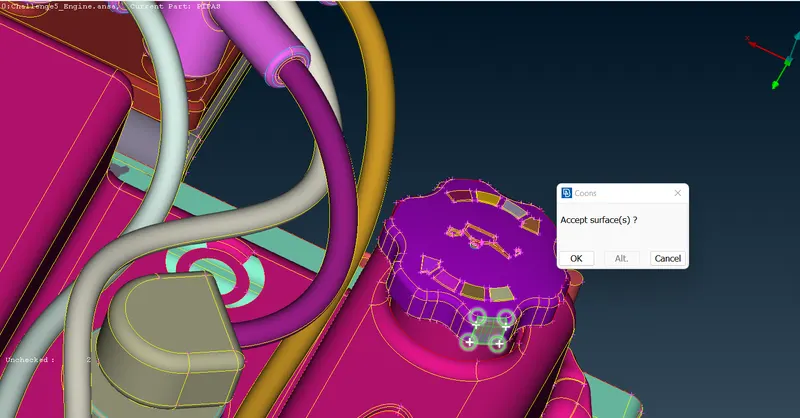
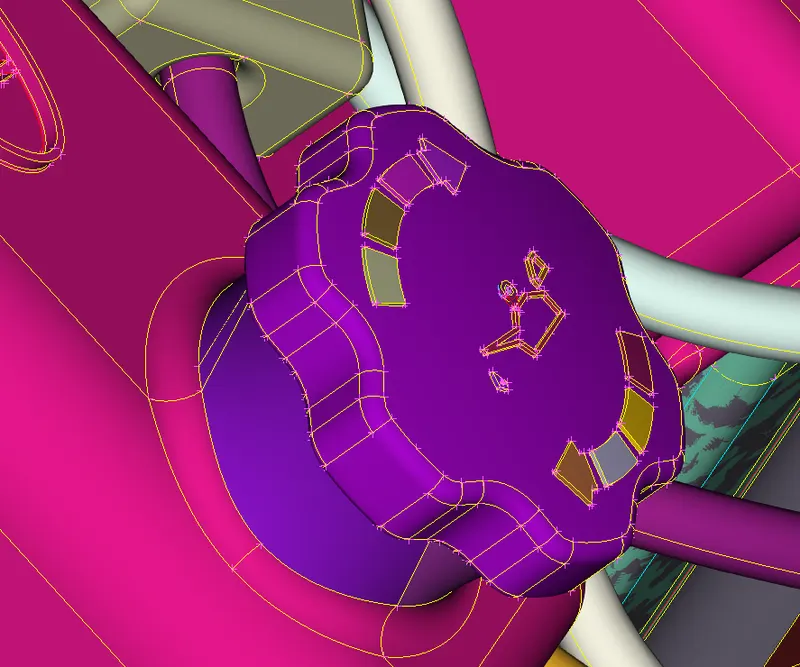
- Follow the same procedure here also,
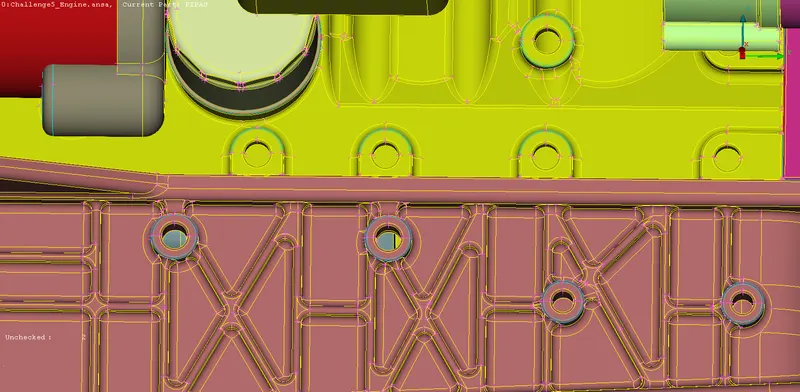
- All done here.
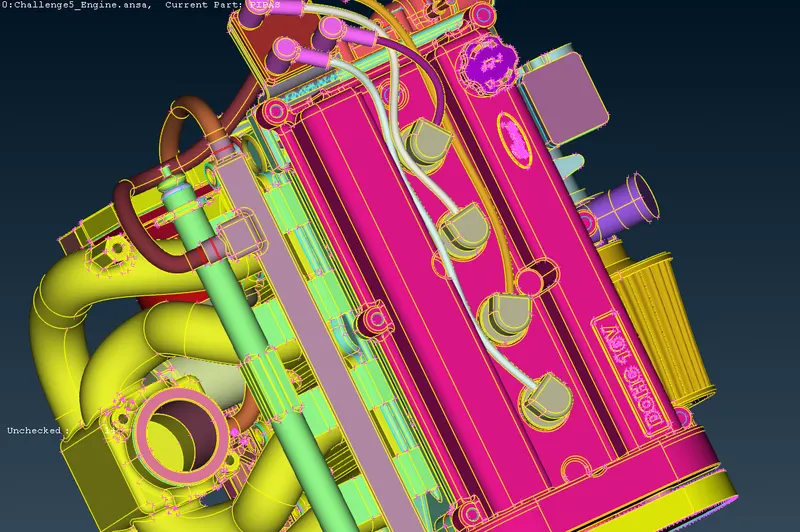
- We don't need these belts. So delete it directly.
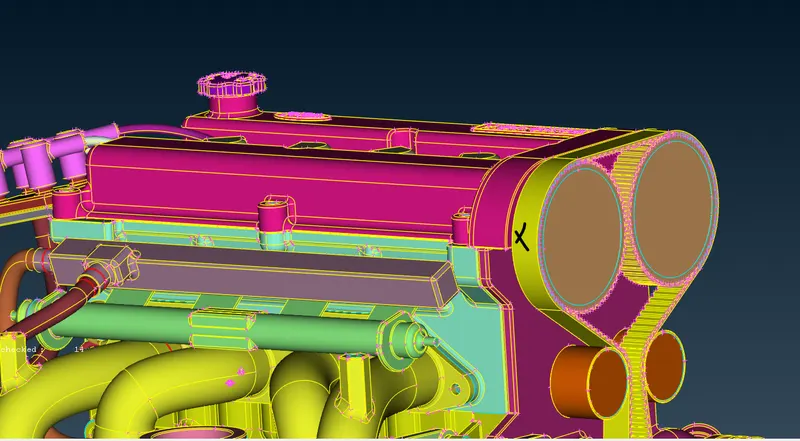
- We have cleared all the errors on this side.
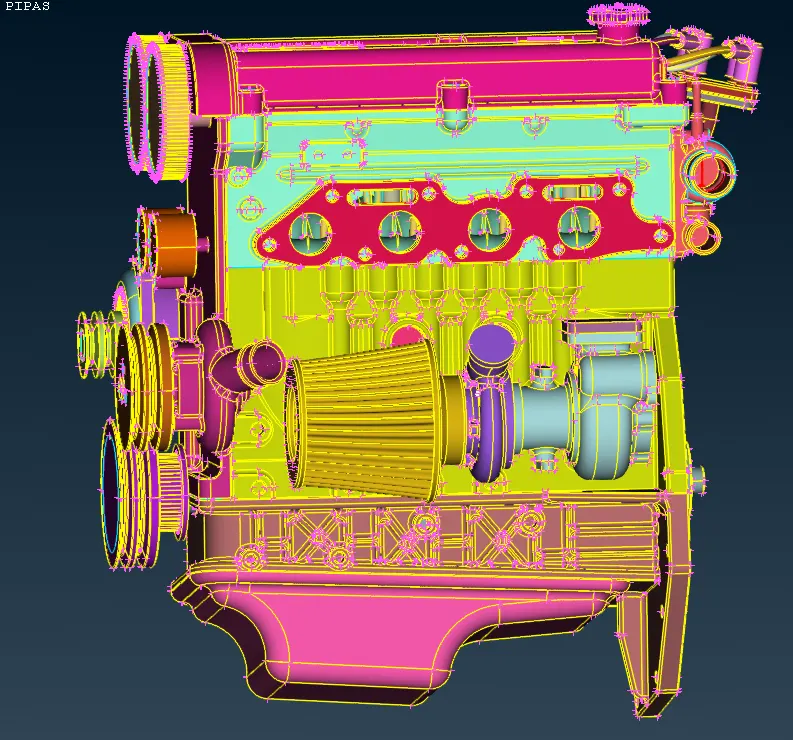
- This side also we have done the geometry cleanup.
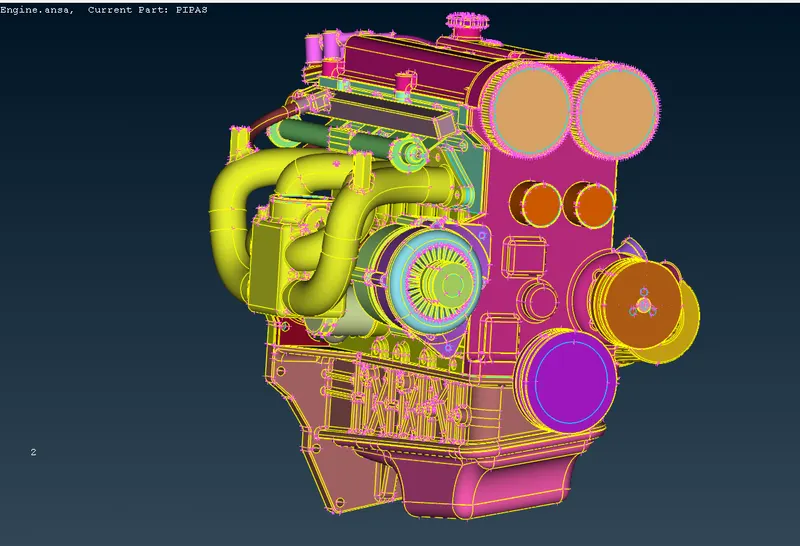
- Close the opens if it is completed.
- Close the red coon surfaces.
- Follow the same procedure here also,
- All done here.
- We don't need these belts. So delete it directly.
- We have cleared all the errors on this site.
- This side also we have done the geometry cleanup.
- This side is also done and closed 3 sides of the holes.
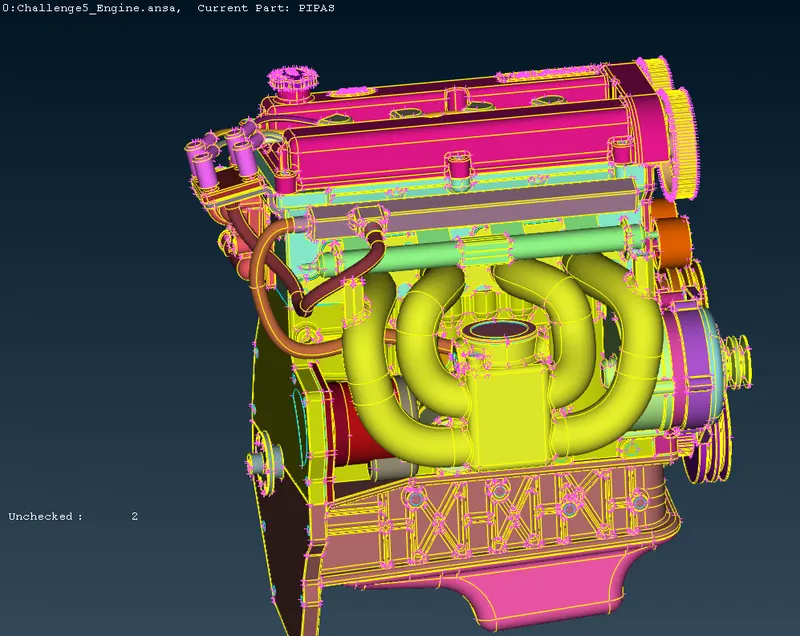
- These are the last errors that need to be cleared.
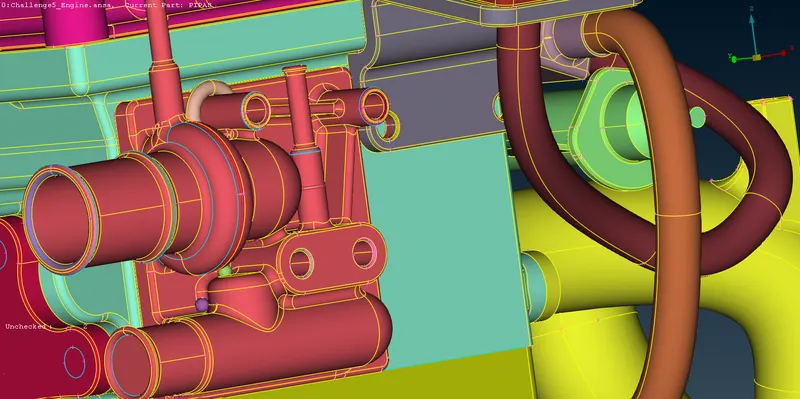
- All the errors have been cleared and opens have been closed for the surface meshing.
- Save the engine part and start the next.
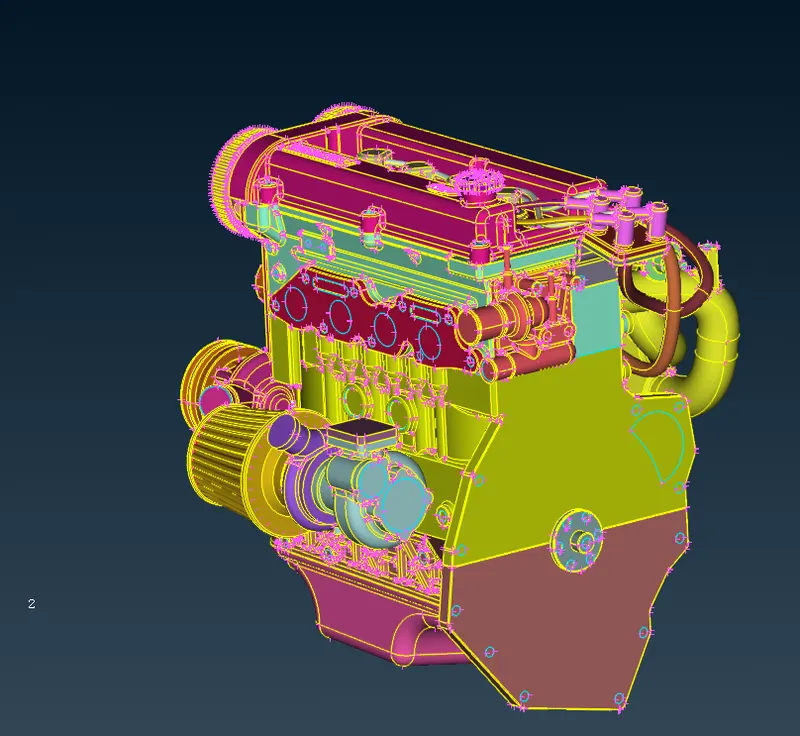
- Final View:
TRANSMISSION CLEANUP:
- File->open->file location->transmission.ansa.
- In the beginning it is showing in the wireframe mode.
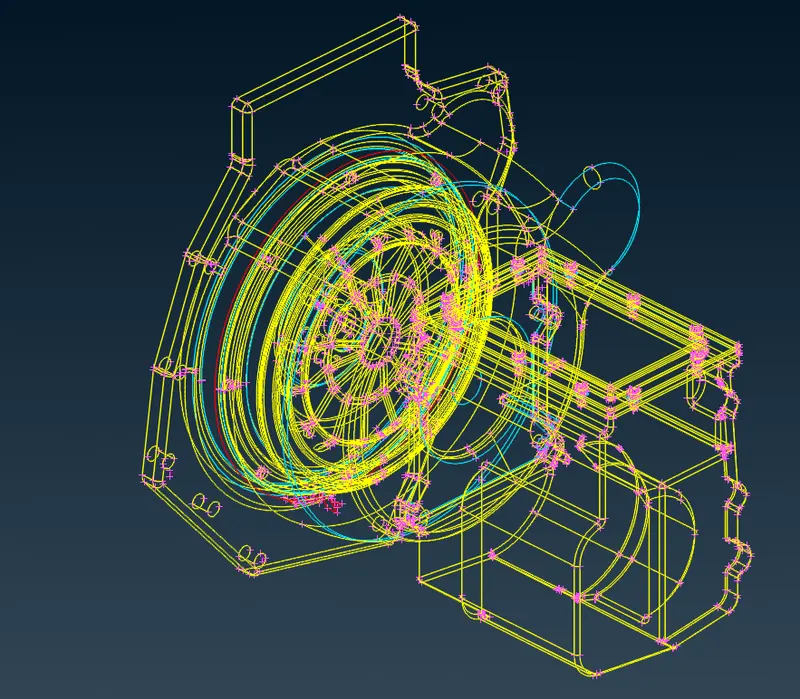
- Add shadow mode and enable labels.
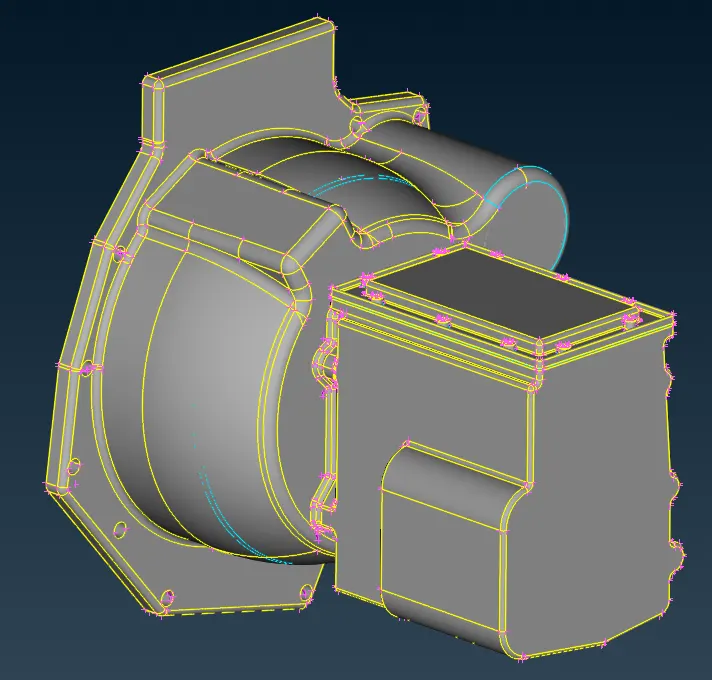
- Now change ENT to PID mode.
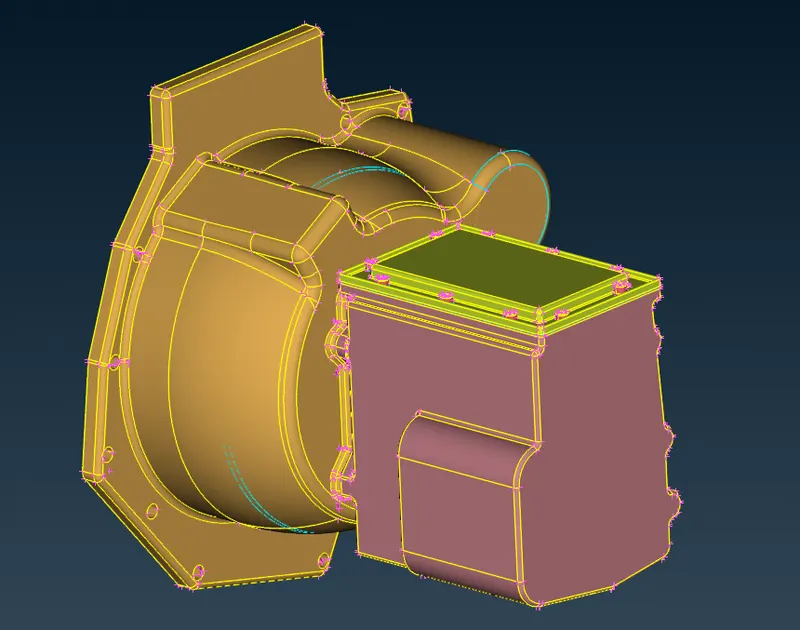
GEOMETRY CLEANUP:
- Do the same procedure to clear the errors.
- Delete the inside ring.
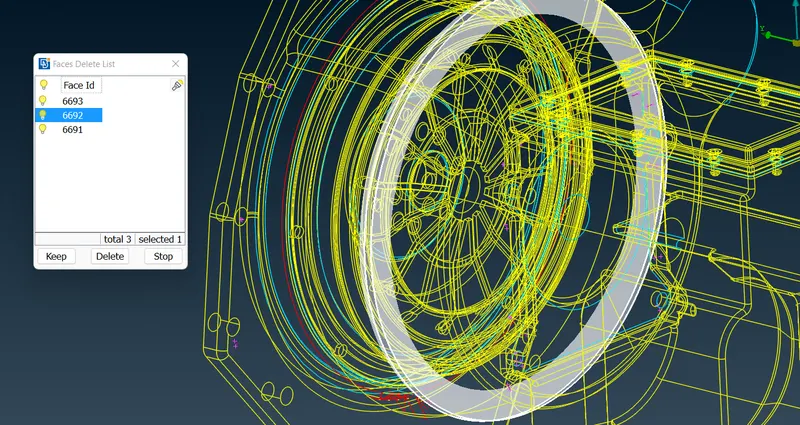
- Now it is changed to yellow coon.
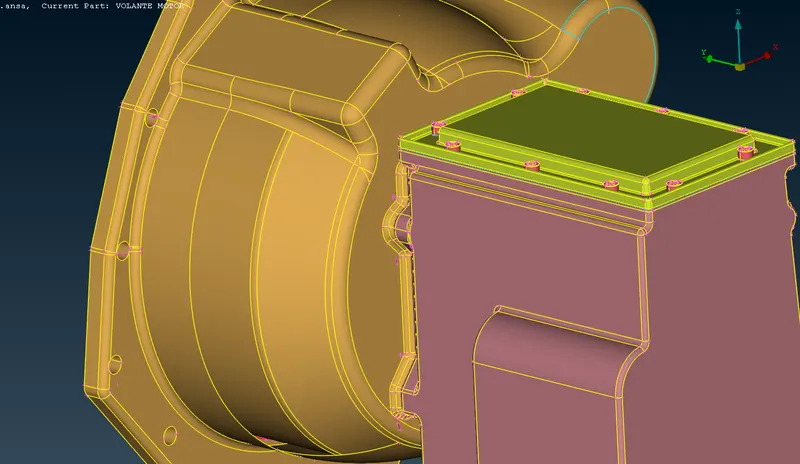
- Hide the surface and delete the unwanted surface.
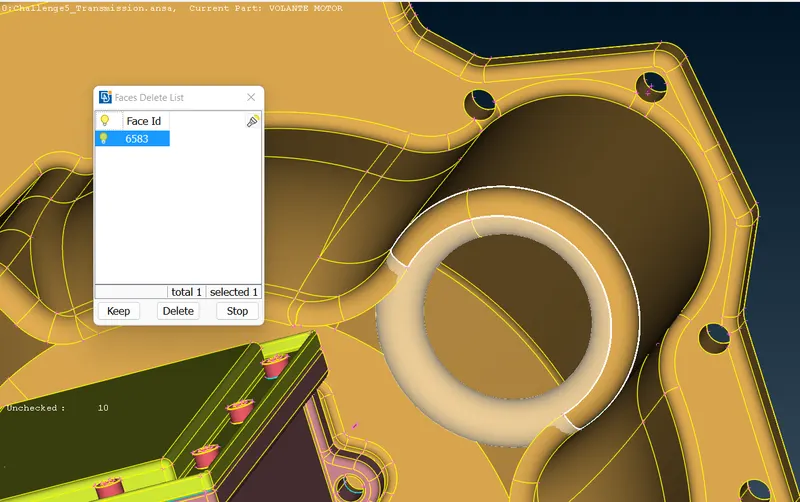
- There is a surface that is making triple coon.
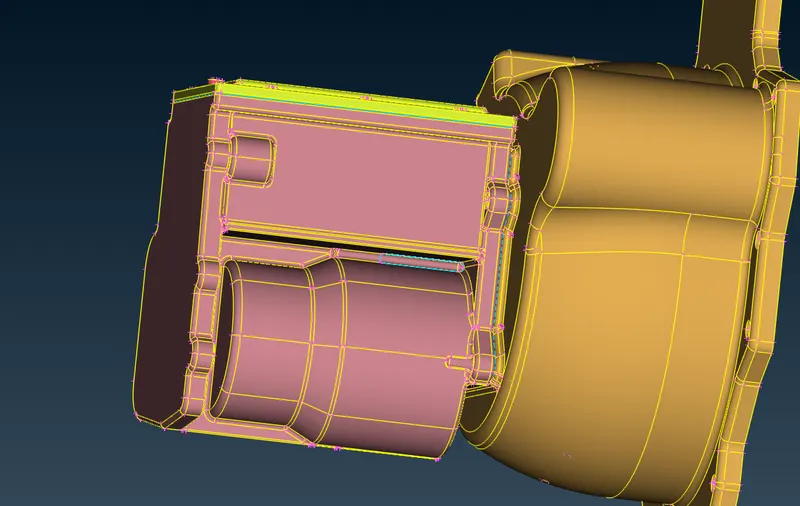
- Hide the surface and delete it.
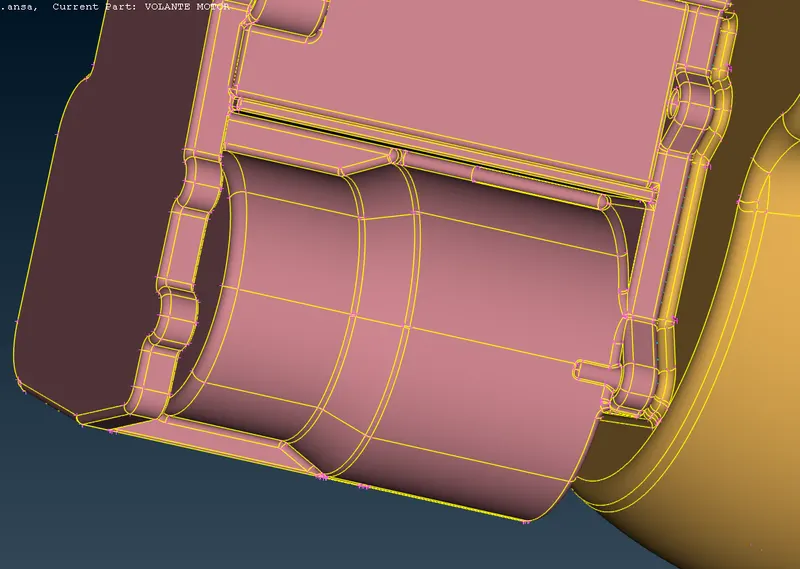
- Hide the surface and delete the unnecessary surface over there and do the same for others.
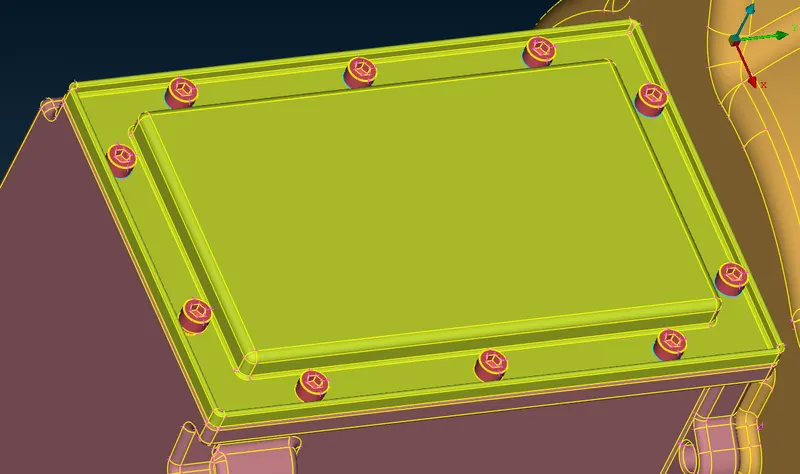
- All the blue coons are cleared.
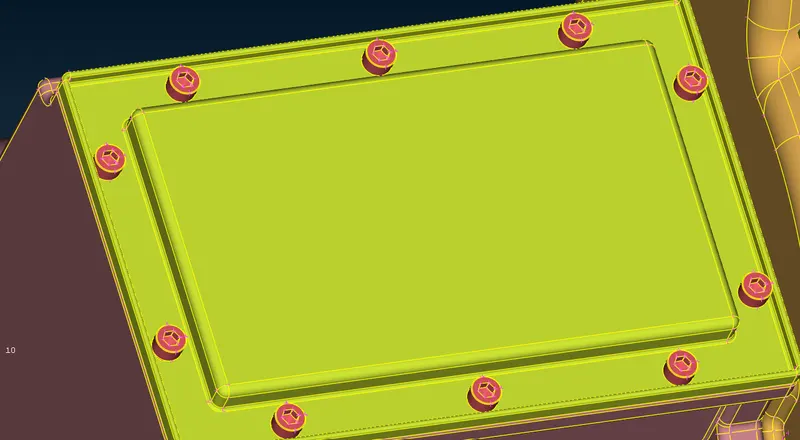
- Final View:
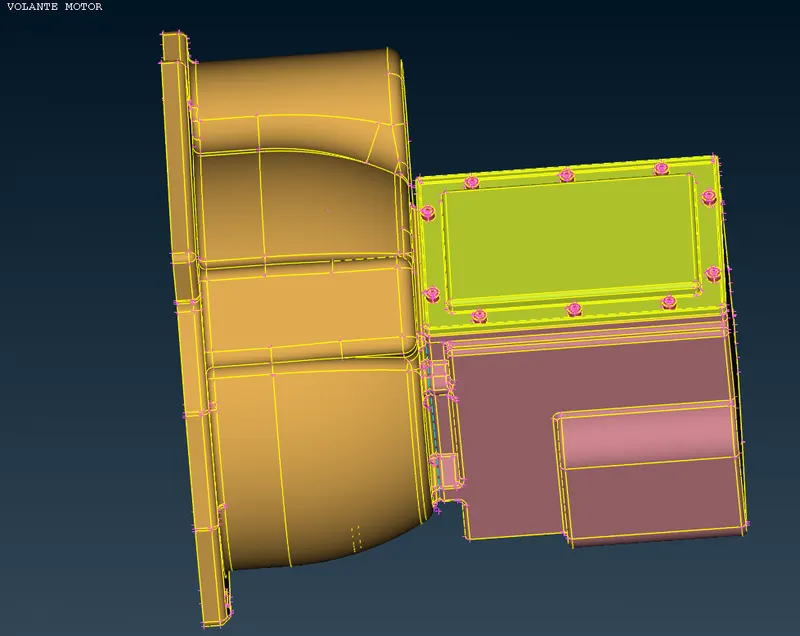
GEAR-BOX CLEANUP:
- Initial geometry with wireframe mode.
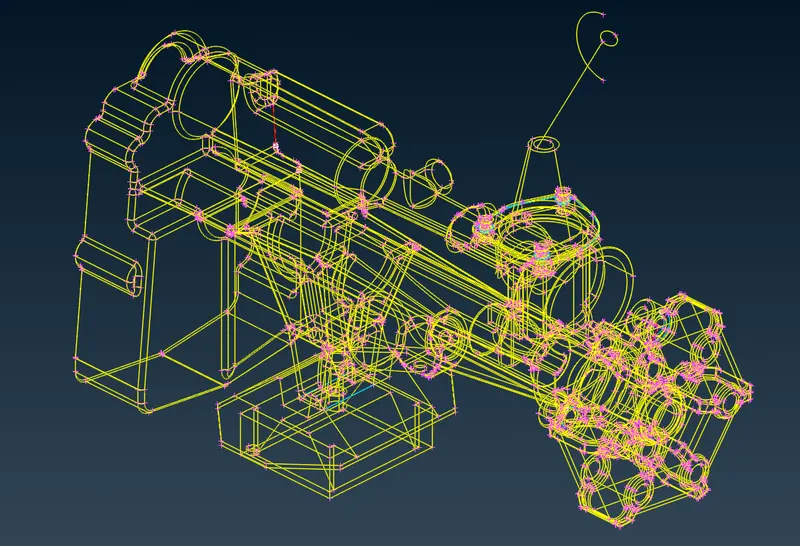
- Enable shadow and labels.
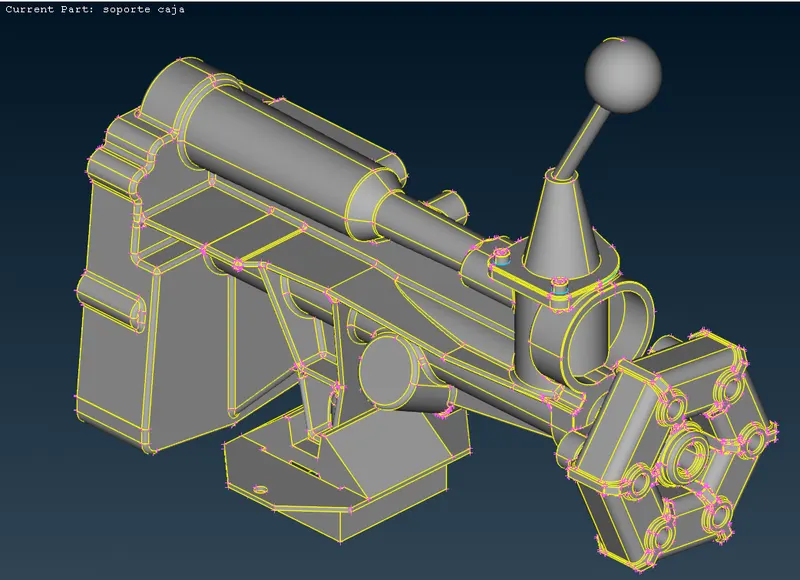
- Change it to PID mode.
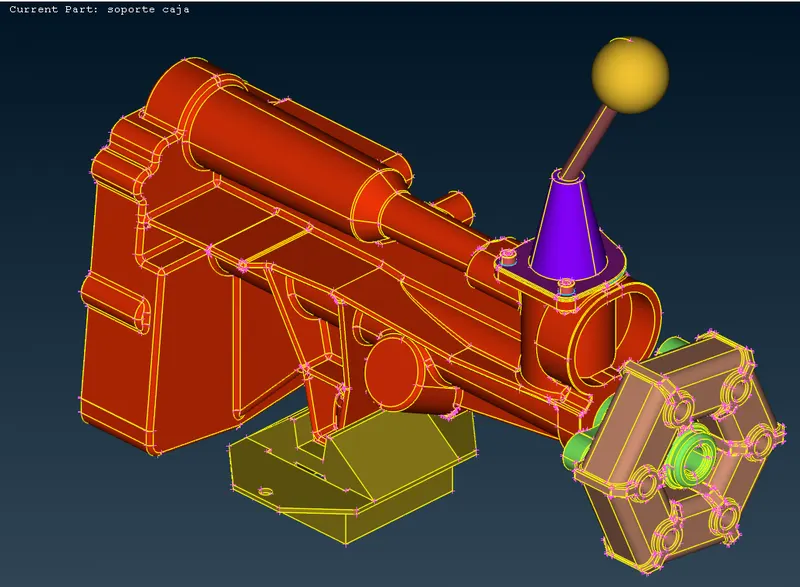
- In this part these are the only visible blue coons and errors.
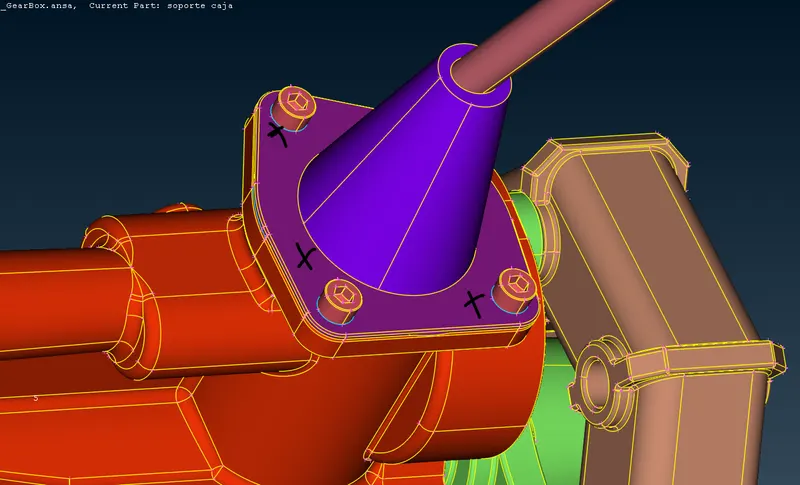
- Follow the same steps as we did before.
- Use I-NOT and isolate the tool and clear the errors.
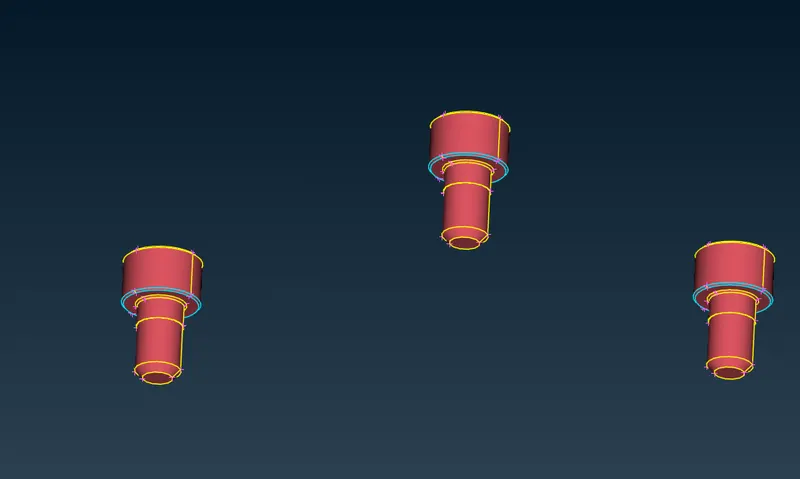
- It's done.
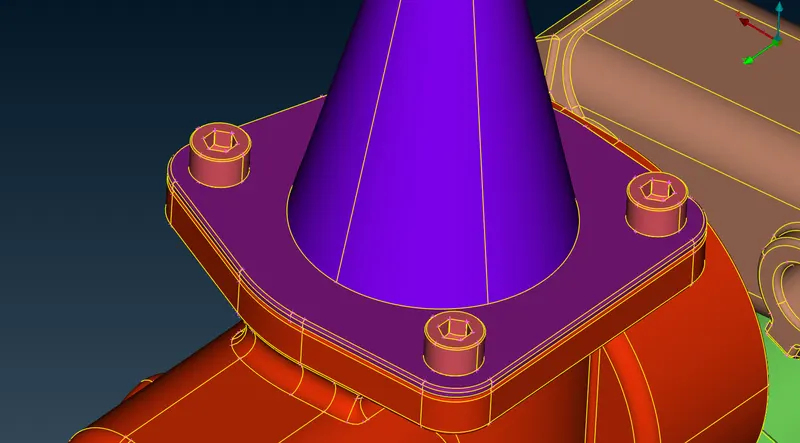
MERGE ALL THE 3 PARTS:
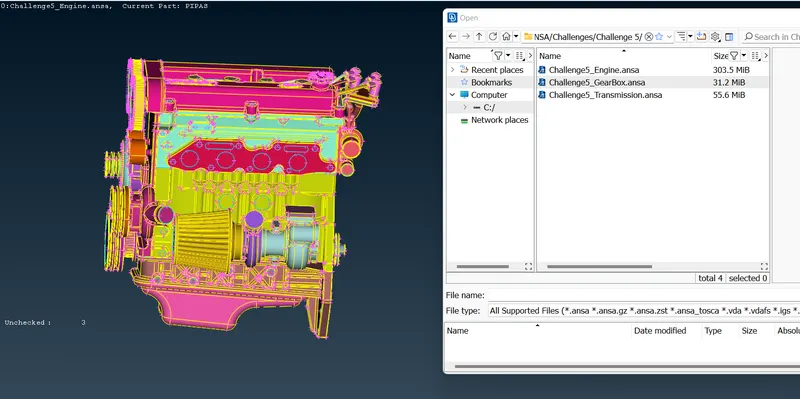
- Now open the engine and go to FILES->CLICK MERGE.
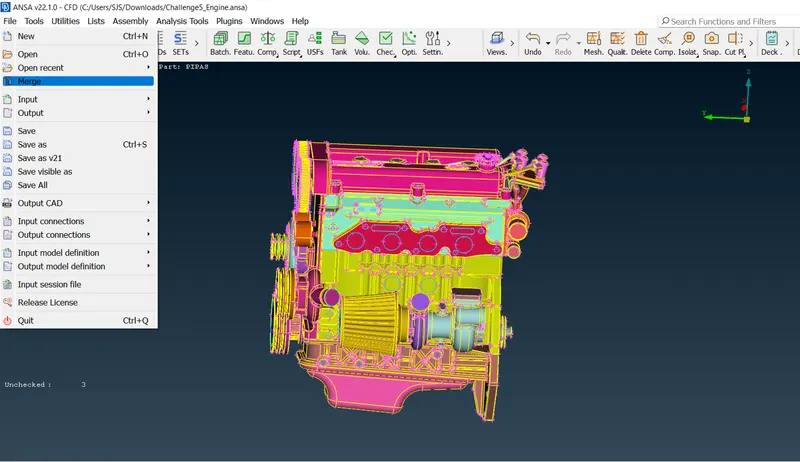
- It will ask which part needs to be merged,
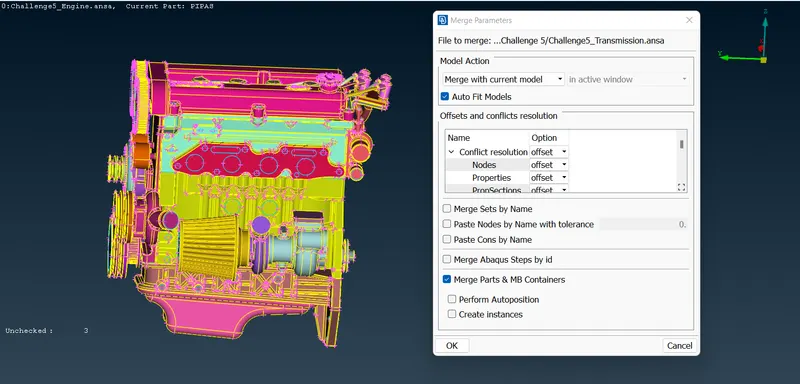
- After the selection of the part, one popup box will come.
- In that always choose to merge with the current model and on the auto fit models to automatically connect->ok.
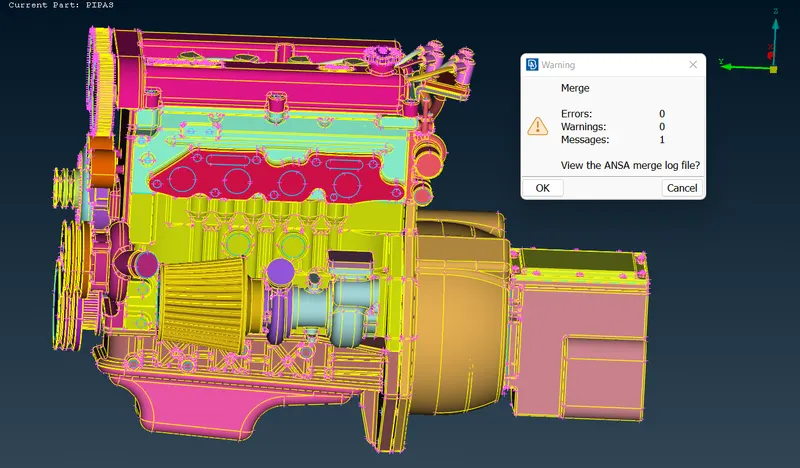
- There are no errors it is showing, which means it is merged properly with the current model.
- Next merge the gear-box.
- Here also no errors are showing, so it is also merged properly.
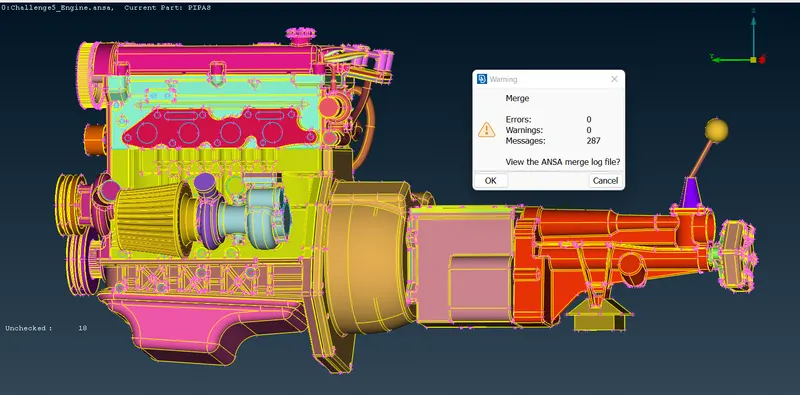
- Now close the holes which are still not closed.
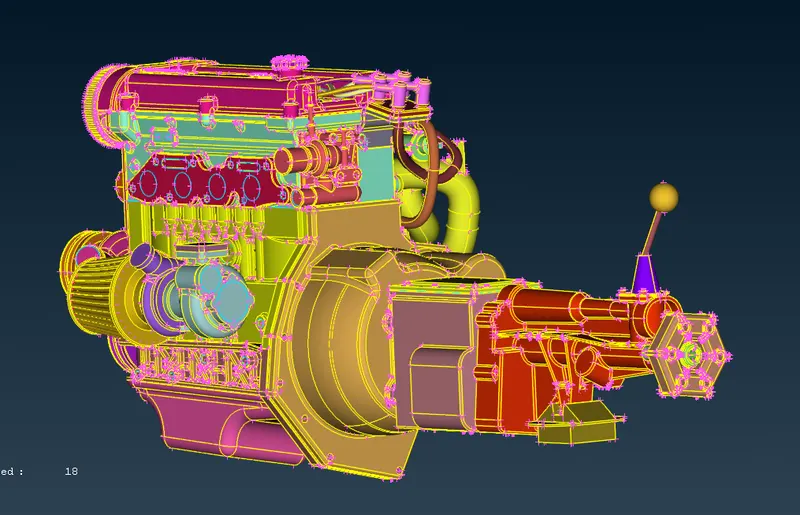
FINAL FULL MODEL BEFORE MESHING:
WRAP MESHING:
- Go to classic mesh -> under ELEMENT also WRAP is there/ OCTREE also WRAP is there-> we can choose anything.
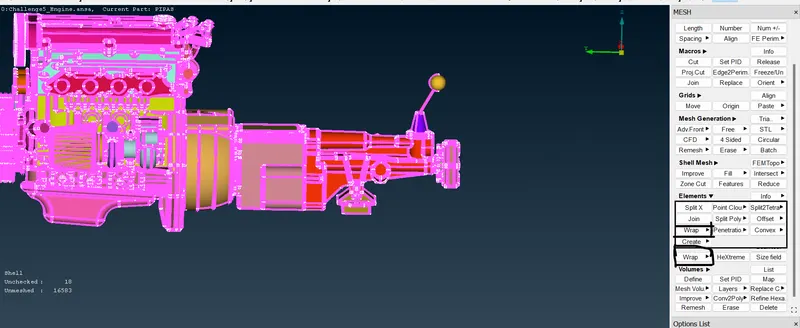
- After clicking on the WRAP the status is empty,
- Click on the empty,
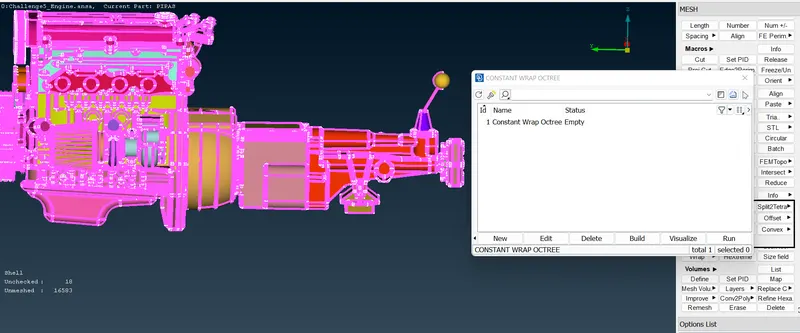
- Now click on untitled,
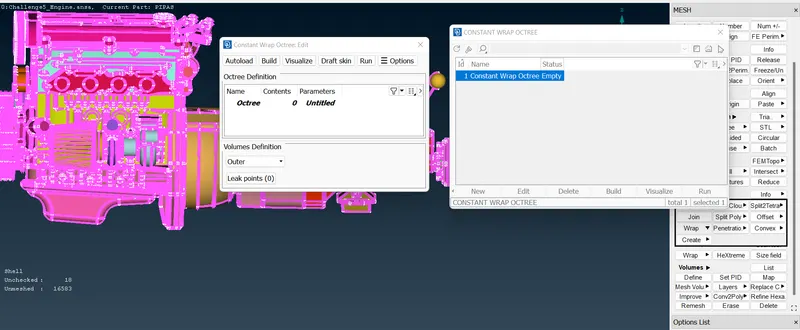
- Give name and target length, The name I gave is WRAP, and the LENGTH is 5mm.
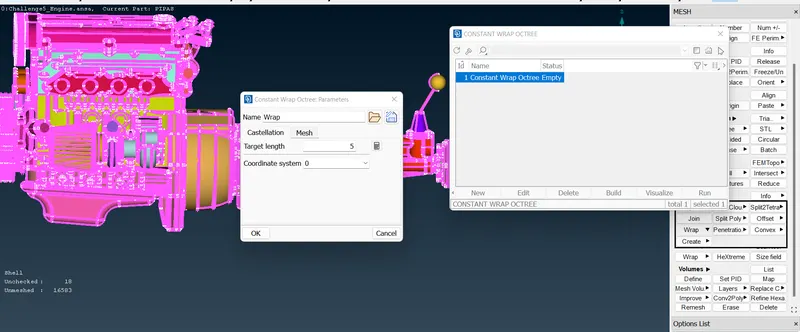
- We can change this MESH parameter also and give OK.
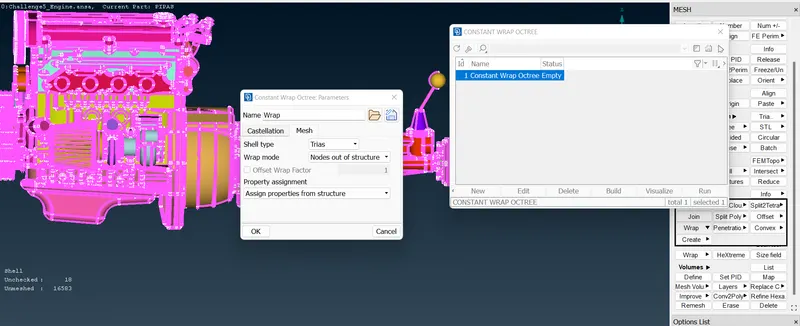
- Previously the parameter was untitled, now it is changed to WRAP.
- The content is 0 initially,
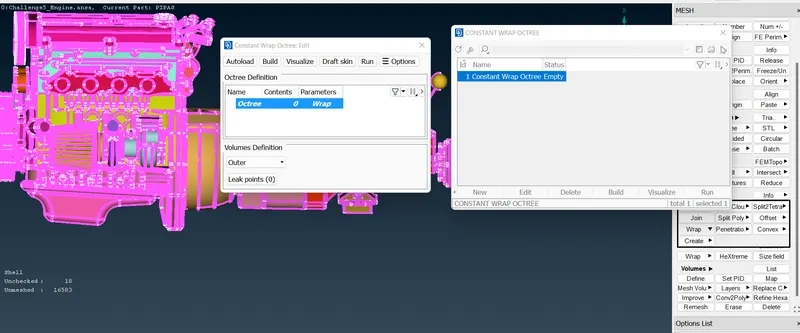
- Click on the content -> select the PIDs ->Click on the green forward error.
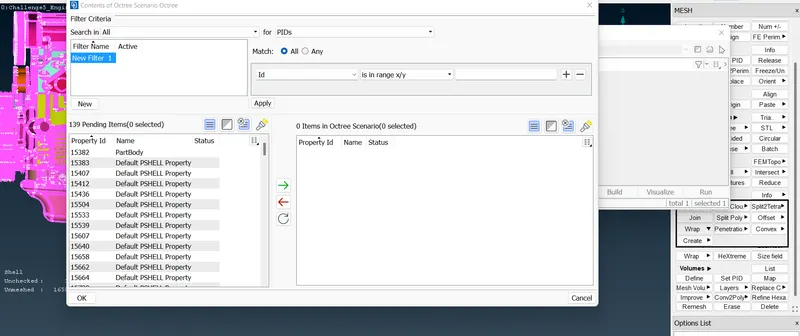
- PIDs moved to anthe another side.
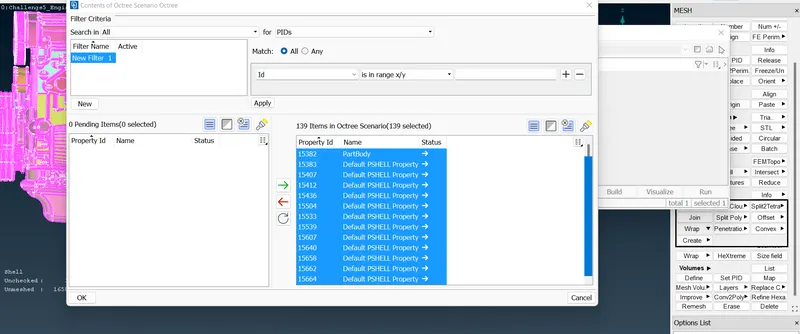
- Now the content and parameter have been assigned.
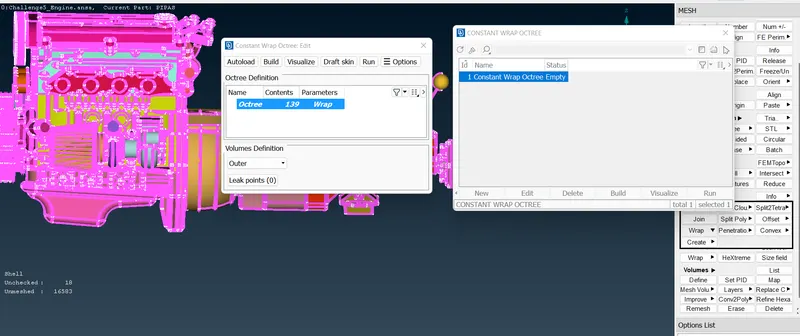
- Click on the RUN button and wait for the model to wrap the mesh of the model.
SURFACE WRAP OUTPUT:
https://drive.google.com/file/d/1u343xaXIsCALvg1T_4VqMmxtchbwtKC6/view?usp=sharing