Week 5 Challenge : Surface wrap on Automotive Assembly
Surface wrap on Automotive Assembly
Aim:-
- For the given models, check for the geometrical errors and delete unwanted surfaces.
- After clearing geometry, merge all 3 models and perform a surface wrap.
Objective:-
- The target length for Wrap = 5 mm.
- Write a detailed report on the procedure followed to complete this challenge.
Model:-
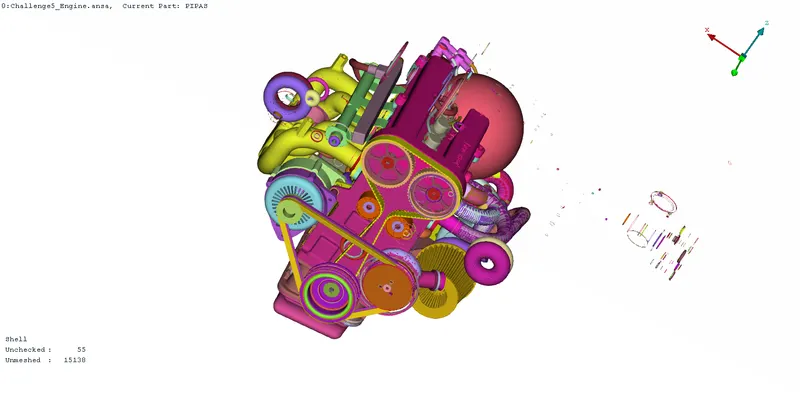
- Engine
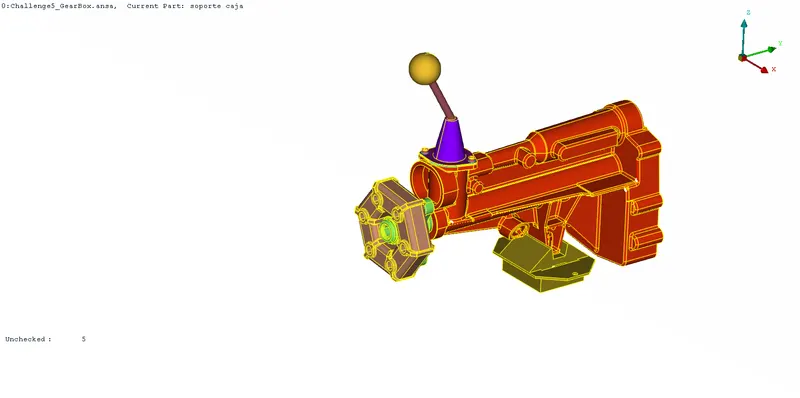
- Gearbox
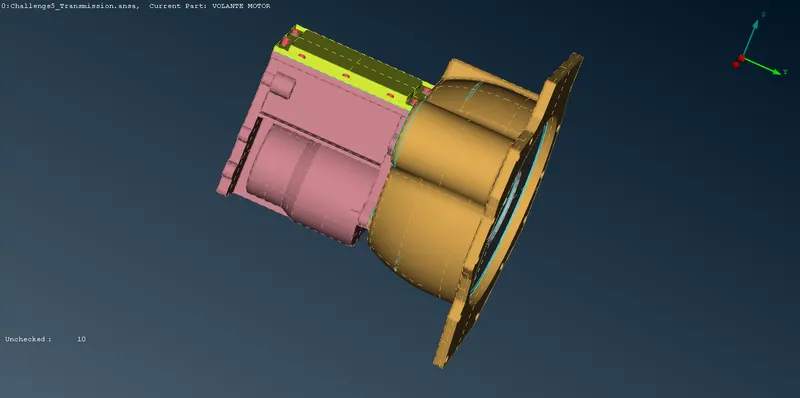
- Transmission
Procedure:-
- Import the ANSA files on which surface wrapping has to be done. We will start with geometry cleanup of the Engine
- The Engine file has a lot of excess parts which are not necessary for surface wrapping.
- Select the parts that belong to the engine in PID mode and hide them using the Not tool.
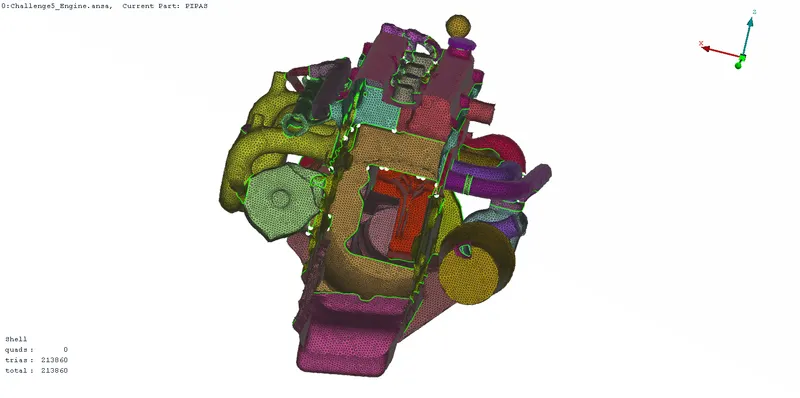
- Once you hide the components, we can see a lot of donut-shaped objects, rings, and unwanted surfaces. Delete them using the universal delete option.
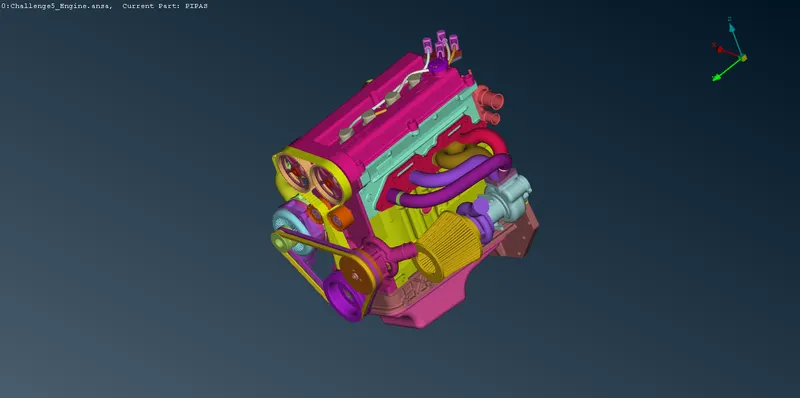
- Now proceed to fill any openings or holes present in the model so that we can avoid uneven wrapping.
- Save the file on which cleanup was done and open the gearbox and transmission files individually.
- Follow the steps mentioned above in the case of both the gearbox and transmission.
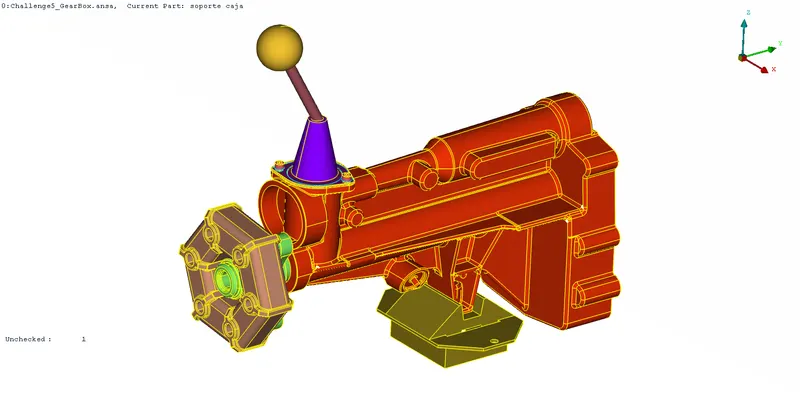
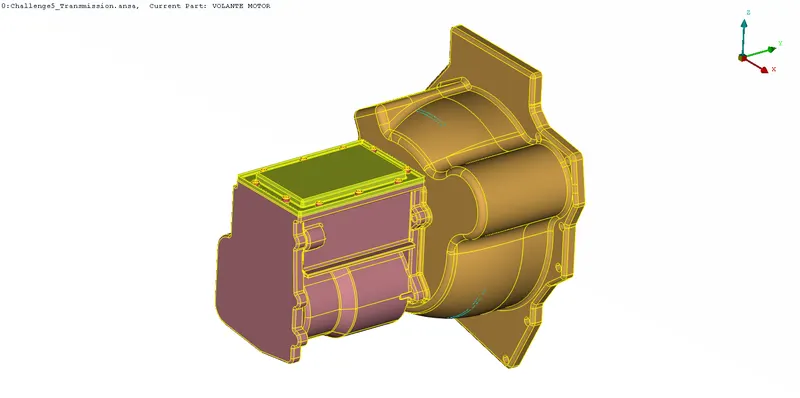
-
After performing topo-clean, we need to merge the 3 parts together and form a single entity. This is crucial in achieving surface mesh perfectly.
-
Merging can be done by selecting the Merge option under File and selecting the gearbox, and transmission files.
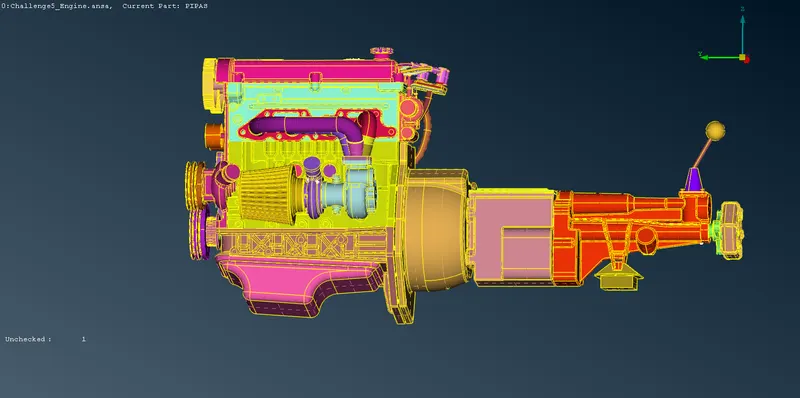
- After merging, we can now perform surface wrapping. Delete all the excess PIDs created, by using the Compress option.
- Go to Classic Mesh and choose Wrap under mesh generation. Click and hold on Wrap and a drop-down will appear. Choose constant wrap.
-
A pop-up window appears and we are required to give mesh parameters. Click on the parameters section and enter the mesh length.
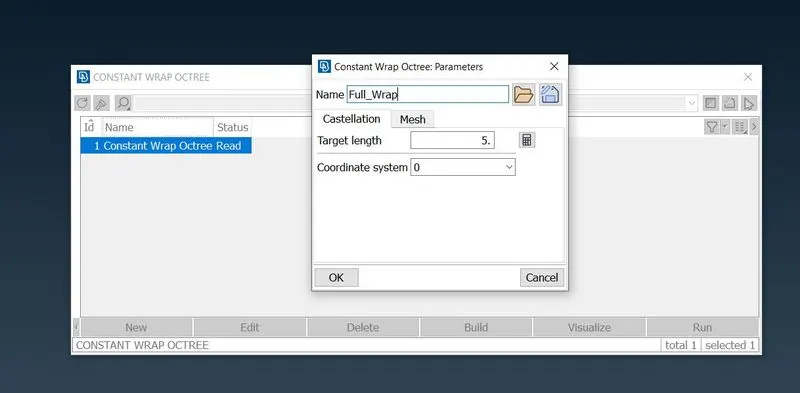
- After that select mesh type and property alignment.
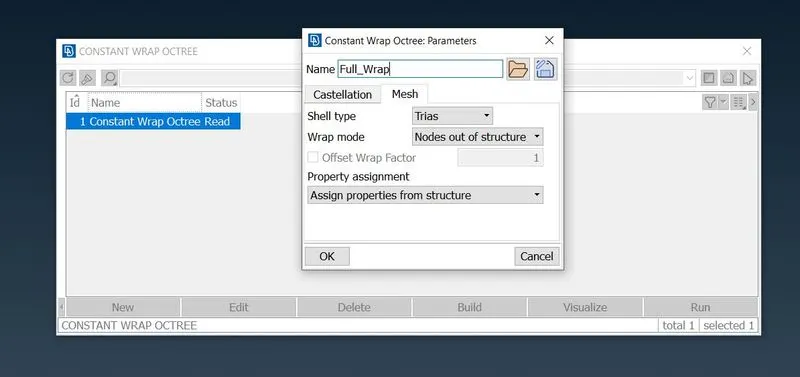
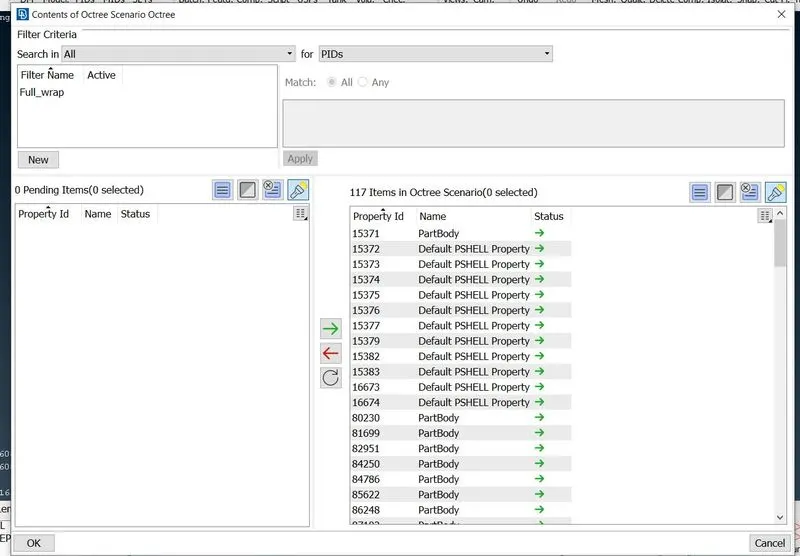
- Click on contents and select all the PIDs that have to be surface wrapped.
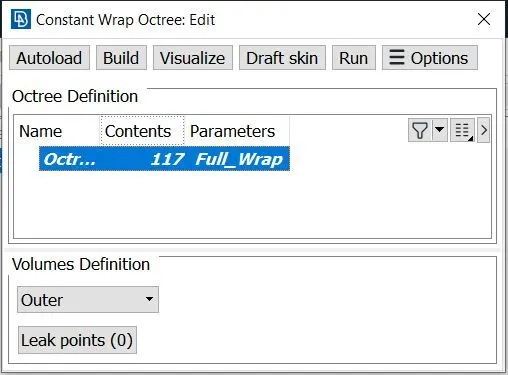
- Click on RUN to perform wrap on the selected PIDs.
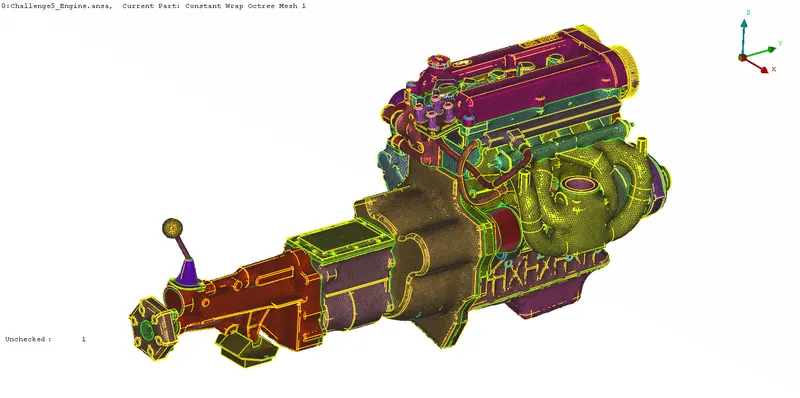
- Now we have successfully completed the surface wrapping of given model.
Learning Outcomes:-
-
Methods to remove excessive parts in large numbers which are difficult to remove individually.
-
Familiarization of the Merge option to merge different components.
-
Selection criteria to perform surface wrap.
-
Wrap function and the parameters needed to perform surface wrap.
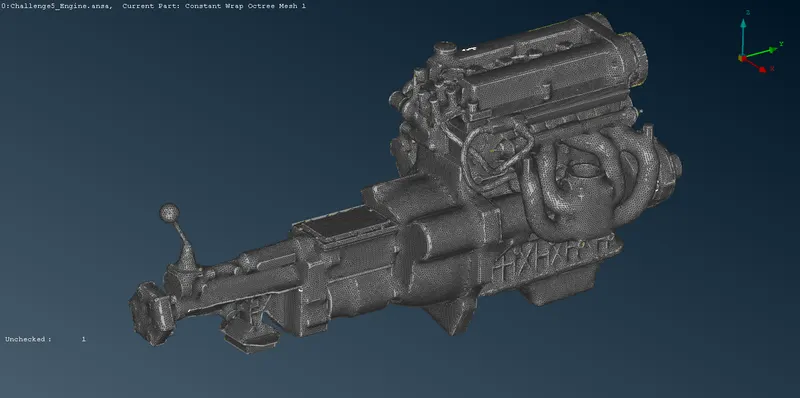
Result:-
Model after surface wrapping
Conclusions:-
- Surface wrapping is achieved on the given powertrain components.
- The surface wrap is effective for outside flow simulations where the volume between the body and wind tunnel is required for flow over the body simulations.
- The surface wrap is easier to perform since it does not depend on the quality of the wrap on each material as we are not interested in physics in the body.
- The effective surface wrap is achieved on the given body for a given mesh length of 5mm.