Week 4 Challenge : CFD Meshing for BMW car
CFD Meshing for BMW car
Aim:-
- For the given model, check and solve all geometrical errors on half portion and assign appropriate PIDs.
- Perform meshing with the given 'Target length' and element Quality Criteria.
Objective:-
- Target lengths for the different parts of a model are as follow:
- Body - 3 mm
- Lights - 4 mm
- Grills - 1 mm
- Rims and Tyres - 2 mm
- Optical Rear view mirror - 2 mm
- Window - 2 mm
- Silencer - 3 mm
- Logo - 1 mm
- Prepare a detailed report explaining the methodology.
Model:-
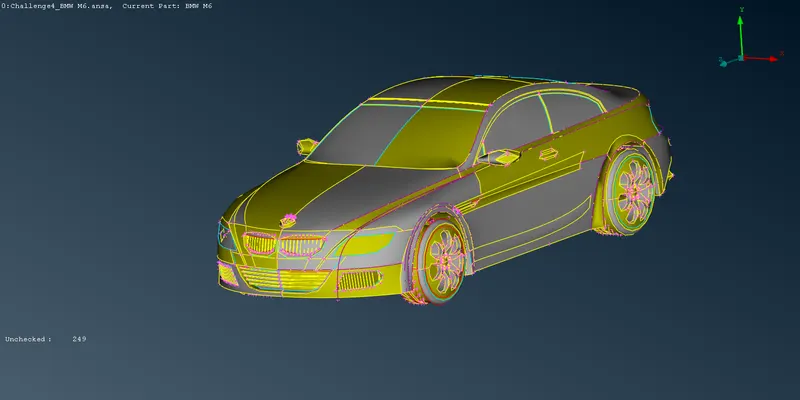
BMW M6
Procedure:-
- Import the ANSA file of the model on which surface mesh has to be performed.
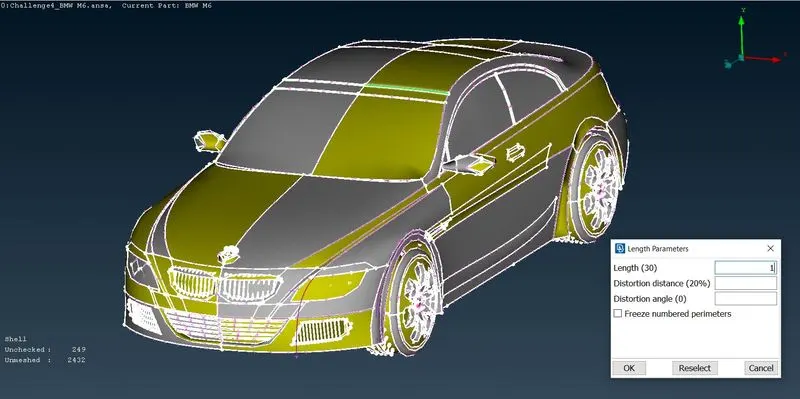
- The resolution of the given model is in the desired condition. In order to rectify it, we can use "Length" in the 'Parameters' section under the Classic module. Enter the target length as 1 mm.
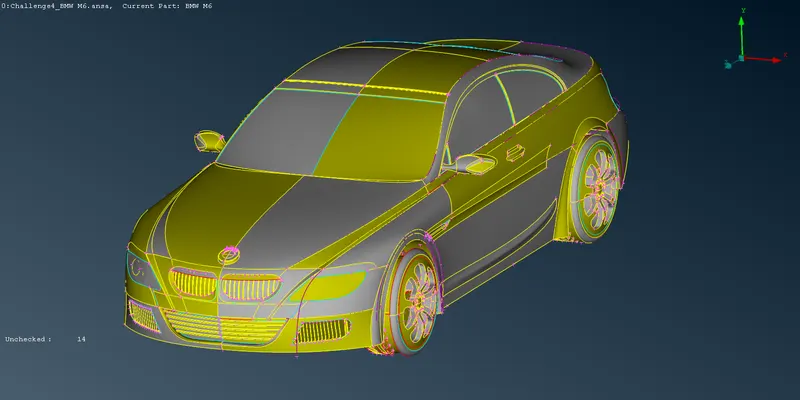
- Since the car is symmetric from the middle to the end, we can use the Universal Delete option to delete one side and perform the necessary geometric cleanup. Once it is done, we can use the Transform option to recreate the entire model.
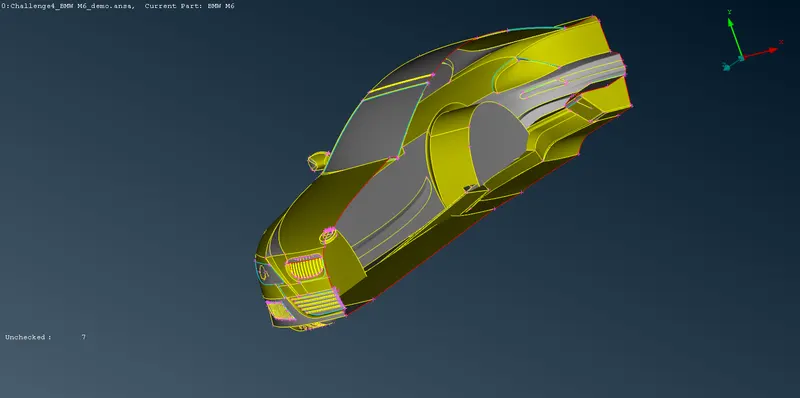
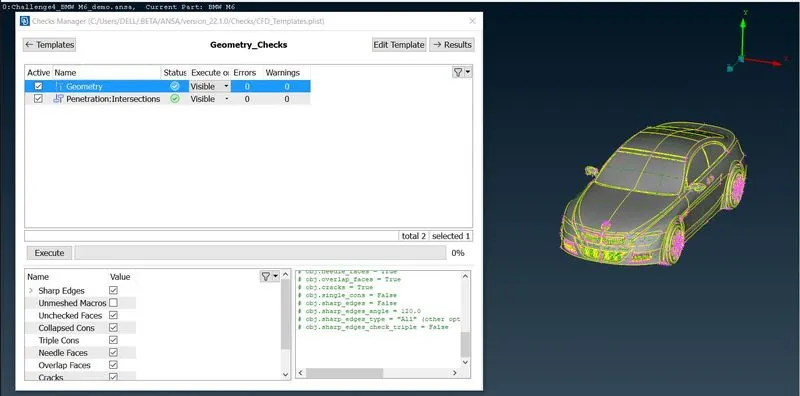
- Perform a Geometry check and identify areas that need attention.
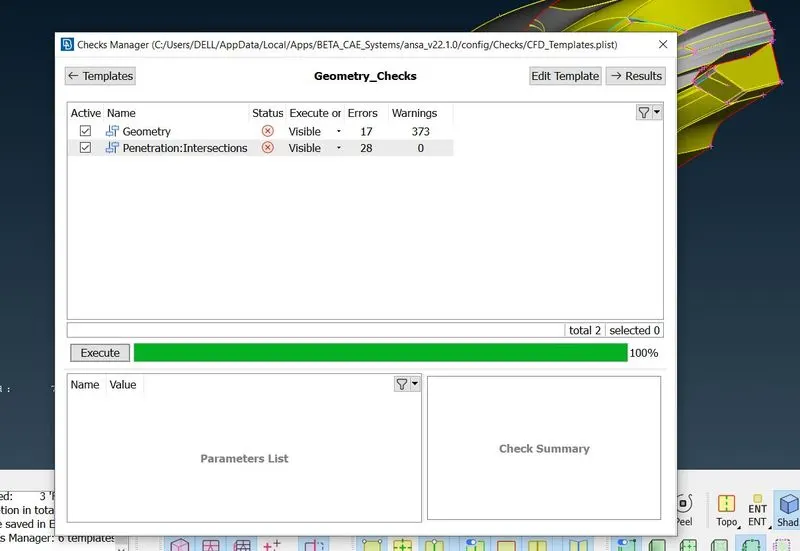
- The next step is to perform geometry cleanup and we can do that part by part. We will be rectifying single cons errors and will try to eliminate any triple cons errors if present.
- First, select the side grill and isolate it from other parts.
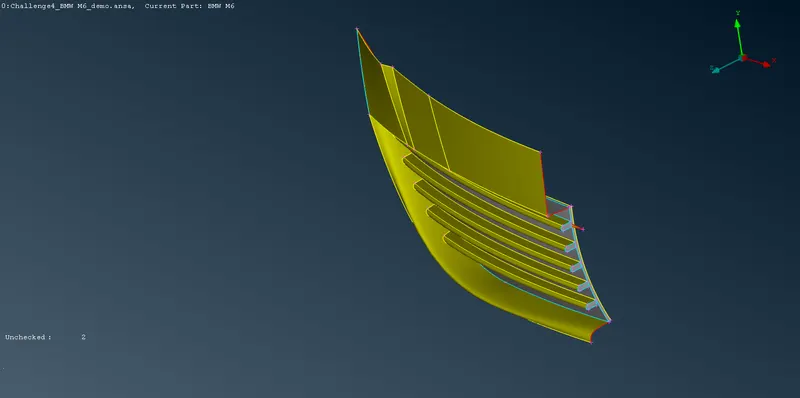
-
Delete all the extra surfaces to have a single volume throughout the component. Check for the single cons and triple cons errors. Our ultimate aim is to create a water-tight model. We can delete any unwanted surfaces internal to the car that won't be having any effect on the aerodynamic behavior to rectify single cons and triple cons errors. Create extra surfaces to close the component.
- Continue the same for other grills too.
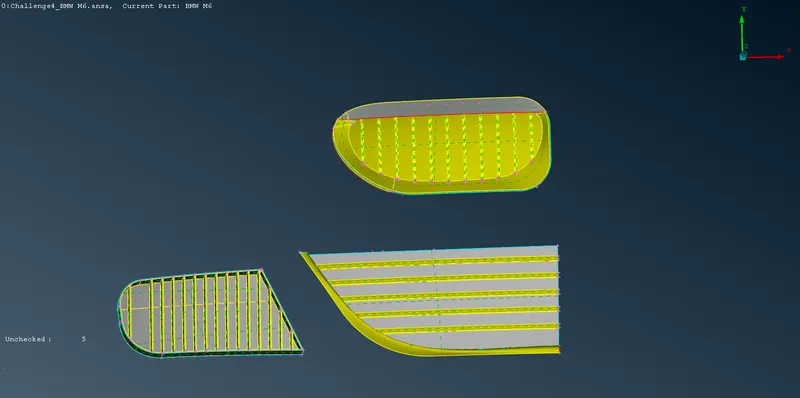
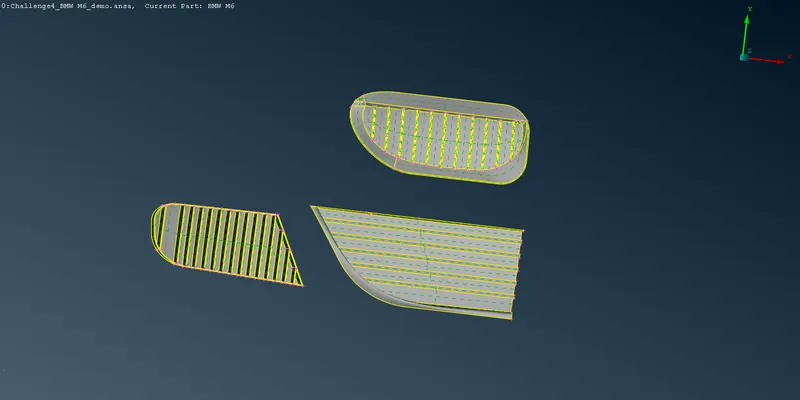
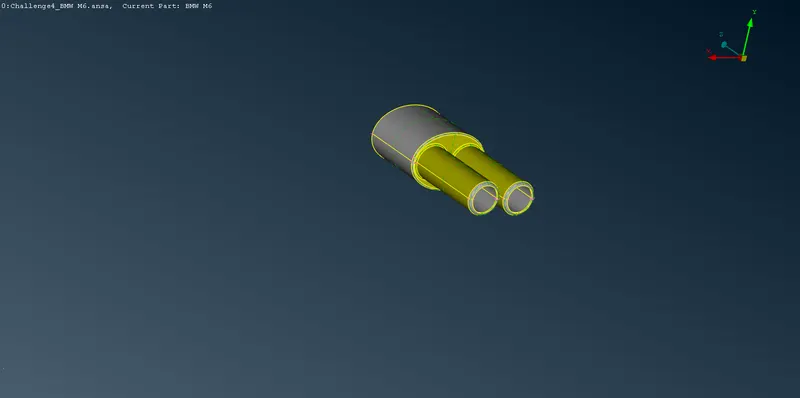
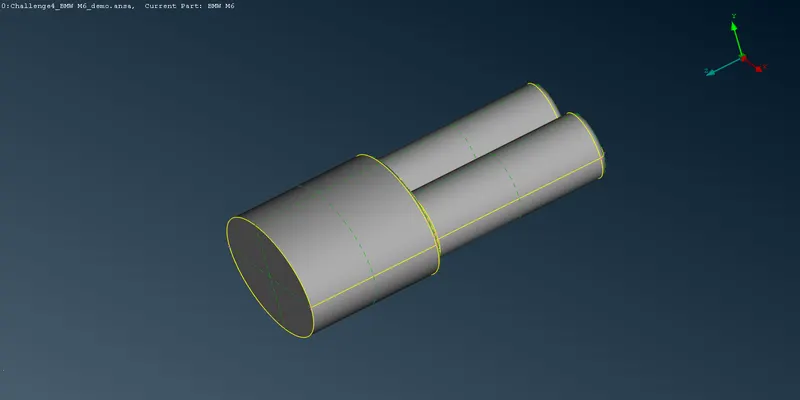
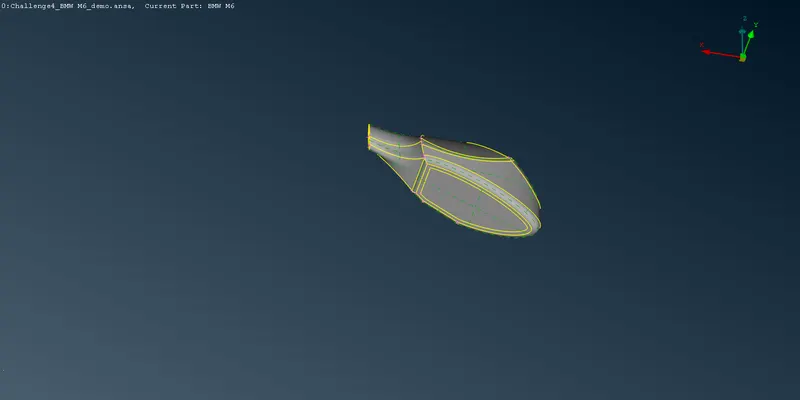
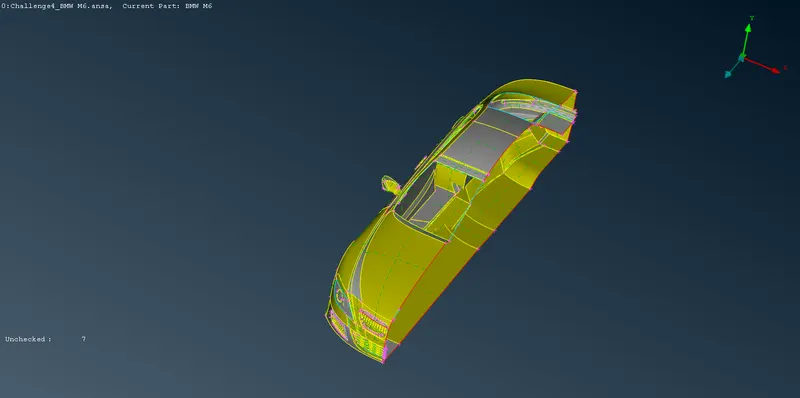
- Continue this same procedure for other parts as well keeping in mind the fact that all openings must be closed and delete all the unwanted surfaces. In some cases when we encounter convex/concave/mixed cons, try deleting the surface that is creating the error and create a new surface. Make sure that Tyres are not touching the car body.
LOGO
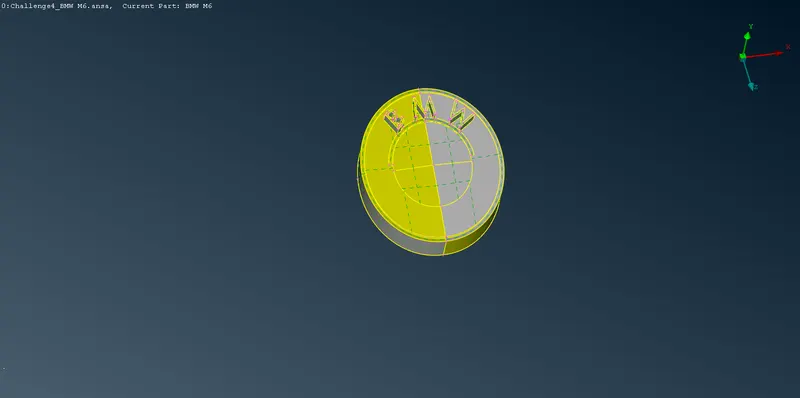
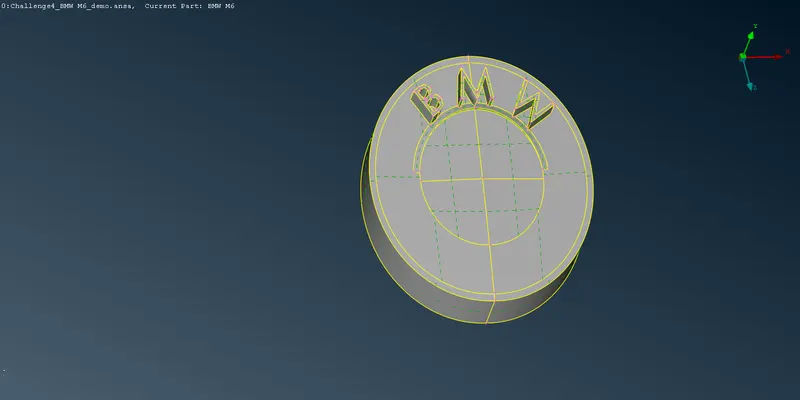
RIMS & TYRES
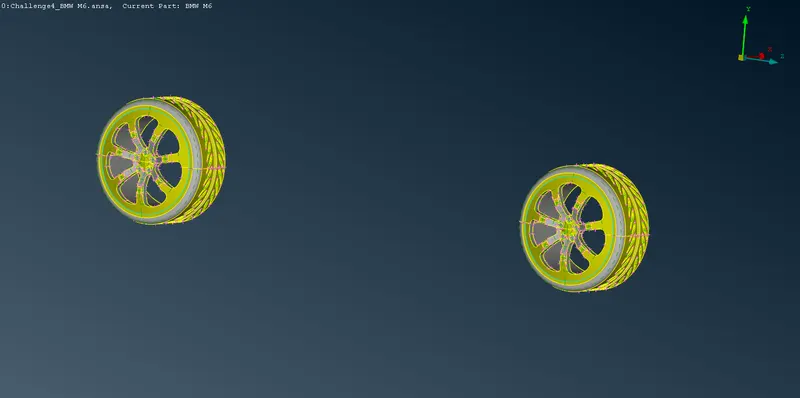
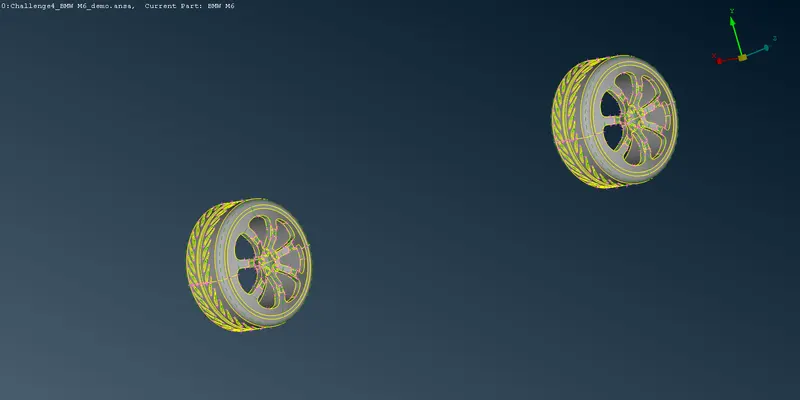
SILENCER
MIRRORS
BODY
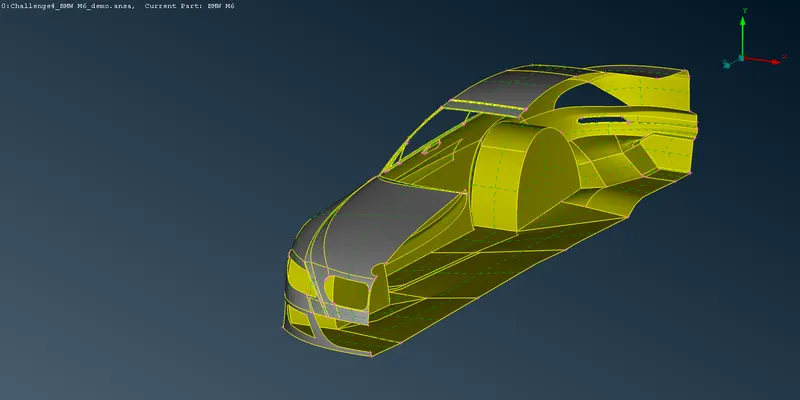
- Perform the same with lights and windows.
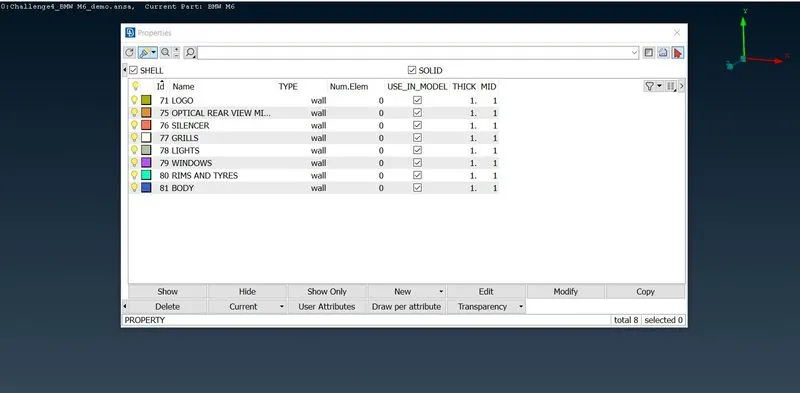
- Once the geometric cleanup is done for the half part, we can assign PIDs to different components.
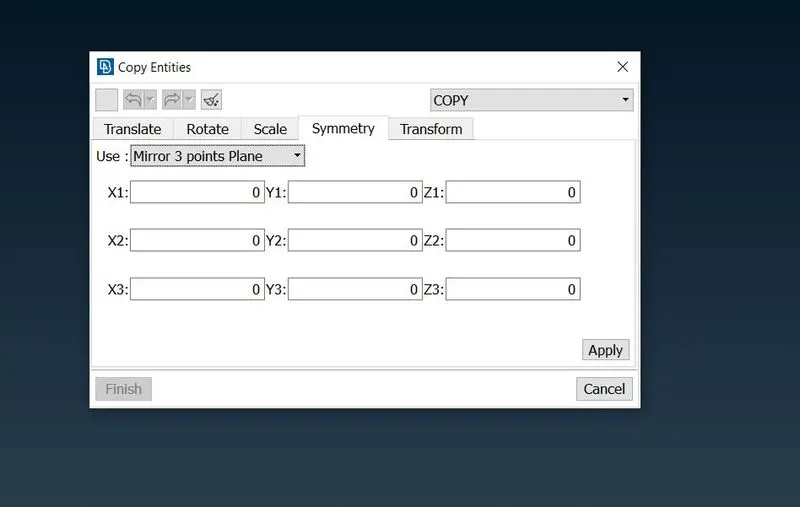
- Now we can use the Transform option to recreate the full geometry. Use 3 point plane under the Symmetry tab and select 3 hot points.
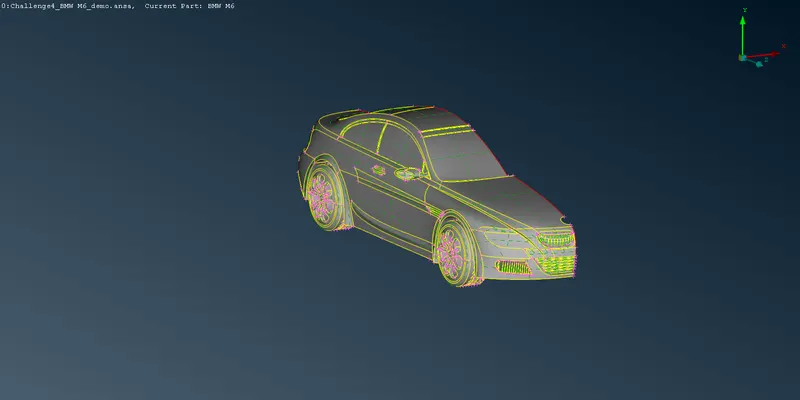
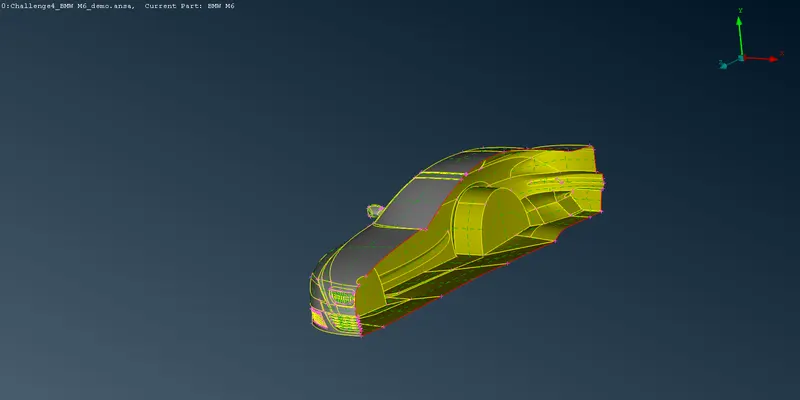
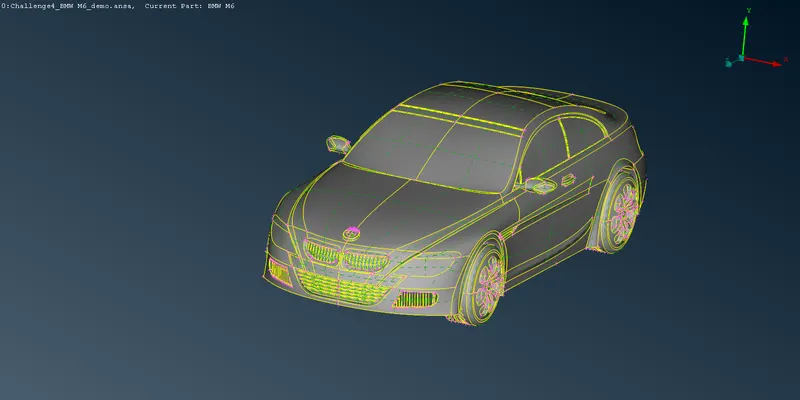
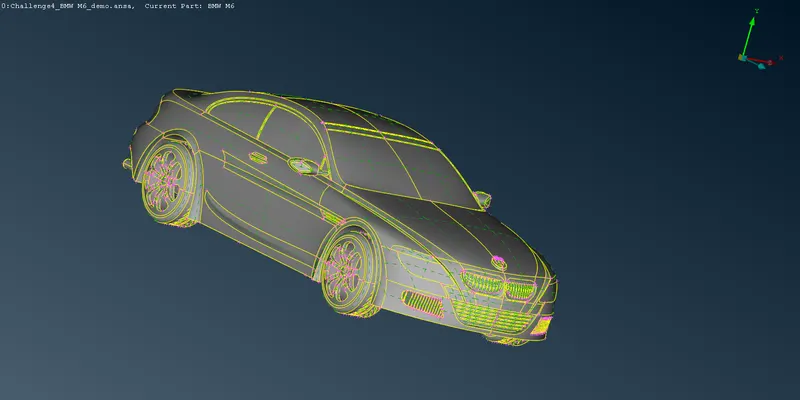
- Perform a Geometry check to make sure there are no errors present after the use of the Transform tool.
- Now we can move on to the surface meshing part. We need to mesh the components individually since the given mesh target lengths are different for each PID.
- Assign the mesh parameters and quality parameters for each PID as per the challenge statement. This will reduce mesh failure and off elements as correct max and min lengths will be assigned.
- We can start with grills and logo as they have the same target length of 1mm.
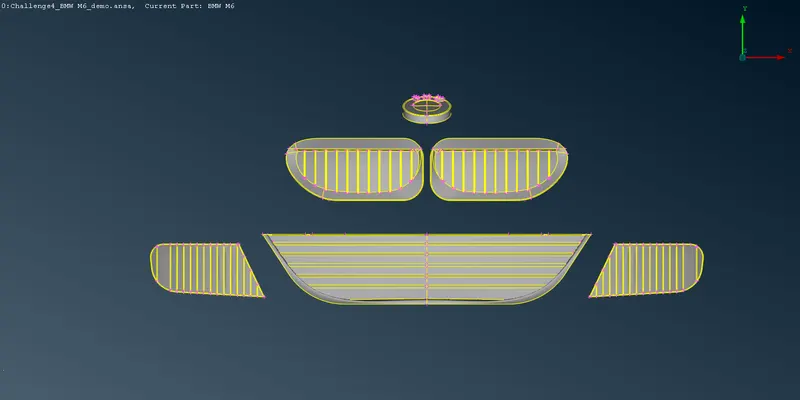
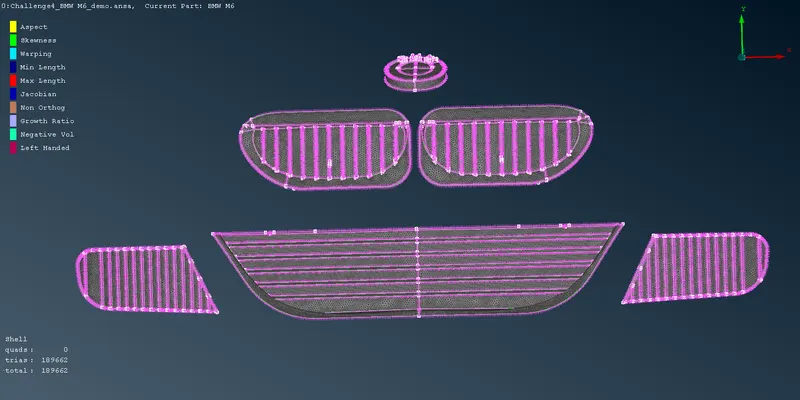
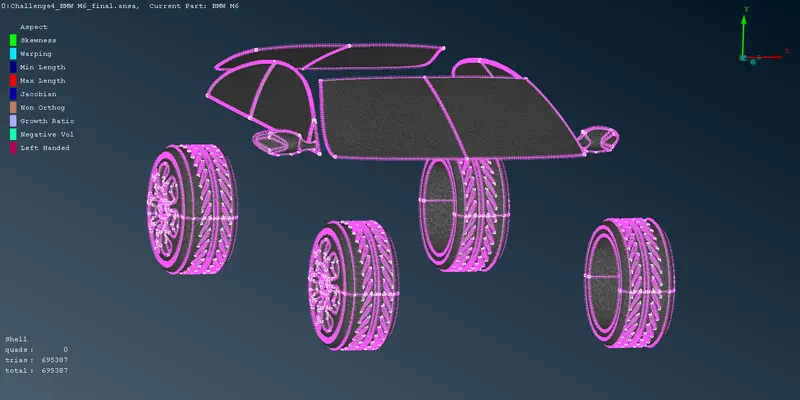
- Next, we will mesh Rims & Tyres, Mirrors, and Windows with the target length of 2mm. Before that make sure the previous meshing is locked by using the Freeze/Unfreeze option in order to avoid any errors.
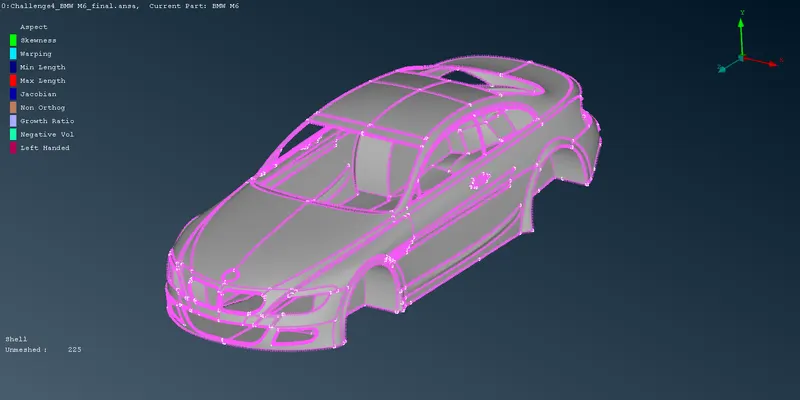
- Now we will mesh the Body and Silencer with a target length of 3mm.
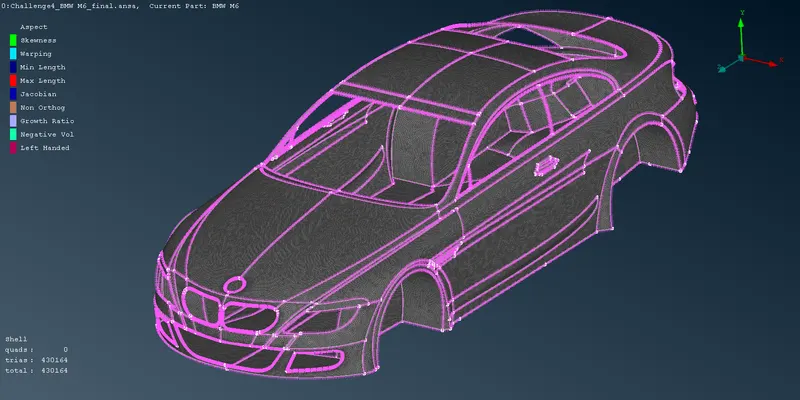
- The only PID left now is the Lights. Th required target length for Lights is 4mm.
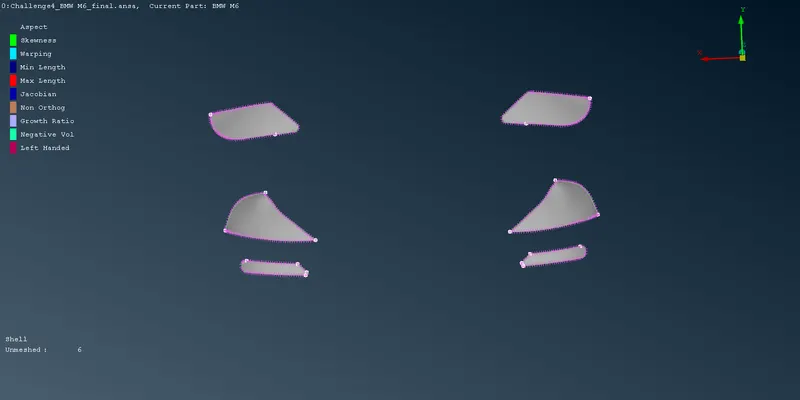
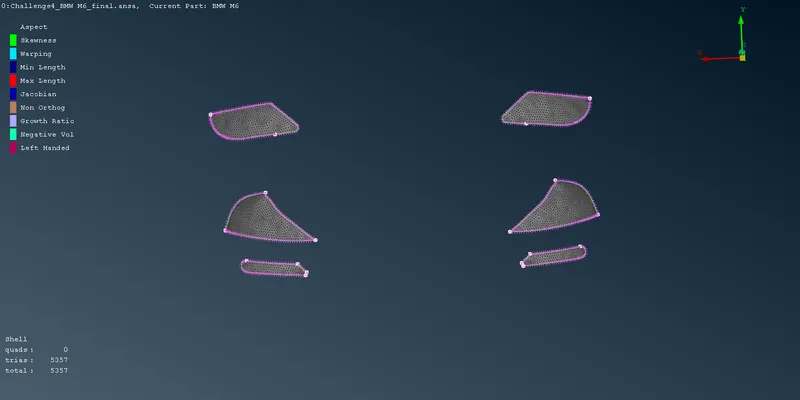
- Once the meshing process of the entire car is done, check for off elements and try to rectify it using Reshape or Reconstruct options.
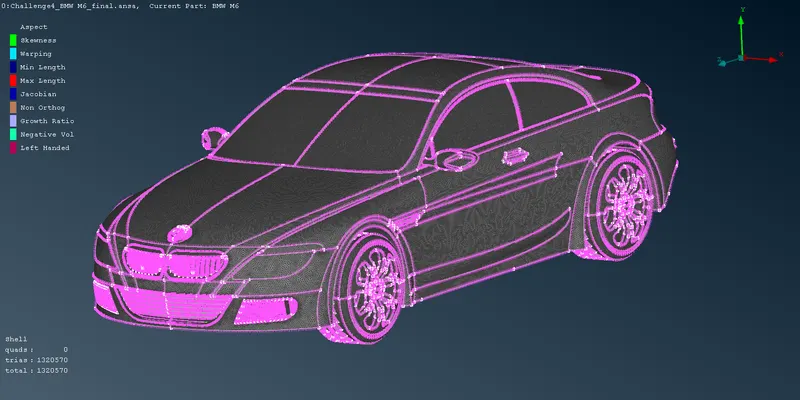
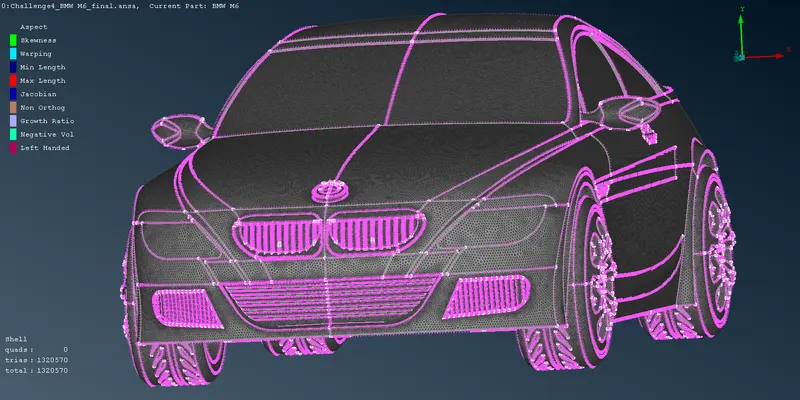
- Our next objective is to create a fluid domain enclosing the car. We can use reference points to create fluid domain surfaces. The 'Relative' option under the Points section in the Topo module can be used for this purpose.
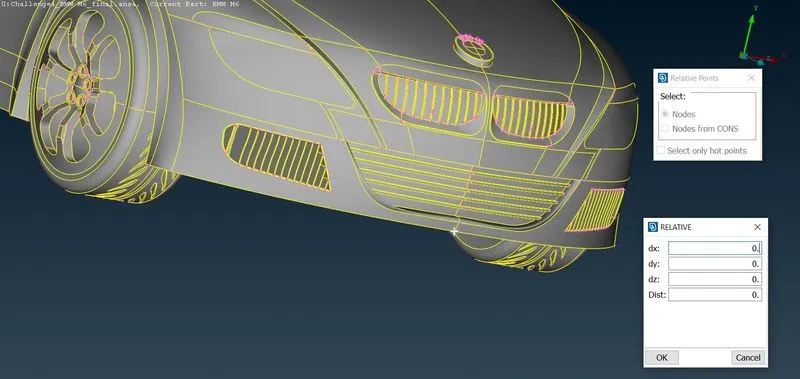
- The fluid domain dimensions are calculated based on the dimensions of the car. The length of the car is approximately 1300mm(x).
Front surface distance(from the reference point): 5200mm .................. (4x)
Back surface distance(from the reference point): 7800mm .................. (6x)
Top surface distance(from the reference point): 3900mm .................. (3x)
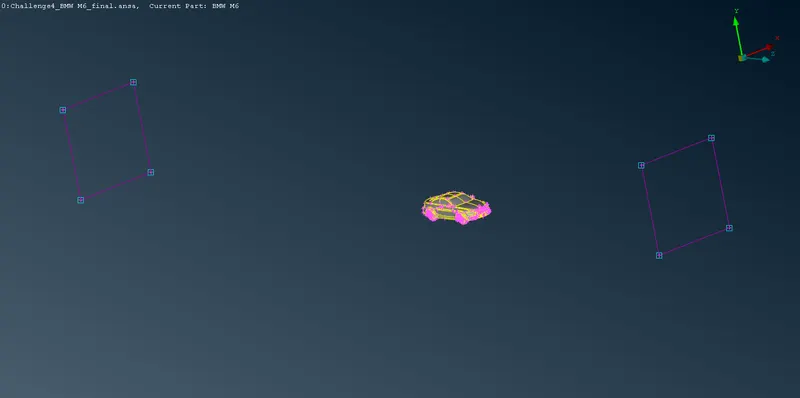
- Now we need to create surfaces using the reference points and delete the reference points as it is no longer required. Once all the surfaces have been created, we can move on to the meshing process.
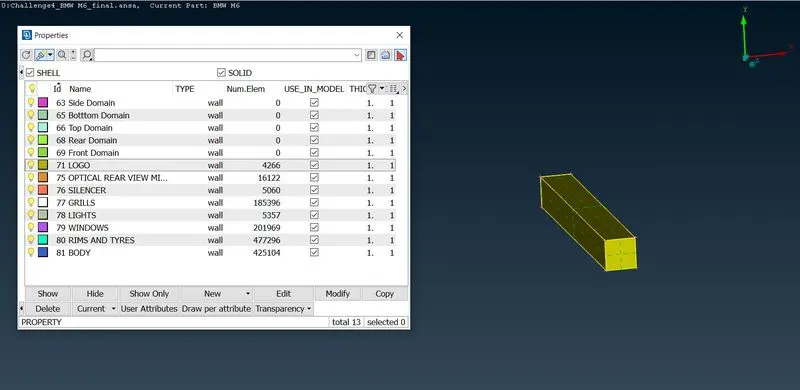
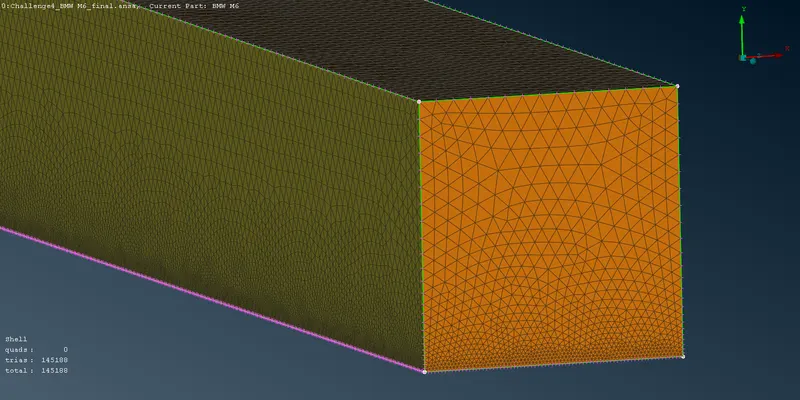
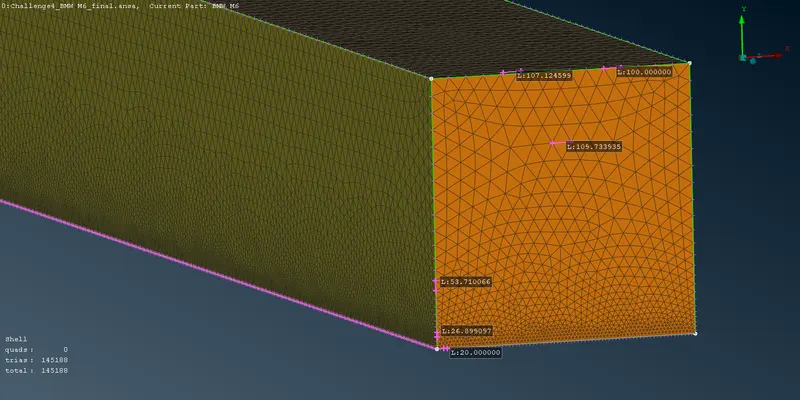
- In order to completely capture the aerodynamic behavior, fine mesh is required on the bottom surface and coarse mesh on the top surface.
- Use the Spacing option under the Perimeters section to generate gradually increasing mesh (from bottom to top).
- Use CFD meshing algorithm to generate mesh on the fluid domain. Check whether the generated mesh is well with the target lengths assigned.
- Since performing volumetric mesh will take up to 2 days, we are not doing it here.
Learning Outcomes:-
- Performed various geometry clean-ups using different tools.
- The use of symmetry wherever possible reduces the total time required for cleanups.
- Create surfaces using the reference hot points by using relative points.
- Surface meshing for different components and the use of the Freeze/Unfreeze option.
- Using the "Spacing" tool in surface meshing helps in having varying mesh lengths along the surfaces.
- Using the Re-construct option to reduce off elements.
Results:-
The geometry cleanup and surface meshing of the given car model were performed successfully. A fluid domain was created with reference to the car dimensions and surface meshing of the fluid domain is done.
Conclusion:-
- Geometry cleanup and mesh generation were performed on the given BMW car model.
- Internal surfaces can be deleted in order to avoid triple con errors.
- A watertight model is required for studying flow properties.
- Varying mesh lengths should be given while meshing the fluid domain.
Google Drive link:-
https://drive.google.com/file/d/1_OnMxkPBCESe1y2PlqwNGt2HhQjCfMoy/view?usp=sharing