Week - 5 - 2D meshing for Plastic components
Aim:
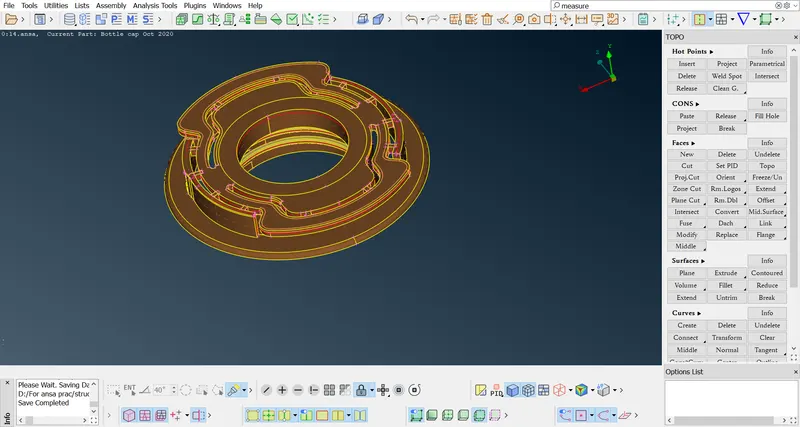
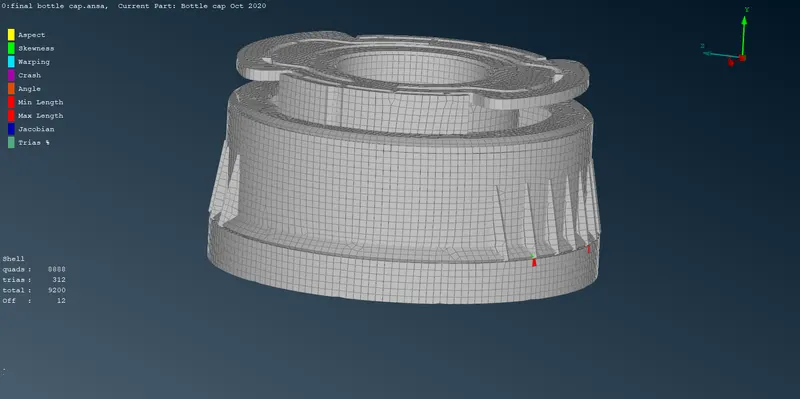
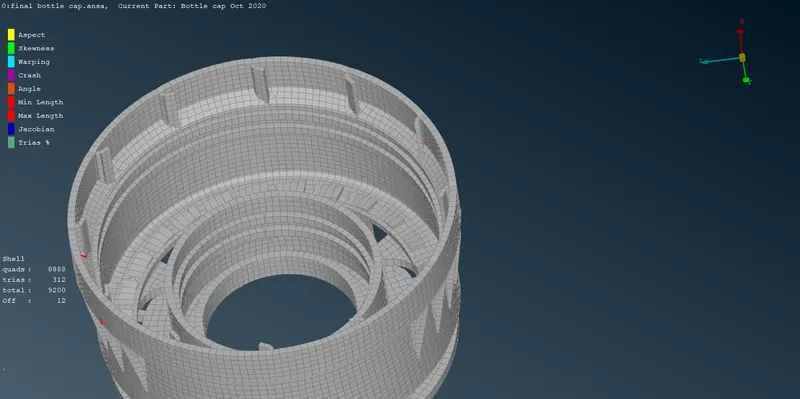
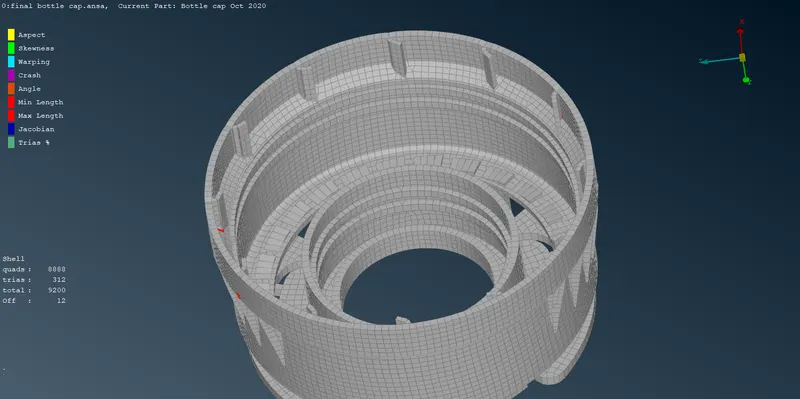
For the given Plastic Bottle Cap model, check for the geometrical errors and take the mid surface by suitable mid surfacing techniques. PID and Thickness assignment has to be done for all the mid surfaces. Mesh the same with the given element Quality criteria.
Required quality criteria :
|
Sr. No |
Quality Criteria |
Value |
|
1 |
Target/Average length |
1 |
|
2 |
Minimum Length |
0.5 |
|
3 |
Maximum Length |
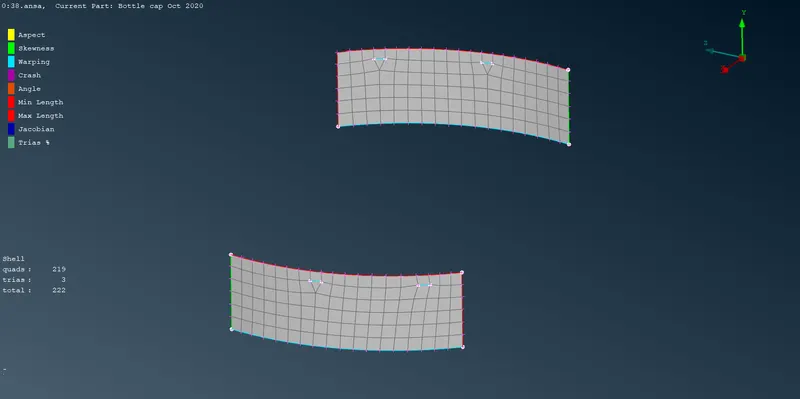
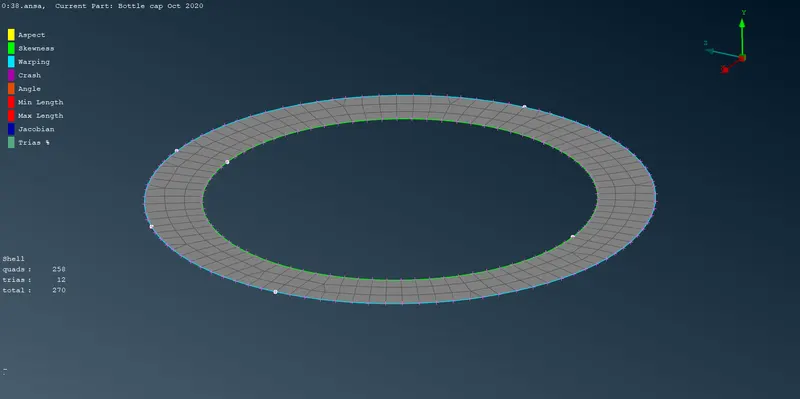
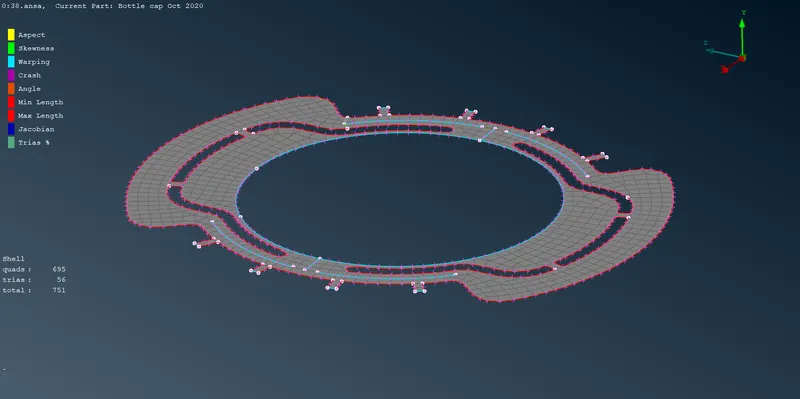
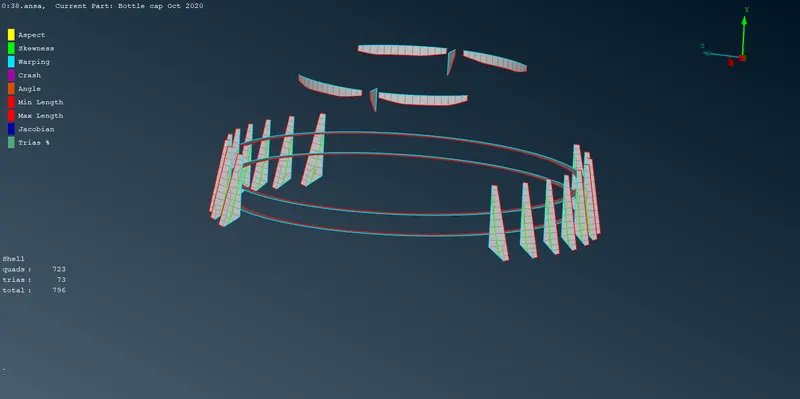
3 |
|
4 |
Aspect |
3 |
|
5 |
Warpage |
15 |
|
6 |
Skewness |
45 |
|
7 |
Jacobian |
0.7 |
|
8 |
Minimum Quad Angle |
45 |
|
9 |
Maximum Quad Angle |
135 |
|
10 |
Minimum Tria Angle |
30 |
|
11 |
Maximum Tria Angle |
120 |
|
10 |
Tria Percentage |
15 |
Procedure :
1.Import-for import we have to open ansa go to file then click open and go to location and by confirming
click ok model was open for work
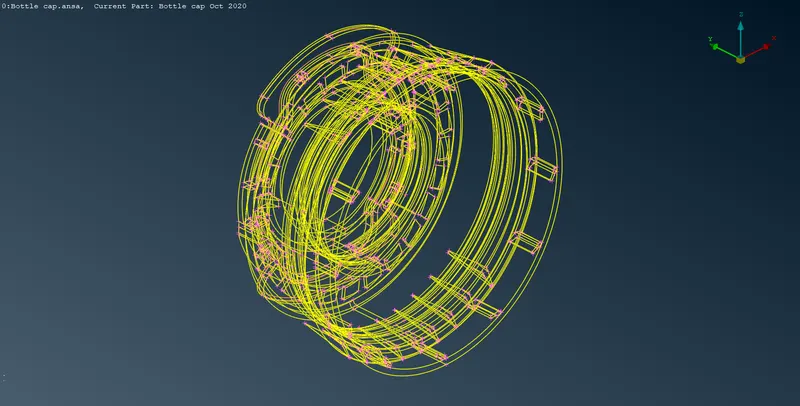
2.now we have to take mid for this bottle cap, it seems like every feature having different length. So we
have to plan accordingly to take mid surface of entire bottle cap
3.now perform topo over entire model and we see exact model we have with errors.to detect those
error go to check in that click geometry checks and by performing this option we see how many errors
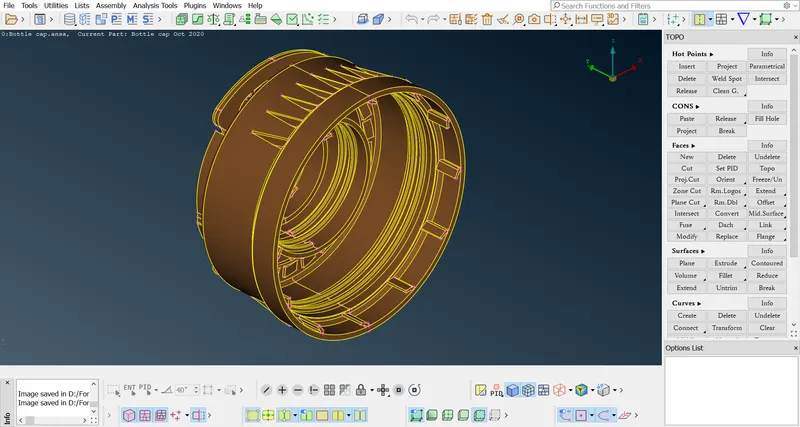
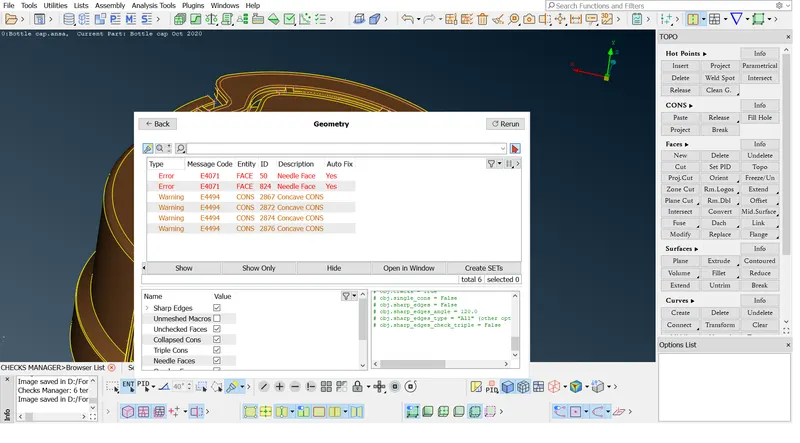
are present in this model such like concave curve, single cons, triple cons etc.by doing auto fix we can
get rid of this errors.
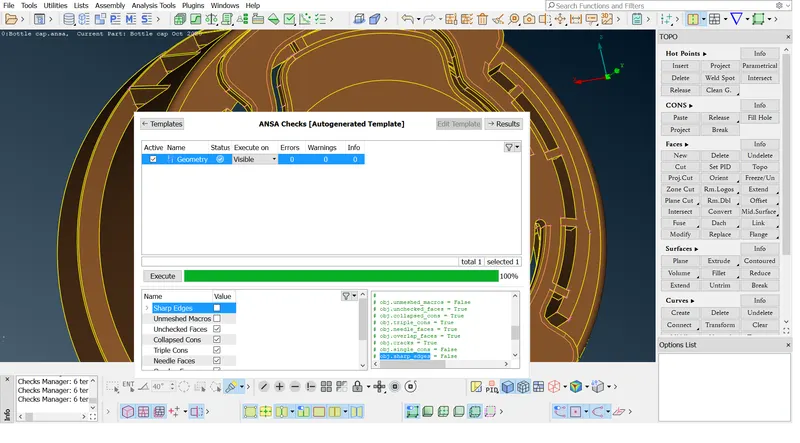
4.now we have to start from critical surfaces we may suppose taking so much time.so lets starts with top surface. firstly measure the thickness by using measure tool and select 2 nodes. We have to remove those cons which we don’t want and which is not in use .
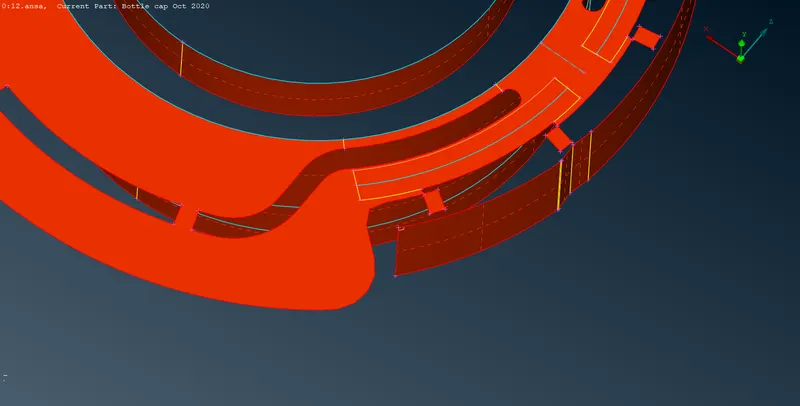
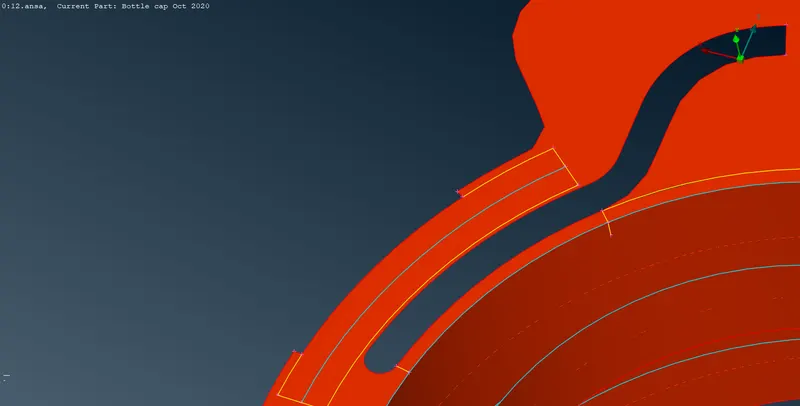
5.by using offset tool select surface to offset and give distance exact mid. In lower dialogue box check whether hide surface is off make sure that option is off or cross. And above that click ask for property selection. So while you offsetting the surface give PID name and thickness.
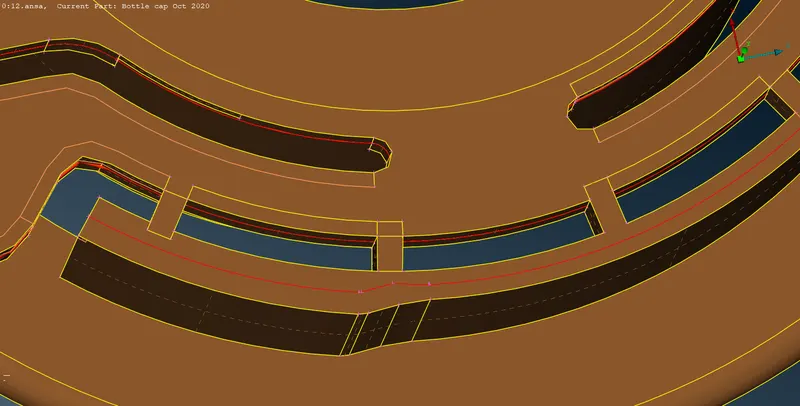
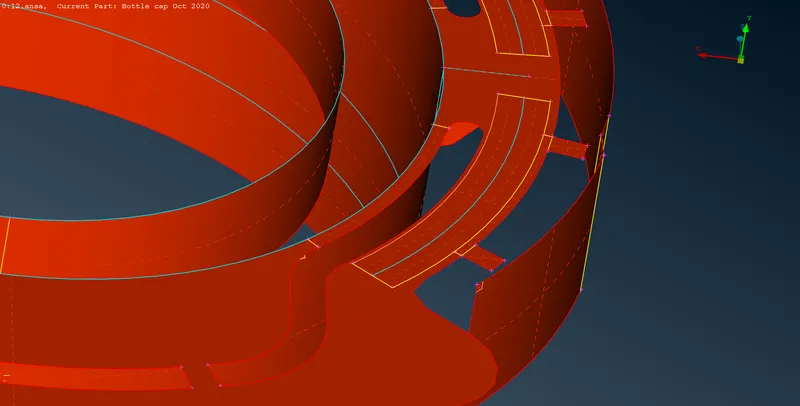
6.now go to outer rib portion for that we have to use middle option, observe that this rib having two surfaces which are varying thickness so use middle option for both of the surfaces and at the end use topo at both surface.
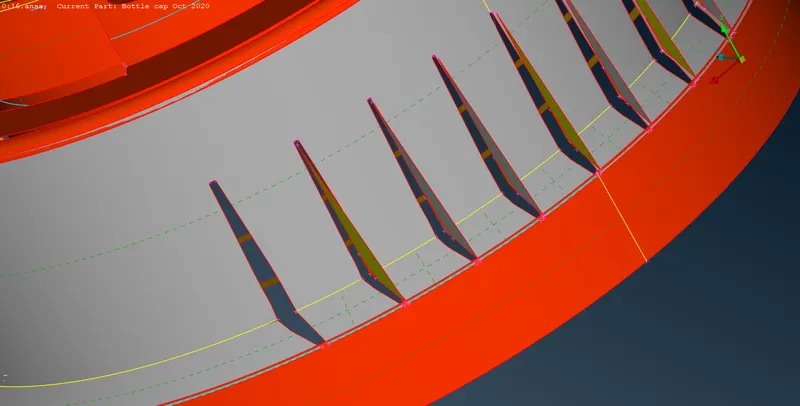
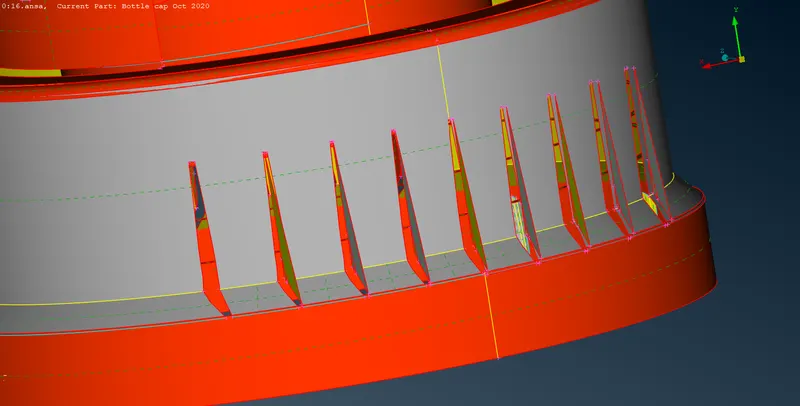
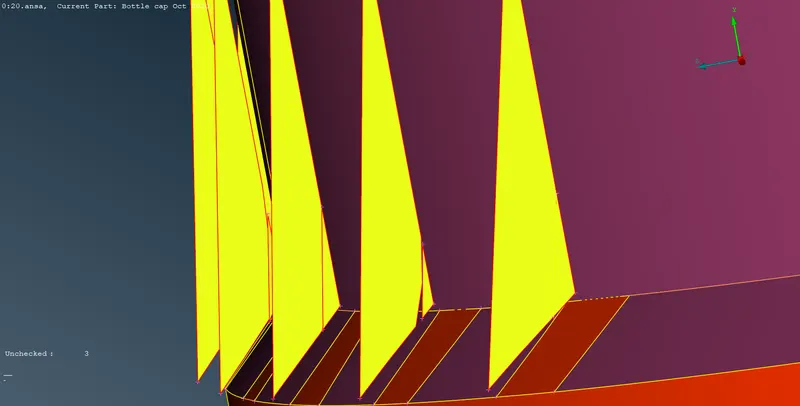
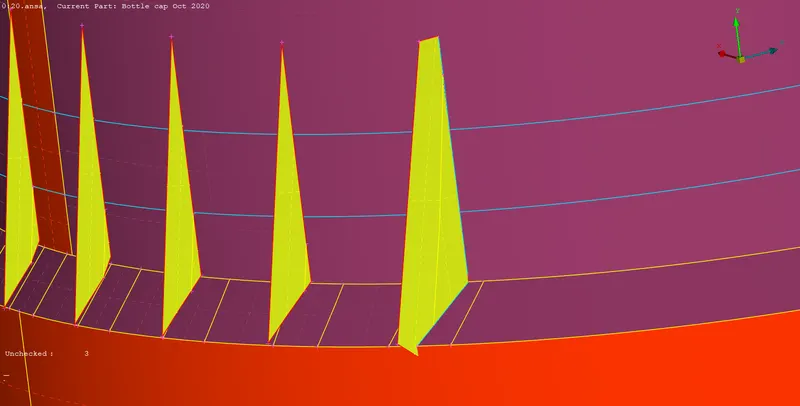
7.now take the mid for thread part for this we have to create curve in order to make mid surface, hit mid curve option in curves option select 1st con and 2nd con by applying ok, we get curve this process same as backward cons also after this hide parent geometry and by creating new surface we get the mid surface of thread, do this process for other thread part also.
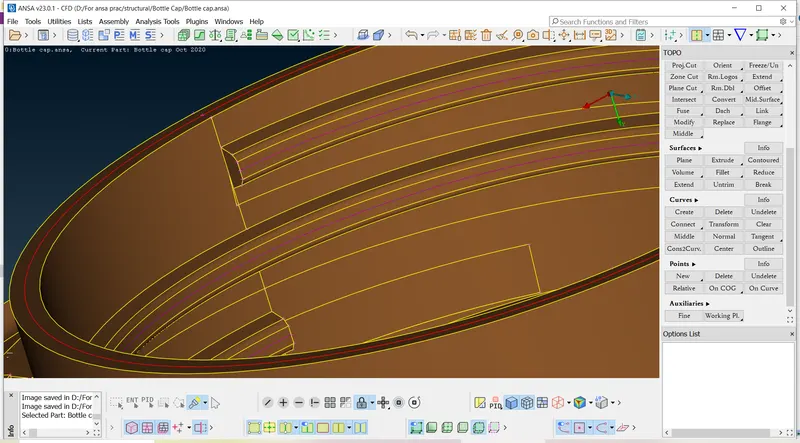
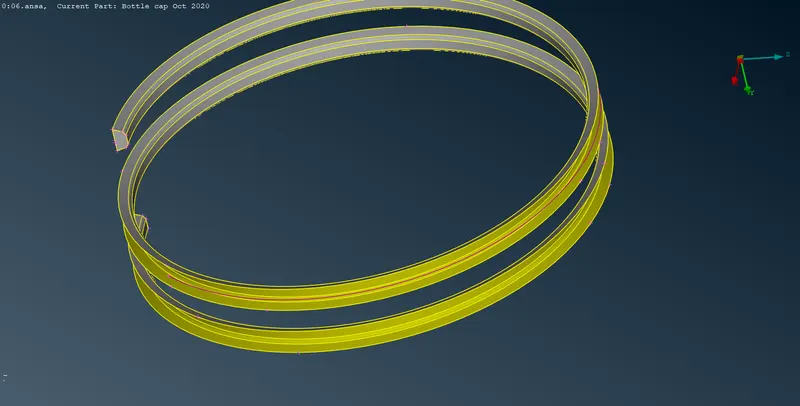
8.now go to inner side and we have to take mid of circular wall which are equal in thickness take mid surface by offset option and apply topo.
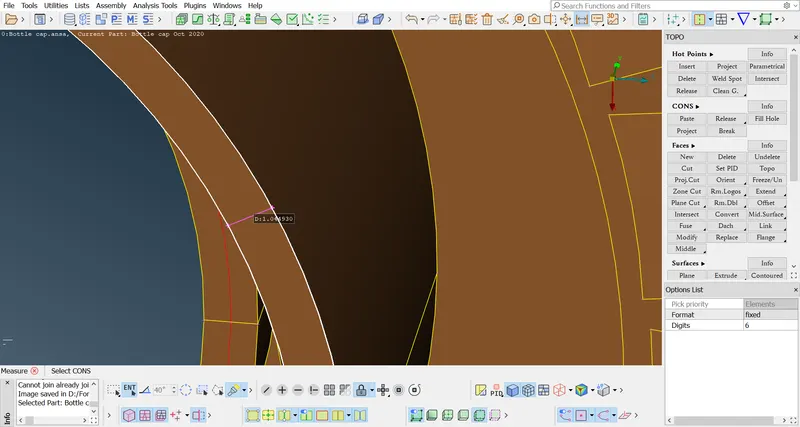
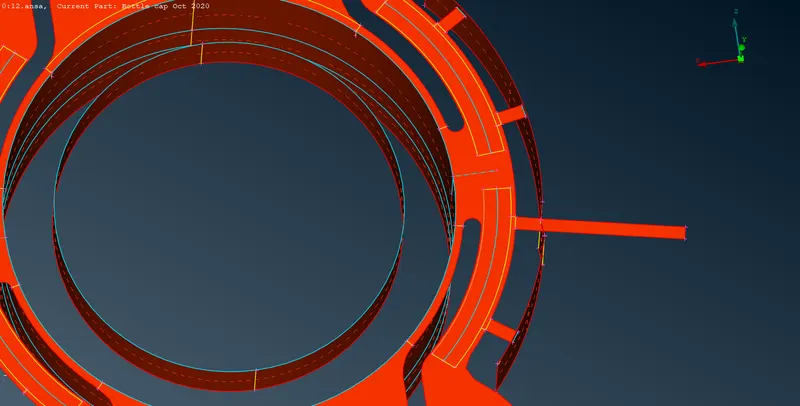
9.for that middle rib type feature by using middle take mid surface, and by rotate option we can rotate that mid surface. For that we required point or axis by cog point option .
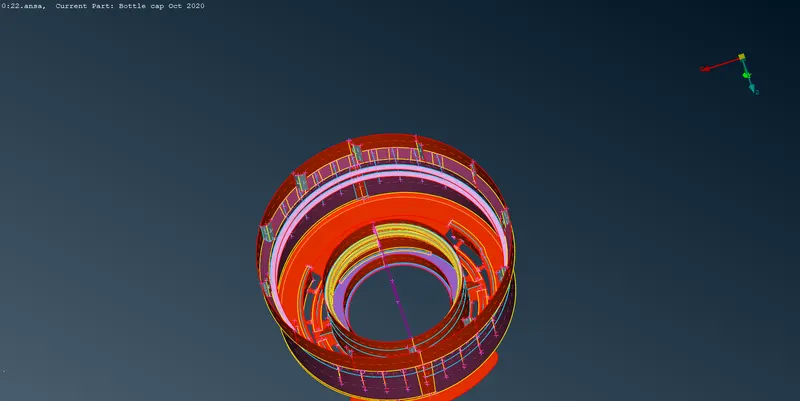
10.now same as upper fin type feature take mid by middle option and rotate it by exact numbers
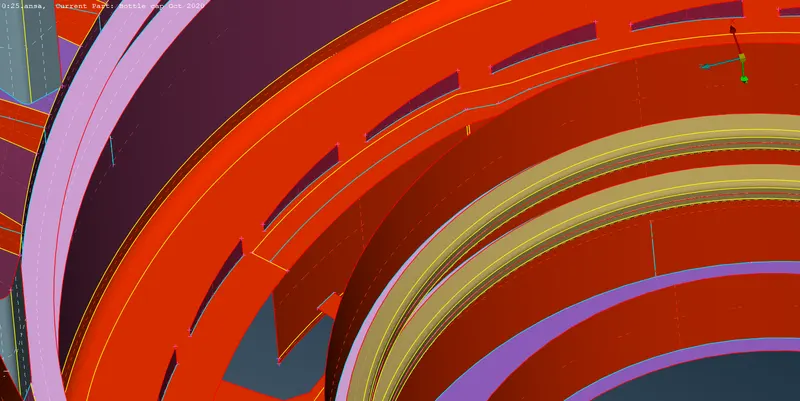
11.take inner ribs also by middle option.
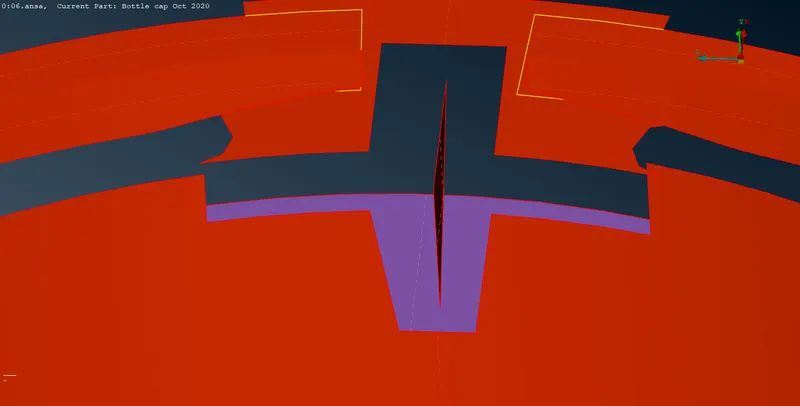
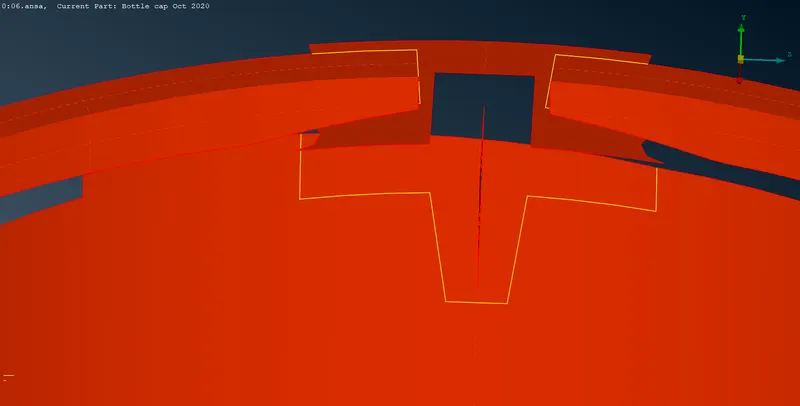
12.now take middle for body for that take one by one mid surface to achieve whole mid surface. If there is variable thickness take average for that part.
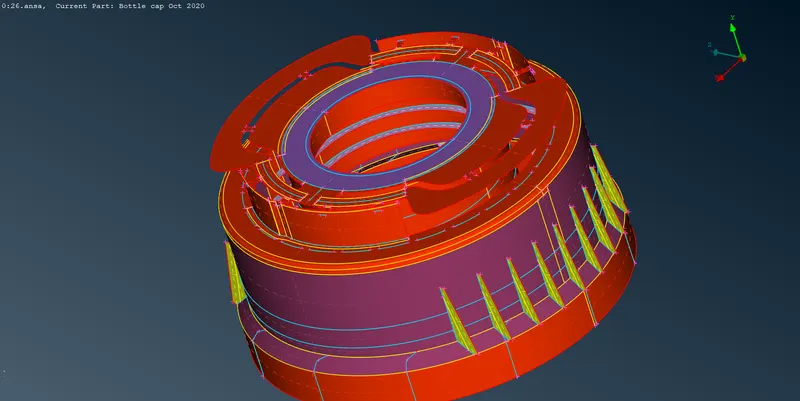
13.now we have to extend all surface to body. Start with ribs by extend option we catch that surface as triple cons.
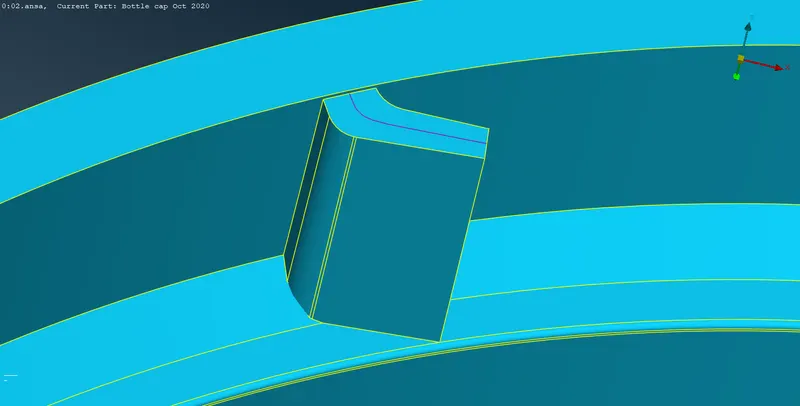
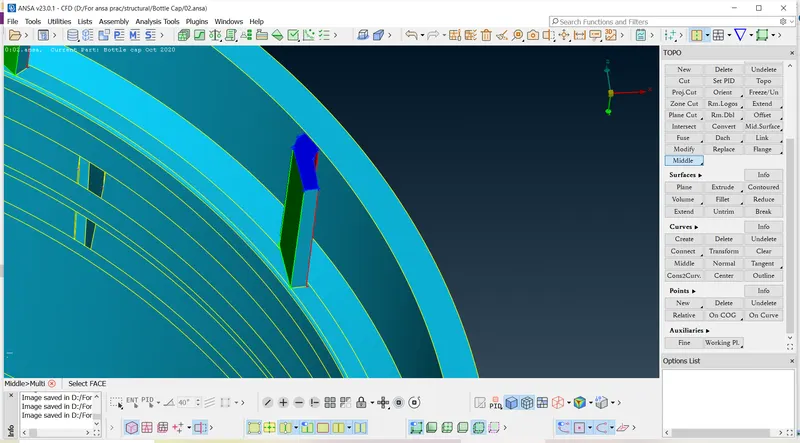
14.and trim extra surface by using intersect option
15.rib extend up to body then thread extend up to body surface. And fade out those cone which we not required this may cause to element failure at the time of meshing.
16.take a look and remove cons and surface and create best solution by which that surface may not cause for failing the elements.
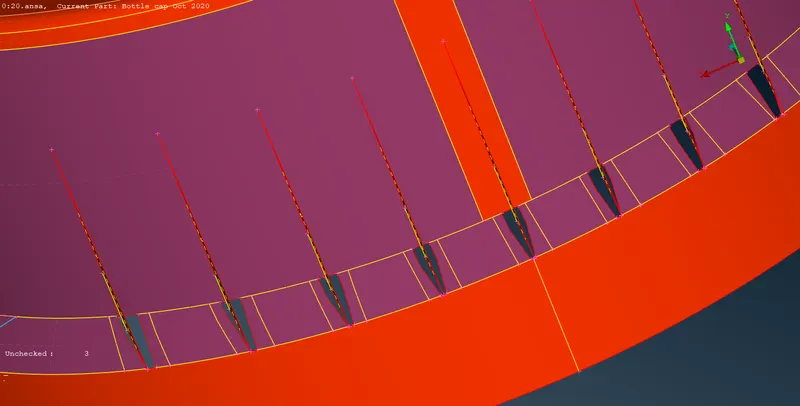
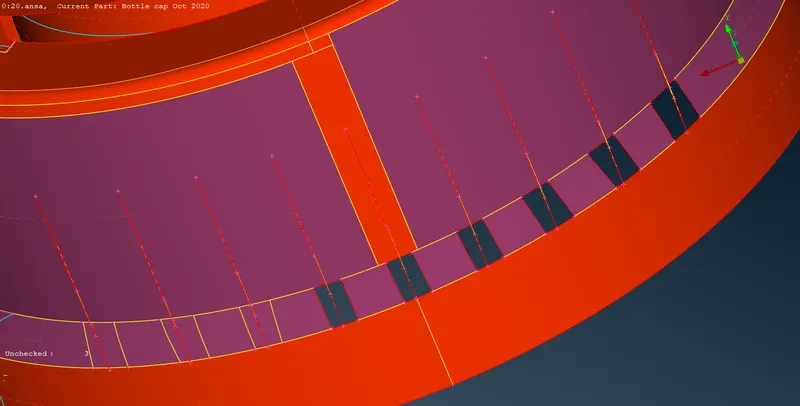
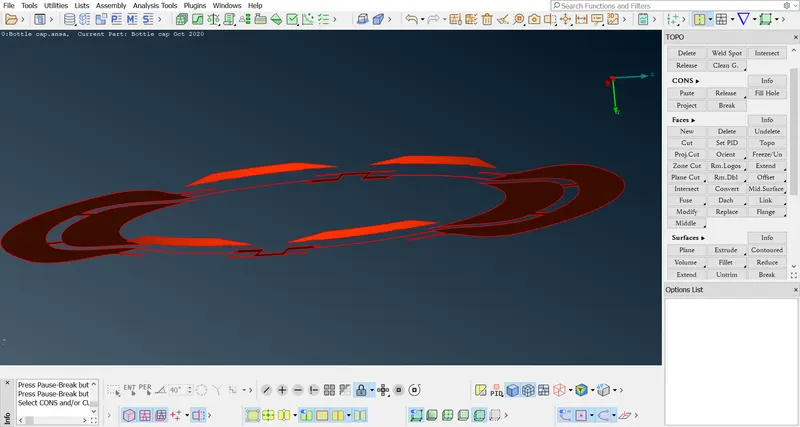
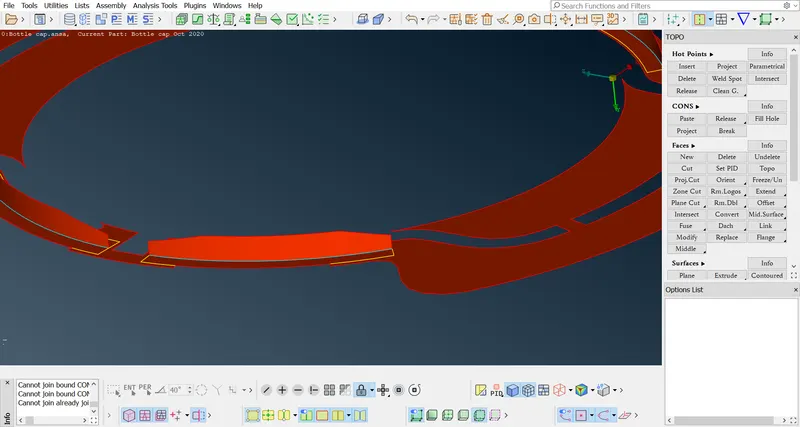
17.now see any errors are detect by run the geometry checks option.
18.now for meshing use below quality criteria.
|
Sr. No |
Quality Criteria |
Value |
|
1 |
Target/Average length |
1 |
|
2 |
Minimum Length |
0.5 |
|
3 |
Maximum Length |
3 |
|
4 |
Aspect |
3 |
|
5 |
Warpage |
15 |
|
6 |
Skewness |
45 |
|
7 |
Jacobian |
0.7 |
|
8 |
Minimum Quad Angle |
45 |
|
9 |
Maximum Quad Angle |
135 |
|
10 |
Minimum Tria Angle |
30 |
|
11 |
Maximum Tria Angle |
120 |
|
10 |
Tria Percentage |
15 |
19.give mesh length as 1, macro and perimeter is also 1mm
20.by using mixed element mesh PIDs one by one
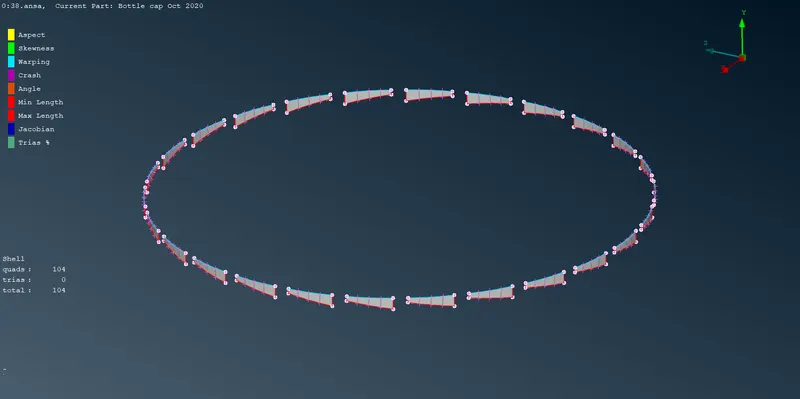
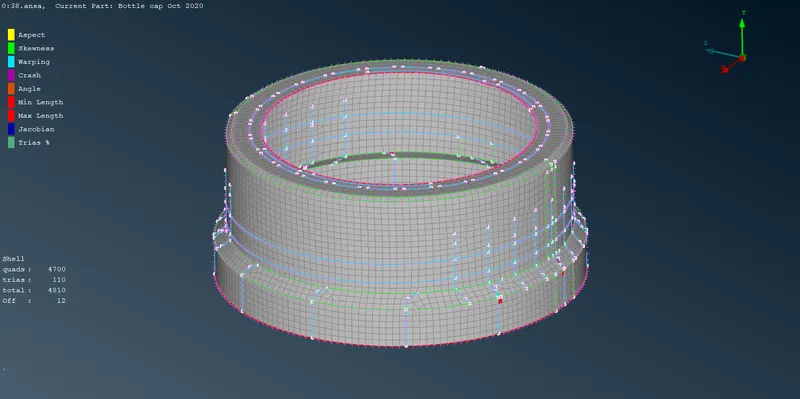
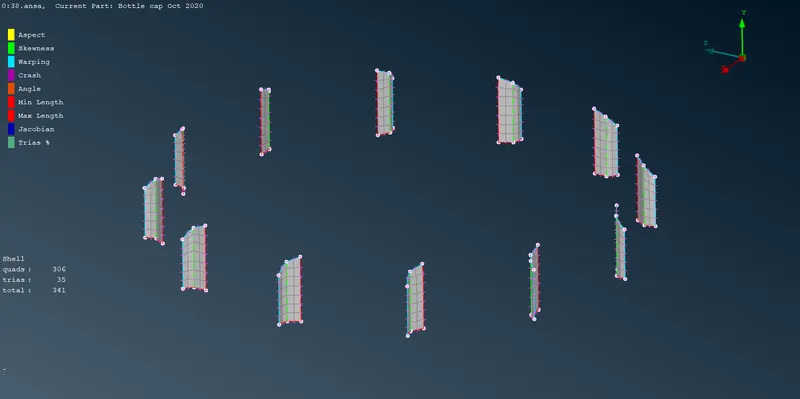
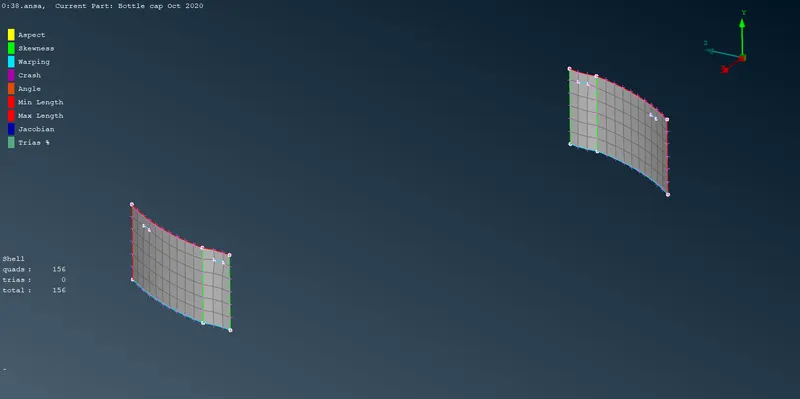
21.now get rid off failed elements by reconstruct meshing option and some elements chneges.
22.we cant remove off elemnts near triple cons
23.if you done with removing off elements go to quality criteria in that select option presentation and from that choose shell as solid we can see thickness over component.
what I learn from this challenge
1.import of model
3.assign PID for diffrent region
4.set mesh parameter
5.set quality criteria
6.deploy mesh
7.various isolating options
8.hide options
9.topo clean-up
10.surfacemesh
11.mid surface
12.set PID for thickness
13.how to clear off elements
14.applying thickness
drive link
https://drive.google.com/file/d/1ablS0b0zttsPBpJnPvA6ixRqzdMKOE9e/view?usp=drivesdk