Week 4- Meshing of Backdoor Challenge
Objective:- The aim of this challenege is to clean the given back door assembly, and mesh it with given required parameters.
Procedure:- To start working with the model, first we open the given model into the hypermesh software by importing the cad file, using import geometry command.
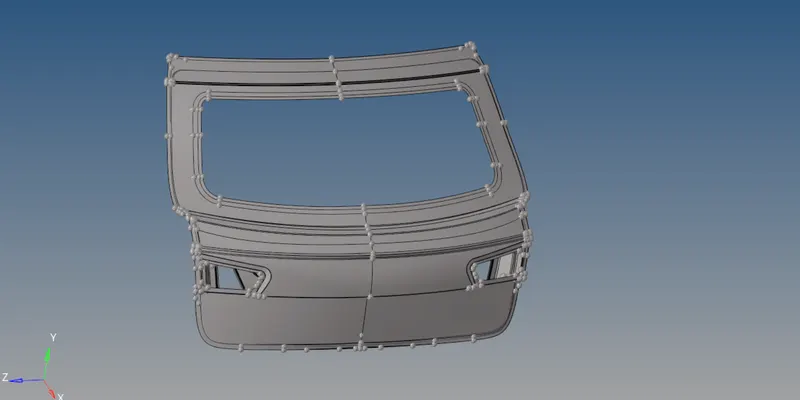
Fig 1: Showing the imported 3D file of car back door.
After this we will look for any geometrical errors in the model, and try to fix them using commands available in the geom option.
As, the back door is symmetric across the mid plane, so to make the meshing process fast, we will mesh the half part of the door and then, mirror it to get the full mesh.
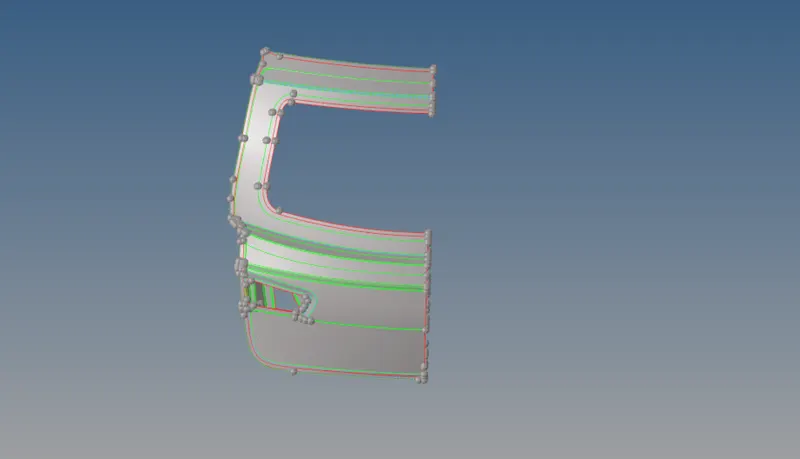
Fig 2: Showing the half model ready after splitting from symmetric plane.
Now, we will extract the mid surface of the model, using mid surface command.
At the edges, the round face of the hem is so small that, the elements at this region will fail. So to avoid this element failure, we will cut the hem at mid, and suppress the upper and lower edge.
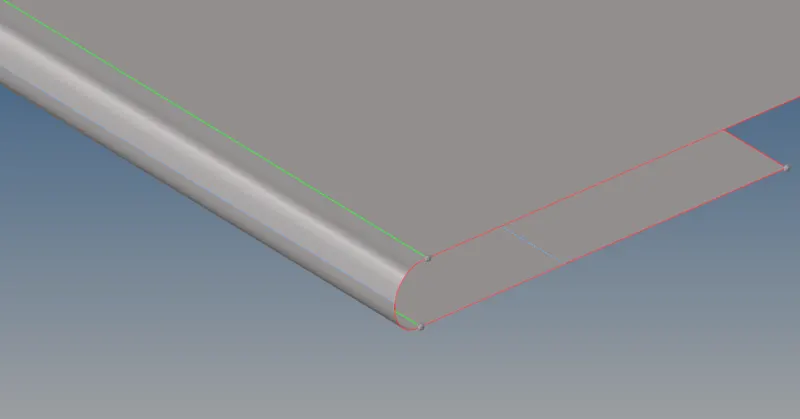
Fig 3: Showing edge before geometry cleanup
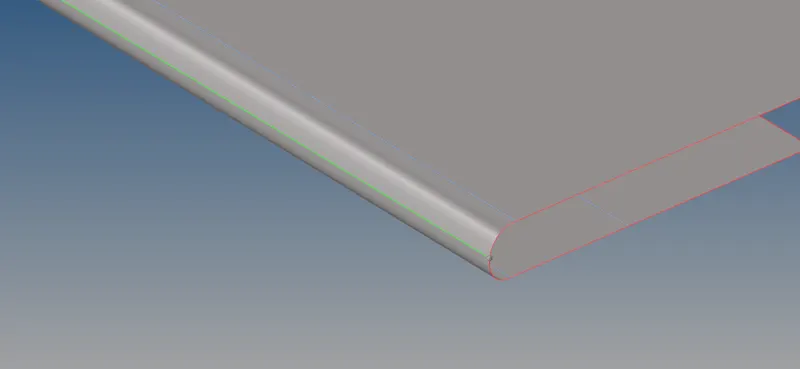
Fig 4: Showing edge after geometry cleanup
By performing all the geometry cleanup process, we will mesh all the surface one by one and achieve good mesh flow across the surface, untill all the faces are meshed completely.
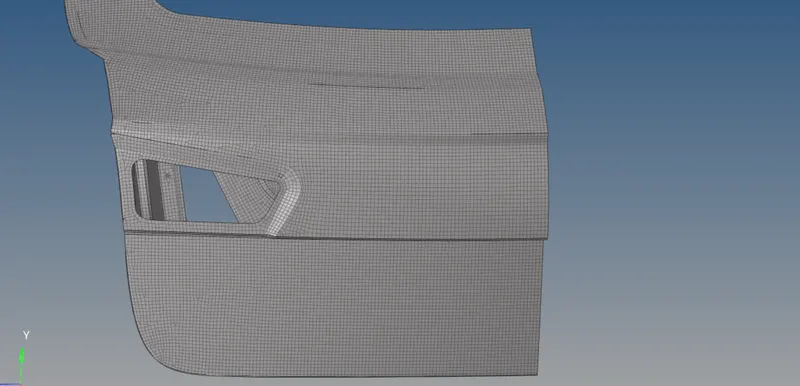
Fig 5: Image showing, meshed surface of back side door
Now, we will mirror the elements across the mid plane, to obtain mesh of full backdoor.
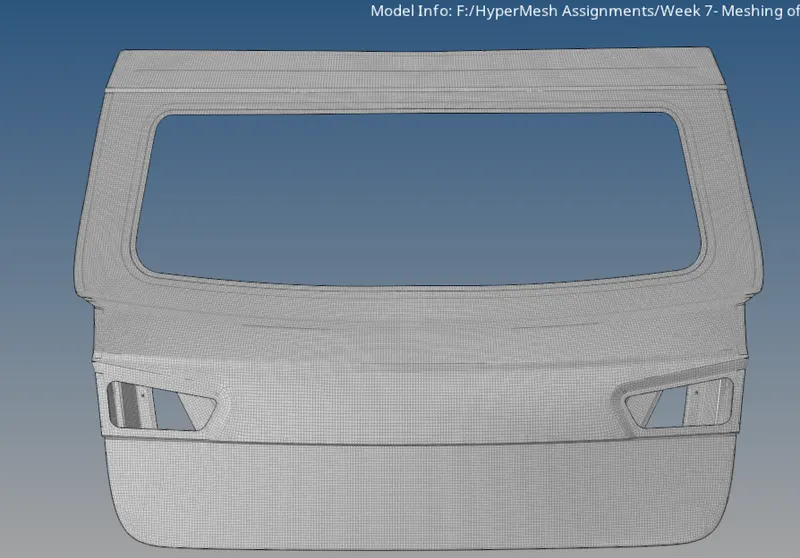
Fig 6: Image showing model after reflecting elements across the symmetric plane
After, refelecting and doing equivalence of elements, we have to assign the tihckness of the elements according to there face thisckness.
To do so, first we will create a new material named- MS, and then create two different property- back door and back door support; since there are two values of thickness in the part. we assign the required thickness to the parts and, after this our model is ready for the analysis.
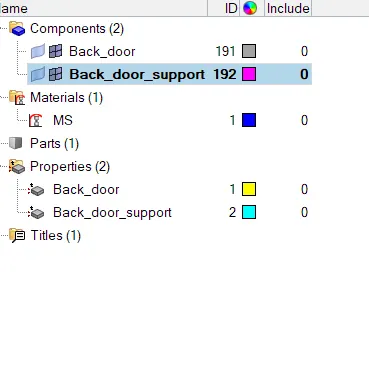
Fig 7: Showing the newly created properties
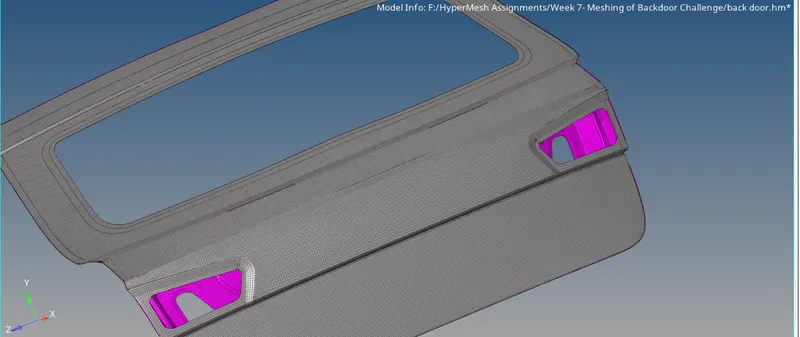
Fig 8: Showing the final meshed model