Week 4 Challenge : CFD Meshing for BMW car
Aim:
To perform Surface meshing, volumetric meshing, and create a wind tunnel for the given BMW car model by complying to the quality criteria using ANSA.
Procedure:
Step 1: Geometry Analysis and cleanup
- Import the Geometry file into the ANSA
- Go to Check-->Geometry-->Execute and look for the errors in the geometry
- Delete another half of the car body without the logo so that after performing all the required operation we can make the other half using the symmetry option
- use MESH-->Perimeters-->Length-->Perimeter and select the entire model and give target length as 0.5 to fine the entire model
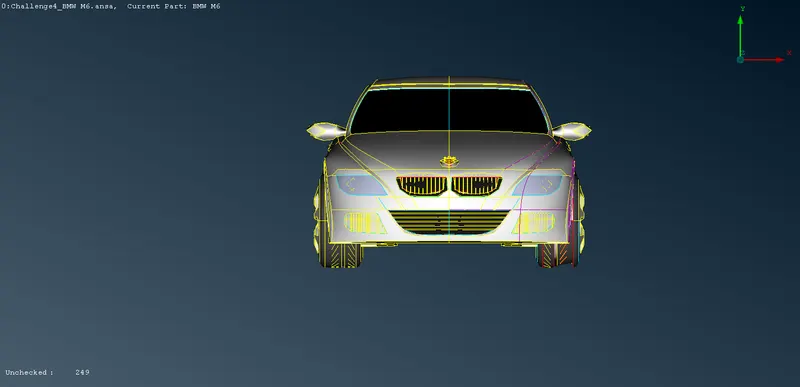
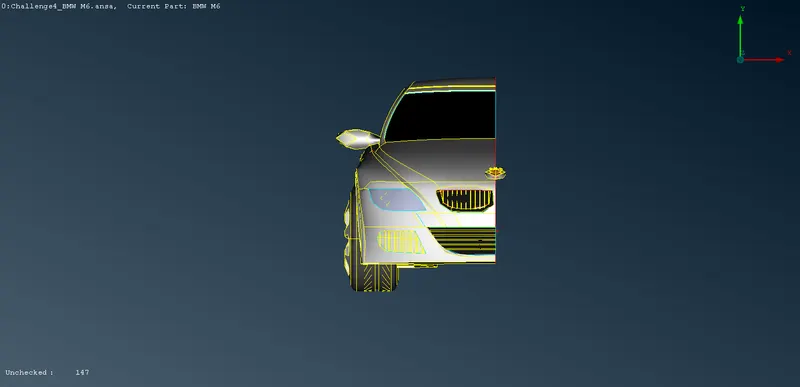
- Look for the single cones(red cones) and triple cones(Blue cones) in the model
- Before moving further we have to keep in mind that we must have the car as a single volume for our ease during volumetric mesh
- So we'll start with the grill and proceed further. In the process of making a single volume, we'll solve the single and triple cons issues along
- If the red cones are present in the geometry then use TOPO-->Faces-->New-->COONS to patch the gap or if there is no need for any new surfaces then go for TOPO-->Faces-->Topo and select the cons or else TOPO-->CONS-->Paste and select the two red cons to be pasted
- If Blue cones are present in the geometry then check for overlapping of surface, if found then delete that extra surface
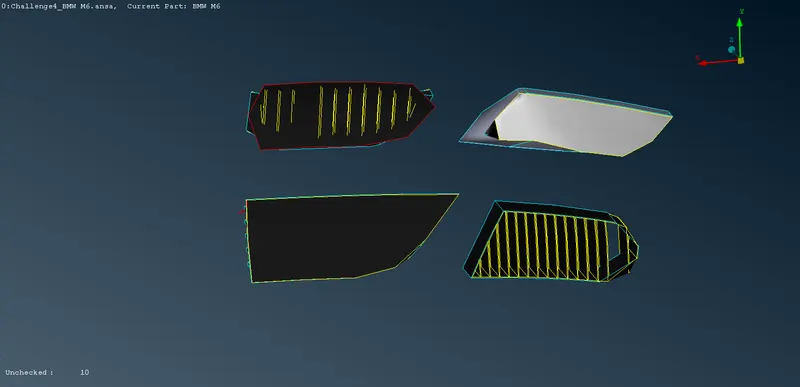
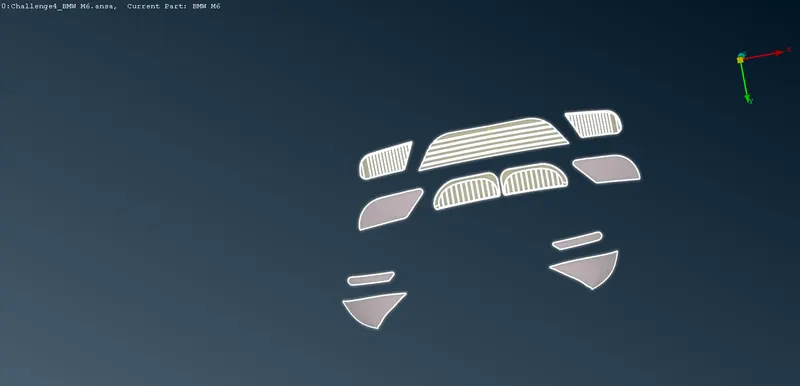
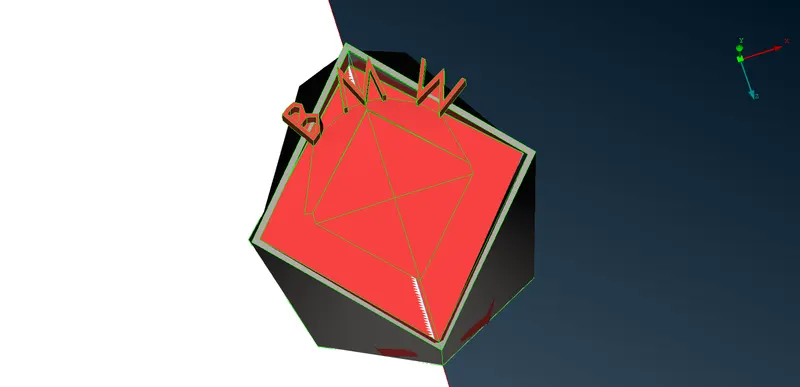
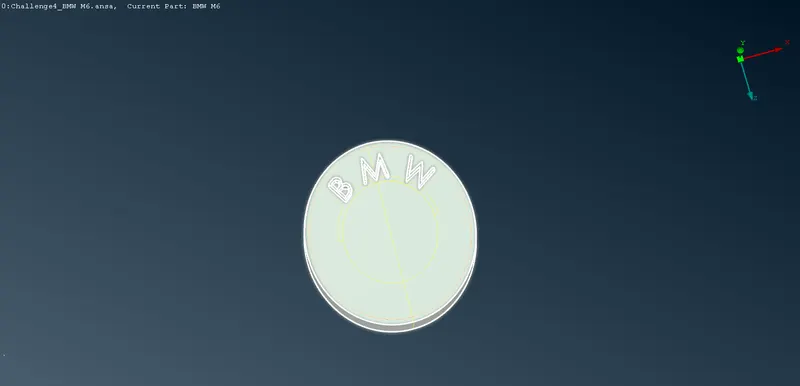
- Remove the common surface between the logo and bonnet to have a single volume attached to the body
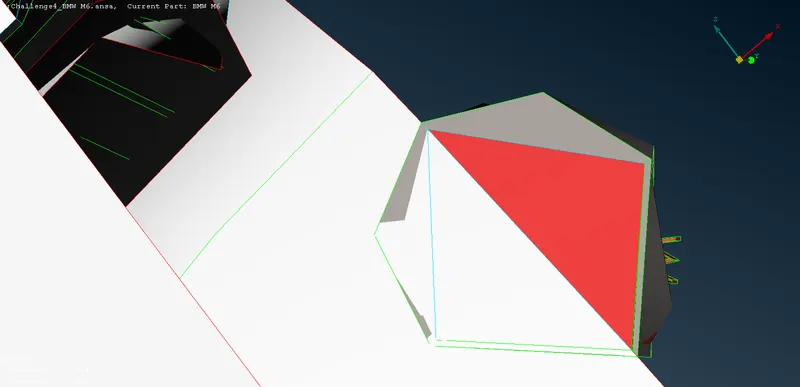
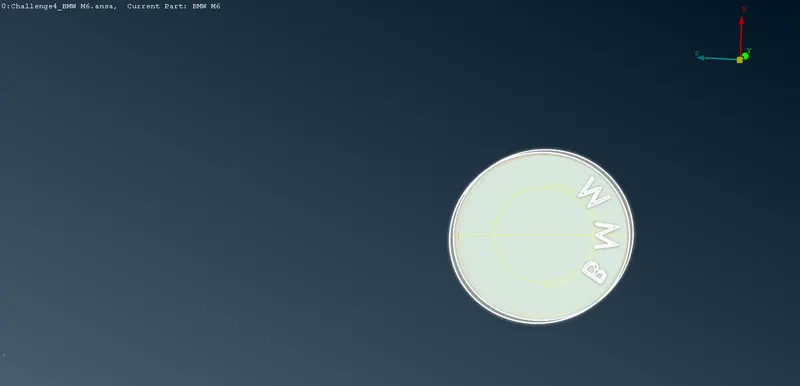
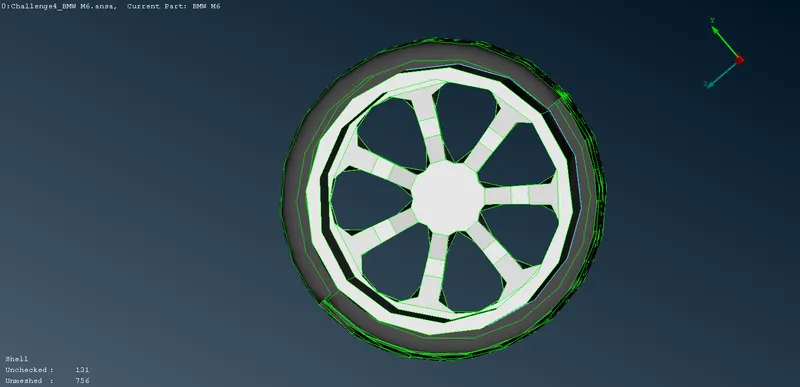
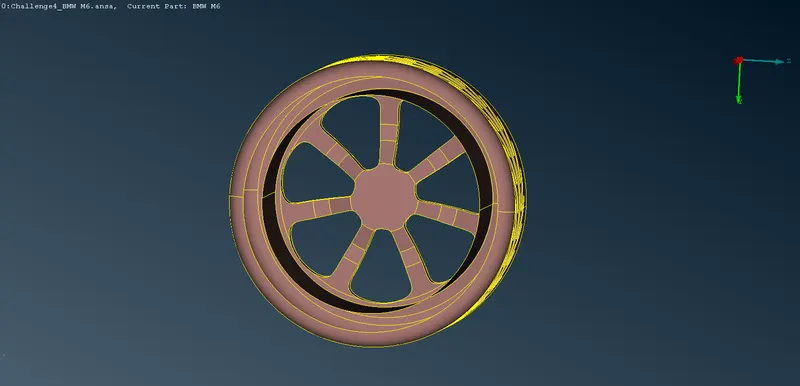
- Remove the triple cons by removing the unwanted surface and make the tyre and rims as a single separate volume
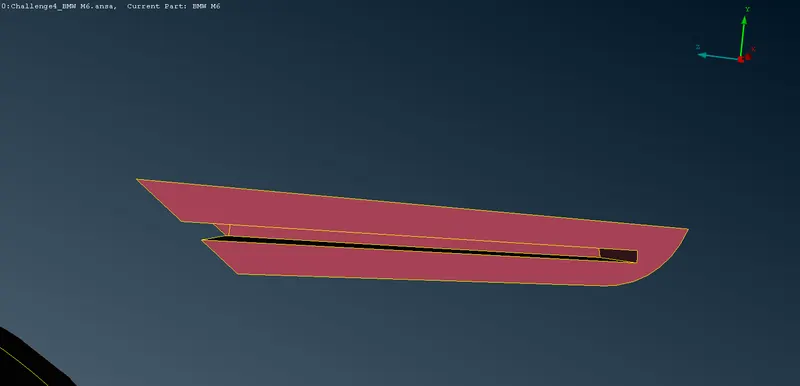
- Remove the unwanted surface and make the optical mirror a single volume attached to the body
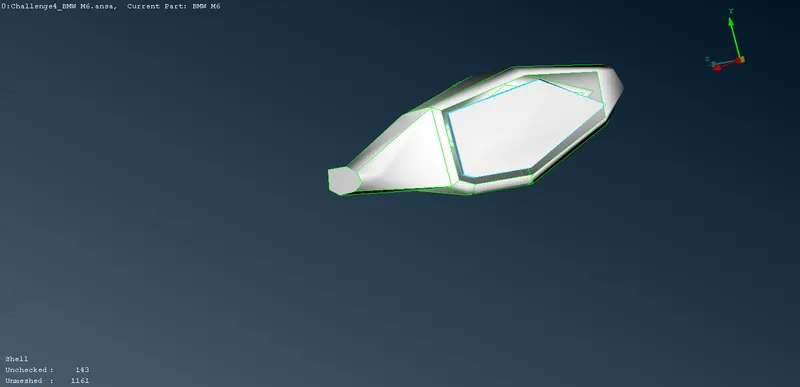
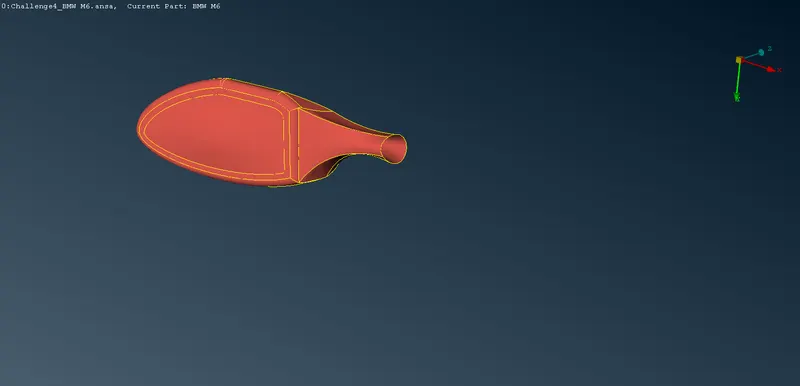
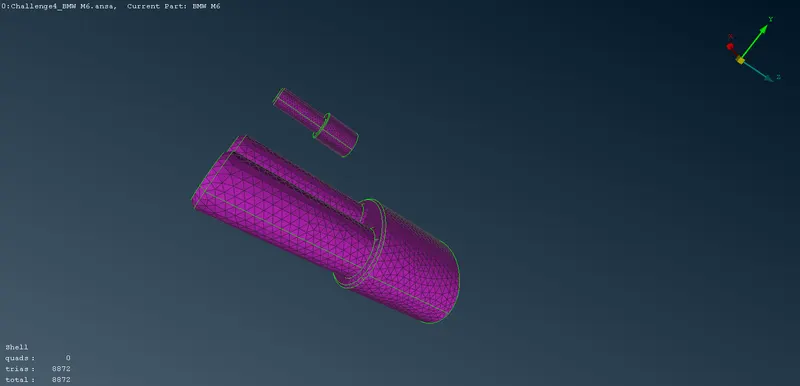
- Remove the inner surface of the silencer and make it a single separate volume
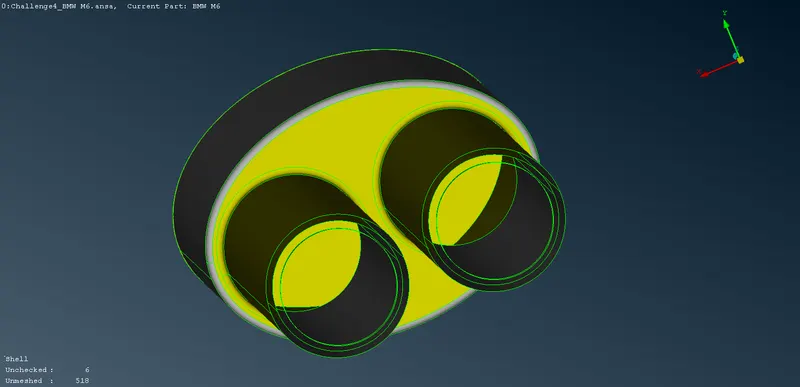
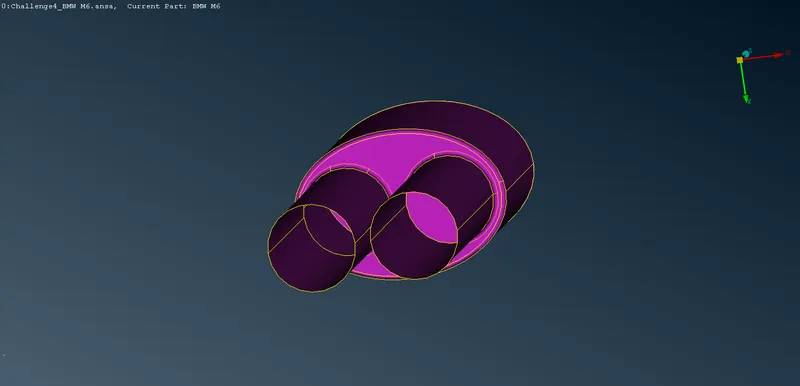
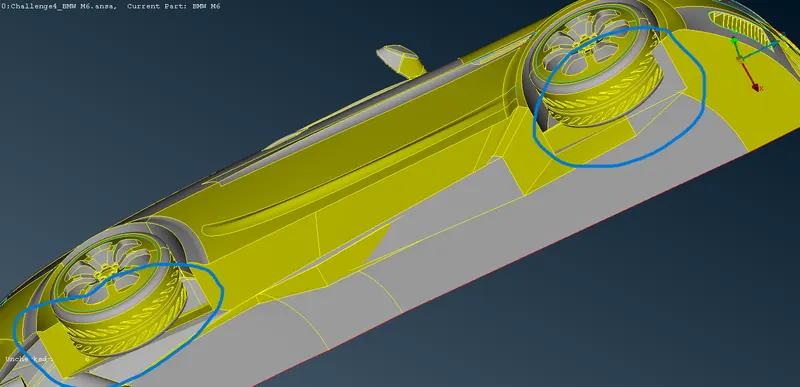
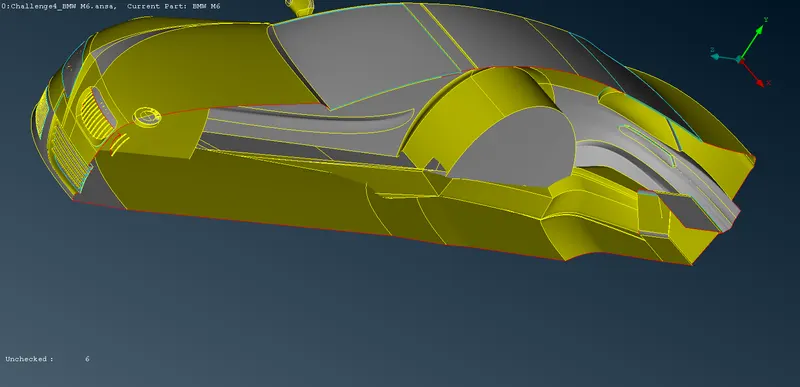
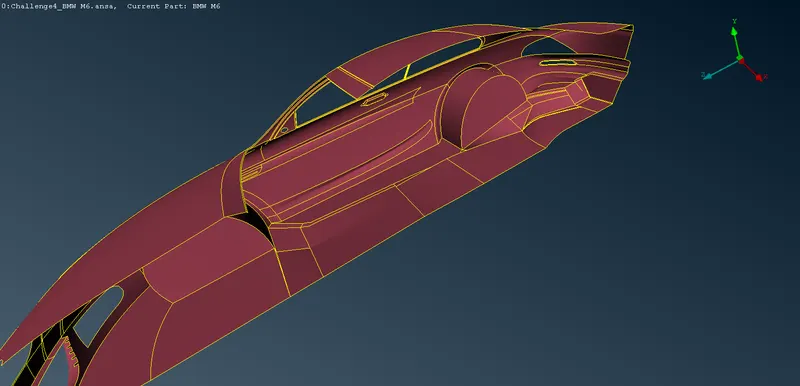
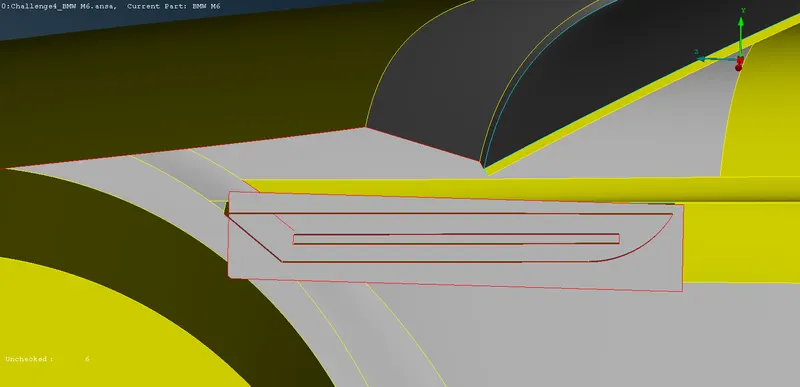
- Next we're to perform geometry cleanup for the Body of the car, which is challenging as it can be seen in the below image that some bottom surfaces of the body interfere with the tire. So, to solve that we will be deleting those surfaces and reconstructing them
- It is known that if we delete a surface the cons associated with that also get deleted. but in some cases we anyway need them to reconstruct those deleted surfaces for that we can create a trace of that particular con by using TOPO-->Curves-->Cons2curve and select the cons to trace
- The surfaces are deleted and reconstructed in such a way that it doesn't give rise to triple cons
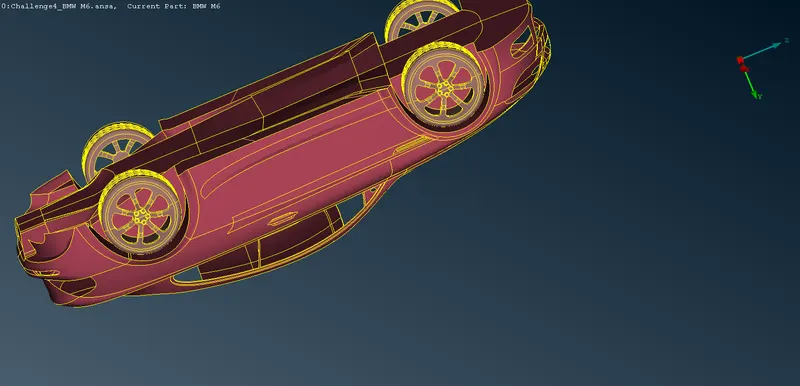
Step 2: PID Allotment
- After Geometry Clean up PID must be allocated with a meaningful name in order to make the process of selection easier.
- As Already PID has been allocated by ANSA our only task is to rename the PID for respective parts.
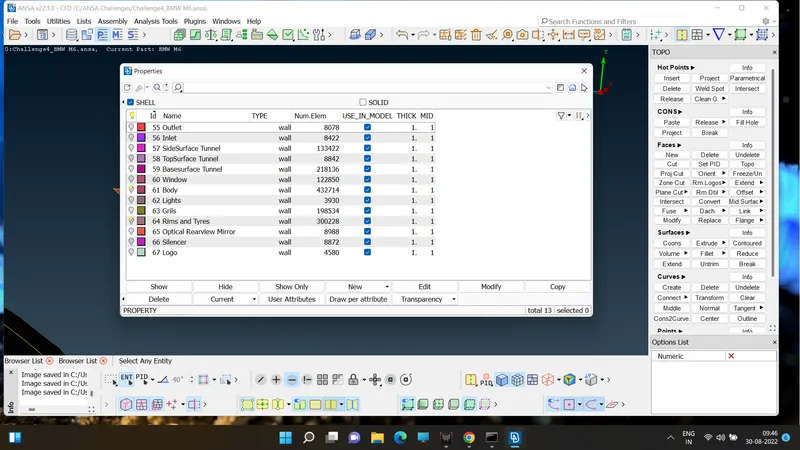
Step 3: Surface meshing
- Before starting to mesh we have to take quality criteria into consideration for each PIDs
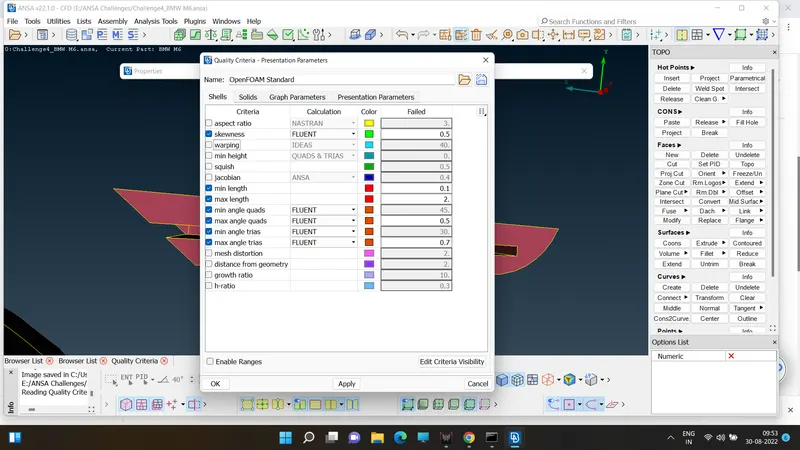
- The only criteria we're going to change are min length and max length as per the given target length of the PIDs.
- In case the quality criteria are not met then we can use MESH-->Shell mesh-->Reconstruct and MESH-->Grids-->Move and move the points that is attached to the off elements to make them fall under the criteria.
- Before proceeding further we must find the distance between two cones or nodes in each PIDs to assign min length in quality criteria
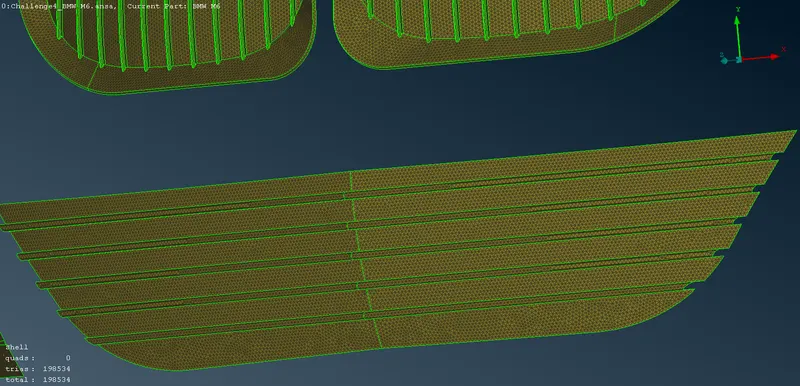
- The first PID we're going to mesh is the grills and logo.
- MESH-->Perimeters-->Length-->perimeters and Macrons. In Perimeters and Macrons, Length is assigned a value of 1mm after selecting the Grill.
- Mesh Parameters-->Target Length = 1, Minimum Target Length = 0.3
- Mesh Quality-->Min Length = 0.3, Max Length = 2
- MESH-->Mesh Generation-->Spot Mesh after clicking it Select the Parts mentioned above and press the middle mouse button.
- Check for off elements and clear them as said above
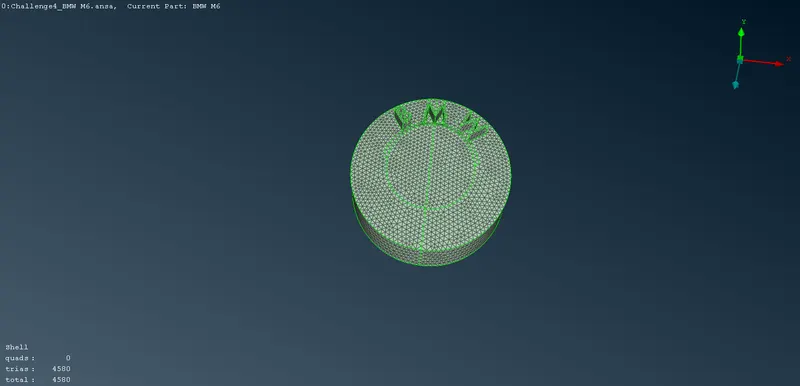
- Same is repeated for Logo with min length as 0.1, max length as 2 and target length as 1
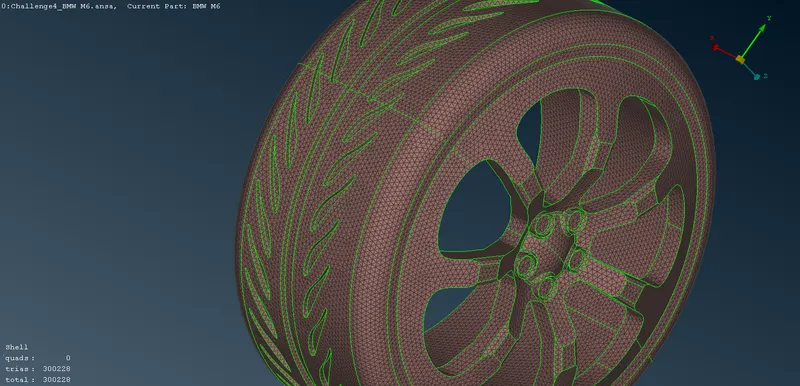
- MESH-->Perimeters-->Length-->perimeters and Macrons. In Perimeters and Macrons, Length is assigned a value of 2mm after selecting the Rims and Tyres.
- Mesh Parameters-->Target Length = 2, Minimum Target Length = 0.4
- Mesh Quality-->Min Length = 0.4, Max Length = 3
- MESH-->Mesh Generation-->Spot Mesh after clicking it Select the Parts mentioned above and press the middle mouse button.
- Check for off elements and clear them as said above
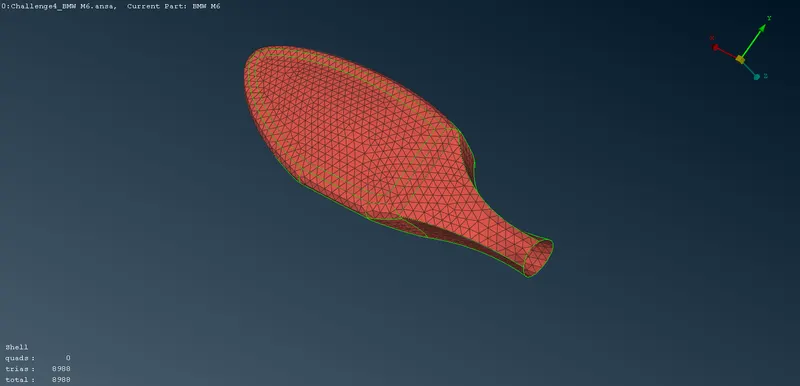
- Same is repeated for Optical mirror with min length as 0.1, max length as 2, and target length as 1
- MESH-->Perimeters-->Length-->perimeters and Macrons. In Perimeters and Macrons, Length is assigned a value of 4mm after selecting the Window
- Mesh Parameters-->Target Length = 2, Minimum Target Length = 1
- Mesh Quality-->Min Length = 1, Max Length = 3
- MESH-->Mesh Generation-->Spot Mesh after clicking it Select the Parts mentioned above and press the middle mouse button.
- Check for off elements and clear them as said above
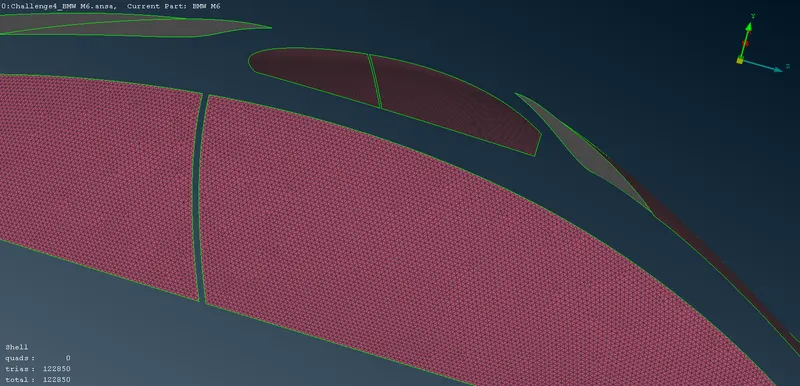
- MESH-->Perimeters-->Length-->perimeters and Macrons. In Perimeters and Macrons, Length is assigned a value of 2mm after selecting the Lights.
- Mesh Parameters-->Target Length = 4, Minimum Target Length = 2
- Mesh Quality-->Min Length = 2, Max Length = 5
- MESH-->Mesh Generation-->Spot Mesh after clicking it Select the Parts mentioned above and press the middle mouse button.
- Check for off elements and clear them as said above
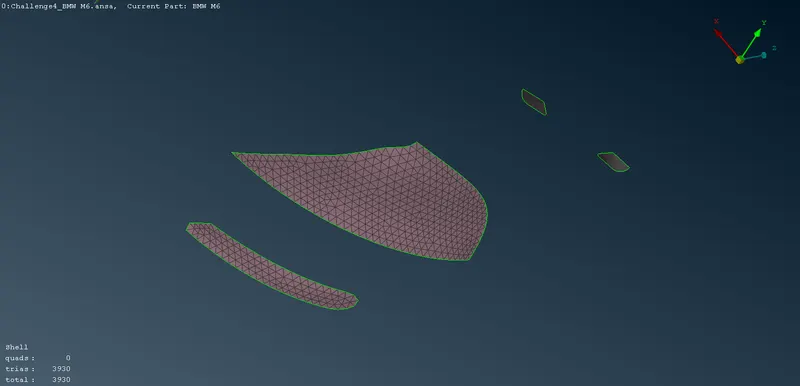
- MESH-->Perimeters-->Length-->perimeters and Macrons. In Perimeters and Macrons, Length is assigned a value of 3mm after selecting the Silencer.
- Mesh Parameters-->Target Length = 3, Minimum Target Length = 1
- Mesh Quality-->Min Length = 1, Max Length = 5
- MESH-->Mesh Generation-->Spot Mesh after clicking it Select the Parts mentioned above and press the middle mouse button.
- Check for off elements and clear them as said above
- MESH-->Perimeters-->Length-->perimeters and Macrons. In Perimeters and Macrons, Length is assigned a value of 3mm for the Body surface
- Mesh Parameters-->Target Length = 3, Minimum Target Length = 1
- Mesh Quality-->Min Length = 1, Max Length = 5
- MESH-->Mesh Generation-->Spot Mesh after clicking it Select the Parts mentioned above and press the middle mouse button.
- Caution: Avoid using perimeters and macrons for the perimeters and area adjacent to other PIDs as they're the interface for the mesh transition
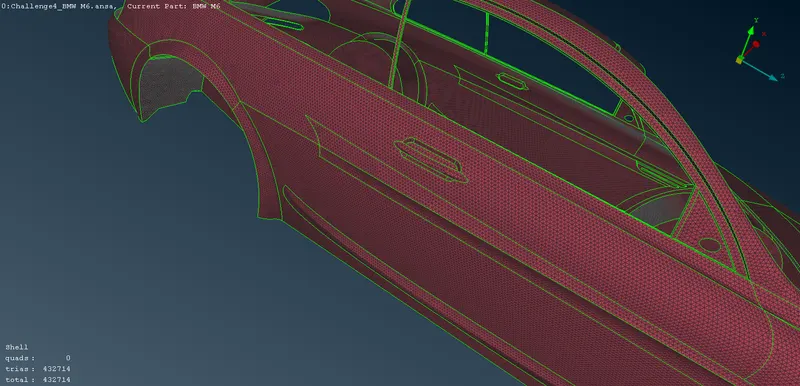
- Transform-->Copy--Entities Select the half car model and middle mouse button, Copy entities-->Symmetry select Mirror 3 points plane and select 3 points on the red con and press middle mouse button.
- The other half car will appear. Use topo or paste to remove red cons if present any
Step 3: Creating Wind Tunnel
- Before creating the wind tunnel measure the distance between the two extreme nodes of the car using "measure".
- Topo-->Points-->Relative and select a point at the base of the car and click middle button. Give dy as -75.
- The same way create points at a distance of 4 times and 6 times of the car in the forward and backward of the mid of the car as shown
- using curves option select the points and create a surface.
- using offset create another plane vertically above the previous at 4times the car length
- create a surface to close the entire car model
- MESH-->Perimeters-->Length-->perimeters and Macrons. In Perimeters and Macrons, Length is assigned a value of 100mm for the upper surface
- MESH-->Perimeters-->Length-->perimeters and Macrons. In Perimeters and Macrons, Length is assigned a value of 20mm for the lower surface
- Remaining cons are given values by MESH-->Perimeters-->Spacing.
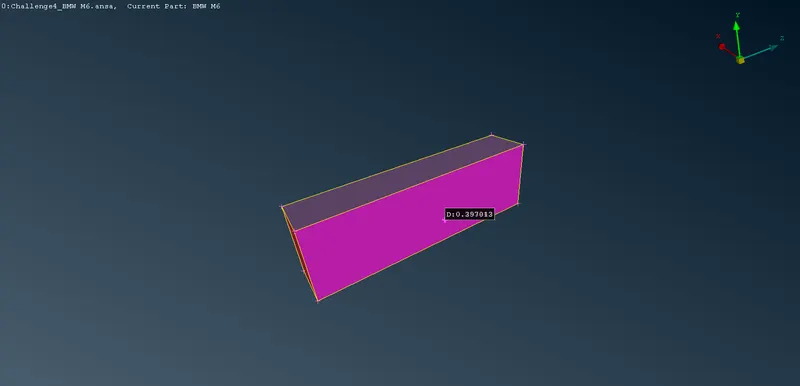
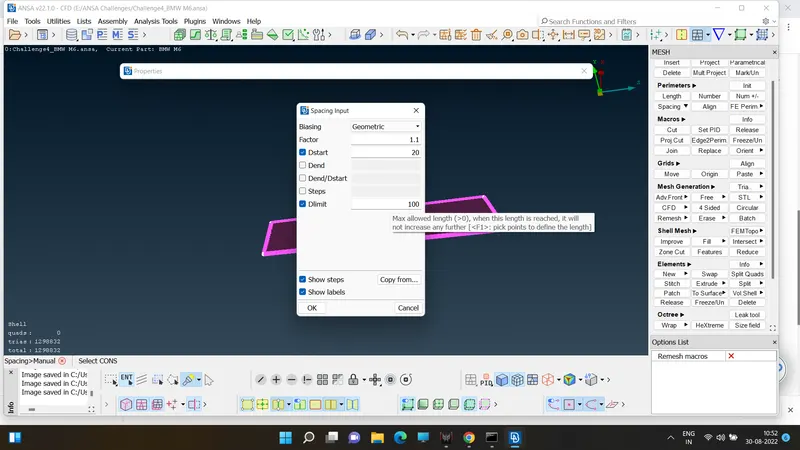
- Assign PIDs to Tunnel and Mesh it with Spotmesh
Step 4: Volume meshing
- VOLUME MESH-->Volumes-->Define--> Detect on Whole db
- A list of volumes will appear. Delete the unwanted volumes like Volume of the model, volume of the tyre, silencer, optical mirror
- Then select VOLUME MESH-->Unstructered mesh-->Tetra CFD and select entire model.
Learning Outcomes:
Learned to create Volumetric mesh(Tetra CFD), mesh refining tools and some topological tools
Result:
Surface mesh has been created for car model and wind tunnel complying the quality criteria.
https://drive.google.com/file/d/1KfWzMIdsJ-43021kkvkSfy0fo5eUxgNp/view?usp=sharing