Week 4 Challenge : CFD Meshing for BMW car
Aim-For the given BMW model solves all the geometric errors and performs a mesh and the surface mesh of wind tunnel testing surfaces.
Procedure-
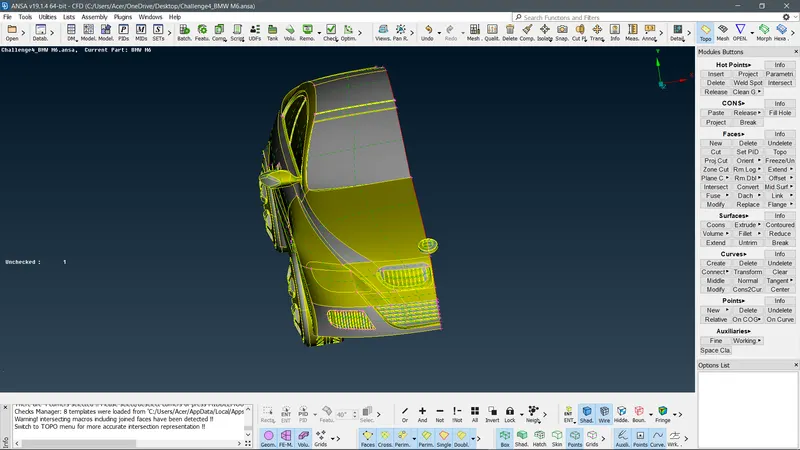
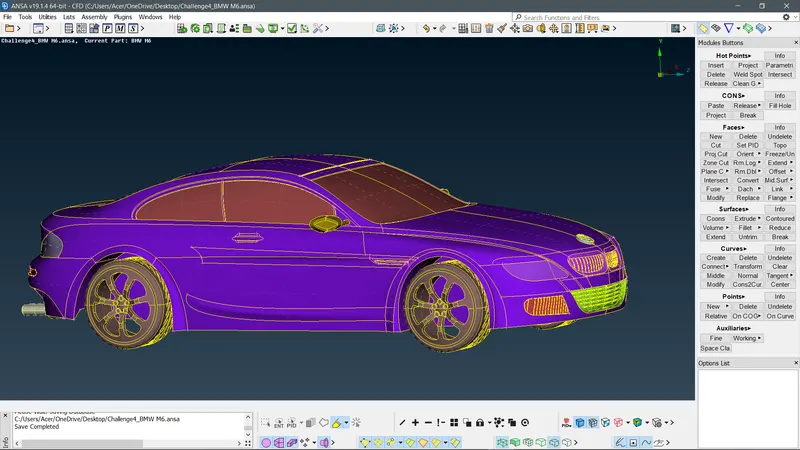
- To clean up the geometrical errors look for triple cons, single cons, and penetration errors in the geometry. Hence the geometry is a bit complex try to delete the symmetrical half of the geometry so cleaning at half geometry is much more efficient than the other. After the clean-up and perform copy tools to mirror the clean geometric part to get an error-free geometry.
- To get a high resolution and a detailed geometry use this steps-Mesh-Parametric-perimeter-length=1-execute. This will increase the resolution of the geometry.
- First, start cleaning up the triple cons from the entire geometry. then try to solve the single cons error.
- Then provide the pids to the parts of the geometry.
Meshing
- For meshing follow the data provided on the challenge data
- Target lengths for the different parts of a model are as follow:
- Body - 3 mm
- Lights - 4 mm
- Grills - 1 mm
- Rims and Tyres - 2 mm
- Optical Rear view mirror - 2 mm
- Window - 2 mm
- Silencer - 3 mm
- Logo - 1 mm
- Before starting with the meshing, ensure that no geometrical error should exist.
- As the approached mesh is CFD mesh so minimum target length and maximum targeted length must be provided.
- For the min. targeted length and maximum length increase and decrease the points by .5(for example targeted length-2, min. targeted length-1.5 and maximum targeted length-2.5) this provides a limitation to the mesh contains on ansa that up to this extent the mesh is acceptable.
- And also provide the Quality mesh parameters to get a good quality mesh (skewness=0.7, minimum length and maximum length).
- While meshing look for the off-limits that will tend to occur on the surface, which can be checked by enabling the HIDDEN icon at the bottom drawer on the Ansa interface.
- Basically look for skewness, min length and maximum length.
- To solve this used a Reconstruct option was present under the Shell mesh drop-down menu.
- Perform a reconstruct and then check for the off limits and if it still exists perform again. But keep a look that while performing the reconstruct option the off limit shouldn't be increased, if increased undo that and then use tools like Move(to move the nodes on the surface), split(to split the cons at half), Join(to join macro areas).
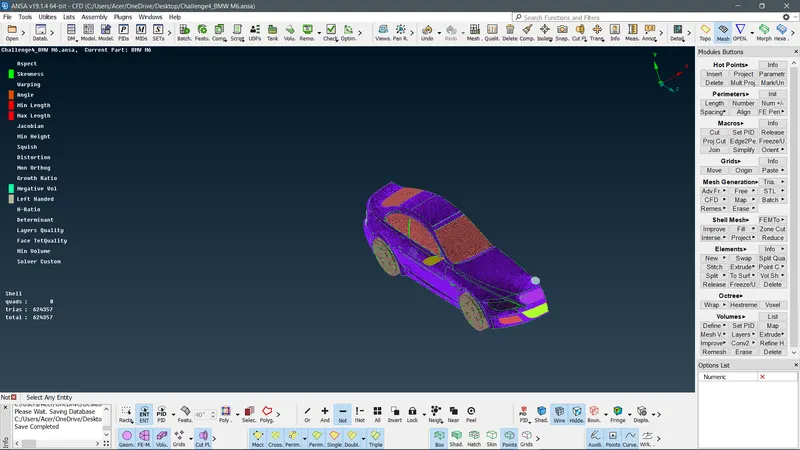
- Ensure that there shouldn’t present any off-limits after the meshing operation is performed. Either it is considered as an error on the mesh.
- After the meshing is done to mirror the car geometry use the COPY option that is present in the top drawer of the ansa interface.
Copy-points-symmetry-3 point axis-select three points in the geometry from where you want to mirror the geometry.
- After the mirror is done perform geometrical checks to ensure there is no geometrical error on the entire BMW car geometry.
Wind tunnel surface meshing
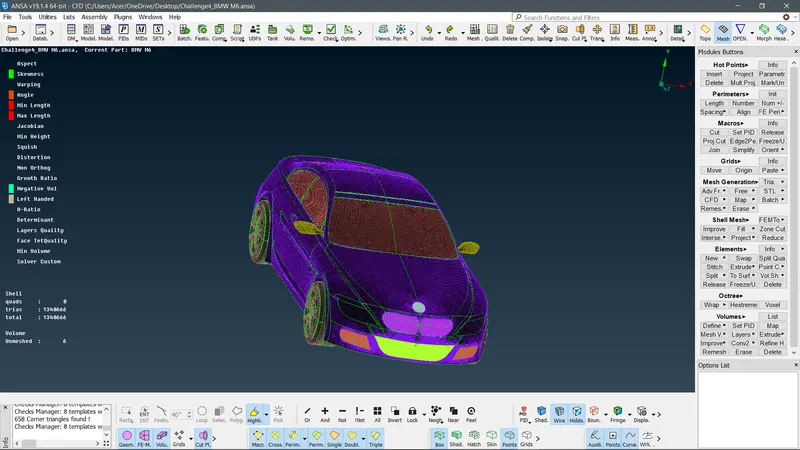
- to perform this meshing we have to enclose the car geometry in a cuboidal surface like it is a closed surface.
- For that, we refer to the constraints provided in the challenge i.e,
X=length of the entire car,=1305mm
Front=4x = 4*1305=5220
Back = 6x = 6*1305 =7830
Side = x = total width of the car = 560+280 =840
Top = 3x =Ground clearance+height of the car+3*1305 =4295
- By using these distant points to create a surface on the bottom of the car, make sure to leave a small distance between the surface and the tyre of the car(it should be in contact)
- After making one surface use the offset option to make the top surface and then make an enclosure using the NEW option.
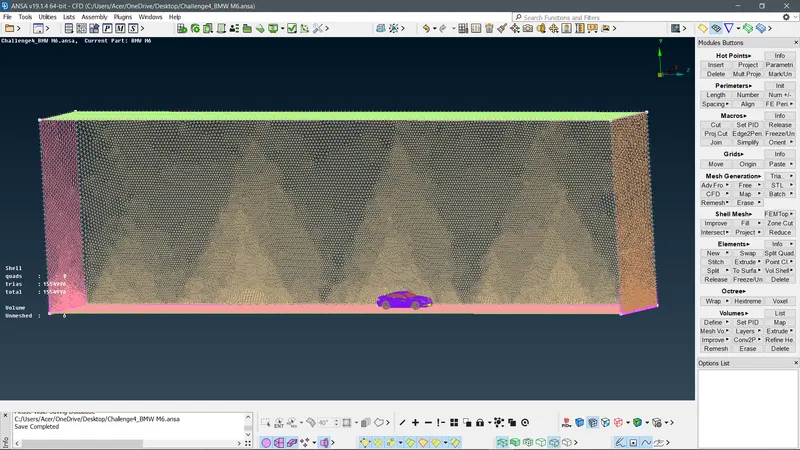
- Then provide a mesh on the enclosure surface.
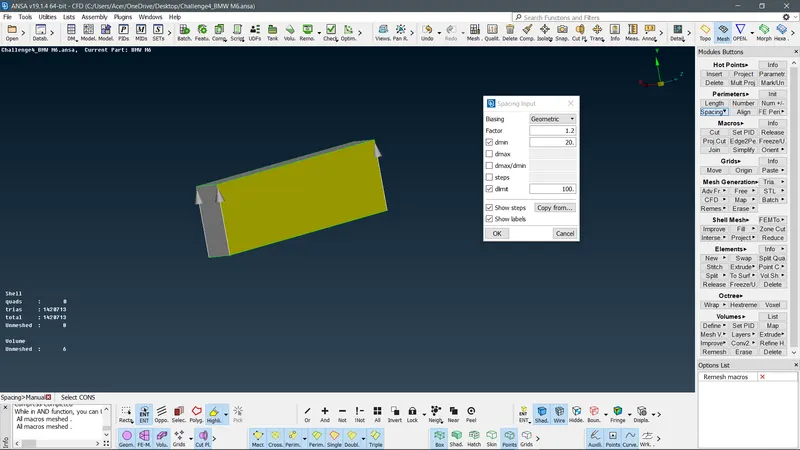
- to provide gradually increased meshing parameters used an option, Spacing under perimeters and then providing these values –
gf=1.1
dmin=20mm
dlimit=100mm
after providing the values select the four edges of the enclosure then the targeted length for the top and bottom surface is 100mm and 20mm. now execute the spot mesh.
- Check that the performed mesh gradually increases from bottom to top(i.e20mm-100mm)
https://drive.google.com/file/d/129__1ePY8rkoyRrFS3VJK-IWmvuAP2be/view?usp=sharing