Week 4 Challenge : CFD Meshing for BMW car
AIM
To check and solve all geometrical errors on half portion and Assign appropriate PIDs followed with meshing with the given Target length and element Quality criteria. After meshing the half model, Do symmetry to the other side and annalyse the mode
OBJECTIVE
-To learn and experience the GUI of the ANSA software and the features provided by the software for the domain of Computational Fluid Dynamics .
- to learn about the features of the design like hot points,cons ,cut sections and the commands like or,and,not used to isolate the surfaces of the design for the study .
-To learn about cons like single,double and triple cons and their role in the design and their effect in the meshing of the surface
-Learning the use of features under faces command and how it is used to rectify the surface errors present in the given design and to make the surface close for getting a perfect surface meshing of the given specimen.
-learn to use hot points command to remove and assist a proper surface generation
-learn how to use properties command and how to remove overlapping surfaces
-learn about merge command
-Learnt about Fit command to make the curves smooth
-Learn he use of diiferent controls of meshing tools for mesh corrections which can be performed
- how to use different commands to make the surface smooth
PROCDURE
*We will open the design in ANSA software
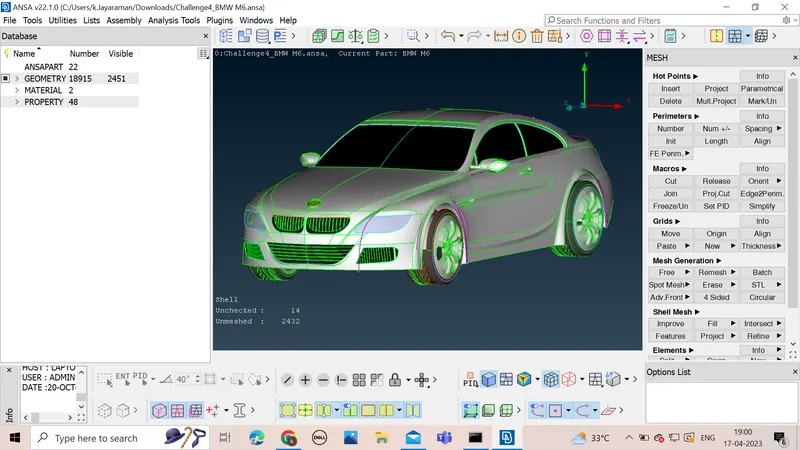
*we will annalyse the design for all the errors
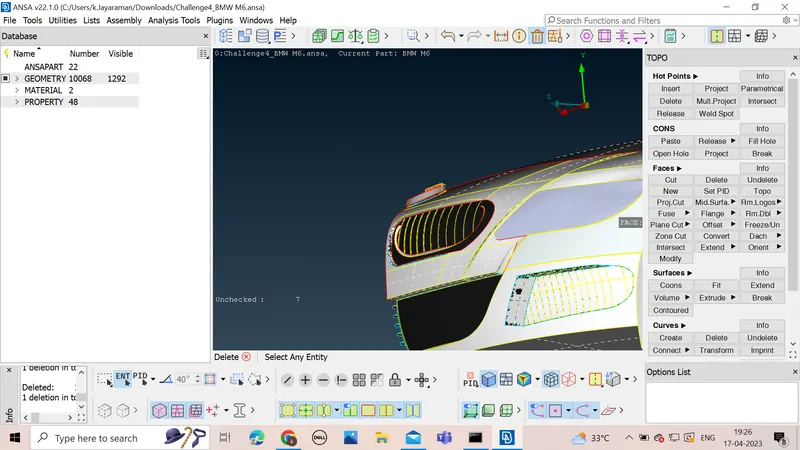
*initially the design is not that smooth which can be made smooth by using command like fine under auxillary commands
*as the car design shows symmetry we can split the car into two parts and annalyse the car
*using the transform command we can deleat one side of the car and annalyse remaining portion of the car
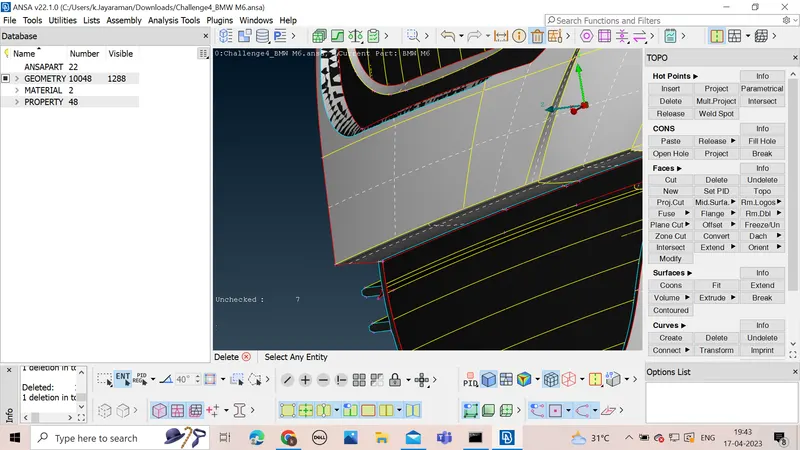
*First we will check all the overlapping surfaces in the design
* For volumetric design we will annalyse the design and remove all the internal surfaces and verlapping surfaces
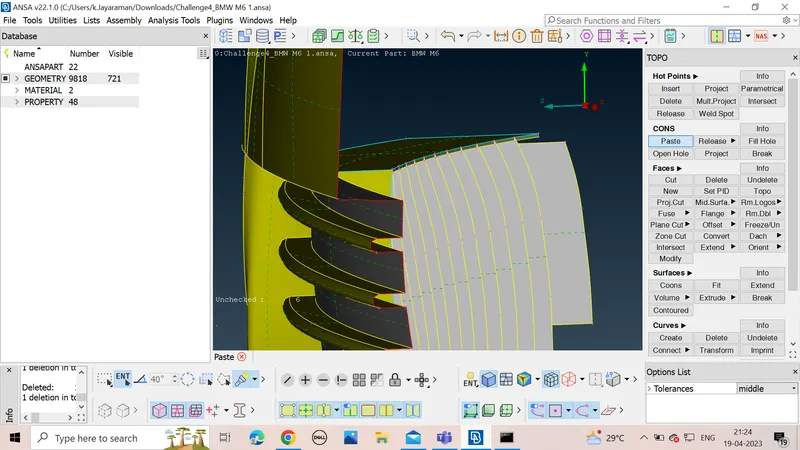
*After removing all the overlapping surfaces we will then solve all the single concs in the design
*command like new,project,undeleat,topo,mid surfaces,creation of the new sets of hot points,fill holes are used regualarly for correction of the design
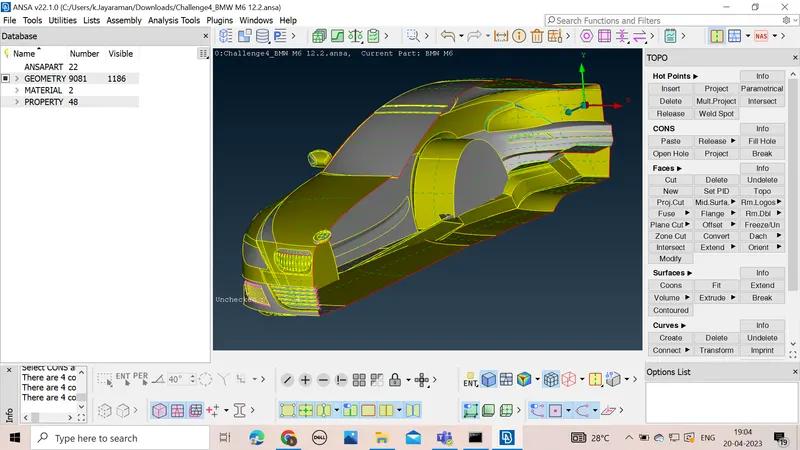
*After we complete all the corrections
*we will now assign all the PID to different parts of the design
*After assigning the PID ,we will now start the msehing of the surfaces
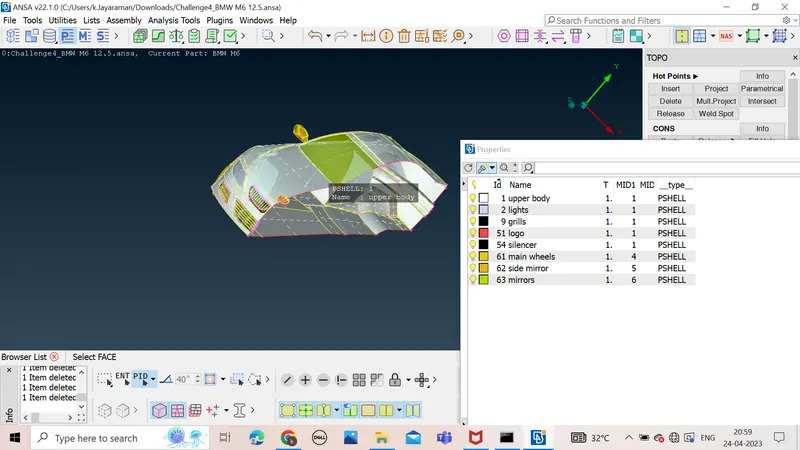
*we will do the assigning of the target length,quality criteria bases on the given data and do the meshing of each PID
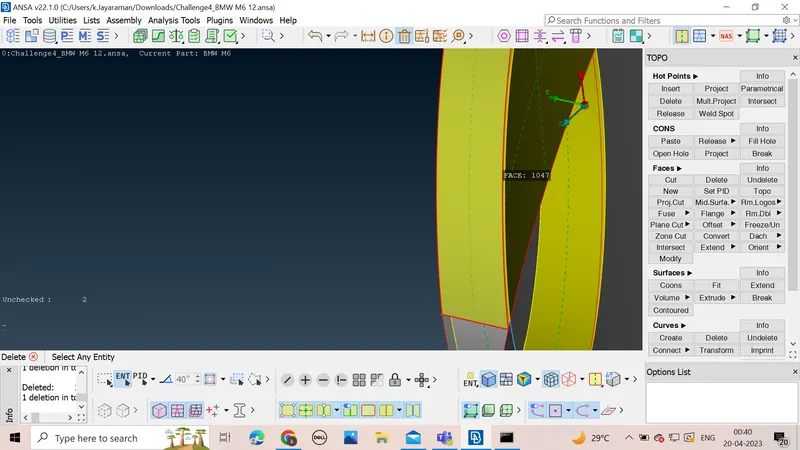
*when we start we will start by smaller parts and then go to body.
*after assigning the qualities ,lenth,macros we will use spot mesh to mesh
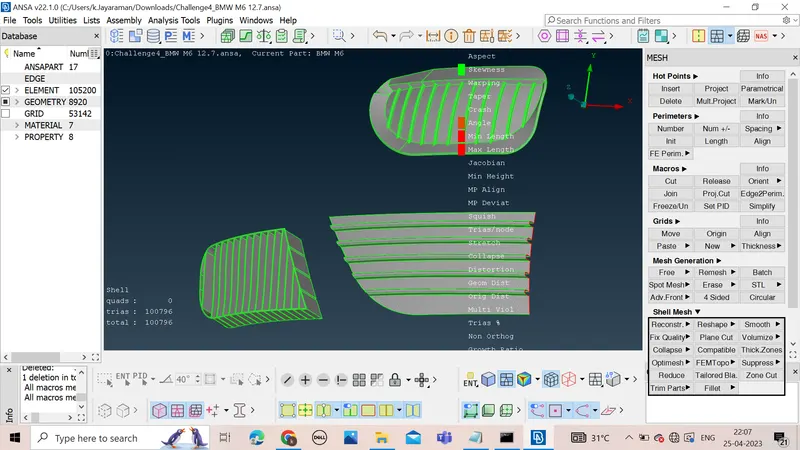
*after meshing we will find the error present in the meshing which will mentioned by off
*these off should be corrected before moving to the next step.
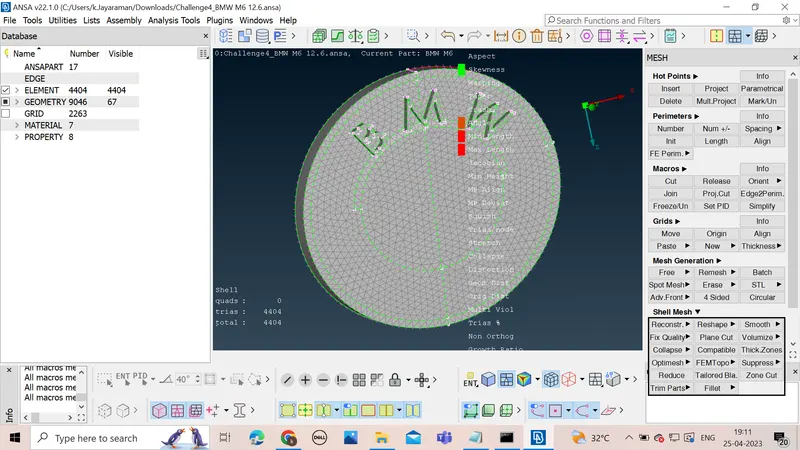
*we will use command to reconstruct the whole mesh which will affect off elements also.
*After thet we will use move command to move the node and adjust the off elements
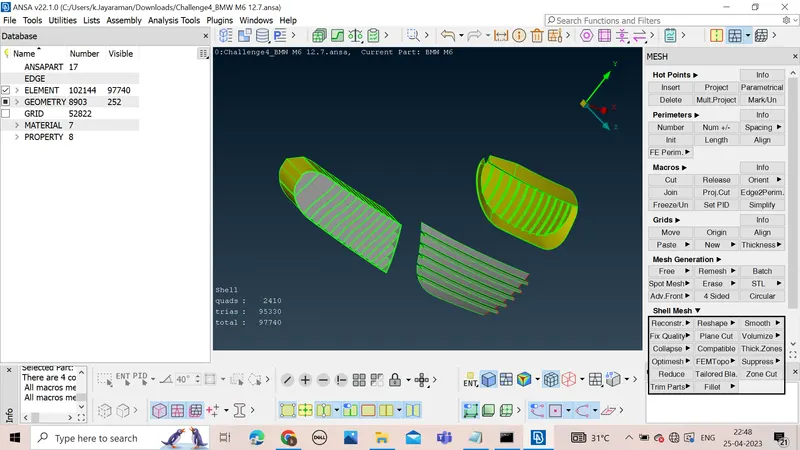
*try to give different colours in quality criteria for identification of offset.
*after completing the error connection ,move on to next pid
*follow this step for all PID
*after meshing all you will notice that some surfaces are unmeshed which is due to mesh interaction due to difference in length
*we have to again mesh these Surfaces so that there is no surface left unmesh.
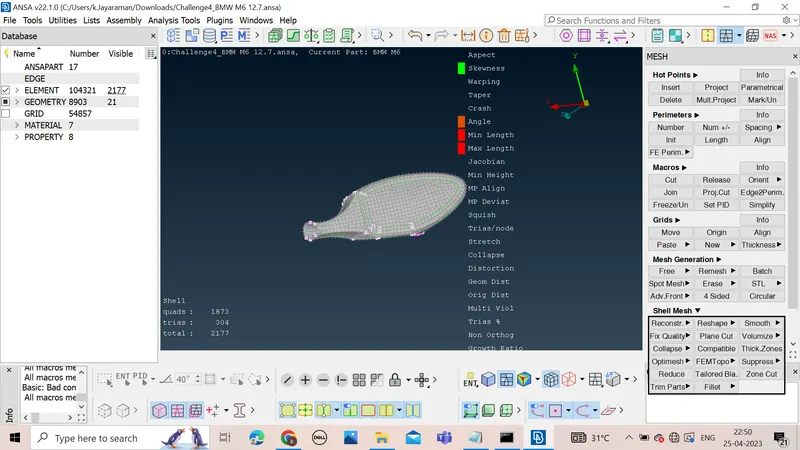
*After meshing and analysis we will now move to next part that is mirroring of the car body which is in half stage
*We will transform and select move option then we will select the half part completely and select the syymetry option
*we will give the semmetry points and select preveiw to see out the results
*After seeing the preveiw we will select ok
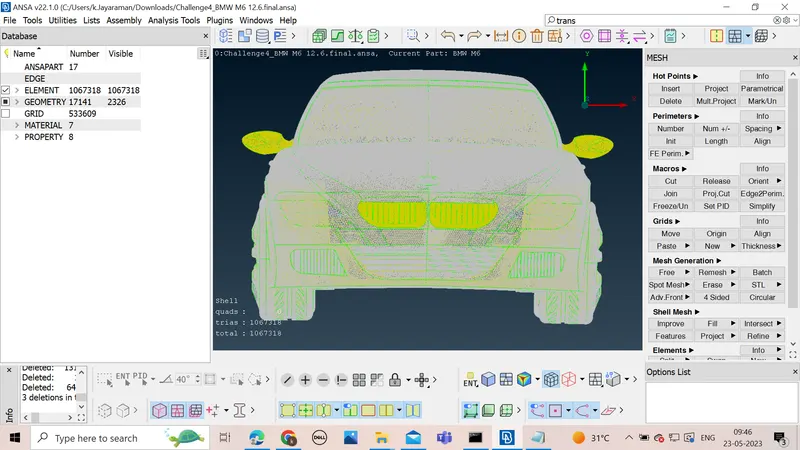
*again check for single cons and use paste command to solve it
*check for any unmeshed surfaces present
*After this we will go for windtunnel meshing
*for this we have to creat new surfaces at a very large distance
*we will generate points at 4 times the point at the front of the car and 3 times above the car
*after that we will create surfaces based on these points and provide PID to the each surface
*We will start meshing
*we give length as 20mm for below surface and 100 mm for the above surfaces
*using command spacing we generate meshing pointsfor the side surfaces at 1.1 ratio.
*we will then use spacing command for the vertical sides using spacing command
*after we will do meshing of each surfaces
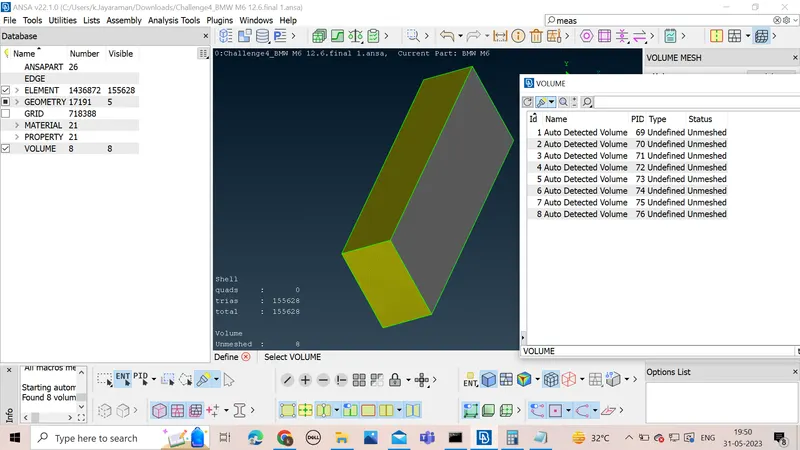
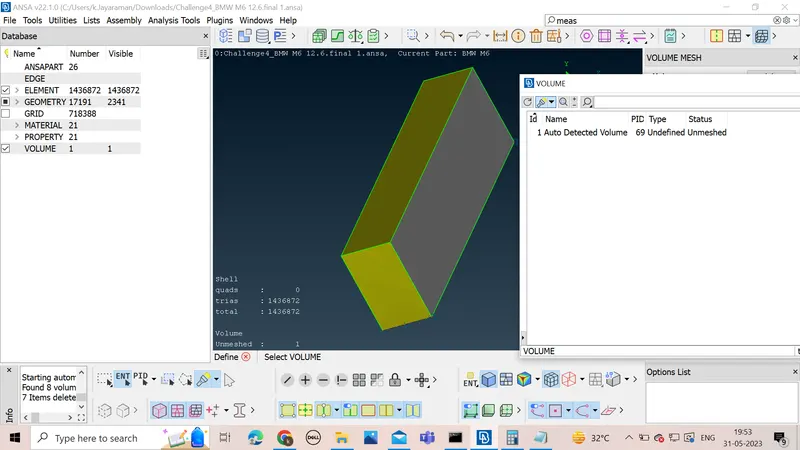
*we will use define to detect the volumes and select the volume we required for volumetric meshing
LEARNING OUTCOMES
*got a experience of the GUI of ANSA software
*learnt how to remove errors in surface by adding hot points and cutting sections using cut for meshing under TOPO command
*learn how to use geometric checks for the given design and how to clear the errors present in the design
*learn how to generate new faces and patching up of holes and other unsurfaced error
*learn how to assign properties to different surfaces of the given design and colours to them
*learnt how to set length parameter for the mesh
*learnt how to input mesh parameters for a proper meshing
*learn about volumetric meshing and the conditions to be full filled before volumetric meshing
*learn about many new commands
*learnt about different Mesh Generations available in ANSA
*learn about generating mesh for the wind tunnle
*how to do mesh of varying length in feature
RESULT
The given task of meshing of the design was completed and the meshing errors were rectified and all other errors were ellimated and wind tunnle was made for the model
CONCLUSION
The learnign of this assesment was great we learnt a lot of new things and the use of the new command in ANSA was learnt and practised in the assesment
google drive link for file -https://drive.google.com/file/d/1SGW1w8y6U5fTxMdZbDv2J3MIByTMsvfC/view?usp=sharing