Project 1 : CFD Meshing for Tesla Cyber Truck
AIM
To analyse and do the surface and the volumetric mesh for the given design of a tesla car and also wind tunnle meshing for the design .
OBJECTIVE
-To learn and experience the GUI of the ANSA software and the features provided by the software for the domain of Computational Fluid Dynamics .
- to learn about the features of the design like hot points,cons ,cut sections and the commands like or,and,not used to isolate the surfaces of the design for the study .
-To learn about cons like single,double and triple cons and their role in the design and their effect in the meshing of the surface
-Learning the use of features under faces command and how it is used to rectify the surface errors present in the given design and to make the surface close for getting a perfect surface meshing of the given specimen.
-learn to use hot points command to remove and assist a proper surface generation
-learn how to use properties command and how to remove overlapping surfaces
-learn about merge command
-Learnt about Fit command to make the curves smooth
-Learn he use of diiferent controls of meshing tools for mesh corrections which can be performed
- how to use different commands to make the surface smooth
-learn about different types of meshing used in Ansa software
PROCEDURE
*We will download the design.
*We will open the design in Ansa software and then do the geometric check to analyse the design
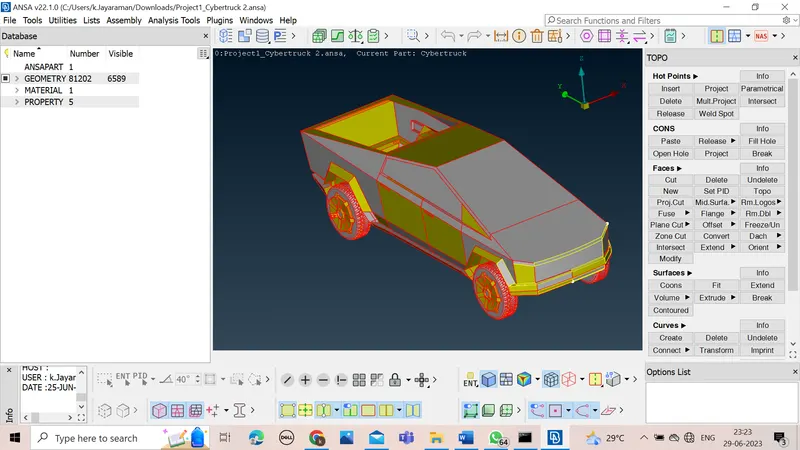
*After the geometric analysis we then work on the design to remove all the error and make the design perfect for the meshing
*We will first start with removing of the single cons
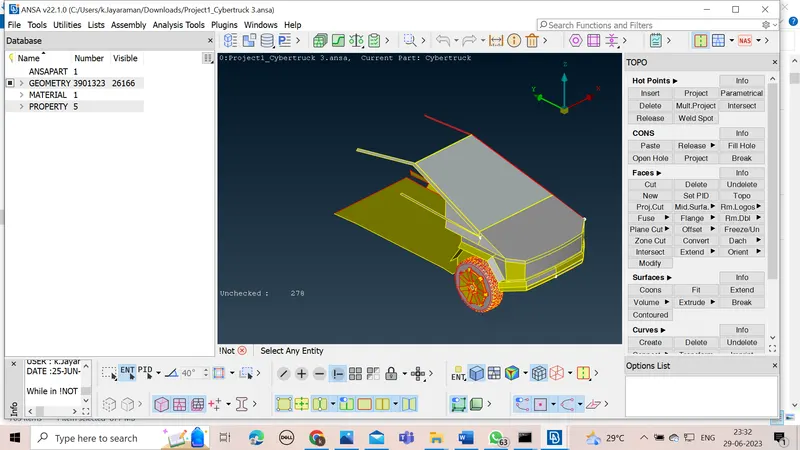
*While analysis we will notice that there are many unclosed surface which has to be closed
*We will create new surface where we find a single con present and unclosed surface
*We will first cover all the surface which are unclosed
*As the car has a plane of symmetry, we can make the corrections on one half of the car and then we can mirror it.
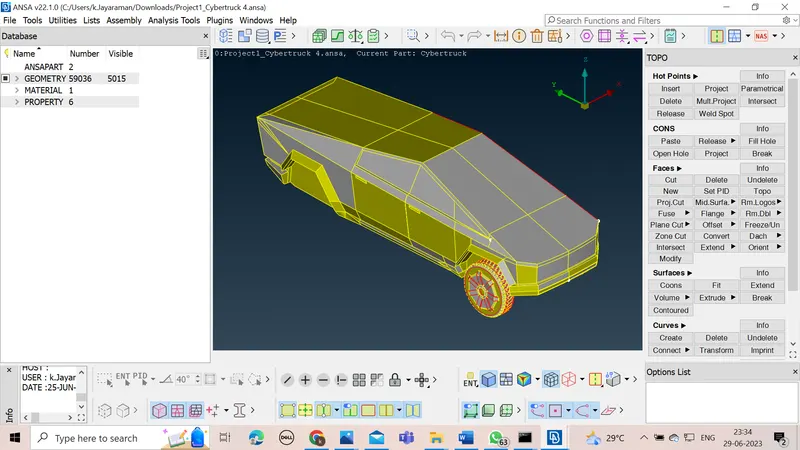
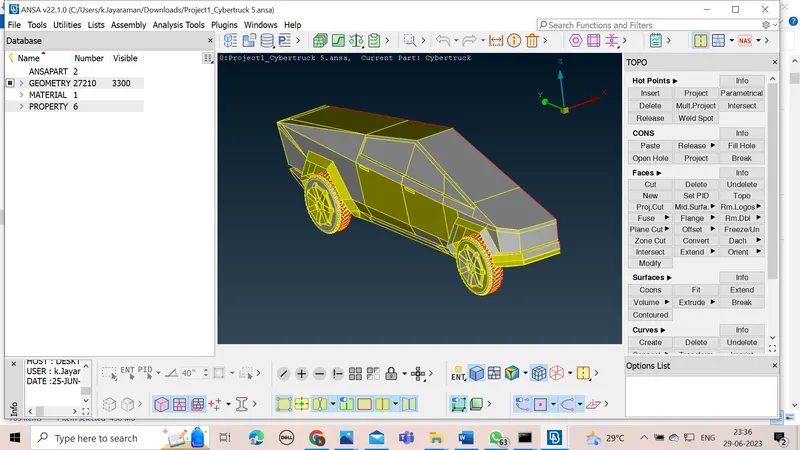
*We will try to make the design of continuous volume from the inside as we going to the volumetric analysis for the given design
*We will be using commands like projection, new, insert, fill hole, cut commands regularly for the corrections
*We will also check for small surfaces and if found any we will remove it so that we can get a proper meshing
*We will use command project to make the single cons as double cons where ever necessary
*After that we will search for the double and the single cons to analyse the design
*We will triple cons if some unwanted surfaces are present or not
*We have to make the design continuous from the inside for a perfect volumetric mesh
*After making the correction we will again go for the geometric checks to check for the single, cracked surfaces available in the design
*We would rectify the design if errors are found
*If the design is ok, we will proceed for the assigning of PID to the different parts of the designing
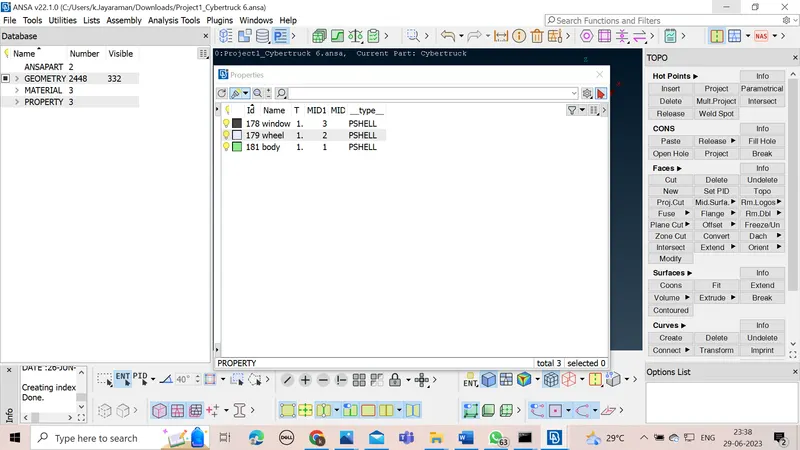
*We will now separate the model into two parts and delete the models one side which is not corrected by cutting the model using the cut command
*We will assign body, mirror and wheel PIDS and remove other unwanted PIDS from the list
*After assigning PIDS we will move to next process that is meshing of the design
*we will be using 2 different meshing parameters for the mirror, body and wheel respectively.
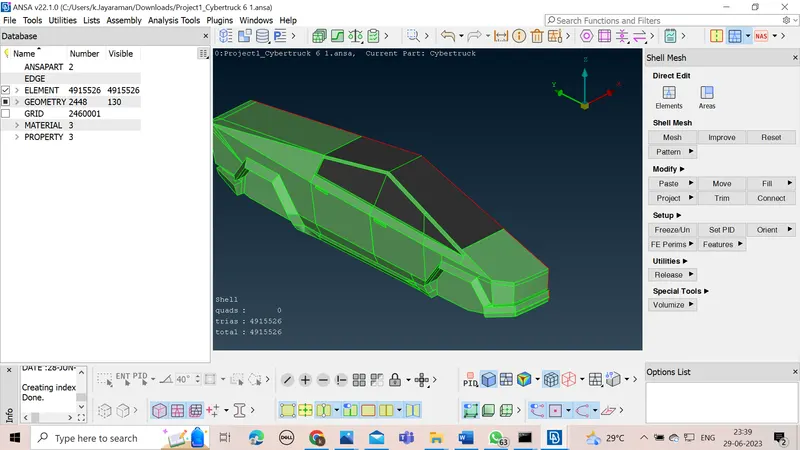
We will first mesh the mirror
*We will give the target length as 3mm followed with max of 5mm and min of 1mm in quality criteria and assign different colours to the different quality criteria’s used for the design
*We will use the length command and make the perimeters and nodes as 3mm
After that we will select whole of the mirror PIDS and use the command spot mesh to mesh it
*After meshing we will go to offset and check the offset element
*To rectify the offset element, we will use the command reconstruct to contrast the mesh again
*After this we will again analyse the offset elements and find the there are some elements which have not been corrected
*Using the command move we will correct the offset element manually and make the corrections
*After that we will proceed the meshing of the body and corrected the offset
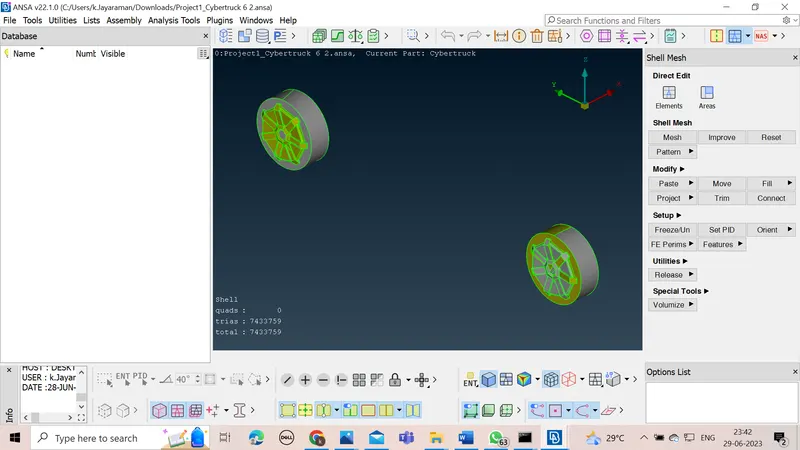
*After we will assign the target length of 1mm for wheel meshing
*After meshing and correcting the offset for wheel we will proceed to the copying of the design on a given plane mirror using three points using transform command.
*After the copletion of the meshing we will check for any unmeshed surface present in the design if yes we will mesh it
Then we will use transform command to transform and generate mirror copy of the design using three noded mirror plane
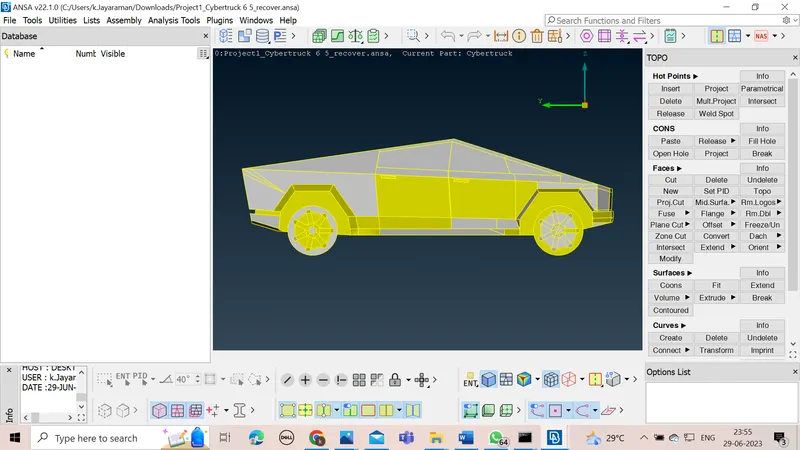
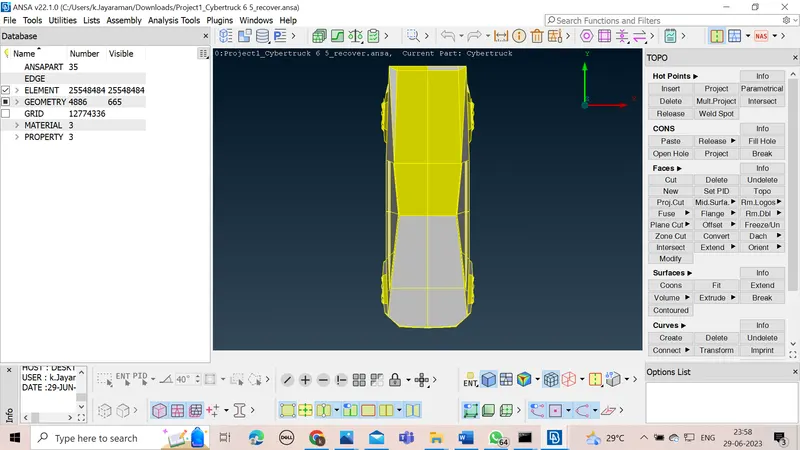
*we will then start the developement of the wind tunnle for the car
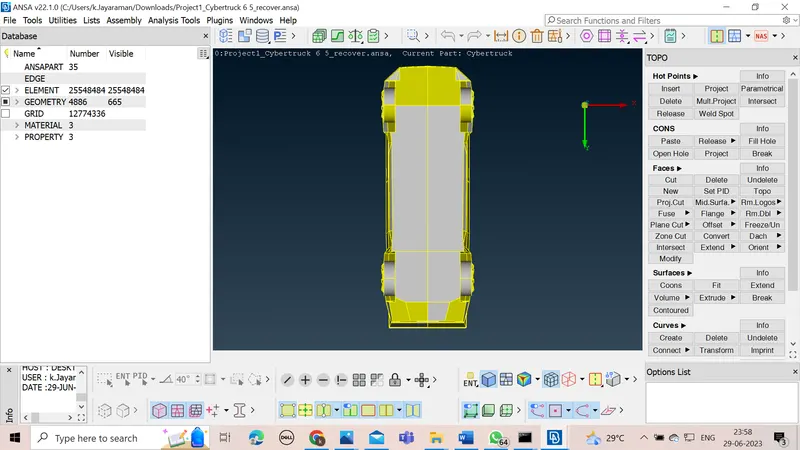
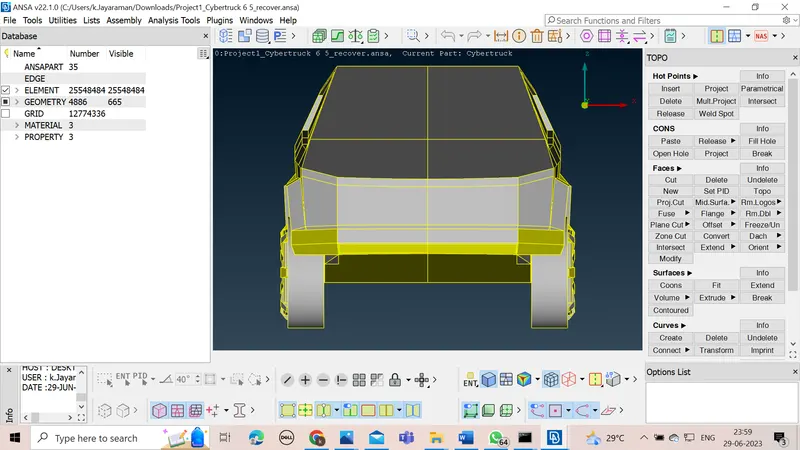
*The First stem is to generate a point as the bottom surface of the car which is at a distance sufficient below the cars wheel
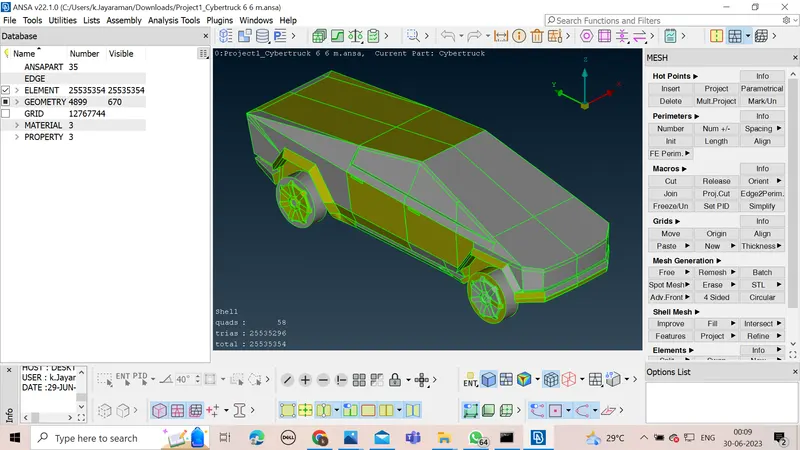
*we use the command relative to generate points
*we will use the measure command to mesure point in the design and created the points neede for the base based on the parameters to be followed for the wind tunnle
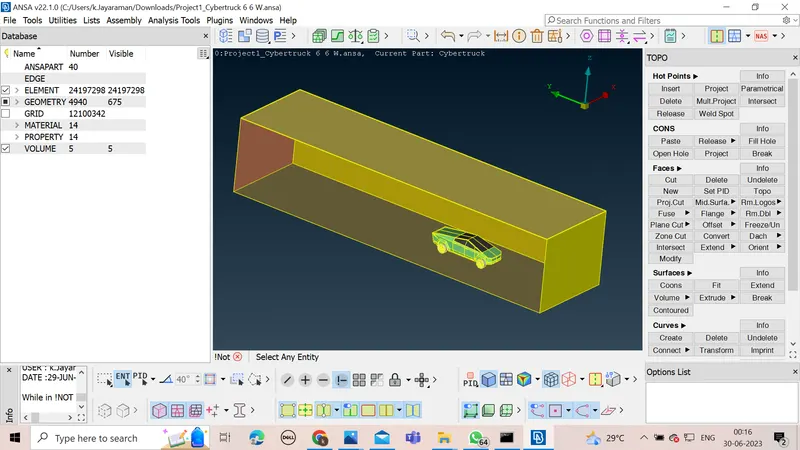
*after we generate the base we will assign it apid and then create a offset for the calculated distance for the top surface of the wind tunnle
*we will then generted the remaining six corners for the wind tunnle
*after we genertae the wind tunnle we will assign a length of 20mm to the lower surface and a length of 100mm for the upper surface
*then we use the spacing command to create the geometric progression based nodes from base to the top surface for remaining four sides of the wind tunnle
*after this we will mesh th base with target length of 20mm followed with 100 mm for the upper surface
*After that we will use spot mesh to mesh the other four side surface
*we will also use reconstruct command to reconstruct the mesh
*After this we will go to volumetric mesh and use command define to generate volume elements
*from the list of the volume elements we will be only using the volume between the car boday and the wind tunnle and the remaing will be deleated
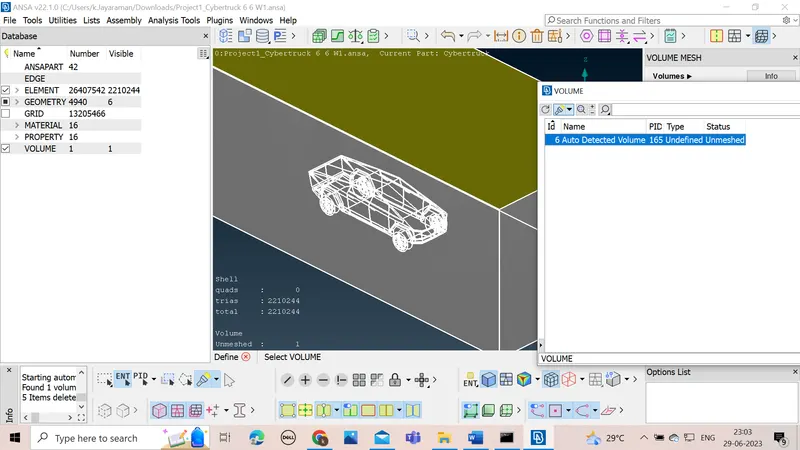
*after selecting the required volume we will give the option remesh
*After the volumetric meshing we will check for the errors in meshing and then save the design
LEARNING OUTCOMES
*got a experience of the GUI of ANSA software
*learnt how to remove errors in surface by adding hot points and cutting sections using cut for meshing under TOPO command
*learn how to use geometric checks for the given design and how to clear the errors present in the design
*learn how to generate new faces and patching up of holes and other unsurfaced error
*learn how to assign properties to different surfaces of the given design and colours to them
*learnt how to set length parameter for the mesh
*learnt how to input mesh parameters for a proper meshing
*learn about volumetric meshing and the conditions to be full filled before volumetric meshing
*learn about many new commands
*learnt about different Mesh Generations available in ANSA
*learn about generating mesh for the wind tunnle
*how to do mesh of varying length in feature
RESULT
The given task of meshing of the design was completed and the meshing errors were rectified and all other errors were ellimated and wind tunnle was made for the model
[google drive link -File is too large to be uploade in drive ,what should i do to submit the file it is of 2.1 gb which is not being uploaded properly in the drive ]