Week 4 Challenge : CFD Meshing for BMW car
Aim:
Check and solve all geometrical errors and assign appropriate PIDs. Perform meshing with the given Target length.
Objective:
To practice on checking geometrical error, doing PIDs, learn about surface mesh, how to perform symmetry and how to make wind tunnel.
Body of content
Step 1
Insert Model
File<Open
Step 2
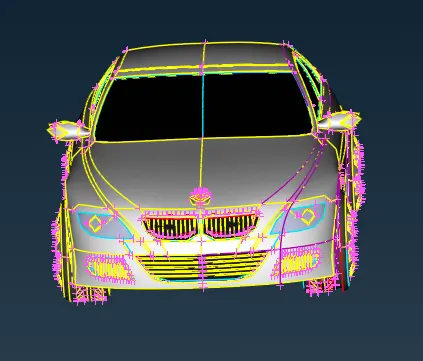
Mesh < Length < Perimeter as 1
Mesh < Length < Macros as 1
This help as to bring perfect size and shape of each and every component of car.
Step 3
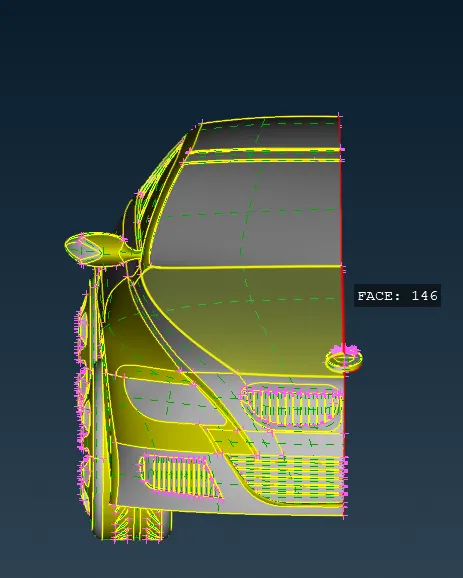
Delete < Select half portion of car < Deselect logo < Middle click to confirm
Step 4
Removing tripple and single cons from the car
1. Light
Remove the internal component and deleting overlaped surface.
2. Front grill
Recontructing the grill < deleting unwanted parts < removing single and tripple cons
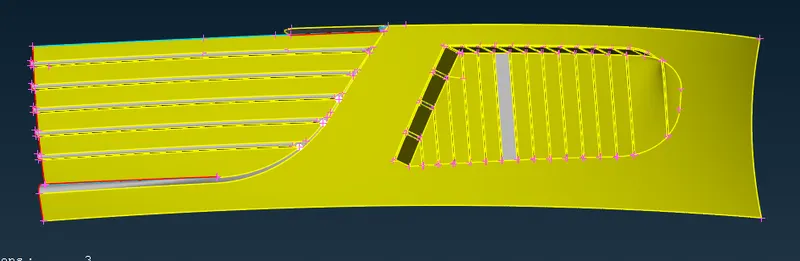
we apply same process of
removing tripple cons < single cons < recontructing surface < removing overlapped surface < deleting internal parts
3. Logo
4. Wind shield
5. Side glass
6. Rear glass and tail light
7.Fender and rear view mirror
8. Tyre (Front and rear)
9. Tail light and rear side.
10. For base surface
Curves < Cons to curve < Middle Click
Curves < Create curves < Select multlple points < Middle click
Delete the overlapped sufaces and reconstruct again with the help of curves and markings
Curves < Delete < Select all the surface < Middle click
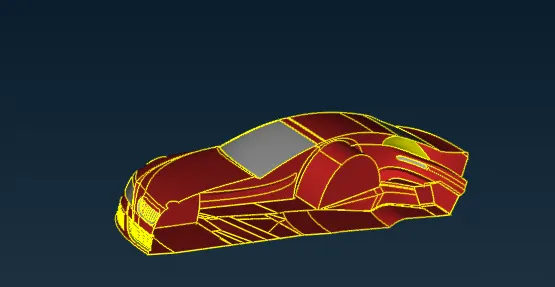
Step 5
Applying PIDs
Properties < PID name (right click) < Select the object < Middle click
Apply to all the parts
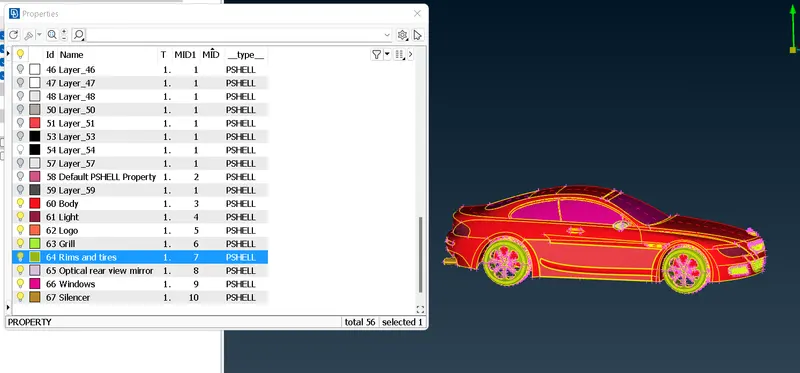
Step 6
Meshing of Geometry
Classic mesh < Length < Perimeter < Select Object < Middle click < Enter value
Classic mesh < Length < Macros < Select Object < Middle click < Enter value
Mesh parameters < Select target length and element type < Click OK to confirm
Quality criteria < Select minimum and maximum length < Click OK to confirm
then
Classic mesh < Mesh Generation < Spot Mesh < Select object < Middle click to confirm
Given conditions
- Body - 3 mm
- Lights - 4 mm
- Grills - 1 mm
- Rims and Tyres - 2 mm
- Optical Rear view mirror - 2 mm
- Window - 2 mm
- Silencer - 3 mm
- Logo - 1 mm
Shell mesh < Reconstruct < (Topo clean up) or (Grids < Move)
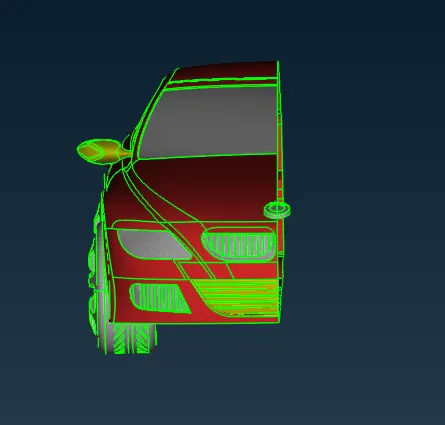
Step 7
Symmetry on other side
Hide logo < Transform < Copy < Entities < Select all parts < Middle click < Symmetry option < Select mirror 3 point plane < Select 3 points in car < Middle click < PID as No offset And Part as Same part < Finish(to confirm)
Geometry check
Checks<Geometry<Select all the required value<Execute
No error found
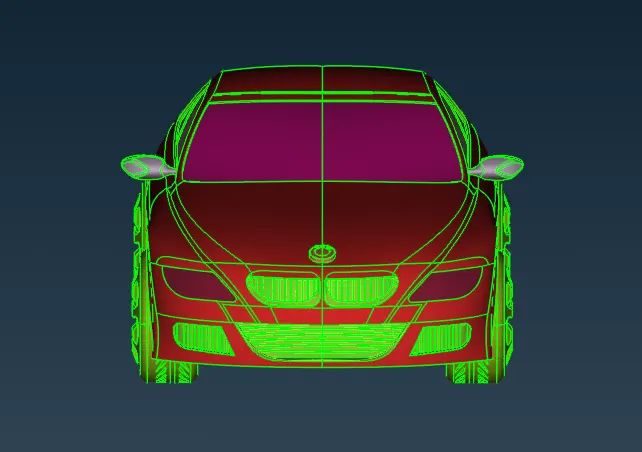
Step 8
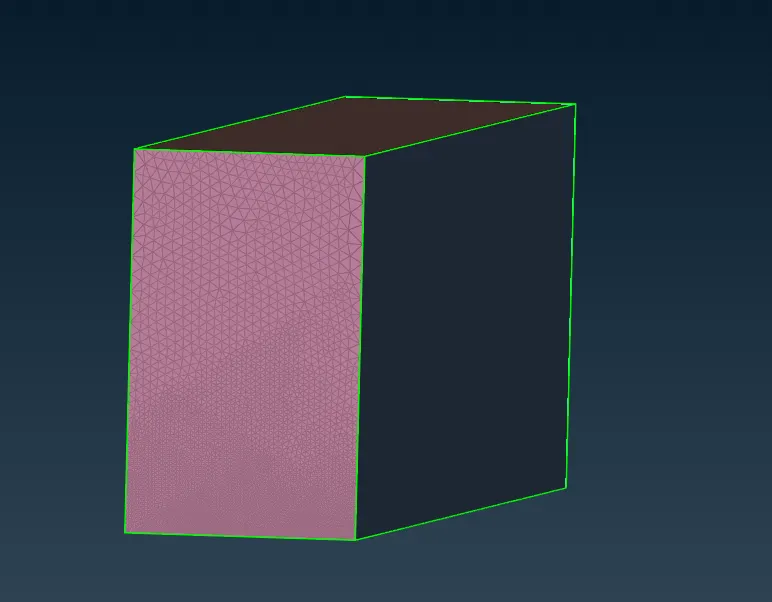
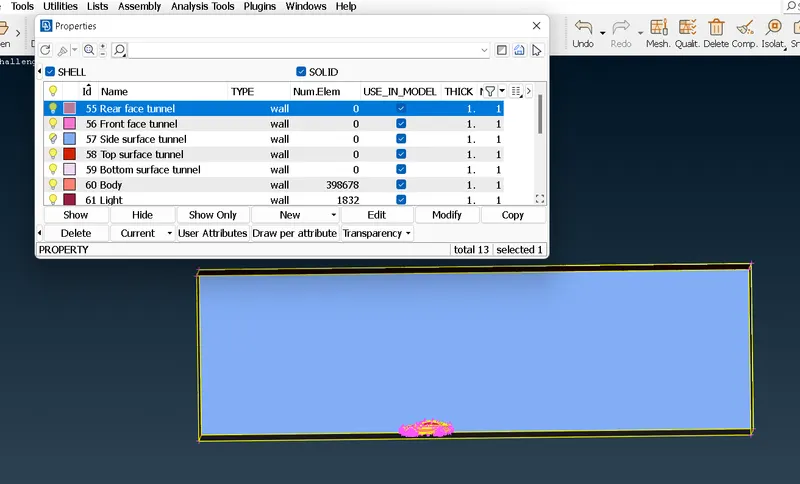
Wind tunnel
Wind tunnel distance
From front face = Car distance from center to front + 4 X 1300 = 5854
From rear face = Car distance from center to rear + 6 X 1300 = 8410
Top face = Car height + 3 X 1300 = 4275
Bottom surface = -75 in Y direction
Side surface = 1300
1300 = Car length

Create curve and join points to create new surfaces
then assign PIDs and name
Classic mesh < Length < Perimeter < Select Object < Middle click < Enter value
Classic mesh < Length < Macros < Select Object < Middle click < Enter value
Mesh parameters < Select target length and element type < Click OK to confirm
Quality criteria < Select minimum and maximum length < Click OK to confirm
then
Classic mesh < Mesh Generation < Spot Mesh < Select object < Middle click to confirm
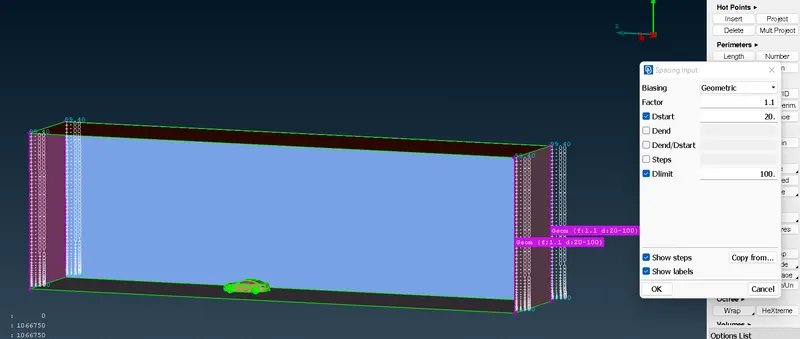
Top Surface target mesh length 100
Bottom surface target mesh length 20
For remaining four surfaces
Spacing < Biasing-Linear < Start factor-20 < End Factor-100 < Select four edges as shown in figure < middle click to confirm
Classic mesh < Mesh Generation < Spot Mesh < Select object < Middle click to confirm