Week 4 Challenge : CFD Meshing for BMW car
Geometrical Cleanup Of BMW M6
After importing the raw geometry, the first thing we should check are the units.
We can perform this step under Tools -> Settings -> Resolution/Tolerance/Units
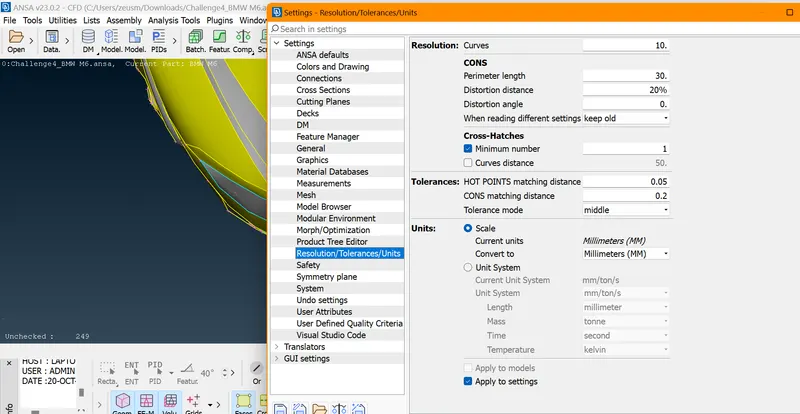
Then we should check for resolution (perimeter). If the raw geometry has distortion, it can be fixed by changing its perimeter.
We can perform this operation under Mesh -> Length -> Perimeter ->Select the whole geometry -> Length Parameters
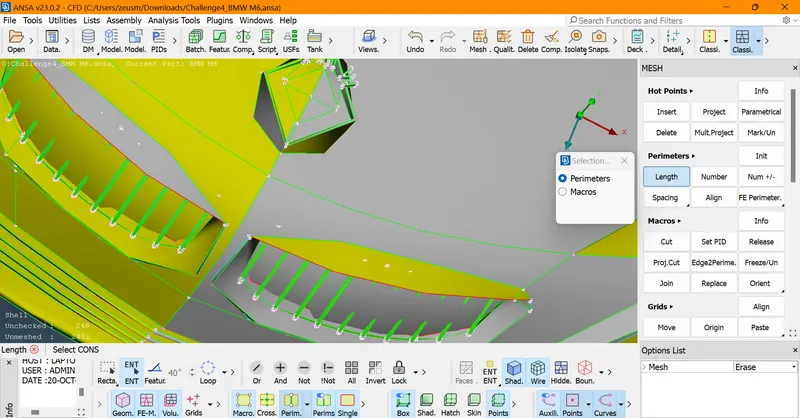
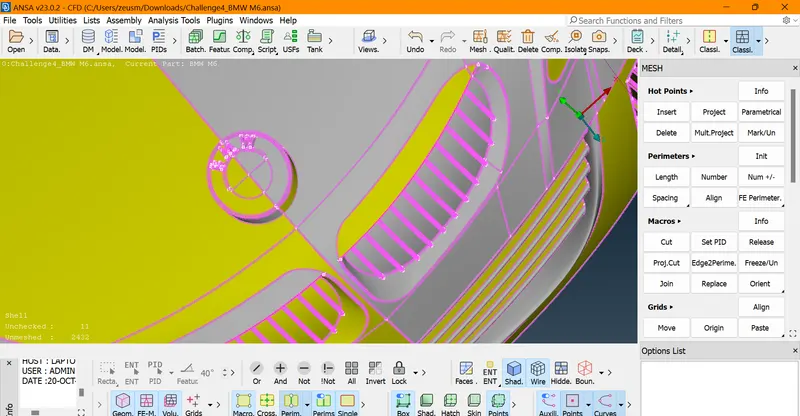
We can observe that the grills and logo are in good shape now.
Now we can observe that the car body is axi-symmetric so we can hide one side of the car body and work on the other one side of the car body and finally mirror it .
While observing the geometry we observe that the BMW Logo isnt axi-symmetric, so we need to assign it PID hide it up and perform the operation on the remaining part.
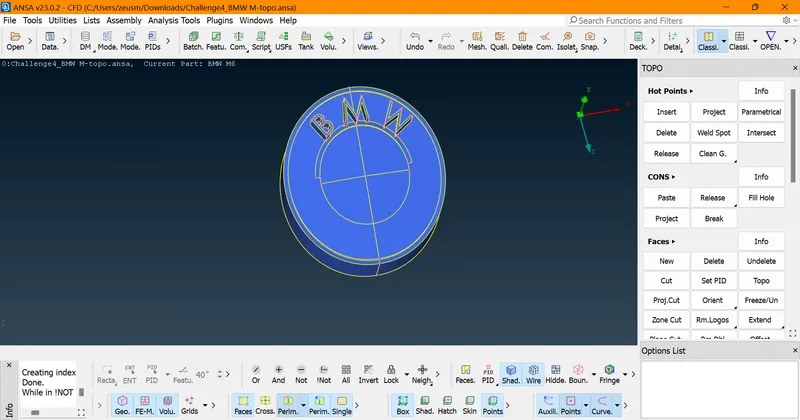
Now, we need to create a divide between two axi-symmetric portions, we can do this by using
Faces -> Plane Cut -> Select hot points which will help us to create a cut throught the body
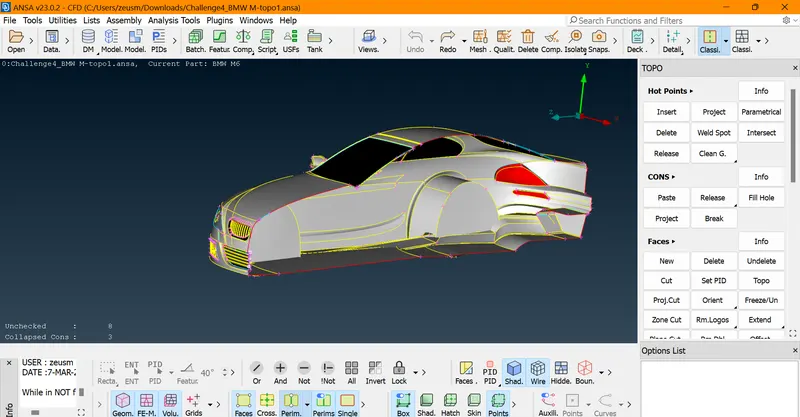
Now we have successfully deleted the other symmetric side of the geometry.
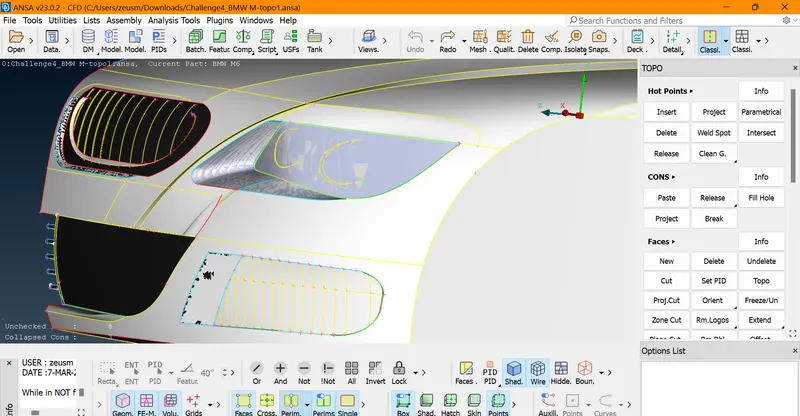 After this, we can observe that there are many triple coons formed, which will form many small, undesirable volumes. So we need to apply geometrical cleanup in these areas.
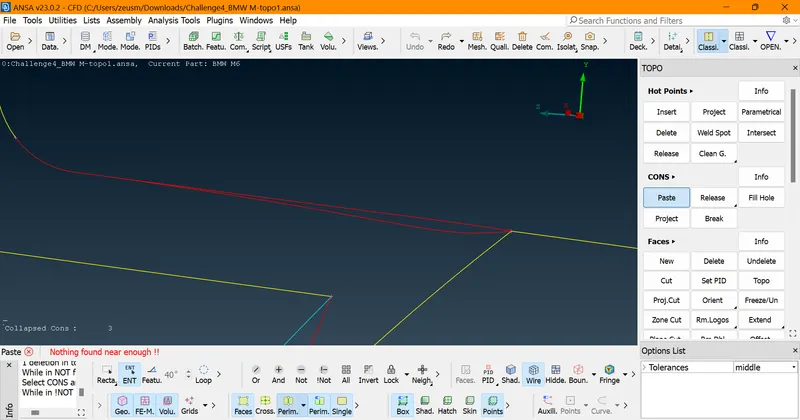
While performing geometrical cleanup in the headlight area, we can observe that there are two very closed coons but there are not joined together, so we can joined to form a double coons
Coons -> Paste -> Select the coons and join them together.
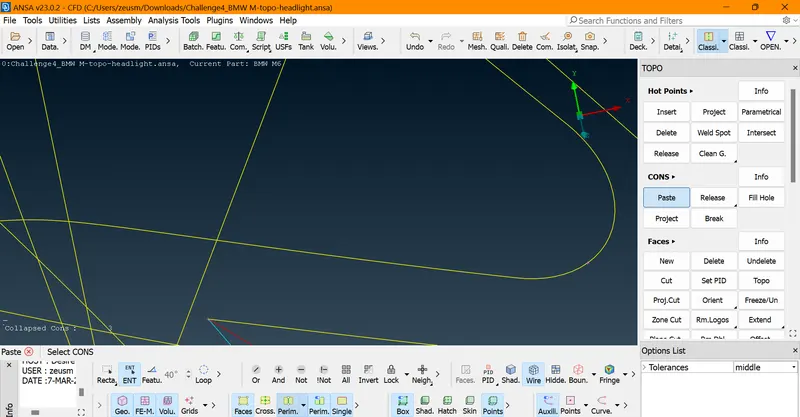
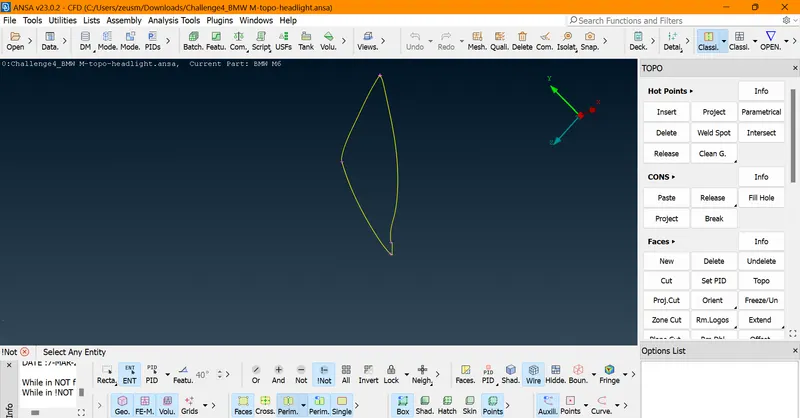
Now, the headlight portion looks fine..it is free of single & triple coons..We can move to our next portion
After that, the geometrical cleanup process was carried on the lower grill area
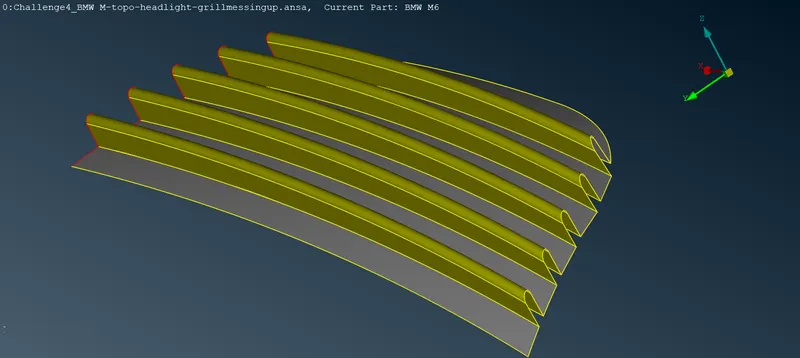
which looks fine now...
and the vent air
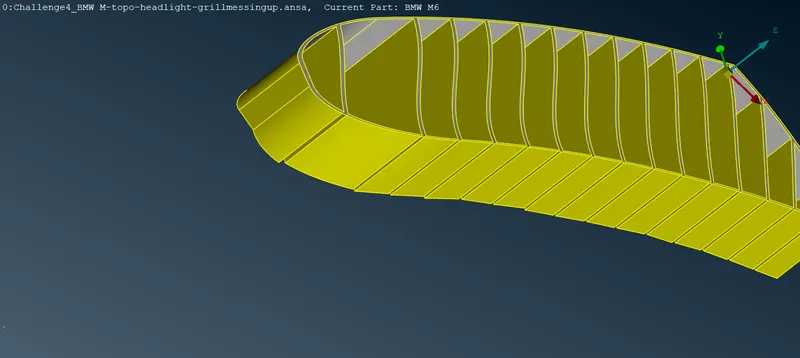
which also looks fine now..So now we can finally proceed further for the remaining parts
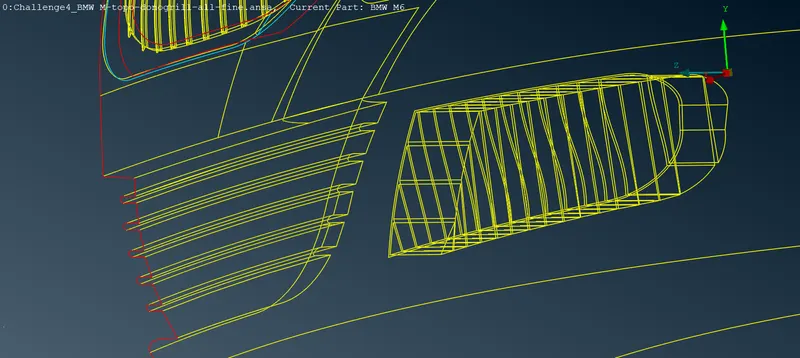
Now, we took our BMW logo and performed geometrical cleanup on it.
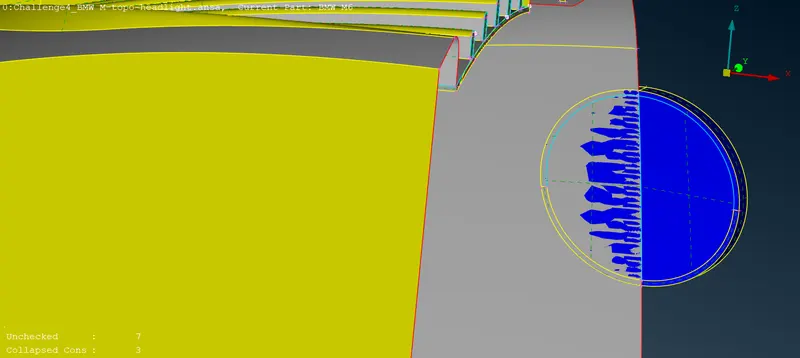
We can observe there is an overlapped surface present in it and triple coons are present, which need to be fixed.
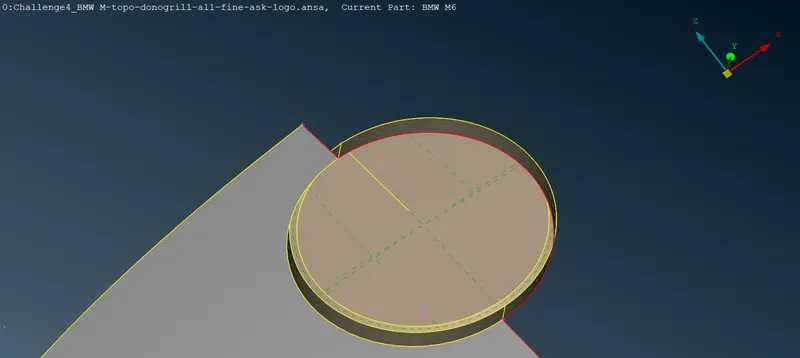
The BMW Logo's downward surface should appear alike; this finally. We can also observe that the logo is free of single and triple coons. Only one single coons is present, which will be fixed after performing mirror operation at the end.
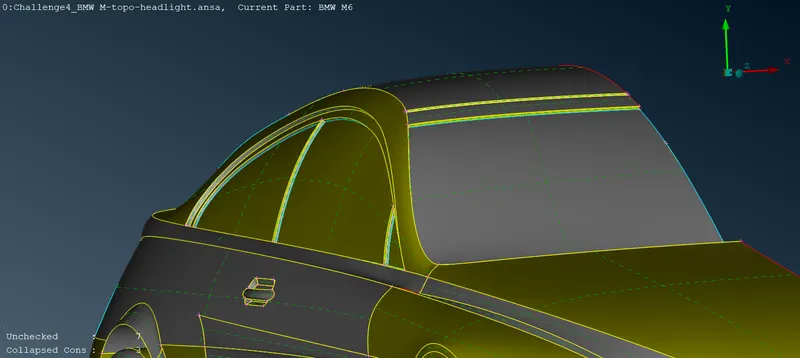
Now we are performing geometrical cleanup on our roof, windshield and side glasses... We need to figure out the triple coil and remove it so that it doesn't create small volumes.
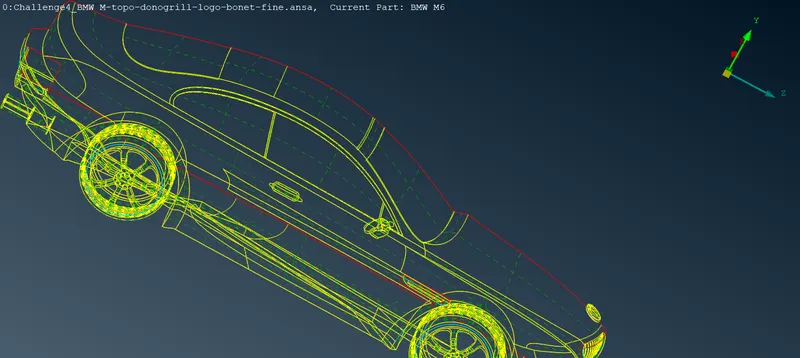
We can figure out that the windshield, roof part, and side glasses are free of any geometrical errors.
Even the side view mirror looks fine now in wireframe mode
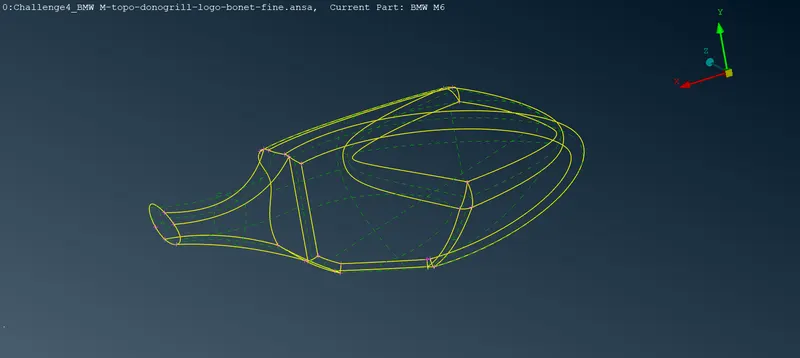
Now we are dealing with the upper grill part and we can observe that there is 2 crosshatches present on one of its surface
which is one of the prime reasons for the presence of triple coons on that surface.
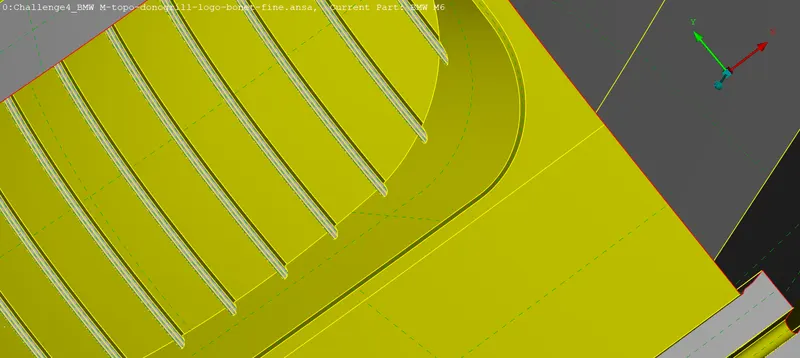
After removing those double crosshatches, we can observe that the triple coons is also fixed.
Now, after fixing all geometrical errors one by one,we have finally achieved our clean geometry, with no intersection errors, triple coons, or any needle faces.
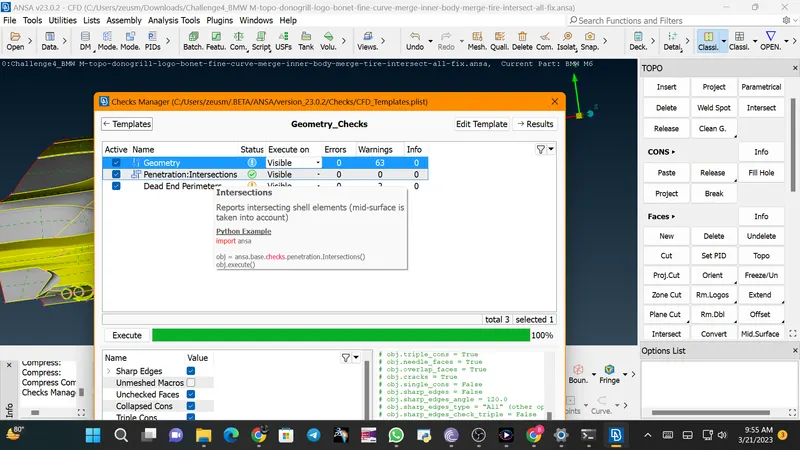
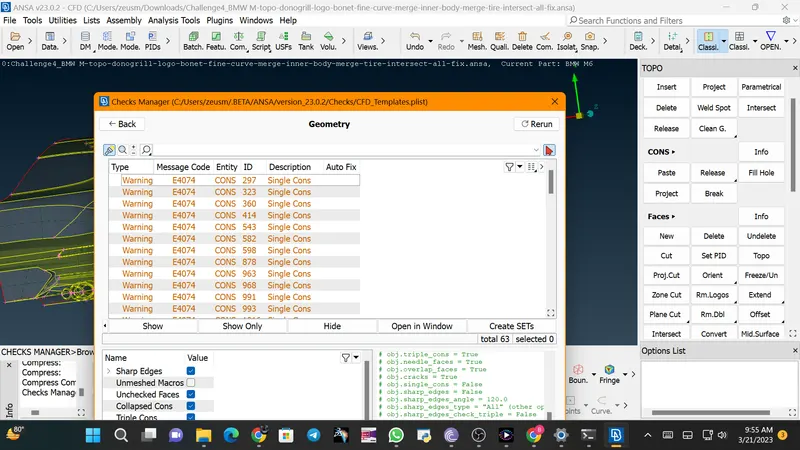
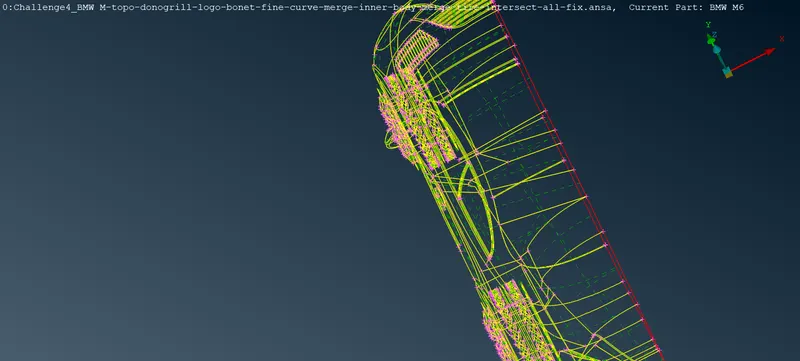
We can observe that uour geometry is free of triple coons and inersection errors, So now we can move to our Meshing Desk
Now, first of all, we need to assign PIDs to our geometry as stated above.
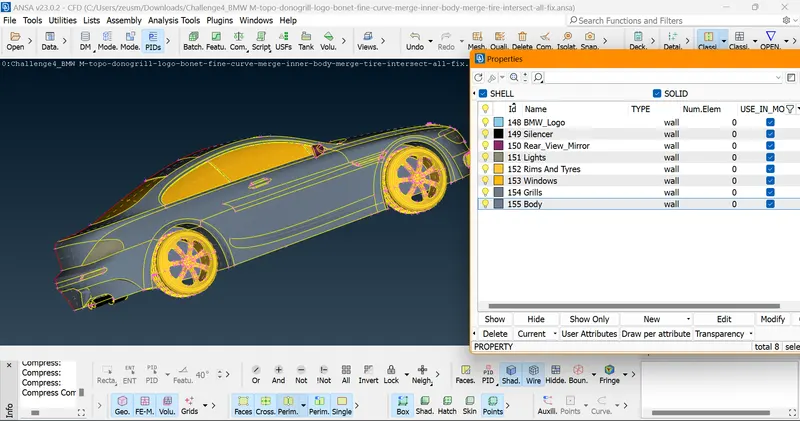
So, here is our car geometry after assing all the required PID's
Now we can finally move to Meshing and apply Surface Meshing
Now we have started our meshing process with Car Body,whose target length is provided as 3 mm and our maximum length will be 5mm and minimum length would be 1 mm. First and foremost task is to check for those regions which are smaller than 1 mm in length
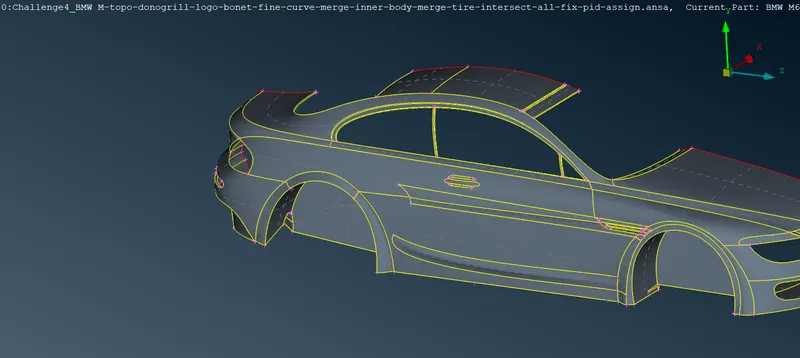
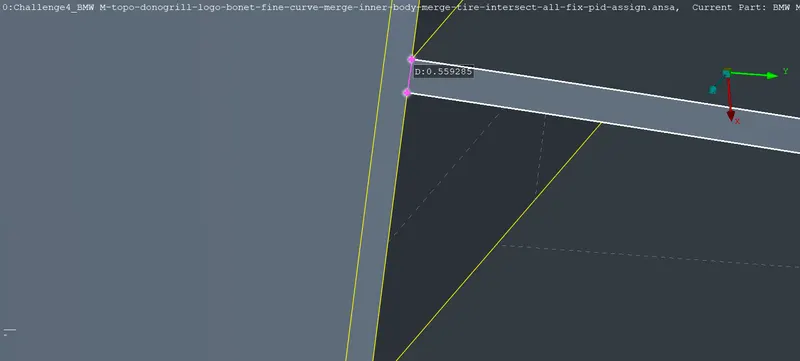
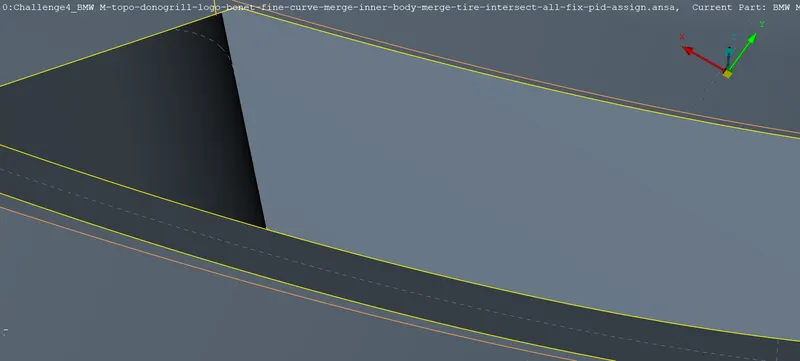
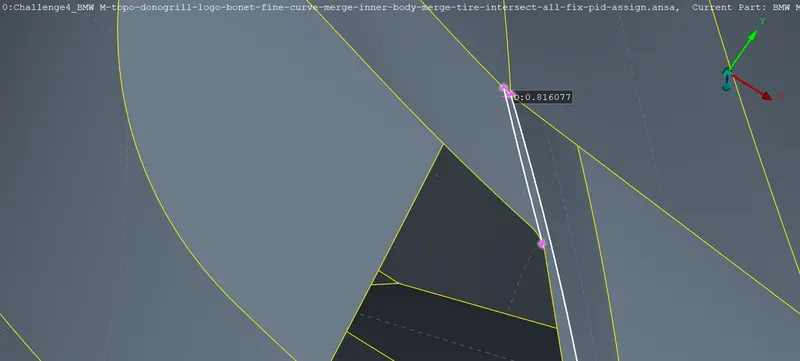
By visual inspection, we can figure out few areas whose length is below 1 mm which is our minimum target length and these areas will create off-elements while meshing..So we need to rectify these errors, by selecting coons and turning them off( convert them into orange coons)
We can perform this operation using Cut Option -> Select the coons -> Right click and convert it into orange coons
Similarly, we need to rectify other PID's if we find some areas whose length are below then our Minimum Target Length
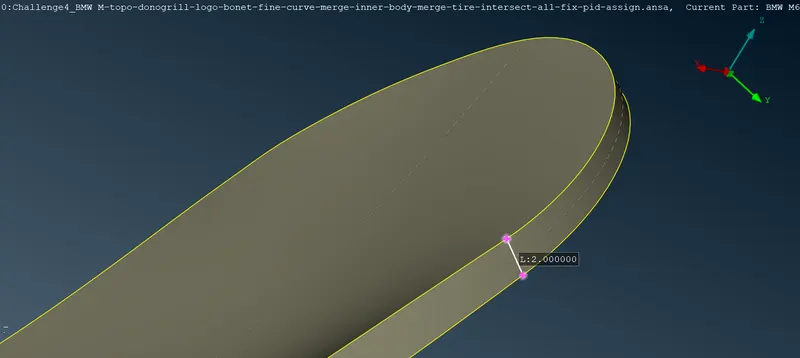
This is our light area, whose minimum length is 2 mm. And we can observe our target to be as exact as 2 mm, so we are keeping this...Like this we need to fix this by visual inspection
Now we are finally moving to generate mesh on our body.
For meshing, first we need to go with STL meshing so that it captures the geometry properly. After that, we can use our Batch Mesh Manager to assign different quality criteria and mesh parameters.
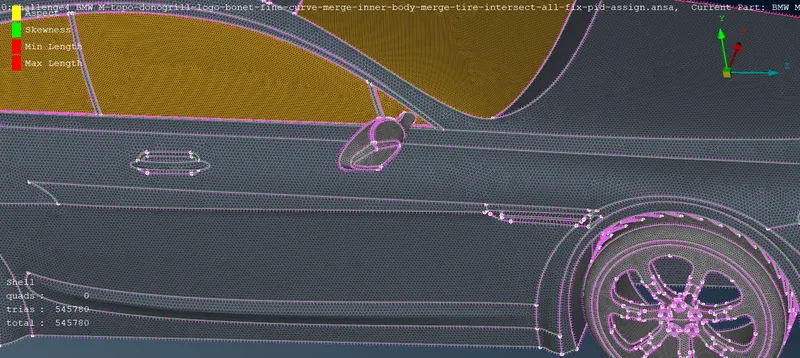
Now, here is our geometry after fixing few single coons and some small errors
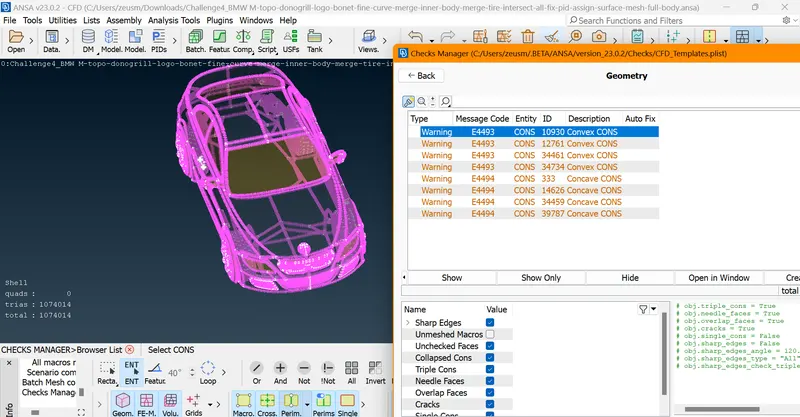
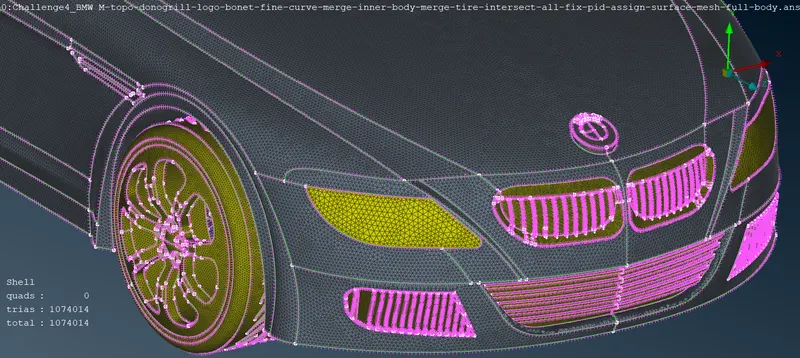
Now we can observe that there are no off-elements or unmeshed elements present..
And now we can finally move to Volumetric Meshing & Wind Tunnel Creation
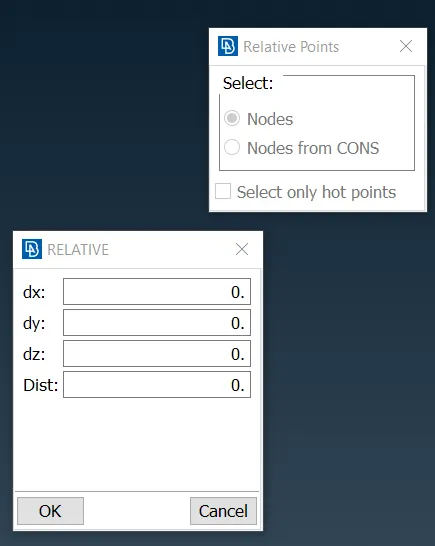

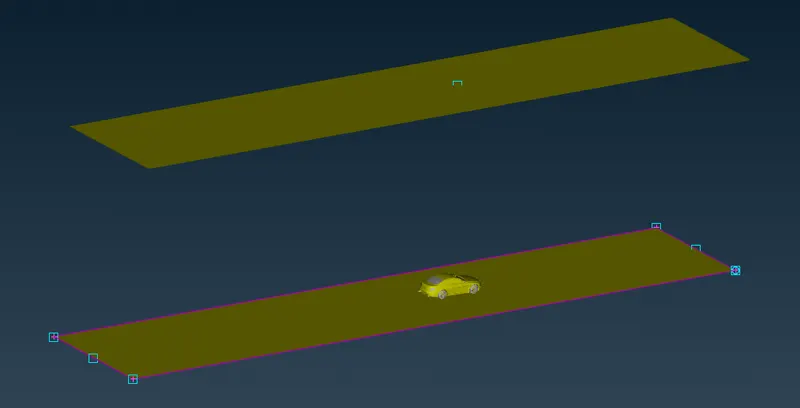
The rest of the side, front & rear surfaces has been created using "New" face command. And respective PIDs was also created.
Wind Tunnel Meshing:
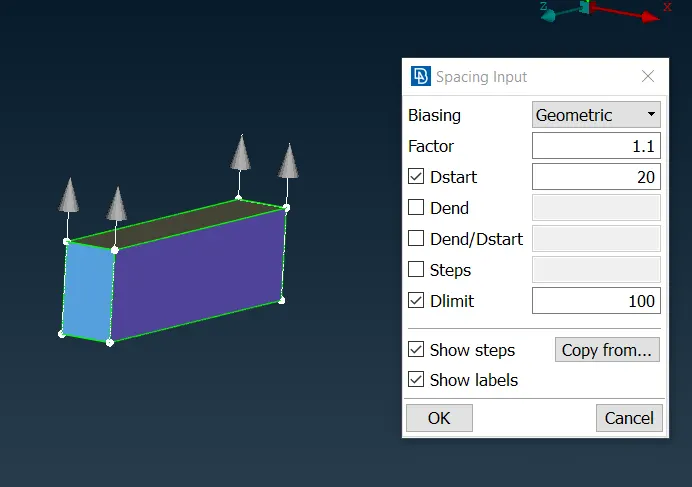
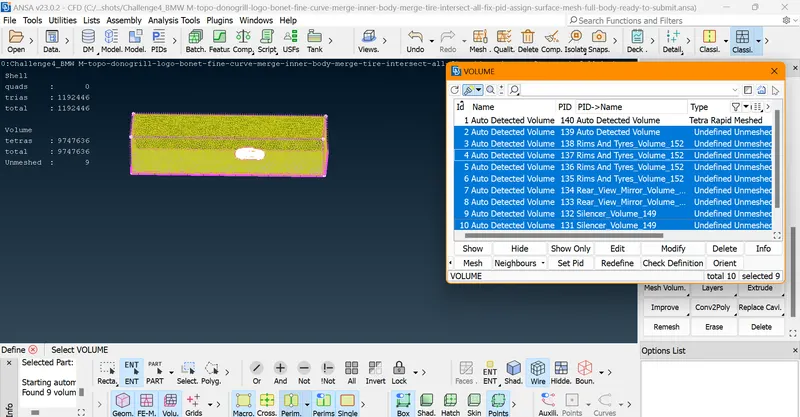
Now we have successfully performed volumetric mesh on the wind tunnel as well. And we can now delete these remaining volumes, which are of no use to us.
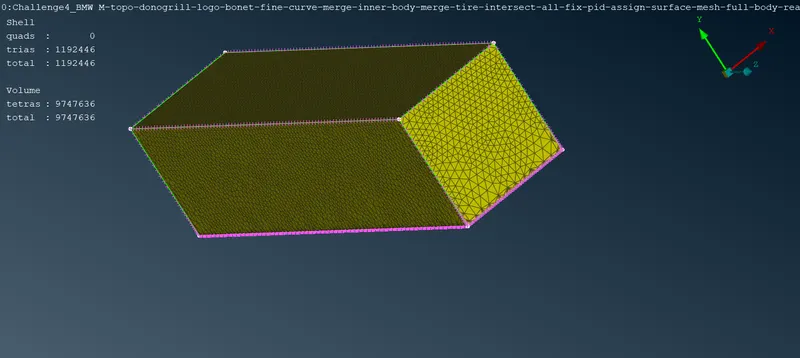
So here is our final geometry with us with no off elements or any unmeshed elements present in it
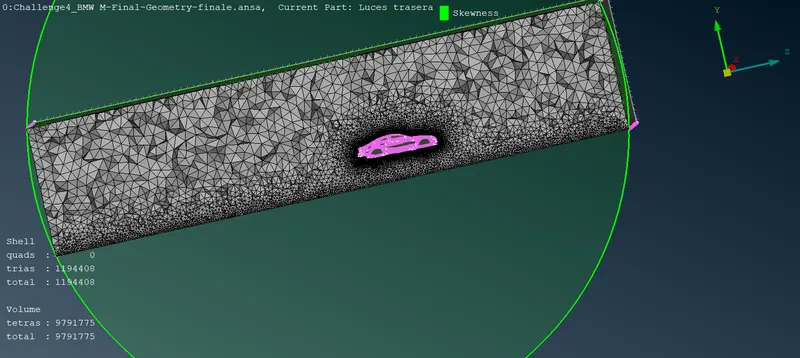
Cut-Section View Of the Geometry
Results
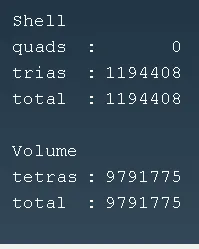
Geometry File
https://drive.google.com/file/d/1_n32MyPUv1sKfVGQUQ5oJmYn46SBoC6L/view?usp=sharing