Week 4 Challenge : CFD Meshing for BMW car
Aim: To solve geometrical errors in the given model and to give mesh as per quality criteria, to create good mesh.
Procedure:
- Once the car model is loaded, we must start with the surface clean-up:
- As we can see the car model is symmetrical. So, we can delete half of the model, to make our updates easier.
- Once half model is deleted, we can move on with the surface clean up, using options available in Topo.
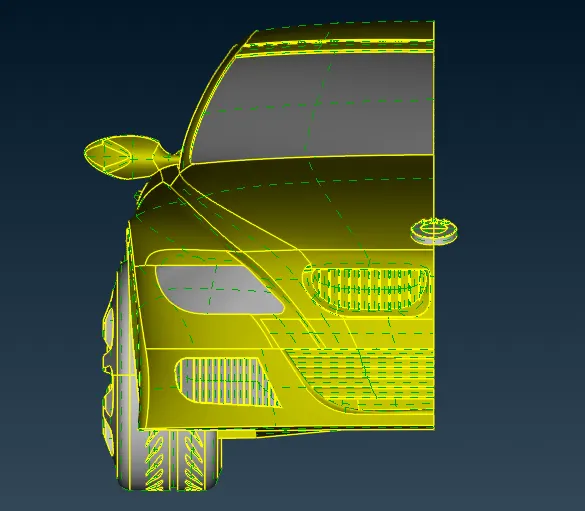
- While clean-up, we should also take care of the minimum mesh length we are going to give to each PID.
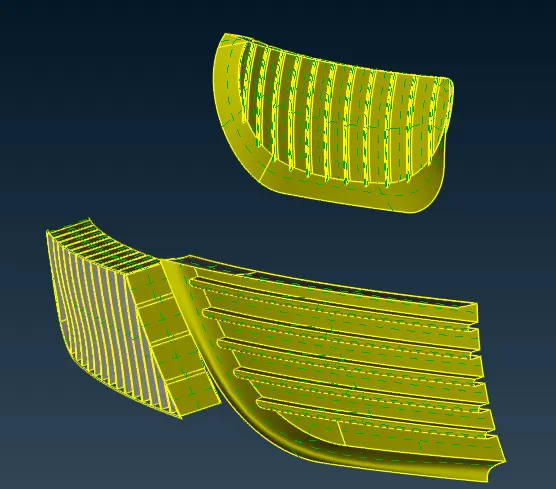
- Surface clean-up for the grill:
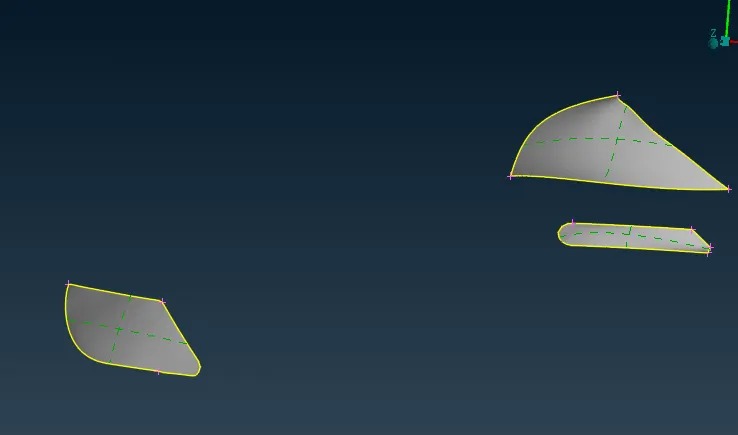
- Surface clean-up for the lights:
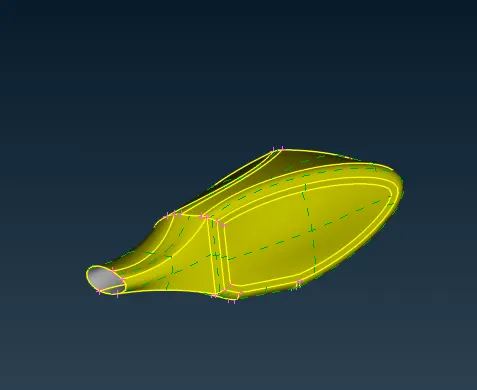
- Surface clean-up for the rear-view mirror:
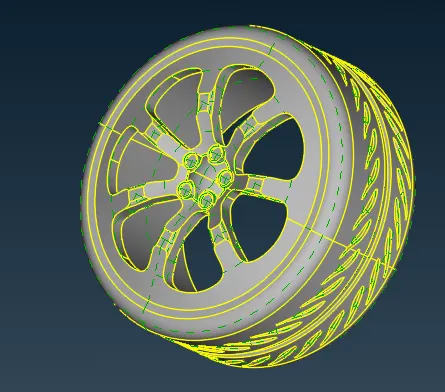
- Surface clean-up for the wheels:
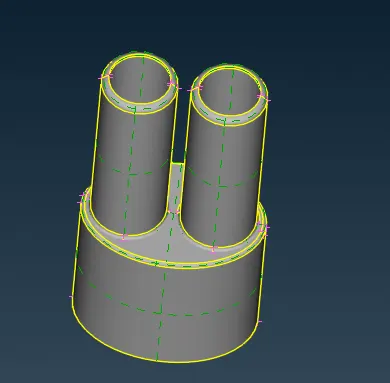
- Surface clean-up for the Silencer:
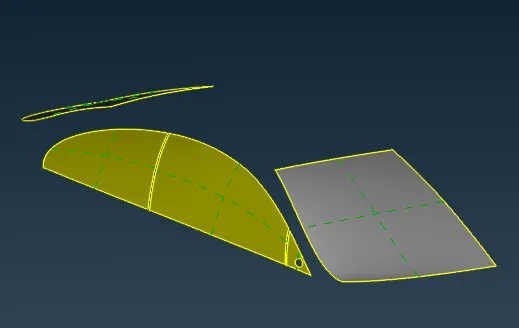
- Surface clean-up for the Windows:
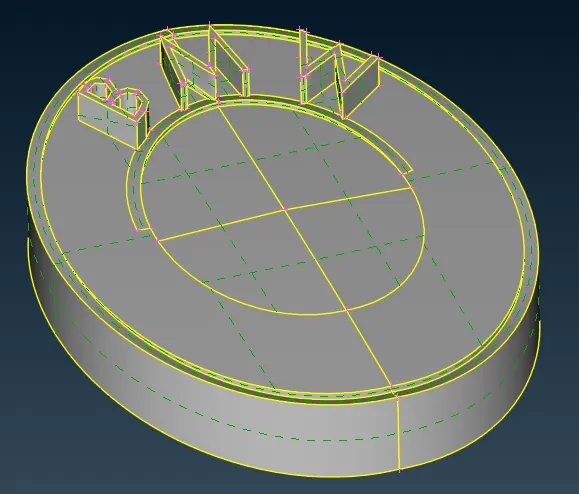
- Surface clean-up for the logo:
- Surface clean-up for the Body:
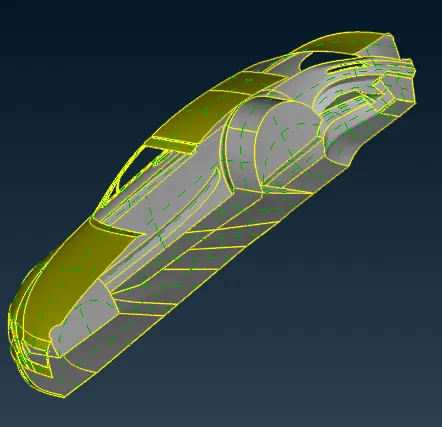
- Once done with clean-up, we can move forward with meshing:
- As per inputs in the challenge, I performed the meshing for the car, by defining mesh parameters and quality criteria
- Meshing for the grill:
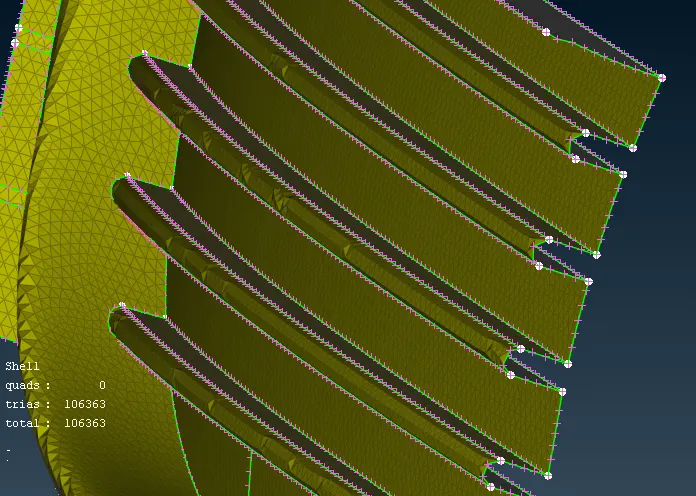
- Meshing for the lights:
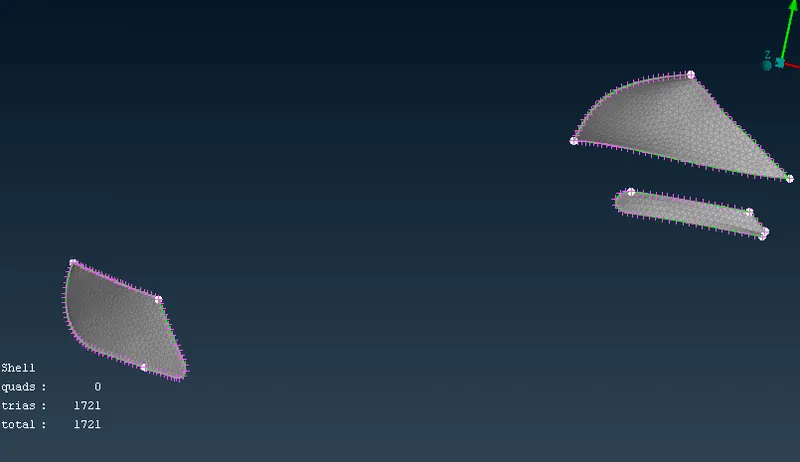
- Meshing for the rear-view mirror:
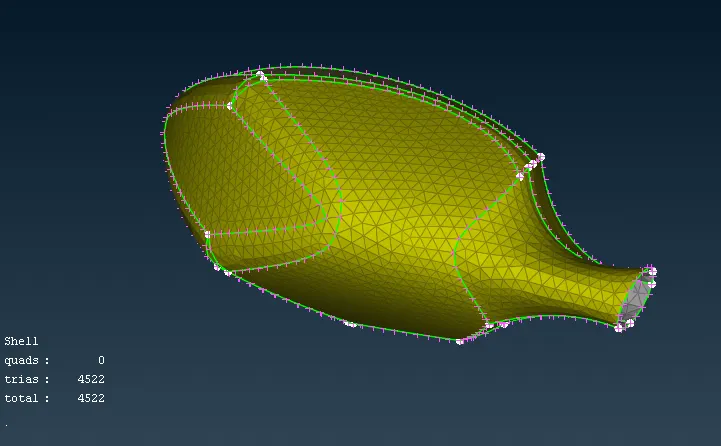
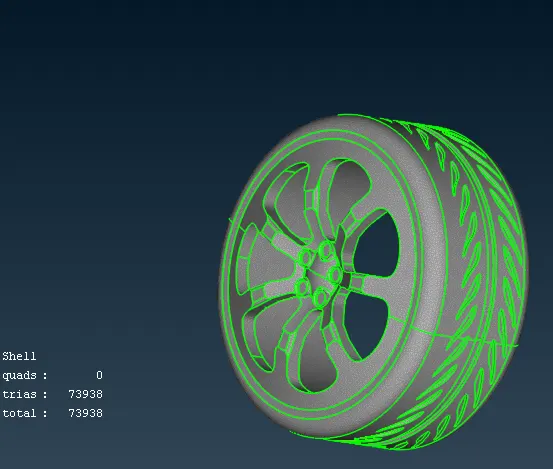
- Meshing for the wheels:
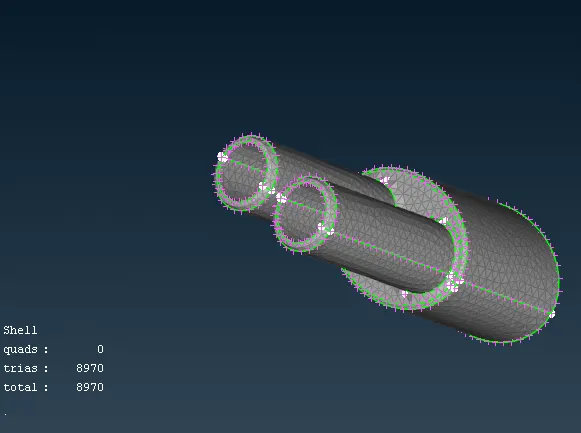
- Meshing for the Silencer:
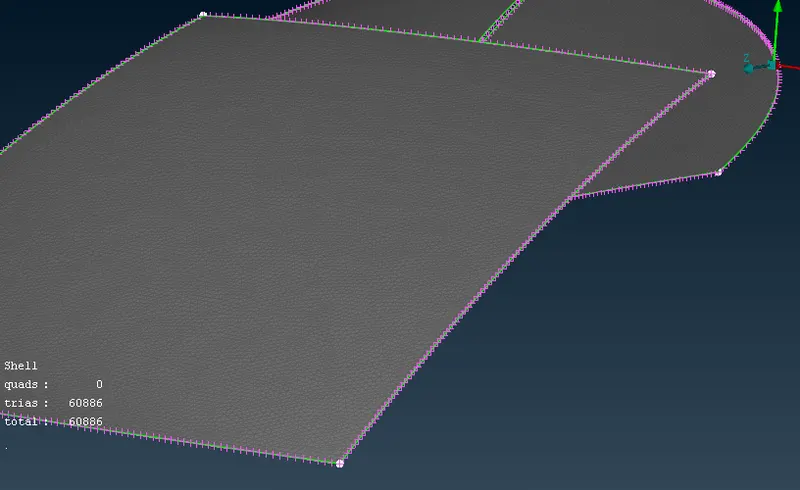
- Meshing for the Windows:
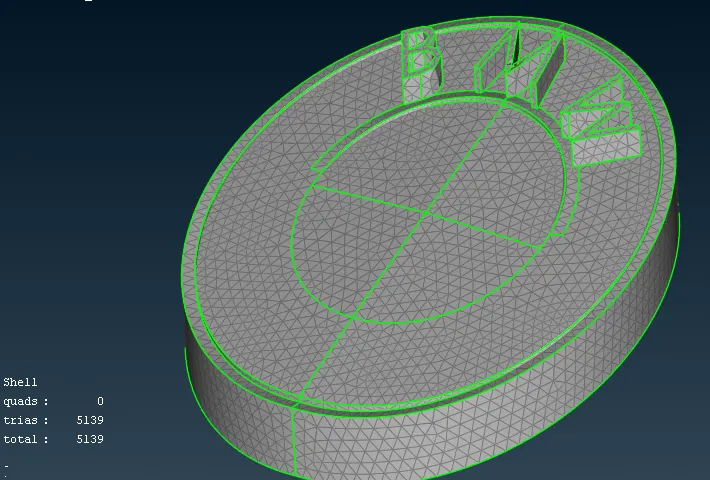
- Meshing for the logo:
- Meshing for the Body:
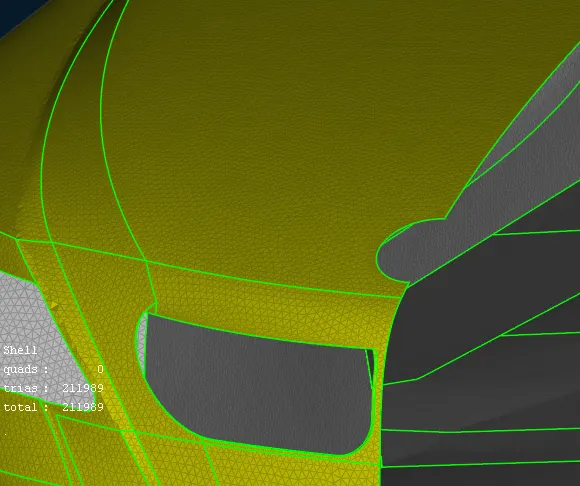
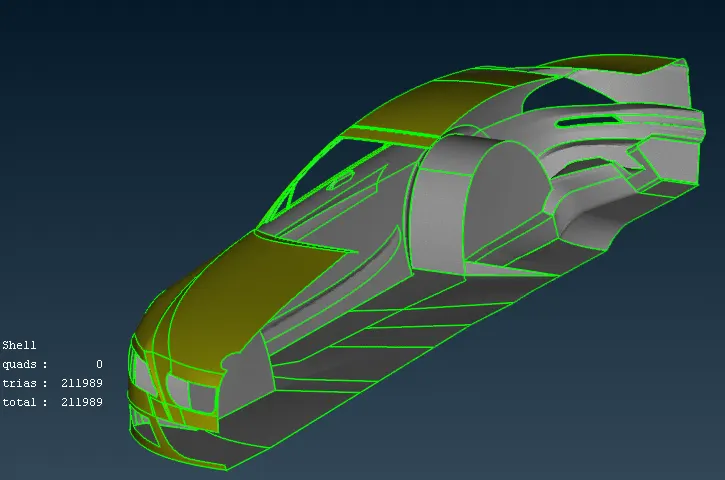
- Once done with meshing use transform option to create symmetry and close the car model.
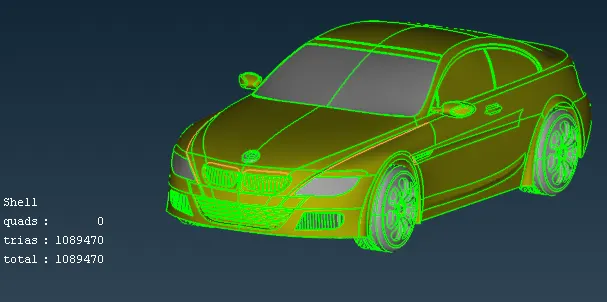
- Creating Wind tunnel:
- Rules followed for wind tunnel creation is, from front 4*x, from rear 6*x, from top 3*x, and from the sides x distance, where x is the length of the car.
- The above-mentioned boundary was created using relative option is point, where initially a bottom point was created in the middle of the car such that it is just below the tires.
- Based on the boundary points surfaces were created, and wind tunnel was complete.
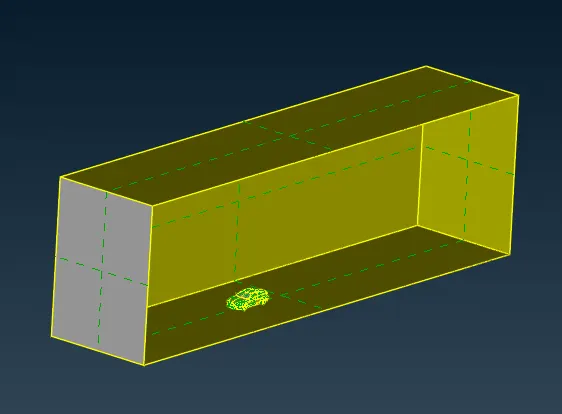
- Note in the above pic one of the sidewall is hidden to give perspective of wind tunnel.
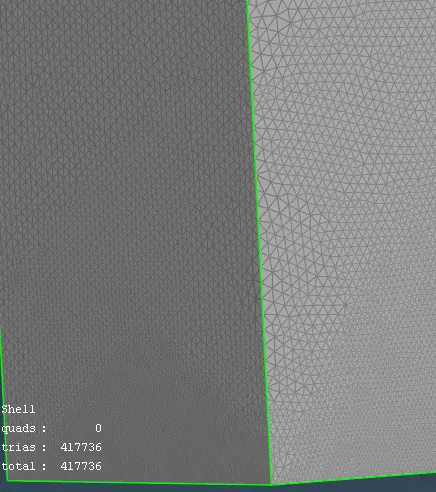
- Meshing of Wind tunnel:
- Meshing was done such that the top surface had a mesh length of 100 mm and bottom surface had a mesh length of 20 mm, as it was closer to car.
- Side surface was given variable mesh using spacing option such that the mesh was started from 20 mm at the bottom edge and 100 mm at the top edge of the side walls.
- Volumetric Mesh:
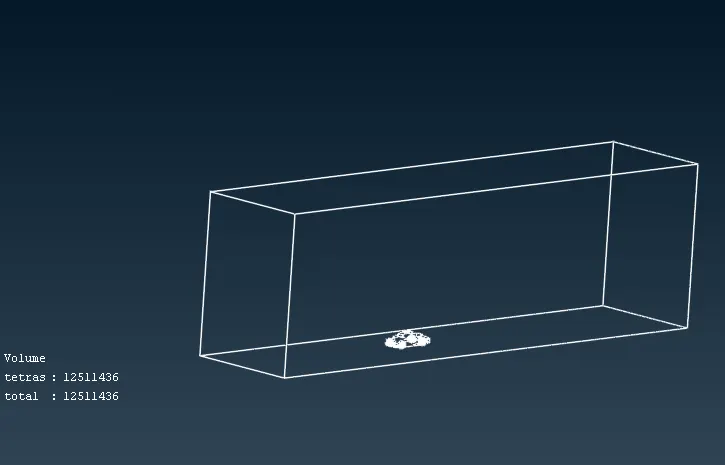
- We get a list of volumes once we click on define in v-mesh deck.
- We had chosen the volume between the wind tunnel and car, as that is the required volume that could be used for CFD.
Learning Outcome:
- Gained more experience in Surface clean up using topo deck.
- Learned how to give varied mesh length, and also how to generate good mesh and also to solve poorly formed mesh
- Got to know more about Volumetric Mesh generation.
- Learned about wind tunnel standards.
Conclusion:
Got deeper knowledge of ANSA tools and also learned lot of new techniques to solve the model.
Note: the uploaded is only a surface meshed model, as the server is not allowing me to upload the v-meshed model due to its huge file size