Generation of CFD Meshing for BMW car
Aim- To generate CFD mesh on BMW car model
Procedure-
After opening the model we observe there are so many single cons are present. To clear this, we immediately select the whole geometry and use TOPO option for clean-up.
In the geometry there are various parts which are not showing properly. To solve this problem, we use mesh length option and gave 1 mm length of perimeters and macros each. By this the geometry is looking much proper.
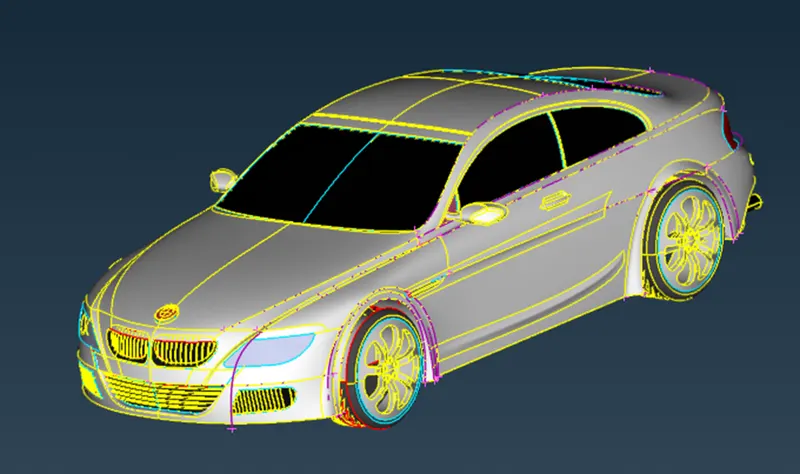
To make work more simple we can delete the half portion of the car and later after when we are finished with TOPO clean-up of one side we can basically copy the cleaned geometry symmetric to it.
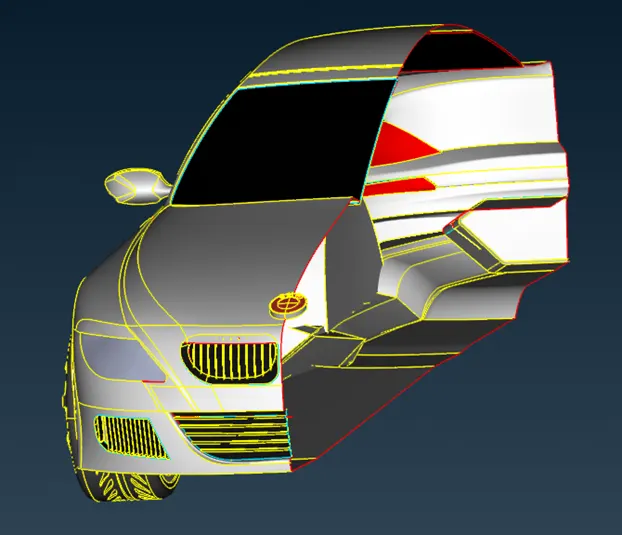
We are considering car as a single volume that’s why we can delete the inner parts of the geometry in order to ease the meshing process.
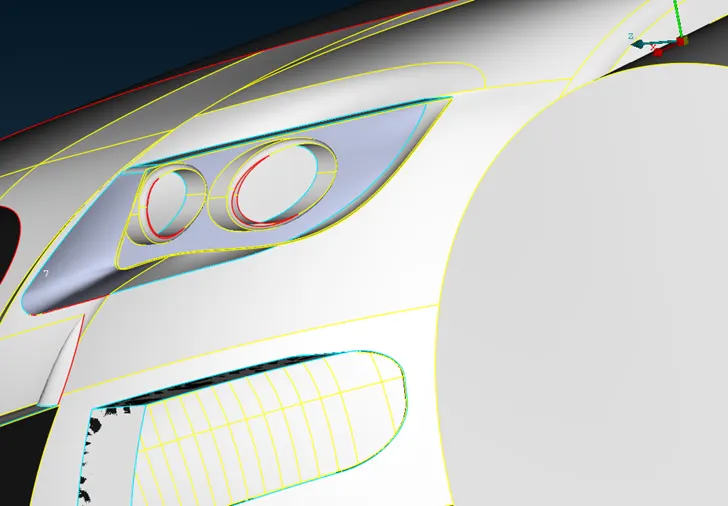
There are so many complex geometries are present in the model. To solve this we can cleaned them one by one.
In the above picture we can create a single volume by closing unnecessary opening and by deleting and joining the various surfaces together.
After eliminating unnecessary single and double cons we get a clear surface as shown in below
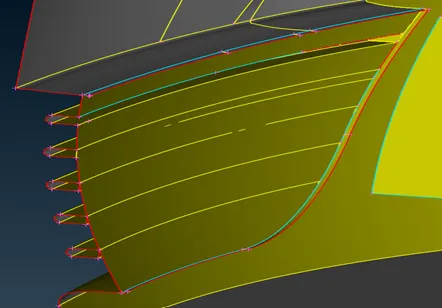
In the next type of grill there are triple cons are present which will create there independent volume. Which will lead to the incorrect approach and result. To avoid this we will have to solve the grill for single and double cons.
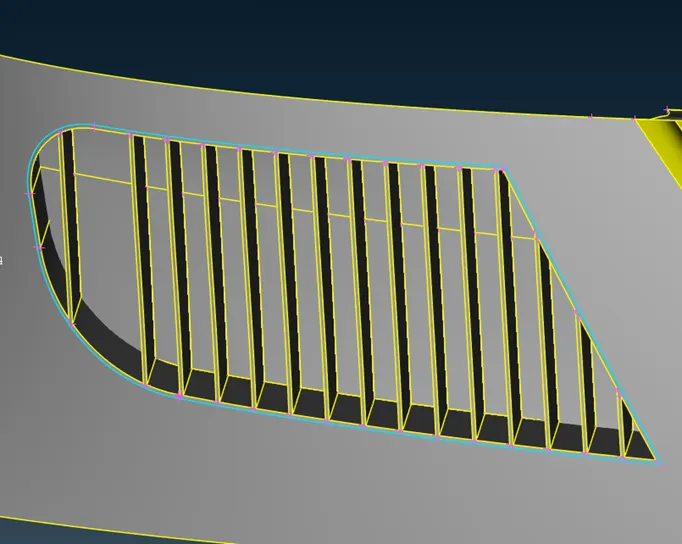
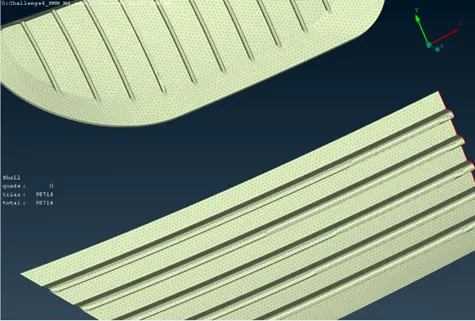
To make ribs hollow we try delete the faces of the rib from inside surface.
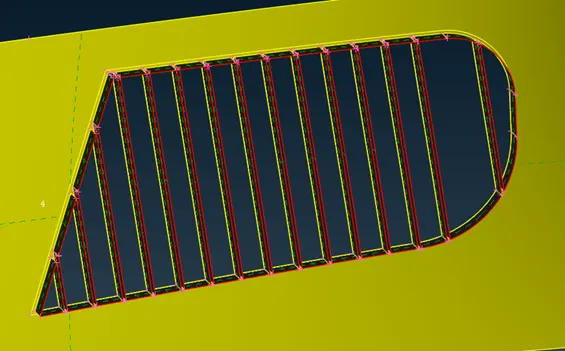
To patch the extra surface present between the ribs we are making new cuts, deleting extra surfaces and create new surfaces.
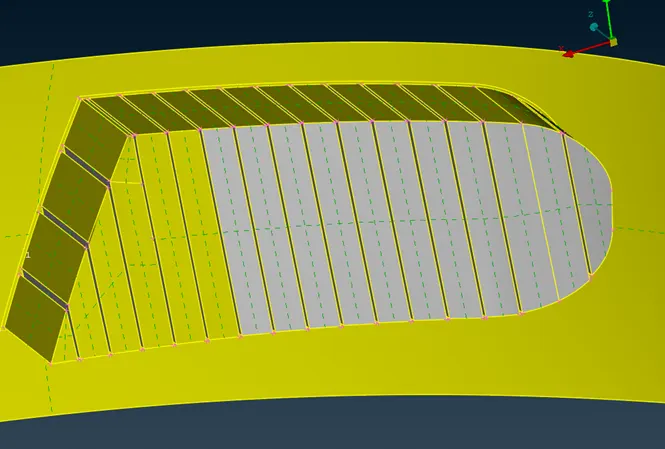
In the next logo part we try to delete the hood surface and the inside surface of logo by using extend, cut. Etc. commands
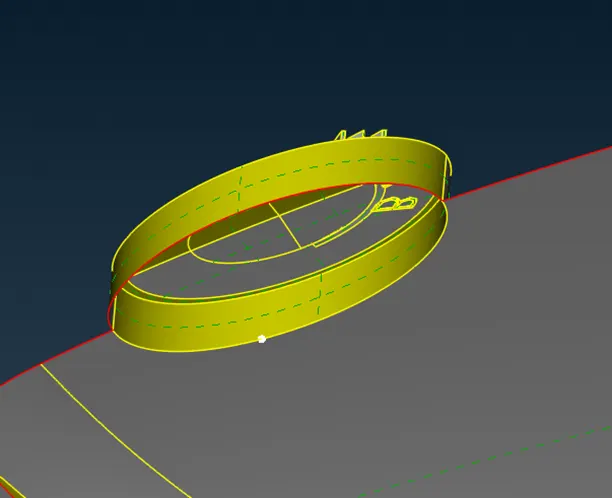
In the next geometry part there so many triple cons are present because the outer surface is enclosed by unnecessary inner surfaces. In order to solve that we should delete the inner surfaces and create new surfaces when necessary.
After closing all the surfaces and solving single/triple cons the geometry looks like this
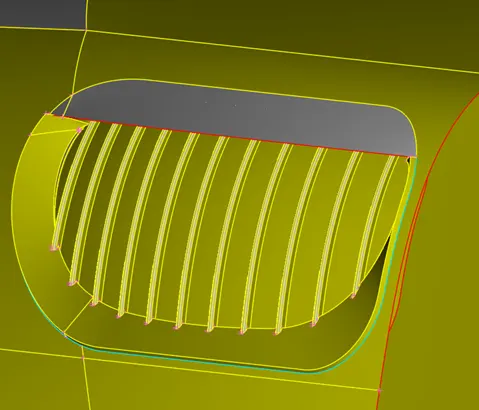
In the next geometry part, we can observe that there are so many surfaces present. So it is necessary to solve that problem by deleting faces and creating new surfaces. After the solving this we get bottom surface like this,
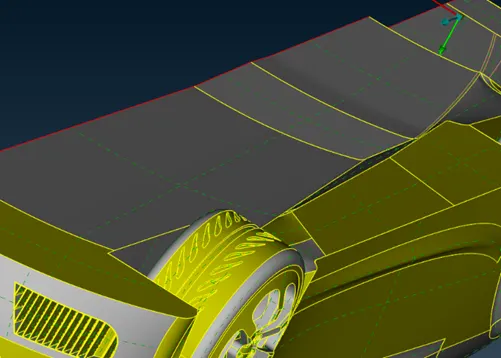
After by running geometry checks. We have solved various single cons, triple cons, needle surfaces, etc.
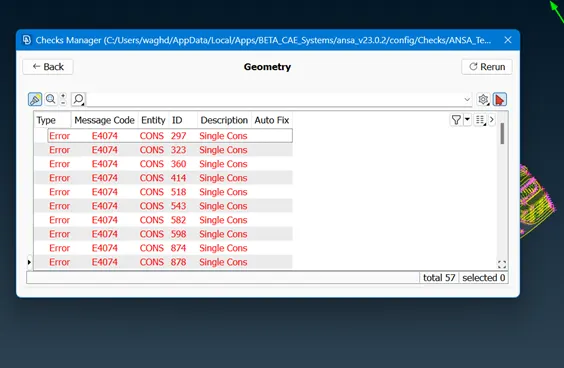
We are left with only the single cons which divides the geometry into two parts. Which is allowable.
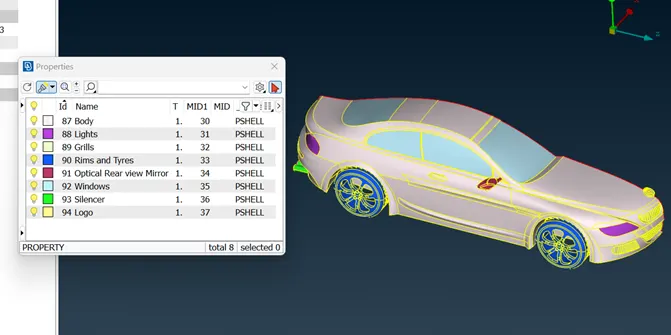
As we have to do meshing of different sizes to different components we have to assign PIDs to specific parts of the geometry. After assigning PIDs the geometry looks like this,
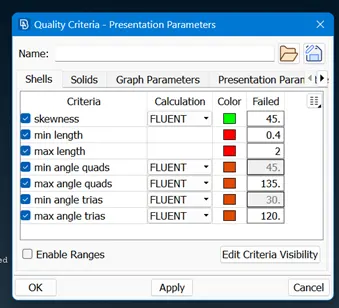
To deploy surface mesh to components we have define to quality criteria to the given geometry.
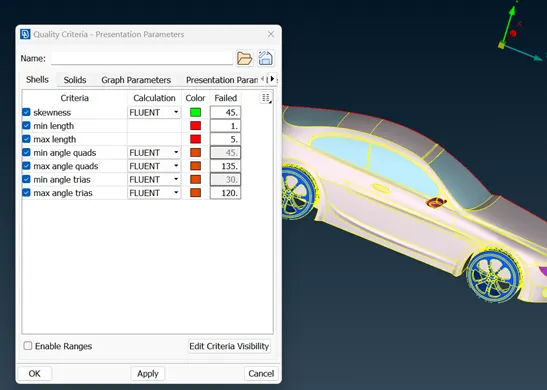
In order to adjust the elements from particular mesh length it is necessary to delete the surfaces which are smaller than the element size. By checking all the PIDs.
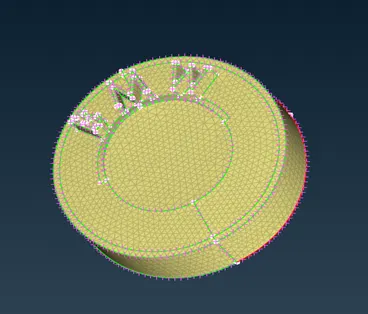
Now, we will start with meshing part. In the initial stage we will mesh the logo.
By following this same procedure we can mesh all the remaining components