Generation of CFD Meshing for Tesla Cyber Truck
- Aim- To generate CFD Meshing for Tesla Cyber Truck
- Procedure – After opening the model we observe there are so many single cons are present. To clear this, we immediately select the whole geometry and use TOPO option for clean-up.
BEFORE
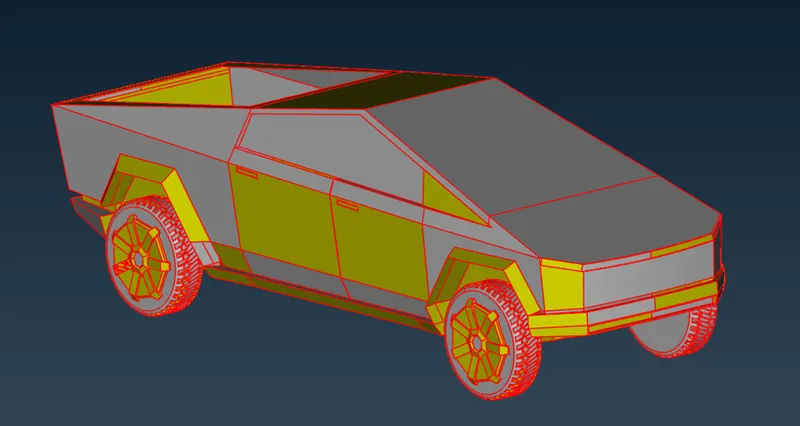
AFTER
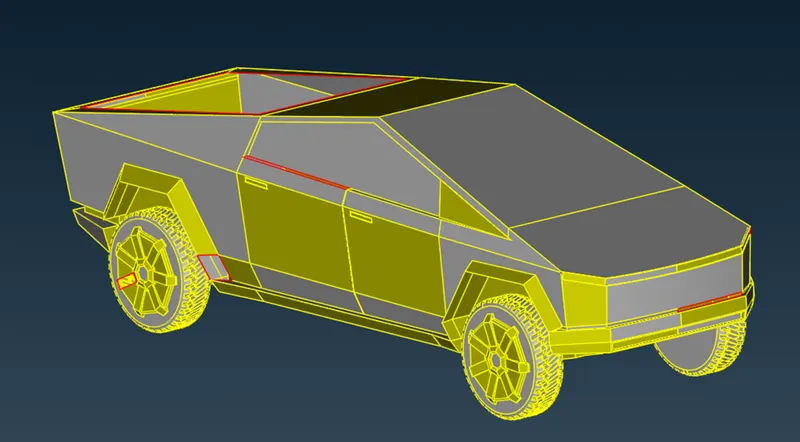
In the geometry there are various parts which are not showing properly. To solve this problem, we use mesh length option and gave 1 mm length of perimeters and macros each. By this the geometry is looking much proper.
There are so many parts present in that there is surface missing. We need to fix this by creating new surfaces there.
BEFORE
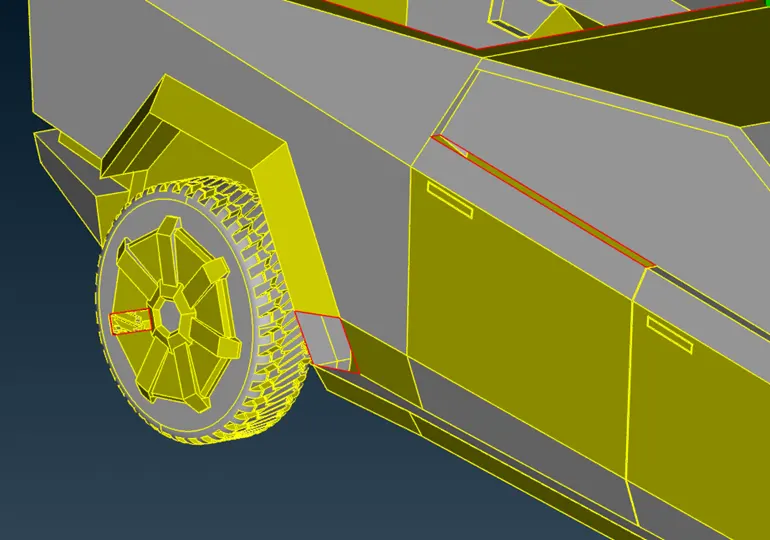
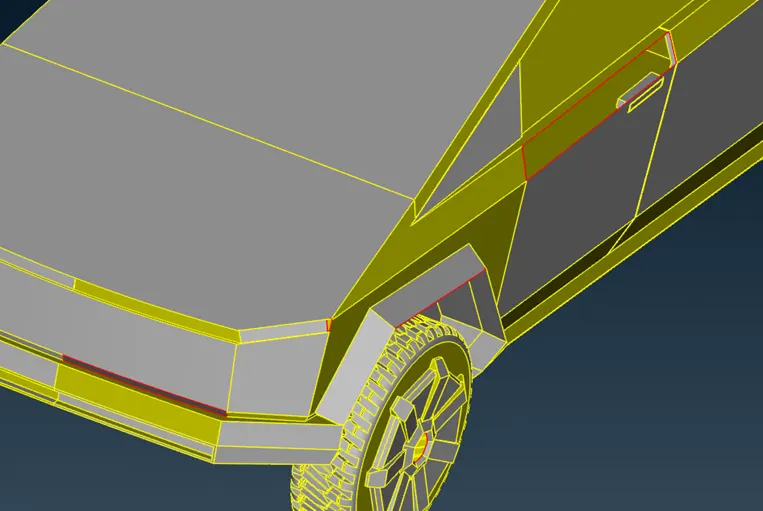
AFTER
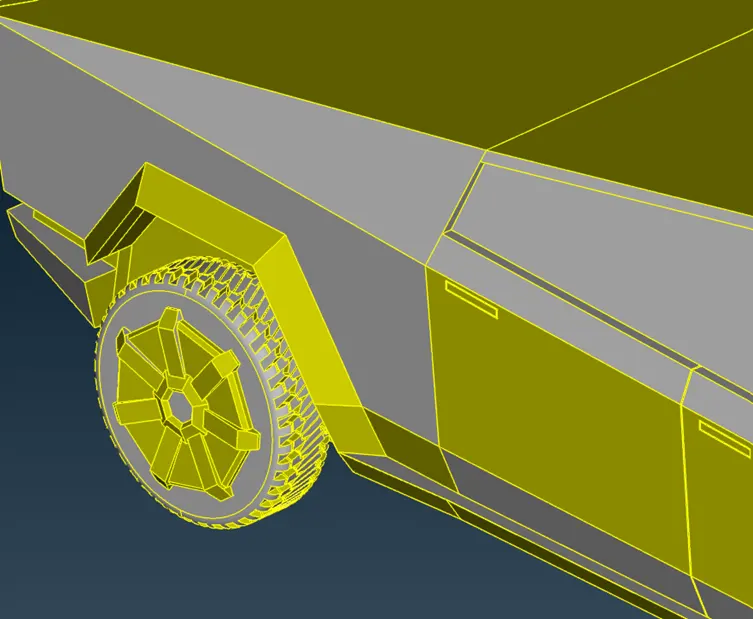
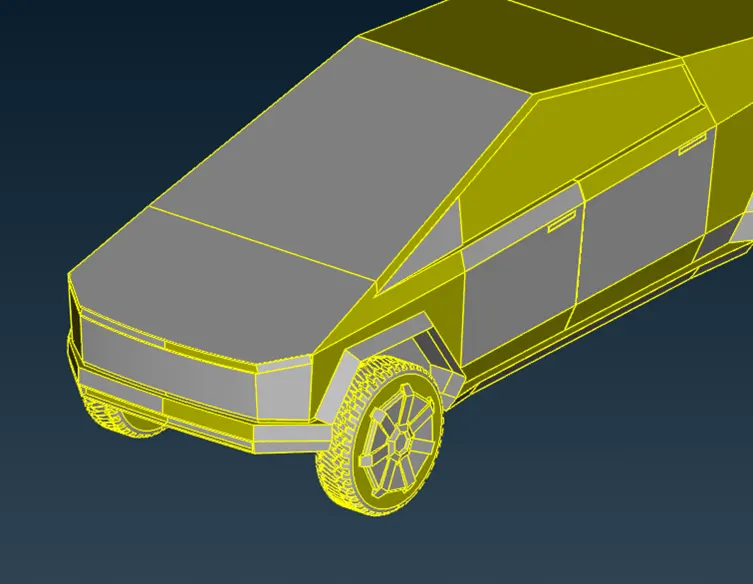
Also we are closing the open surfaces to create a single volume.
Also we are closing door handle cavity by deleting extra surfaces and creating a single new surface.
BEFORE
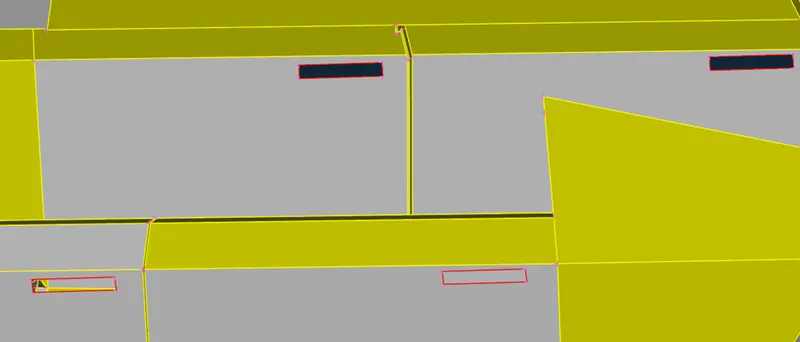
AFTER
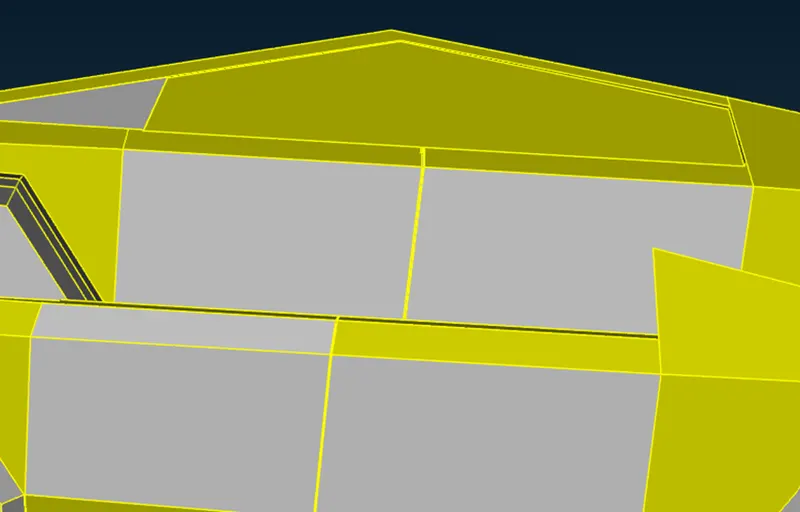
Now, we run geometry check and found no defects and single cons.
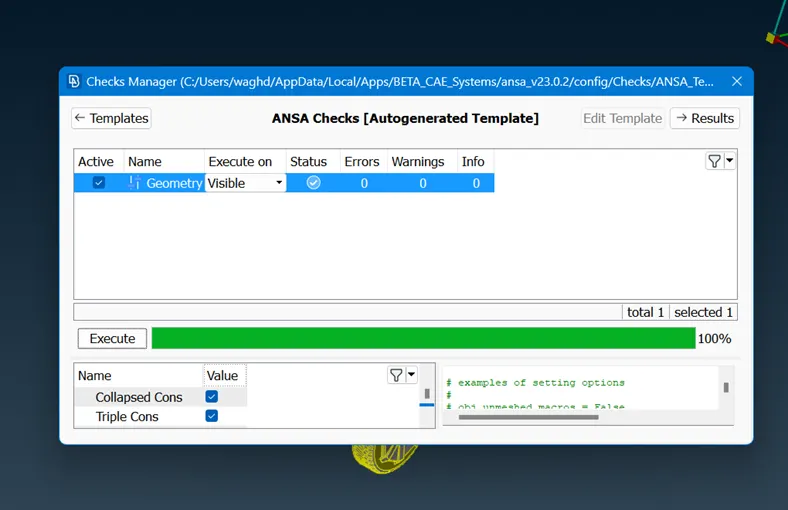
Now we are good to go for assigning different PIDs.
As we have to do meshing of different sizes to different components, we have to assign PIDs to specific parts of the geometry. After assigning PIDs the geometry looks like this,
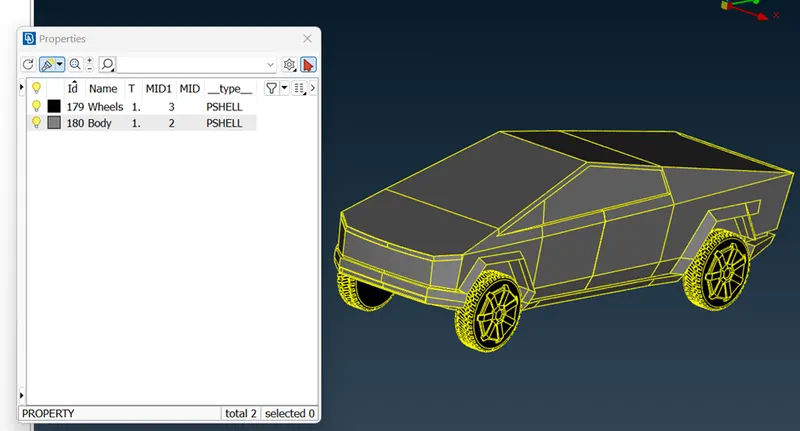
After this process of TOPO clean-up we are ready to deploy surface mesh on the components. After surface meshing we will deploy volumetric mesh.
To deploy surface mesh to components we have define to quality criteria to the given geometry.
As we are meshing body with 3 mm we have to define min. length as 1 mm and max. length as 4 mm
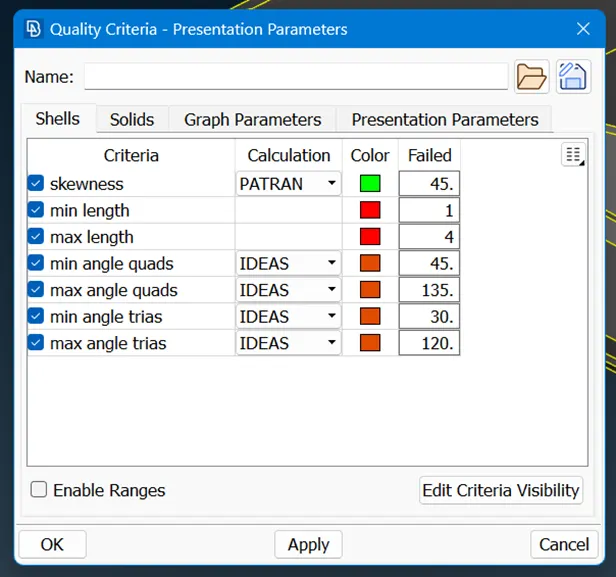
Then, mesh parameters
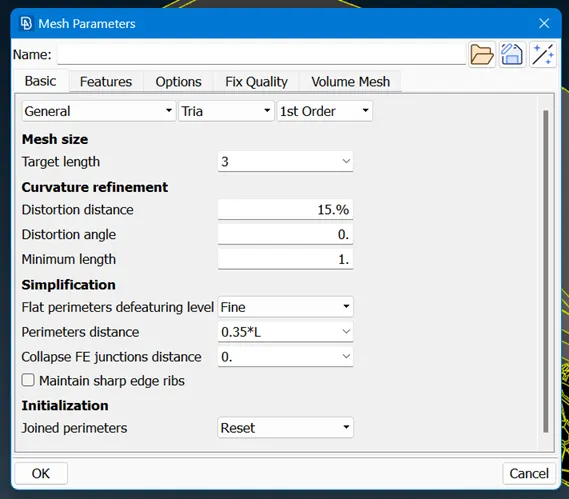
Now, mesh length perimeters and Macros as 3 mm and generate mesh using spot mesh option.
Successfully generated mesh on body
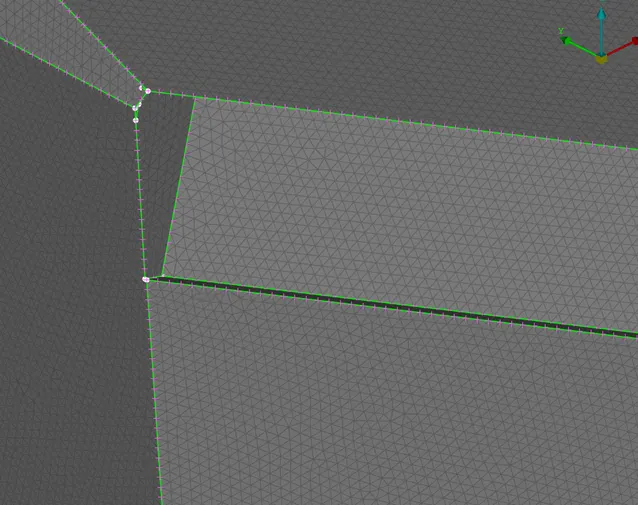
To check the quality criteria’s we have applied we must go into hidden geometry entity mode.
By applying same method we mesh the other PID i.e. Wheels
As the wheels having very complex geometry and our system was getting failed to generate mesh there. We simplify the tyre surface by deleting the complex surface and generating simple surface as shown in below.
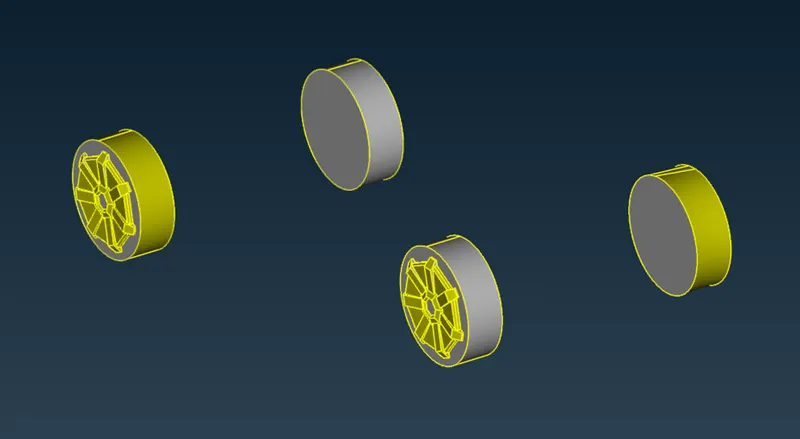
Then mesh,
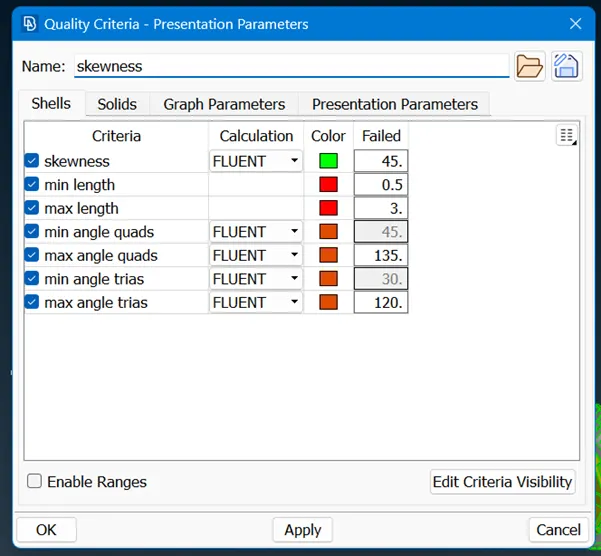
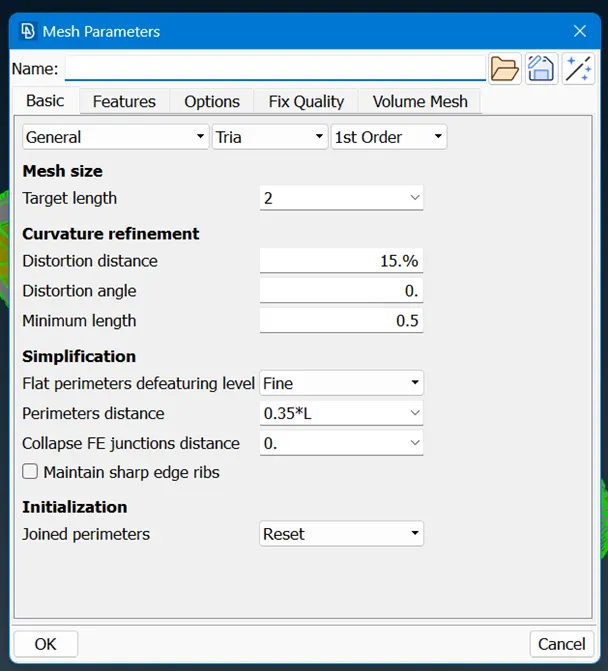
Successfully generated mesh.
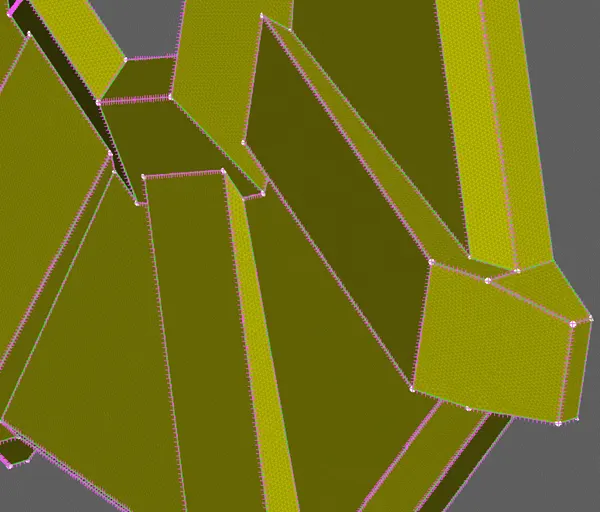
By using reconstruct tool we also reduced the off elements.
After successfully meshing the body parts we move to the meshing of wind tunnel. To create wind tunnel we must take proper distance from the vehicle geometry. This can be done by keeping in mind the vehicle horizontal and vertical distance.
By using Points>Relative option we create reference points on which we are suppose to create surfaces.
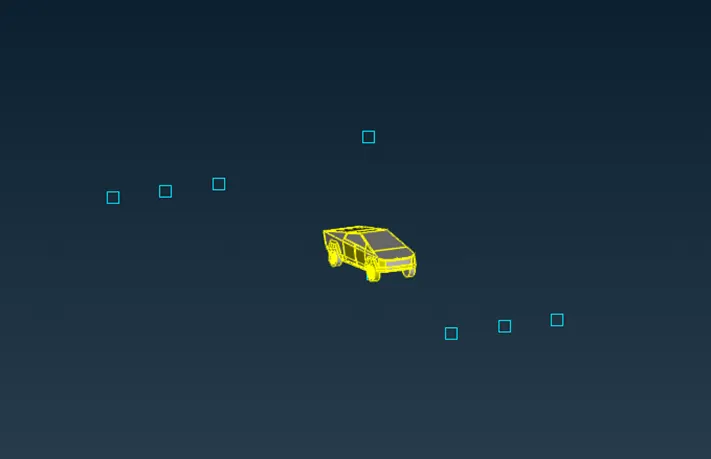
By using various curves commands and new faces option we can create the wind tunnel and also assign PIDs to different parts of the wind tunnel.
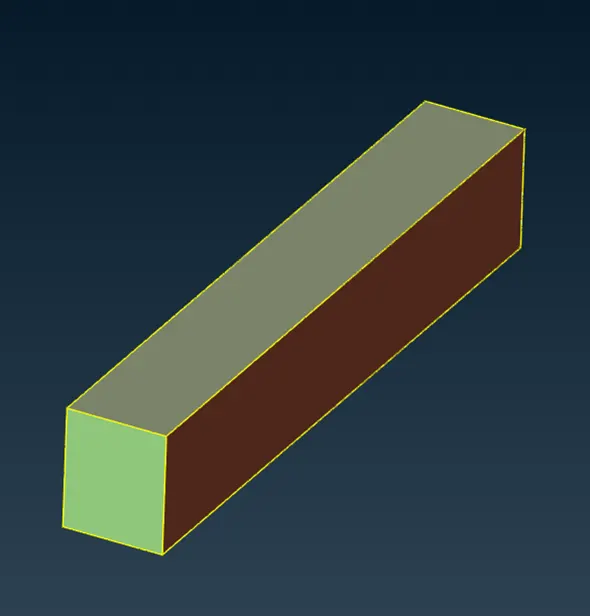
Our area of interest for meshing the wind tunnel is near to the car model not the whole wind tunnel. So, we are giving different mesh sizes to the different parts of the wind tunnel.
For the top part of wind tunnel, we are giving mesh length as 100mm and for bottom part it is 20mm.
As our mesh length is increasing from bottom to top we are suppose to give varying mesh length to the front of the wind tunnel. This can achieved by spacing option in perimeters.
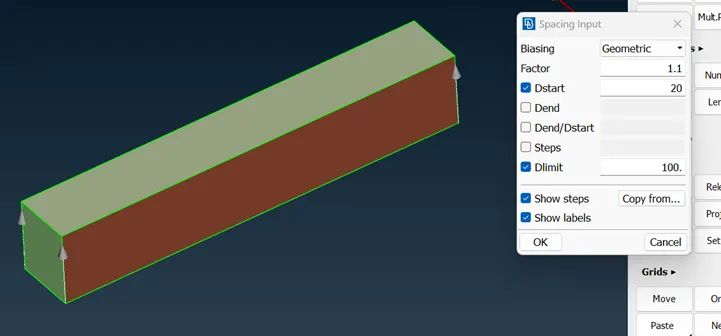
By selecting parts by parts we successfully meshed the wind tunnel components.
Now, for volumetric mesh we have to auto define the volumes from whole database. Then we have to select particular volume between wind tunnel and car only and delete other volumes.
And at final remesh the volume. This will complete our volumetric mesh for wind tunnel.
- Learning Outcomes- By doing this project I am able to generate CFD meshing on Tesla cyber truck model and also I am to create meshed wind tunnel for given model.
- Result- Successfully generated CFD Meshing for Tesla Cyber Truck.
- Conclusion- By generating CFD meshing on Tesla Cyber Truck we observed and learned the CFD meshing and different properties of it.
https://drive.google.com/file/d/1NuAT9dIGj7IT3a4h44IOrr4PYmegpe2p/view?usp=sharing