Week 4 Challenge : CFD Meshing for BMW car
PROJECT - BMW M6 Preprocessing
For the given model, check and solve all geometrical errors on half portion and Assign appropriate PIDs. Perform meshing with the given Target length and element Quality criteria. After meshing the half model, Do symmetry to the other side.
- Target lengths for the different parts of a model are as follow:
- Body - 3 mm
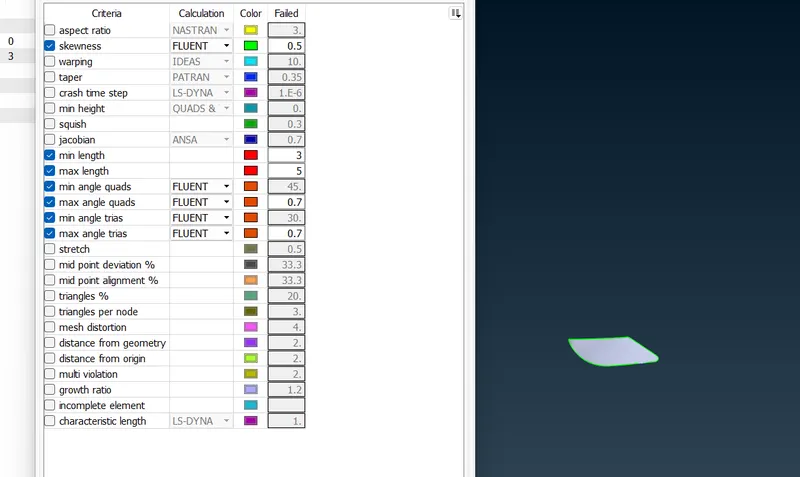
- Lights - 4 mm
- Grills - 1 mm
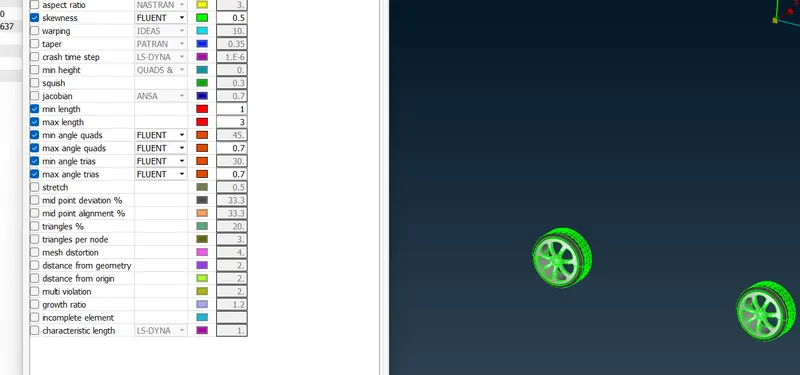
- Rims and Tyres - 2 mm
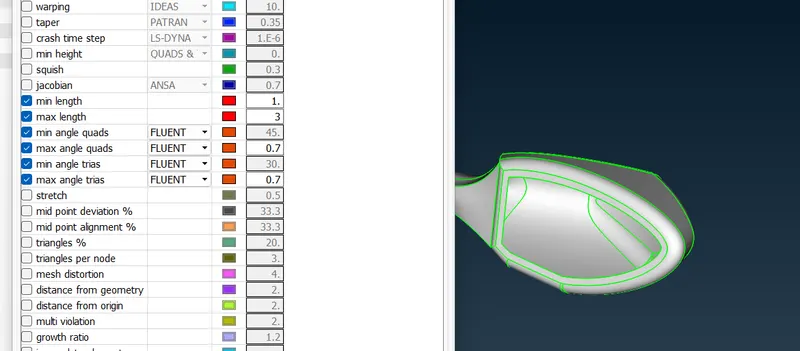
- Optical Rearview mirror - 2 mm
- Window - 2 mm
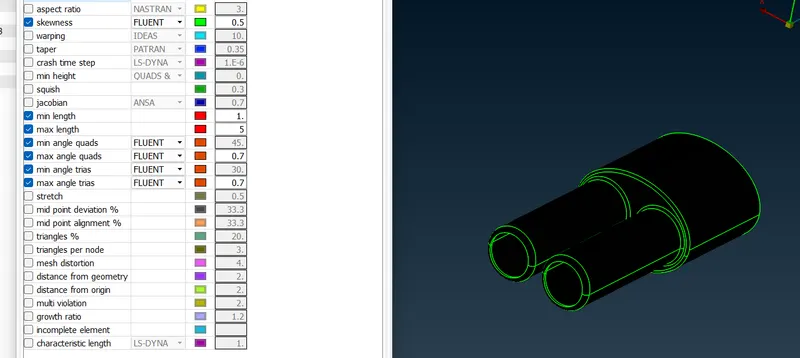
- Silencer - 3 mm
- Logo - 1 mm
ANSWER
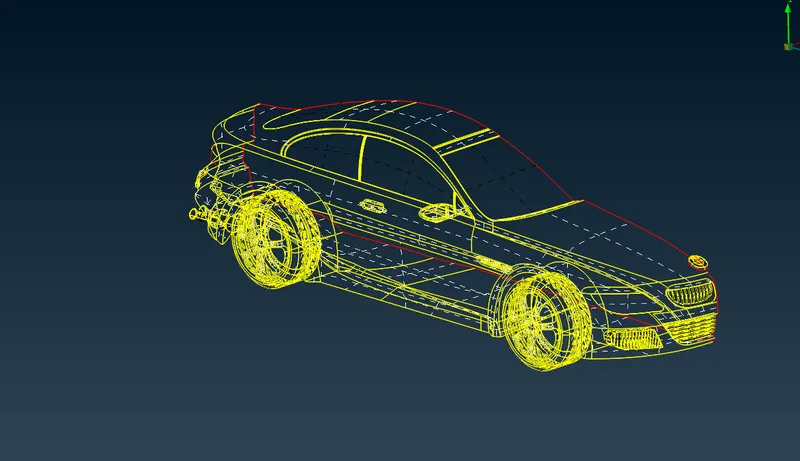
Here is the 3D geometry of the file which we are going to preprocess. This is a CAD file of a BMW M6 Coupe and we need to preprocess the file using ANSA and make it ready for a smooth meshing.
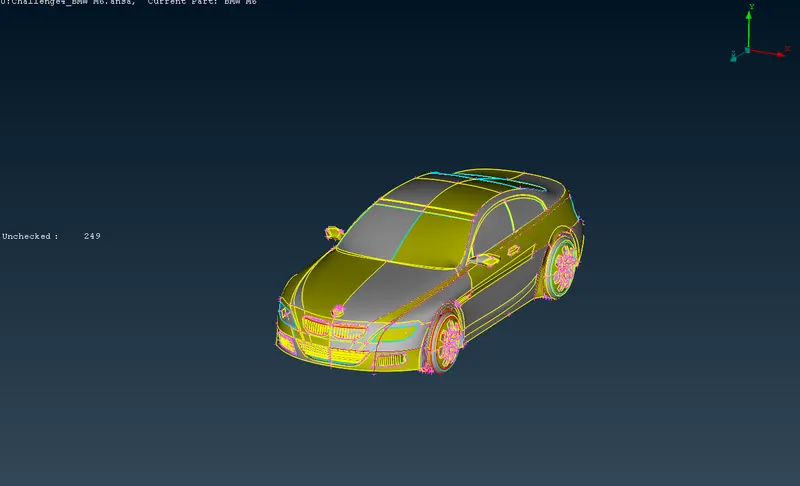
Towards the first, the given file will be so sharp and the edges are not at all refined.
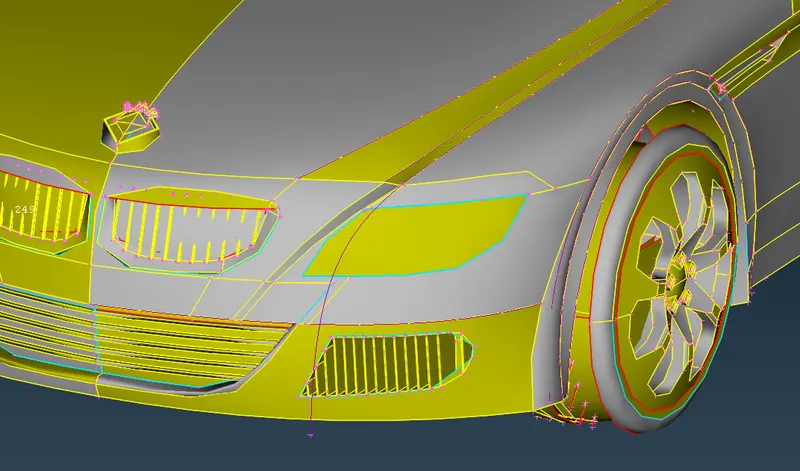
For this we select the perimeter and macros for 1mm size and it's done. The file will become so smooth in appearence.
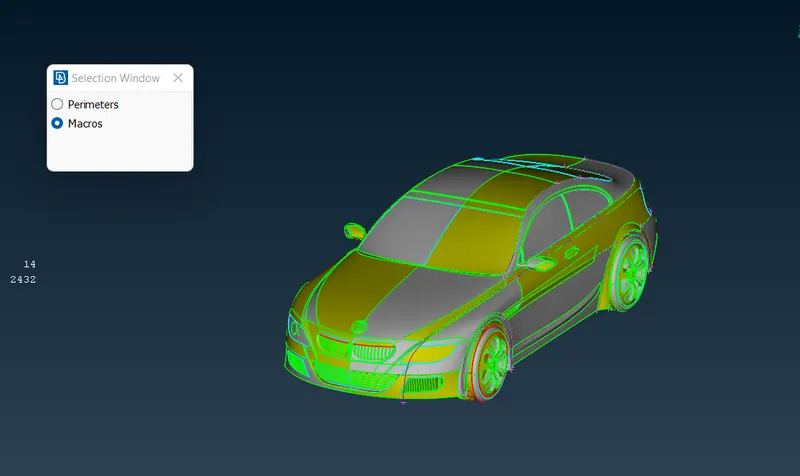
Secondly, the most important job is to split the car in half. This helps to save the work time since we need to do work with only half file and finally we will mirror it.
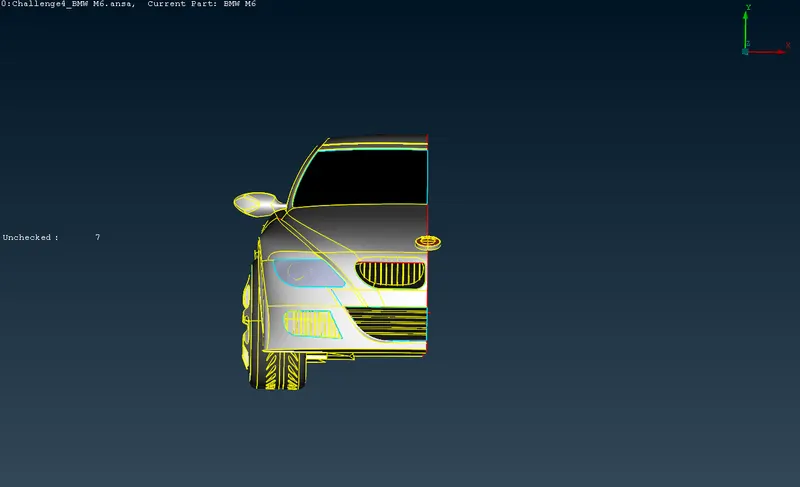
Now, the topology is cleaned up by deleting unwanted faces and edges, so that ANSA does not create unnecessarily volumes by doing so all the triple cons and double cons are converted to single cons.
Images of cleaning process...
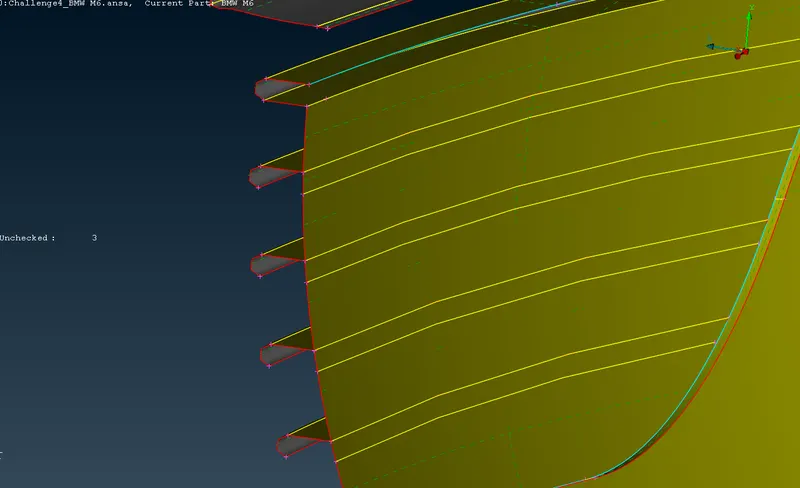
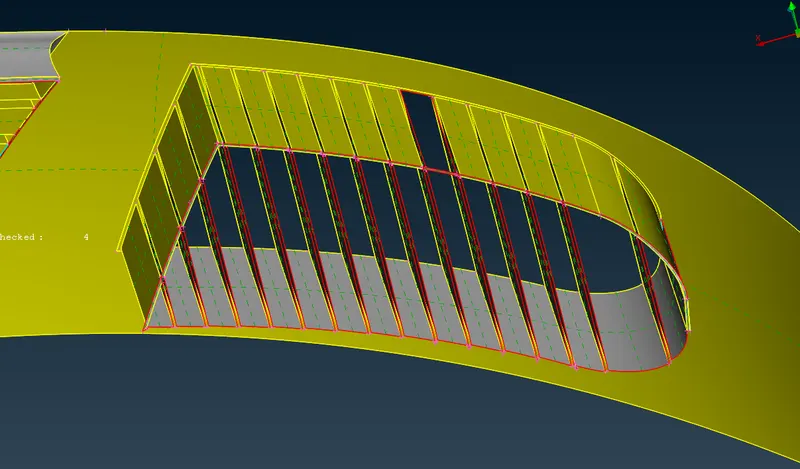
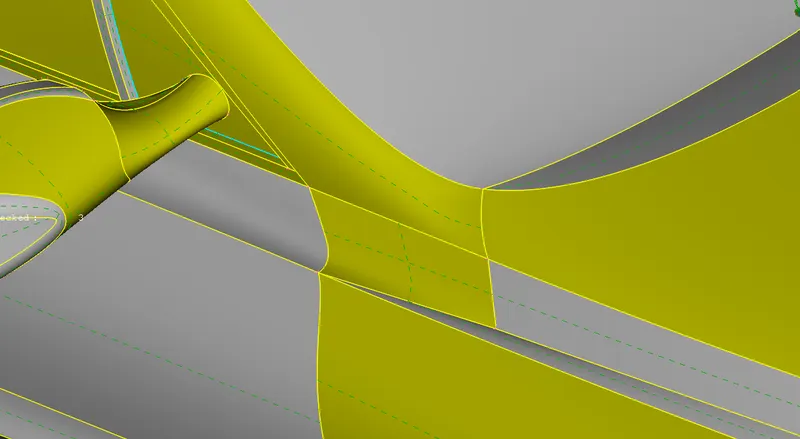
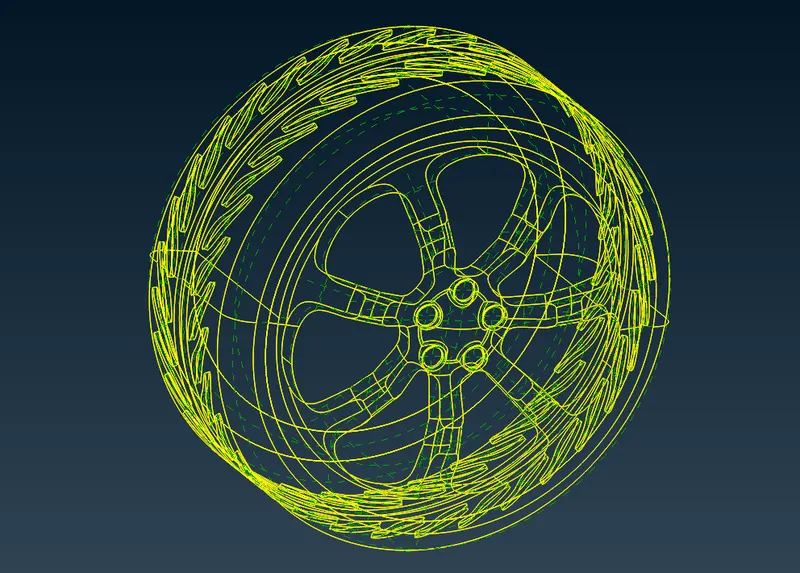
And finally, every single error is refined and the car is set for further steps. The red (double cone) shown in the image is the joint where the next half is to be attached.
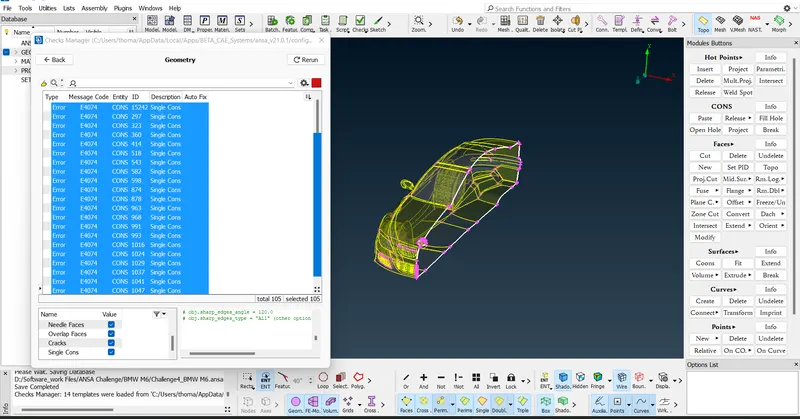
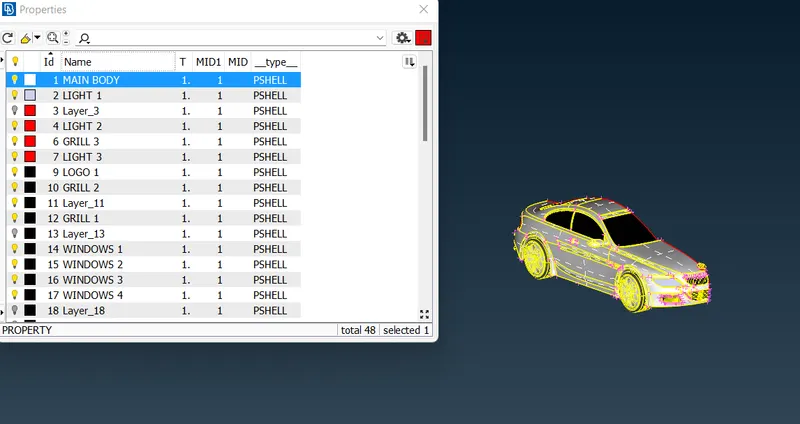
Now, we need to assign all the PIDs. All the PIDs are being assigned to their respective parts and it is ordered correctly for quick selection.
MESHING
Starting to Mesh
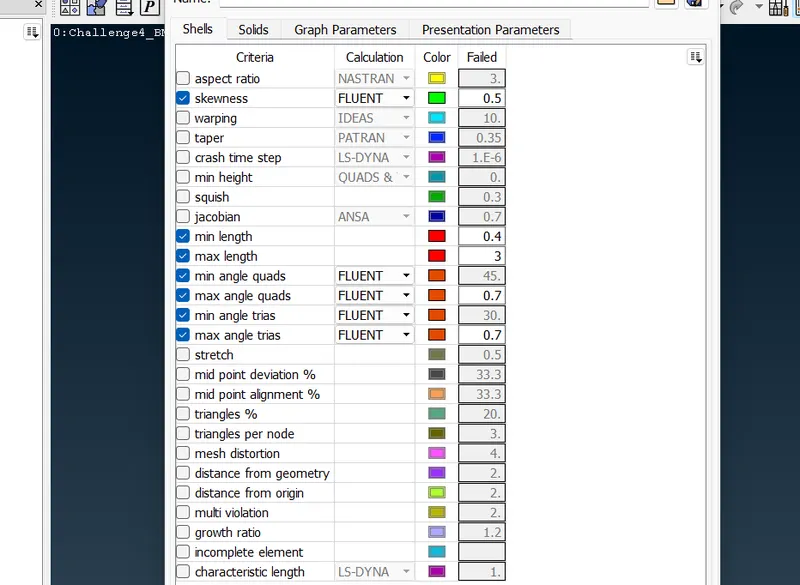
The quality of the mesh is set to this.
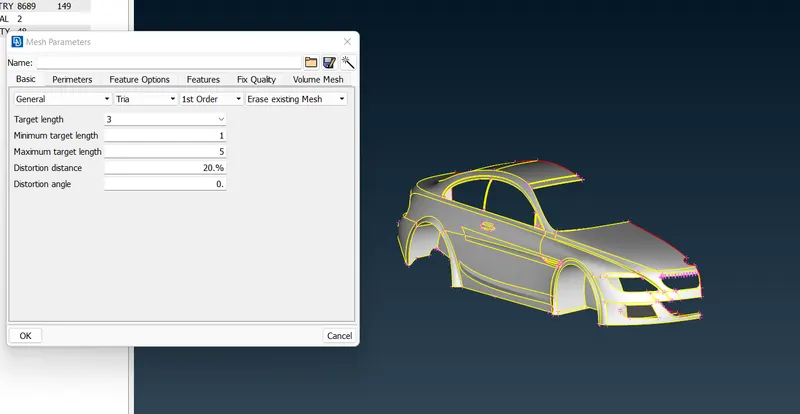
Starting to mesh each PIDs.
First, we start with the BMW logo.
- Logo - 1 mm
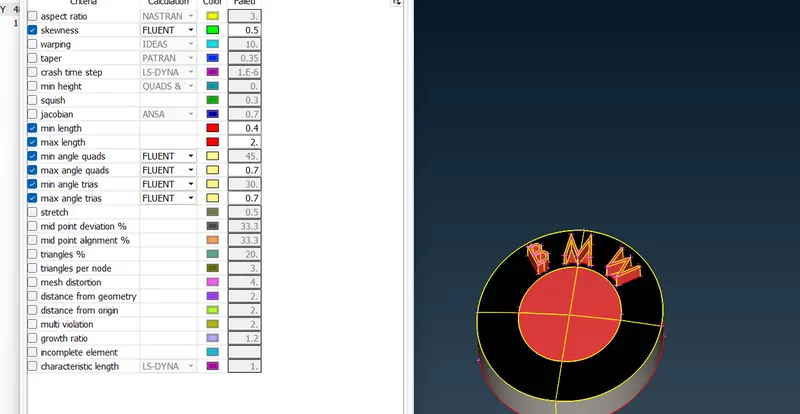
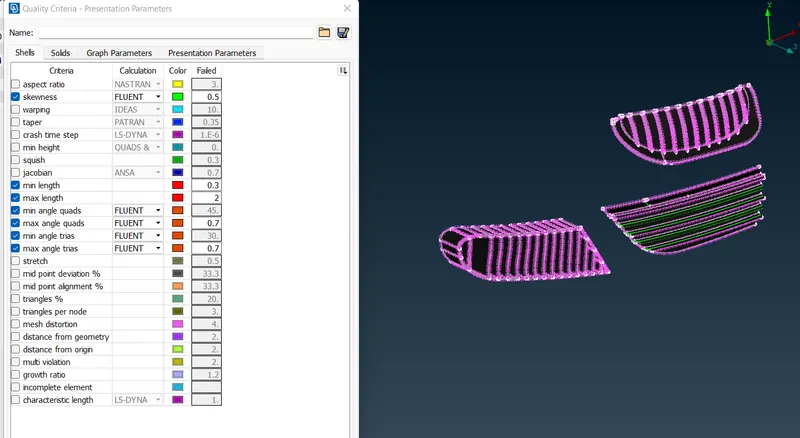
2.Grills - 1 mm
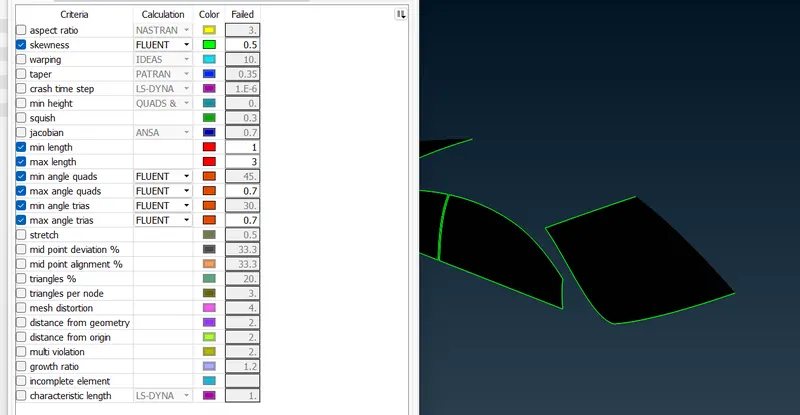
3.Window - 2 mm
4.Lights - 4 mm
5. Rims and Tyres - 2 mm
6.Silencer - 3 mm
7. Optical Rearview mirror - 2 mm
8.Body - 3 mm
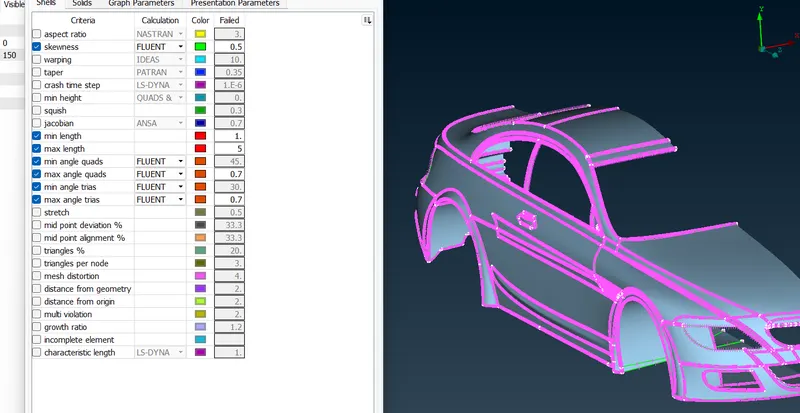
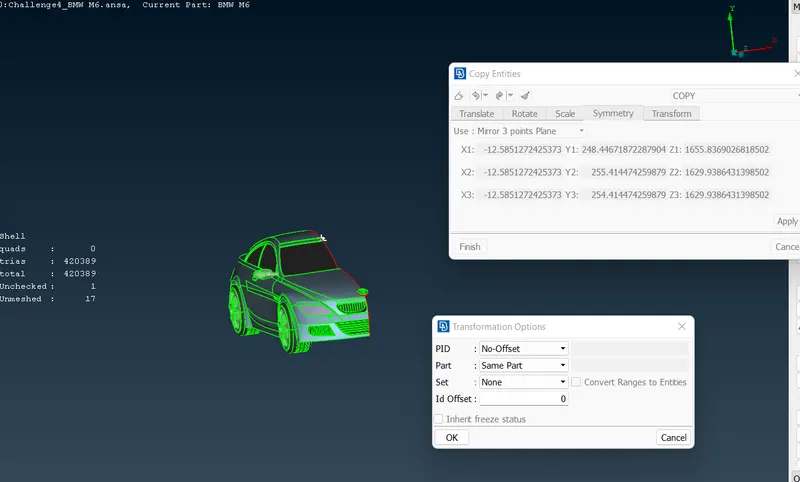
Finally, mirroring the other half. since every preprocessing is done, we are fetching the other deleted half to get a full car.
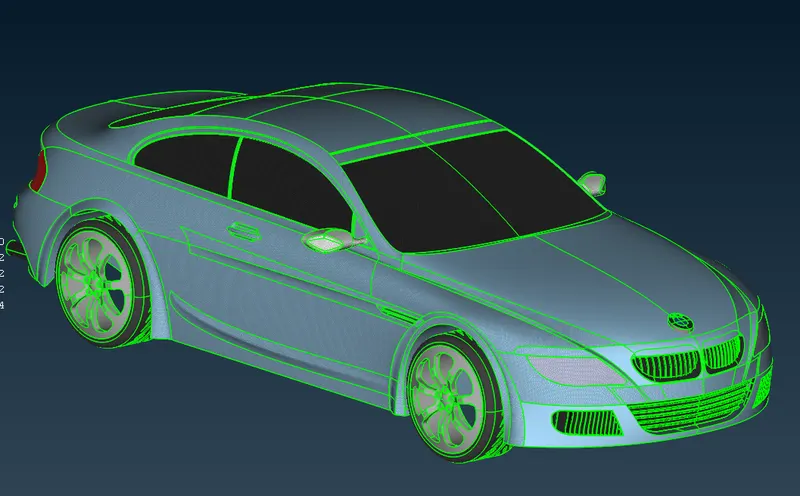
Finally, the complete file is meshed for appropriate given mesh length. Hence we get a clean and refined mesh file
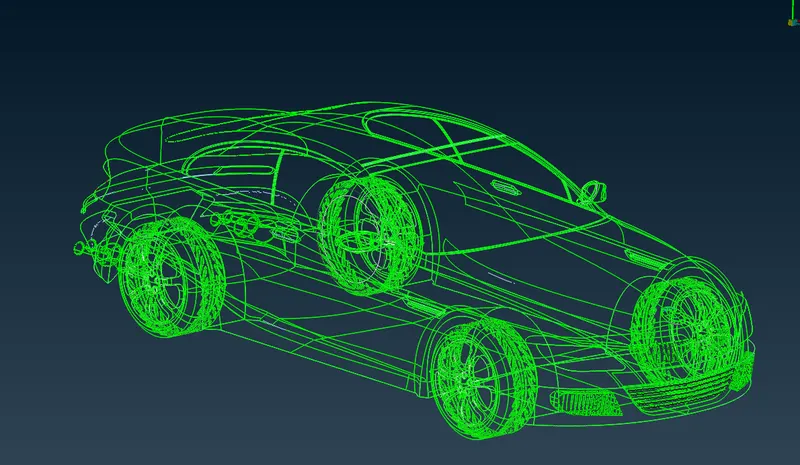
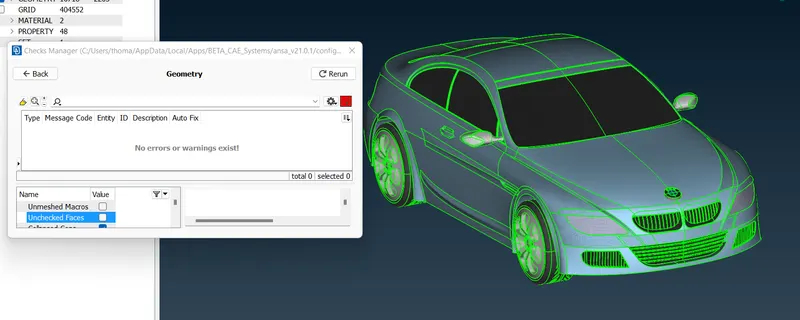
Wire frame diagram of the geometry.
The Geometry Check shows no error message.
WIND TUNNEL
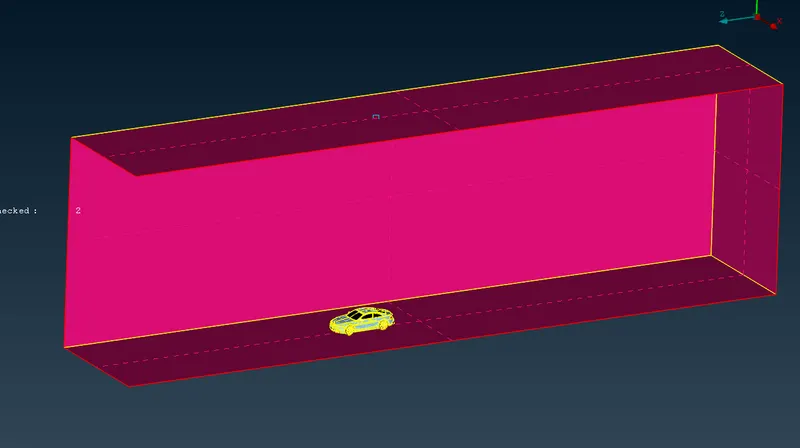
Now, we are going to create a wind tunnel with a predefined length. The wind tunnel is used to simulate the CFD in software like Ansys fluent, OpenFOAM etc... so we need a control volume to calculate the fluid parameters.
The is the control volume (wind tunnel) (here, one side is opened for demonstration purposes.
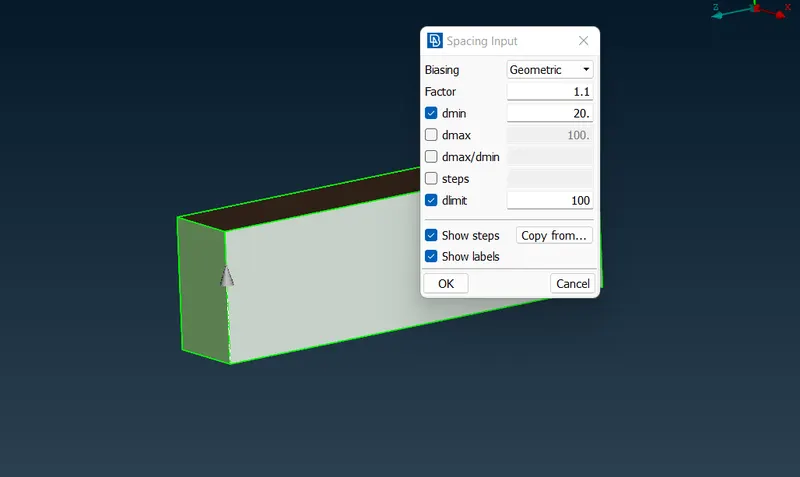
Giving varying mesh lengths for the control volume across the height. It is done because we need finer results nearer to the car body, and towards the top of the tunnel, we don't need that much finer results. So, in order to save calculation time we make the farthest cell much bigger.
Bottom face Mesh size = 20mm
Top face Mesh size = 100mm
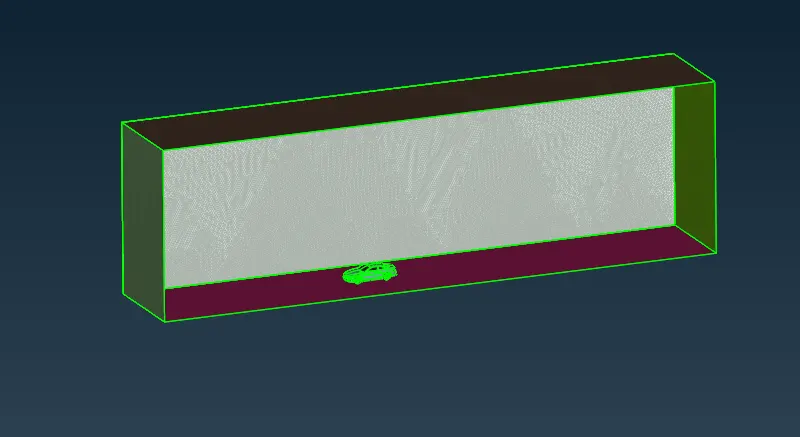
Finally, meshing is done for the Wind Tunnel.
Conclusion
The surface mesh was generated on the car body and on the wind tunnel surface with the set mesh quality criteria and mesh target lengths.