Week 4 Challenge : CFD Meshing for BMW car
Aim
To FE model the a BMW car for CFD analysis in a wind tunnel
Objective
To Create a single volume BMW car model in order to create a CFD mesh between the wind tunnel and the car outer surface.
Steps
1. Fix the car geometry
2. Assign PID's and create shell (tria)elements for Car
3. Define the volume and create shell element (tria) for wind tunnel
Fix the car geometry
As the car geometry looks symmetric except in the logo location we will modify the LHS and reflect it to RHS side.
As a first step delete the geometry in RHS side as shown below.
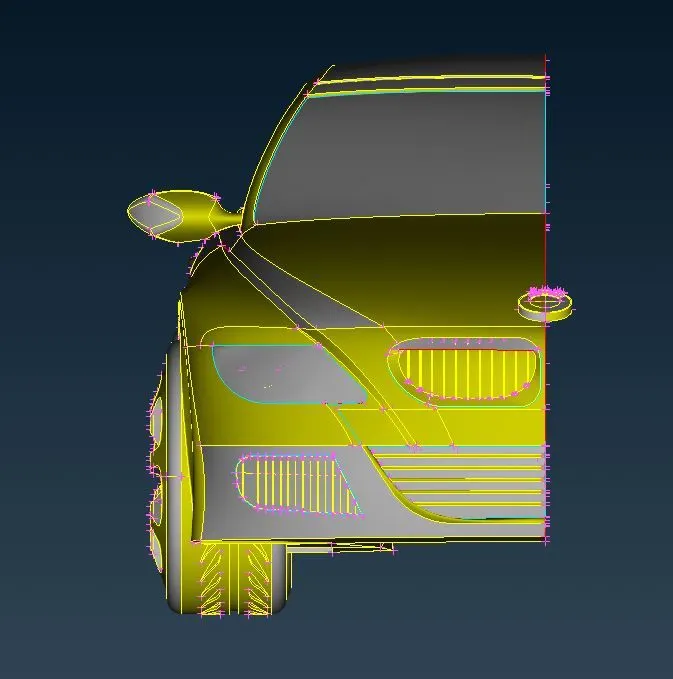
First we start modifying the grille location. Remove all unwanted surfaces and need the final surface to look like the circled location shown below.
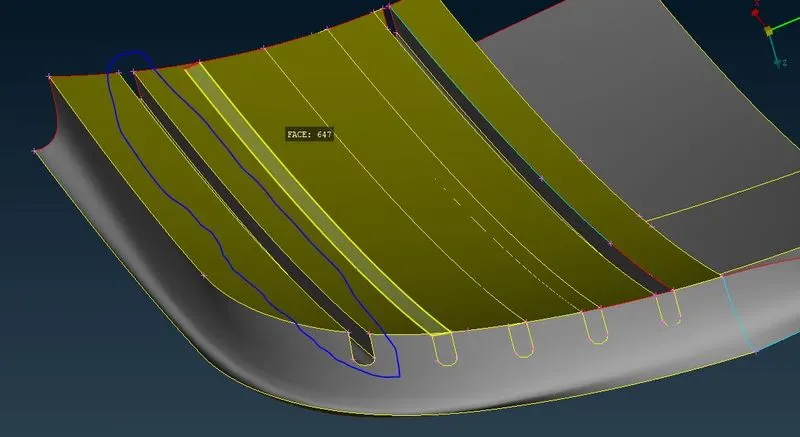
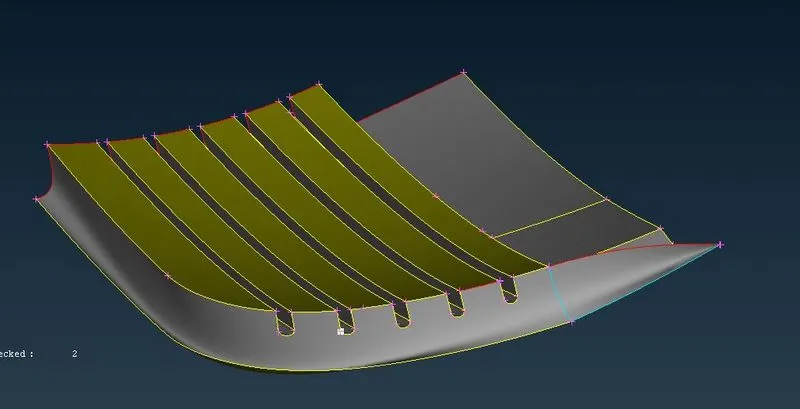
Modify all the rib location and the final shape look like as shown below.
Now we modify headlamp such that we remove all the triple CONS so that we can ensure there is single volume
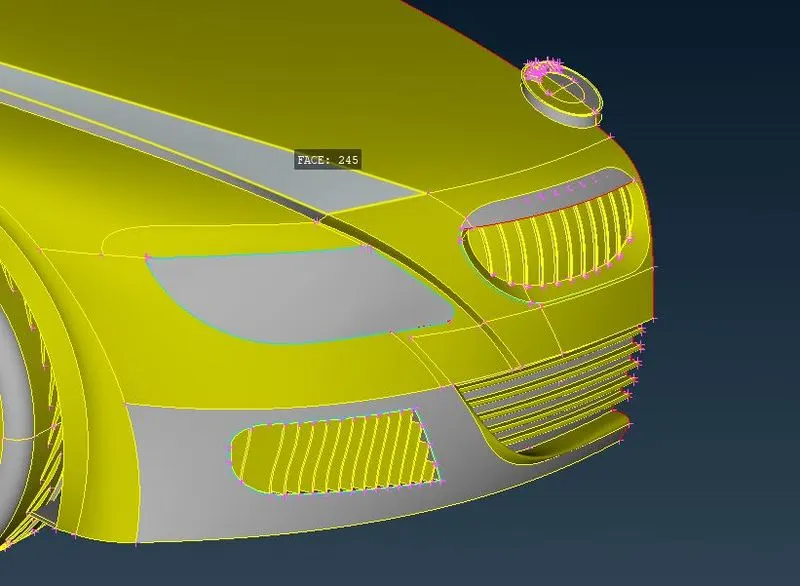
Modify the logo such that we remove all small faces which might fail for skewness or length as shown below.
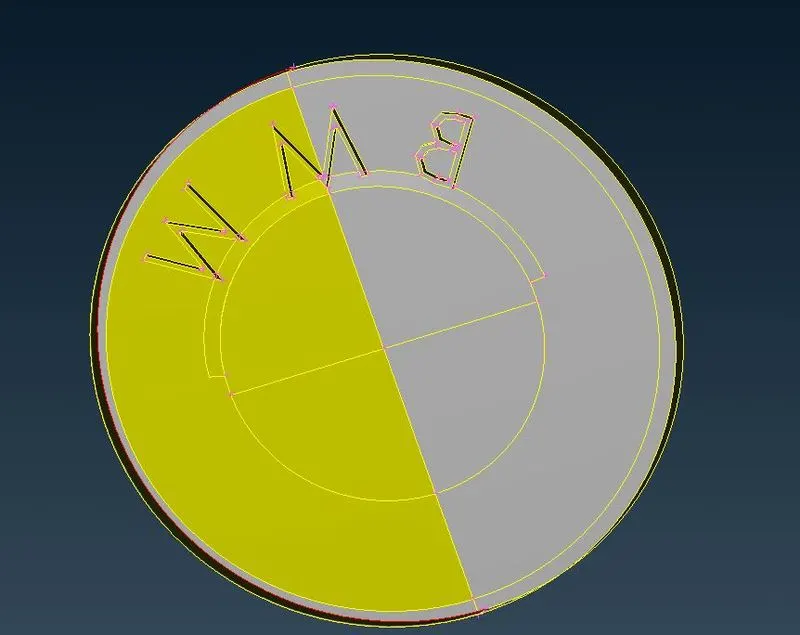
Now modify the rear view mirror and remove all triple CONS and make it a single volume with the car.
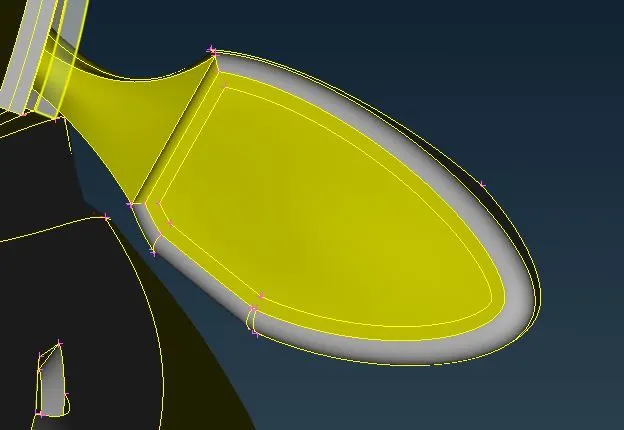
Now we modified the next grille location and finally it look as shown below.
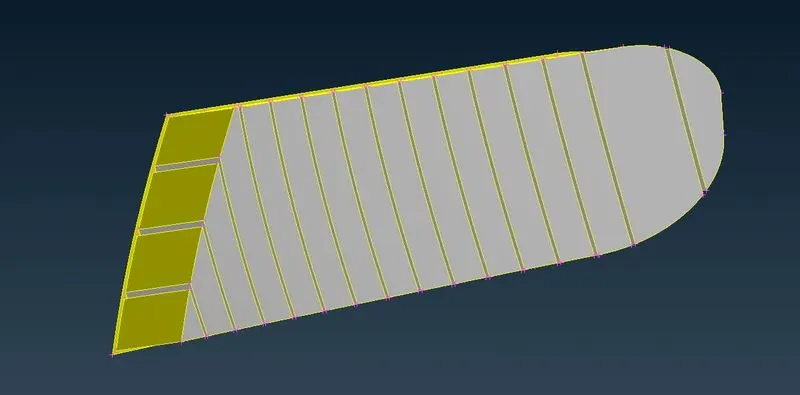
The third grille be modified to remove all the single CONS and the final shape looks as shown below.
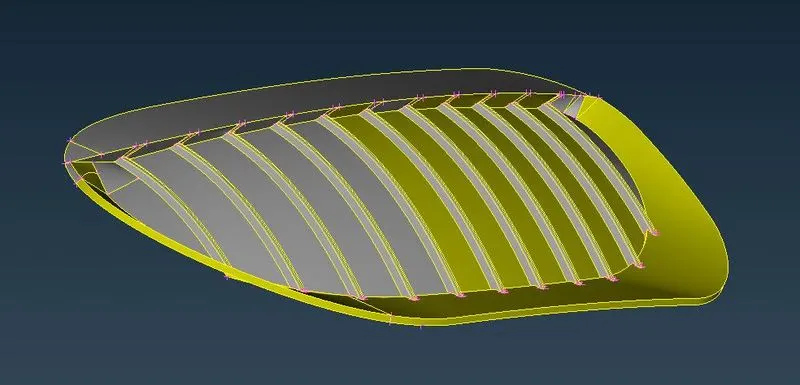
Modified the tail light and rear bumper location for ther triple CONS
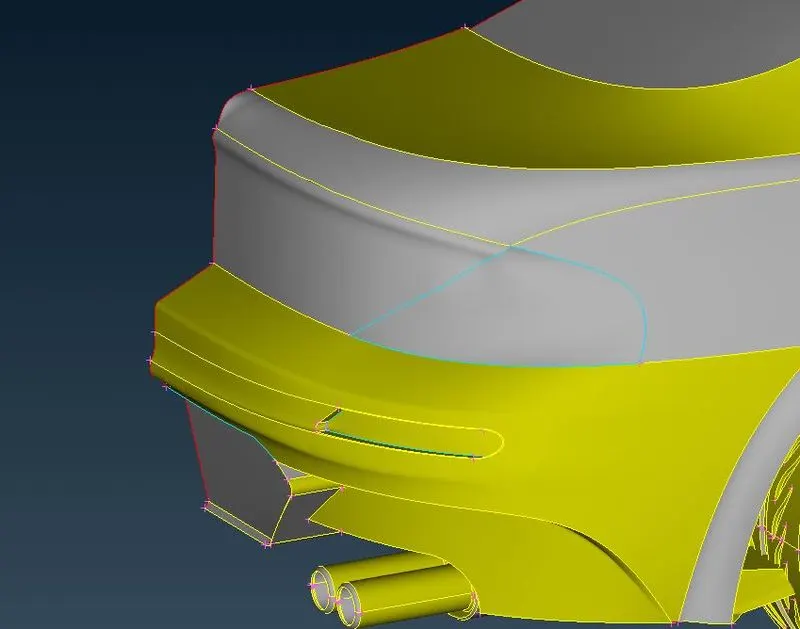
Remove the triple CONS on the side frame of the car as shown below.
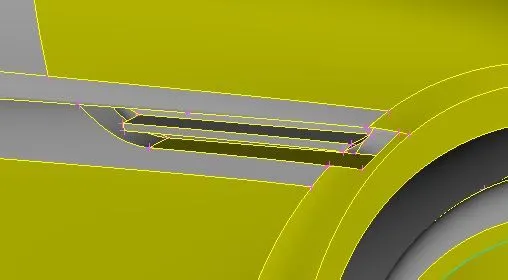
As shown below, there are lot of intersections on the floor surface. Use the curve options to trace the bassic geometric shape and delete all unwanted faces and create newfaces and fix the car floor.
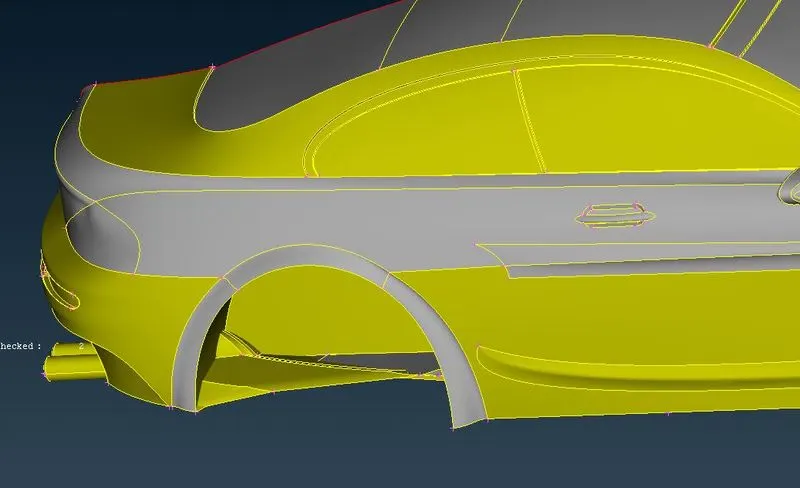
Fix the tyre and wheel and remove all triple CONS and make a single volume.
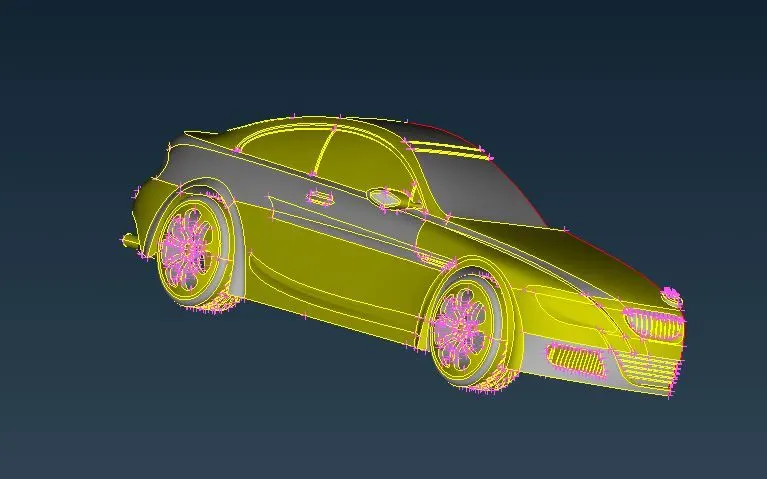
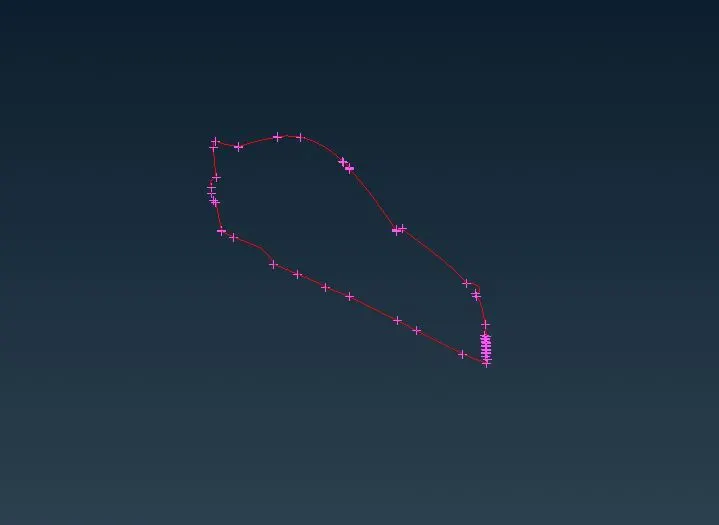
After making all modification make sure there is no triple CONS on the geometry and single CONS except in the center location as shown below.
Assign PID's and create shell (tria)elements for Car
Now assign PID as per shown below and assign the geometry accordingly and compress all the empty PID's.
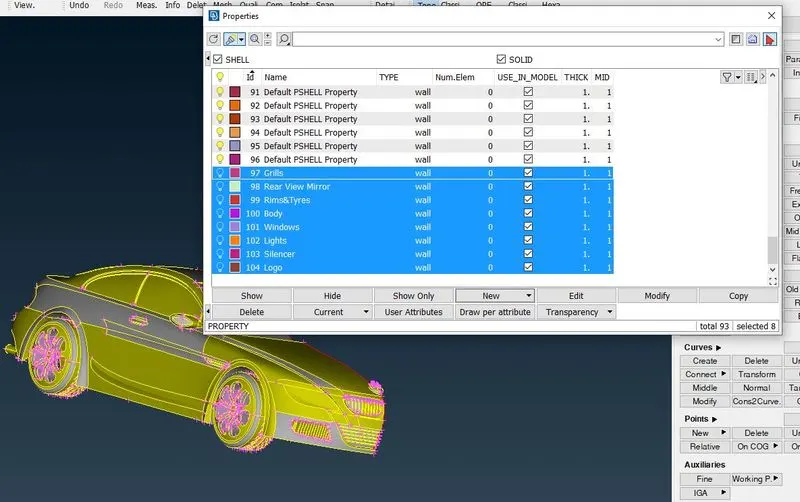
Target legth for shell mesh are as shown below:
- Body - 3 mm
- Lights - 4 mm
- Grills - 1 mm
- Rims and Tyres - 2 mm
- Optical Rear view mirror - 2 mm
- Window - 2 mm
- Silencer - 3 mm
- Logo - 1 mm
Set the quality criteria as shown below.
Create shell mesh and start with the Grille and make sure there are no off elements present.
Freeze the mesh after the operation.
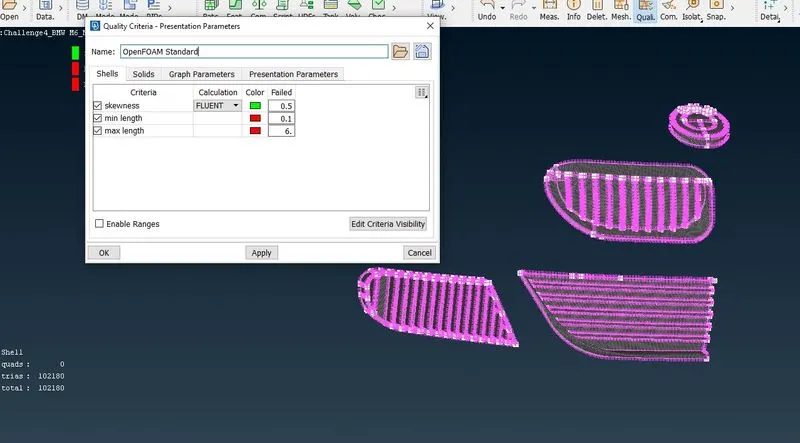
Now create elements which are of 2mm size and modify the off elements
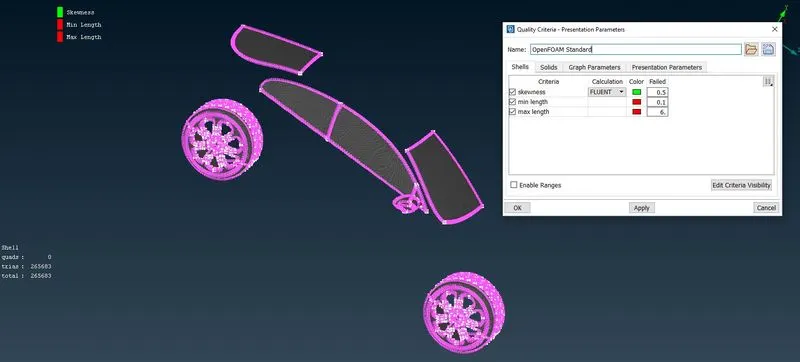
Create the shell element on body PID at 3mm as shown below
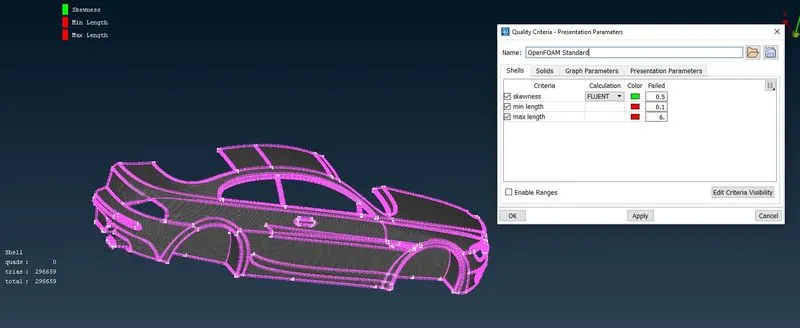
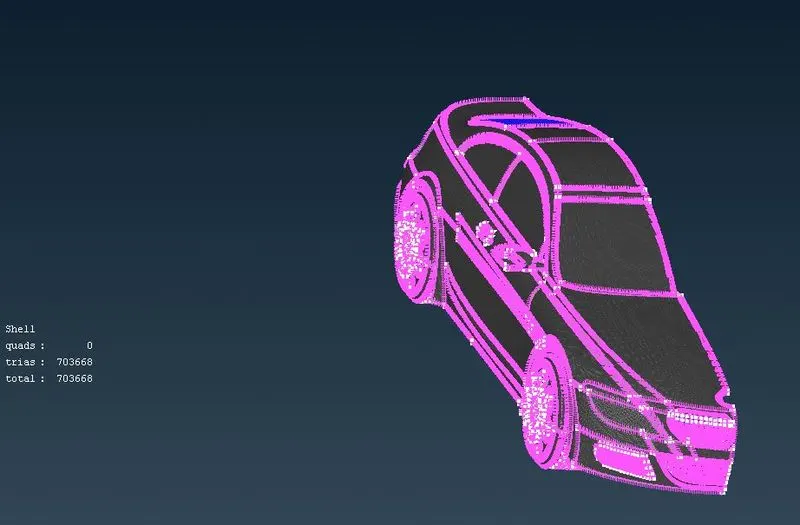
Now finish meshing on all PID's and the final part look as shown below.
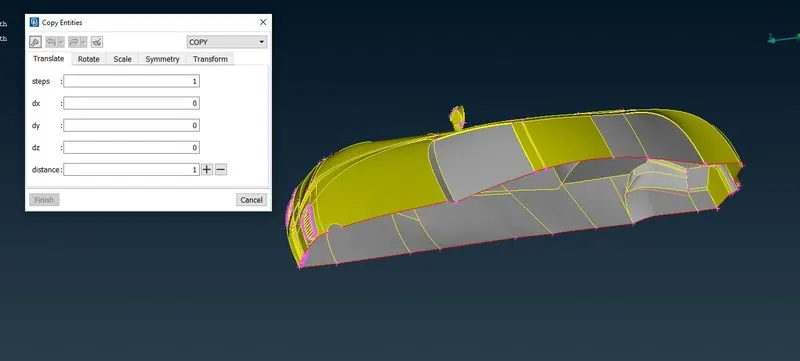
Now using the synnetry 3 point option, copy geometry from LHS to RHS except the logo PID and go topo operation.
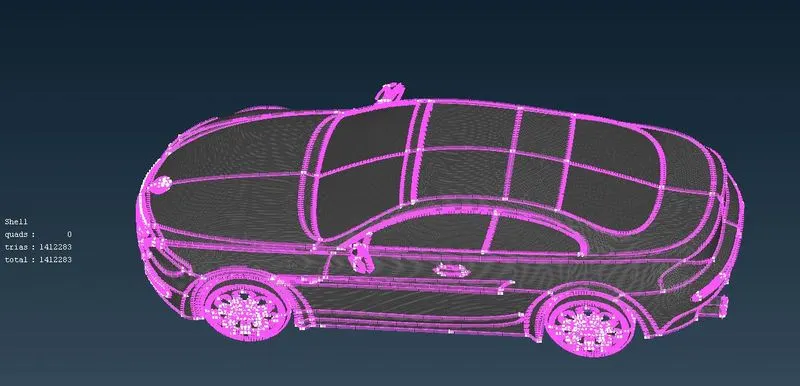
Now fix all geometry do a cleanup and make sure there are no off elements as shown below.
Define the volume and create shell element (tria) for wind tunnel
Now create the wind tunne volume as shown below:
If the length of the car is Xmm, distrance from rear of wind tunnel to rear of car will be 6X mm. Also sistance from fron of car to front of wind tunnel will be 4X and similarly distance from top of car to top of wind tunnel will be 3X.
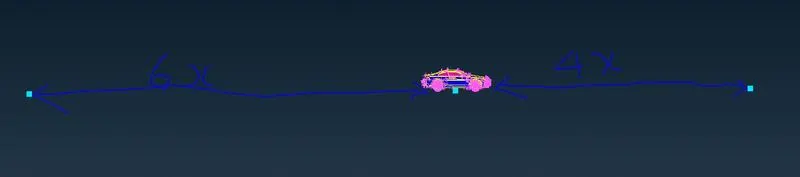
Using the relative position option create points accordingly and create a botton face.
Now use this plane to create all other faces according to the given dimensions
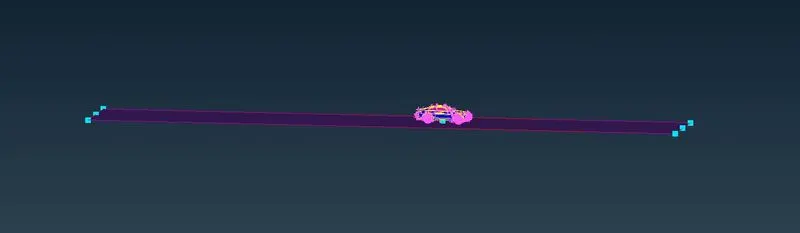
The final wind tunnel will look like shown below.
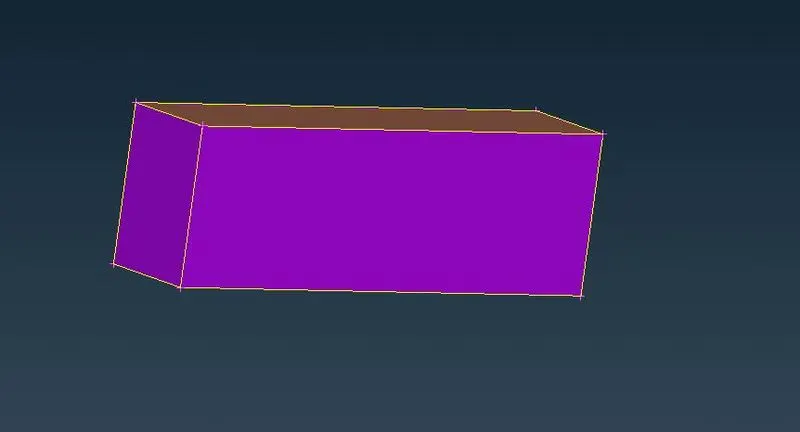
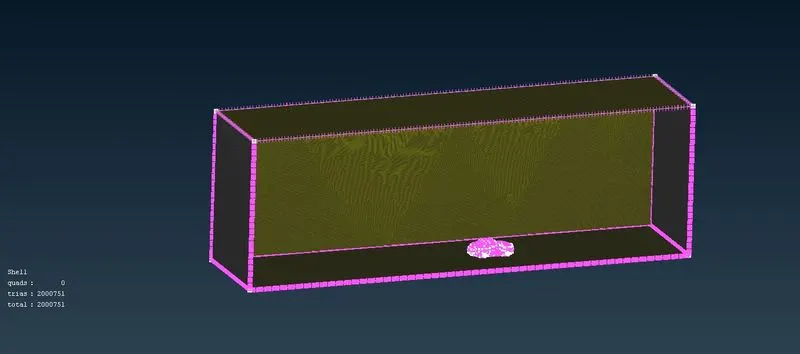
Now create 20mm mesh on bottom face of wind tunnel and 100 mm on top face and use a transition mesh on all the side faces and we will get a mesh pattern as shown below.
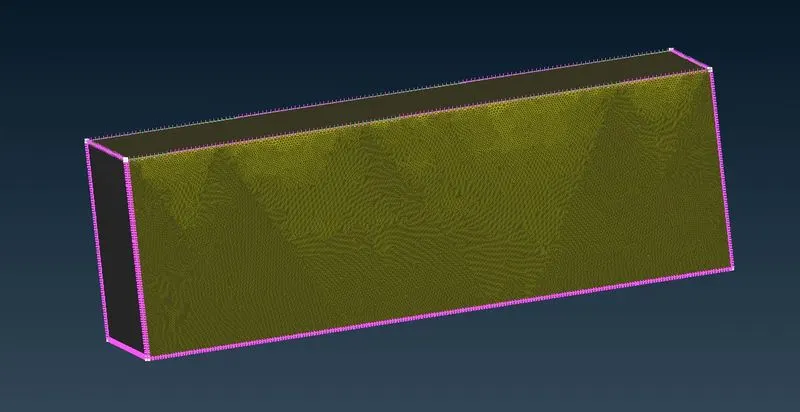
Now the final model look as shown below and for CFD analysis we can cow create tetra mesh between the windtunnel and the car outer.
Conclusion
We have successfully created the 2D tria element for the wind tunnel and the BMW car.
Note:
I uploaded the .ansa file a few times but not showing any preview. If its not there please let me know a way to upload it, I can do it.
Thanks