Week 4 Challenge : CFD Meshing for BMW car
Aim -
To clean up the geometry & mesh the given model according to the given parameters.
OBJECTIVE:
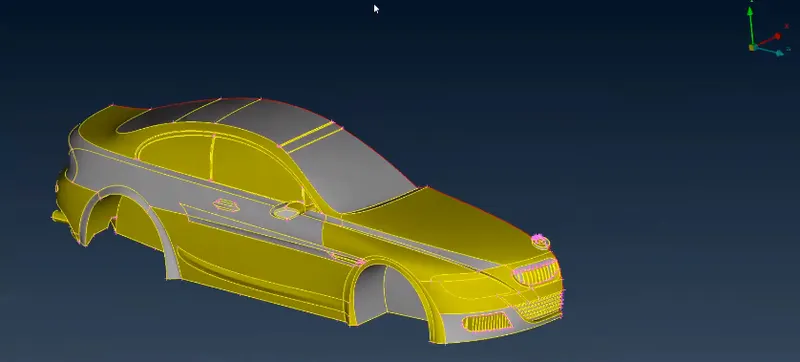
For the given model, check and solve all geometrical errors on half portion and Assign appropriate PIDs. Perform meshing with the given Target length and element Quality criteria. After meshing the half model, Do symmetry to the other side.
Target lengths for the different parts of a model are as follow:
- Body - 3 mm
- Lights - 4 mm
- Grills - 1 mm
- Rims and Tyres - 2 mm
- Optical Rear view mirror - 2 mm
- Window - 2 mm
- Silencer - 3 mm
- Logo - 1 mm
Procedure -
We are follow those three steps to complite the challenge.
1. Resolving Geometrical Errors
2. Assigning PIDs
3. Mesh Generation with Quality Criteria and given target length.
In this challenge we are concerned about the "External Flow Analysis" of the given geometry that is the BMW Car. Thus we will mostly deal with the clean-up of the external geometry and delete the internal part. That's why we have to make one volume and also reduse computational time.
Step-1
First we have import the model to the ANSA warkbench.
File>Open>choose the location of the model>open
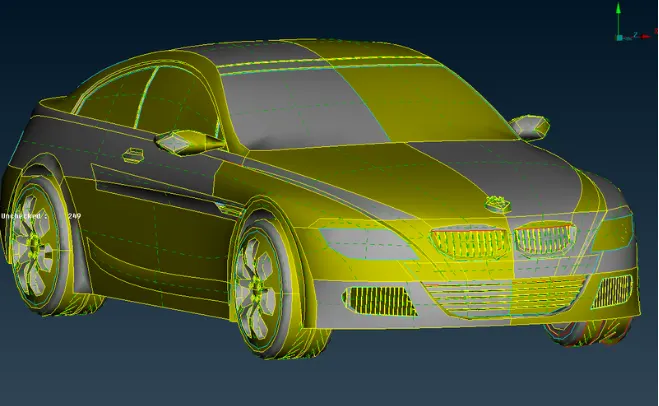
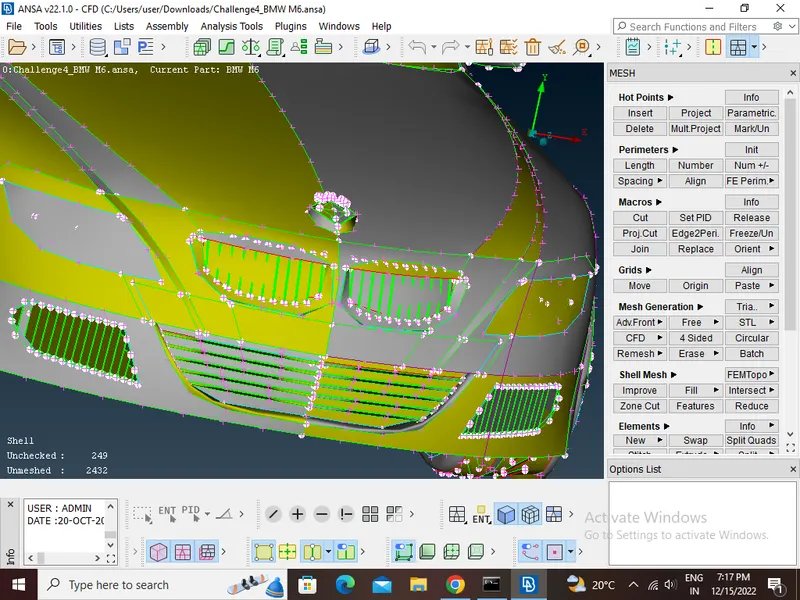
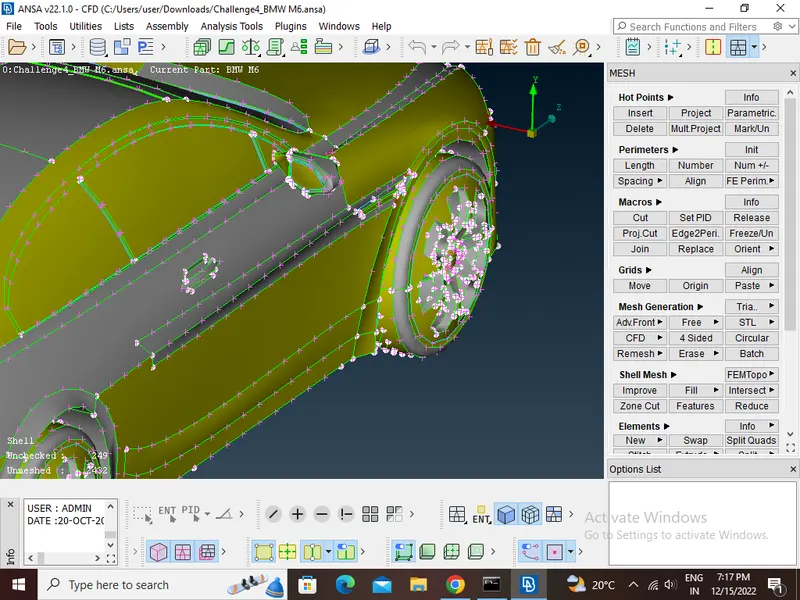
In the above image we see some parts are not capture there shape perfectlly.Here we have to change the resolution of the gemotry.
Mesh module>petemeter>Length>give 1 value> ok
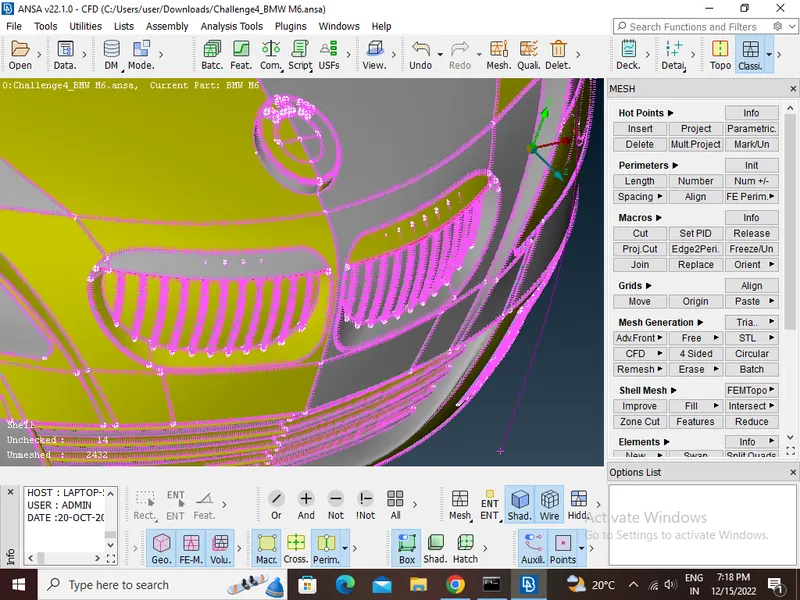
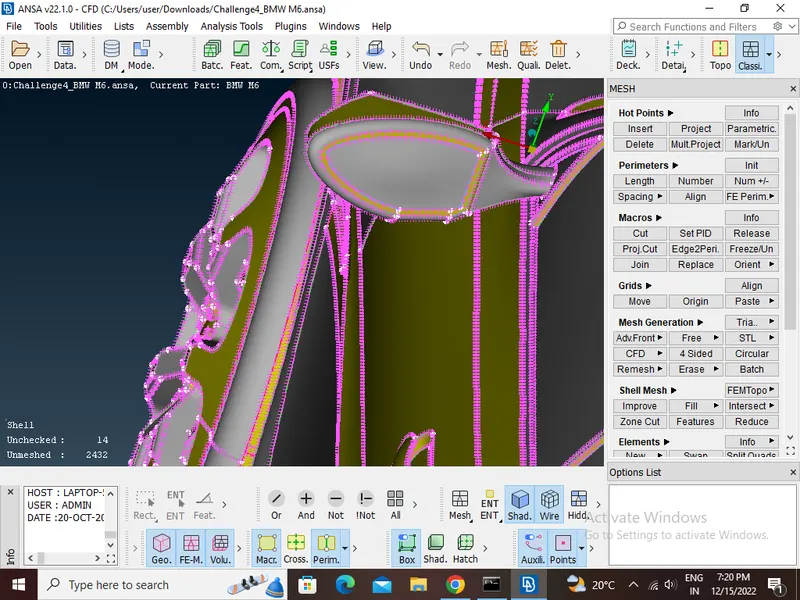
Here we see after changeing the resolution the shape is perfectlly capture.
Then go for gemotry cleanup
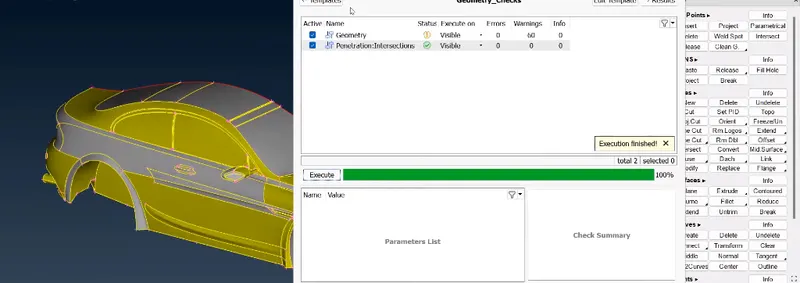
Check>check manager>Gemotry_check>Excute
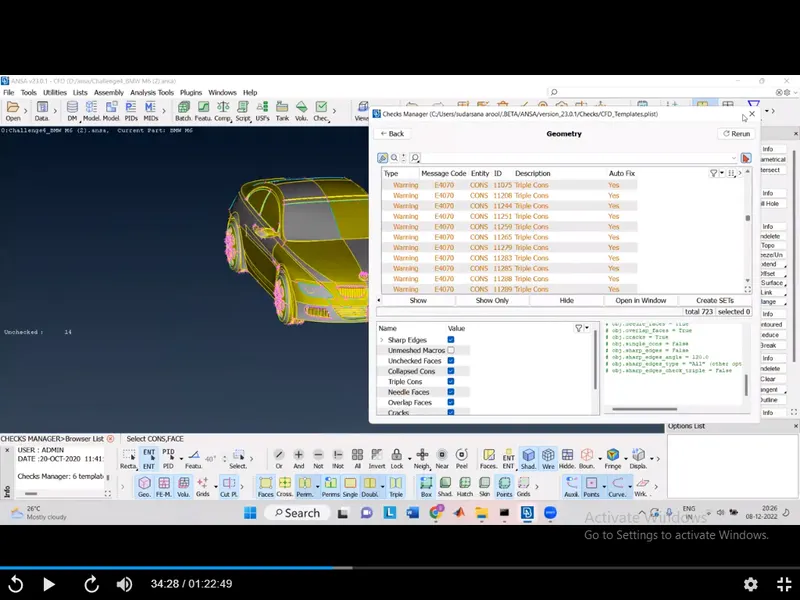
Here we find lot of error.
We find that the given geometry is axially symmetrical. Hence, we delete half part of the geometry and after complite all gemotry cleanup and meshing mirror that part to produce the other half.
Here the logo is not symmetry. so during delete carefull that logo is not to be select.
Universal Delete > select half of the geometry > middle click
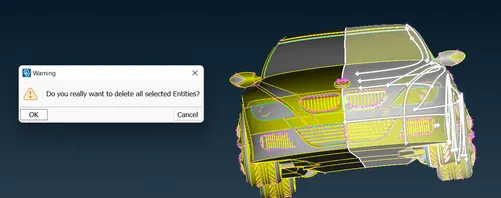
After complite the delete. we have to work on this half part.
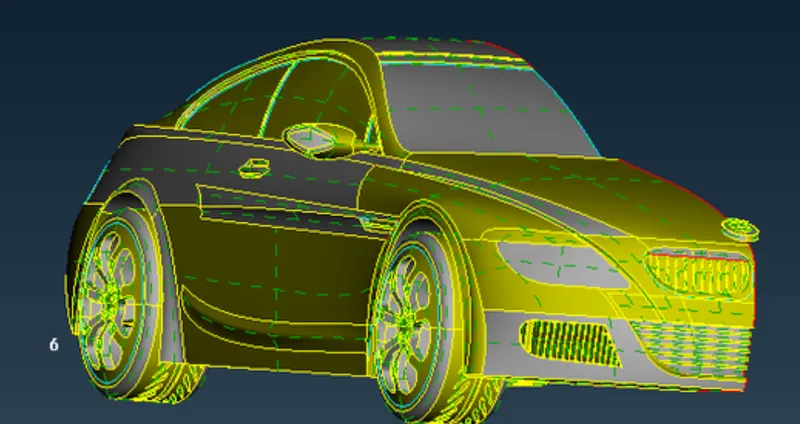
Then go for gemotry cleanup.
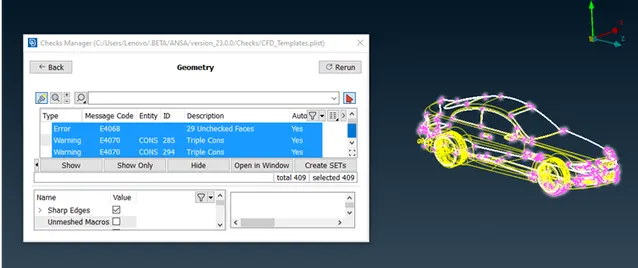
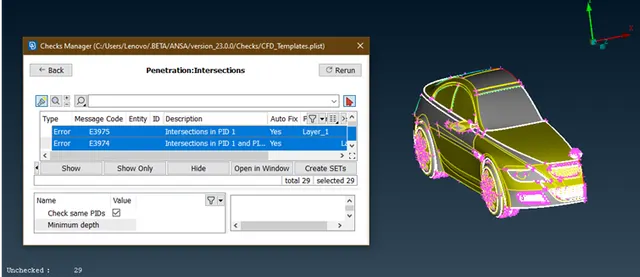
Here we see lot of single cone, tripple cone and intersection error.we have to clear all error one by one.
First we start from the grill
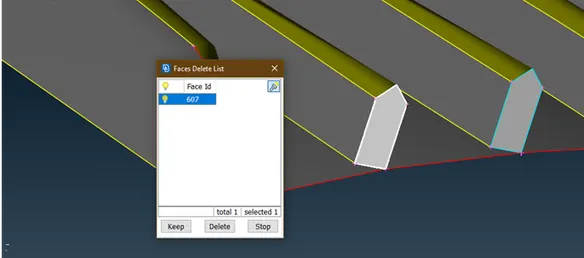
Here we delete the face to make one volume.
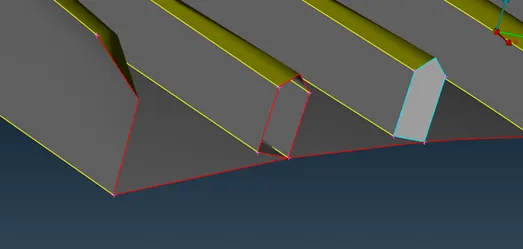
Then projrct the buttom cone on the surface.
topo module>cones>project
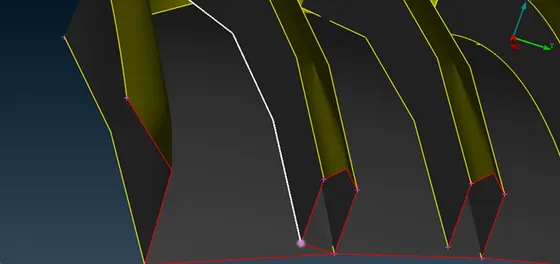
After project delete the face.
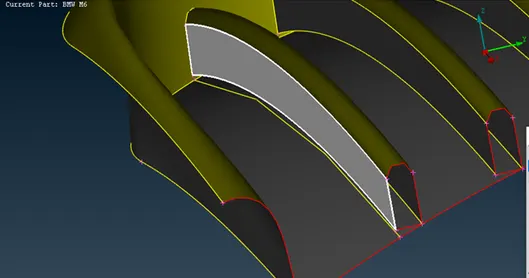
After delete change the resolution of the projected cons to make perfect shape.the go for create new face.
topo module>faces>new>cone
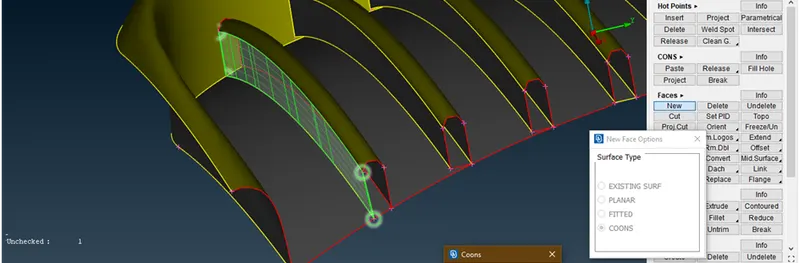
After create new face project all the boundery cons an the respectively face.
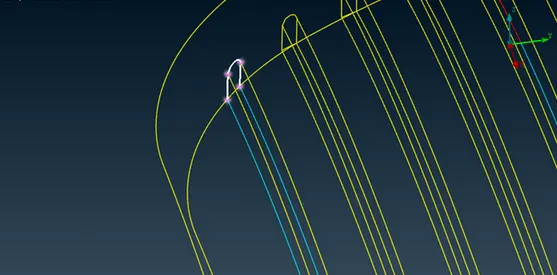
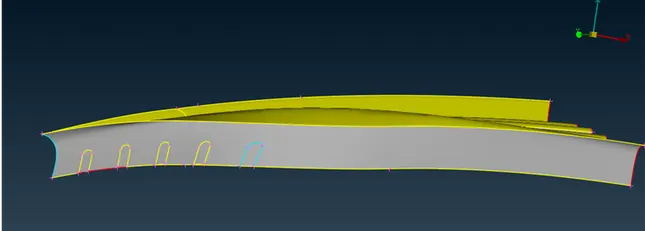
then go for delete unnecessary face.
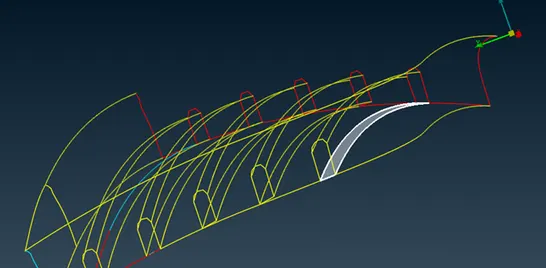
after delete unnecessary face.
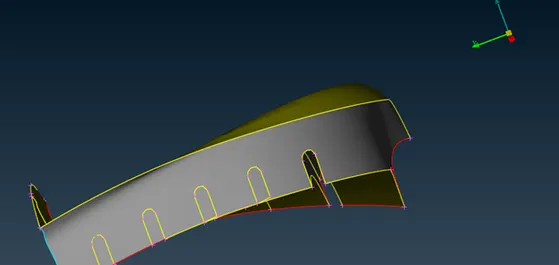
Other parts follow same procedure.
After complite
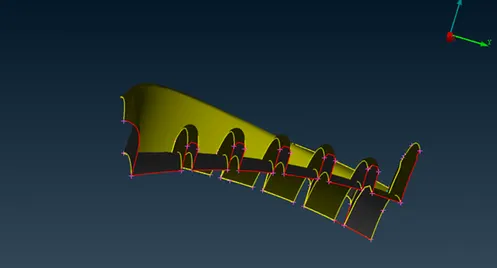
Then go 2nd grill
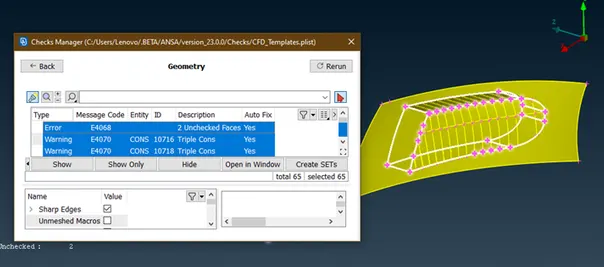
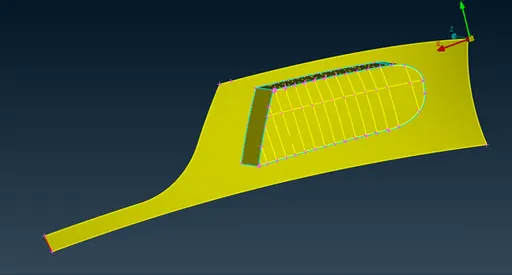 Let check errors in this grill
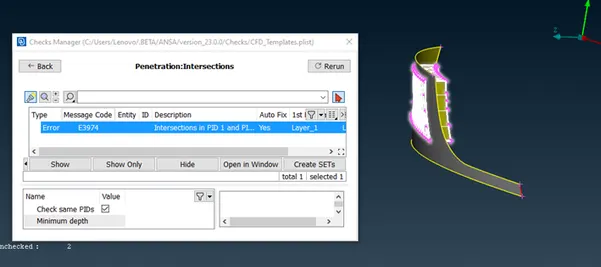
Let check intersection error
Let create an hot point using parametric length as shown below.
Topo module>hotpoints>parametric
Similarly we are inserting a hot point around this grill.
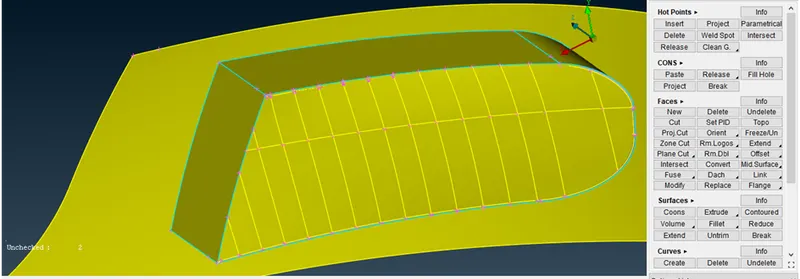
Now create a cut through this hot points.
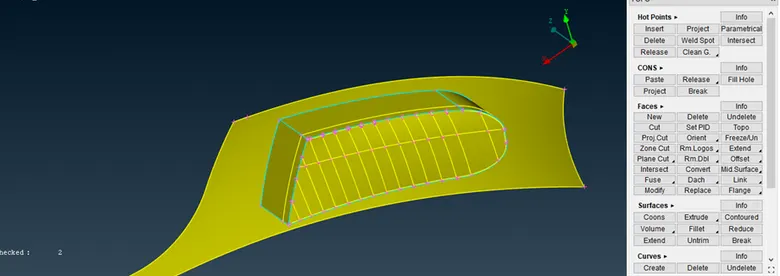
Now crate a surface through these cuts for that goto
faces>new>coons and select loop as selection mode and then select coons
After create face hit a topo
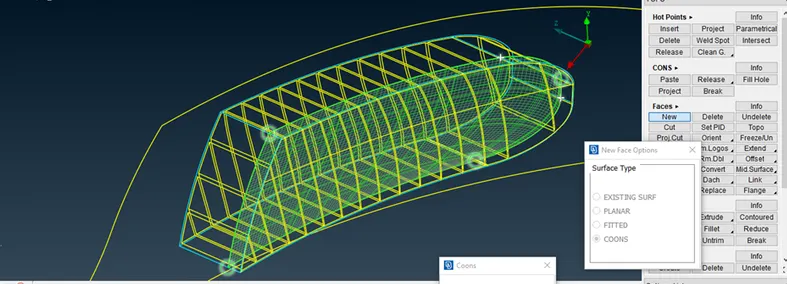 Lets goto intersection for deleting the unwanted surfaces
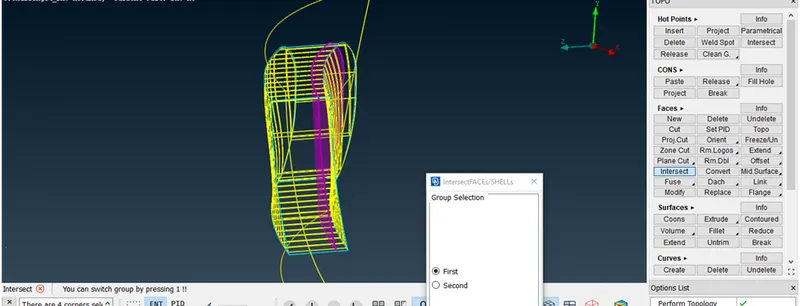
Now the final geometry looks like after doing all delete and keep operation
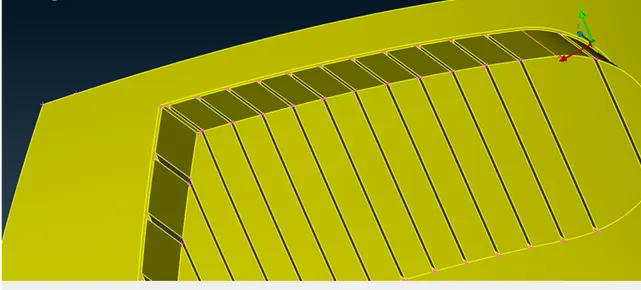
Naw 3rd grill
Now we are concentrating on this grill by hiding all other parts using not tool
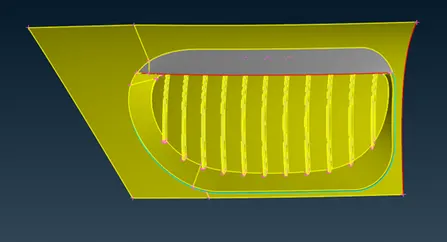
Let see check the errors in this part
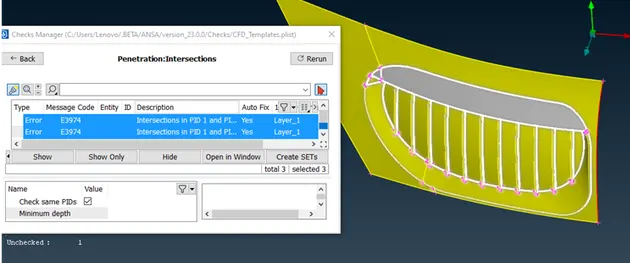
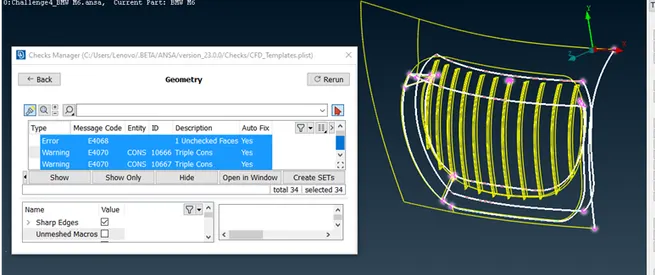
Now this is because of some overlapping surfaces. Lets click on all and delete these surfaces by using delete tool under faces.Delete this back surface because we want a single volume entity as we are going for external flow analysis.
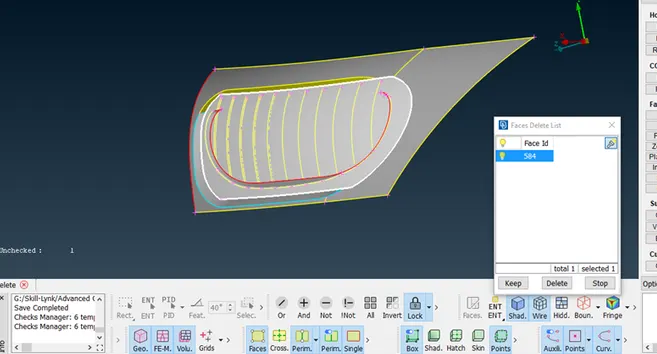
Here we see the perimeter is not align propelly.we can make cut and delete the unwanted faces.The similar procedure we are doing for all other fins.
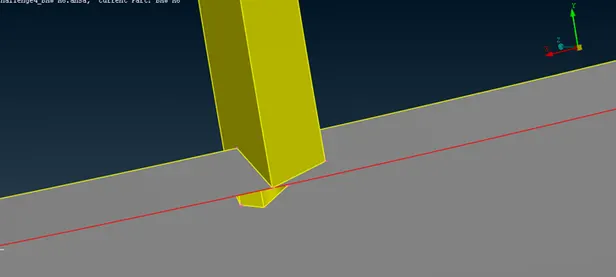
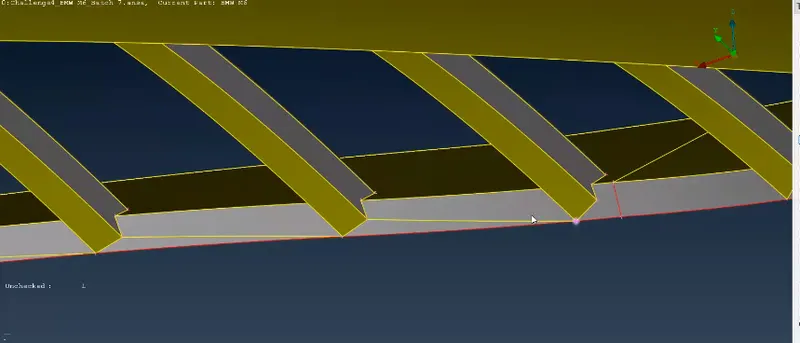
Lets create a surface there as shown below
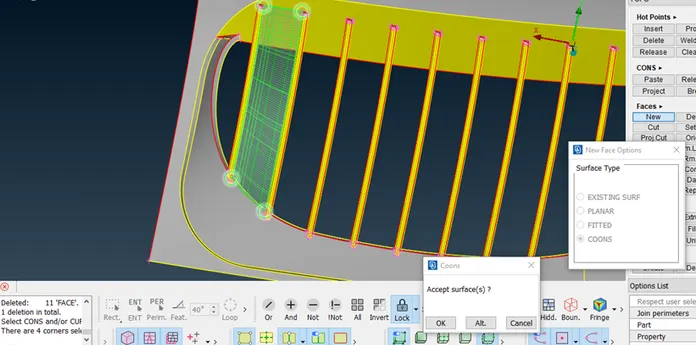
Similarly we are creating the surface in between the fins.
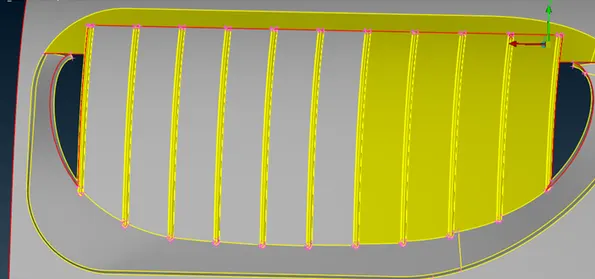
We have succefully created these surfaces. Now we will delete this upper portion of grill because we don’t need this as we are closing this with cap surface.
Now goto the plane cut under faces
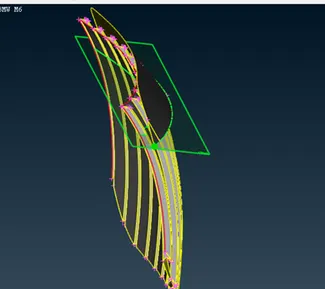
Now it has been projected.Delete the unwanted part by using universal delete tool
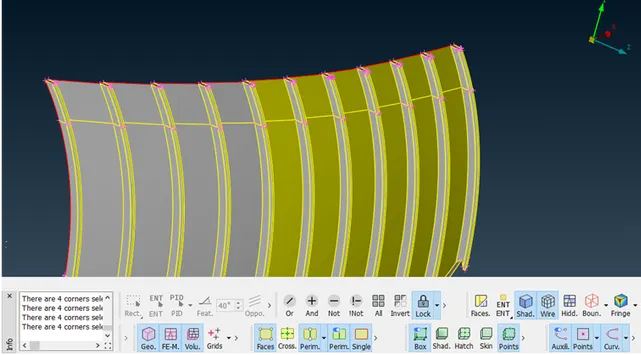
Now they have been deleted.
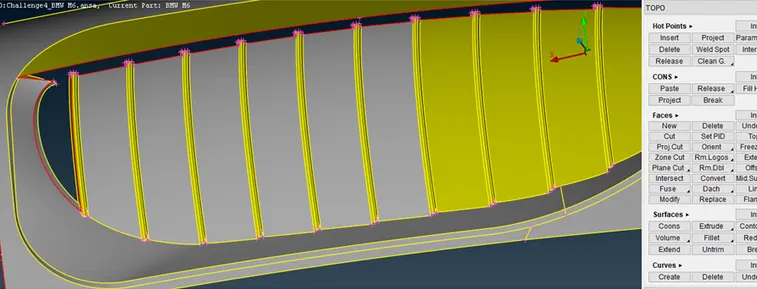
This is the final geometry.
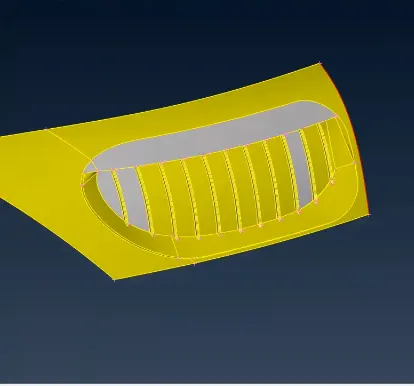
Let check for any errors are remaining.
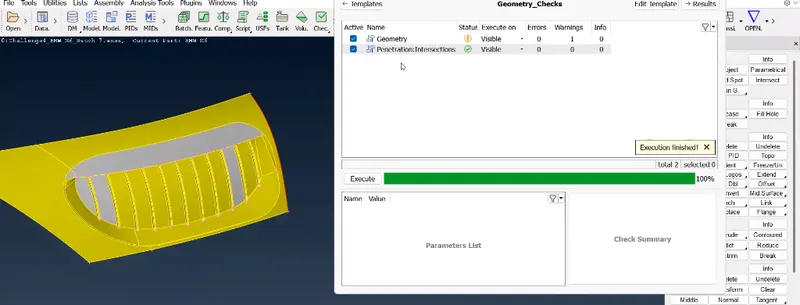
We are clear all the error.
Now work on light part
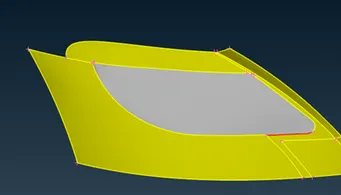
Here delete this unwanted faces.
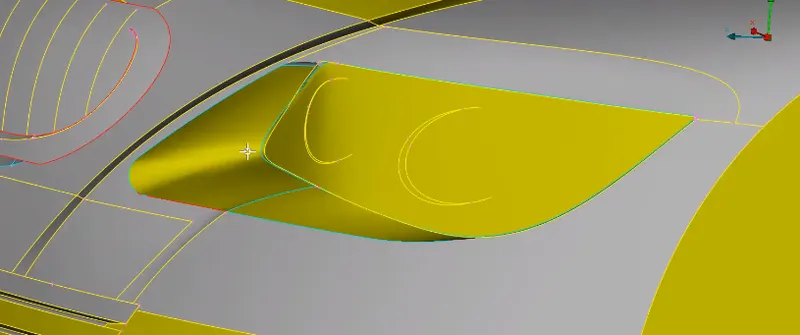
then create new face.
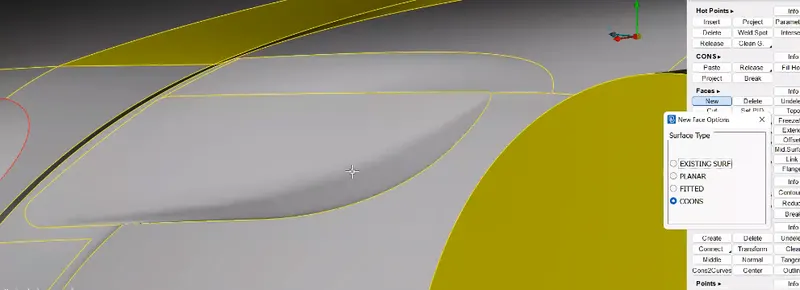
After complite light is look like this.
Naw start logo
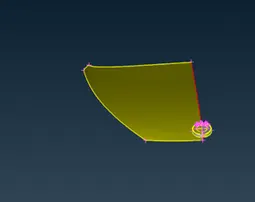
Here we have to delete overlap face to make one volume. First project the cons then delete the unwanted faces.
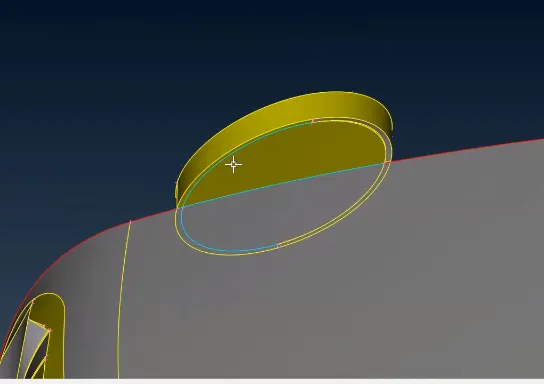
Naw after deleteing unwanted faces.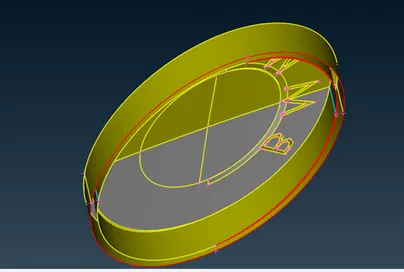
Here we see some face was deleted.
Here we can do delete all small face and create a new face.
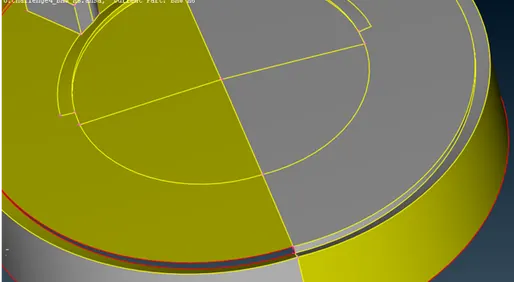
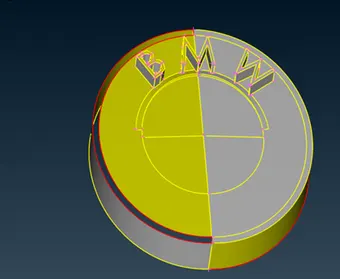
After clear al the error.
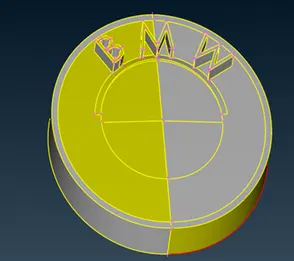
Now work on mirror parts.
In the mirror we see tripple cons .
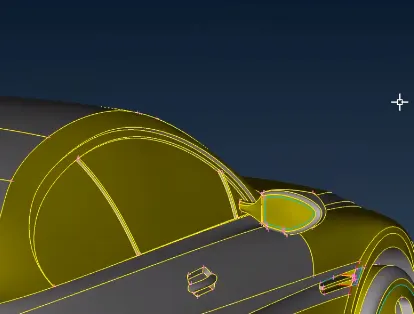
Here some overlap face and some unwanted face present delete those faces.
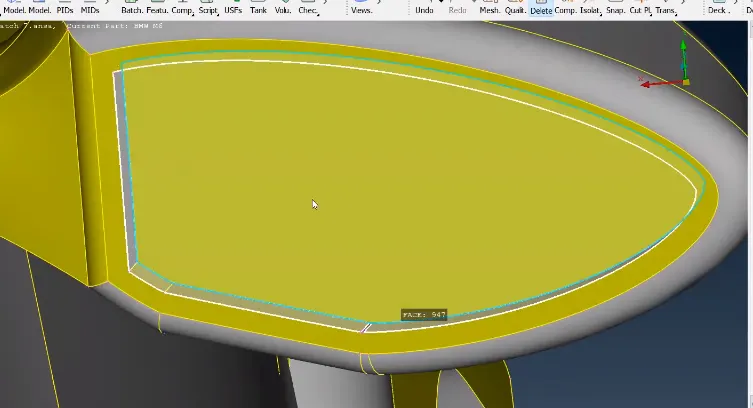
Here we see the double con.we don't required this cone because we have to make one volume. so delete the face.Project the con over the face and delete un unnecessary face.
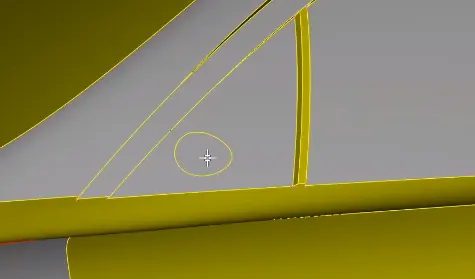
After delete the unnecessary face.
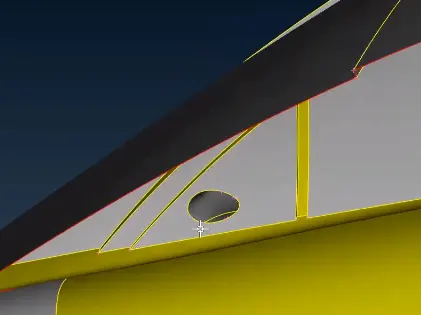
After clearing all error.
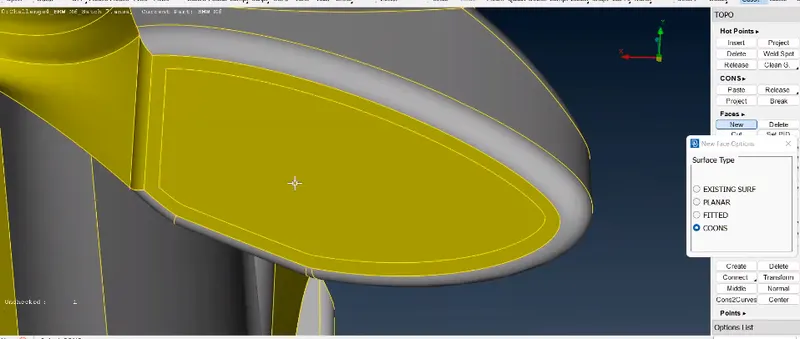
Here we see the extra face.We don't required this face.
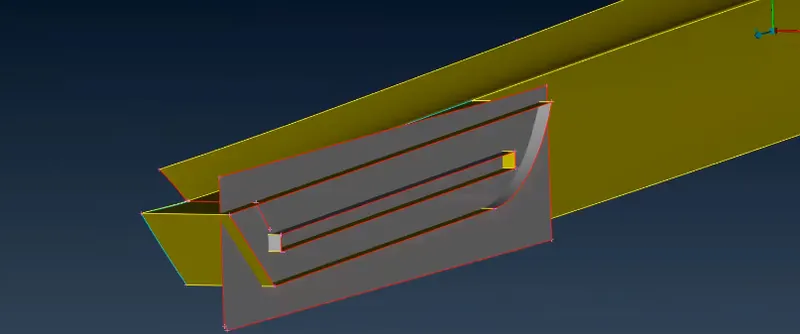
So delete the face.
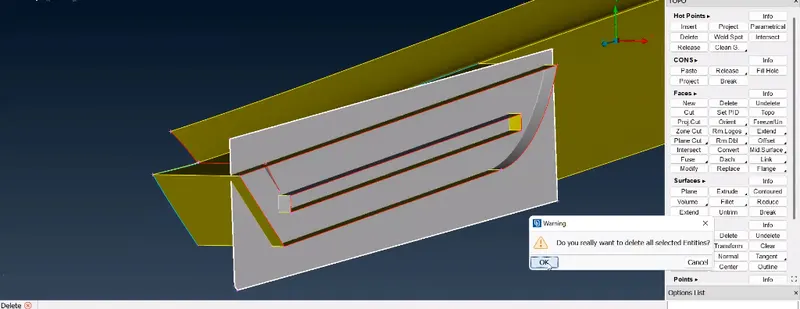
Here we can excend the face and delete the unnecessary faces.
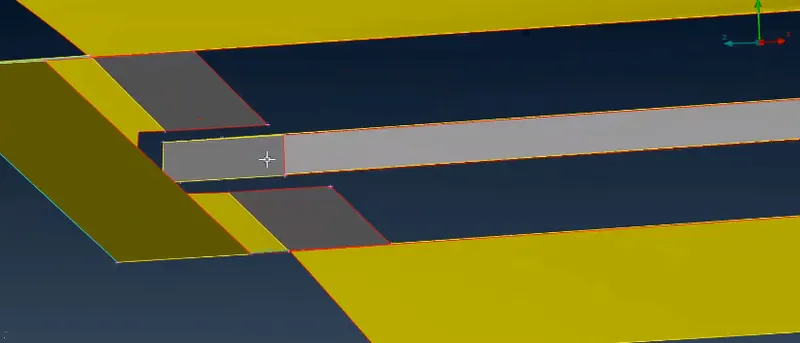
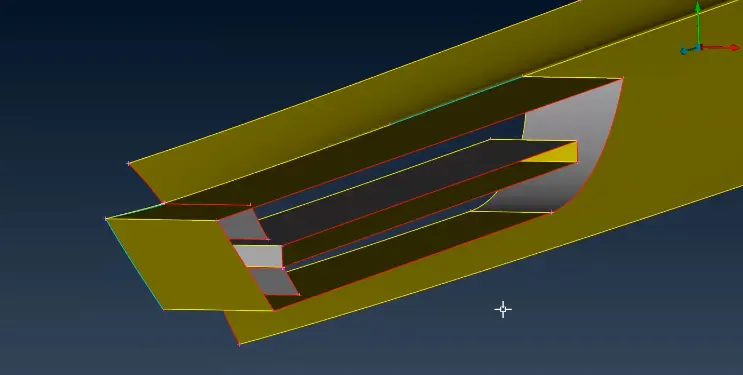
Here we can create face accordingly requirement.
After createing the face look like this in front side.
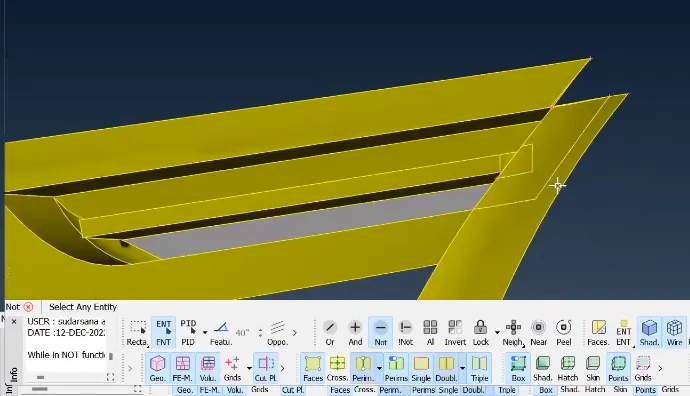
After createing the face look like this in back side.
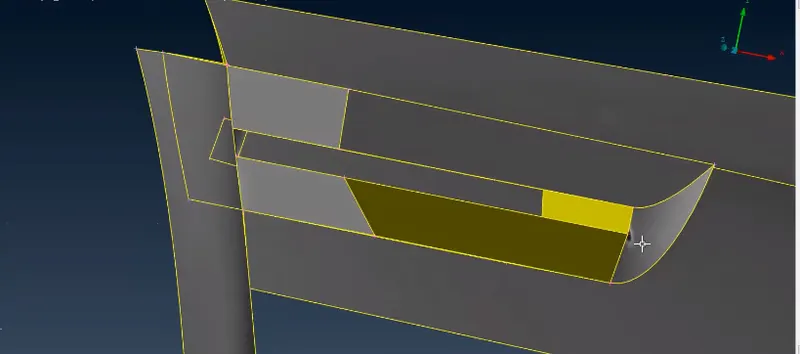
There is some triple con seen is due there are overlapping surfaces so we will delete these overlap surfaces.try to delete this suraface.
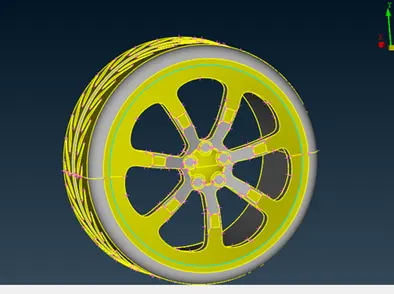
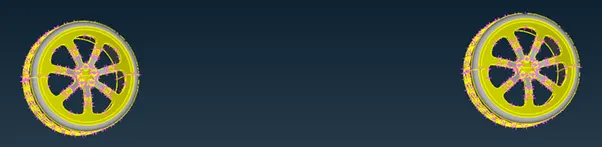
After Delete all the unnecessary faces look like this.
Body part.
In the body part there are so meny extra face present.so that this face cause of intersection error.We can directly go for delete option and delete the unnecessary faces. Before delete we have to make some gide line foe makeing new face.so before delete we can convert the edge cons to curve by the useing the cons2curve
Topomodule>curve>cons2curve
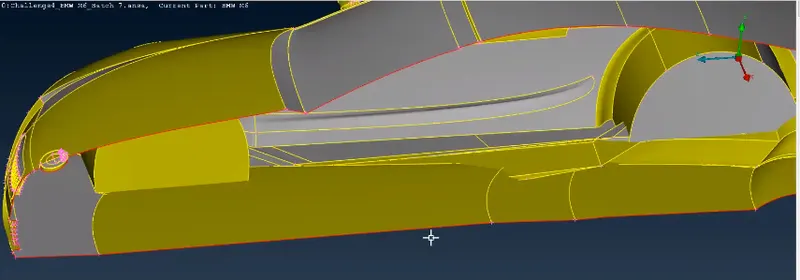
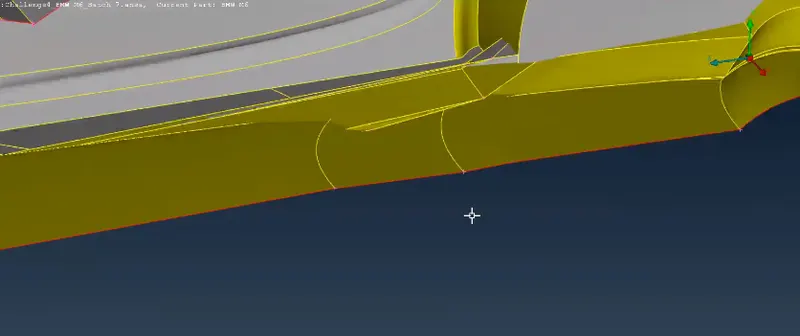
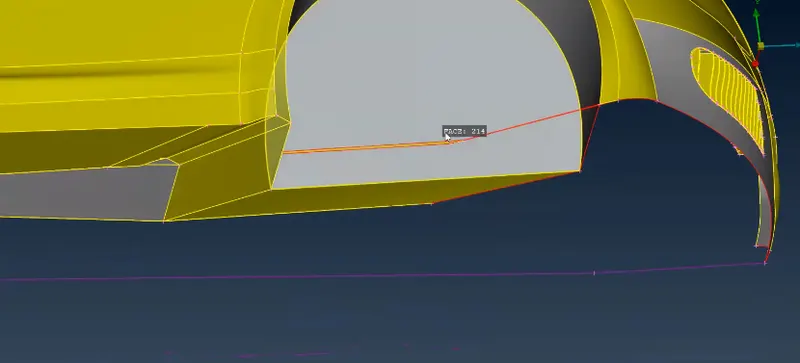
Here we can see few face excend to outside . here we can do intesect and delete the unwanted face.
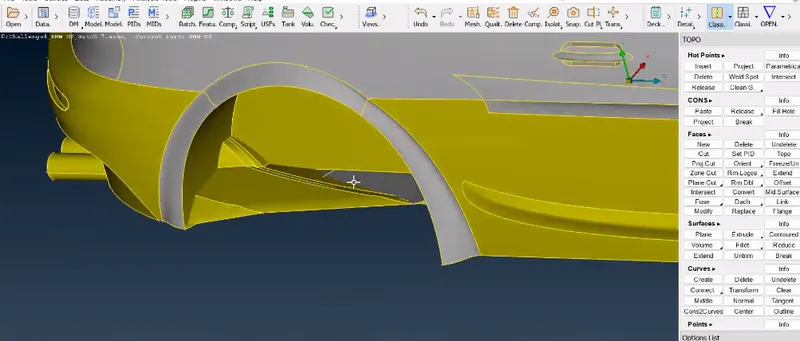
After delete all the extra face the body of the BMW look like this.
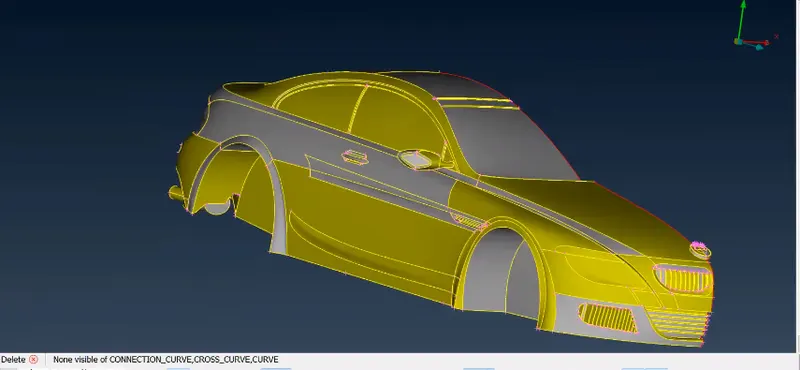
Now we have succesfully removed all interaction erros.These are some single part at boundry where we have deleted half portion so right now we are ignoring.
Now we can assign the PID foe different parts.
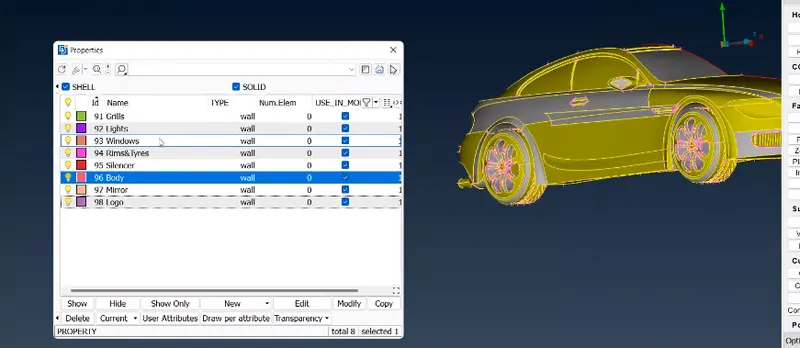
Now we have successfully created and assign all pids which are required.
We are successfully isolated all the error and assign new PID .now we are able go for meshing the surfaces.so lets go for surface mesh.
Surfaces meshing of BMW:
The given Target lengths for the different parts of a model
- Body = 3 mm
- Lights = 4 mm
- Grills = 1 mm
- Rims and Tyres = 2 mm
- Optical Rear view mirror = 2 mm
- Window = 2 mm
- Silencer = 3 mm
- Logo = 1 mm
Lets apply uniform quality criteria to while car part
Goto quality parameter

Then new popup open.
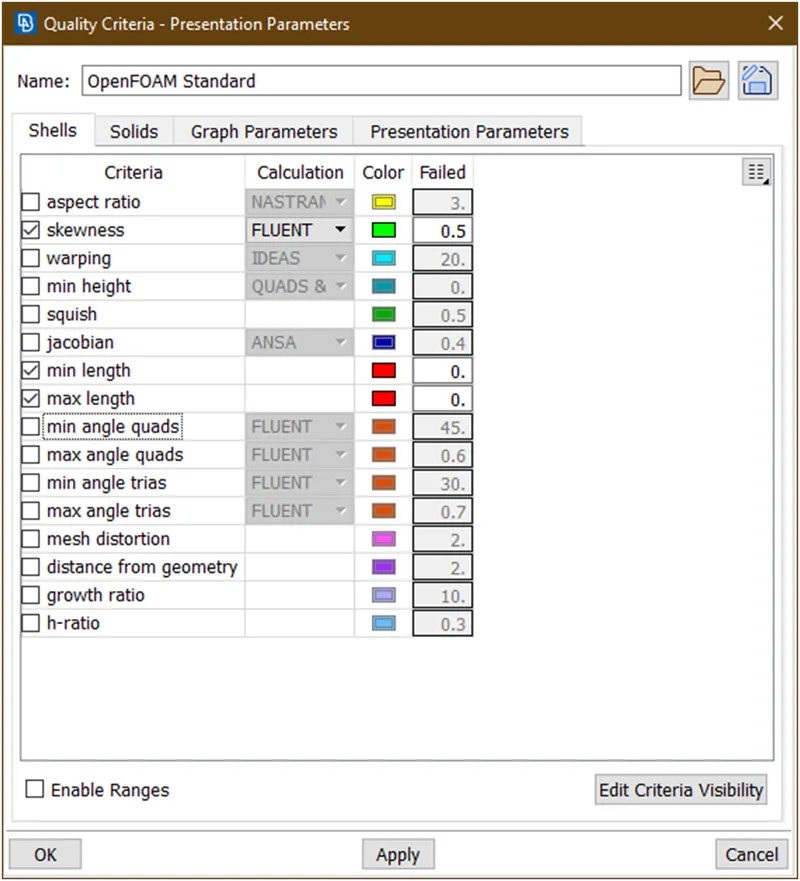
Now here enabled skewness,minimum length and maximum length.
Now remove all other quality checks parameter. For that goto edit criteria visibility a new popup opens and un check all other parameteres.
Now put values as
- Skewness = 0.5
- Min length = 0.1
- Max length = 6
Now click on apply then click on ok.we have successfully gives qulity criteria
Let mesh logo and grills
Goto pid manager and hide all other parts and enable only logo and grills.
- Let goto mesh parameter
- Here the target length=1 given. So give minimum length=0.5 an max length=1.5
- Now select the macros and select the faces
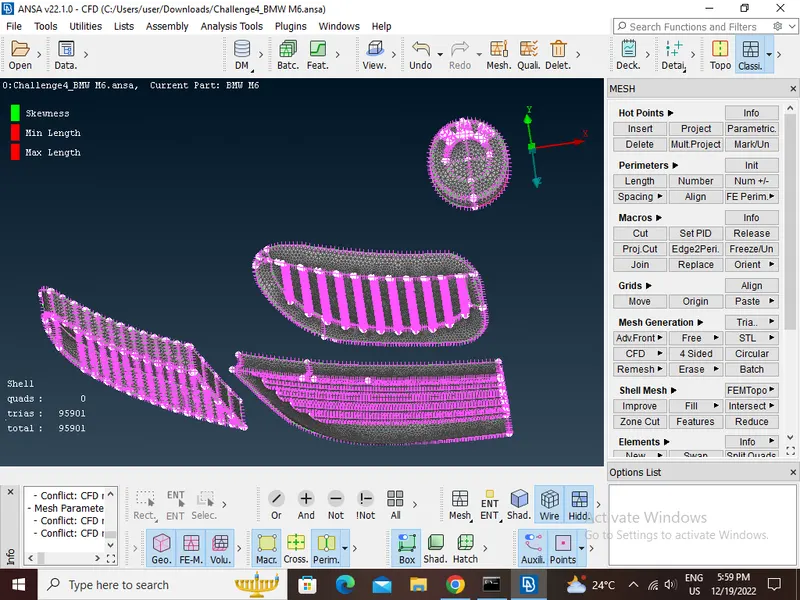
Lets go for rims and tyres , optical rear view mirror,window
- Let enable this by hiding all other parts
- Lets goto mesh parameter.here the target length=2 mm so we are giving min length=1.5 and max length=2.5
- For meshing goto mesh generation>CFD>visible
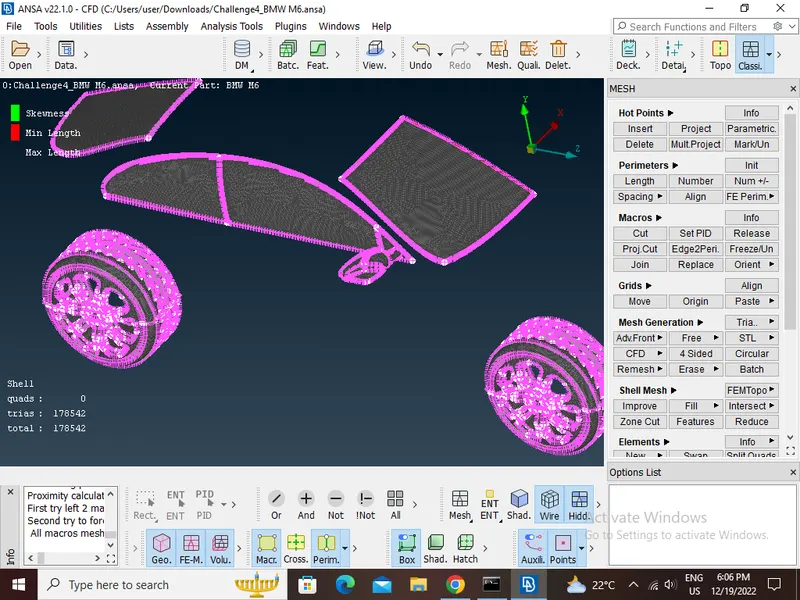
Lets go for silencer
- Enable silencer by hide all other parts.
- Lets goto here the target length=3 so goto the mesh parameter and gives min length=2.5 and max length=3.5
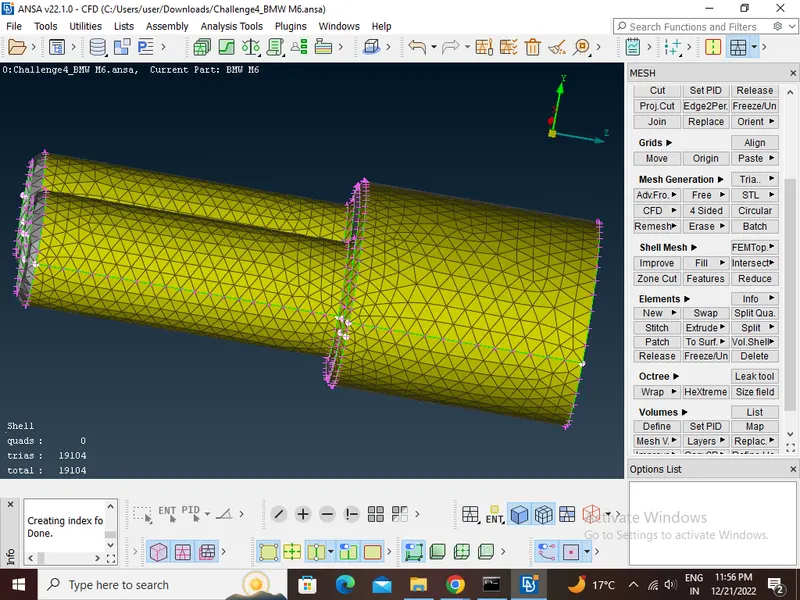
Lets goto lights
- Enable lights and hide other parts
- Lets goto mesh parameters.here target length=4. So min length=3 and max length=5 we are giving.
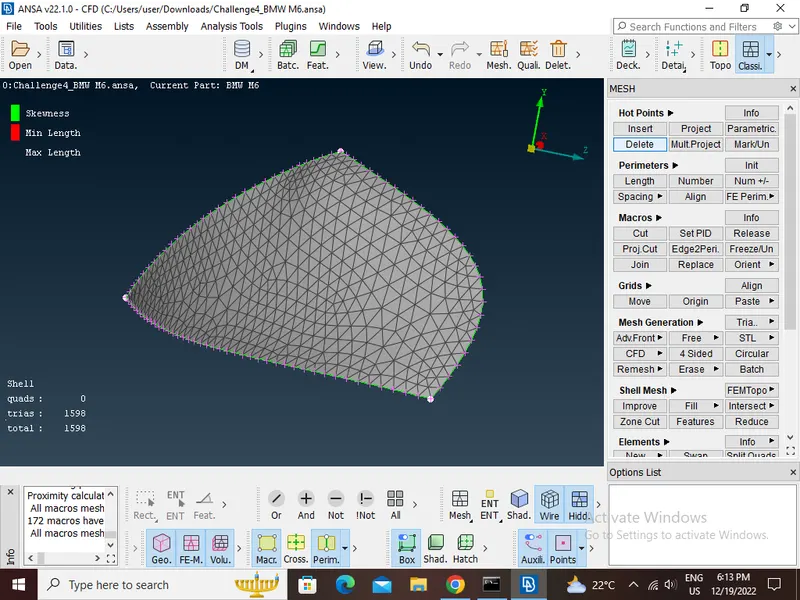
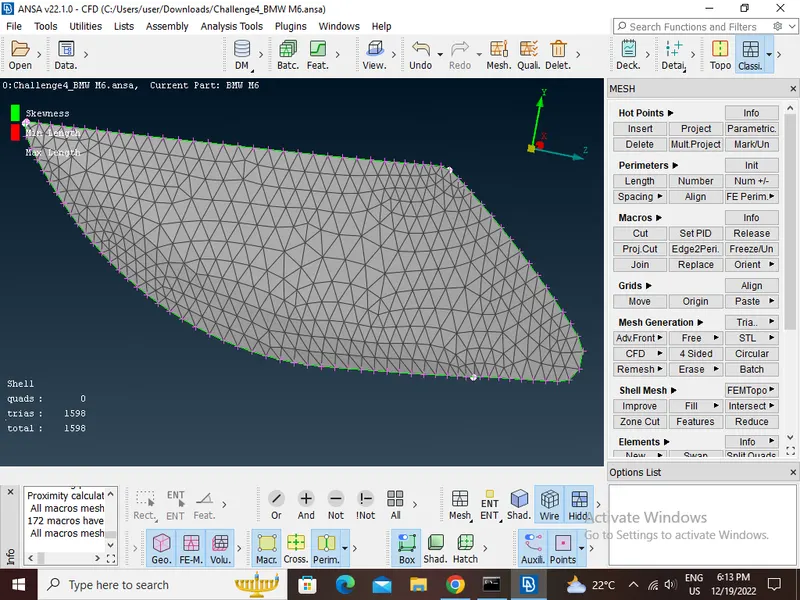
Note-1 There are few Off element we acn avoid this off element by improve option then reconstruct or reshape accordingly.
Note-2 After do meshing don't forget to freeze.
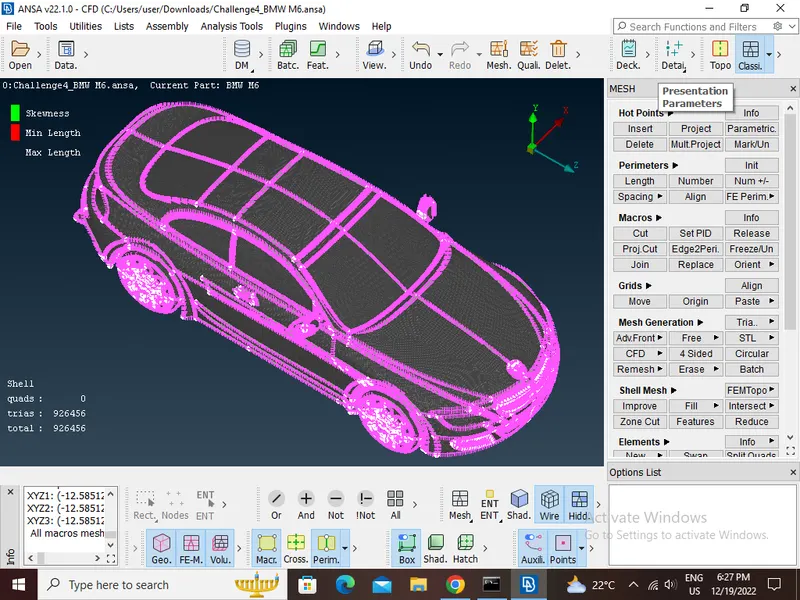
Afte cpmplite all the parts meshing go for all and unfreeze all parts.
Then go for symetry option.
Goto transform>copy>Now select the all faces>Hit the middle click, a new popup opens>Goto symmetry->mirror 3 points plane>Now select any 3 points>Click on ok
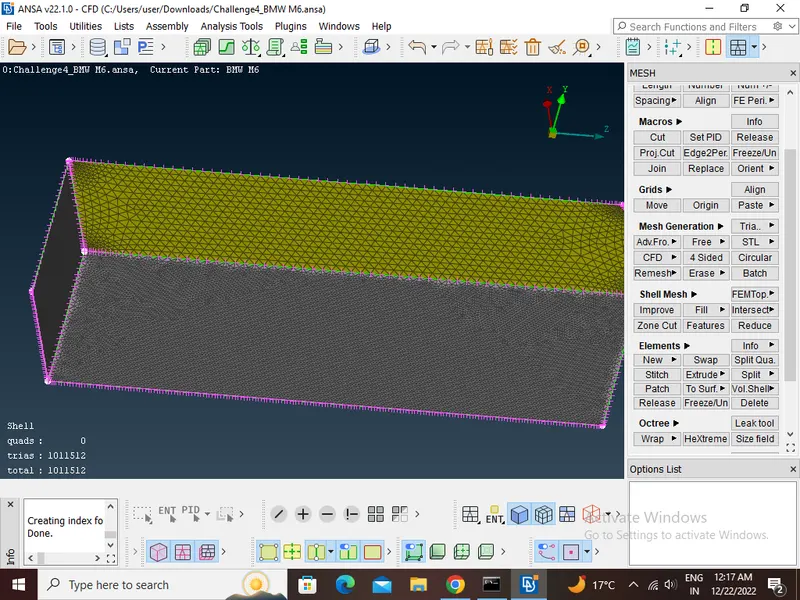
Here the wind tunnel is closed volume entity like room which is used for simulate the external flow analysis of air over a car.
Let,Length of car = x
Front face at= 4x
Back face at = 6x
Top face at=3x
Bottom face = at convenient position that should not be touch the tyre of the car
Left,right faces at = x
- Now creates a points by taking reference of this point at a distance which mentioned above.
- now create the curves between these points
- Then create the bottom face
- the offset it at the required distance
- After createing top and bottom face assign to different PID
- Then meke the all side face and assign then a different PID
- Then go for meshing those face .
After doing those steps the wind turnnel look like this.
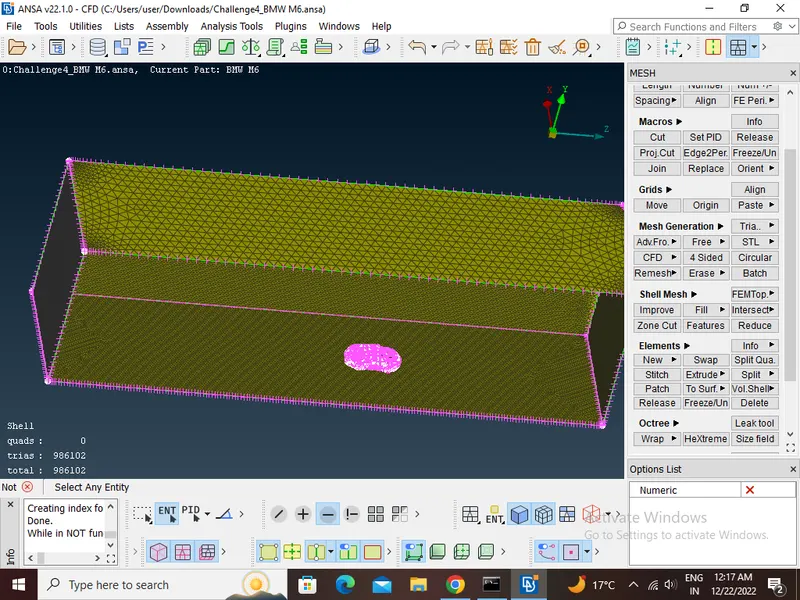
The complete wind tunnel along with the car model after volume extraction has been shown in the model.
Conclusion
I have learn how to make wind tunnel volume mesh of car for external flow analysis.
Surface meshing of a car with wind tunnel google drive link
https://drive.google.com/file/d/1KHq2jgUODAIRxJLb20WKNCjoNzweh6Pj/view?usp=share_link