Week 4 Challenge : CFD Meshing for BMW car
AIM :
To clear the geomentrical errors in the given model and assign PIDS for the different parts , do meshing with required target length and element criteria for the different parts of the model . create wind tunnel for the model and do volumetric mesh for that.
OBJECTIVES :
i) Do geomentry cleanup using the clasisc topo deck.
ii) Assign PID for the different parts of the model.
iii) Mesh the assigned PIDS with respective target length and let the meshed model be error free.
iv) Recreate the other half of the model using transform option.
v) Create wind tunnel for the model and perform surface mesh and volumetric mesh.
PROCEDURE :
STEP 1 :
Open the given model using ANSA tool do a geomentry check . there are lot of single cons , triple cons , and overlapped surfaces need to be cleared here. we are going to delete the half part of the model by universal delete on the tool bar and after reducing the geomentrical errors,assign PIDS then perform meshing for the half model and using transform we can create the other half.
STEP 2 :
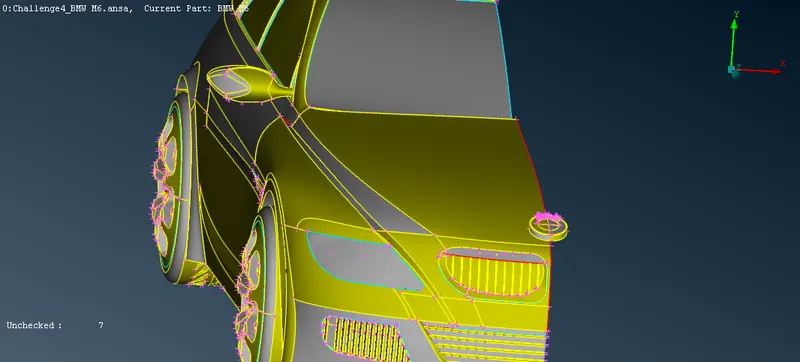
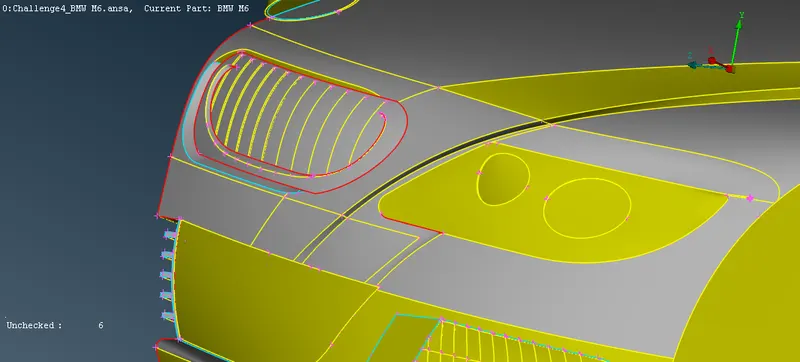
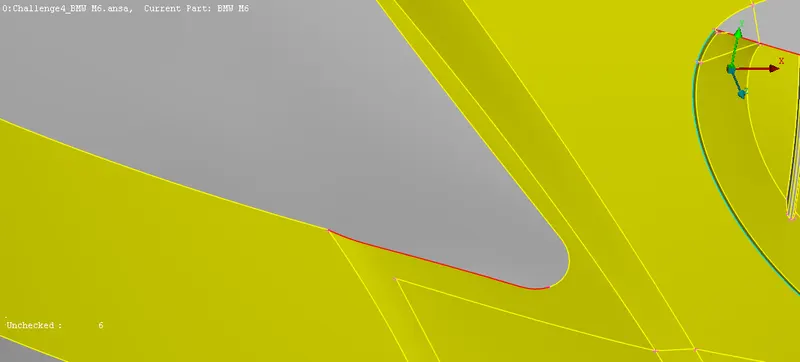
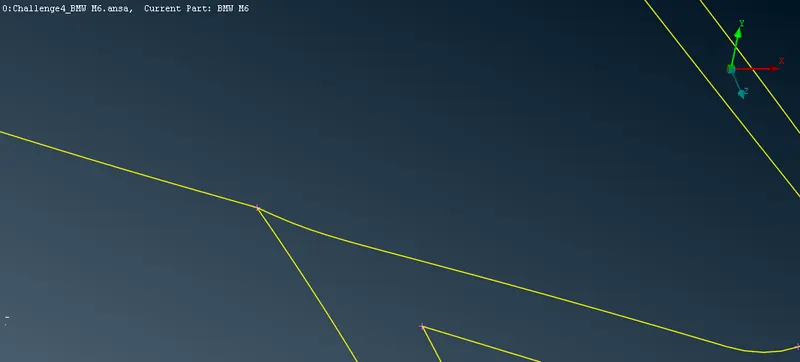
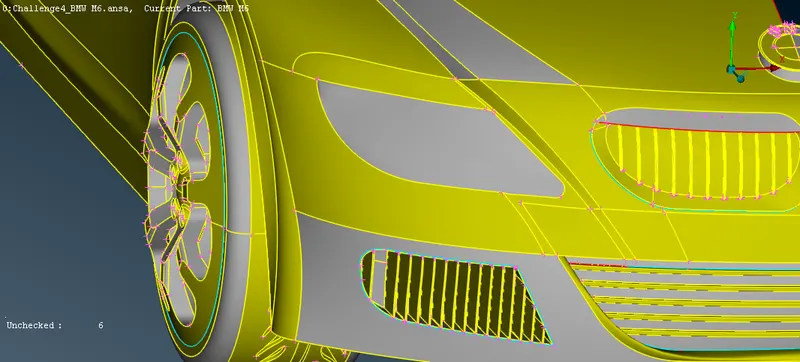
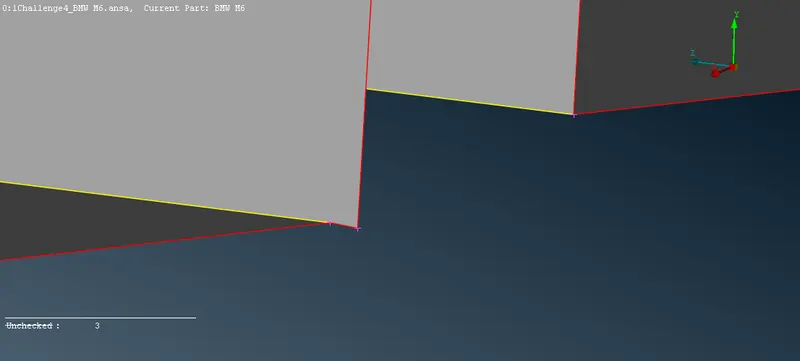
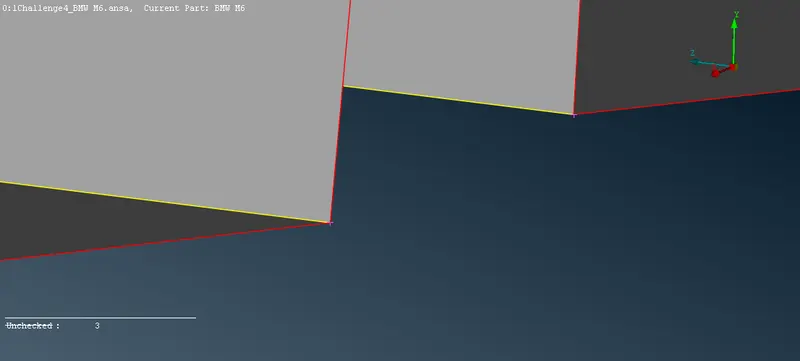
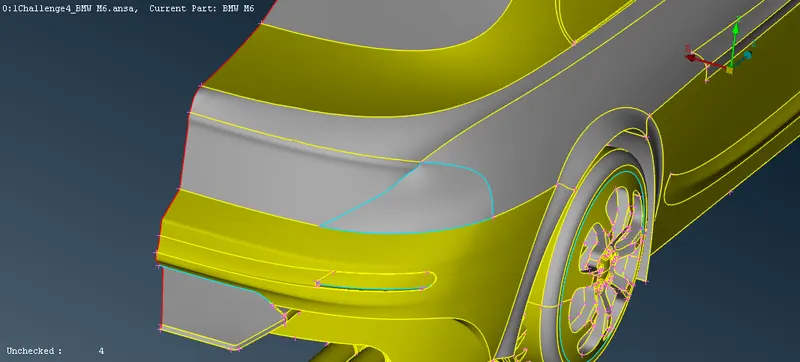
* Start with the rear head lights . In here we have double cons and single cons on the bottom of the rear light.so delete the overlapped surface. In the bottom we have splitted single cons in there we can paste them by using cons>paste>select the two single cons and do middle click. be sure that its not creating any seperate volume while performing volumetric mesh.
STEP 3 :
* After clearing the errors in rear light start clearing the errors in the grills of the model. there are three set of grills we will go one by one. start twith the big one in the middle .
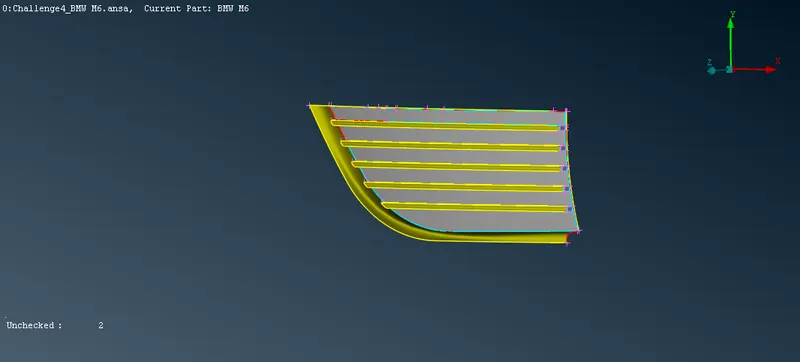
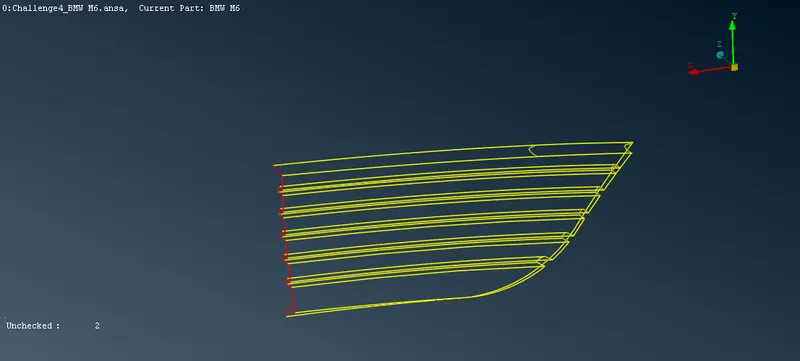
* Open the model in PID mode if any glitches are seen then understand there are two surfaces overlapping. after clearing that make that as single volume along with the inside of the car. isolate the gril by using !NOT and selecting the grill portion amd do middle click.The grill portions are closed in both ends delete the closed part and let it be open in the back side for that project the double cons connects the both ends in the back side it will create triple cons .On the top first part the con was not connecting the ends use cut option in faces>cut to connect the end .Delete the triangular part and for that cut is also used in the top. delete the excess portion in the middle.
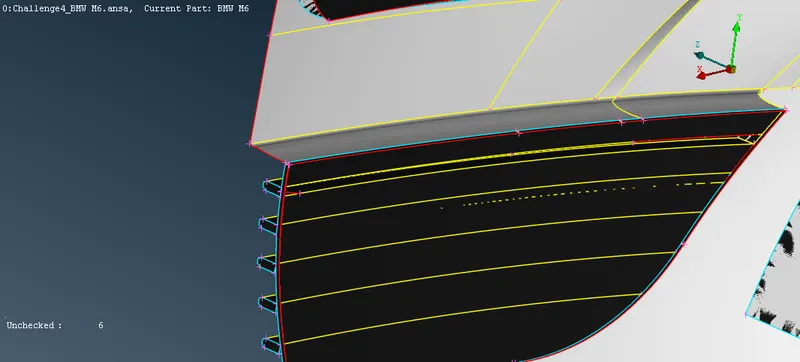
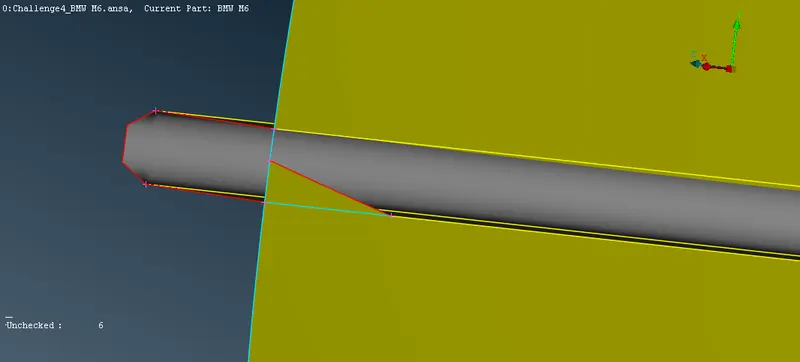
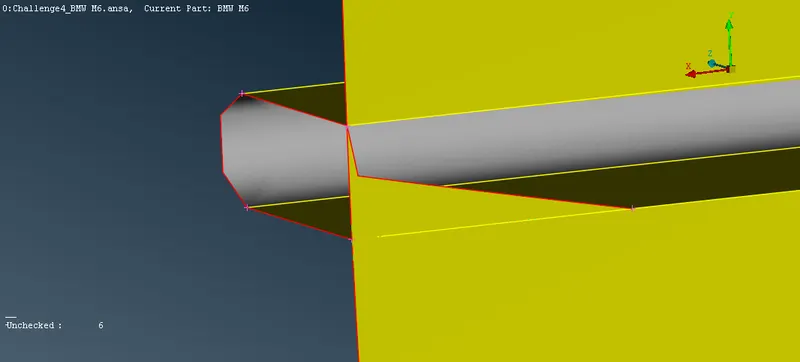
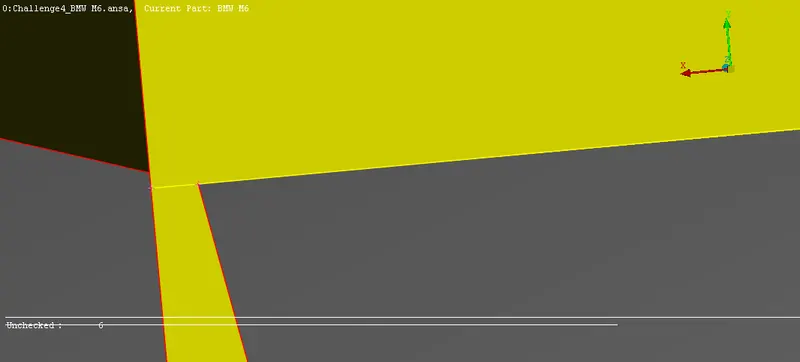
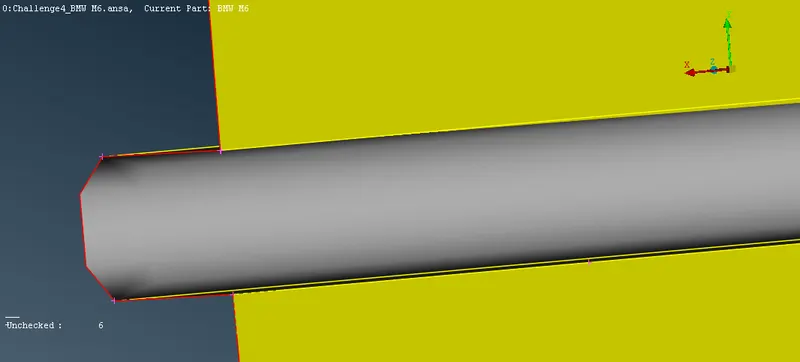
* Project the cons that connecting the grill and the back side surface.select cons> project in topo deck select the cons to be projected in the back surface and select the surface do middle cilck.
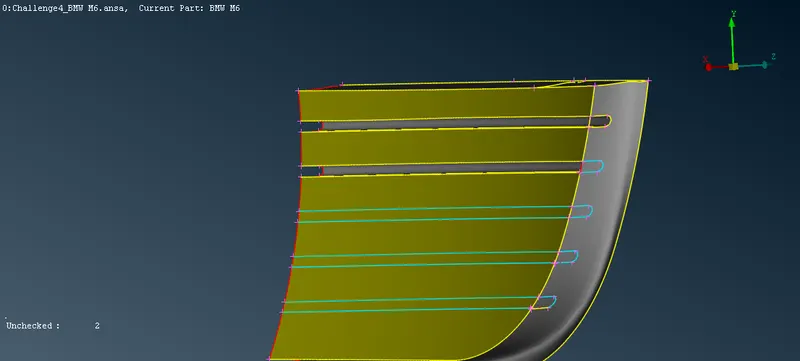
* Triple cons have formed on the back side to reduce the triple cons into double cons delete the middle surface between the triple cons,also grills are closed in other end that is also opened by projecting the cons on the back side of the surface and deleting it can be done splited single cons can joined by using cons>paste option.
STEP 4 :
* Next grill section overlapped surfaces are deleted and in here also delete the closed surfaces from inside and make sure no seperate volume is created.
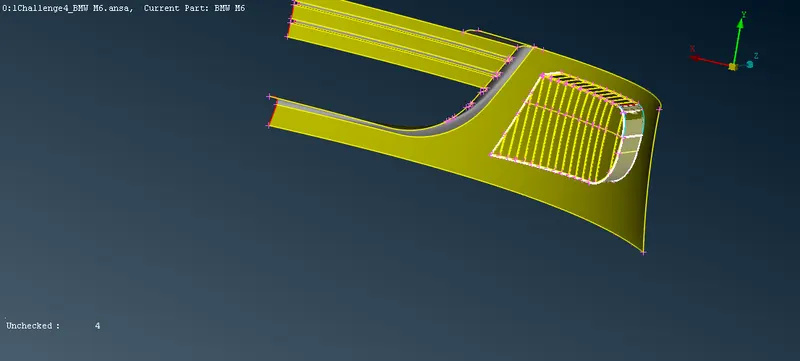
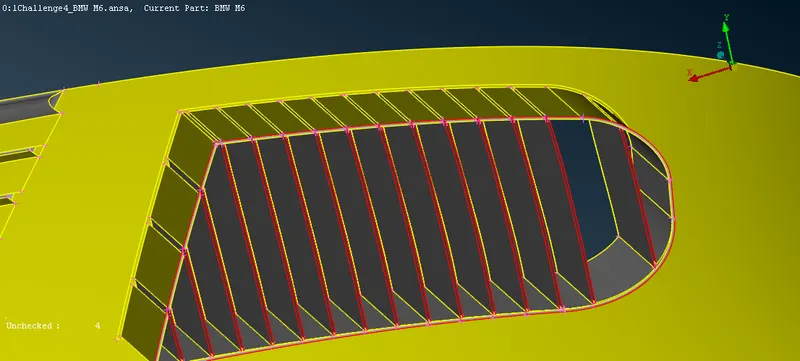
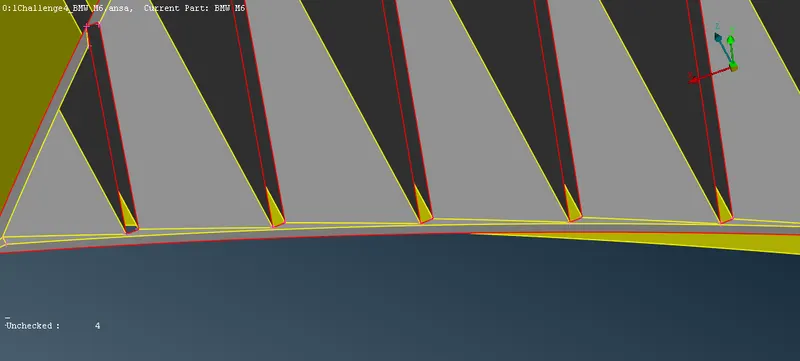
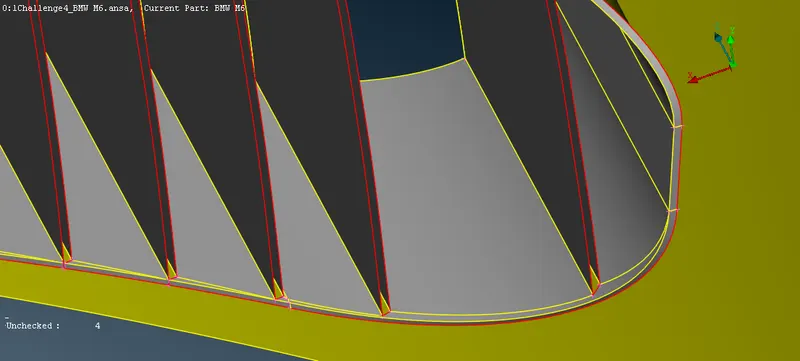
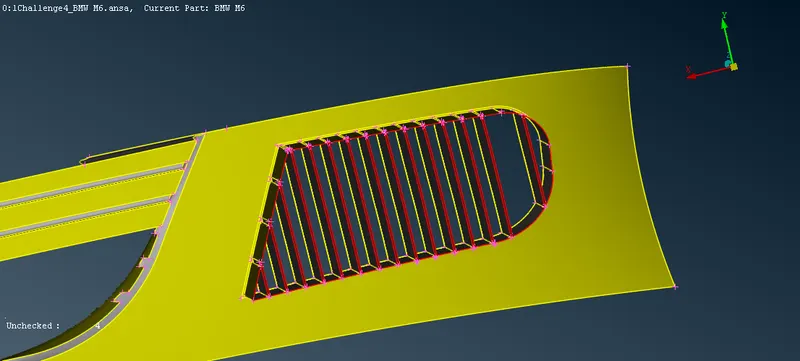
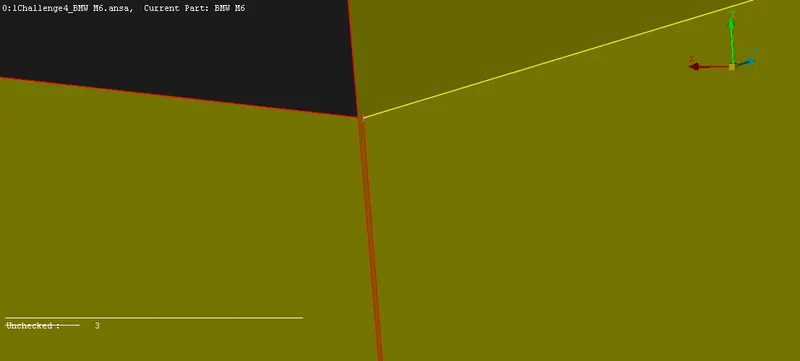
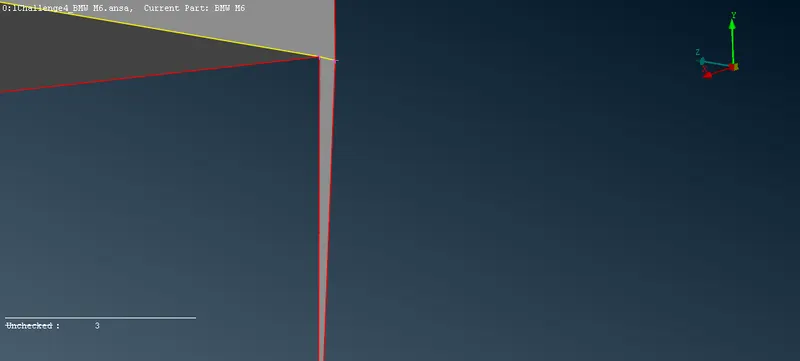
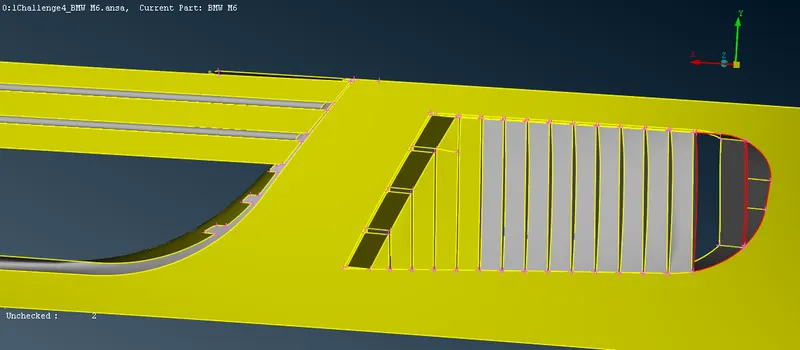
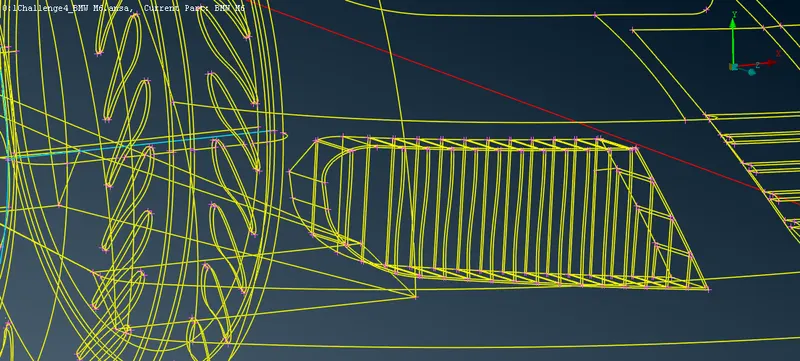
* The grills are now open from both sides and there are many single cons also present there. to rectify this we need to closed the open surface before that be sure that the cons present are even or not so that we can form an even surface if not then surface formed are not be seem flat or fuly patching.to delete the uneven surfaces create cuts and delete the surfaces.and delete the unnecessary hot points
* Go to the bottom portion and create cuts from one end of the rectangular face to another go to faces>cut select two hot points where the cuts are to be created. after that delete the excess hot points which creates uneven surfaces.delete faces formed by cut. create surfaces to patch up.splited single cons are are pasted using cons>paste. surfaces can be created by using faces>coons.
STEP 6 :
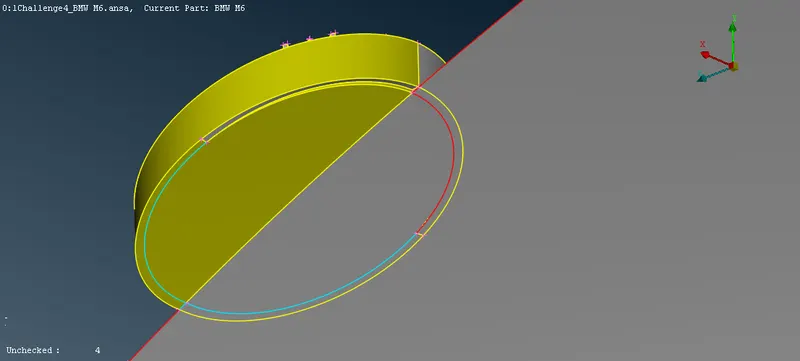
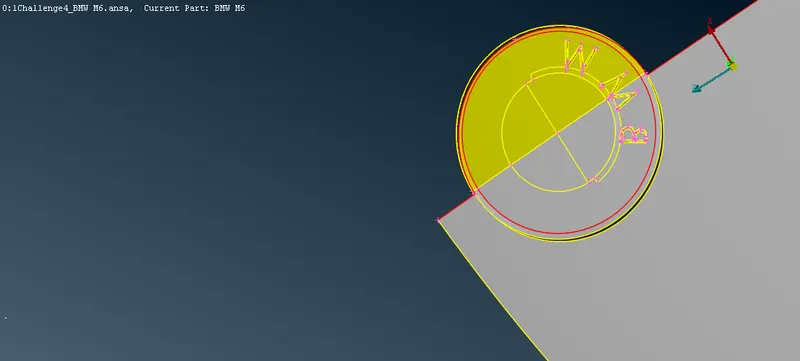
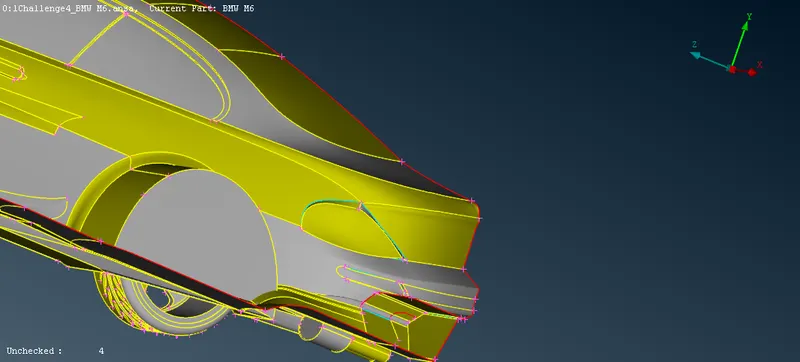
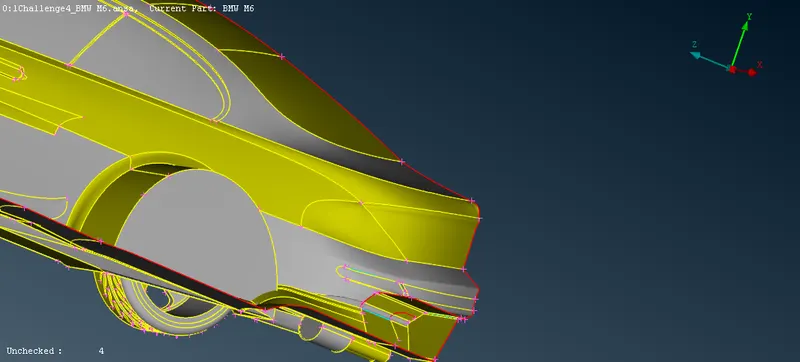
* Next the logo is isolated and start clearing the geomentrical errors. Firstly in the bottom to clear the triple cons delete the surface present in the bottom. claering the single cons on the top.
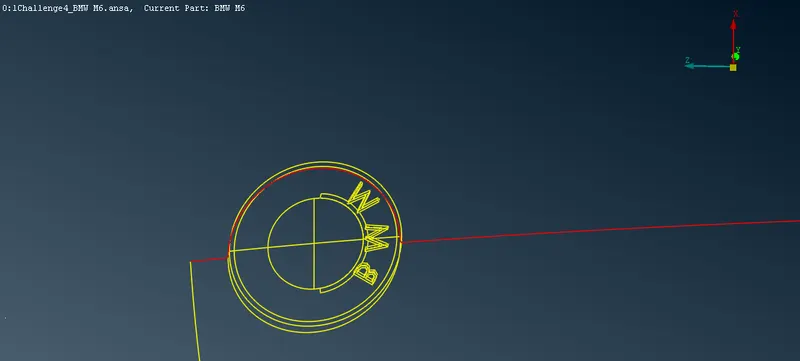
* Then move around the model and try to reduce the triple cons by deleting the overlapping surfaces
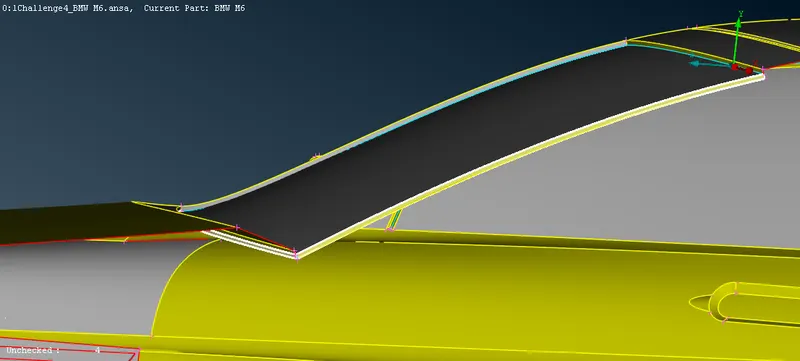
STEP 5 :
* Now the next grill is isolated by using !NOT option and start reducing the geomentrical errors in it. to reduce the triple cons to delete the overlapped surfaces. To cut the top surface and project the cons on the back side for that use cons>project select the cons to be projected on the backside and select the surface do double click.after creating the cut delete the back side surface and upper grill part by selecting and universal delete.
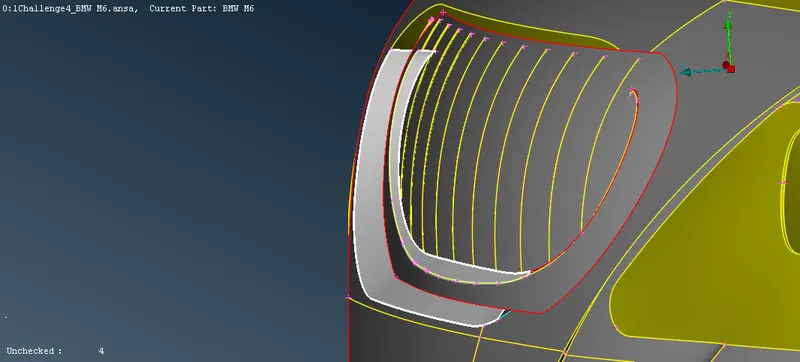
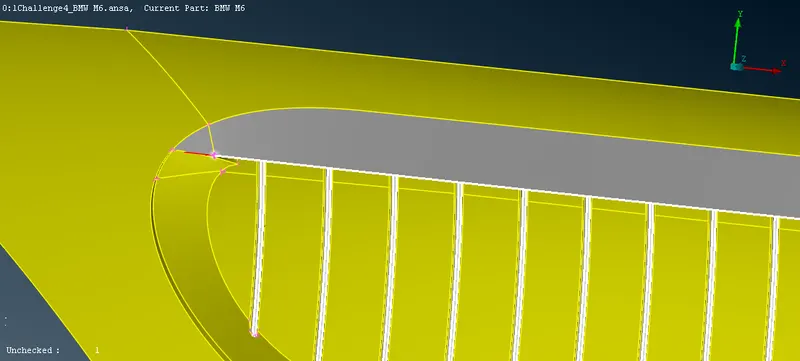
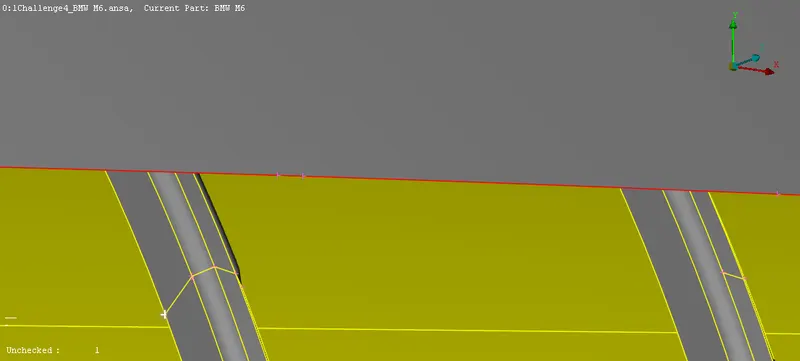
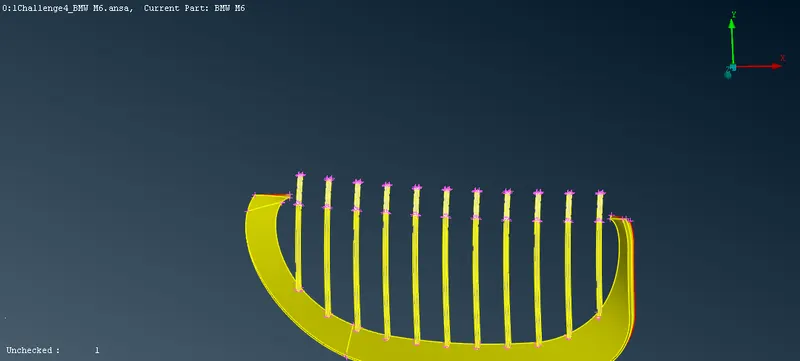
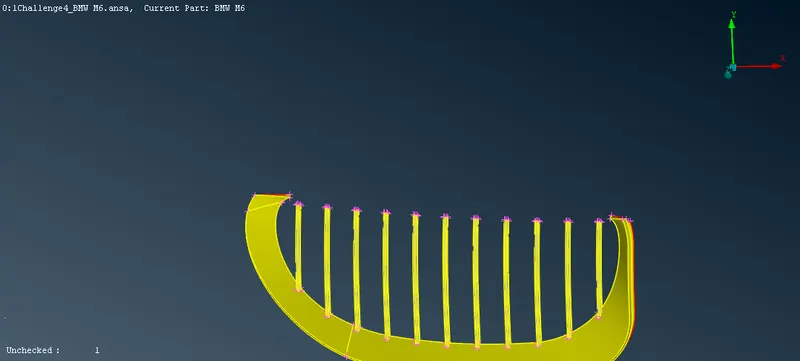
* Do create the single volume for that go to the bottom surfaces to form even surfaces use cut option and delete the unnecessary surfaces by using faces>delete or universal delete.
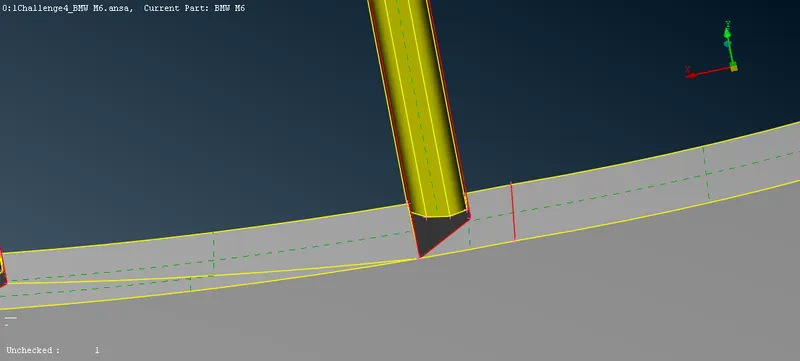
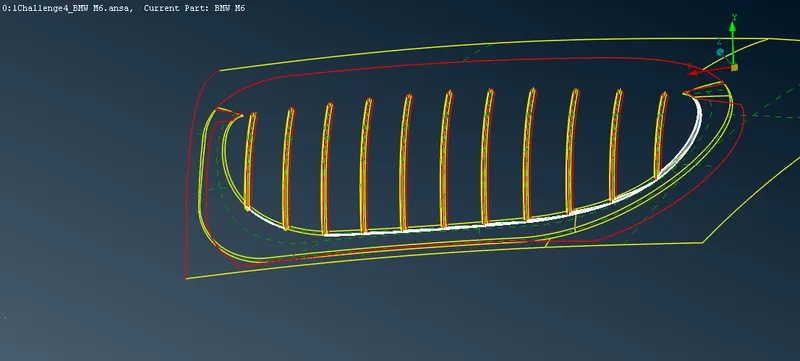
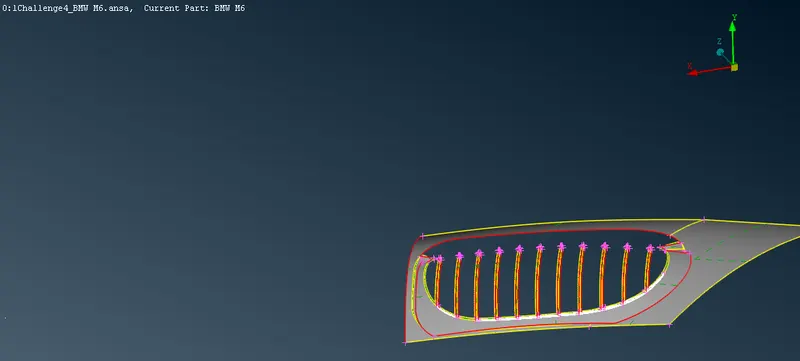
* Create new surfaces to reduce the single cons to double cons after that in case if we delete any required surfaces goto faces>undelete>by using the green hatches identify and select do middle click to retrive the appropriate surfaces.to create surfaecs to reduce the single cons .
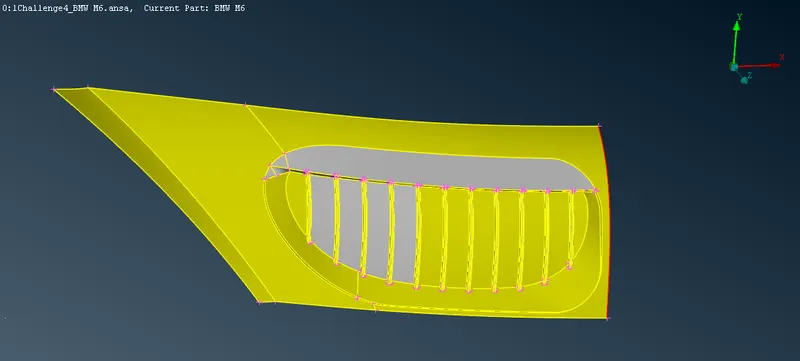
STEP 5 :
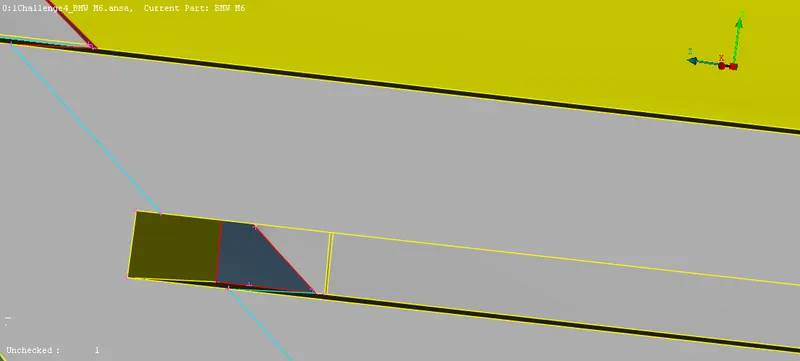
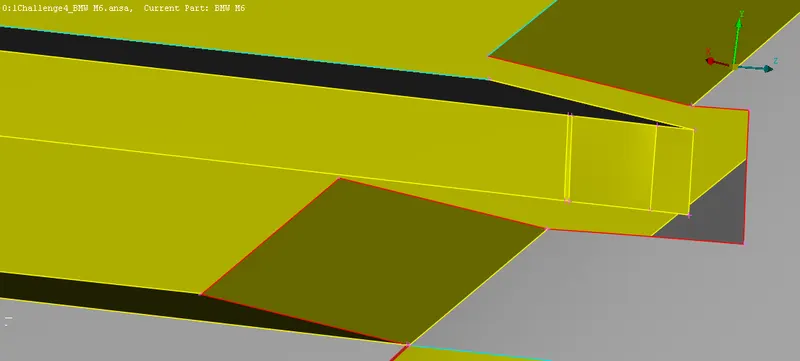
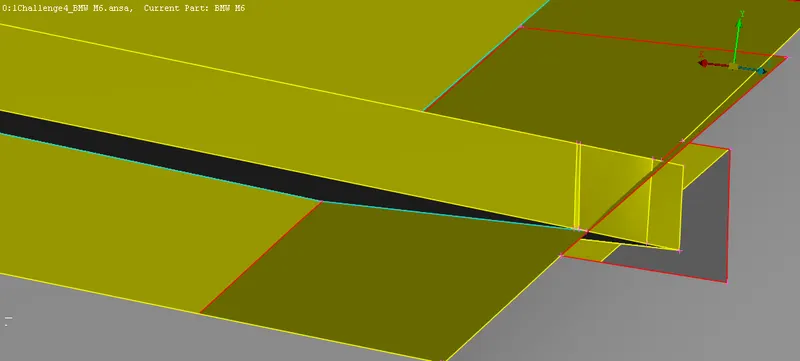
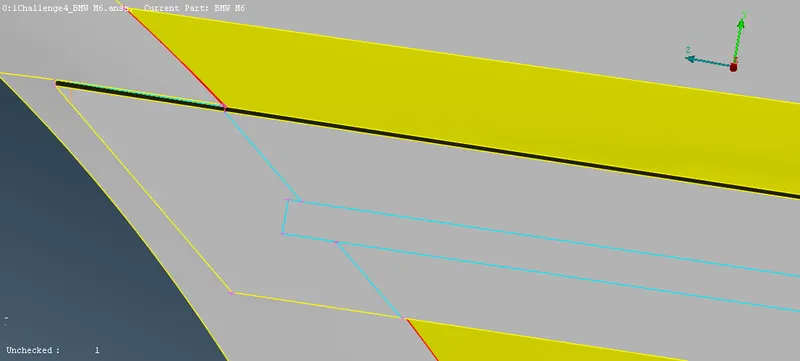
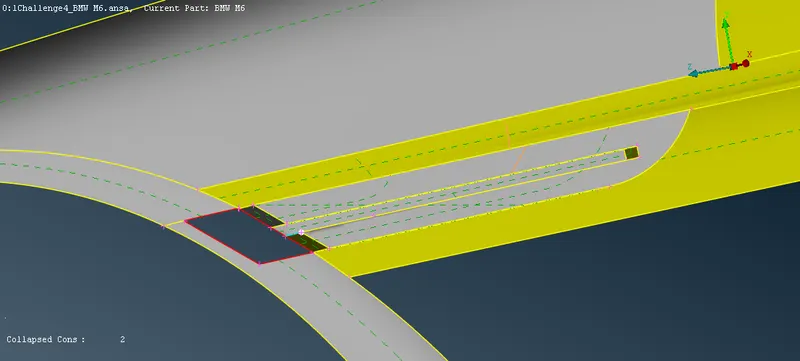
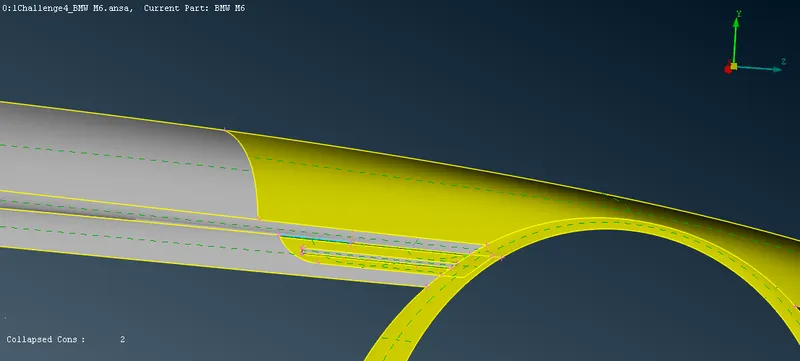
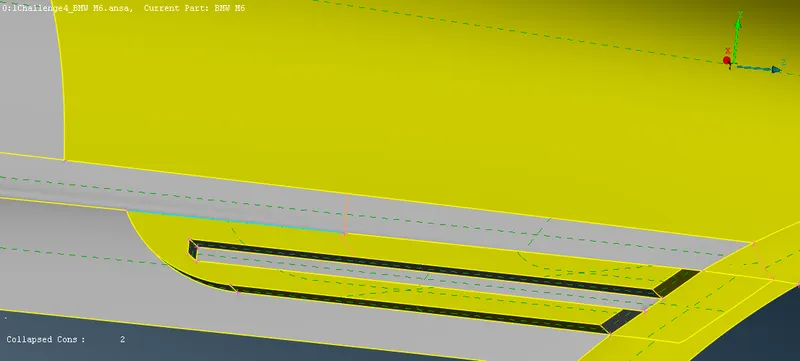
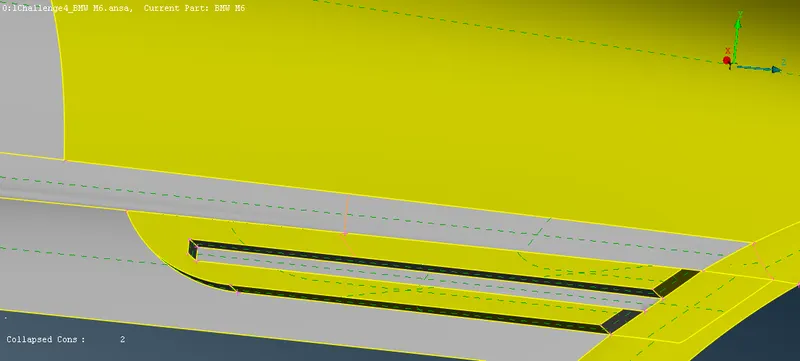
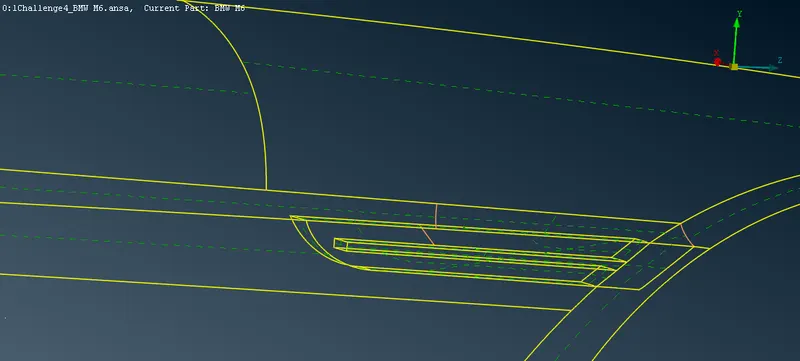
* To reduce the triple cons in the door handle section delete the overlapped surfaces to reduce the single cons. To fill the gap present in the inner section of the handle use extend option to connect the gap between the surfaces.patch up the surfaces by creating surfaces between the gaps.to make sure the surface does'nt create any volumes.
STEP 6 :
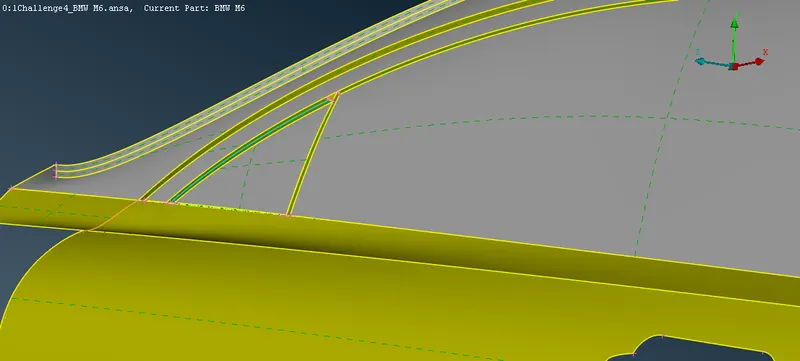
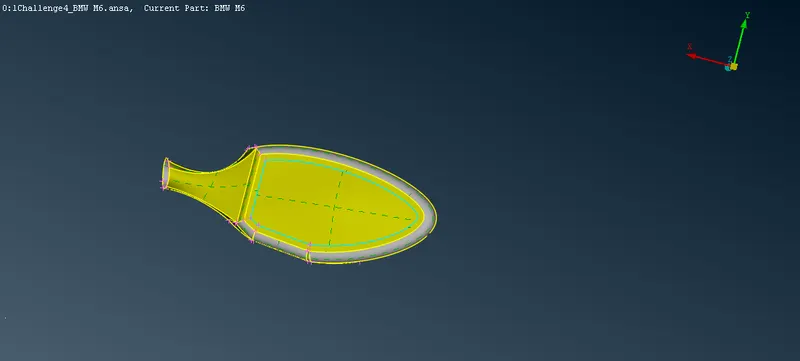
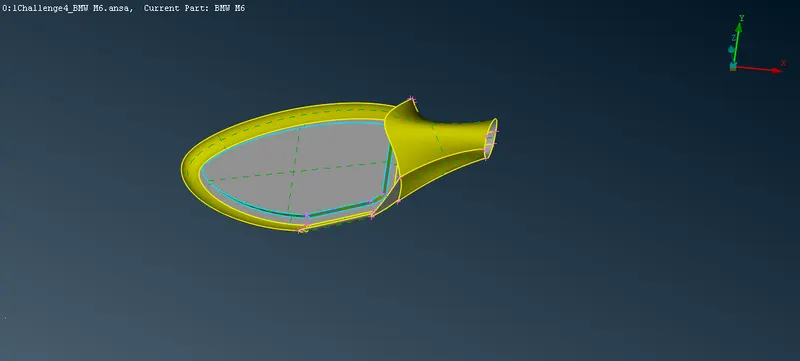
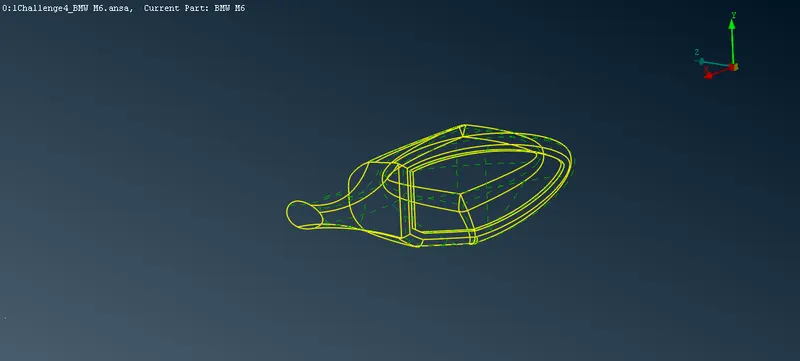
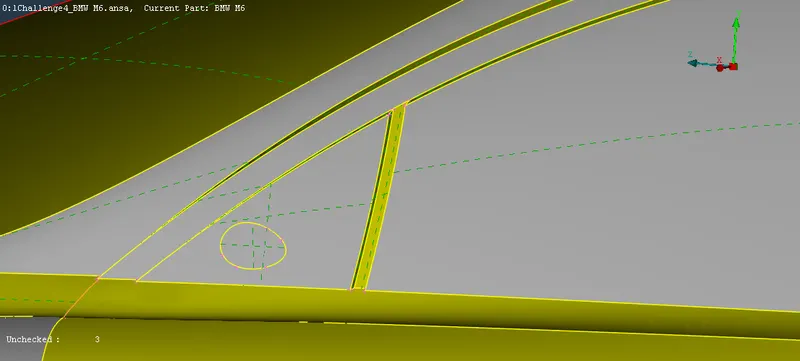
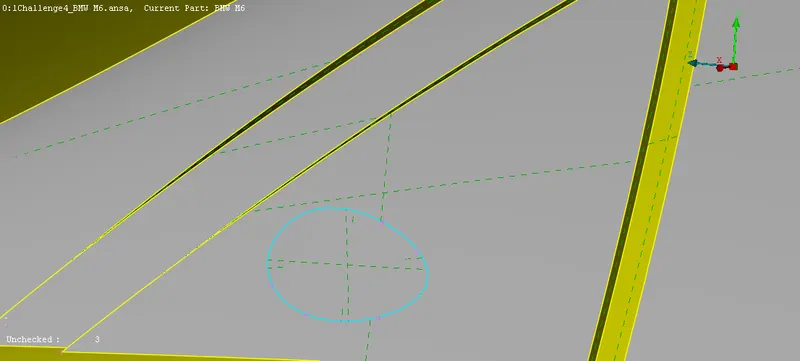
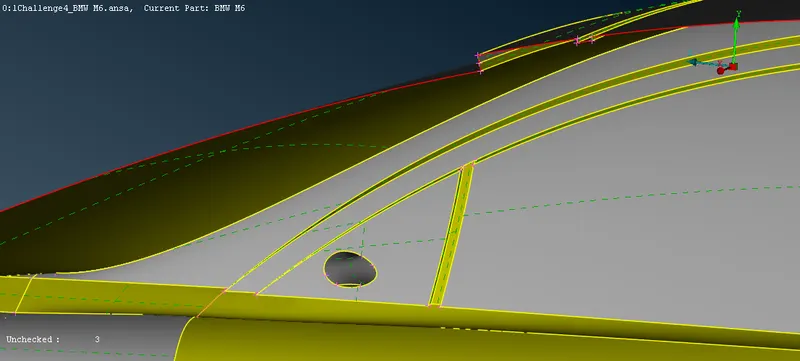
* To clear the optical mirror isolate the mirror and delete overlapped surfaces and do topo and delete the triple cons present in the windows make the surface open between the optical rear mirror.
STEP 7 :
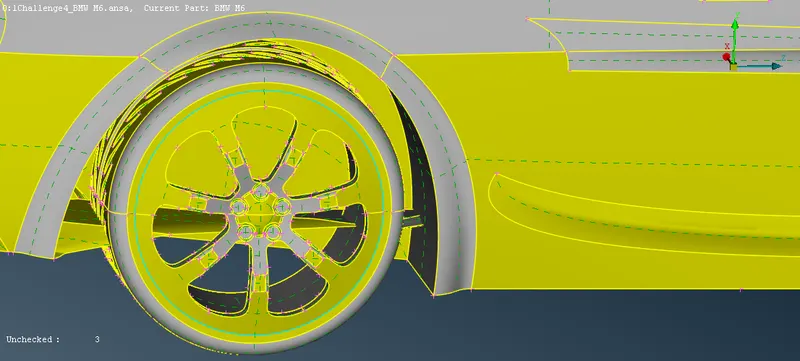
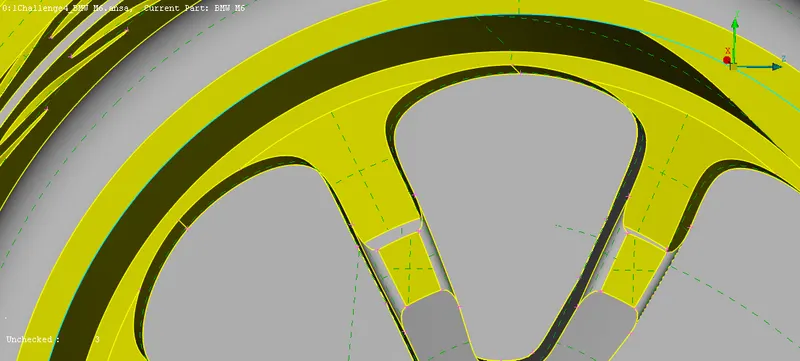
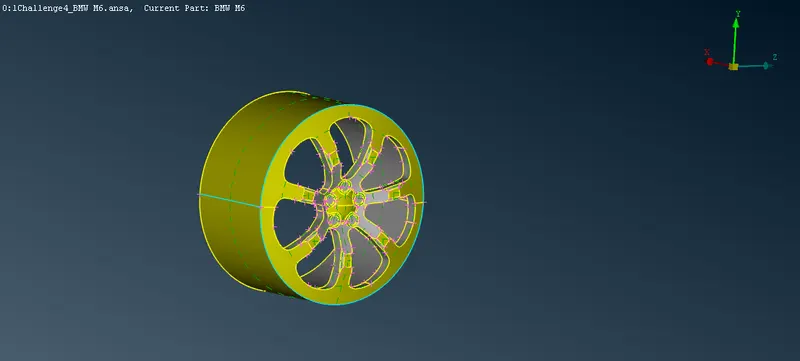
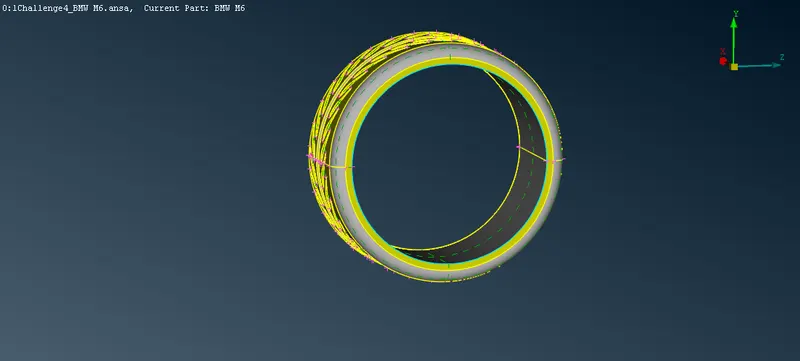
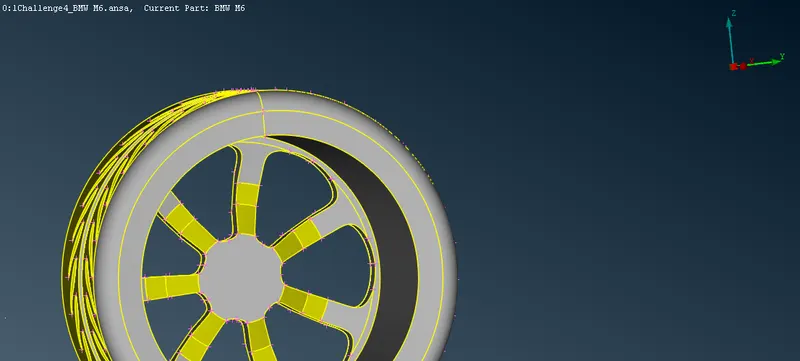
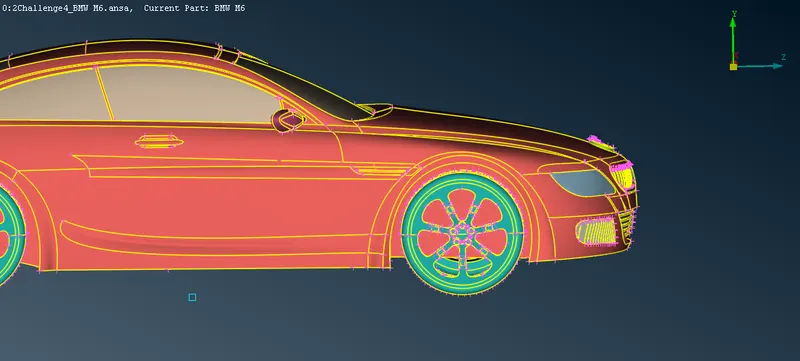
* Now go for the tyres and rims. we can see triple cons to reduce the triple cons using NOT function hide the upper surfaces and see there is a surface present inside delete the surface. There is a surfaces inside the tyre.then above the rims ofthe tyres. the tyres are not connected to the body so the four tyres produce seperate volumes which can be deleted brfore the volumetric mesh.
STEP 8 :
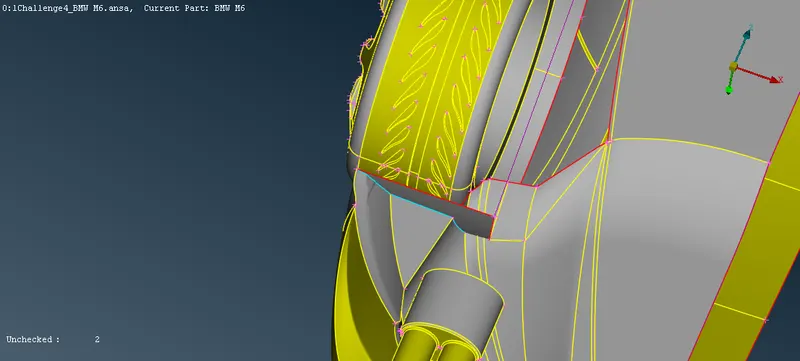
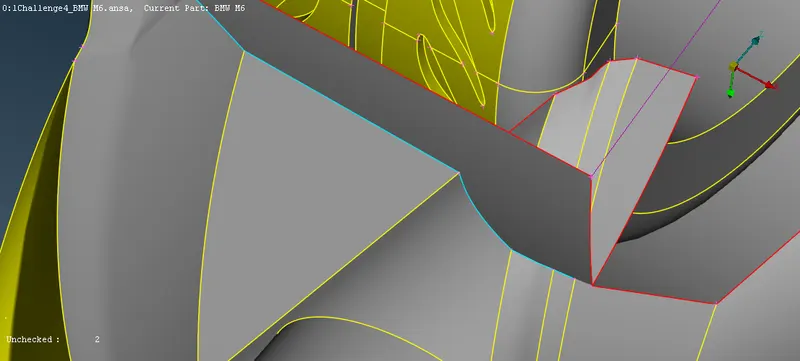
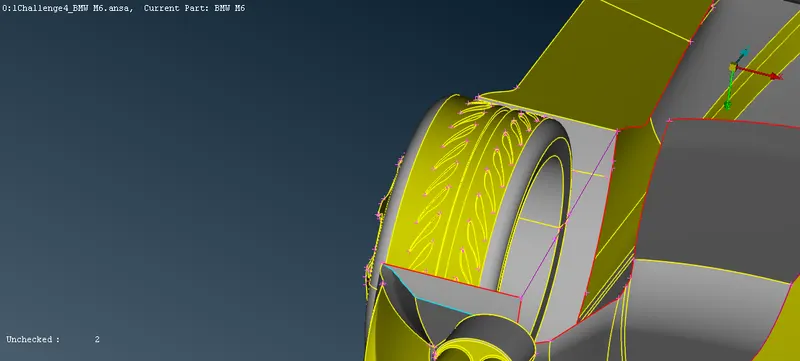
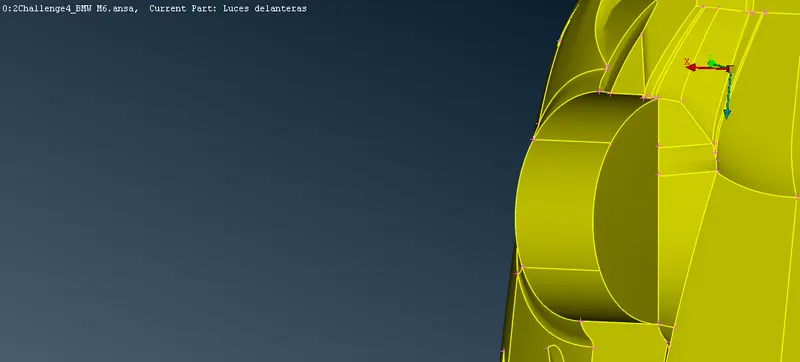
* some of the overlapped surfaecs in rear side was deleted and The remeaining surfaces of body can be checked and cleared the geomentrical errors .First clear Surfaces interfering the tyres and the body
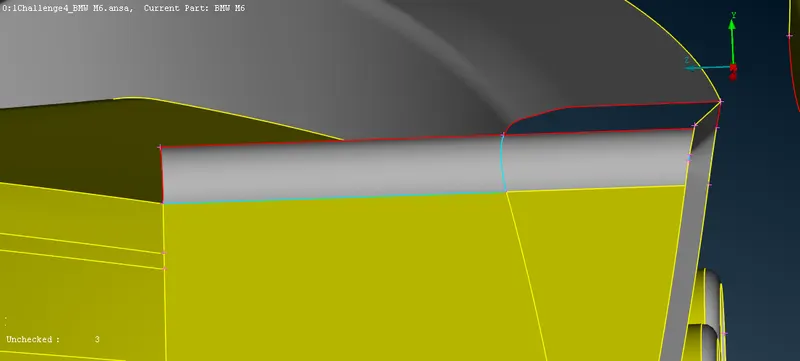
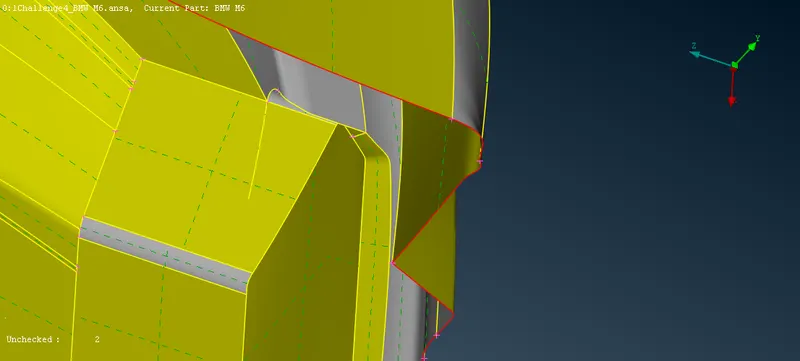
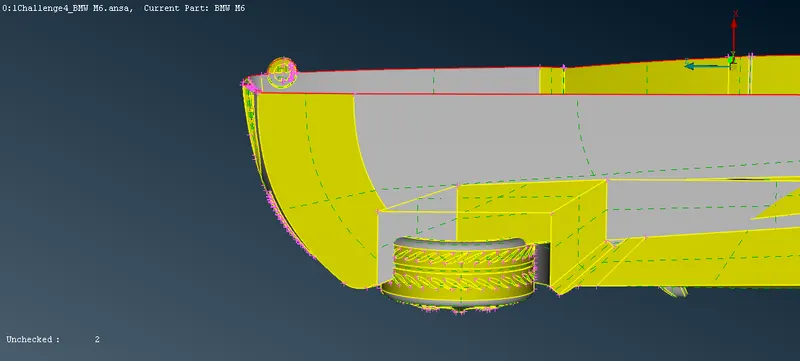
* For that first delete the overlapping surfaces then to to delete that we need to form triple cons,intersect the two surfaces where we need to form a con and delete the unnecessary surfaces.
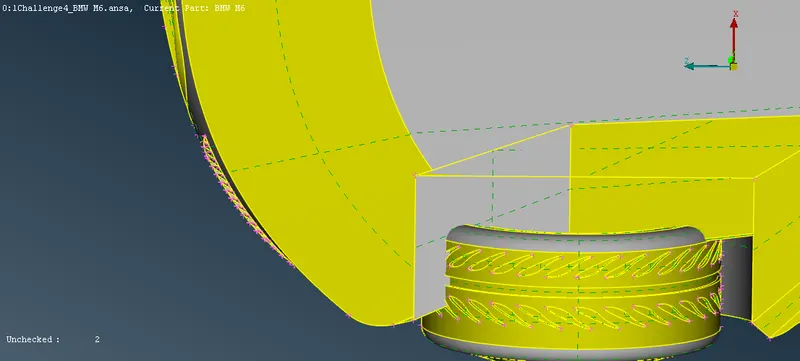
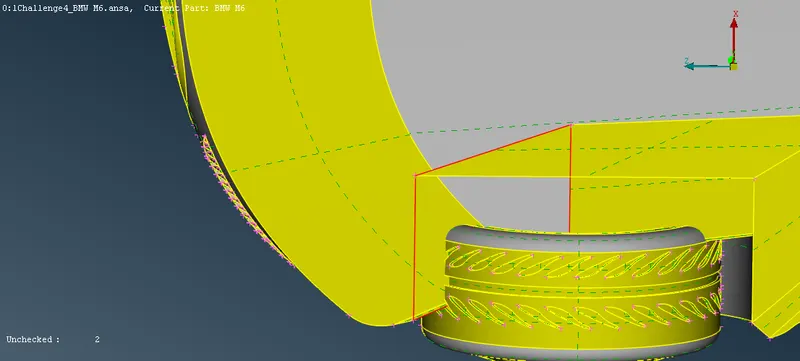
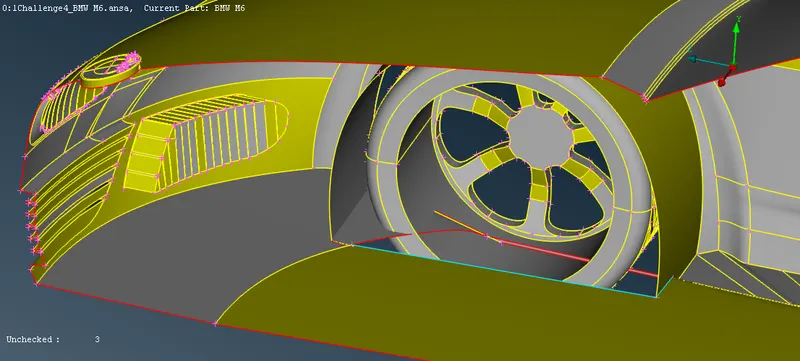
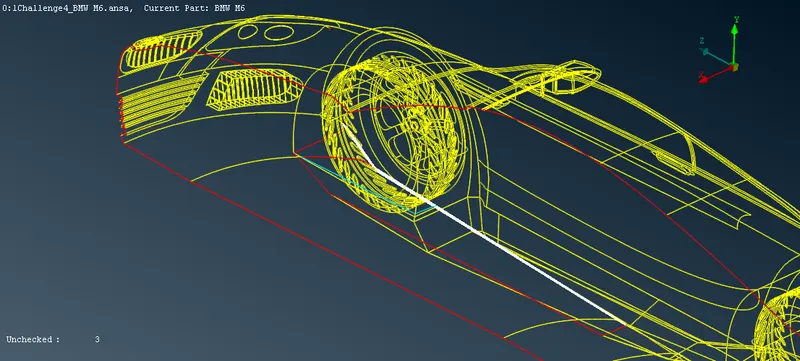
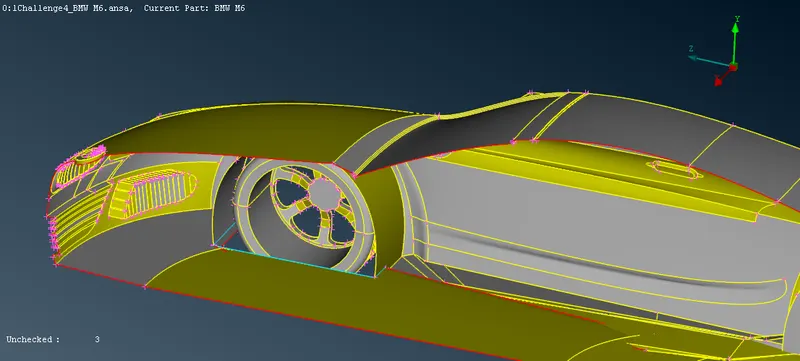
* We need to delete and recreate some more surfaces for that we need a trace of deleted surfaces. Goto curves >create>select the cons where the curves are needed.delete the over lapped surfaces and recreate the deleted surfaces by using the curves formed.
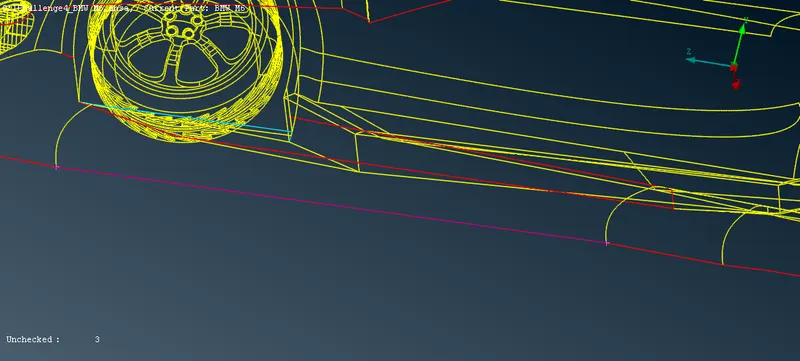
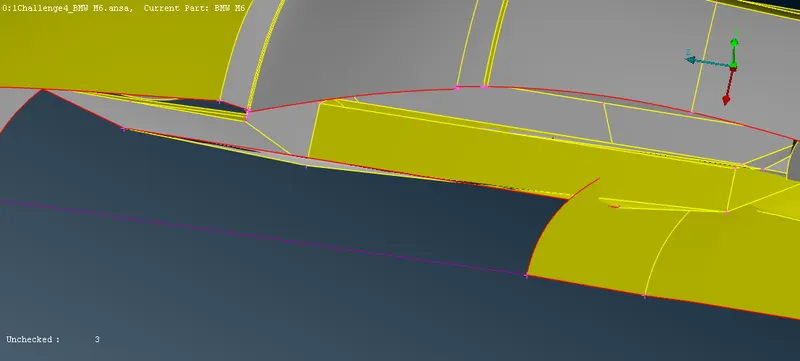
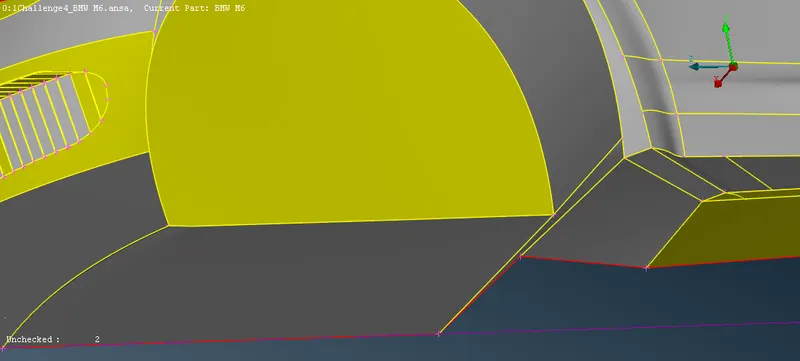
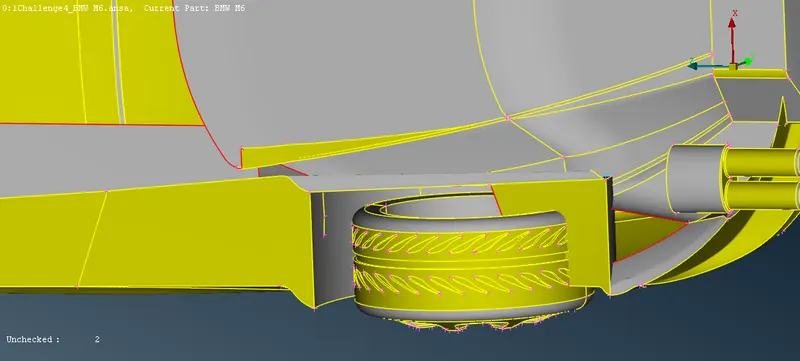
* And go for the surfaces near the next tyre same procedure is followed as we have seen above.
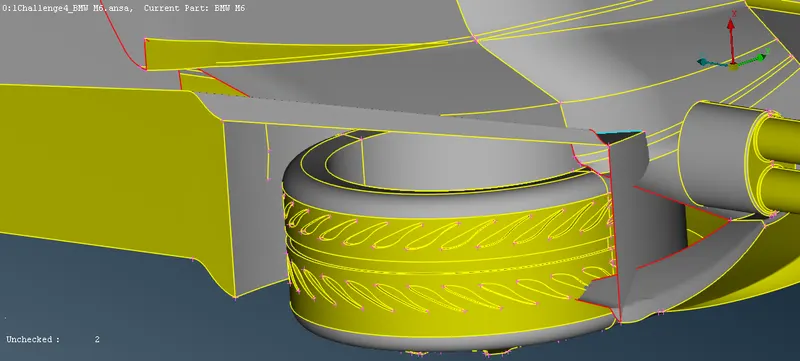
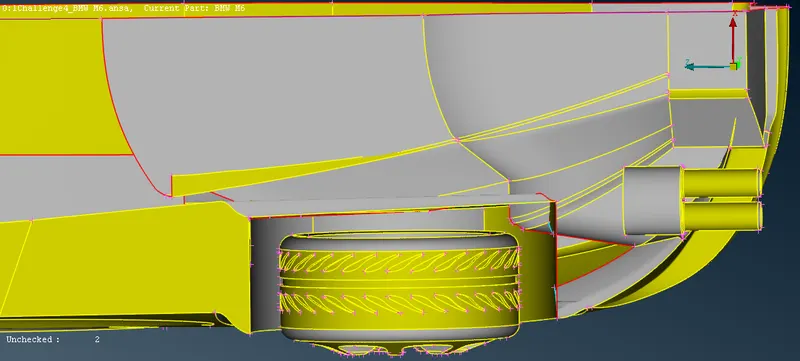
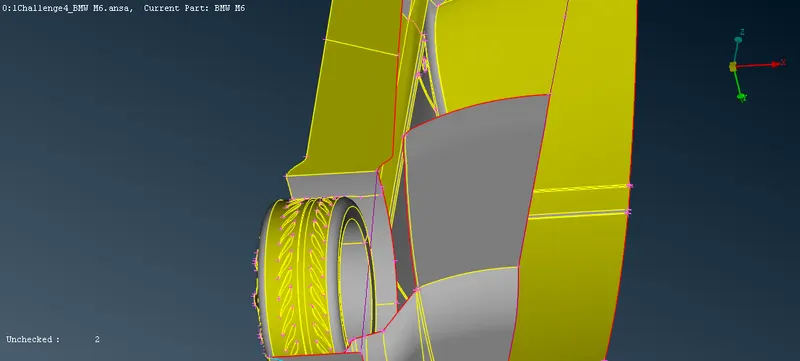
STEP 9 :
* After clearing all the singe cons and triple cons go for a geomentry check tool bar>checks>check manager>geomentry>execute.There will be a intersectional error shown.We need to reduce the intersectional error if not the ANSA won't do volumetric mesh.there seen two surfaces are connecting on that double con shown on the surface. to delete the double cons we can use faces >cut>do right click on the top of the cons which is not needed.
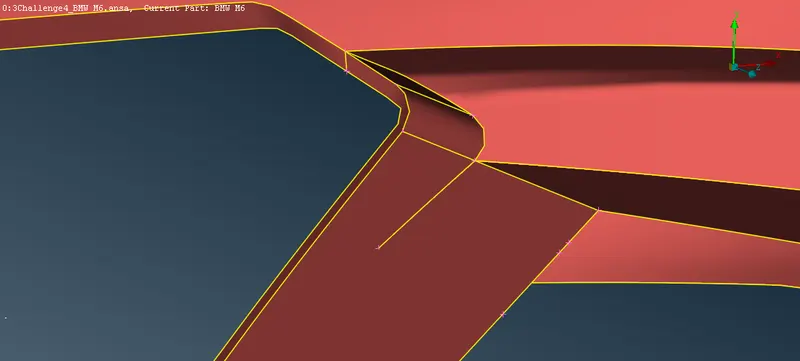
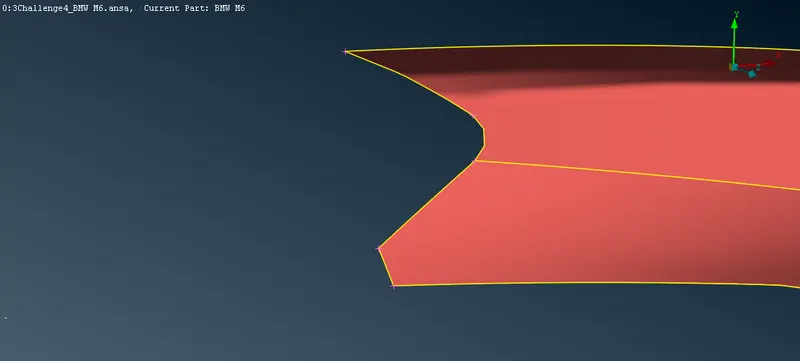
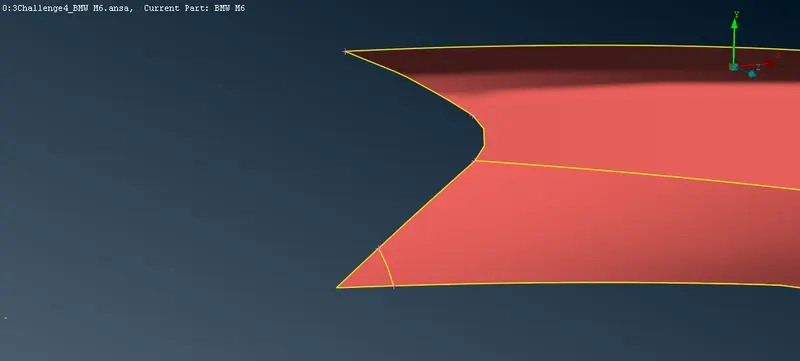
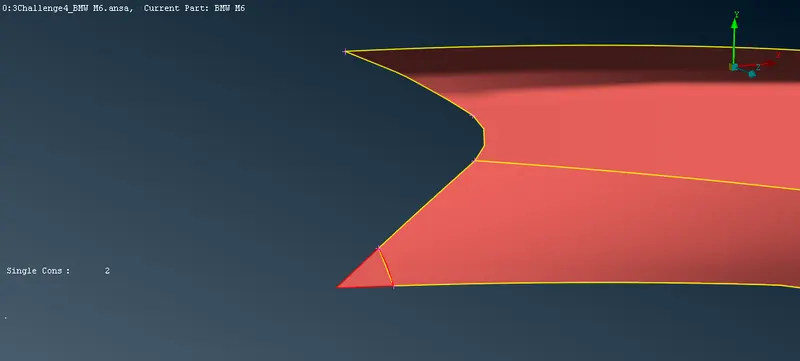
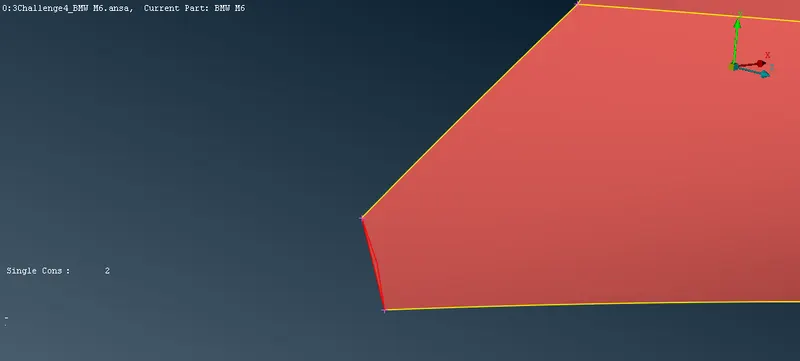
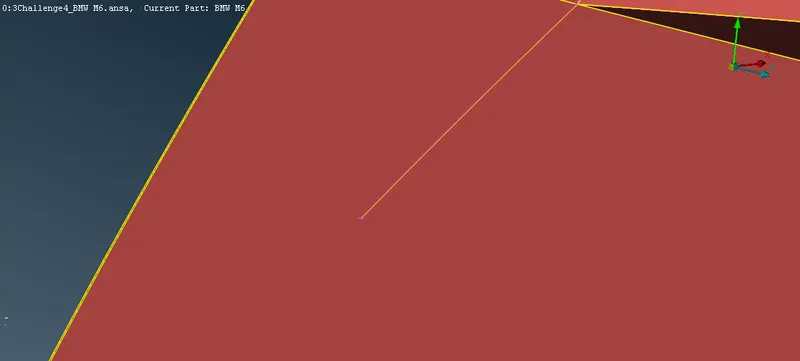
* To remove the cons the we need hot points at the both ends for that insert an hot point it will create a sharp edge delete it using faces>cut and now we can see two splited single cons are present it can be retified using cons >paste option .
STEP 8 :
After clearing all the geomentrical errors assign PIDS for different parts of the model are like LOGO,GRILLS,TYRES and RIMS,OPTICAL MIRROR,WINDOWS,FRONT AND REAR LIGHTS,BODY.
STEP 9 :
After giving PID start surface meshing with every PIDS one by one.in here we different mesh target lengths for different PIDS so we have to inspect every single PIDS. To find out go to the classic mesh deck find the smallest distance between two cons and two nodes which can set as minimum length before start meshing in the mesh parameters and quality criteria.
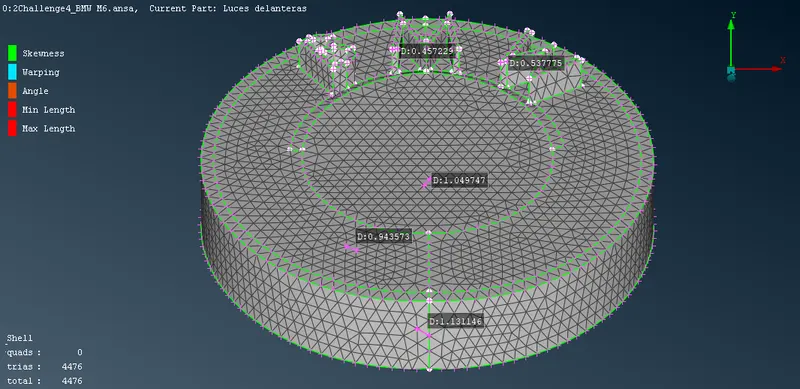
* First start with logo of the model for that isolate the logo by selecting !NOT and select the logo do middle click and target mesh length is 1mm then found out minimum length as 0.4mm and set maximum length as 2mm in mesh parameters and same as in the quality criteria.select the logo and select>parameters>length>select the logo entirely do double click give length as 1mm and macros as 1mm .After that go to mesh parameter>spot mesh>select the logo. Then click the hidden element to find any off elements if any go to shell mesh >recontruct >select the entire PID or use the smooth option in the same shell mesh.Even there are some off element are not rectified use grids > move to rearrange the ever single tria meshor use some option like split under element option.
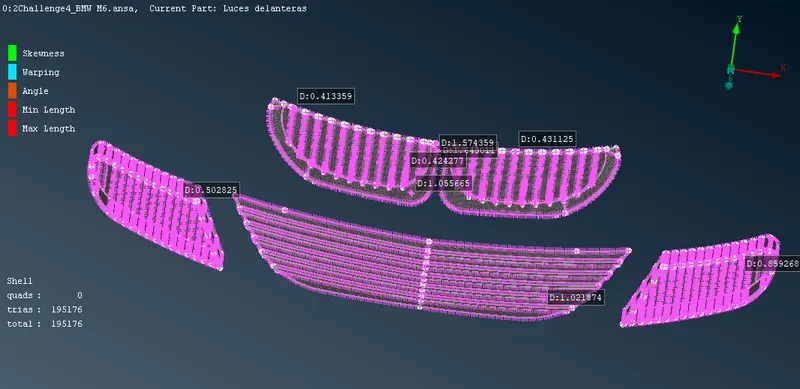
* Next grills are to be meshed because target length is same as logo 1mm like the logo minmum length is 0.4mm and maximum length as 2mm in both mesh parameters and quality criteria goto the perimeters>length>select the grills and give perimeter length and macros as 1mm.select mesh parameters>spot mesh> mesh the grills.
* Next windows are to be meshed with target length 2mm with minmum length is 1mm and maximum length as 3mm in both mesh parameters and quality criteria goto the perimeters>length>select the grills and give perimeter length and macros as 2mm.select mesh parameters>spot mesh> mesh the windows. off elements also cleared.
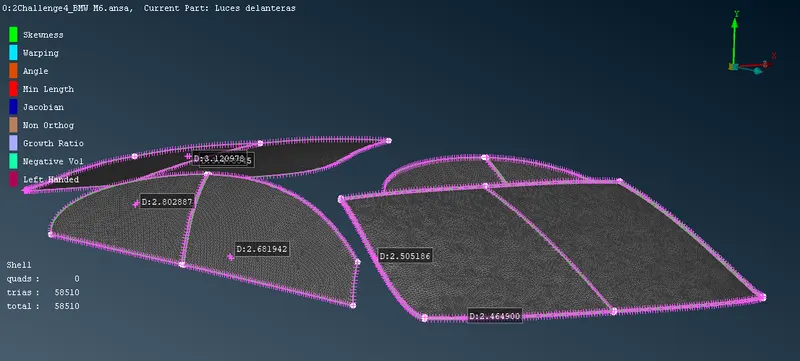
* Next optical rear view mirror is to be meshed with target length 2mm with minmum length is 1mm and maximum length as 3mm in both mesh parameters and quality criteria goto the perimeters>length>select the grills and give perimeter length and macros as 2mm.select mesh parameters>spot mesh> mesh the windows. off elements also cleared.
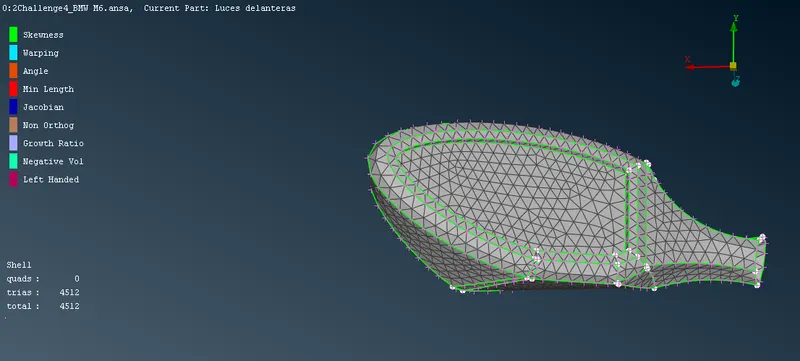
* Next rims & tyres are to be meshed with target length 2mm with minmum length is 1mm and maximum length as 3mm in both mesh parameters and quality criteria goto the perimeters>length>select the grills and give perimeter length and macros as 2mm.select mesh parameters>spot mesh> mesh the windows. off elements also cleared.
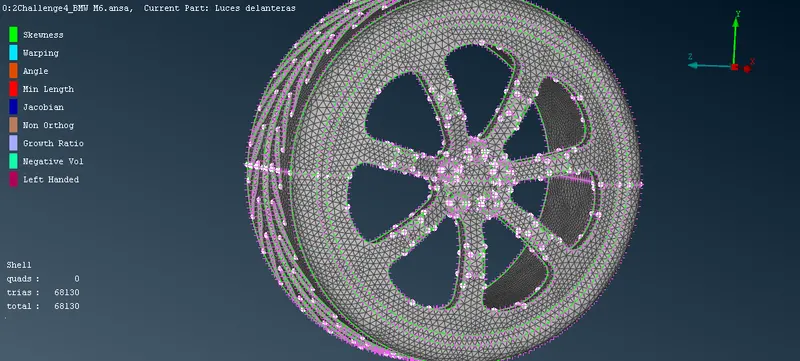
* Next silencer is to be meshed with target length 3mm with minmum length is 1mm and maximum length as 5mm in both mesh parameters and quality criteria goto the perimeters>length>select the grills and give perimeter length and macros as 3mm.select mesh parameters>spot mesh> mesh the windows. off elements also cleared.
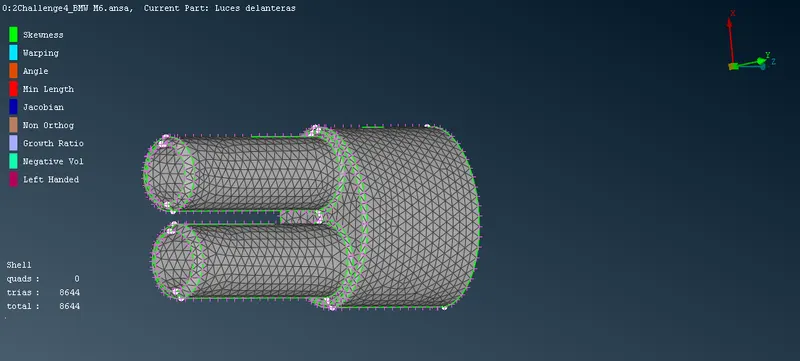
* The rear and front lights are also meshed with the target length 4mm with minimum length 2mm and maximum length 6mm in mesh parmeters and quality criteria select perimeter>length>select the lights and give length and macros as 4mm and select mesh parameters>spot mesh do meshing and check if there any off elements in the part and it rectified.
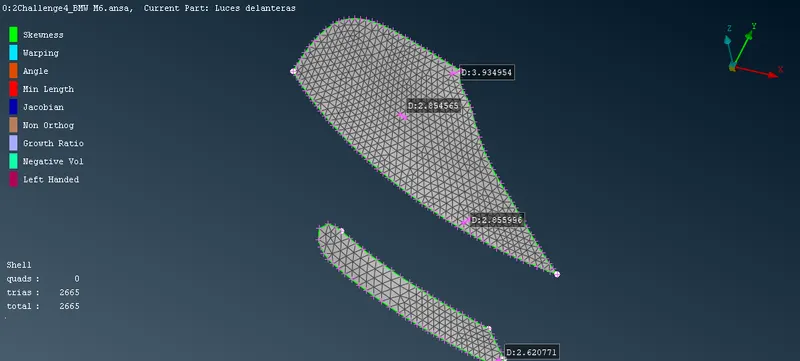
* Finally the body is to be meshed with target length of 3mm with minimum length 1mm and maximum length 5mm in mesh parmeters and quality criteria select perimeter>length>select the lights and give length and macros as 3mm and select mesh parameters>spot mesh do meshing and check if there any off elements in the part and it rectified.
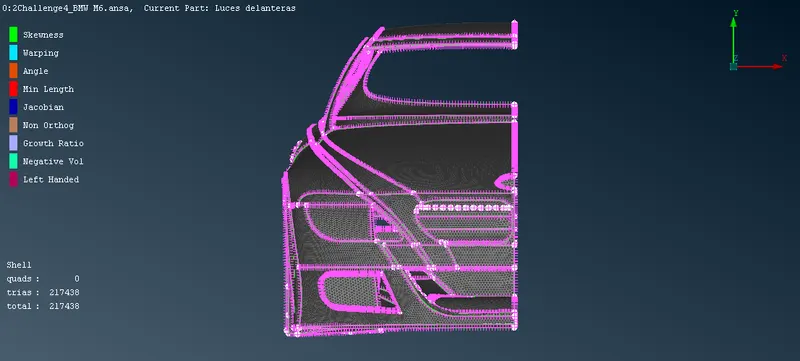
STEP 10 :
After completing the meshing we need to mirror the half part of the car by using toolbar>transform >copy>select the entities need to be and ignore the logo of the car popup menu is opened in the select 3 symmentric projection select three hot points and select the finish.
STEP 11:
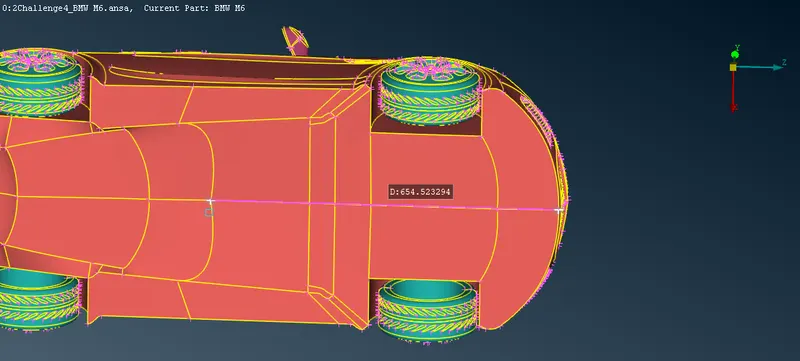
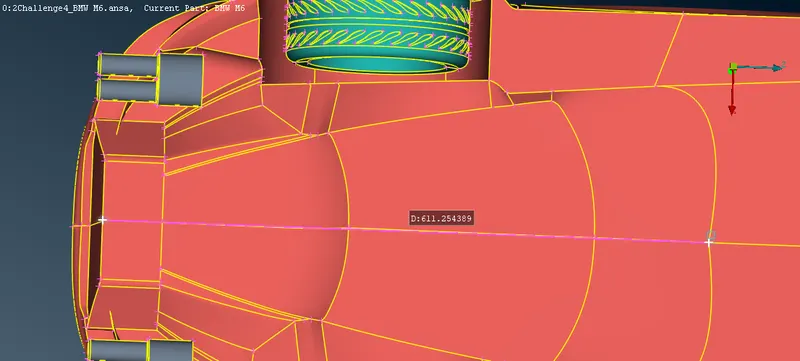
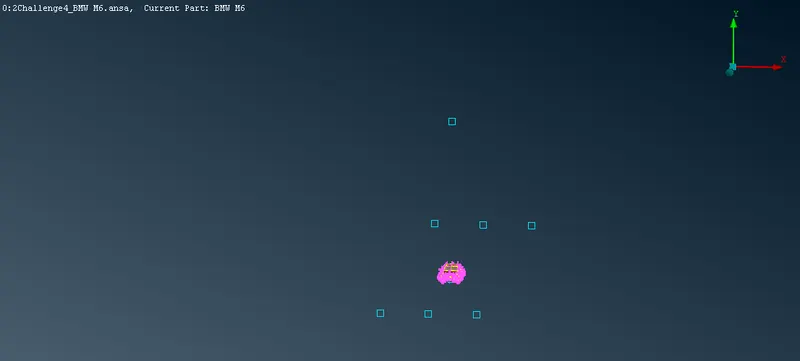
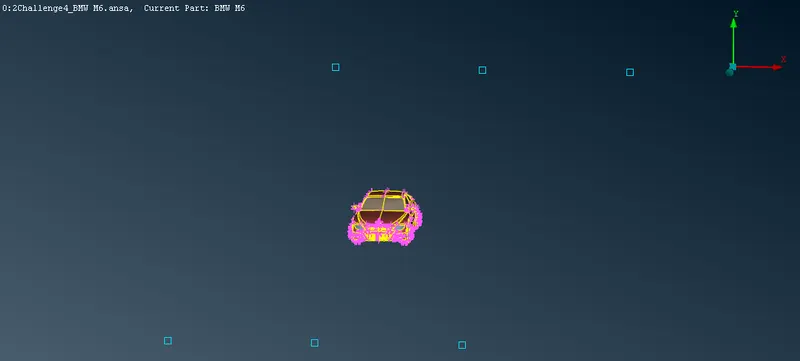
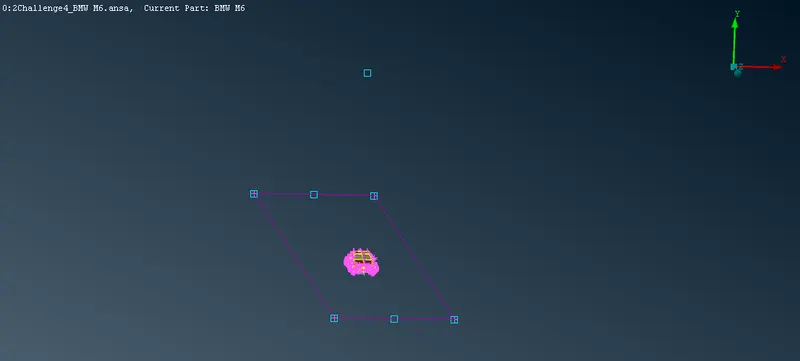
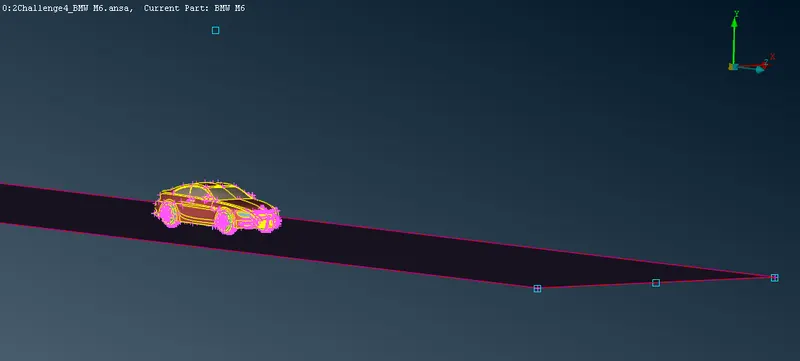
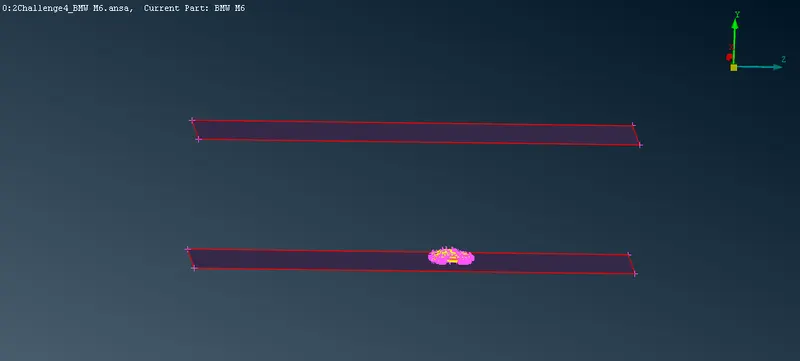
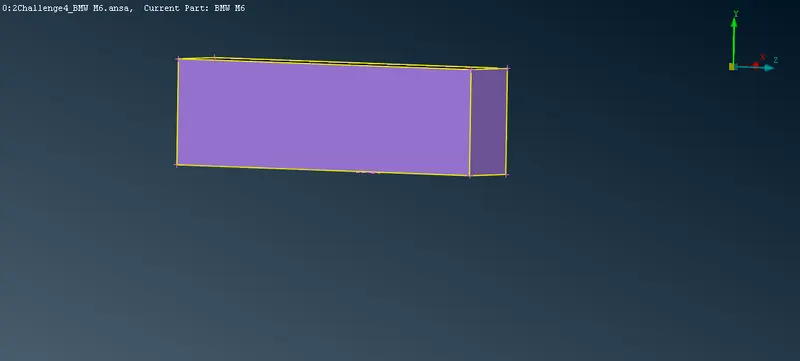
* Now we need to create the wind tunnel for the model. Go to the bottom of the car from the mid portion of the car create a point at 75mm at negetive Y axis by selecting points>relative >select the node option &select the approriate hot point do middle click and give 75mm in y axis in negative direction by giving a - sign. and create two points one is 4x distance from the front side of the car and another point is 6x distance from the rear side of the car and create a point at x distance from top portion, x=1300mm distance, after creating the points in the defined axis .create points at 1300mm distance from the two sides of the points we have to create surface below the car for that we need cones to prduce the surface goto curves>new>select two points and do middle click like that create a rectangular surface by faces>coons >select the curves and create the surface. To create top surface go to faces>offset> select the surface and check the direction which the surface going to be created.
*delete all the points and curves we have created.we delete curves by curves>delete .then create wind tunnel by patching up the surfaces.and assign PIDS for the each surface we have created.
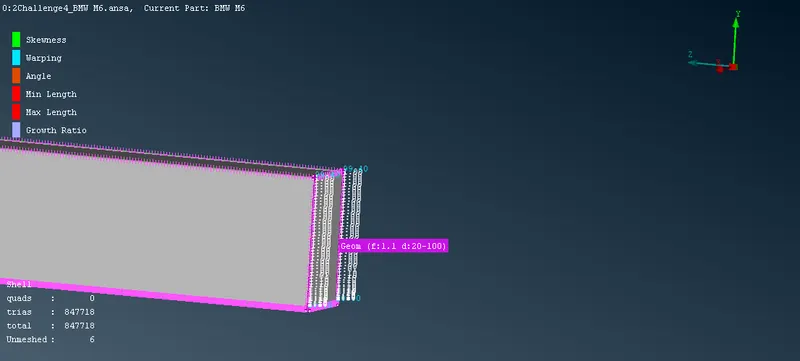
* Go to the classic mesh deck first we need to mesh the base surface mesh length as 20mm and top surface 100mm and then front back both sides by perimeters spacing >select geomentric>dmin as 20mm and dmax as 100mm select the cons connecting these surfaces and do middle click. then go to mesh genereation >spot mesh >select and start mesh and clear the off elements by shell mesh>reconstruct.
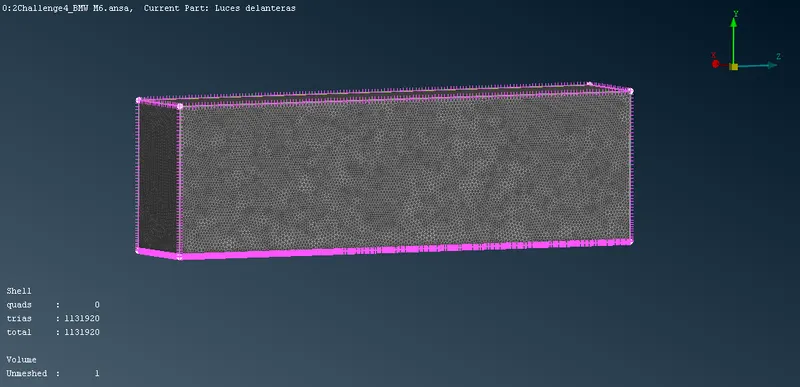
*Next volumetric mesh for that go to volumes>define>autodetect. and delete the unnecessary volumes we need only one volume with the wind tunnel and the car .Go to the list in the volume in the classic mesh deck.and mesh the volume created.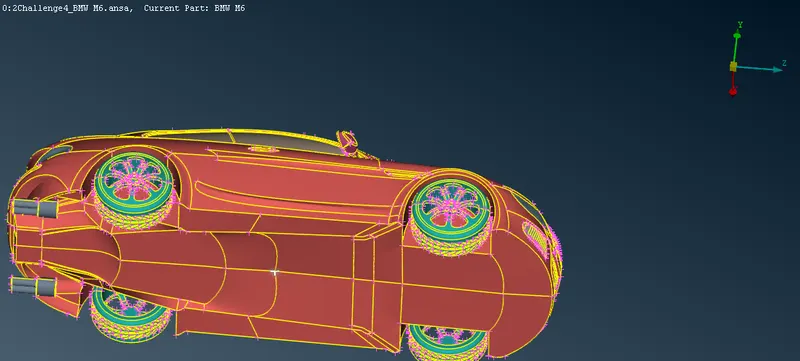
THINGS LEARNED :
*To paste two single into a double con using cons>paste in the too deck.
*To recover the deleted surfaces by using the option undelete in faces>undelete.
*To cut the unnecessary cons by selecting faces>cut>right click on the cons need to be deleted.
*Faces>offset is used to copy and project the surface at some distance.
*To convert cons into curves by using curves>cons2curves option
*Grids>move to rearrange the trias to eliminate off element.
CONCLUSION :
Geomentry cleanup and surface meshing of the wind tunnel for the given model is completed as per the given target lengths of the different PIDS of the model and also with the quality criteria.