Week 4 Challenge : CFD Meshing for BMW car
Aim: To prepare the wind tunel meshing of BMW Car.
In this project the avialable 3d model of the BMW car is cleaned and mesh is prepared for the external CFD simulation. A step by step procedure is shown below.
The below image shows the raw model to be processed. As it can be seen that there is a lot of deformities and cons available in the model which needs to be processed.
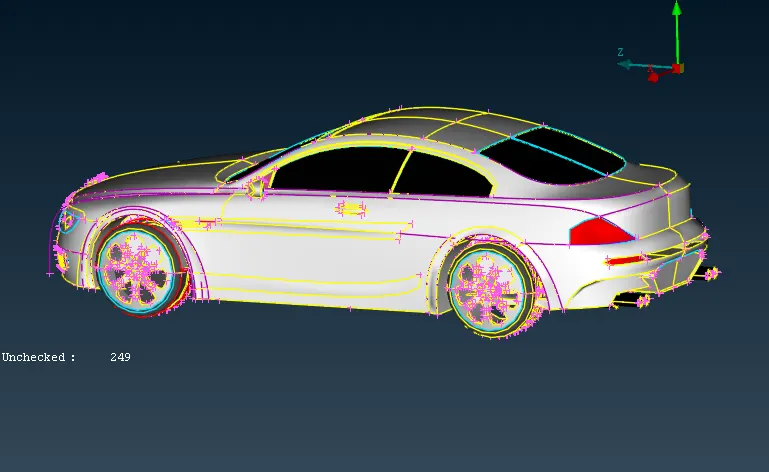
Upon deep observation it is also seen that many of the curves are not clear so they are made smooth. To make surfaces smooth there are 2 options:
Option 1 : Use Fine option
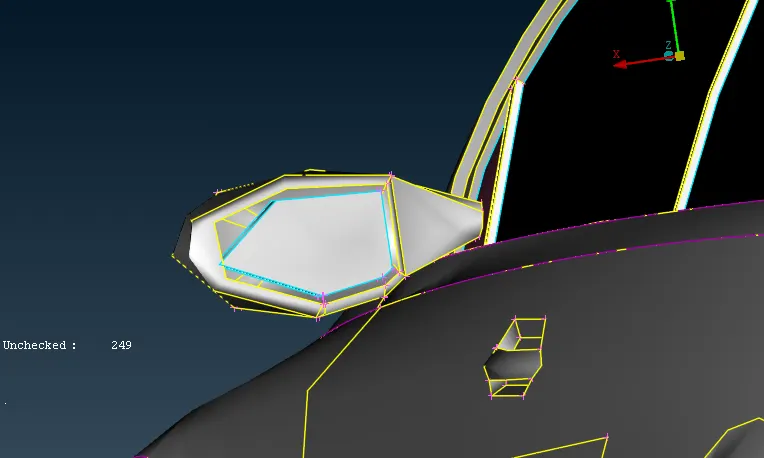
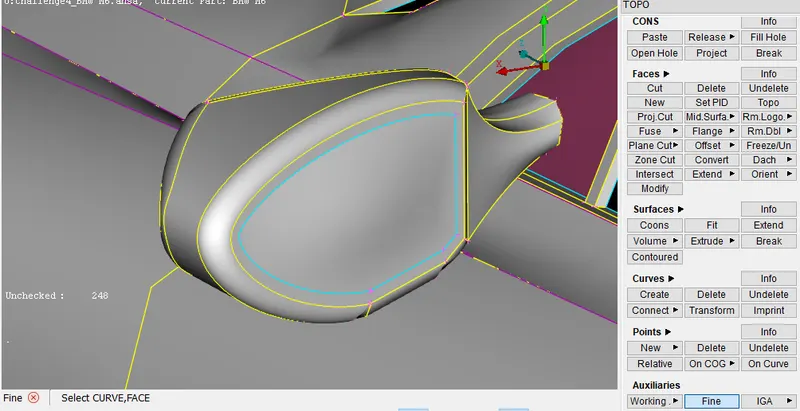
Option 2:
Perimeters with 1 distance
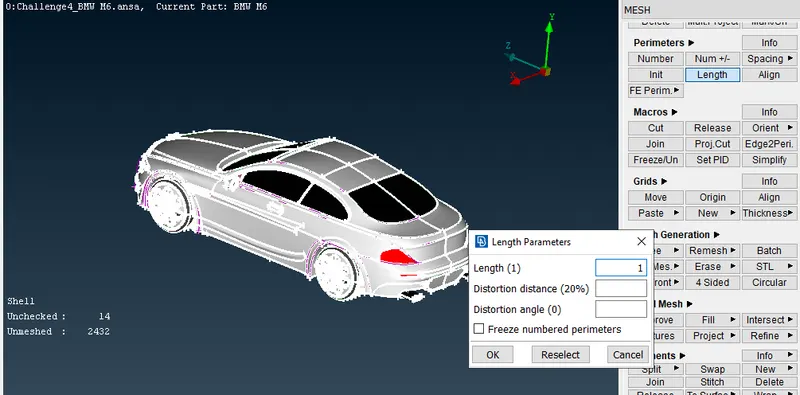
Macros with 1 distance.
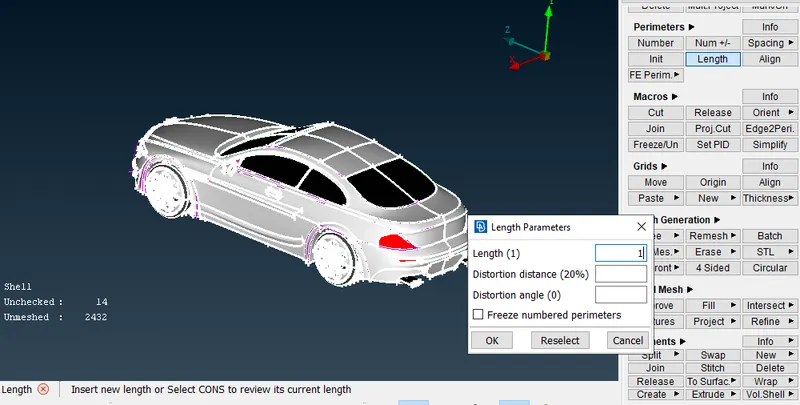
As seen in the image below much of the surfaces looks refined. Further cons are evaluated in the whole body.
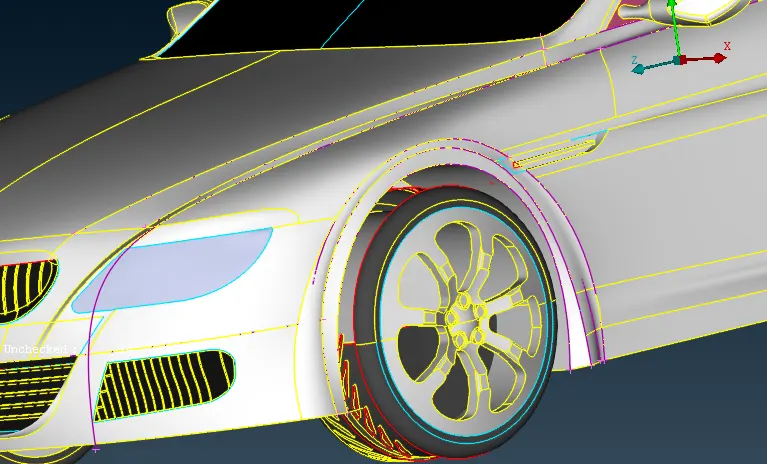
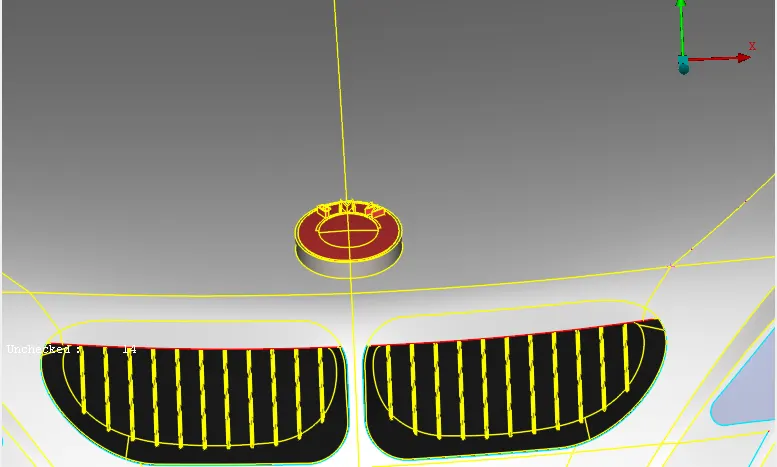
In the display mode only single cons options is kept to be visible and the amount of single cons are clearly visible in below image.
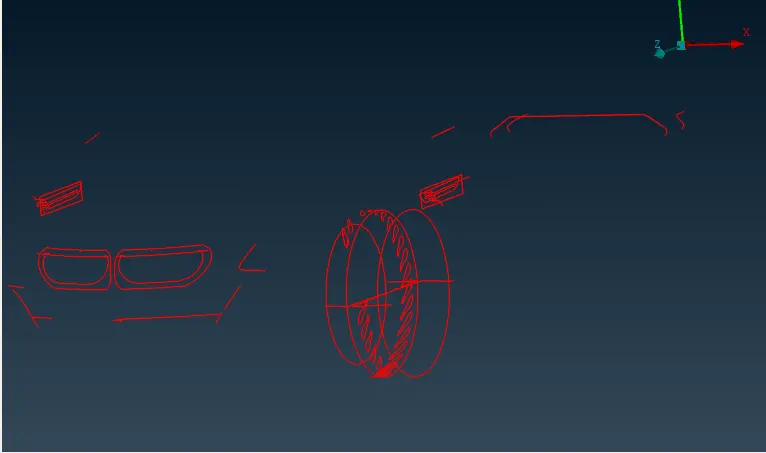
Triple cons check is also made to observe the amount of such cons presnt in the model.
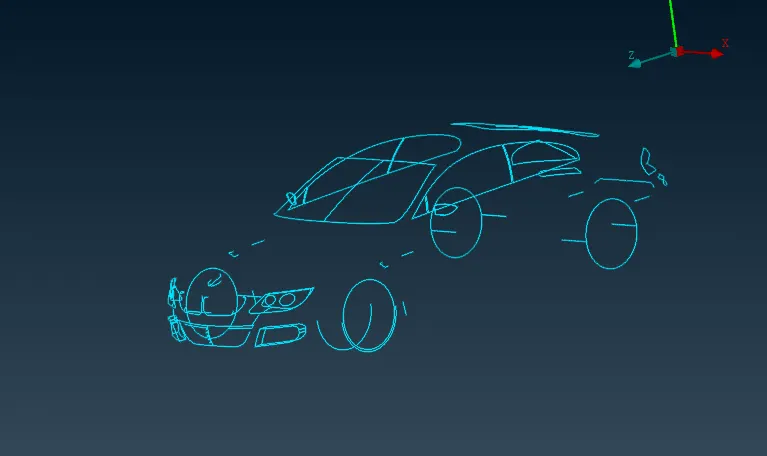
Due to symmetry whole of the Car body is split into 2 parts and only 1 part is kept. All the changes are to be done only on this part and in the end this model will be replicated with the central plane.
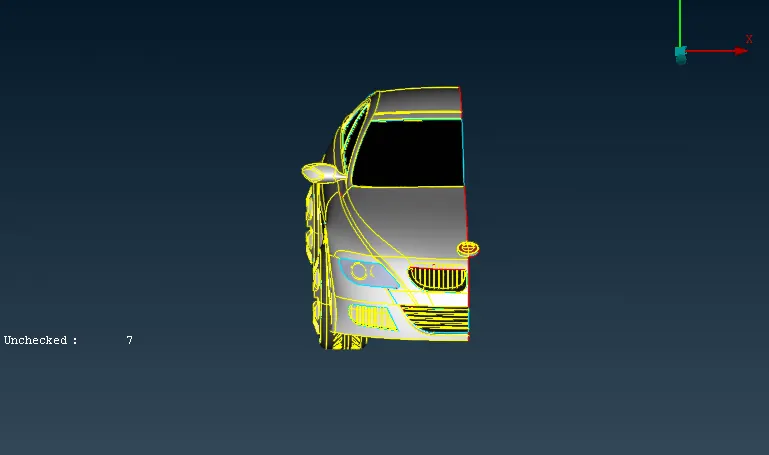
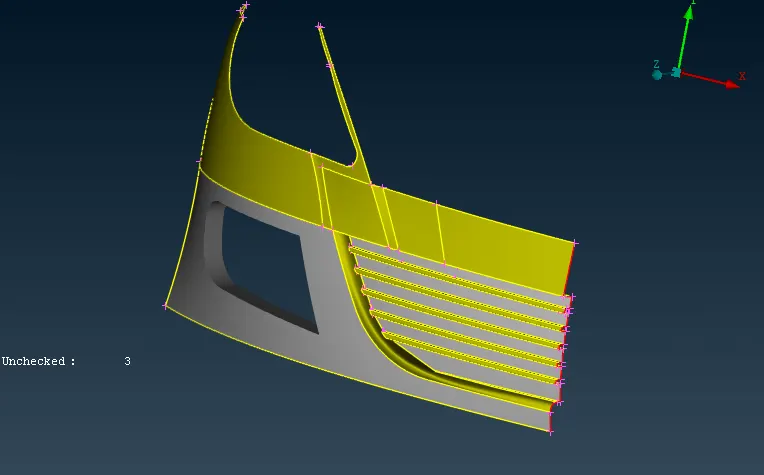
All of the single and triple cons are to be removed. Initially, the front grills and headlights are made free. A snapshot is visible below.
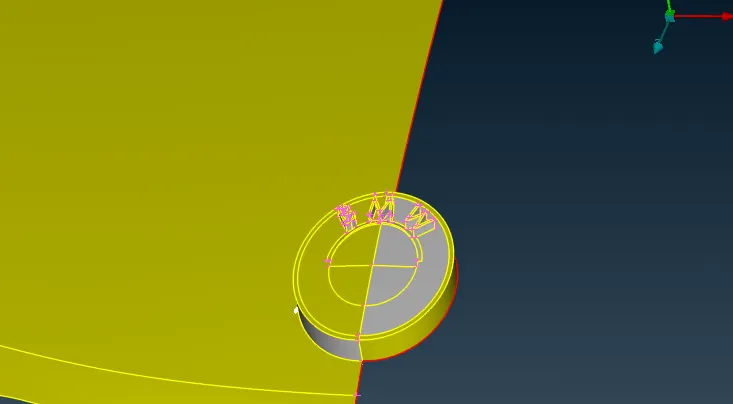
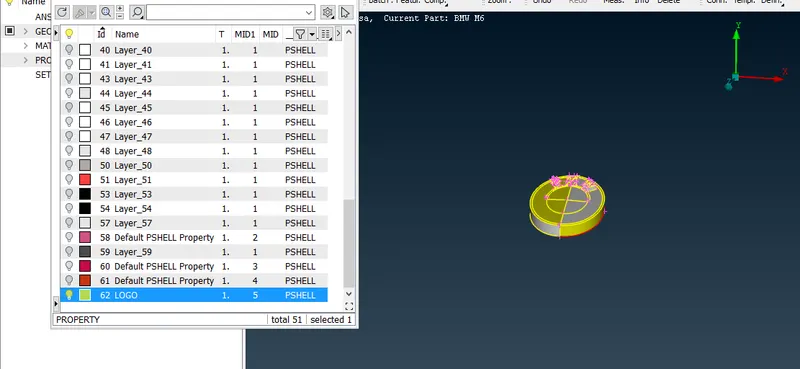
The logo present also needs to be topologically cleaned.
In the similar method various other parts are cleaned one by one and made cleean from single and triple cons. Various parts are Rear view mirror, exhaust, Lights, Windows.
Finally the model with all the double cons except the center line is obtained.
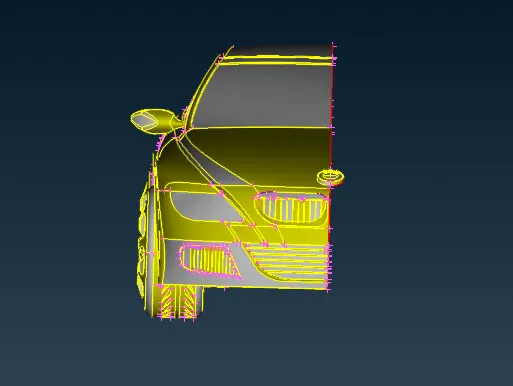
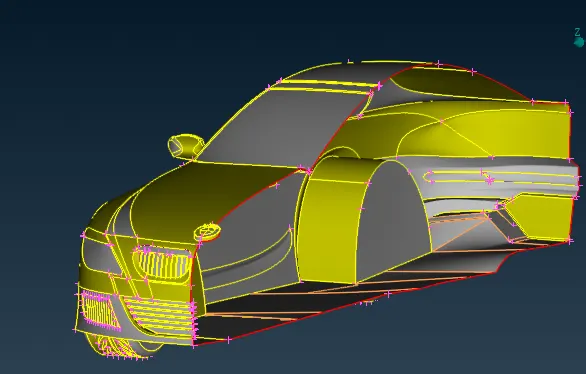
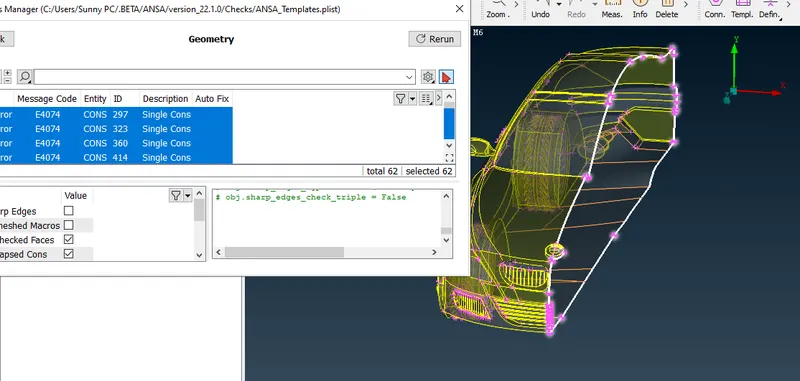
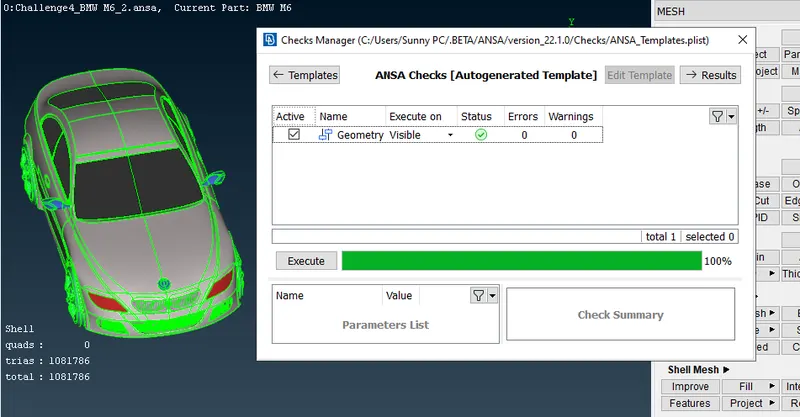
Geometry check is also made to ensure that there is no presence of single cons except the center line.
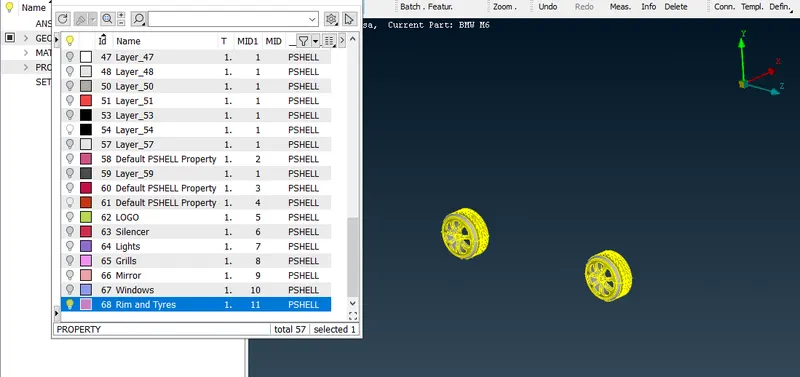
Applying PID's: Each of the specific part is given its PID as per use.
Logo
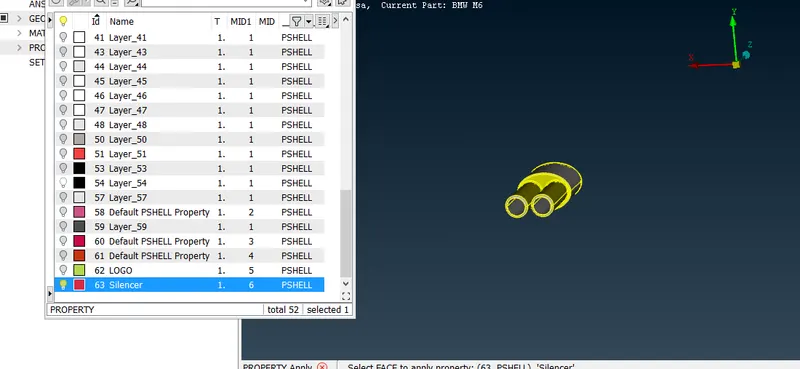
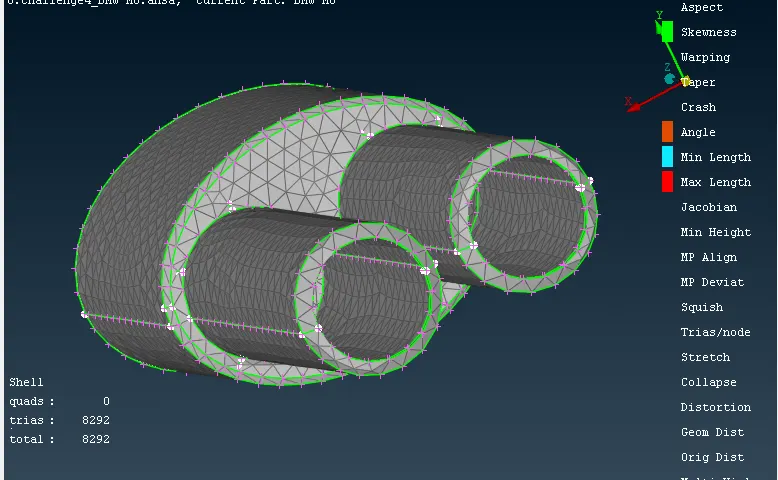
Silencer
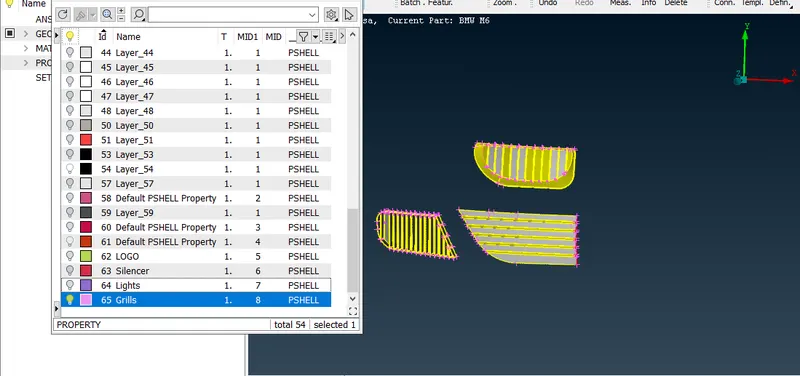
Grills
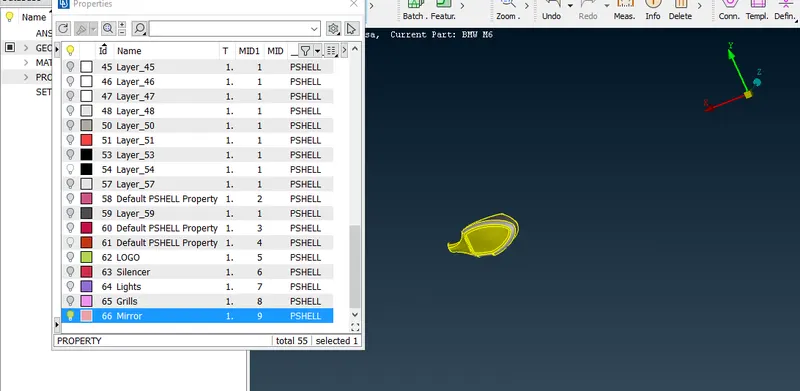
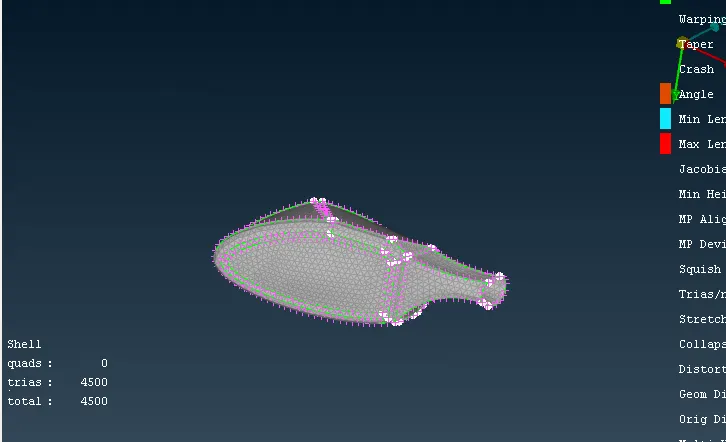
Mirror
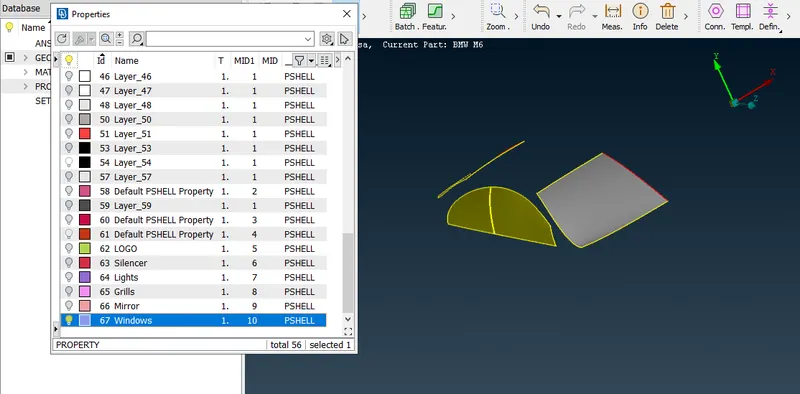
Windows
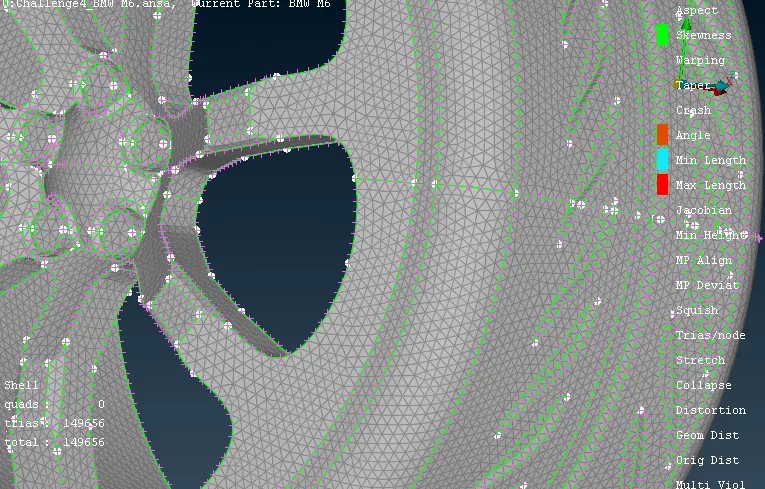
Rims and Tyres
Body
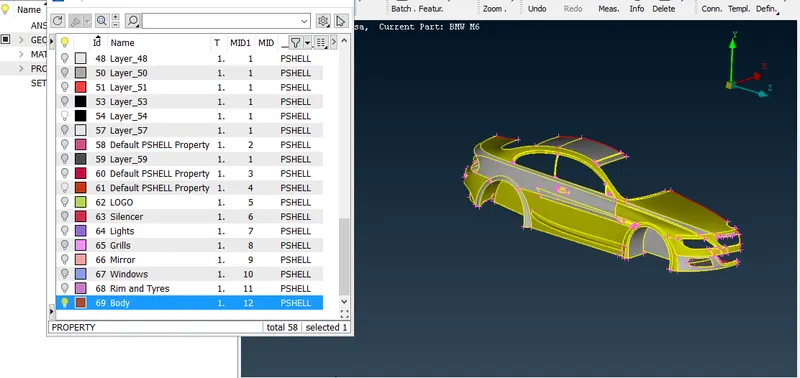
The final view with the PID mode can be seen as a clean model and is shown below.
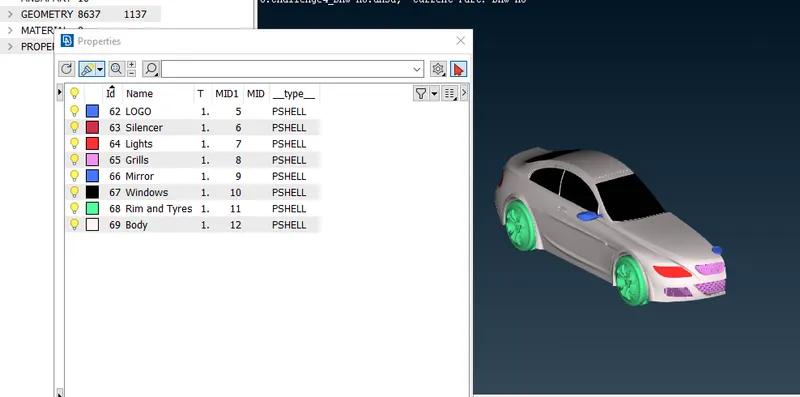
Each of the PID is meshed on surface with the given values.
Target lengths for the different parts of a model are as follow:
- Body - 3 mm
- Lights - 4 mm
- Grills - 1 mm
- Rims and Tyres - 2 mm
- Optical Rear view mirror - 2 mm
- Window - 2 mm
- Silencer - 3 mm
- Logo - 1 mm
Except Minimum and maximum lengths other paramters are kept constant for all meshing.
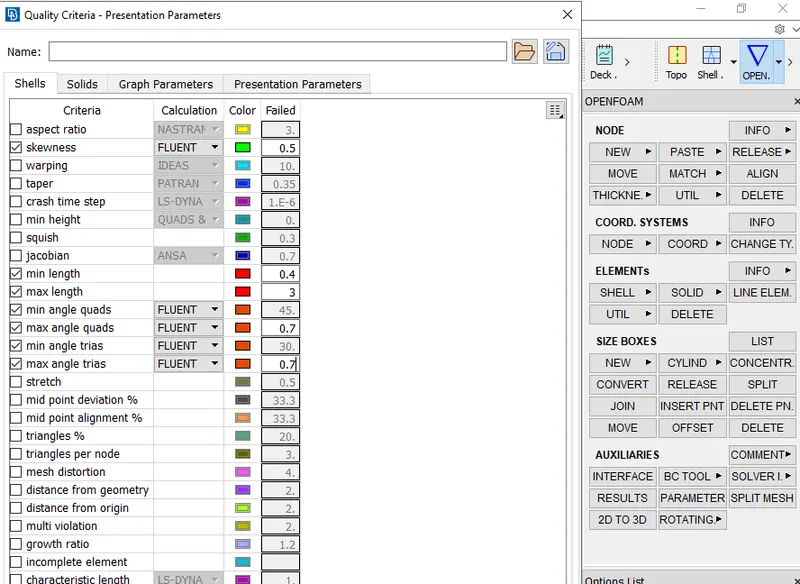
Logo: The dimensions are as stated above.
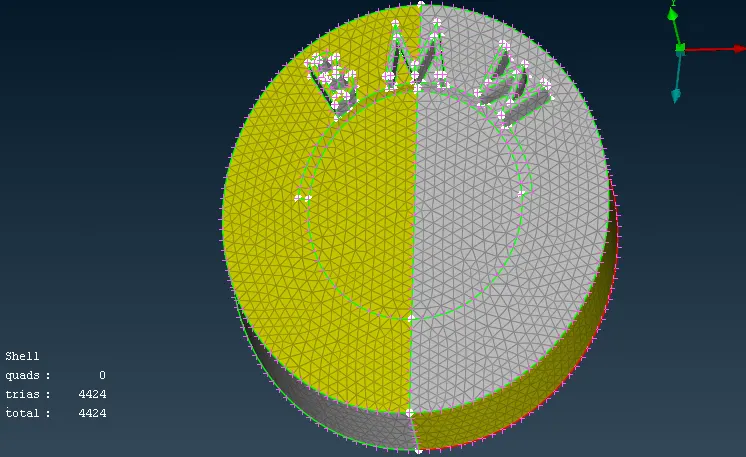
Grill: The dimensions are as stated above.
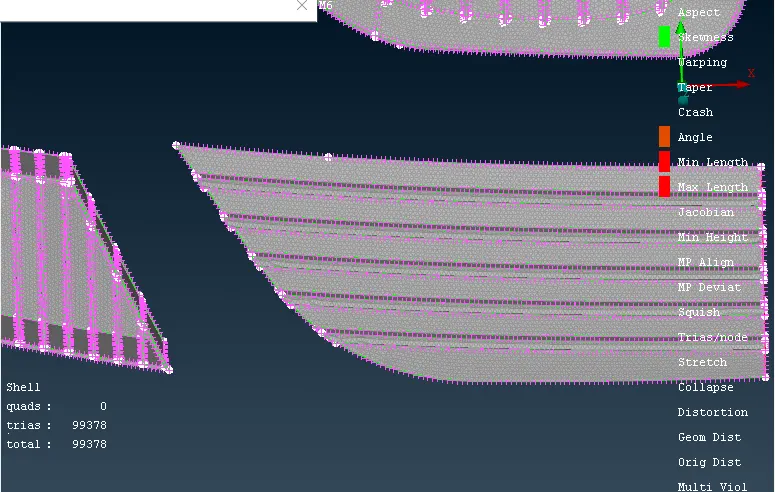
Windows: The dimensions are as stated above.
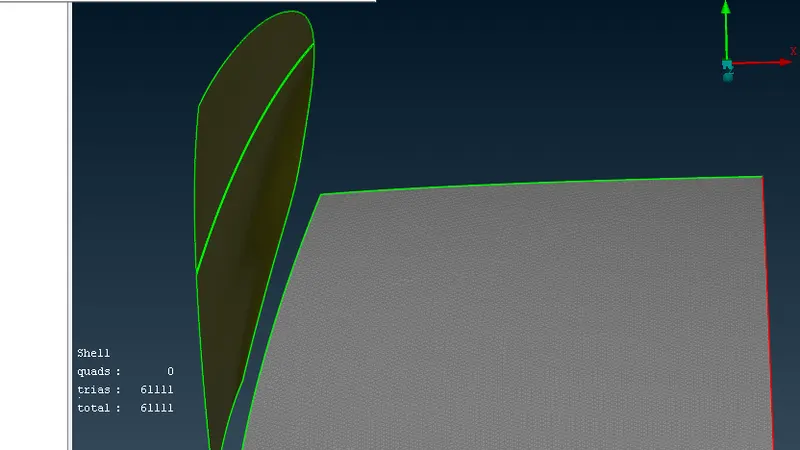
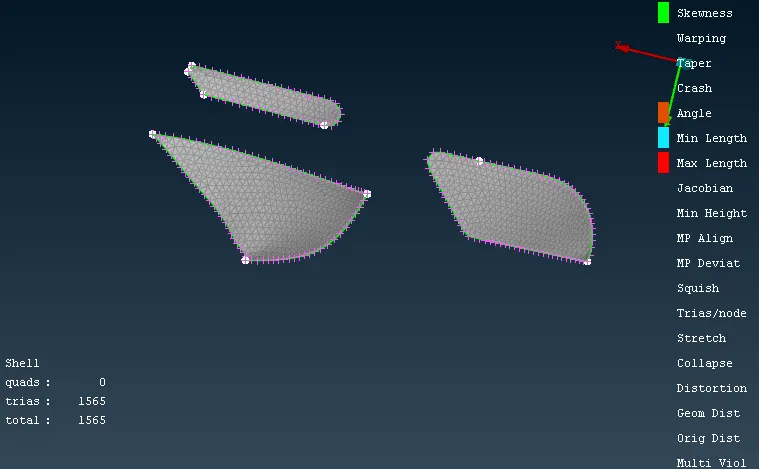
Tire and Rim: The dimensions are as stated above.
Silencer: The dimensions are as stated above.
Mirror: The dimensions are as stated above.
Body: The dimensions are as stated above.
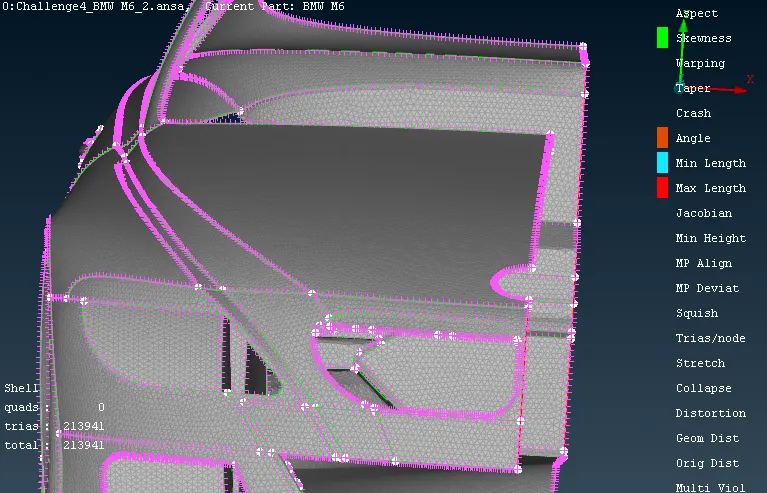
To clear the off meshes various tools are used in between namely Remesh, Paste, Move, Topo cleanup etc.
Complete assembly-
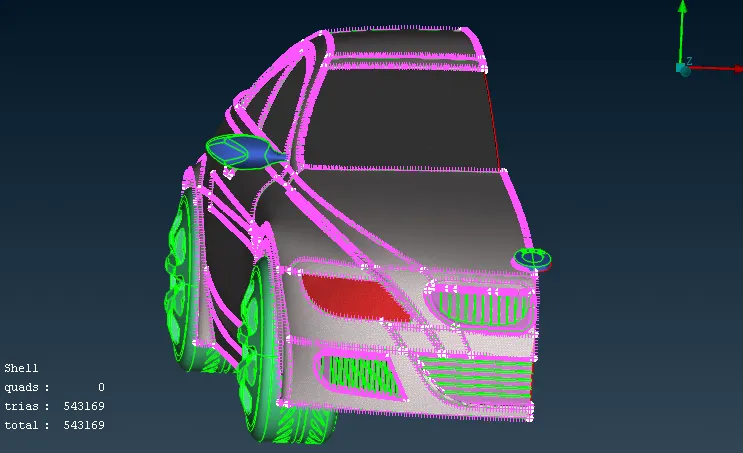
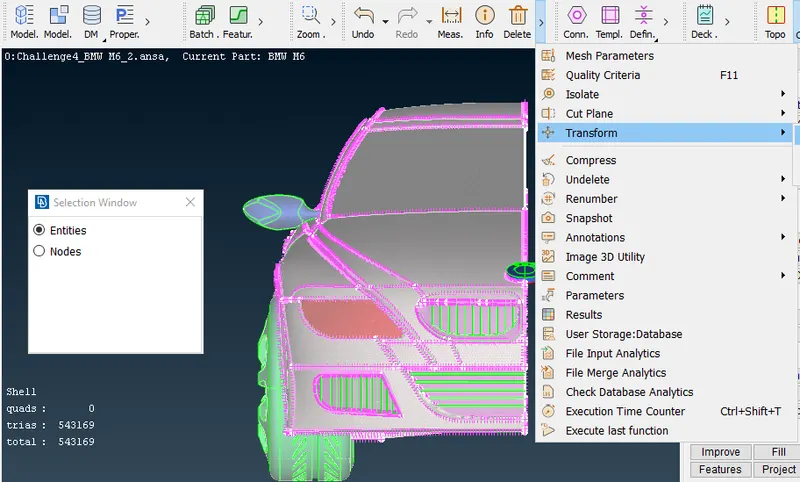
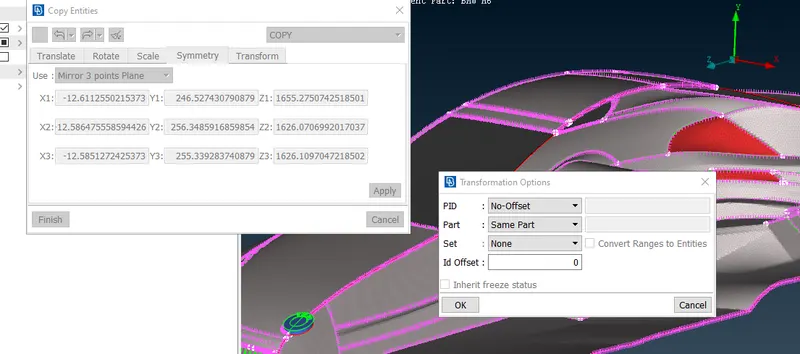
Now the half model is copied on the other side with the similar mesh and PID by using the Transform command.
A complete car body with mesh and no off cons is shown in the below image.
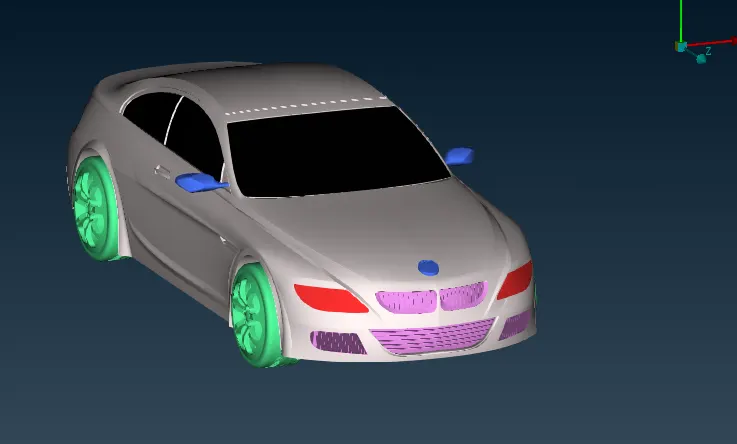
A mesh check is made so as to analyze there are no off meshes.
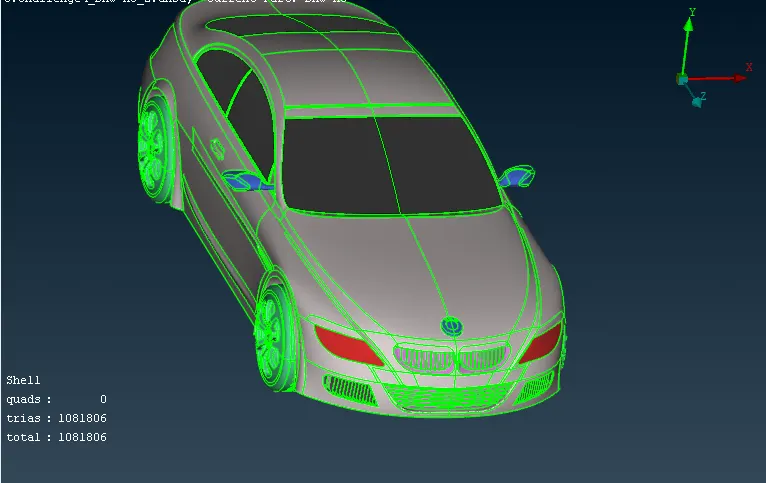
Also final geometry check is also made to check the unmeshed and single cons.
Outside the car wind tunnel is made and its dimensions are shown below:
Wind Tunnel:
Total Length of Car = 1300 mm (X)
Length of wind tunnel from front end of car = 5200 mm (4x)
Length of wind tunnel from rear end of car = 7800 mm (6x)
Top Surface of wind tunnel from top of car = 3900 mm (3x)
Bottom Surface of wind tunnel from bottom of car = Nearer to the car wheels.
Left and Right surfaces from center of car = 1300 mm (x)
Points are geenrated around the car so as to make new surfaces and then finally a wind tunnel.
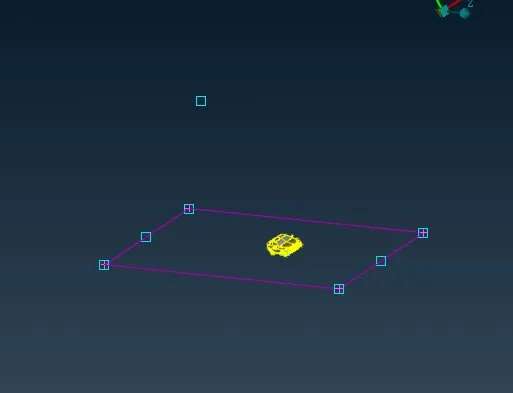
After the wind tunnel surfaces are made each of them is assigned specific PID's.
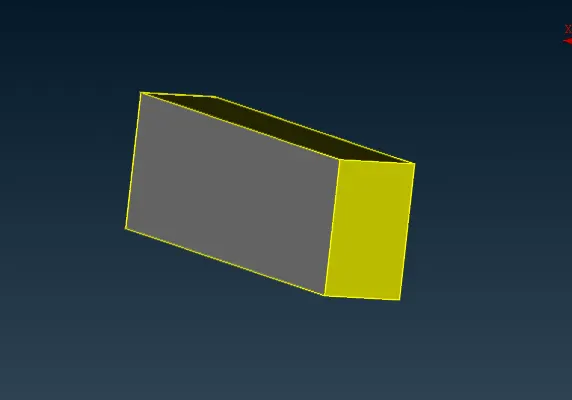
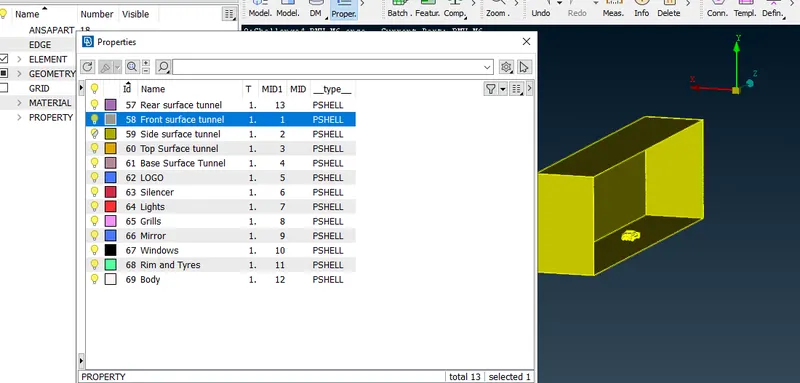
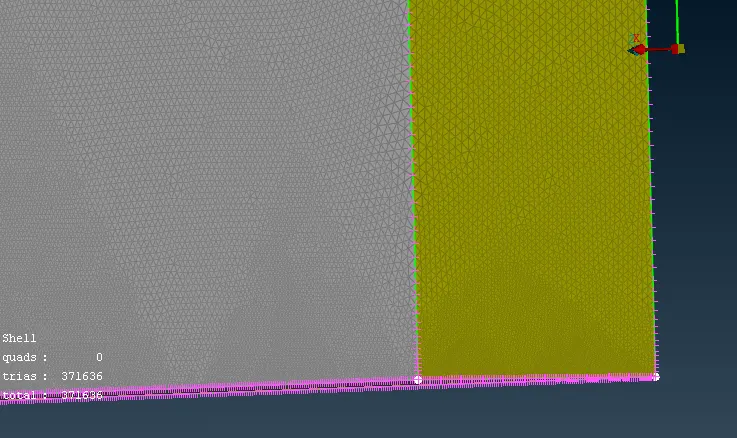
Since the area where the car is needs to be finely meshed and other sides can have a coarser mesh.In order to perform the task upper wind tunnel surfcae is given a mesh size of 100mm and the lower surfcae is to be meshed by 20 mm mesh size.
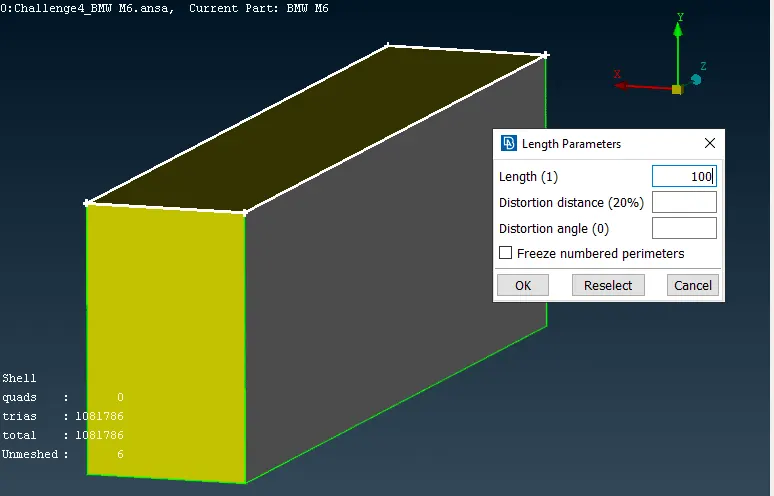
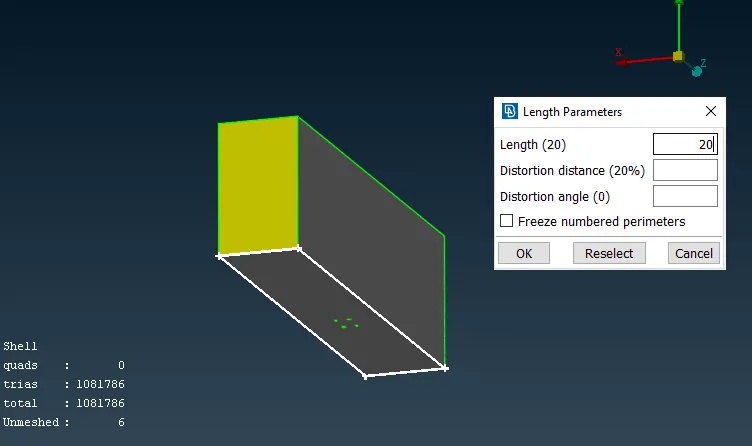
In order to join the two surfcae with different meshes the vertical cons of the tunnel are to be given a variable mesh which starts from 20mm at base and ends with 100mm at top, so spacing input method is used. Finally the varying points are also seen.
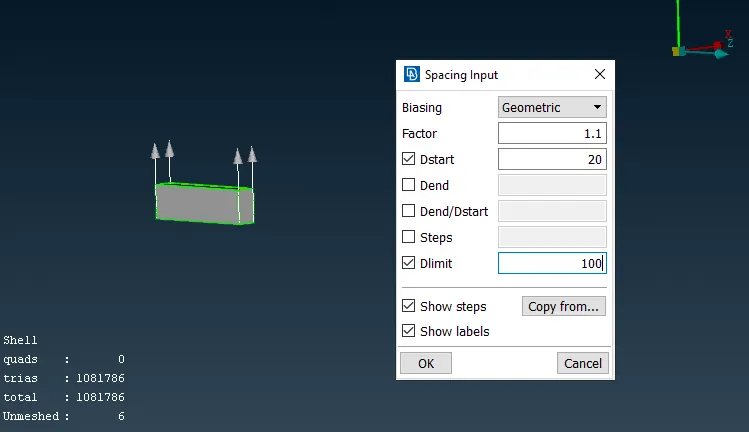
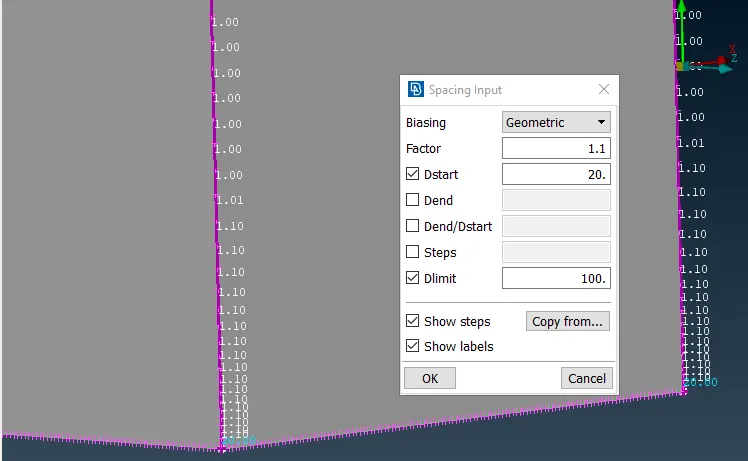
After the meshing of the wind tunnel surfaces it can be clearly pointed that there is a varying mesh available on the vertical surfaces.
Different available volumes are extracted in order to perfomr the volumetric mesh. From the below avaliable volumes only the 1st is of use for the volumetric mesh. Other volumes are the excluded volumes inside the car.
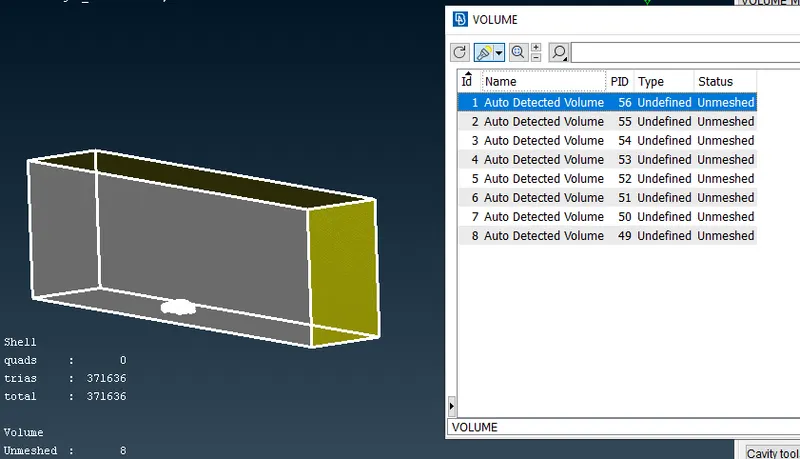
After this step the final meshing is to to initiated. But due to system limitation and scope of project this work is not proceeded to further.
Learnings:
1. A proper available model for the volumetric mesh to do an external CFD simulation is prepared in te ANSA.
2. Helped to understand various available tools in ANSA.
3. learned ablout the topo cleanup and surfaces patching in order to create an enclosed volume.
4. Learning about the wind CFD model preperation and its dimensions.