Week 4 Challenge : CFD Meshing for BMW car
** Meshing of BMW Model 6:
Step A: Geometric Cleanup
1. The BMW car is symmetric about a plane. Hence to reduce the efforts of geometry cleanup, delete the other half of car. The symmetric plane passes through front hood, roof, rear hood.
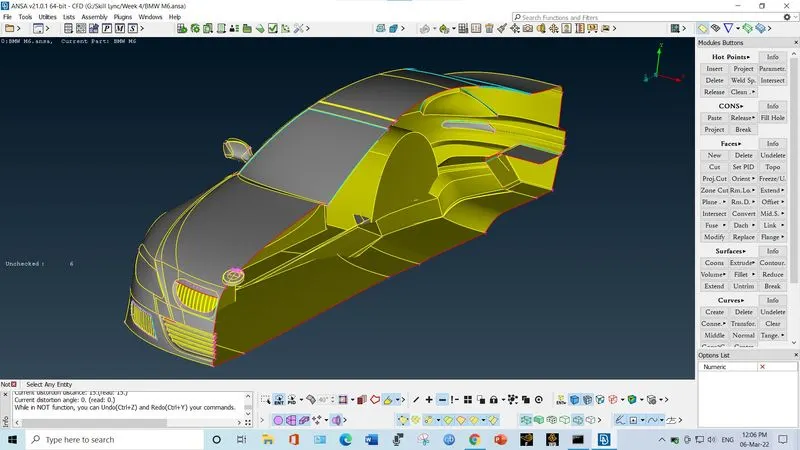
2. The front grills have too many openings for the purpose of air circulations. So we have to close these air openings. Hence we need to perform the geometry modification such that the original shape is retained as well as the openings are closed so that a identical volume is formed after performing volume mesh.
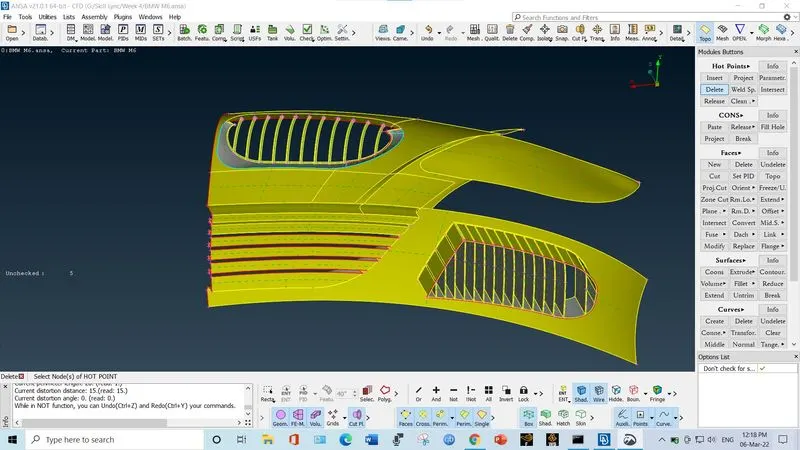
After cleanup, it look like
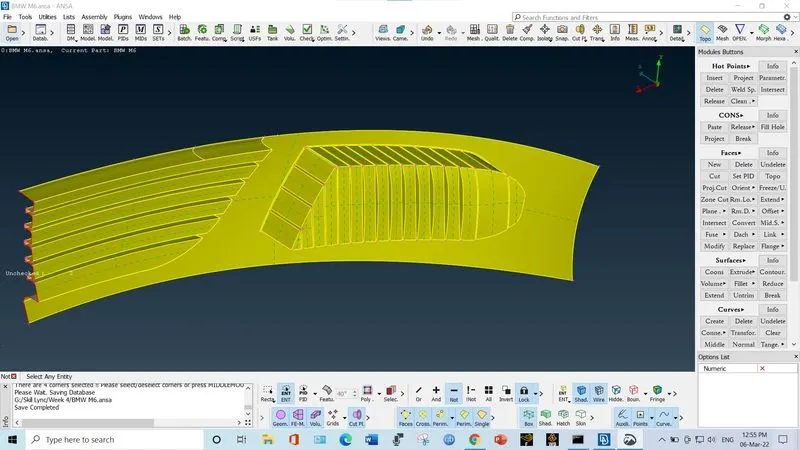
3. Similarly cleanup the area of head lights. Remove the cons of head light inside the car volume. Just keep the cover.
4. Go for removing the triple cons from window, roof, mirror, tyres etc.
5. Delete the additional cons on the roof side and just keep one single continuous surface for roof.
6. Make the floor of car as flat, continuous and uniform as we can. Remove the surfaces from the tyre space.
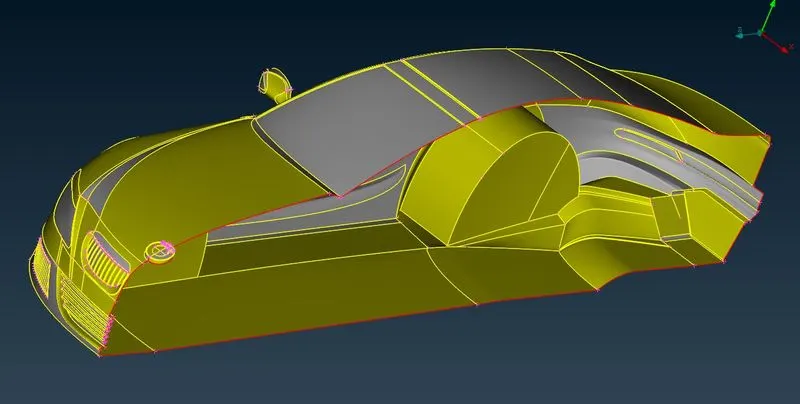
7. Click on Transform from utilities deck. Select copy option. Align the model in top view and make the complete selection using shift key. Select symmetry option and then select 3 point selection plane. And then click on apply.
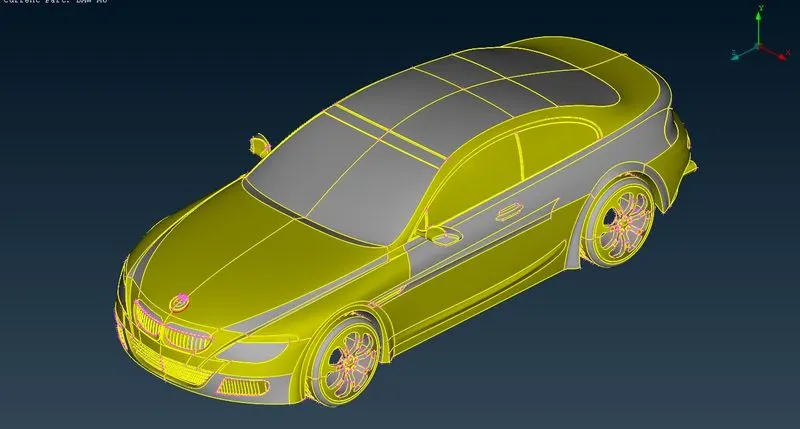
8. Apply PID's for different parts.
# Step B: Apply Surface mesh
1. Grills:
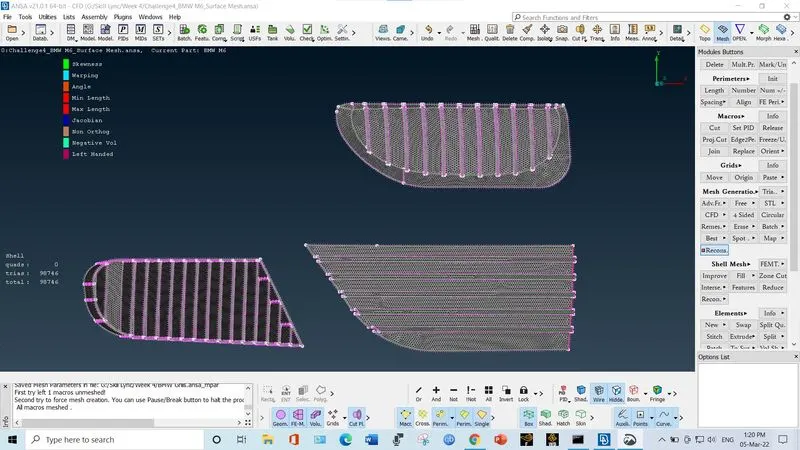
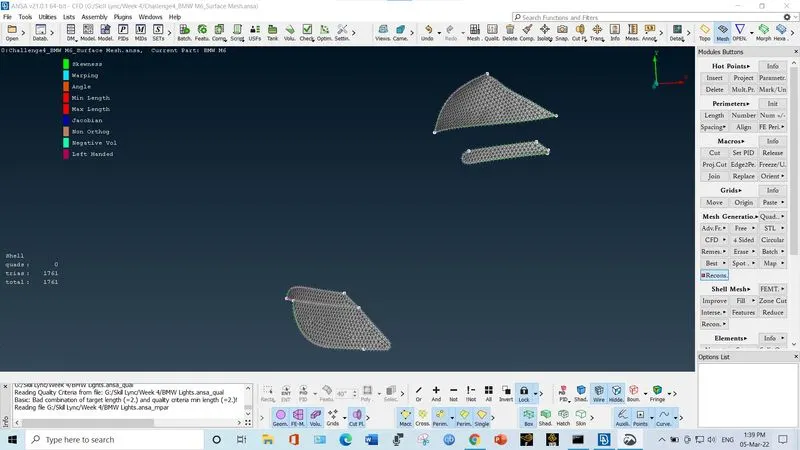
2. Lights
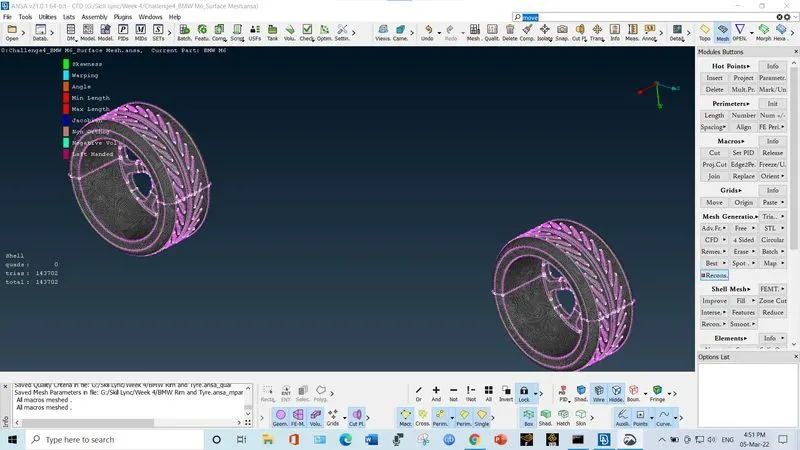
3. Rim and Tyre
4. Mirror
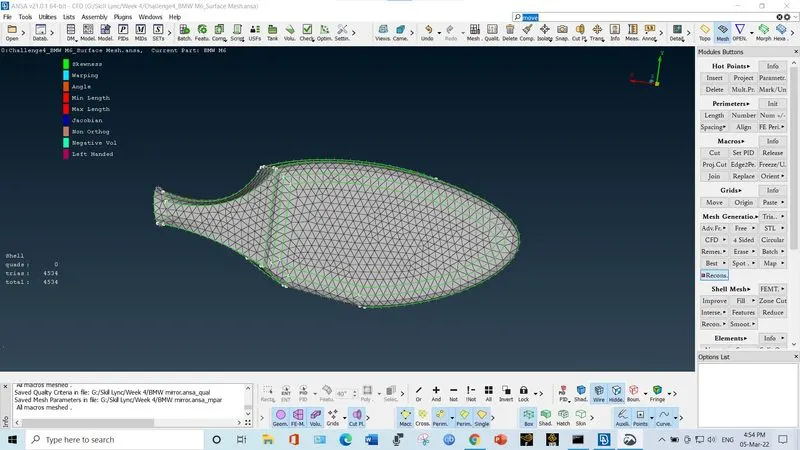
5. Logo
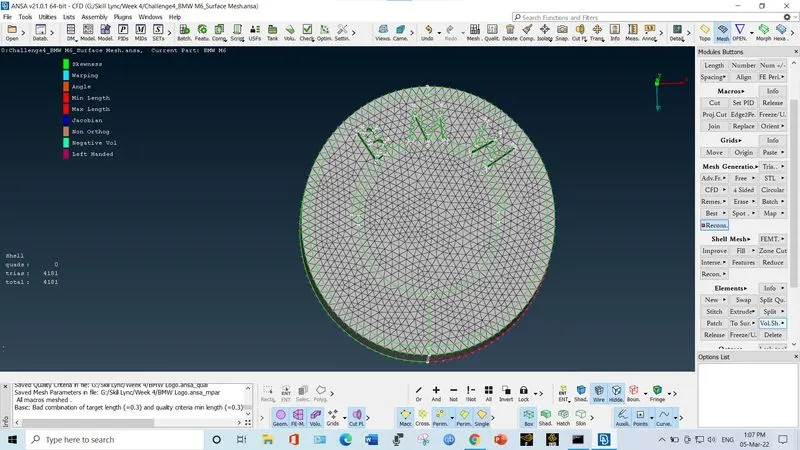
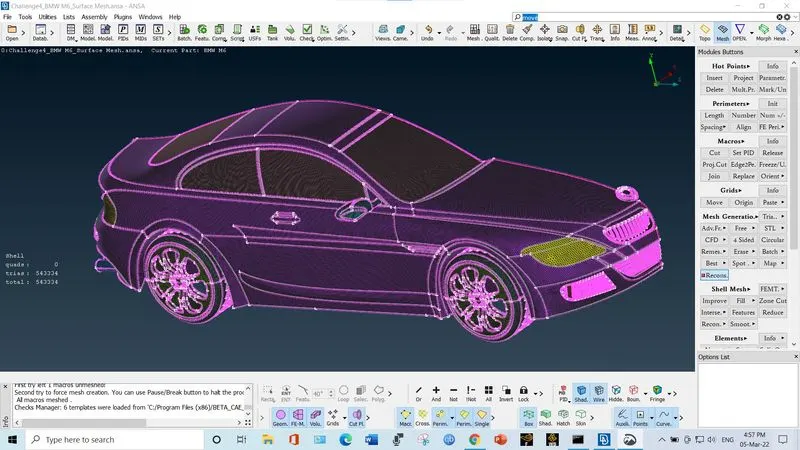
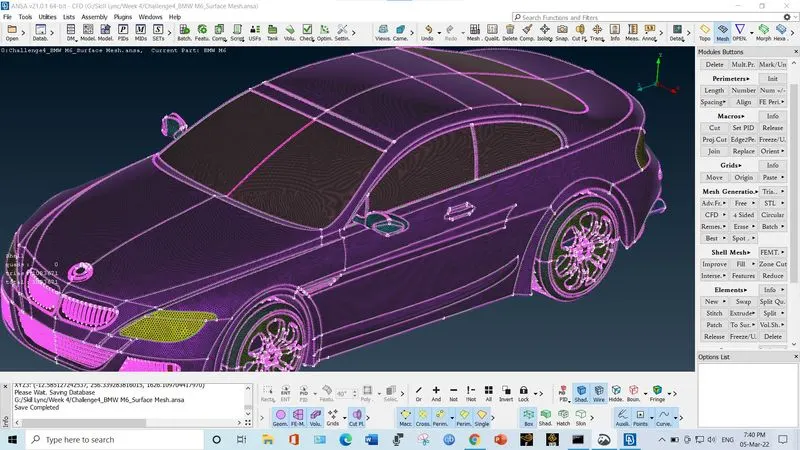
6. Complete Body assembly
# Step C: Creating the wind tunnel
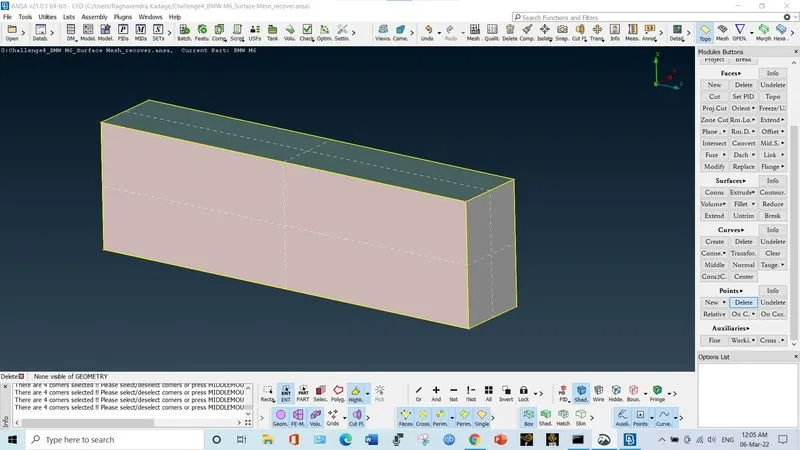
1. Use the option Insert Points and insert the nodes from reference nodes on the surface. Let the length of car be 'X' m. Then the entrance face of wind tunnel is at a distance 4*X from car, exit face is at distance 6*X from car. The top side is at distance 3*X from car. The left and right sides are at distance 1*X from car. (X=1308).
2. Create the surface for the base and then use the option offset to create the top surface. Then use coons option to create front, back, left and right faces.
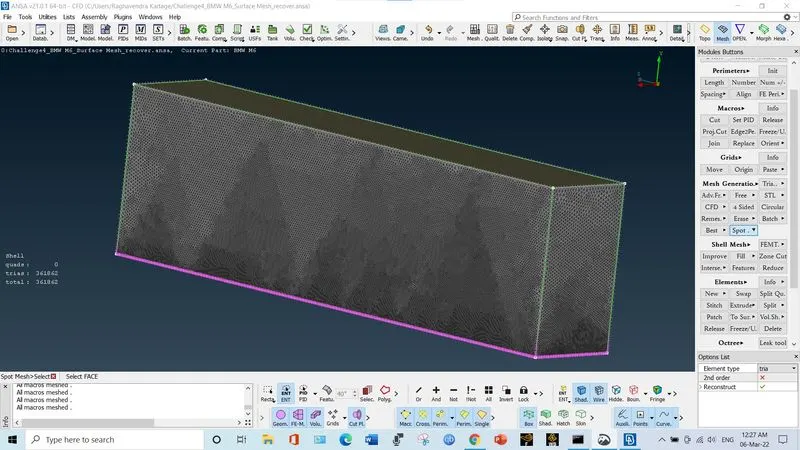
3. The top side element length is 100. The bottom side element length is 20. Use the option "Spacing" in paramter. Select geometry type. Enter dmin as 20 and dlmt as 100 and select the 4 vertical cons of winf tunnel.
4. Apply the spot mesh on wind tunnel
# Step D: Volume mesh
1. Go to volumes. Select Define. Click on Auto Detect.
2. There will be 7 auto detected volumes shown by ansa.
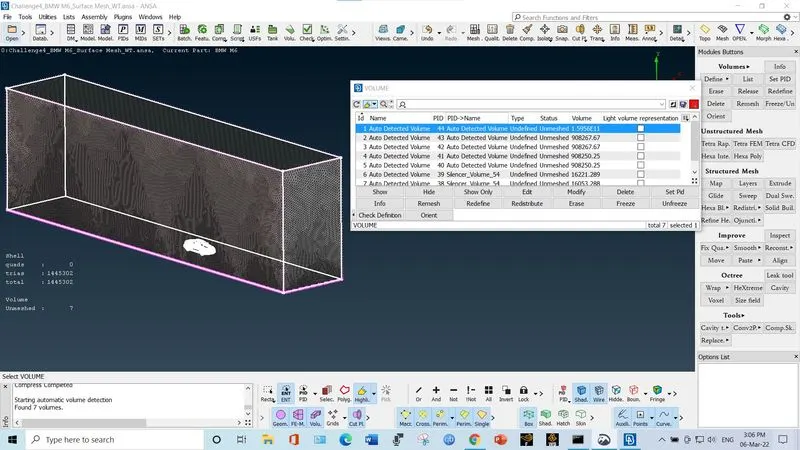
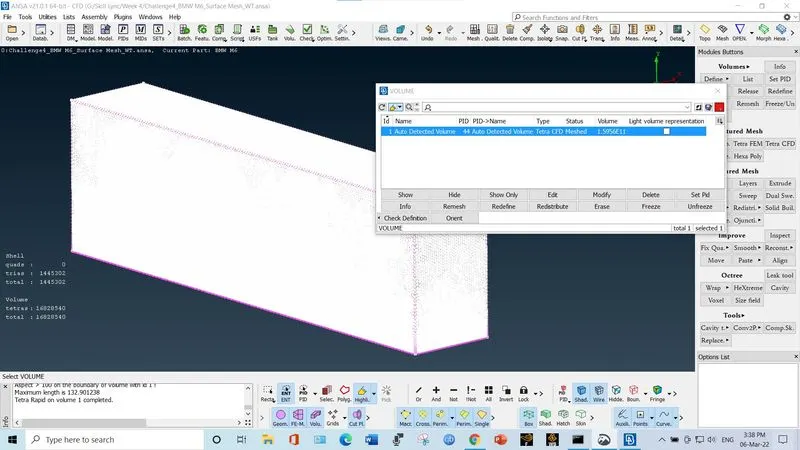
2. Out of these 7, 1st volume is the volume of wind tunnel outside the car body. This volume is our analysis region. Delete the rest of the volumes. Apply the Tetra CFD mesh to the remaining volume.
3.
# Note. The Google Drive link for mesh file is provided. Please download and check the same.
https://drive.google.com/file/d/1RZ62InwHL-kx1Ncx2ZHH0DXRn0ajlTqx/view?usp=sharing