Week 4 Challenge : CFD Meshing for BMW car
FOR A BMW CAR, CFD MESHING
Objective:
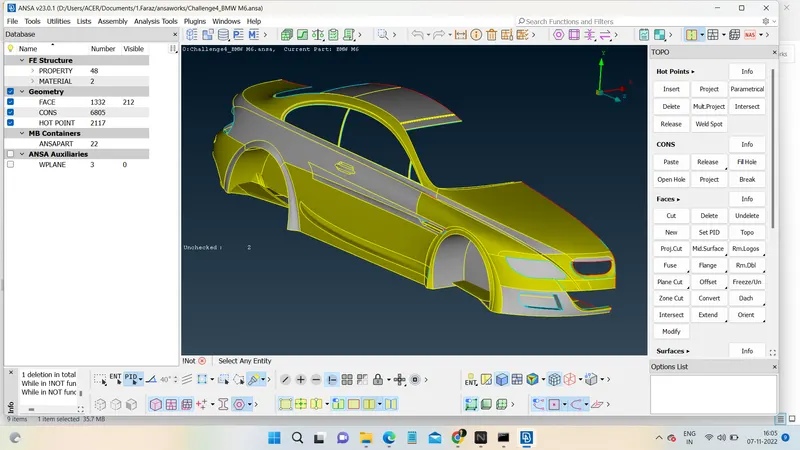
- Topo cleanup for a BMW vehicle
- Check quality standards while doing 2D meshing.
- Check failed meshes against quality requirements in hidden mode.
- View failed meshes using the rebuild option, then clear them.
- 3D meshing for automobiles
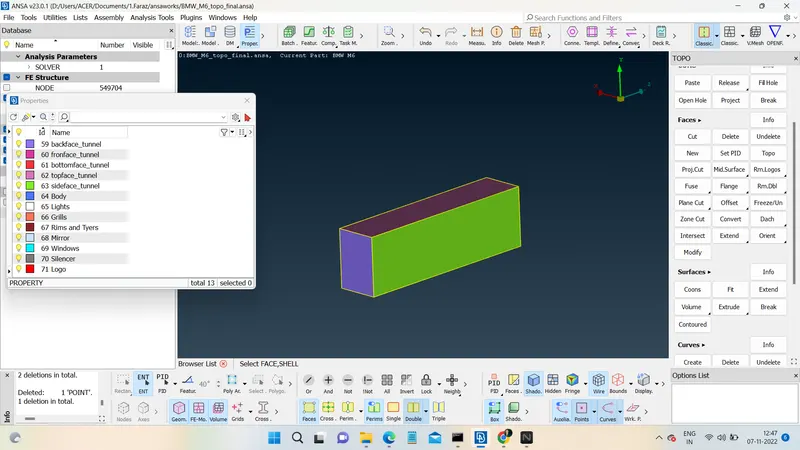
- Create a wind tunnel in 2D or 3D mesh, as appropriate for your system.
Procedure:
- The model is first loaded onto ANSA.
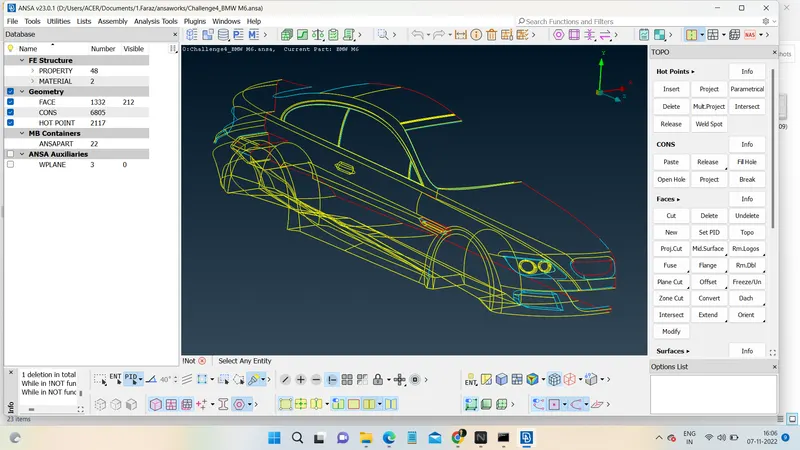
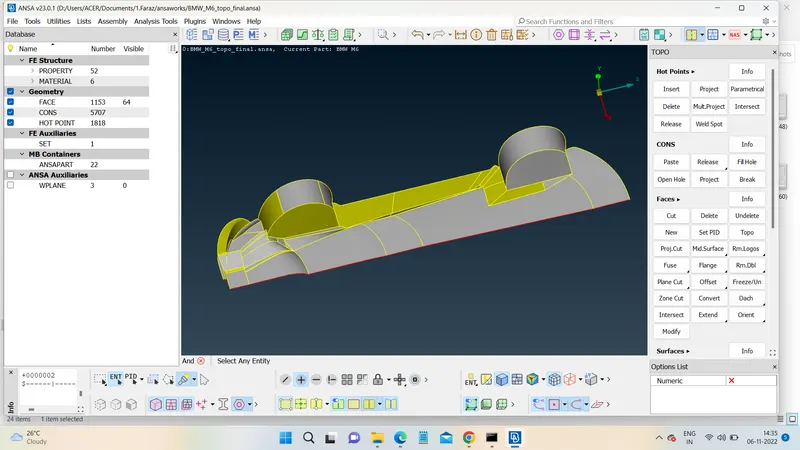
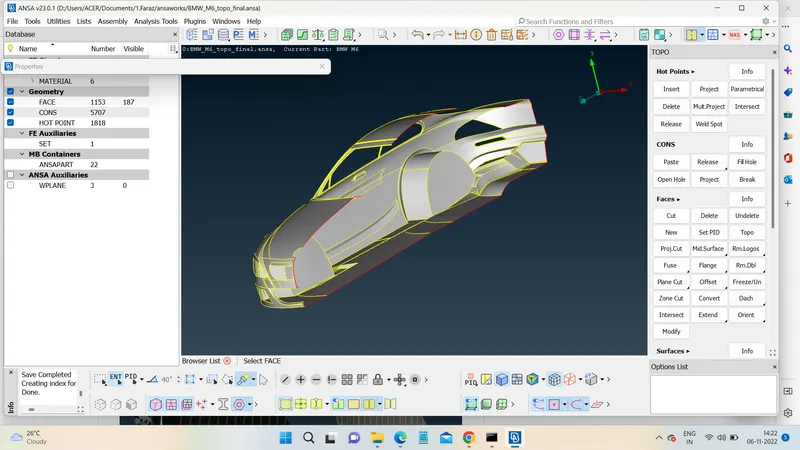
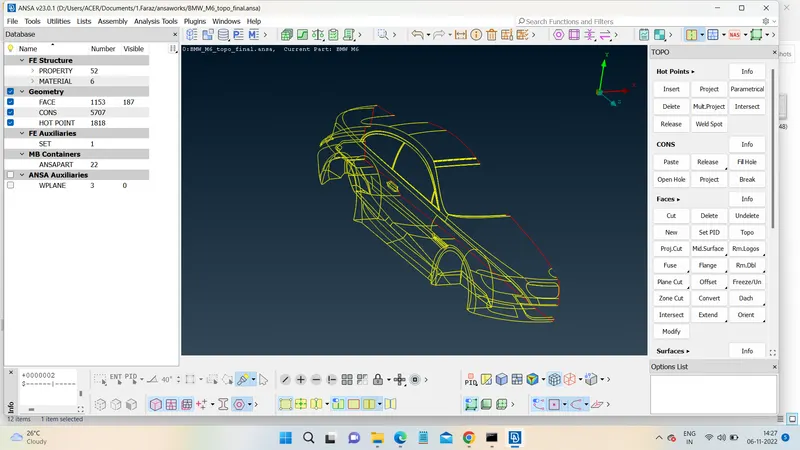
- Unwanted surfaces are removed without affecting the geometries' exterior shape.
- Single drawbacks are mostly addressed here since they might negatively affect the surface covering.
- The geometry is first cleared of unnecessary surfaces, and then it is solved.
- The necessary system is then created by merging all three geometries.
- From the meshing interface, a surface wrapping tool with a constant length of 3mm is selected.
- After giving it a name and selecting all of the necessary components, the surface wrapping is initiated by pressing the run button.
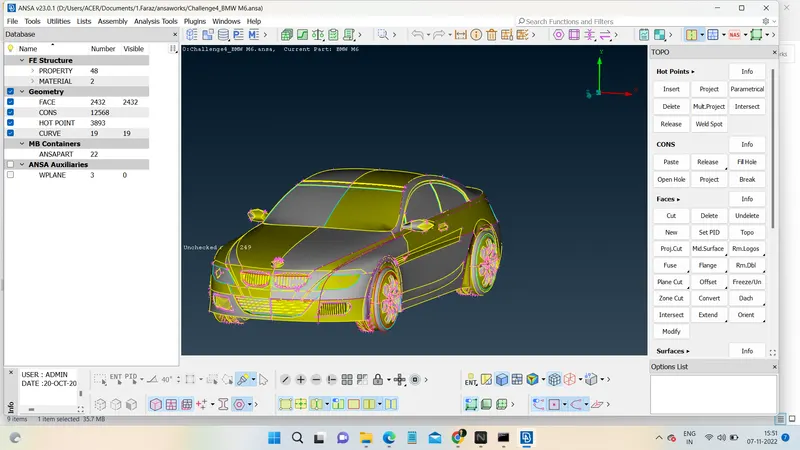
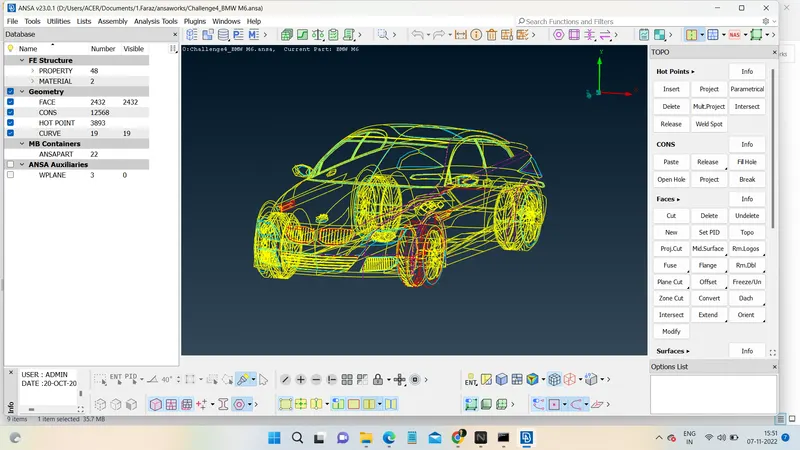
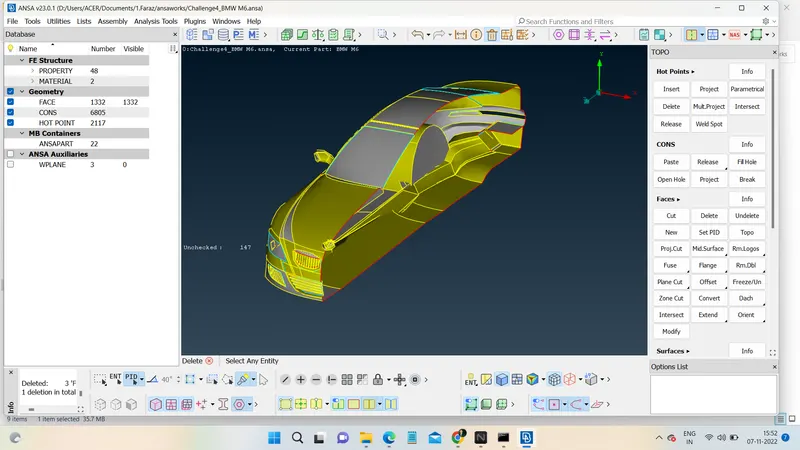
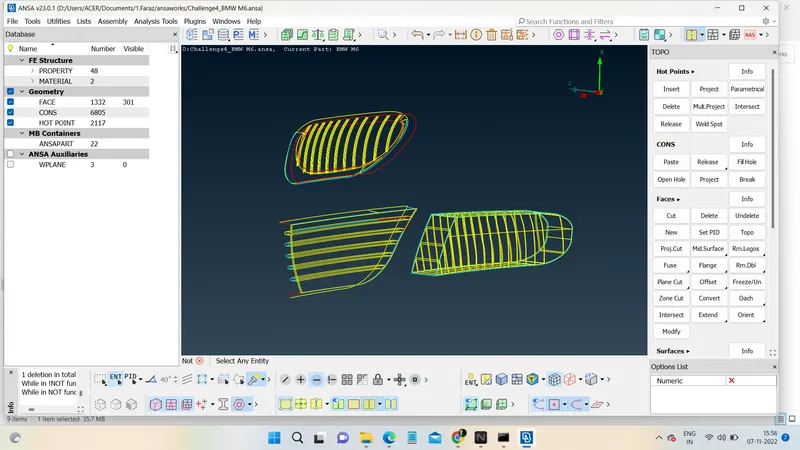
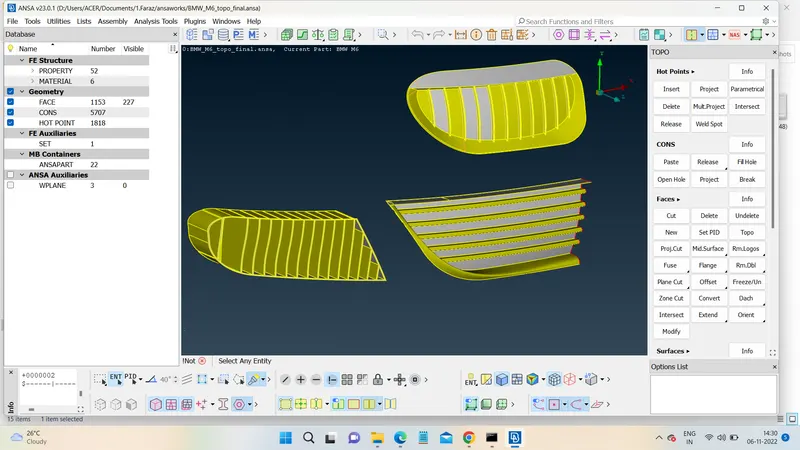
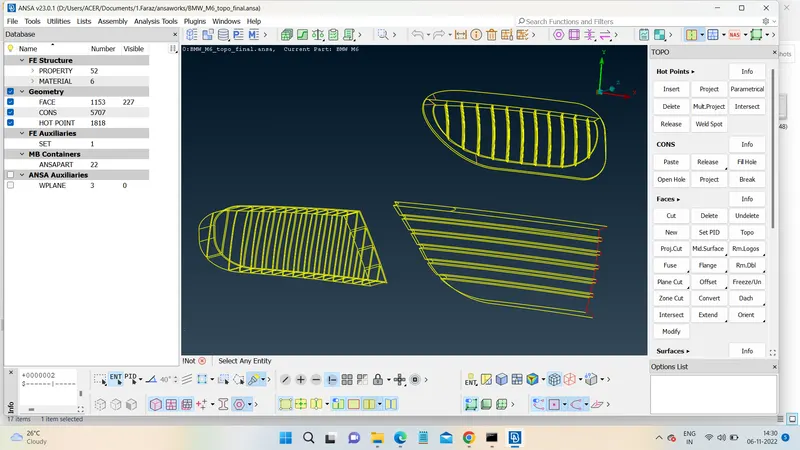
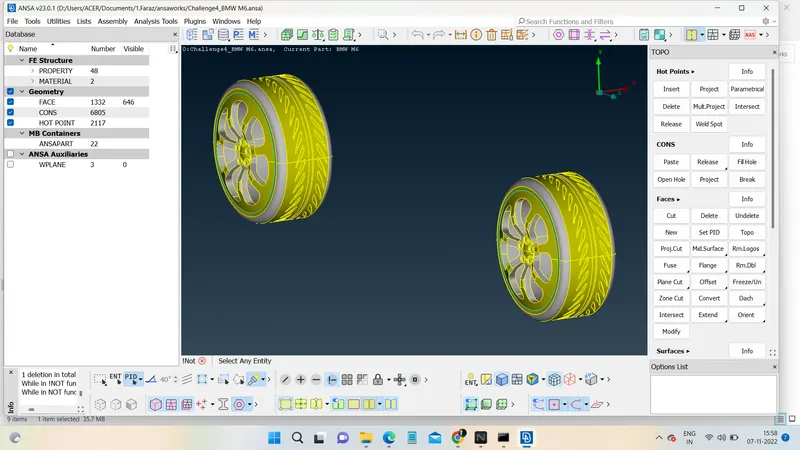
Parts for geometry cleanup (Before and after)
- Grills
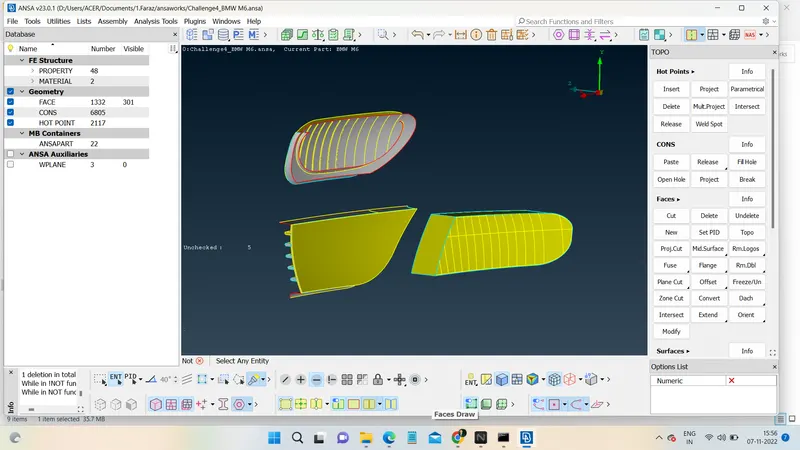
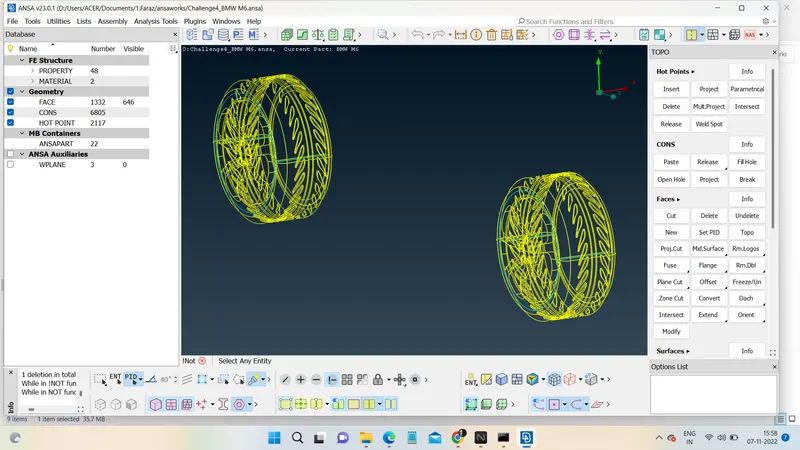
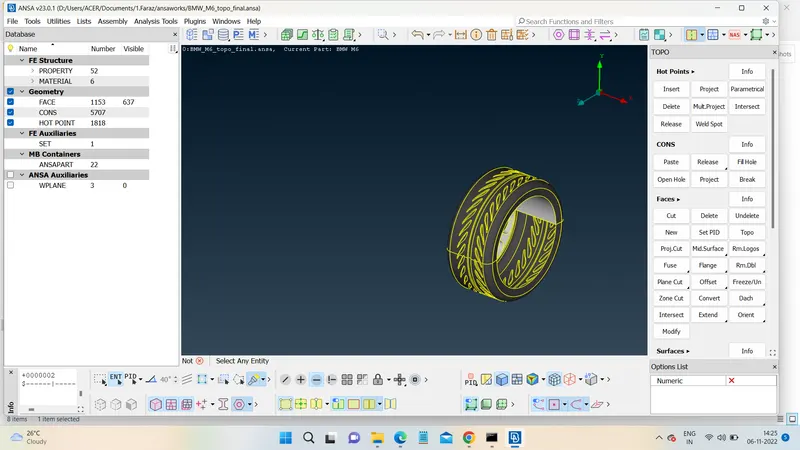
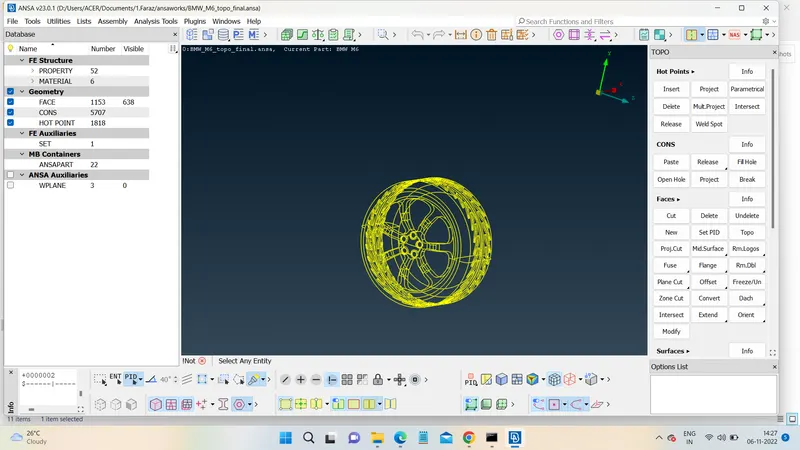
- Rims and Tyres
- Optical Rear view mirror
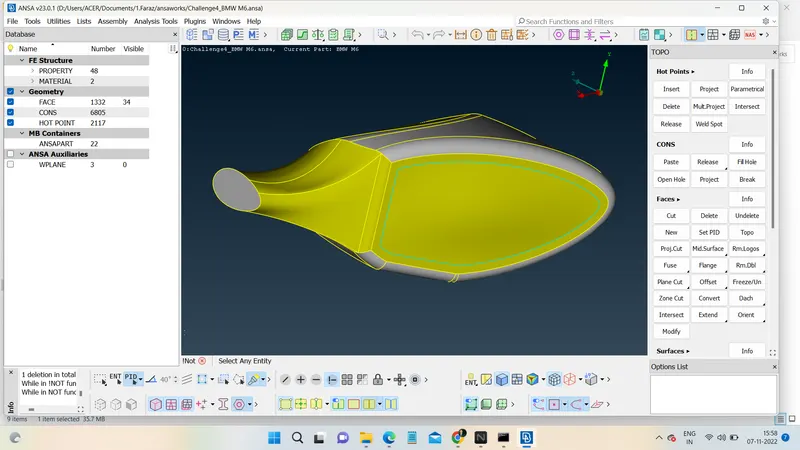
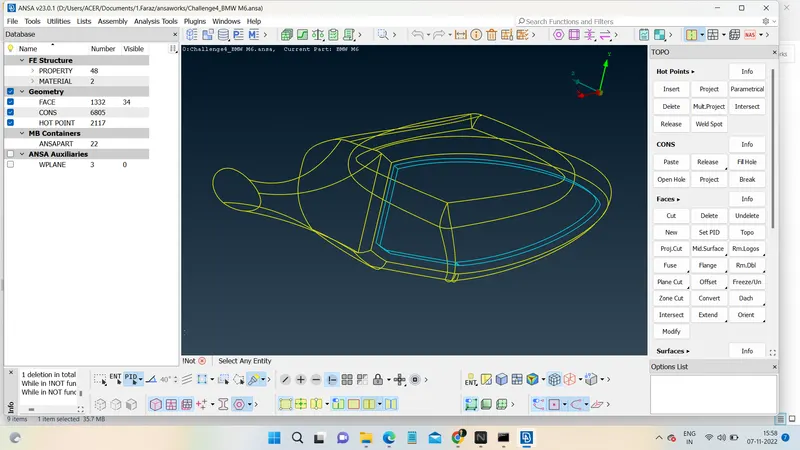
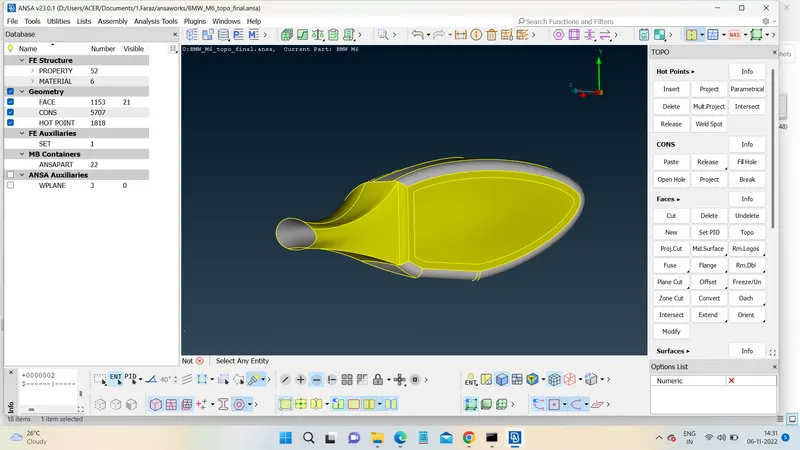
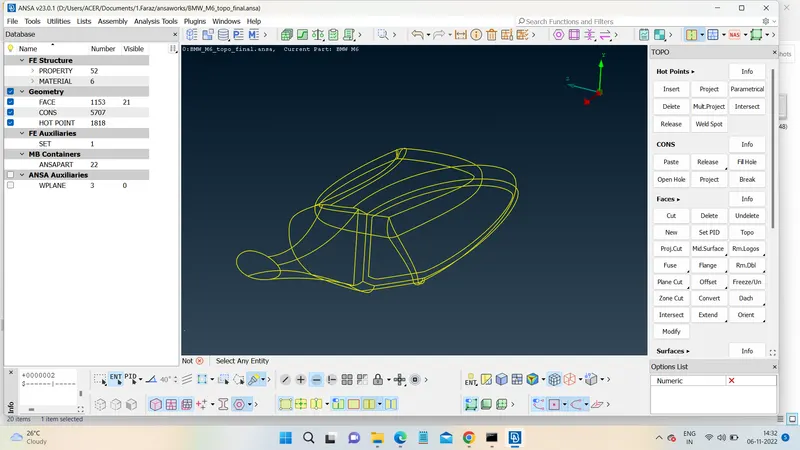
- Silencer
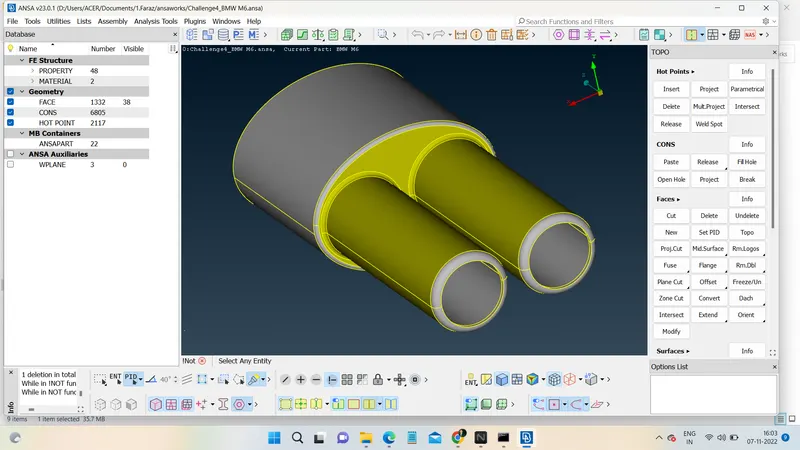
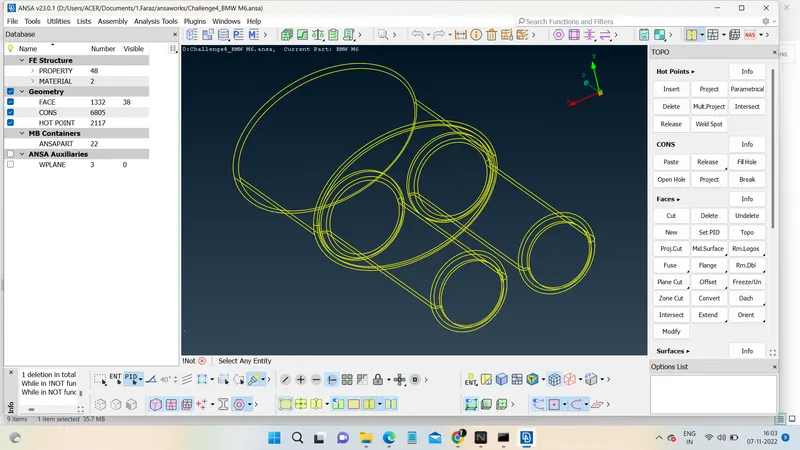
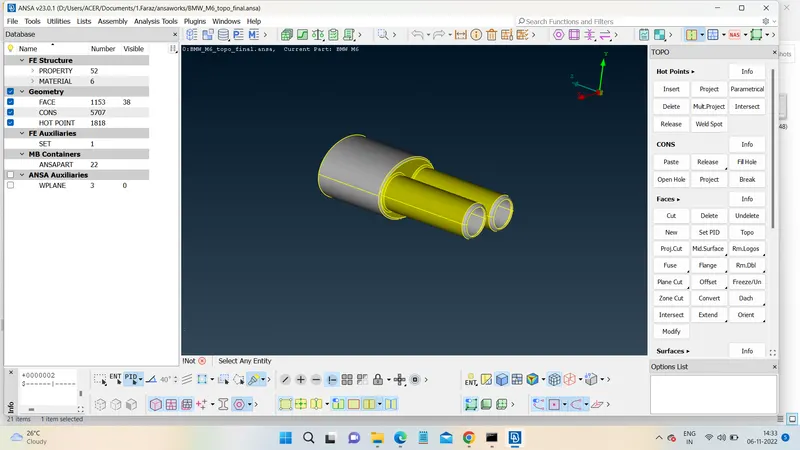
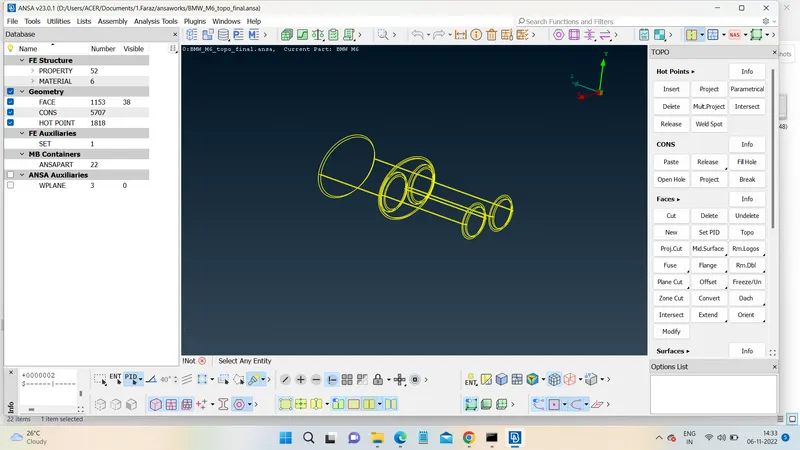
- Logo
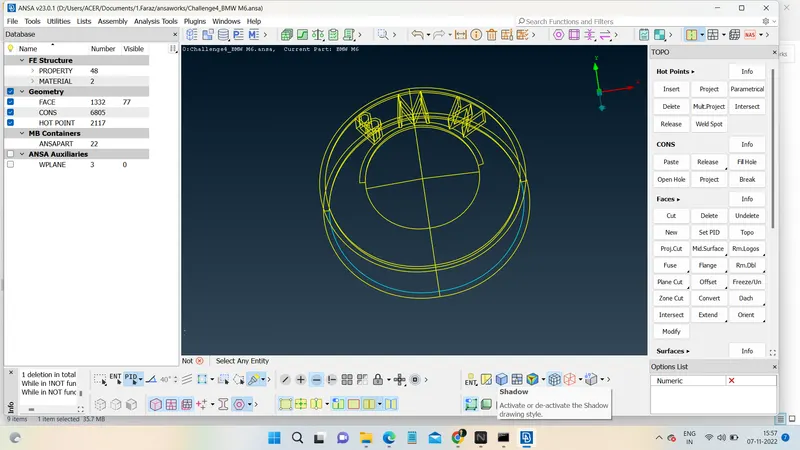
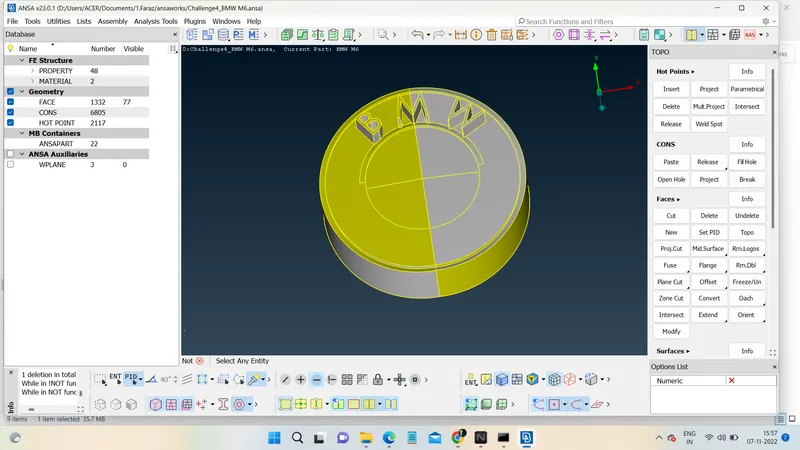
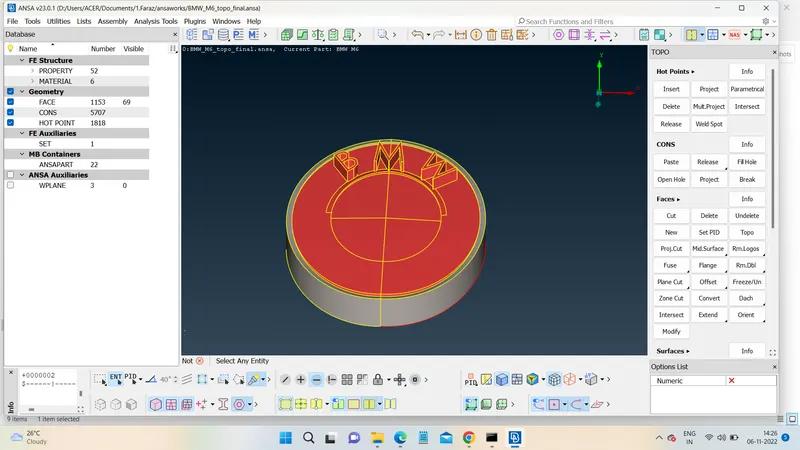
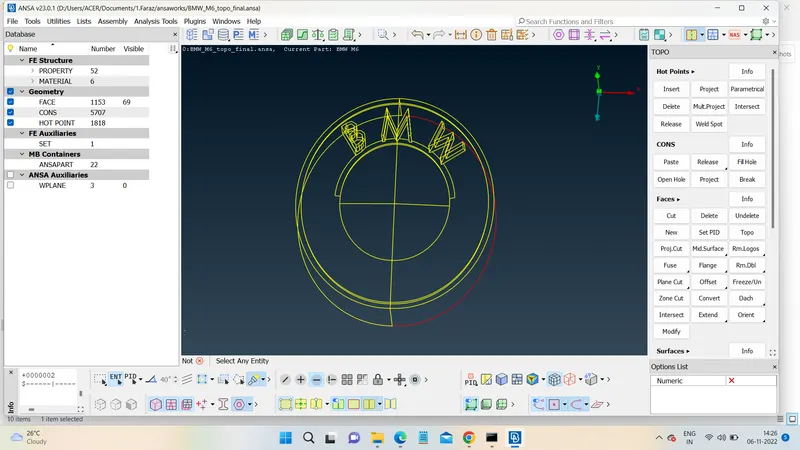
- Body
Assigning PDI's
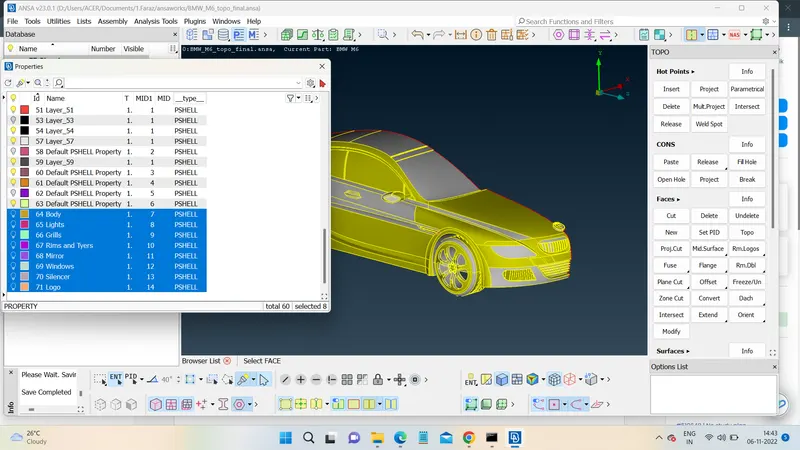
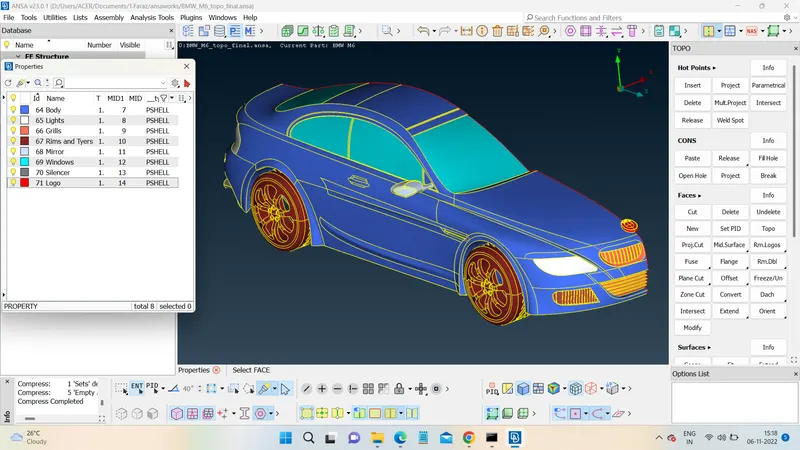
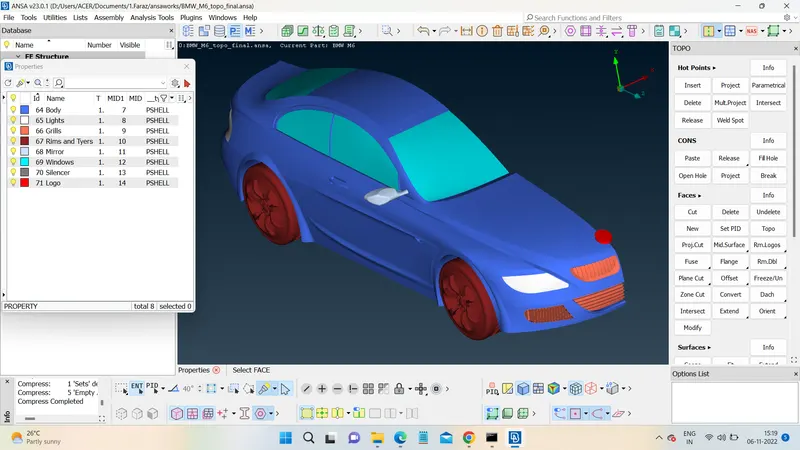
Surface meshing
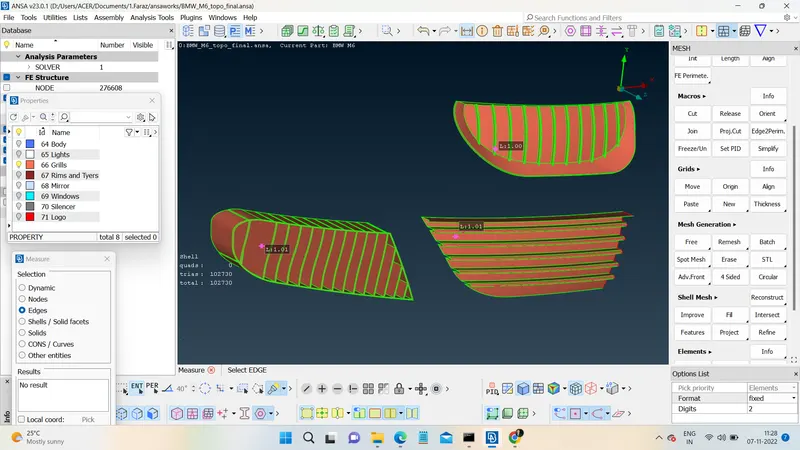
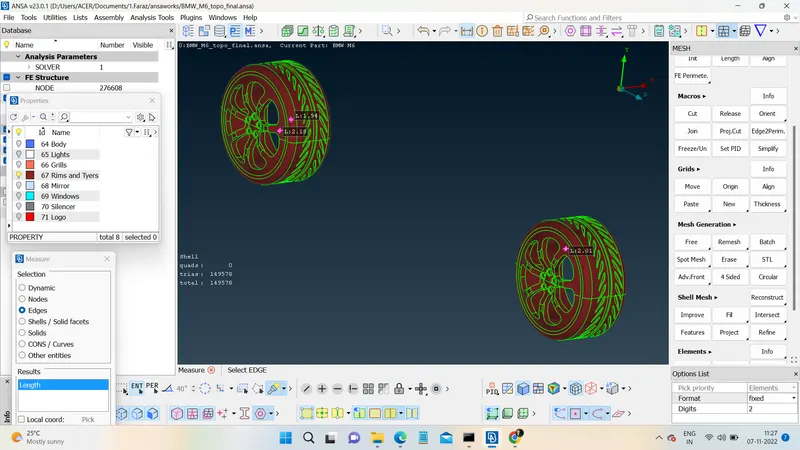
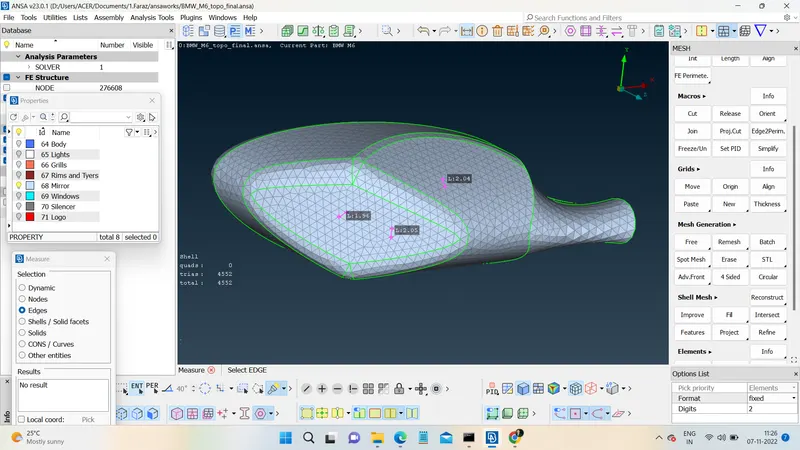
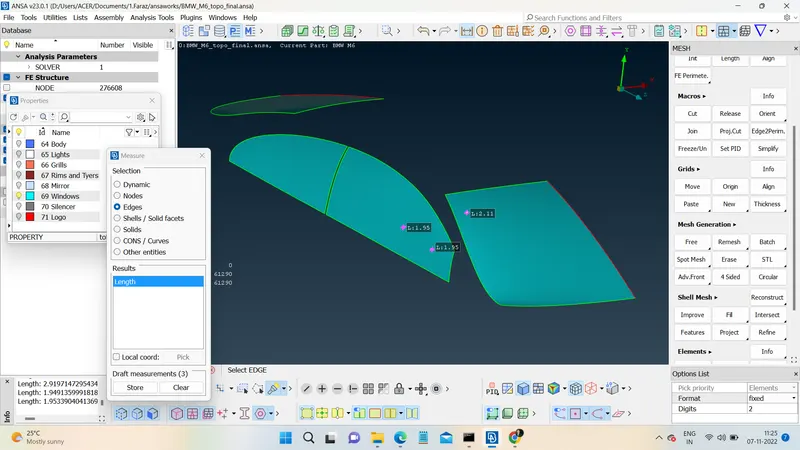
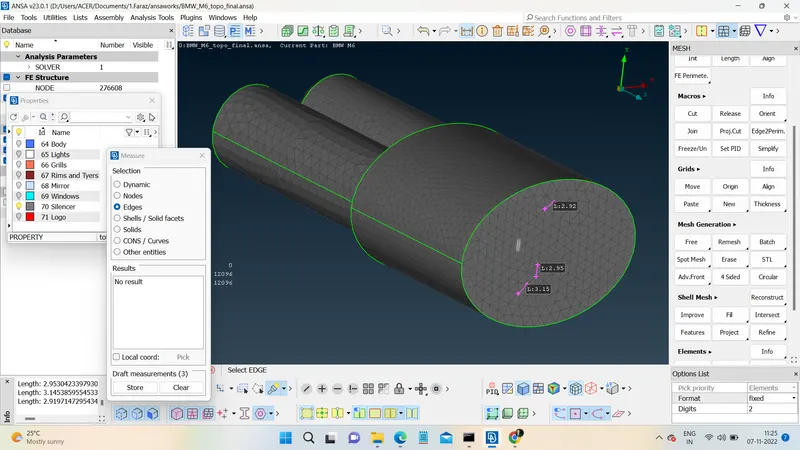
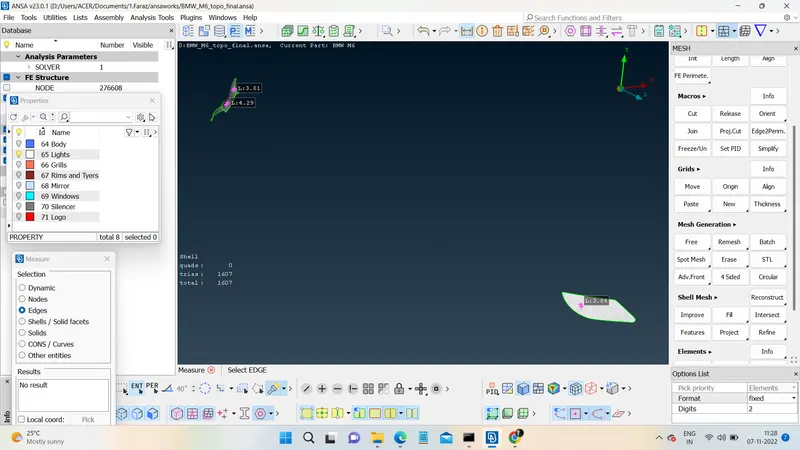
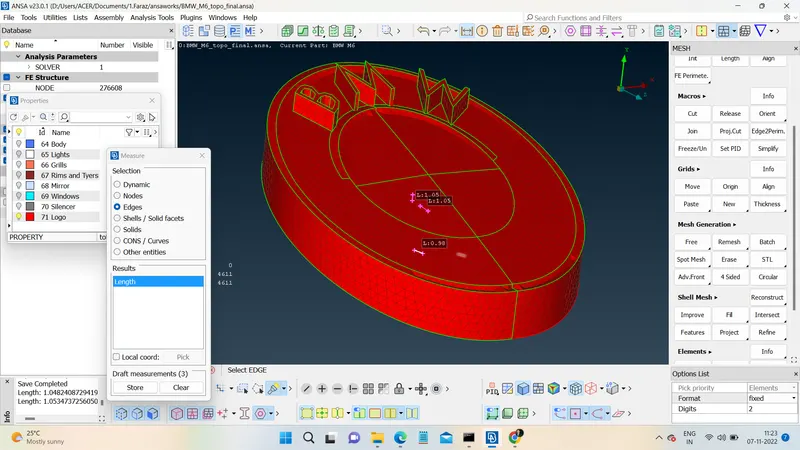
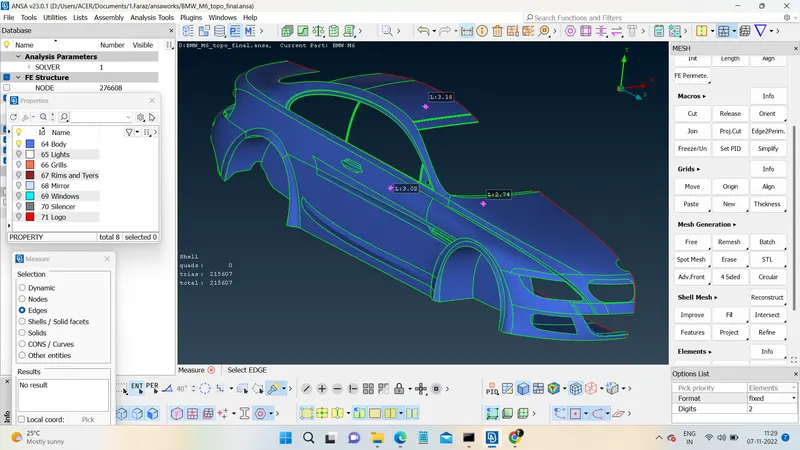
Total meshing
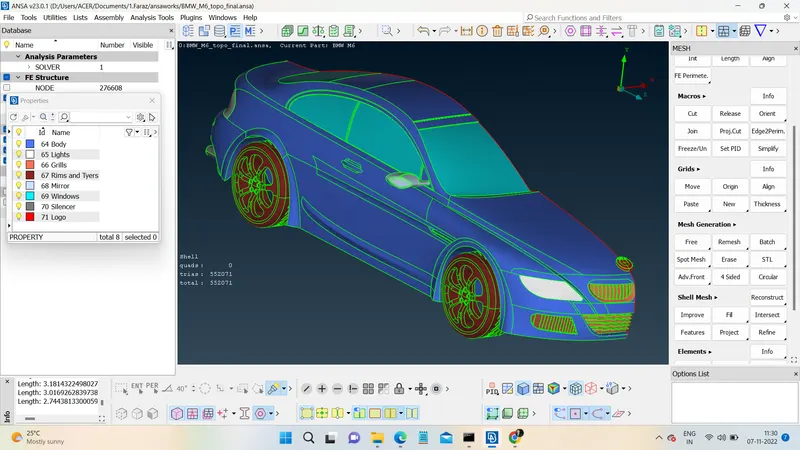
Applying symmetry
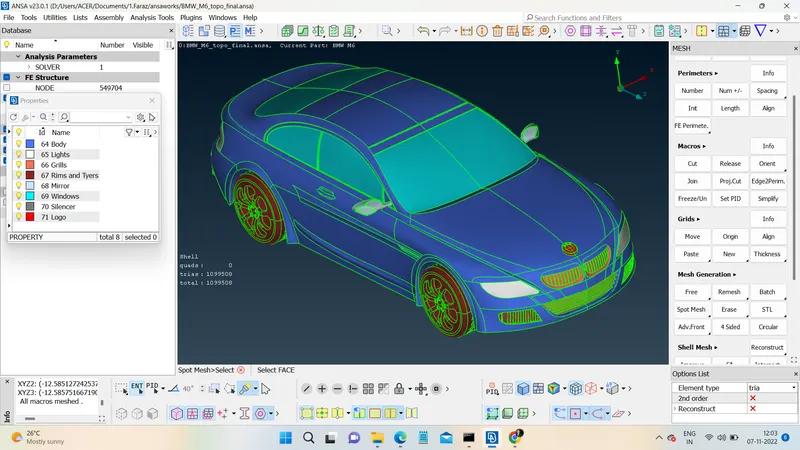
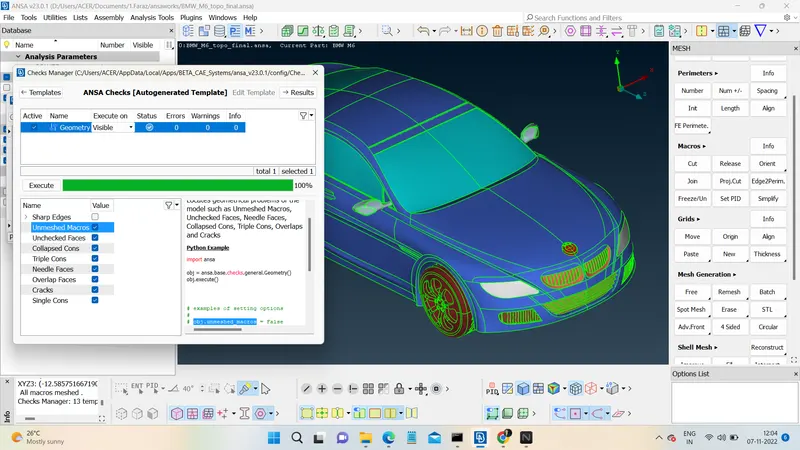
One last error check
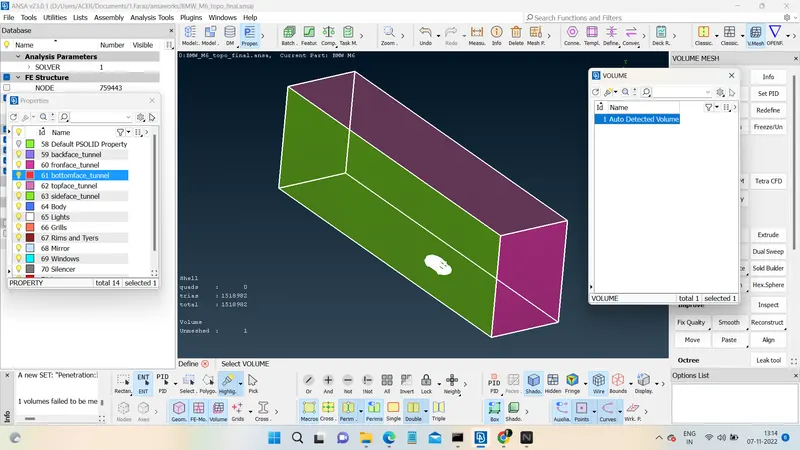
Creating Tunnel
Defining volume
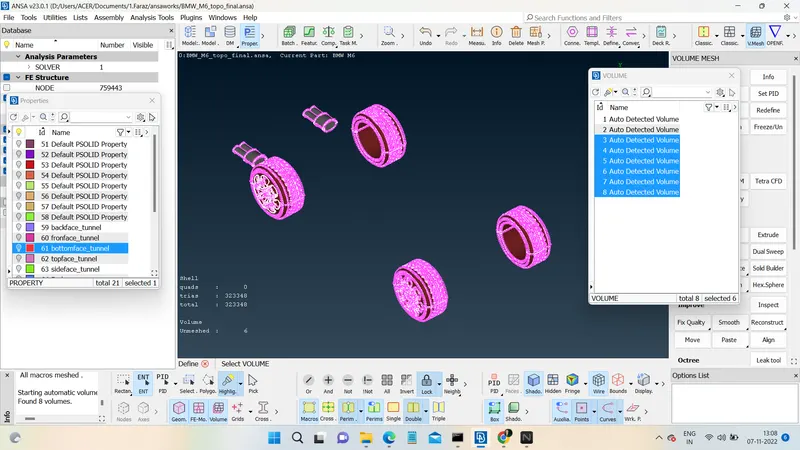
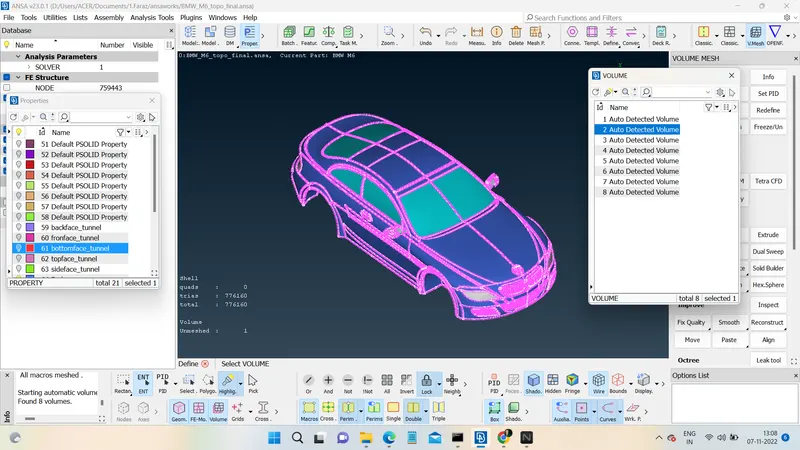
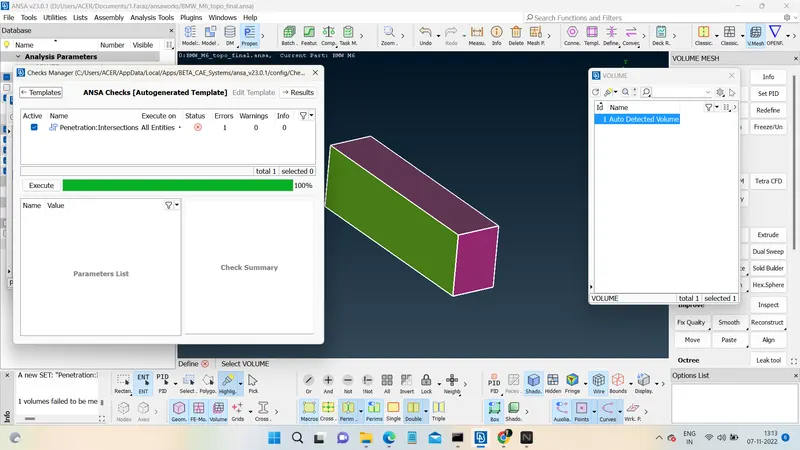
Volume Mesh that needs to be created
Ansa week 4 file link:
https://drive.google.com/file/d/1MP3NxJg1McnLJC5wxeB88txg53gg7J7R/view?usp=sharing
Conclusion:
- Working on the BMW model provided insight into the various meshing technologies offered by ANSA.
- Learned geometry cleanup and surface meshing in great depth. Problems encountered improved my understanding of tools
- Learned how to create a win tunnel using points and curves and how to use the curve tool
- Learned about wind tunnel dimensions, such as what measurements to give based on model size.
- Advanced topo-cleanup and learned how to de-mesh when different PIDs with different mesh lengths are in contact with each other.