Week 4 Challenge : CFD Meshing for BMW car
CHALLENGE 4: CFD MESHING FOR BMW CAR
AIM:
To Mesh the BMW car and create Wind Tunnel mesh it for external flow analysis.
PROCEDURE:
- import the file to Ansa Workspace.
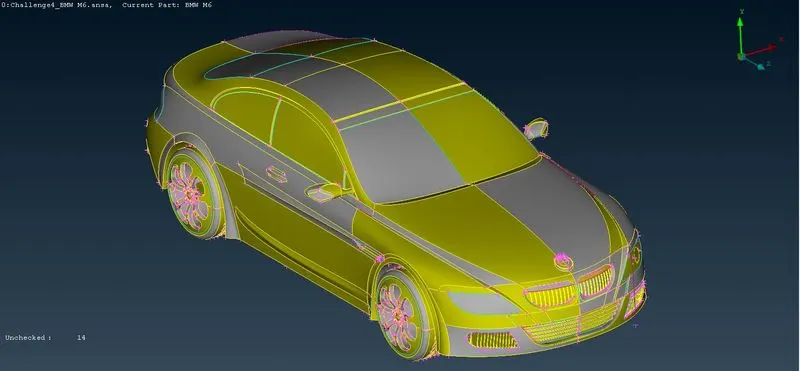
- we can see that the car is asymmetry which we can do its half part and mirror it.
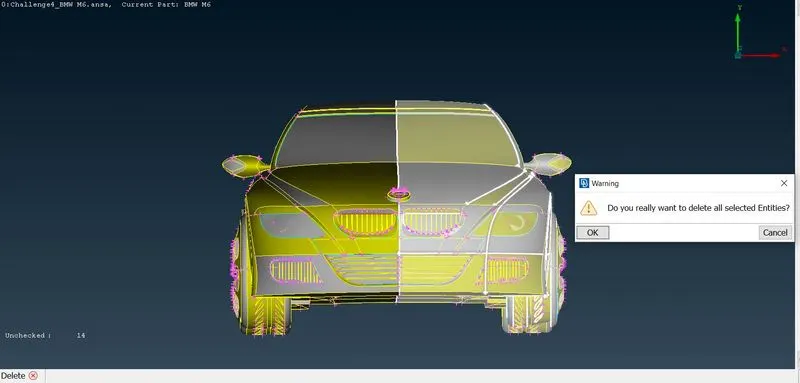
- delete the half part of car so we can work in another half of the car.
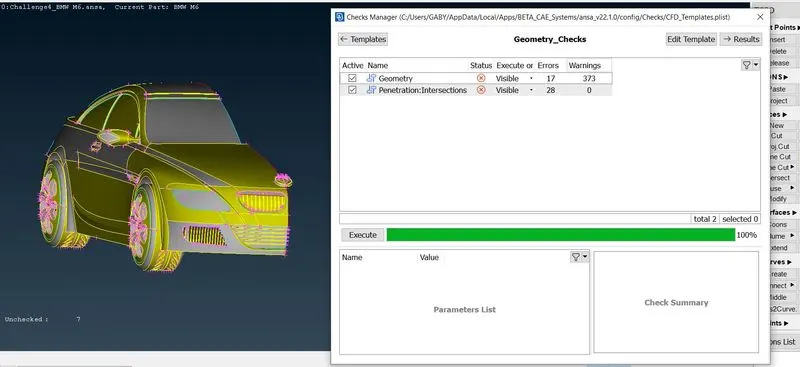
- we have to go for check manager to check for geometry errors, we can find there are many errors present in the car, so we have to clear it.
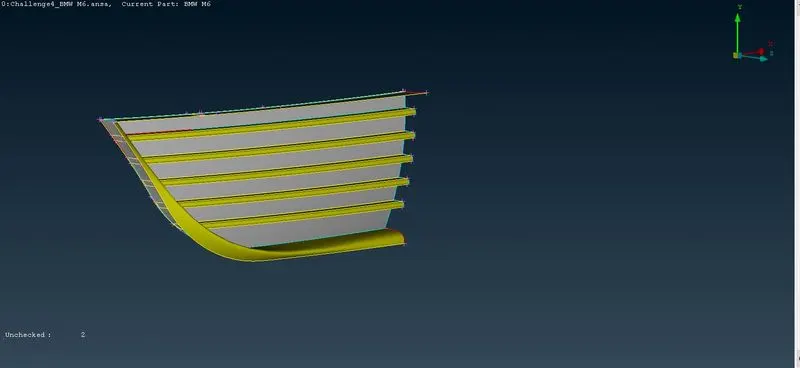
- first isolate the front grill of the car so that we can work on it.
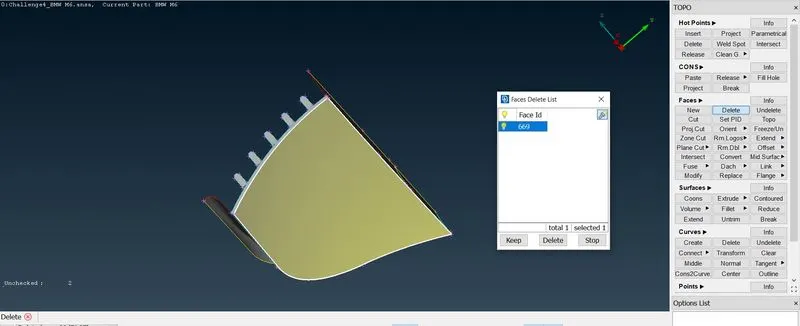
- delete the thickness face of the back of grill.
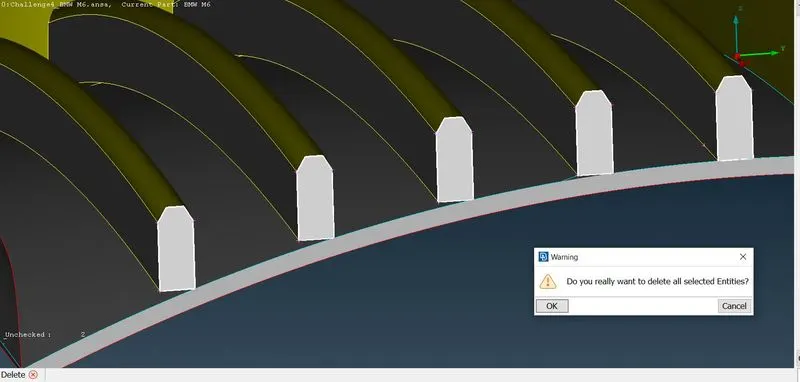
- delete the ribs face of grill as we can allign it correctly. do for all the faces respectively.
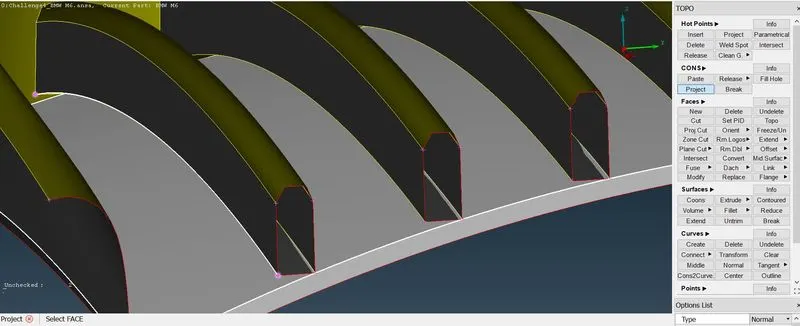
- project the cons on the surface of the grill to make a contact with the surface.
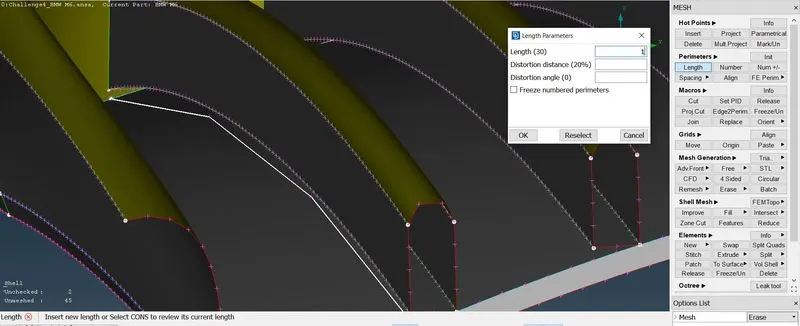
- the curve projected was not clear so go for meshing deck and use spacing select the cruve and assign 1 to change the resolution of curve click ok.
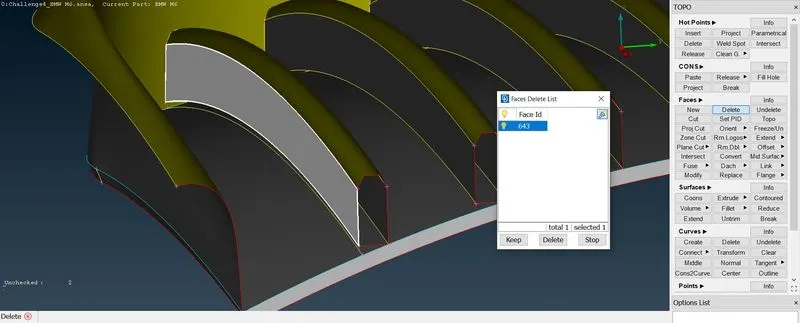
- we can delete the side face of the rib.
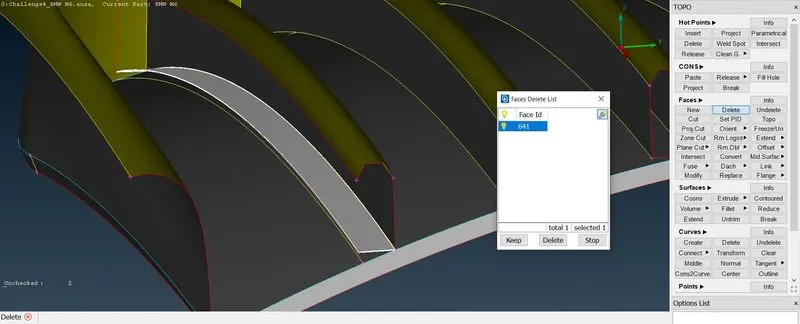
- delete the unwanted faces above the surface.
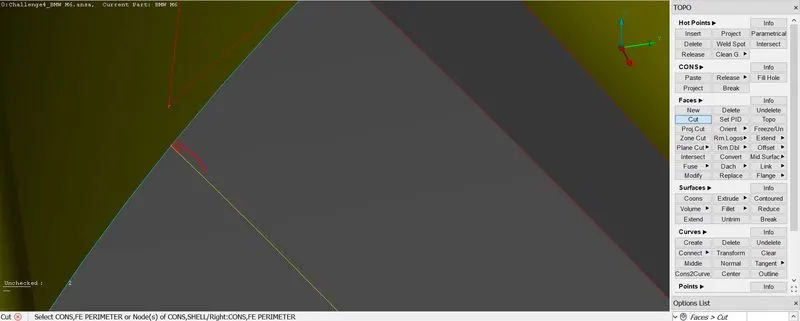
- back of the rib its not connected to the surface so using cut option make a cut to the surfaace.
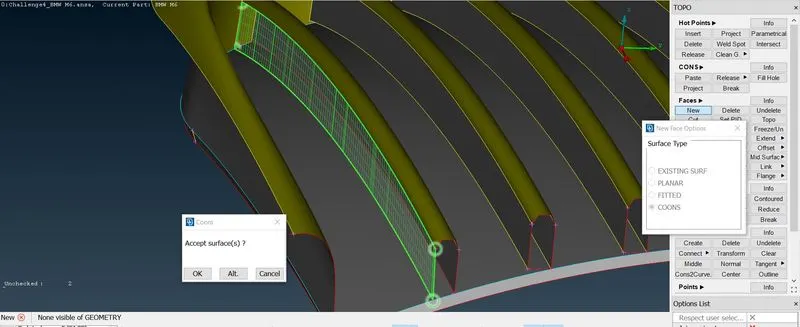
- now create the new side face of the rib.
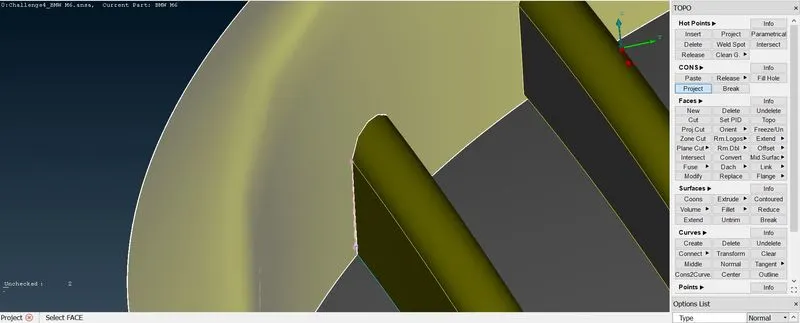
- now we have to project the cons to the grills side face.
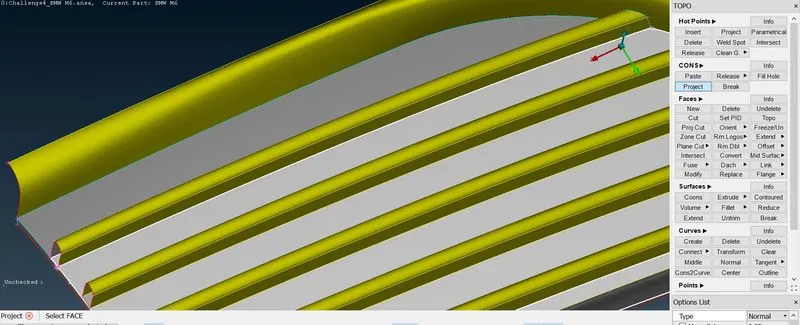
- also project the cons on the side face of grill.
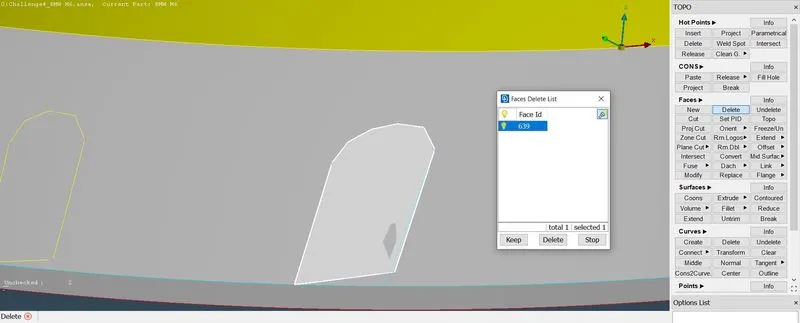
- delete the back face
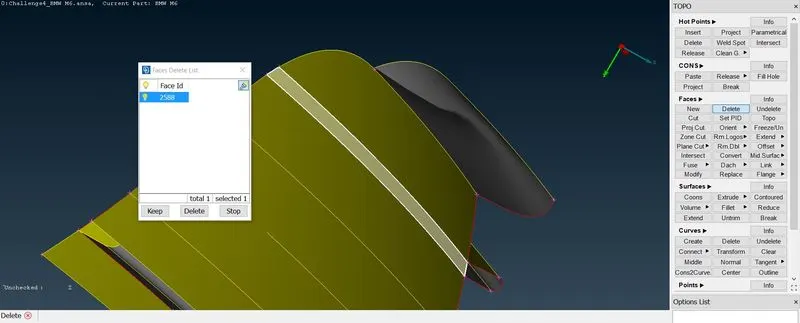
- also delete the bottom face of grill so that its can be cleared.
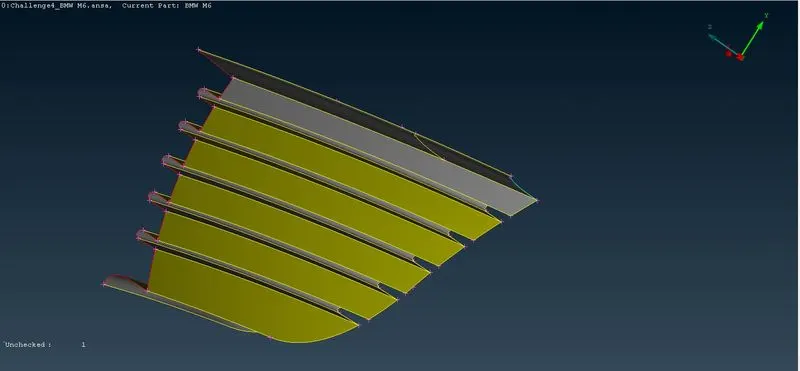
- do it for the remaining ribs respectively, our grill is completed.
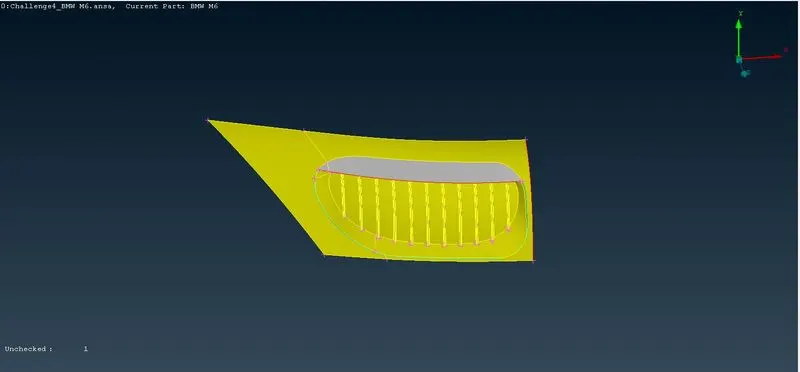
- isolate the another grill at top of the finished grill so that we can work on it too.
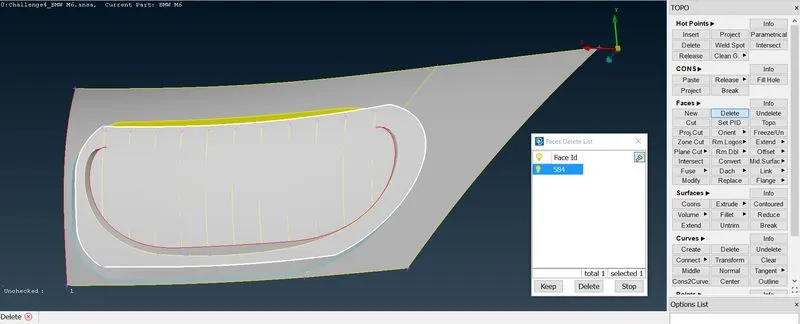
- delete the unnecessary face on the grill.
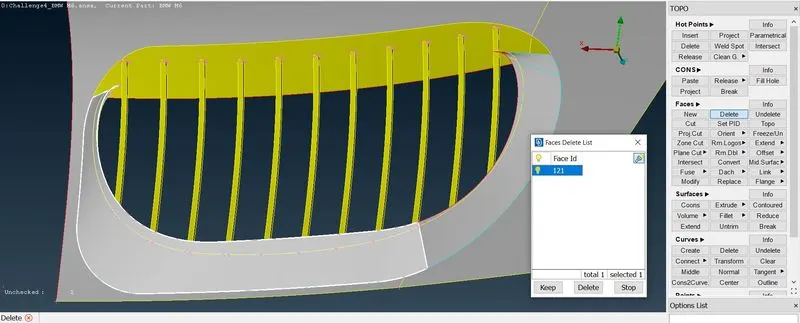
- delete the unwanted face.
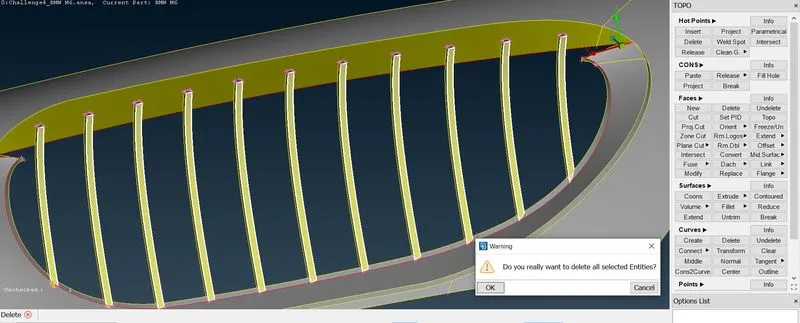
- delete the back face of the ribs in that grill.
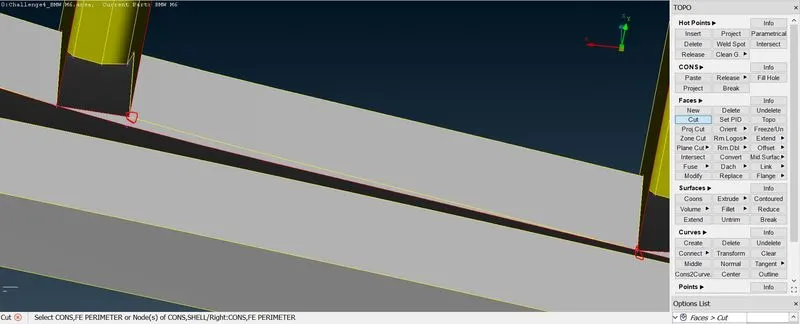
- using cut option cut the ribs end with another ribs starting hot point. also repeat the cutting process for remaining ribs of grill.
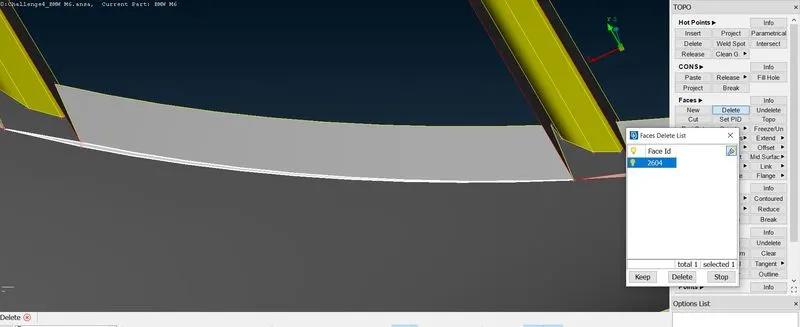
- we can delete the cutted faces so that it alligns correctly.
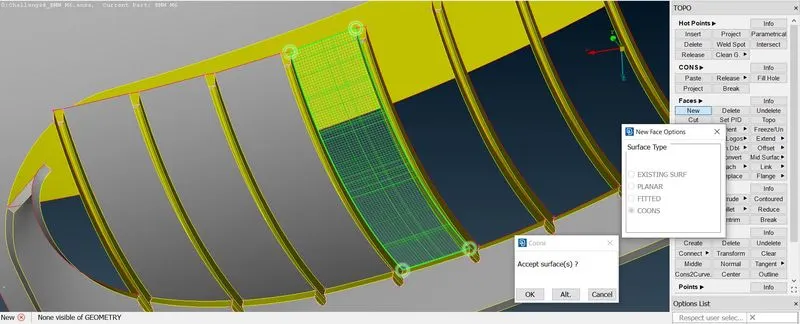
- create new face to close the opening of ribs in grill, repeat the step till last rib as shown in the above fig.
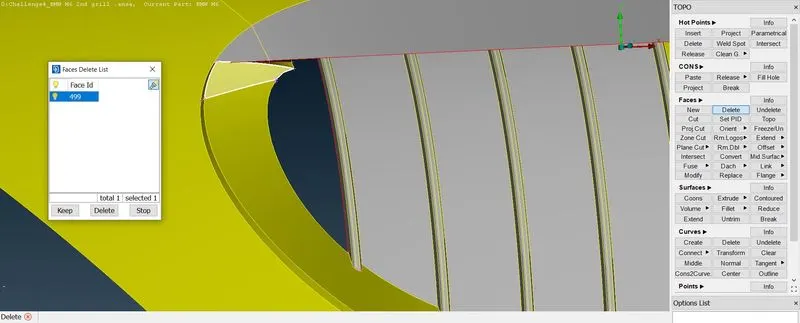
- delete the face shown in fig.
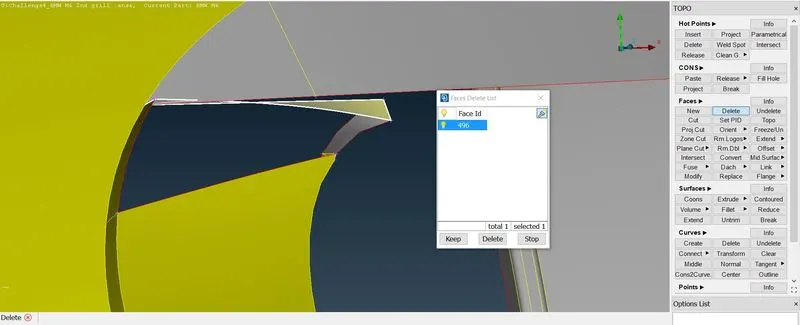
- also delete the unnecessary faces
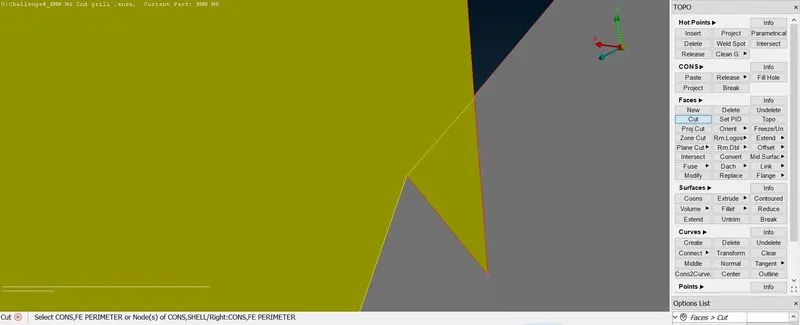
- we can see the sharp edge so we have to delete it to avoid skewness, cut the edge using cut option.
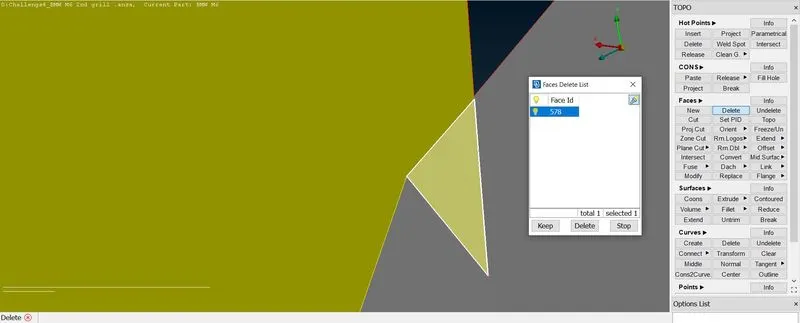
- select the face and delete it.
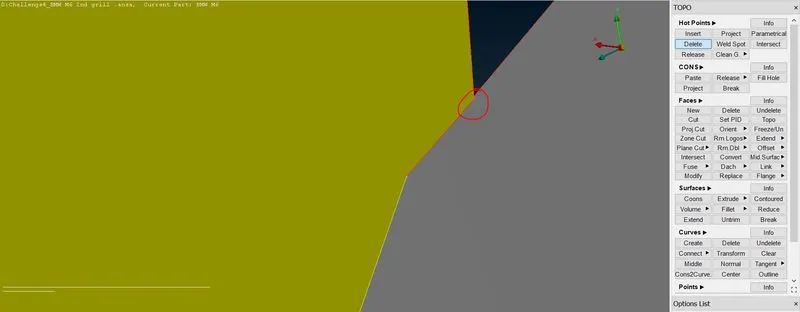
- delete the unnecessary hot points.
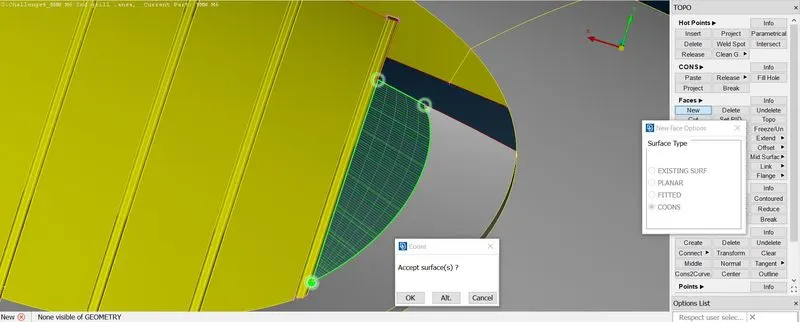
- create a new face using new command. insert hot points wherever needed.
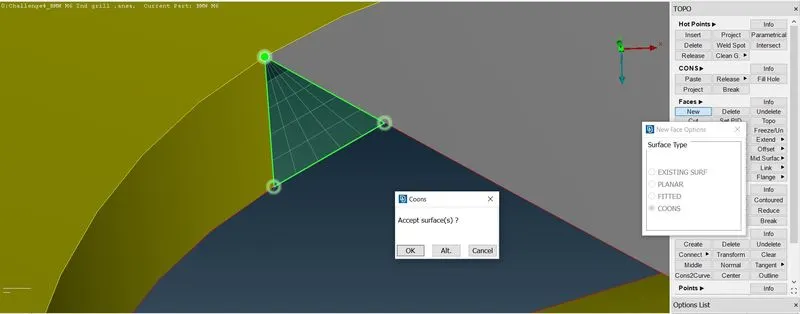
- insert hot points and create a small face in the egdes to avoid distortion in the face.
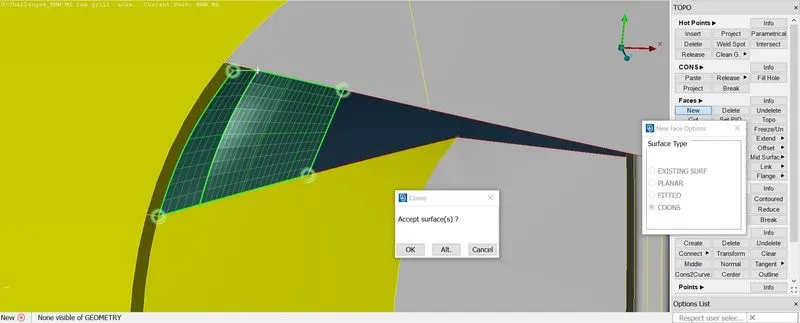
- create new faces to close the openings of the grill.
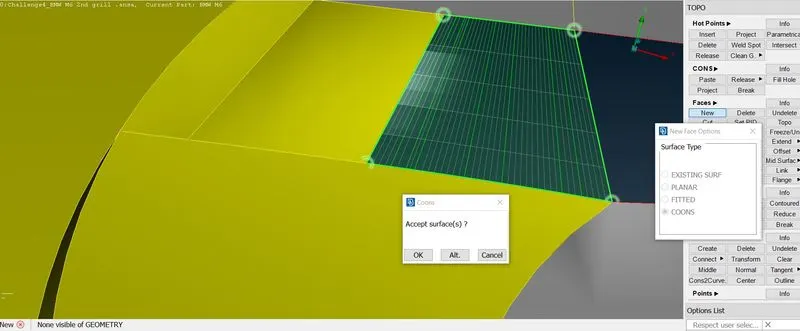
- repeat the same untill closing all the openings.
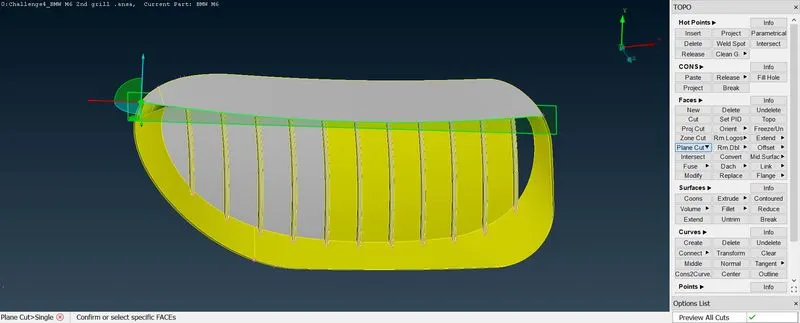
- we have to cut the ribs on the top to join it to the front shade of the grill, using the plane cut option select the 3 points from starting to end of grill in side direction as it cuts the intresected regions.
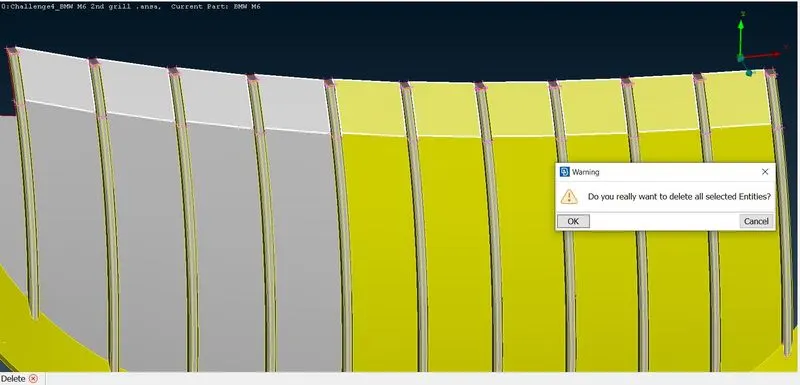
- delete the cutted faces.
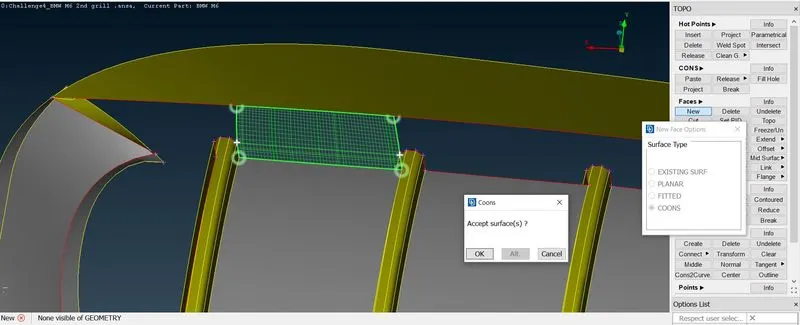
- create new faces connecting the upper shade of grill and ribs. repeat it for the remaining ribs.
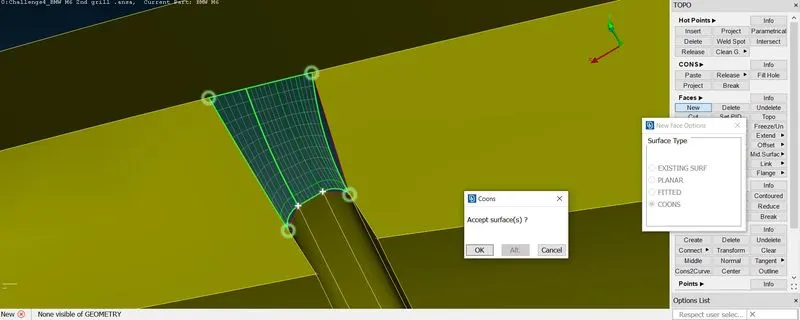
- now create the face wherever necessary to close the openings. and repeat it for remaining openings.
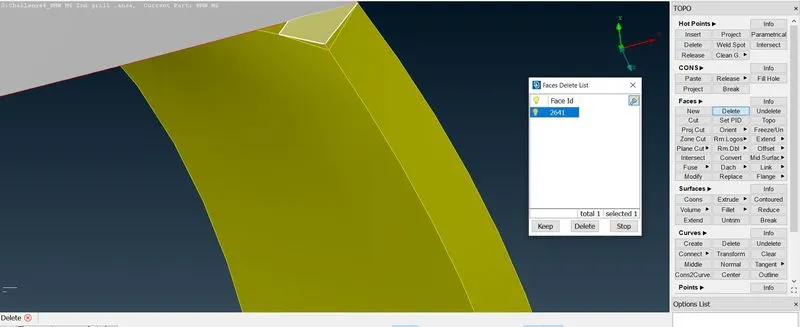
- we should also work on the other side of grill so delete the unnecessary faces.
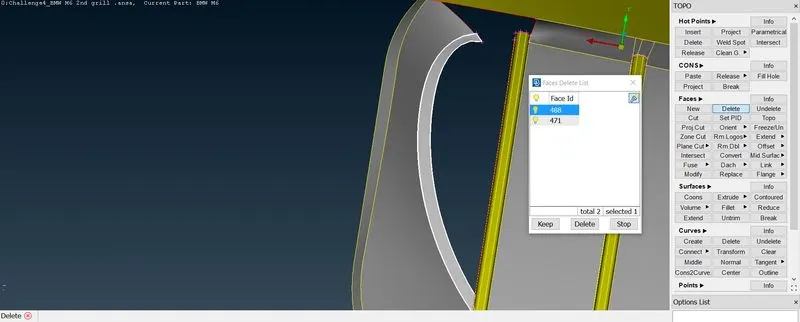
- delete the remaining faces.
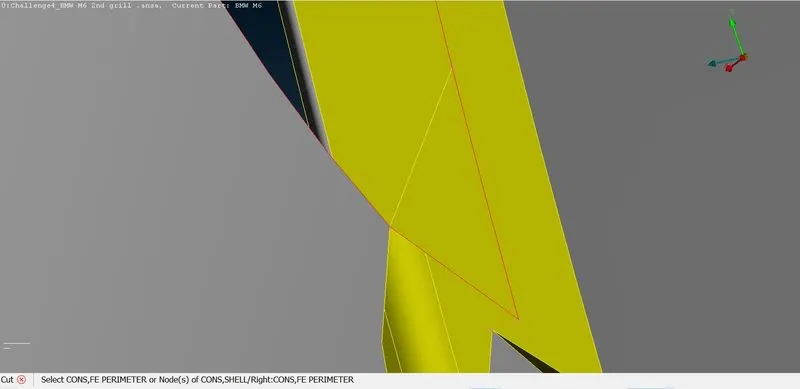
- cut the sharpe edge which can cause skewness. and delete the part.
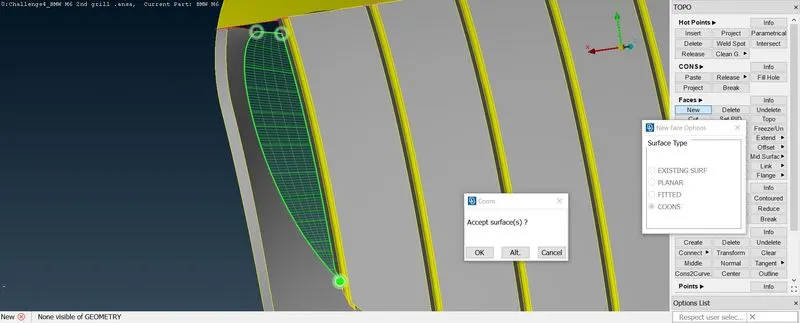
- insert hot points wherever needed and create new face to the requirements of the shape which are clear.
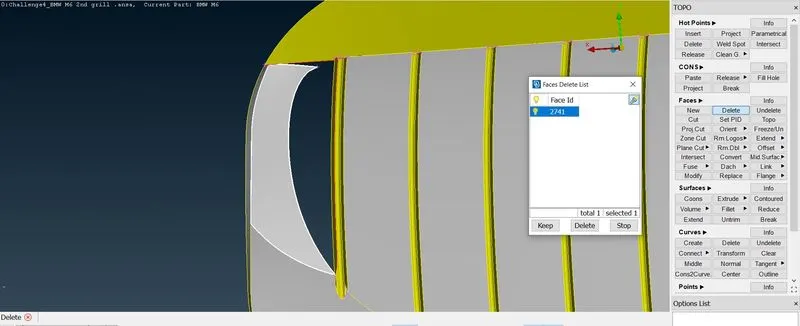
- delete the face.
- delete face as shown in the fig.
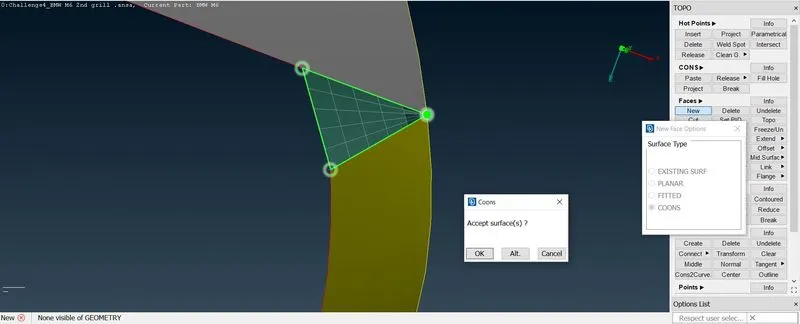
- create new face at the corner of the grill and make sure its small so that it will be clearly created.
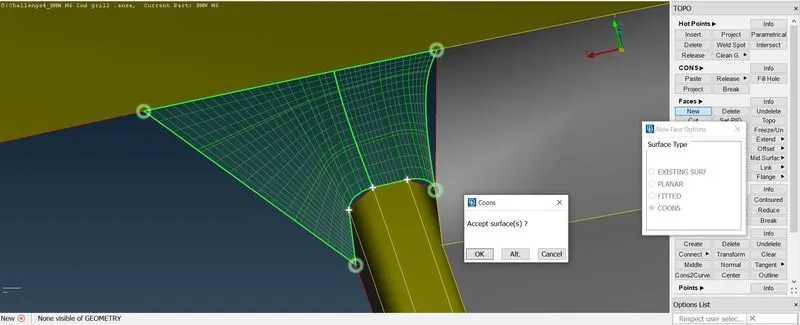
- now join the remaining faces or create the remaining faces.
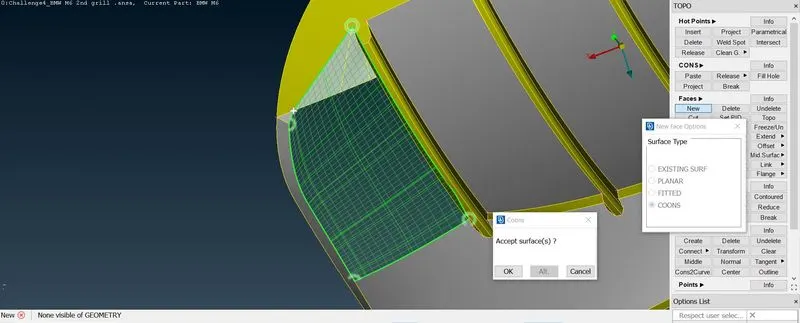
- close up the openings, and this grill is finished.
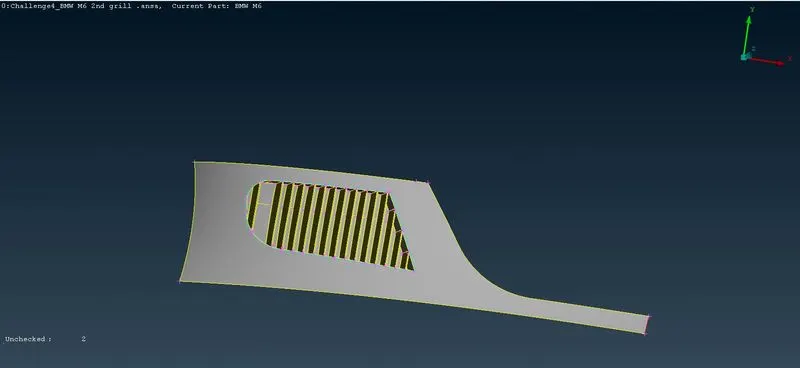
- now isolate the bottom corner grill as we have to work on it.
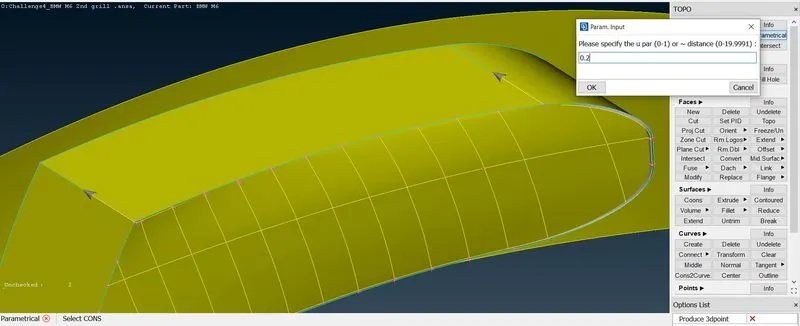
- select the parametric input option as we have to create hot points at the same distance enter value as 0.2 and select the edges of the main grill from bottom. click ok.
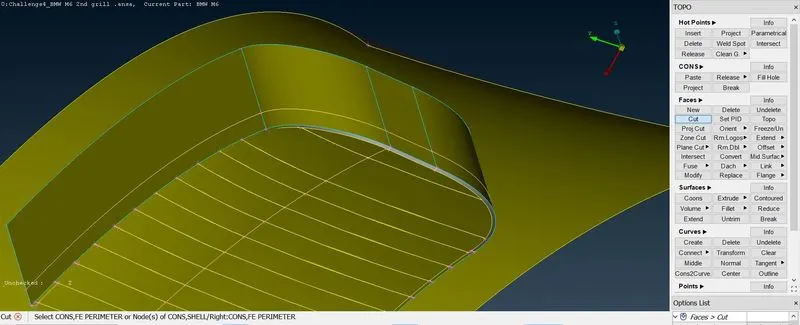
- make a cut using cut command by connecting the hot points created.
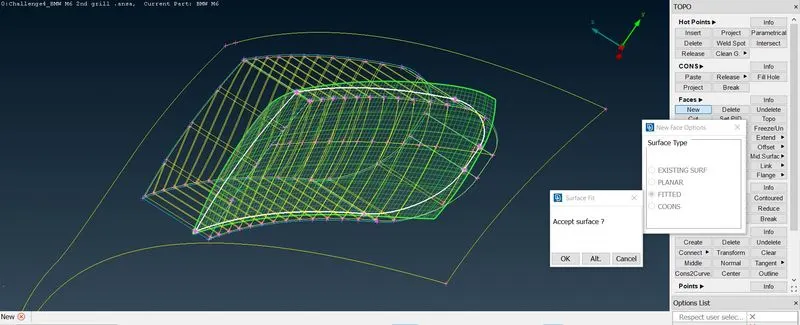
- create a new face where we have cutted the face.
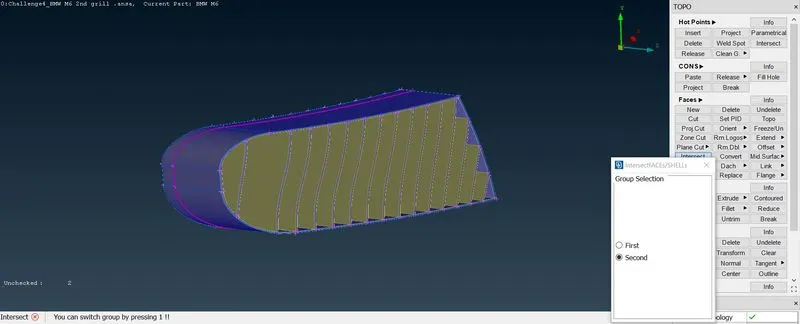
- using intersect option select the face created and middle click and select the grill. and delete the unwanted face carefully which are back of the created face.
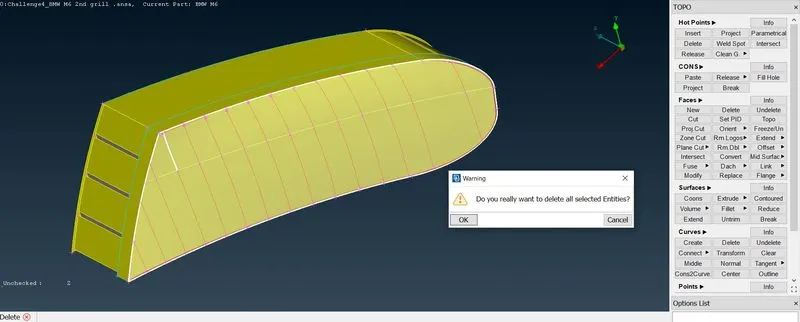
- delete the remaining faces.
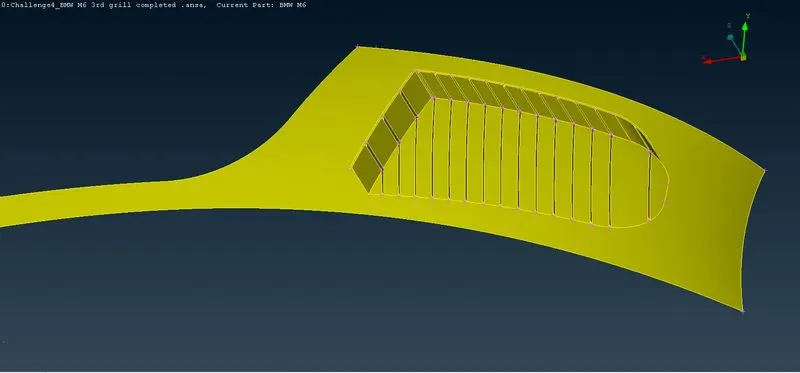
- now the last grill is completed.
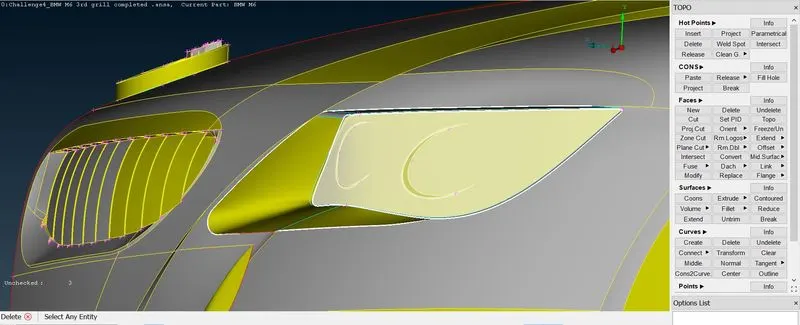
- so now we have to work on head light. select the light part and delete the faces that are not needed.
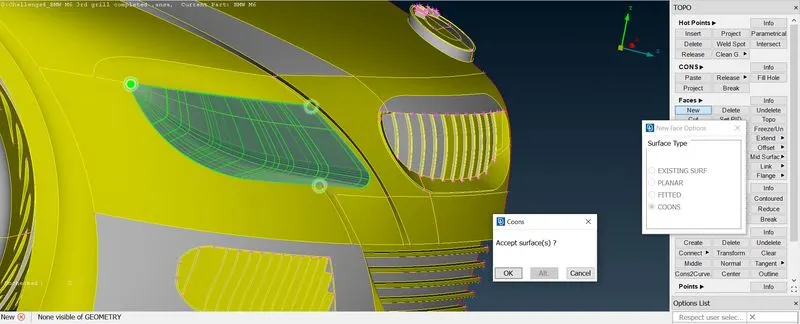
- create a new face for the head light.
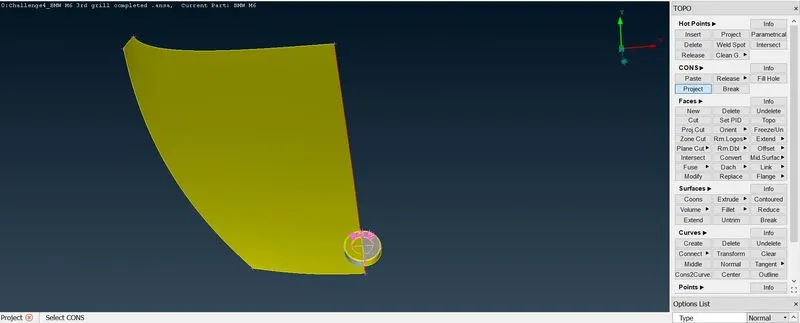
- isolate the logo part.
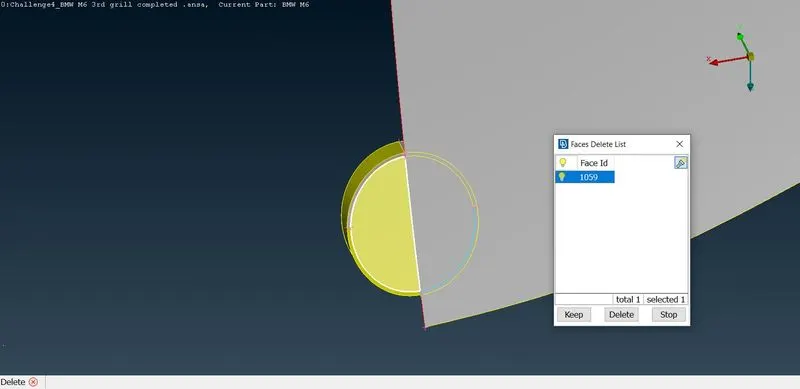
- so delete the back side face of the logo . also project the curves on the bannet and delete the face.
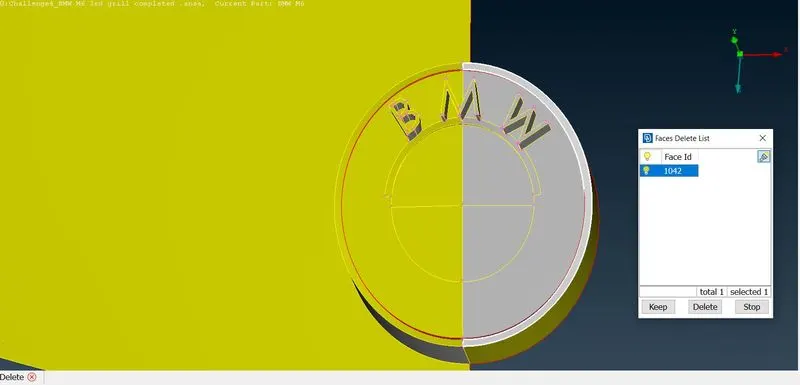
- delete the small face as it appears as single cons.
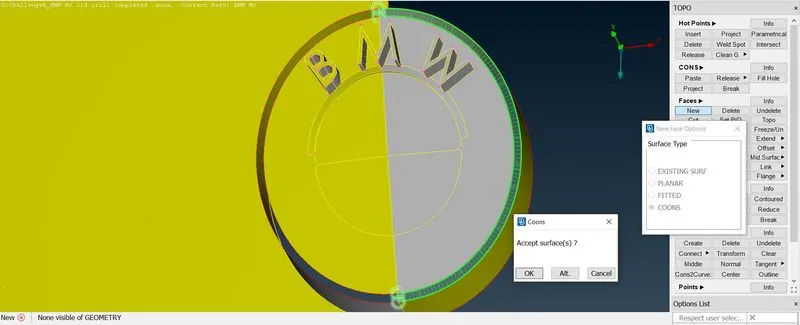
- now create the face on both side. now logo part is finished.
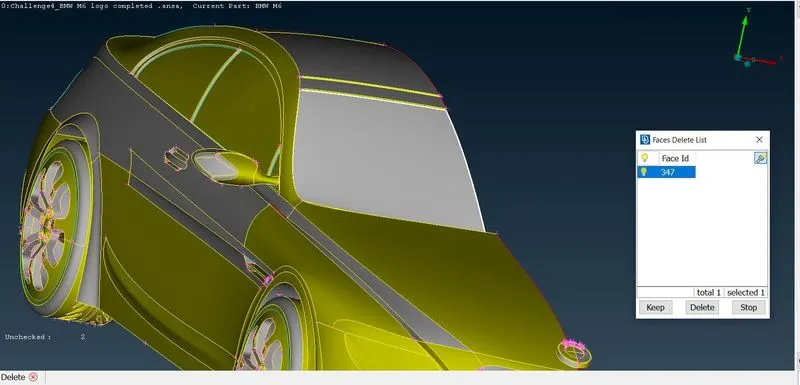
- windshield have triple cons, check for it , we have to delete the extra thickness part of windshield.
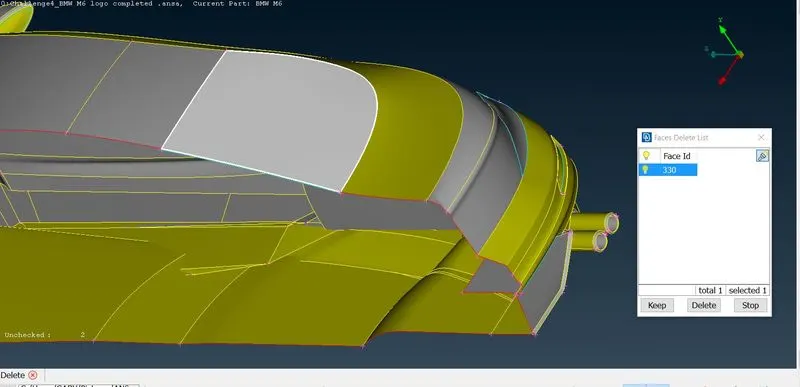
- also delete the rear windshield as it also causes triple cons.
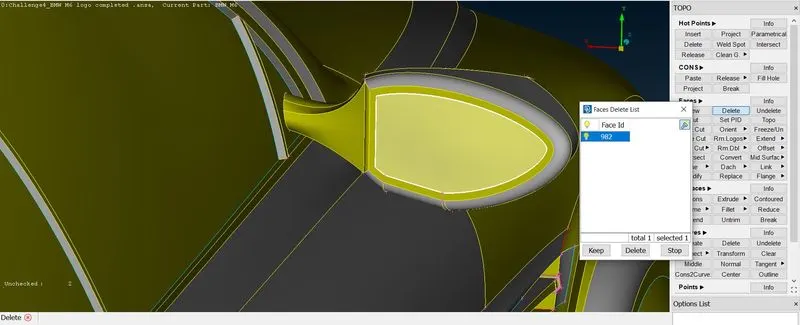
- now we have to work on mirror part as it also shows triple cons. select the mirrors face and delete it.
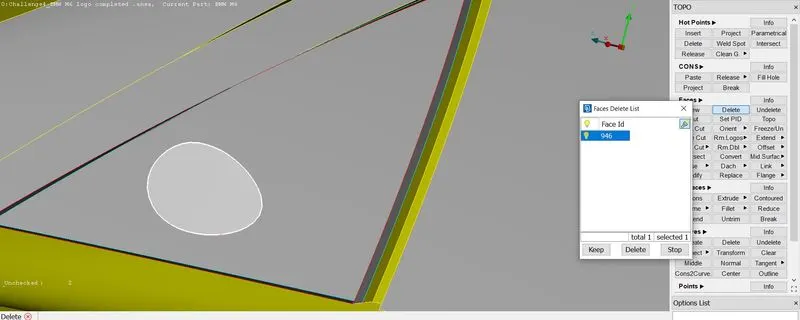
- isolate the mirror as we need to delete the joining part of mirror select the face intersecting and delete it.
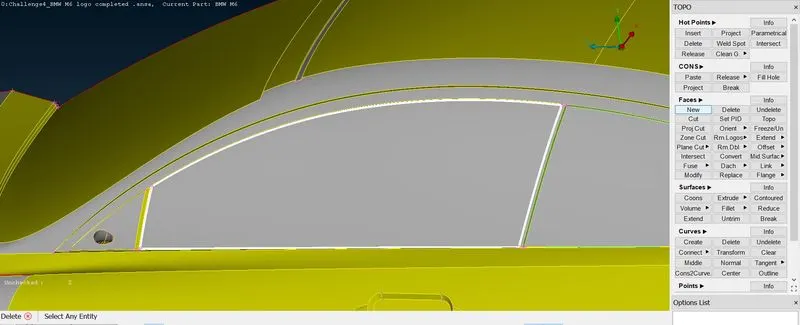
- select the side window and delete it as it's having unwanted thickness. repeat it for back window also.
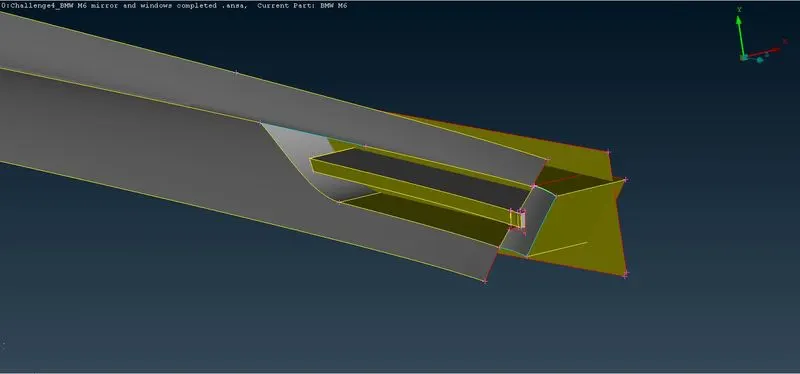
- now isolate the side pannel of car.
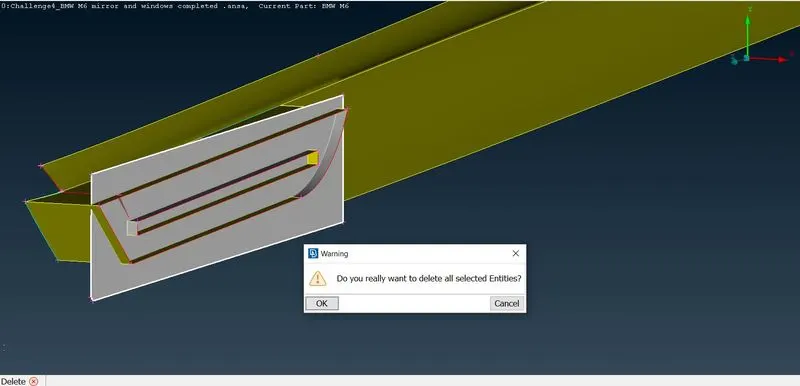
- delete the face as its causing intersection errors.
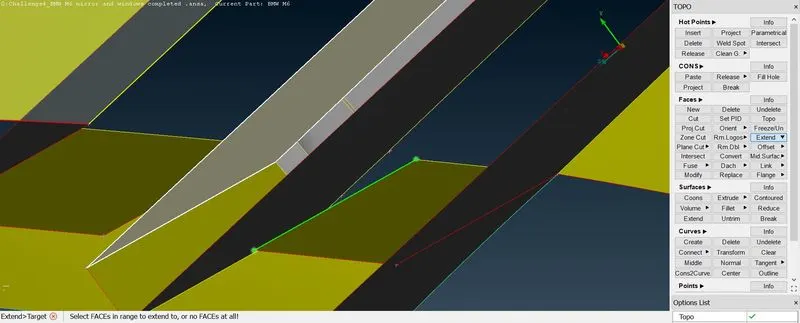
- using extend command select the face as shown in the above fig and extend it.
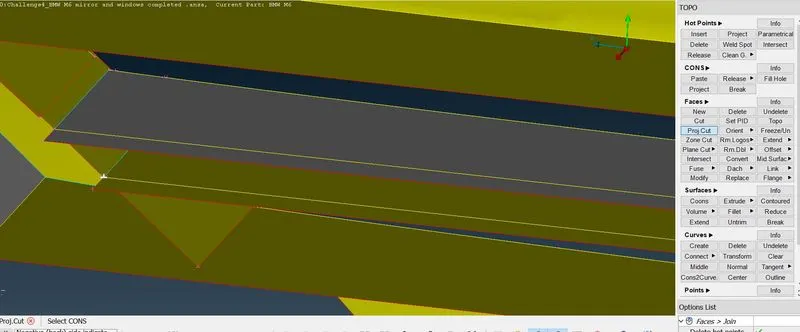
- cut the extra face by using project cut option under faces tab select the extra edges and cut it.
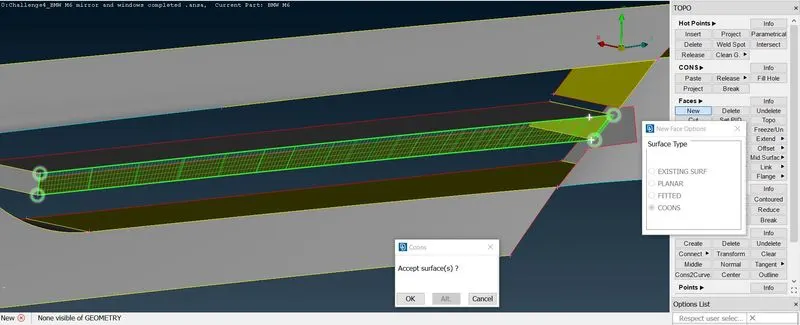
- close the edge of the deleted face by creating new face.
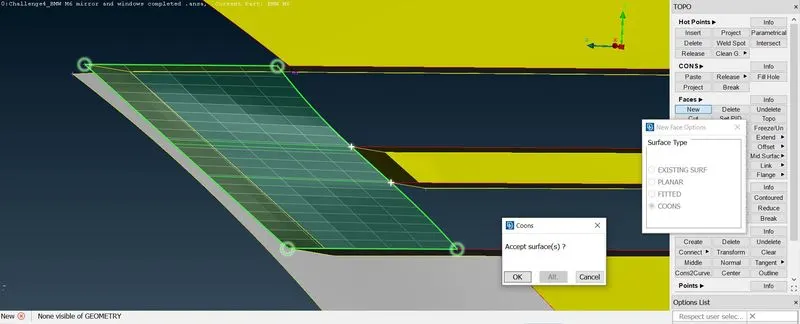
- insert a new face on the side of the pannel which joins the 3 parts of the pannel. and the pannel is finished.
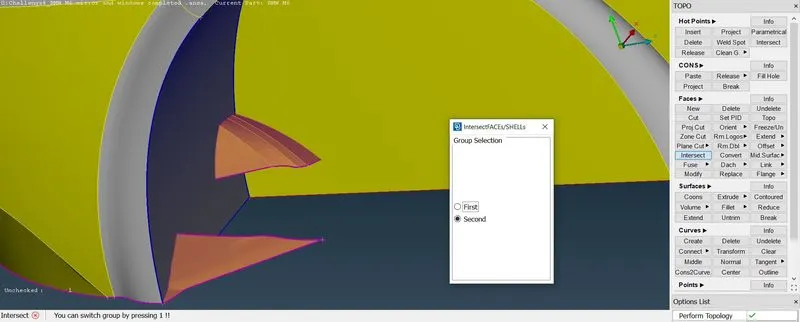
- isolate the tyre region and delete the intersecting face over there without deleting entire part.
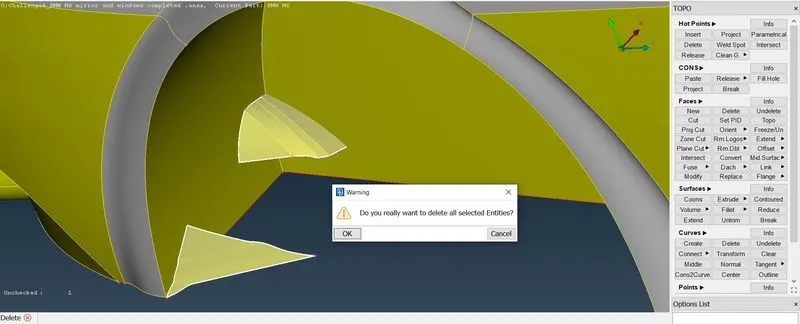
- now delete the parts manually.
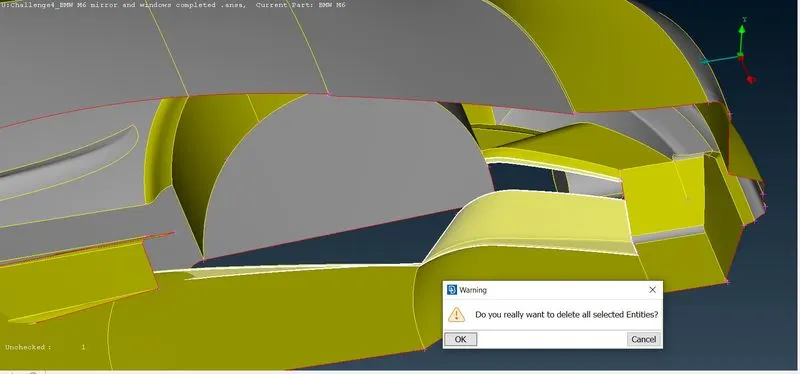
- now we have to cleanup the floor of the car, so delete the tiny faces which are not properly alligned. also delete the faces of the floor that are intersecting respectively.
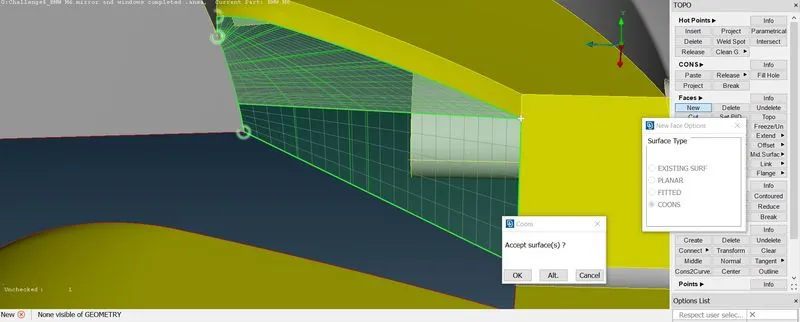
- now create the new faces and insert hot points wherever needed.
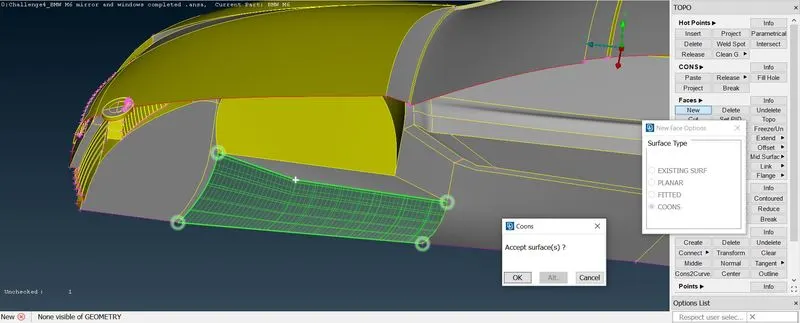
- create new faces over the floor of the car accordingly to look neat.
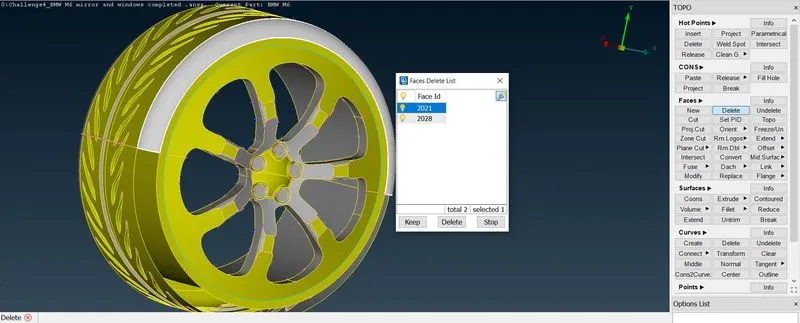
- isolate the tyres, now delete the intersecting part one by one carefully without deleting the other part of tyres.
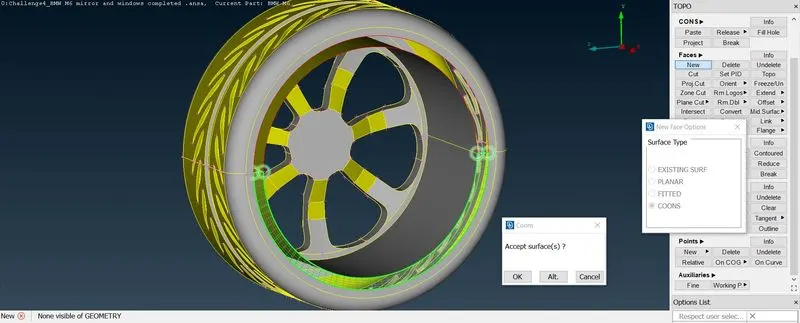
- delete the face causing red cons and create a new face over there. repeat the same for the other tyre also.
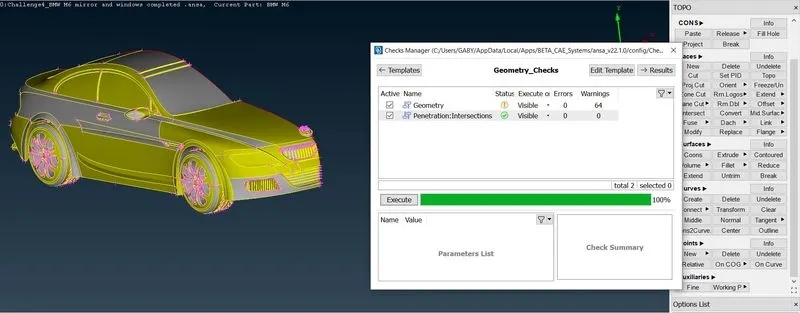
- so far we have cleared the error so check the geometry for errors. as it shows there are no errors any more.
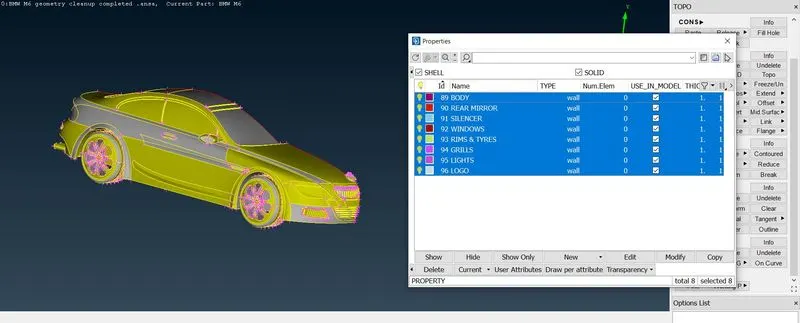
- so lets assign the PID's of the car part. i have created the PID's accordingly to the requirements needed as shown in above fig.
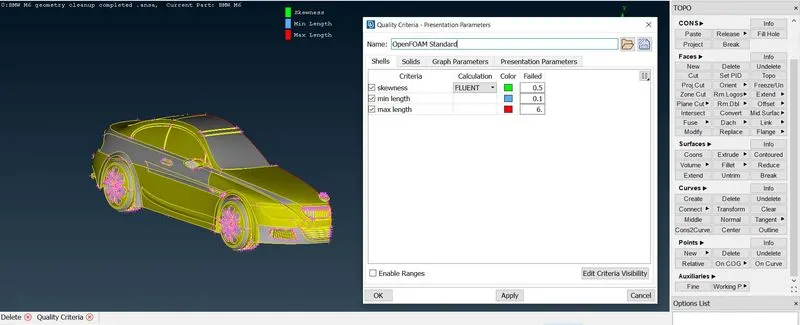
- now lets give the quality critiria for our meshing model. select the skewness(default) and min & max length(min-0.1 & max-6).
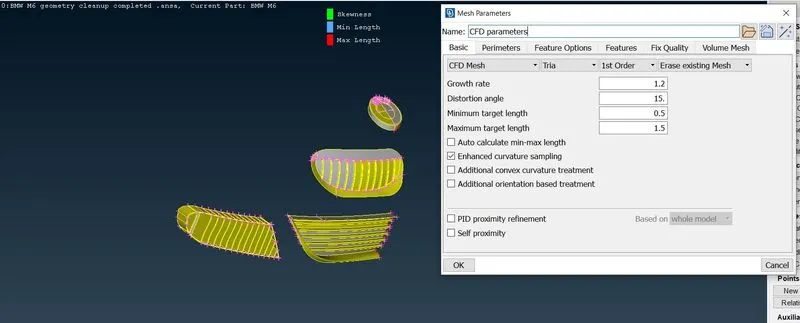
- isolate the 3 grills and select the mesh length as ashown in fig.
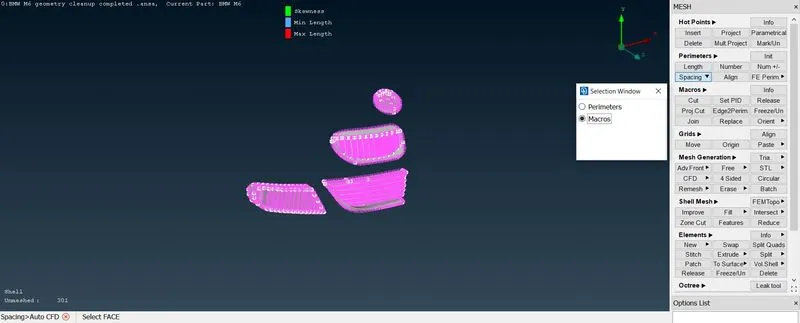
- select the spacing and go for auto cfd and click perimeters and select the whole grills and select the macros and select the grills again. and go for cfd visible.
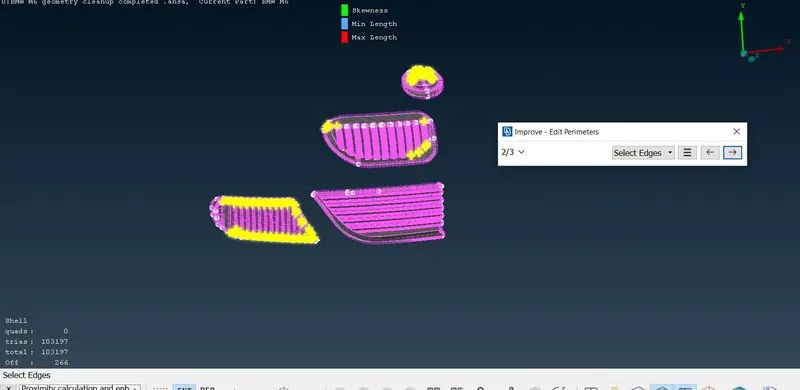
- we can see the off elements are created and we have to clear it by selecting the off and click on improve and go for the reconstruct and click ok as shown in the above fig and again go for the reshape option and click ok now the off elemensts are cleared.
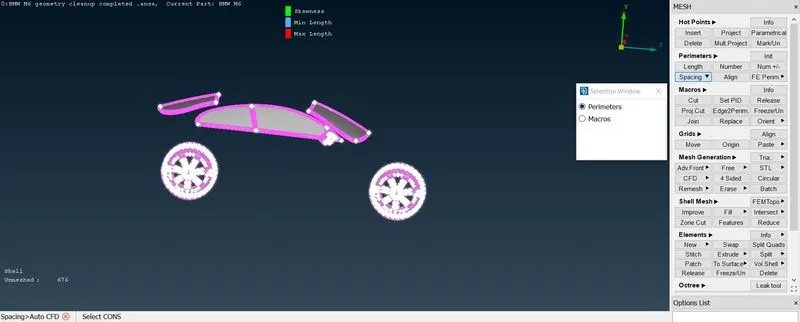
- isolate the tyres and windows as it has to be meshed in same length. follow the steps done for grills. make sure to clear the off elements.
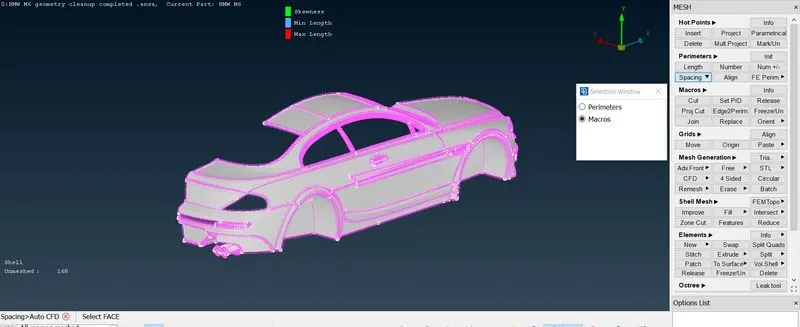
- isolate the body of car and mesh it by following the steps done for above parts and also clear the off elements.
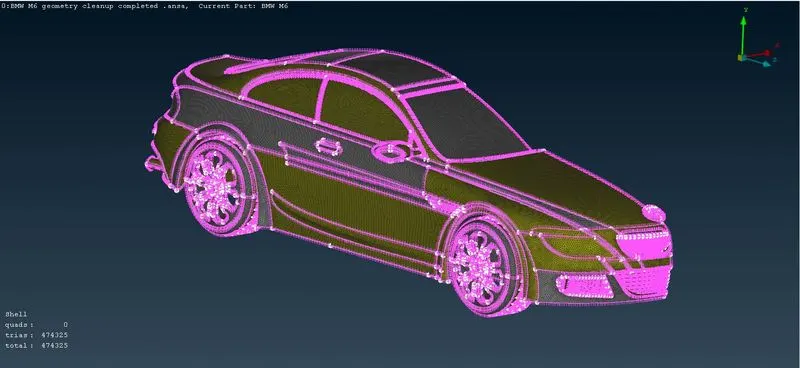
- after completing the meshing of car we can see the mesh is clear without the off elements.
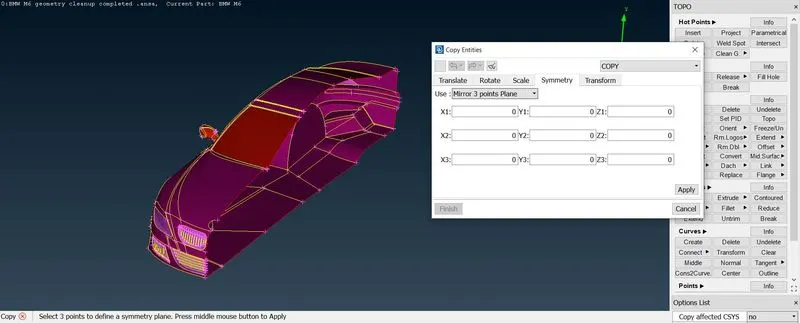
- after completing of mesh we have to create the other half of the car, using transform option in the above deck select any 3 points starting from the front of car to the end of car and any middle point. click finish to complete the process.
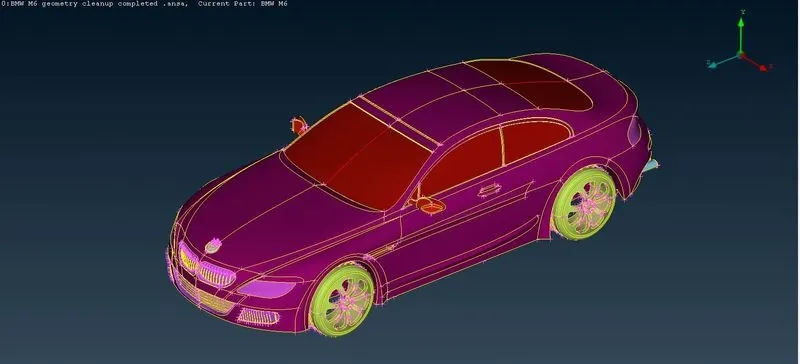
- after mirroring the cars half part is shown in above fig.
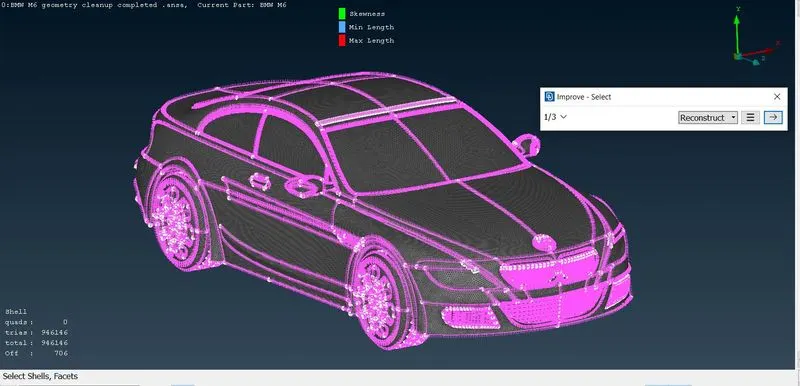
- before clearing off elements.
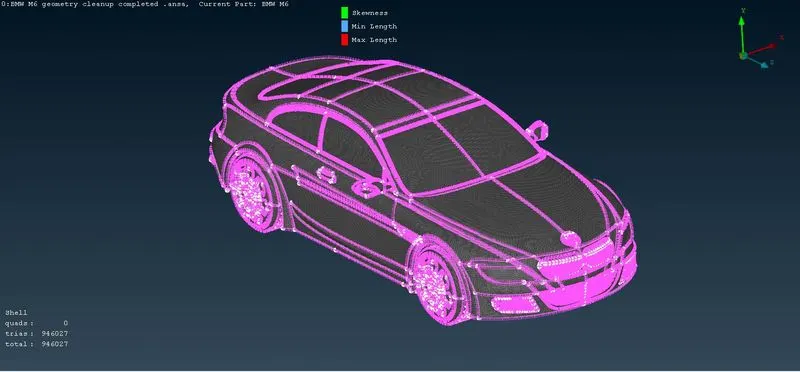
- after clearing off elements.
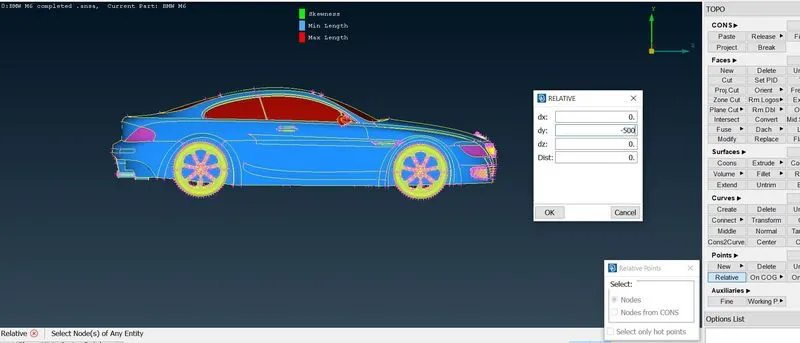
- creating wind tunnel, first we have to create points to create curves so select the relative option in the points tab and enter the distance value it should be created and click ok. also create the points front and back side of the car accordingly to the requirements so that we can create curves.
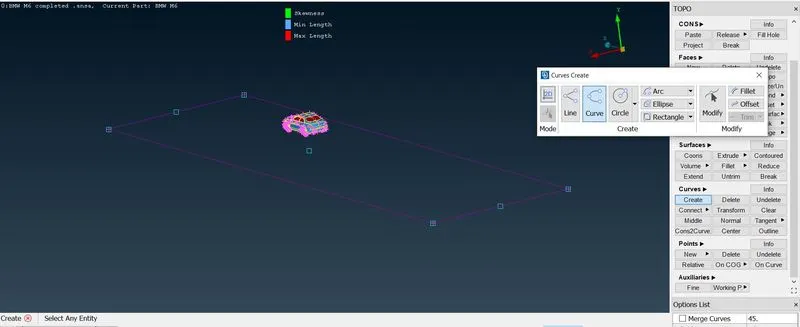
- create the curves by selecting the create in curves tab and select the points that are to be joined.
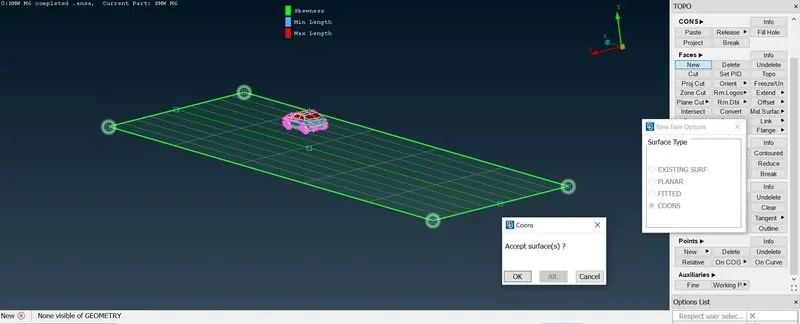
- create a new face selecting the curves.
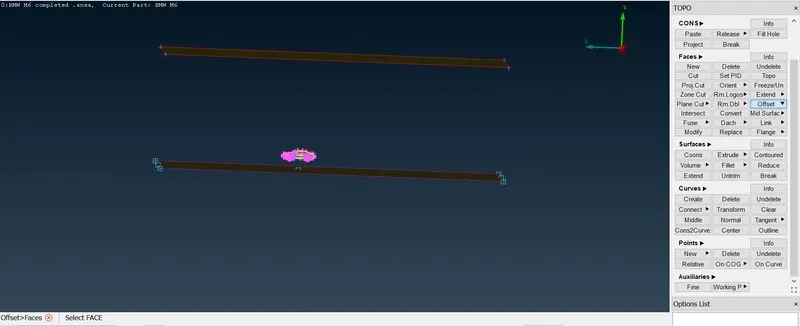
- using offset option select the bottom face and enter the distance value. click ok now the top face is created. similarly create new faces on the sides of top and bottom of wind tunnel.
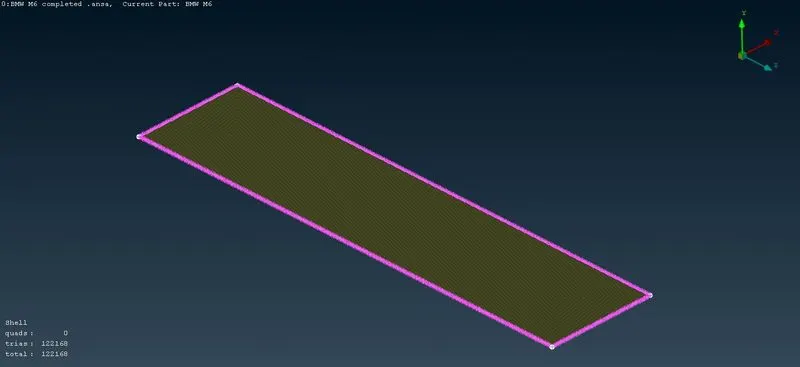
- isolate the bottom face and mesh it up to the requirements.
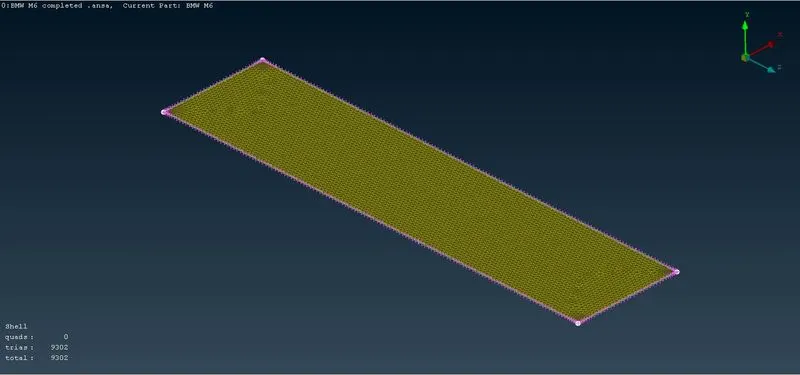
- also isolate and mesh the top face as required.
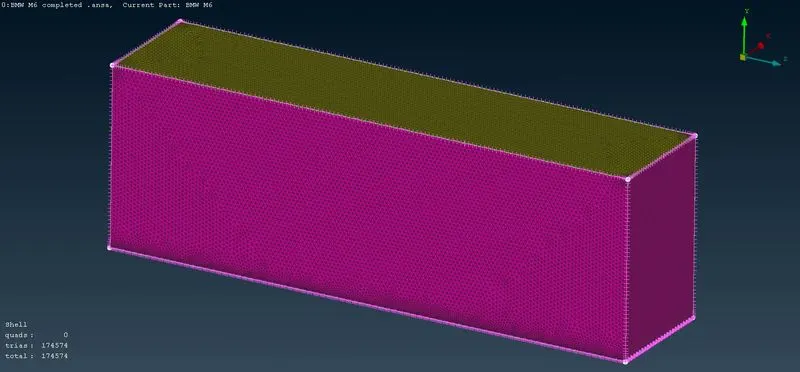
- isolate the side face and mesh it to the required values. now the given geometry is completed.
RESULTS:
These are the final results of meshing of the BMW car and wind tunnel.
CONCLUSION:
- I have learnt to cleanup the complicated geometry.
- Throughout this challange i've learned to assign quality critieria like skewness and min & max length.
- I have learned to mesh a car and wind tunnel.
- I have learned to create a simple wind tunnel using relative points.