Week 5 Challenge : Surface wrap on Automotive Assembly
CHALLENGE 5: SURFACE WRAP ON AUTOMOTIVE ASSEMBLY
AIM:
To surface Wrap on given Automotive Assembly.
PROCEDURE:
- First import the model to ansa workspace.
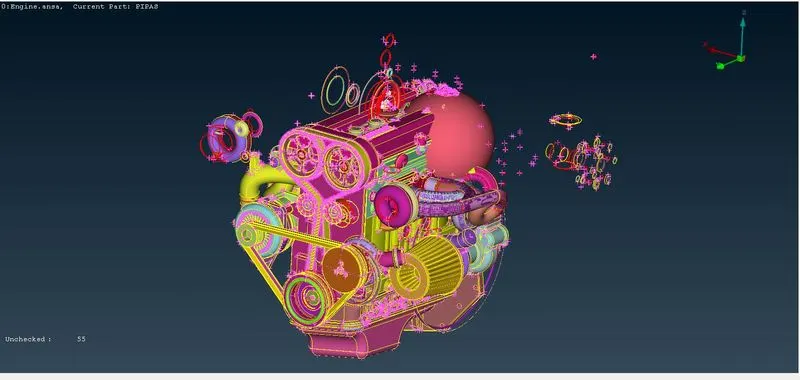
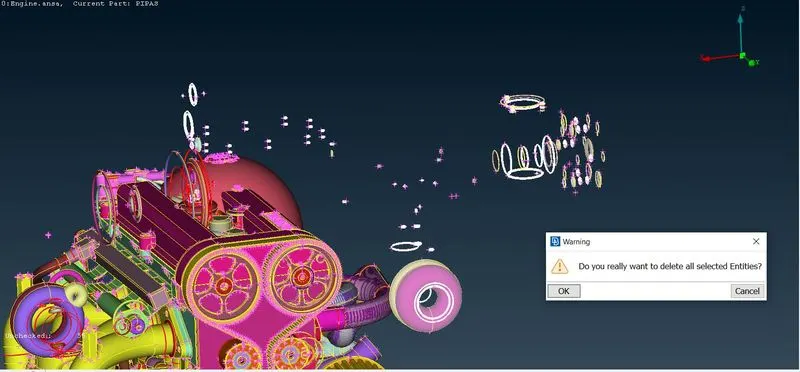
- we can see there are many unwanted tubes arounf the engine part so delete it
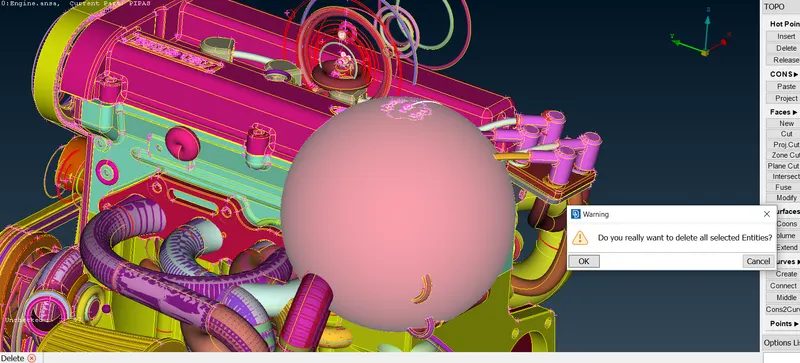
- delete the unwanted part present in the engine.
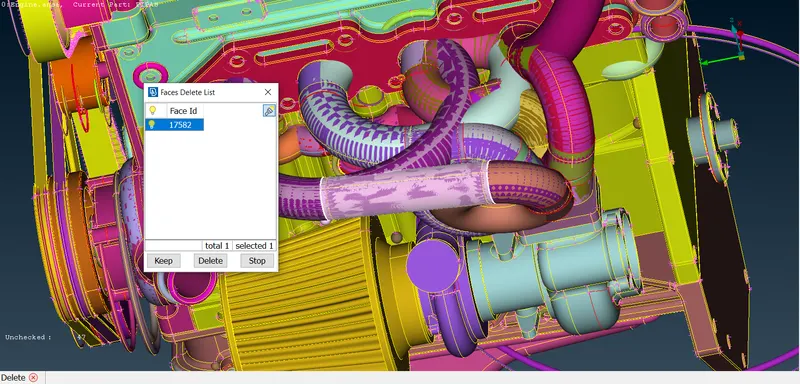
- we have to delete the overlapping surfaces that are present in the surfaces.
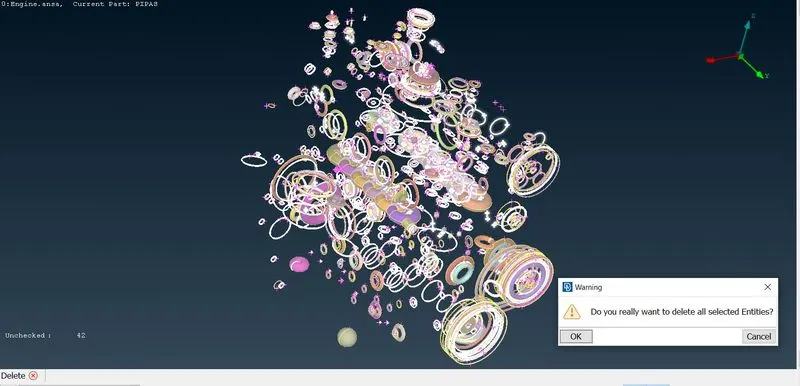
- isolate the engine's main parts which are necessary and delete the unwanted parts.
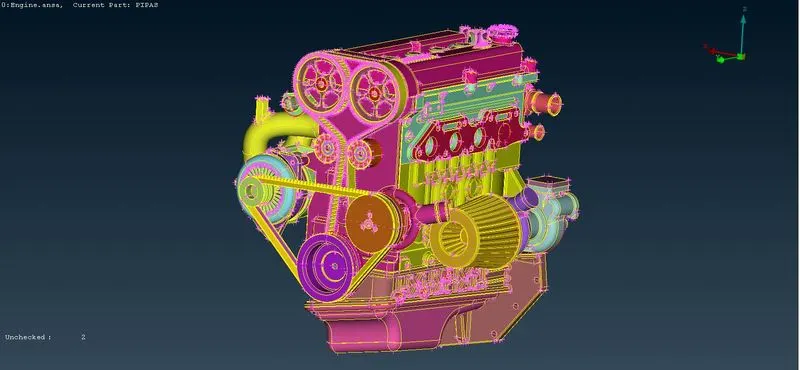
- after deleting the unwanted parts engine will look like as shown in above fig.
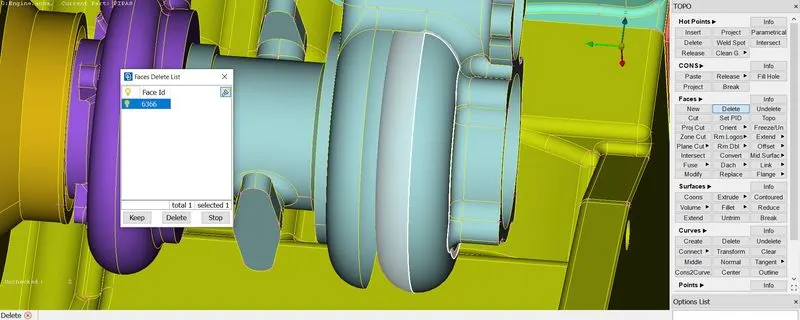
- there are some other parts which are intersecting with the needed parts so we have to delete it everything.
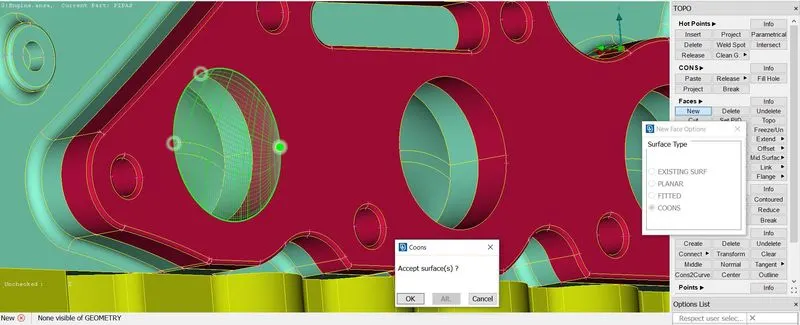
- after deletion of intersecting part we have to close the openings wherever present in the engine part.
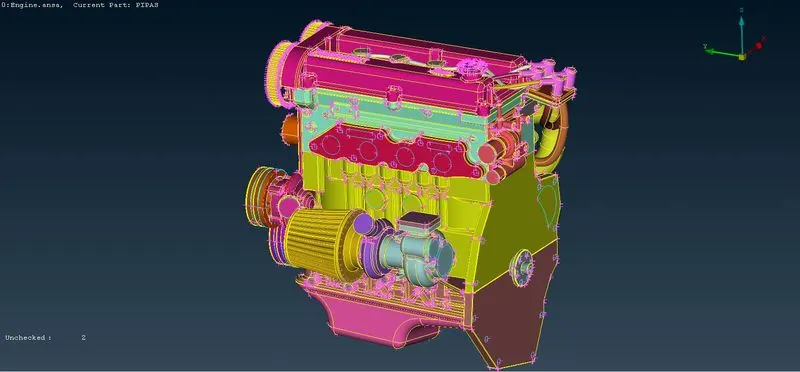
- the engine will look after closing all the opening as shown in above fig.
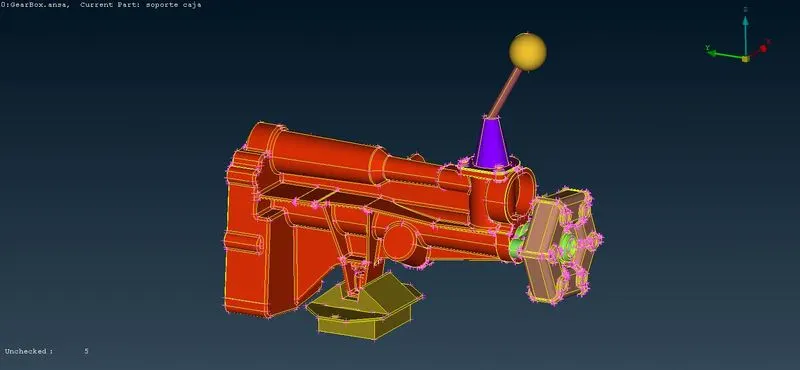
- after completing the engine cleanup open gearbox model into ansa workspace.
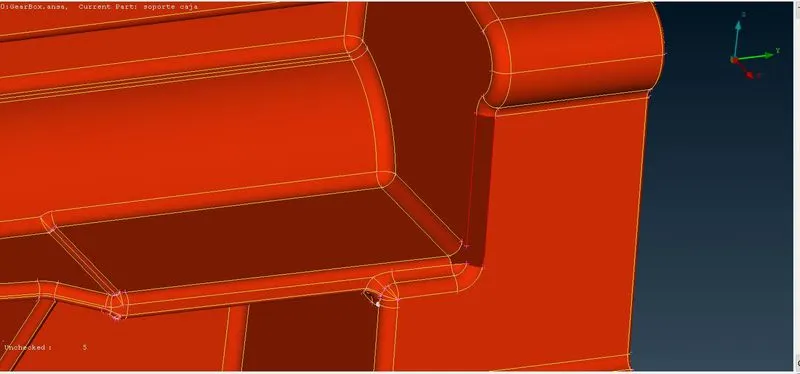
- as we can see over there red cons present we need to clear so delete the face over there.
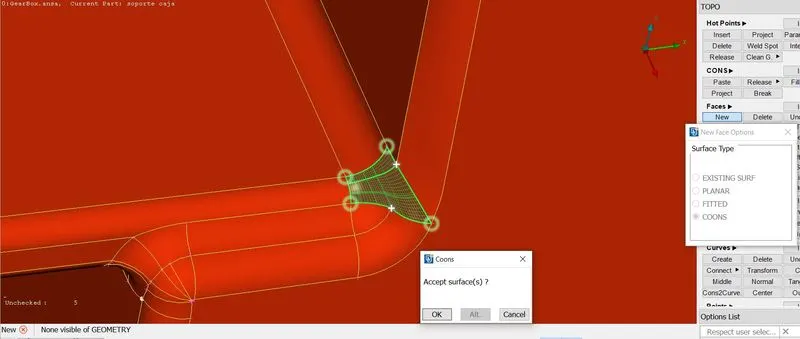
- create a new face over the deleted face.
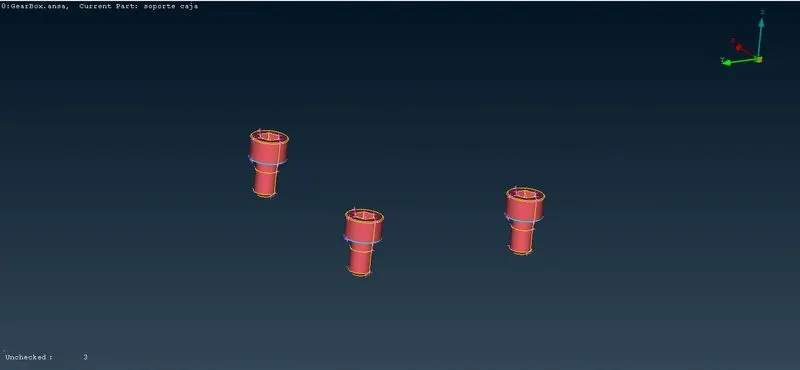
- so now isolate the bolts in the top of gearbox and and work on it.
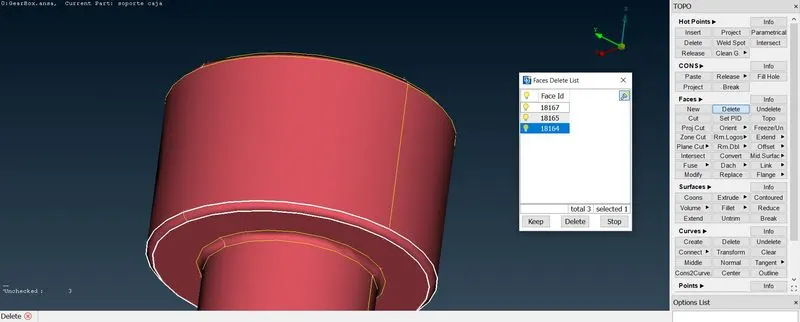
- we can see there triple cons are present so delete the intersecting face.
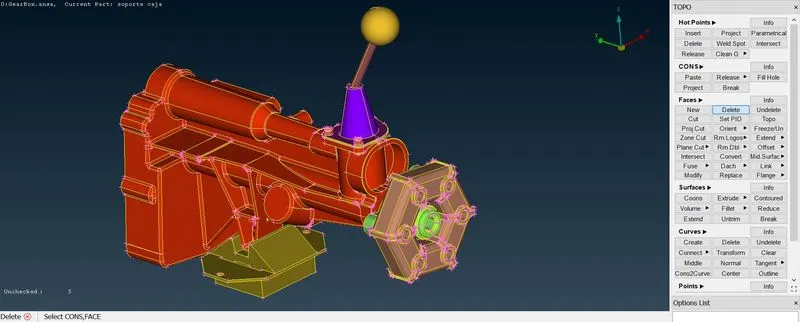
- the gearbox is completed now.
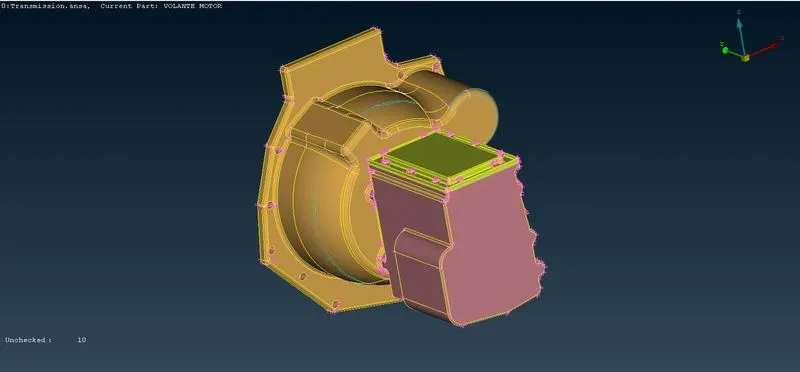
- open the transmission model in new ansa workspace.
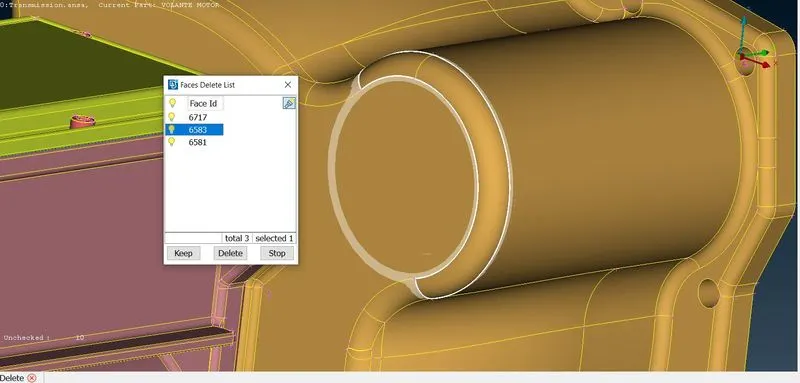
- delete the intersecting part as shown in above fig.
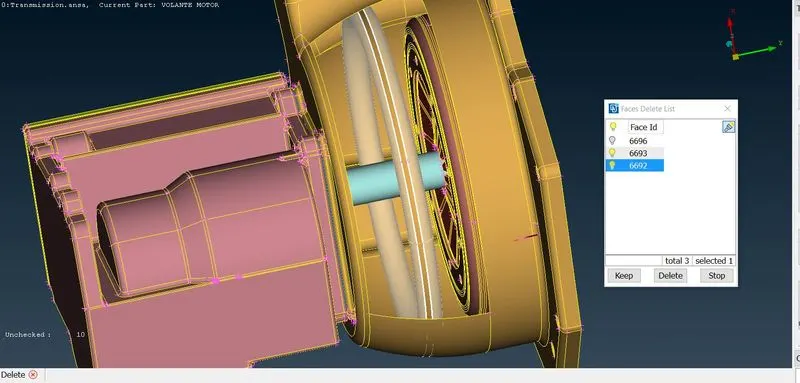
- isolate the part and delete the intersecting part.
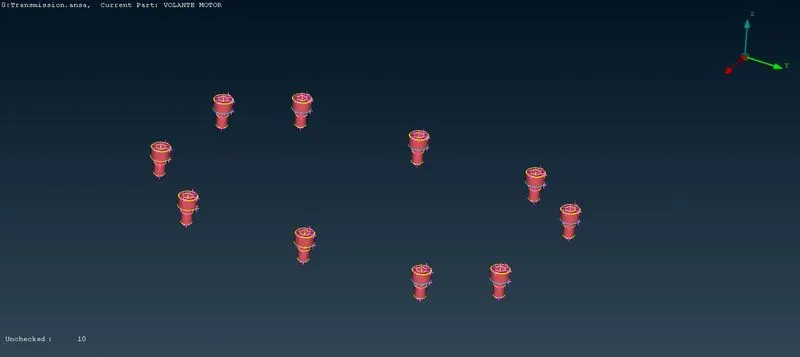
- isolate the bolts as we have to work on it.
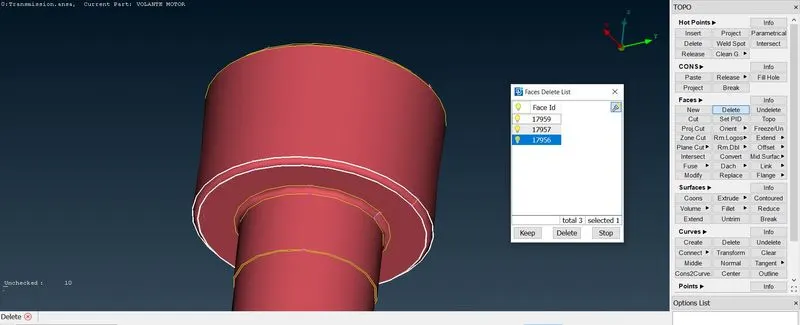
- now delete the intersecting face.
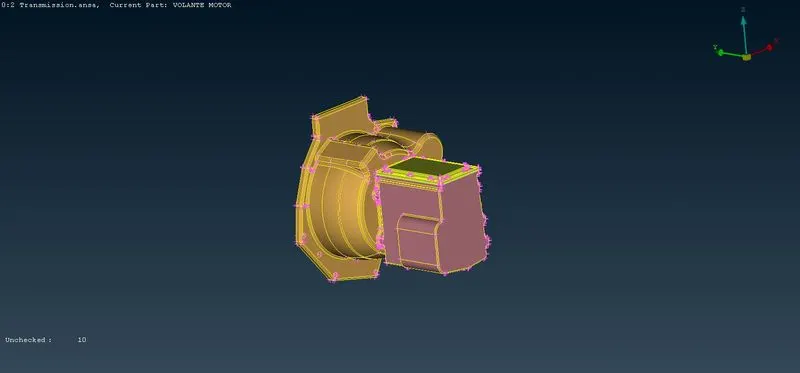
- the transmission part is completed.
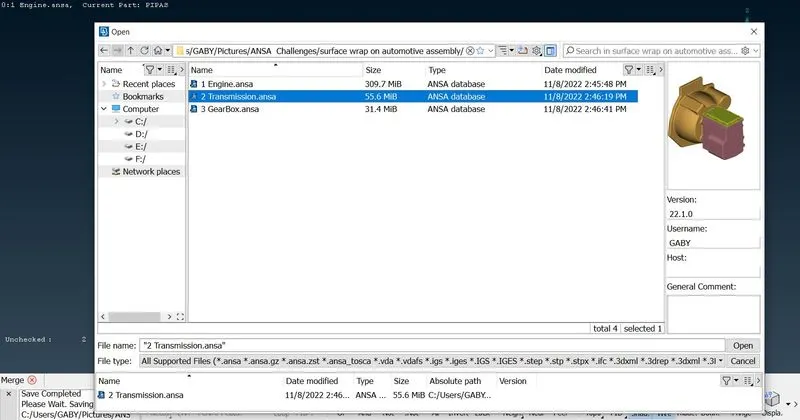
- go to the file menu and select the merge option and a popup open box opens select the transmission and click ok.
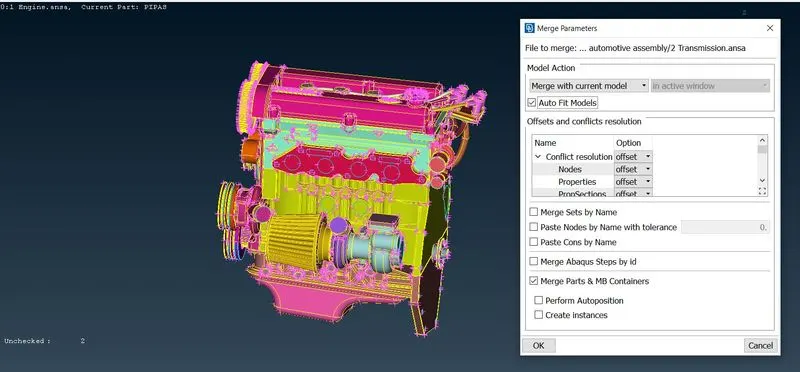
- now make sure all are default property and click ok.
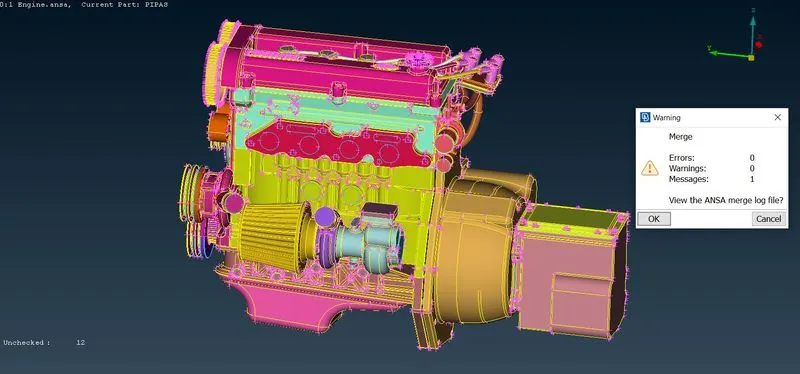
- we can see the zero errors and warnings in the popup. which means the part is correctly merged.
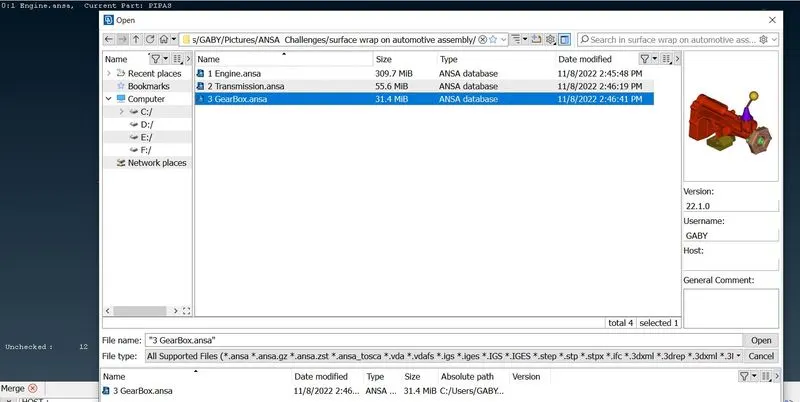
- now do it again for the gear box.
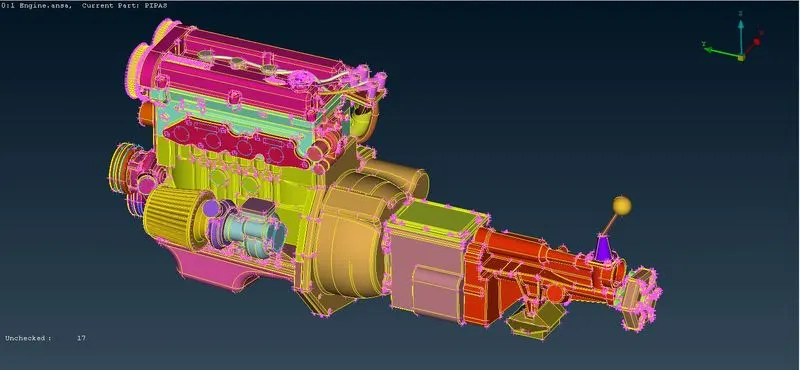
- now the given parts are merged as shown in above fig.
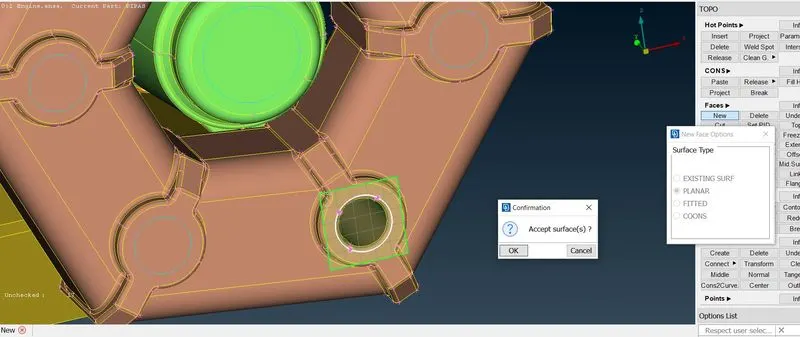
- now we have to close all the openings present in the whole model.
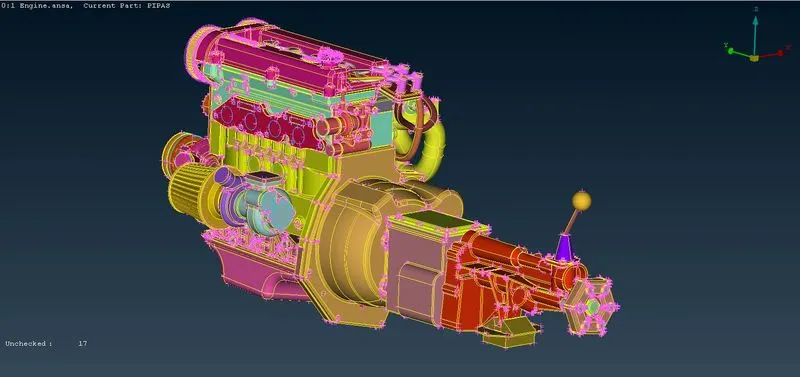
- now the openings are closed. and the model is completed.
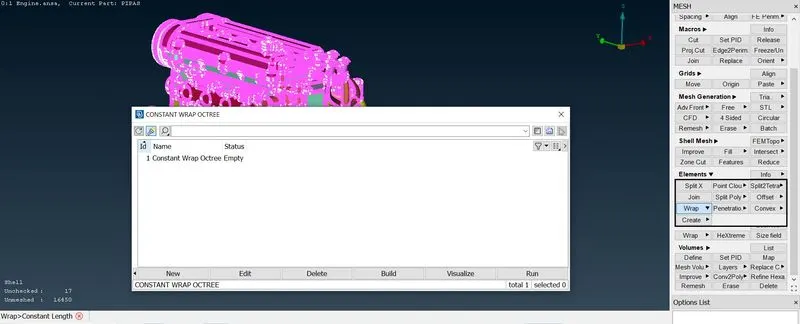
- now go for mesh tab and go for wrap option in elements tab.
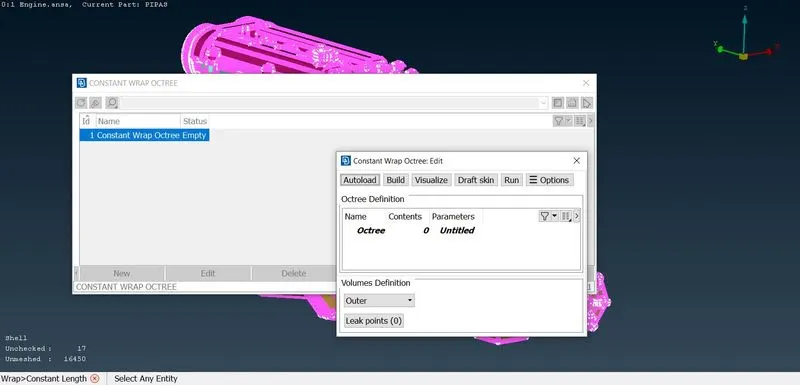
- double click on the name and a popup opens.
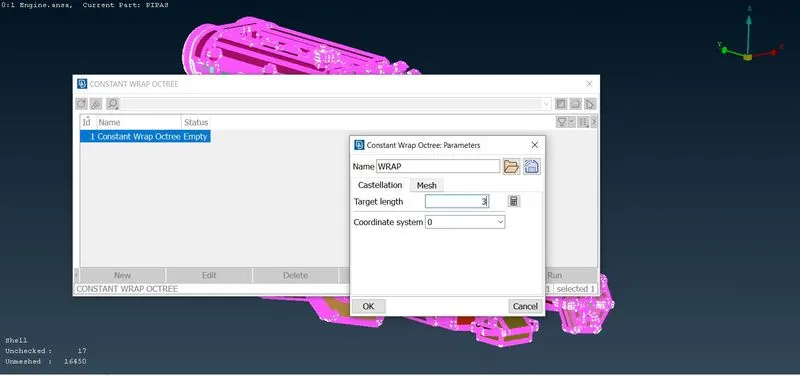
- now open the parameters and assign the mesh length and rename it.
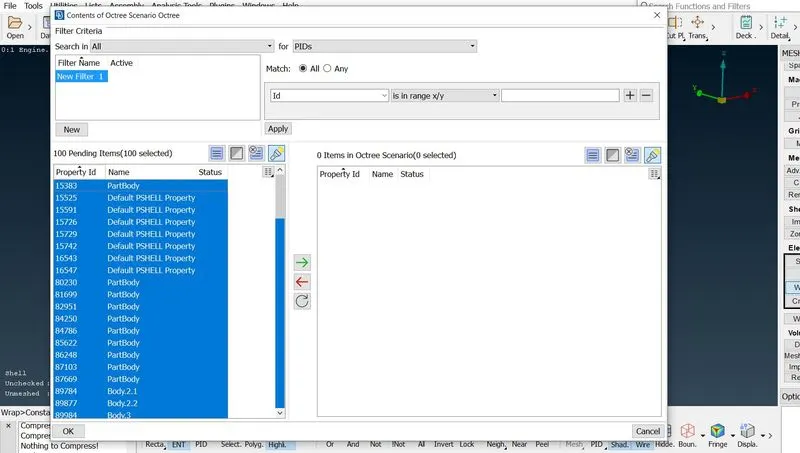
- now open the contents and select all the pid's and click green arrow. and click ok.
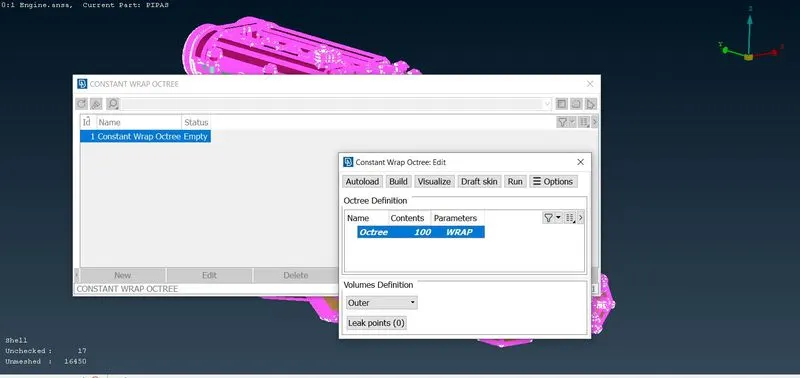
- we can see that the parameters are assigned, now we can select RUN at top. and wait untill it done.
RESULTS:
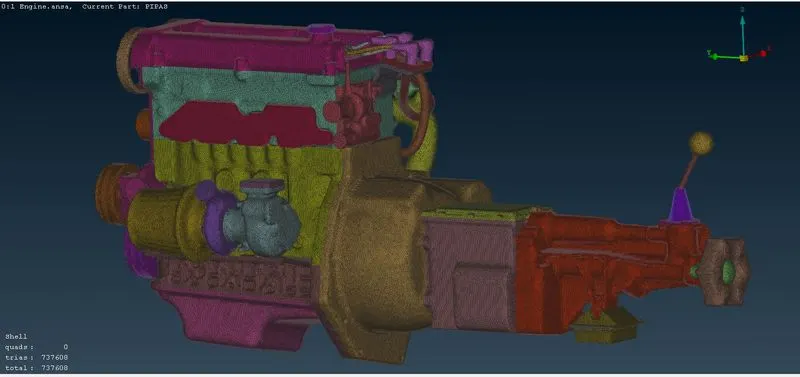
- So the given challenge is completed now.
CONCLUSION:
- I have learned to clear a complicated geometry of automotive assembly.
- Throughout the challenge i've learnt to merge a part with other.
- I also learned to surface wrap a automotive assembly.