Week 2 Challenge : Surface meshing on a Pressure valve
CHALLENGE 2: SURFACE MESHING ON A PRESSURE VALVE
AIM: To Mesh the Surface of a Pressure Valve.
PROCEDURE:
- After importing the model, the model has some topo errors, so TOPO cleanup process should be done.
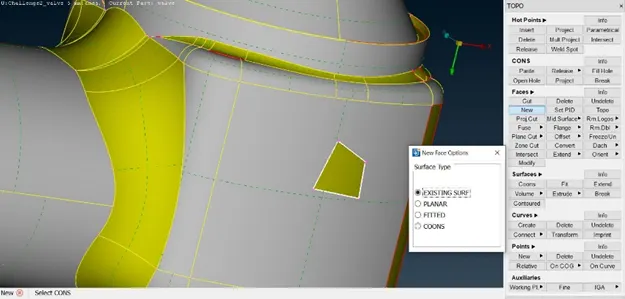
- By selecting the New command from faces tab select the faces that are to be patched.
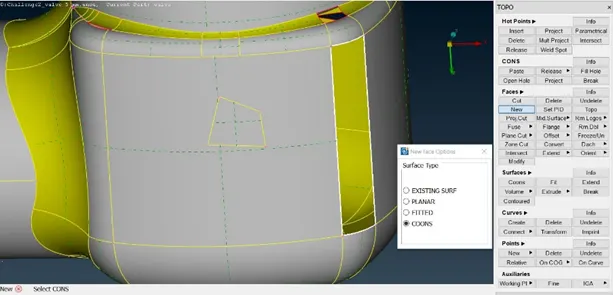
- Similarly select the other faces that are to be patched with the coons surface type.
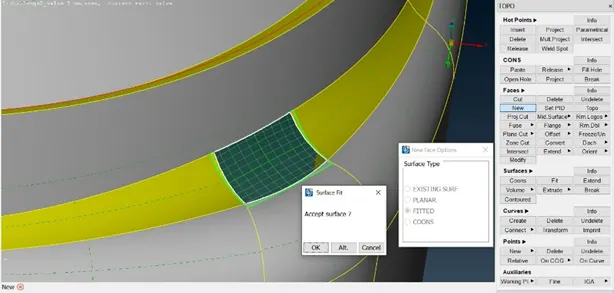
- Do the same for this face also with the coons surface type.
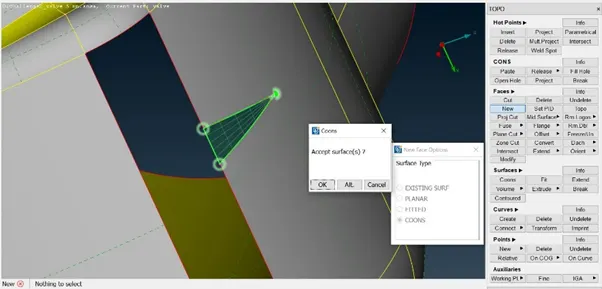
- For this face, first select the new command and select the small triangle face to patch that gap.
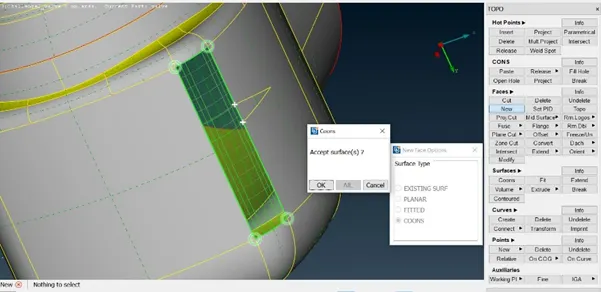
- Again select the rectangle face to be patched and click ok.
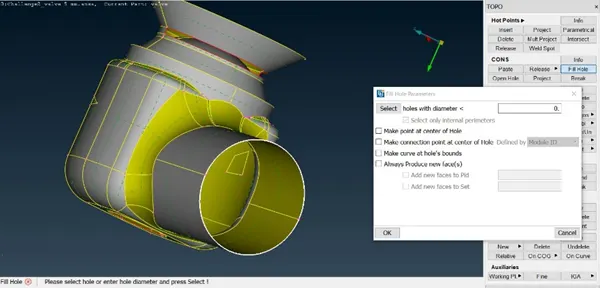
- Now select the fill hole command under cons tab, and select the inlet hole that are to be filled.
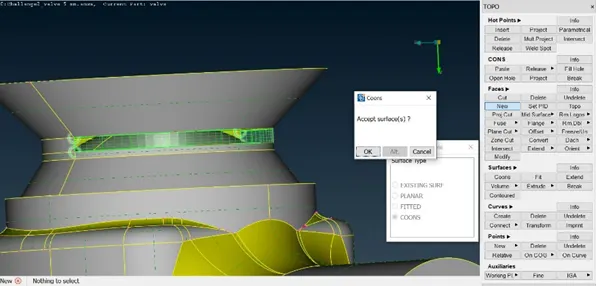
- Now again select the NEW command and select the neck region that are to be patched.
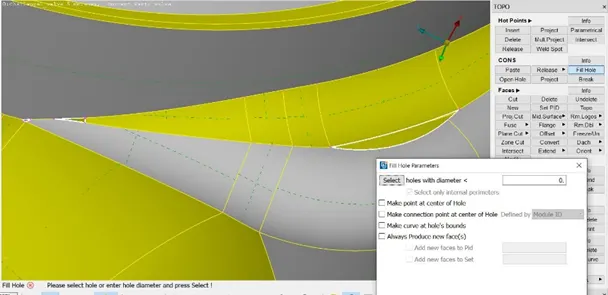
- There are some cracks present in the neck region of the body, By selecting the fill hole command and select the faces to be patched.
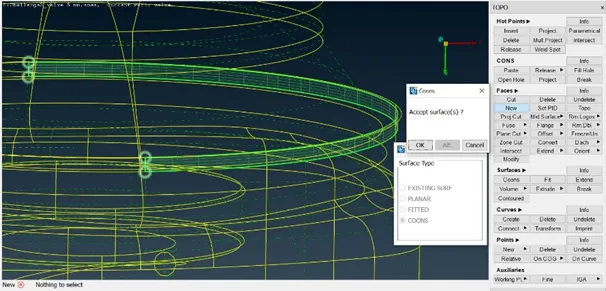
- There are some patches that are hard to select, so click on wireframe model and select the faces to be patched.
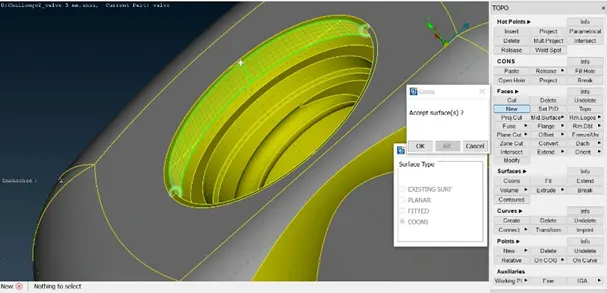
- Now rotate the model to its bottom. There are still some single cons are to be patched. Similarly select the new and select the coons option and select the single cons that are to be patched to the half of its circle. And repeat the other half.
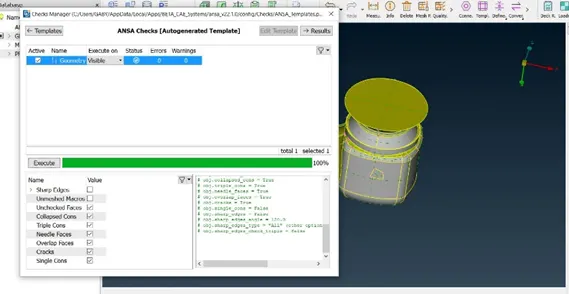
- After completing the patches . check the geometry by selecting checks manager on the top check deck and select geometry check and click execute. The patches are cleared now.
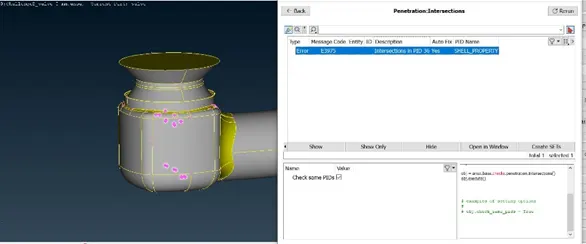
- As we can see intersection error in the check geometry, it has to be cleared.
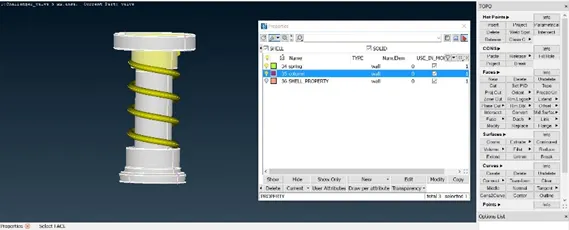
- Isolate column and spring using not operation. And set PID’s to column and spring separately.
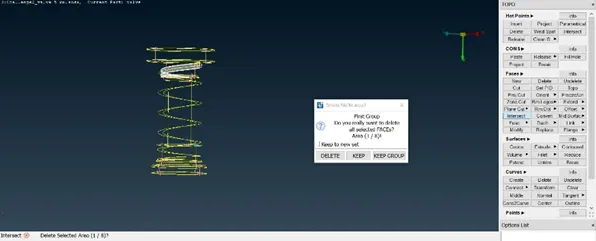
- Now enter into wireframe mode. Select the Intersect command under faces tab, select the column in first group and select the spring in the second group. Now the dialogue box appears that which are the faces to be deleted and to be kept, select the necessary face that are to be kept and delete the remaining faces. Now the intersection faces are cleared.
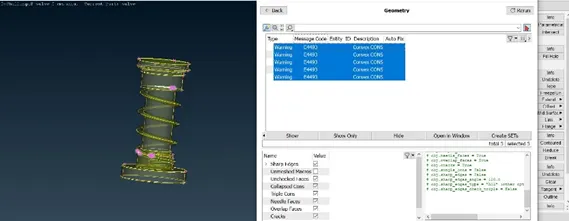
- After clearing the intersect error, again the model needs to be checked. In the display we can see convex warnings which are can be ignored as it has no errors
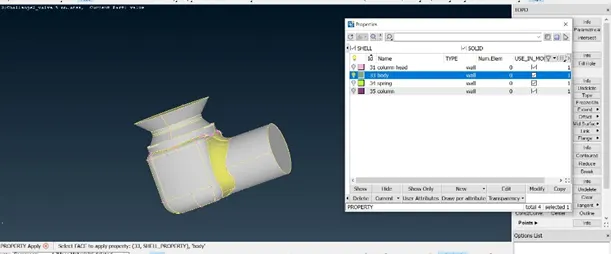
- Now the PID’s are need to be assigned to the model. Select the material property and create new name such as body, column head.
Now select the body and apply to body name now the pid of body is assigned as the bulb glow in the left side of the name of body.
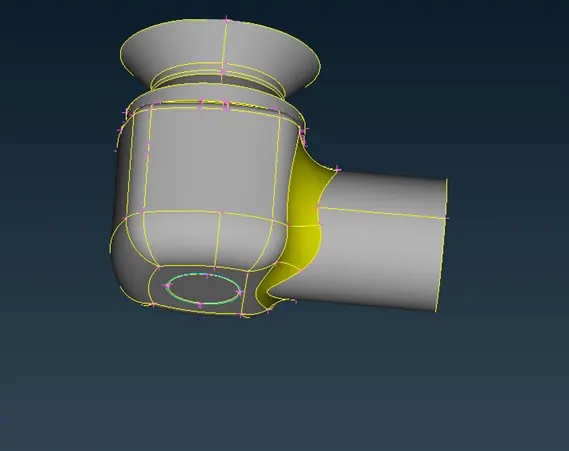
- Now all the TOPO errors are cleared and also PID’s are assigned to the model. and Can be meshed now.
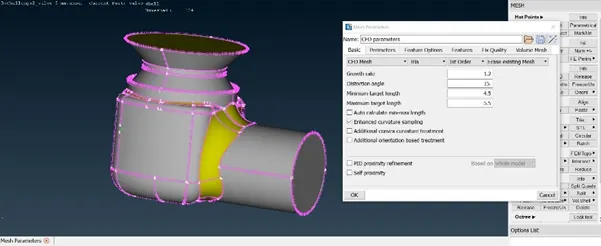
- Click on the mesh parameter and select the mesh type as Cfd mesh and Tria type. Now enter the min and max target length. And click ok. Now select and long press spacing to access auto Cfd. Now select the cfd mesh and long press to access visible option and click on it. Now the given mesh is created.
RESULTS:
CASE 1:
- TARGET LENGTH = 5 MM:
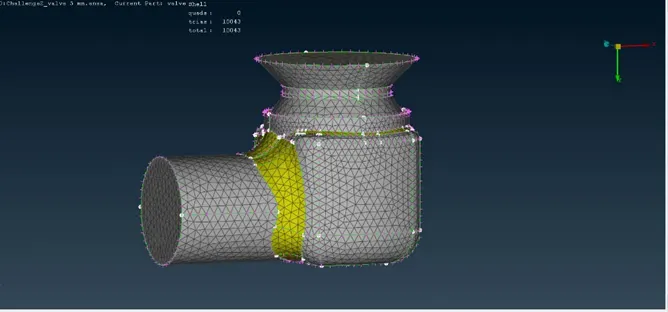
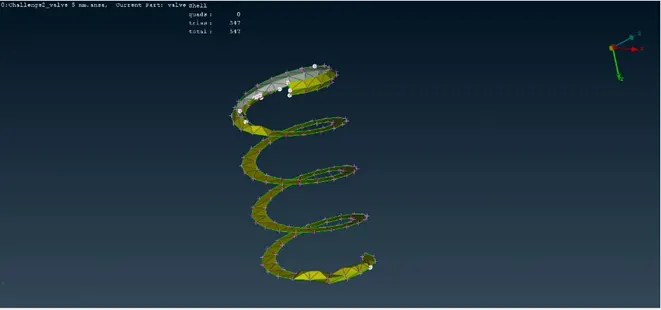
In case 1 As we can see it’s not properly meshed at the spring as the length of the spring is small compared to the mesh length.
CASE 2:
- TARGET LENGTH = 3 MM:
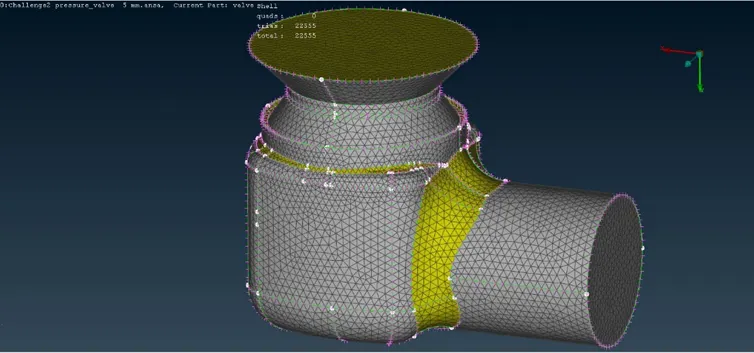
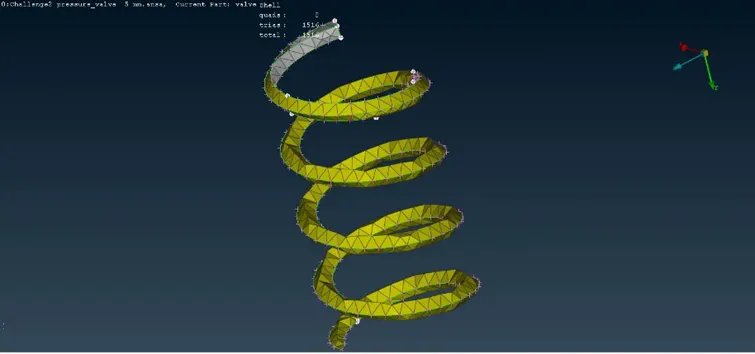
In case 2 we can see that the spring is not properly meshed though the mesh length is reduced to 3mm. the spring length is much smaller compared to mesh length given. But much better that 5mm length.
CASE 3:
- TARGET LENGTH = 1 MM:
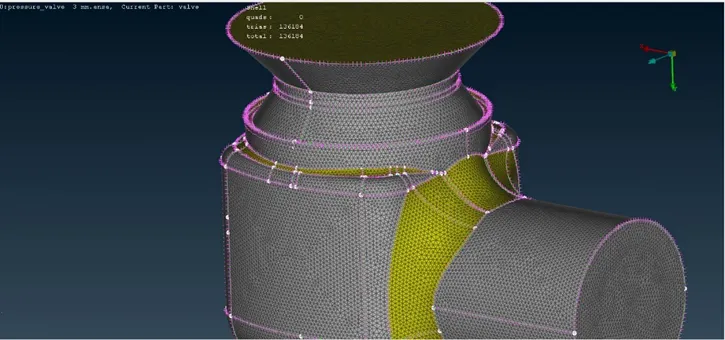
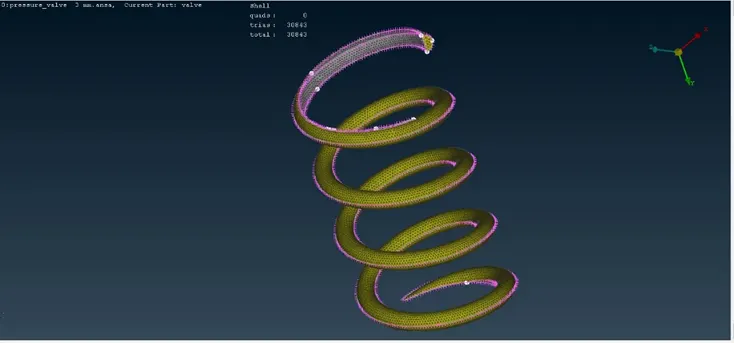
In case 3 we can see that the mesh is properly done for the given length as 1mm. as the mesh length is smaller than the spring’s length. Meshing algorithm can capture the entire spring and its has properly meshed.
CONCLUSION:
- Throughout the challenge I learned to make necessary decision for making the mesh much finer and suitable for the model.
- The target length of the mesh of 5mm as well as 3mm is not suitable for the spring in the pressure valve, since the length of the spring is smaller that these lengths.
- So the target mesh length is given as 1mm so that the meshing algorithm can mesh the entire body properly.
- Hence smaller the length of mesh, finer the mesh quality.