Week 3 Challenge : CFD meshing on Turbocharger
Week 3 Challenge : CFD meshing on Turbocharger
AIM:
To Mesh a turbocharger for internal flow analysis.
PROCEDURE:
- Import the model to Ansa workspace.
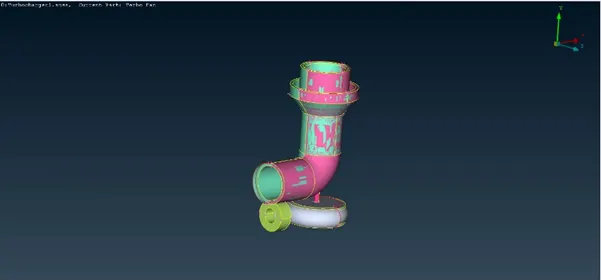
- After importing the model we can see some glitches which means there are some overlapping faces present in model.
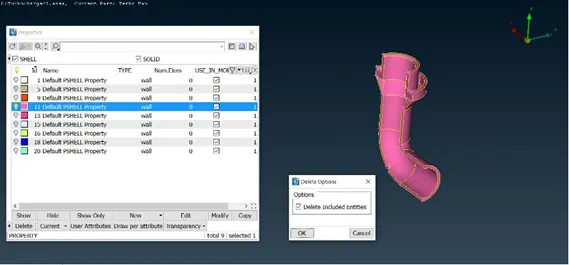
- Select the PID in top deck and isolate the pink color turbo casing and select and delete it, because its causing overlapping.
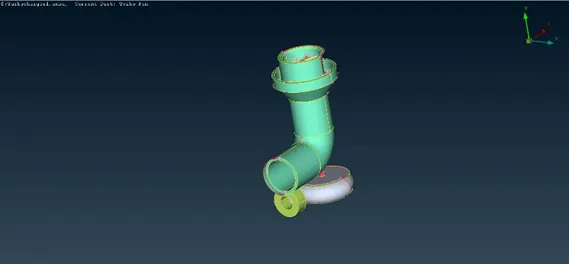
- After deleting the extra face we can see there are no glitches.
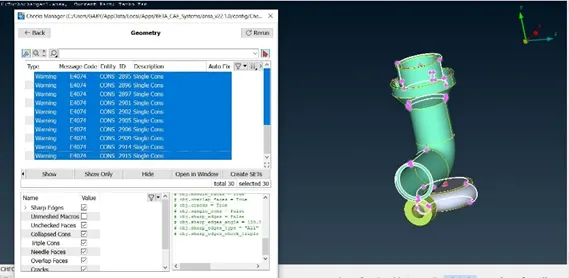
- Now let’s check for errors by selecting the check manager deck in upper menu bar. As we can see there are some single cons and intersection error, we have to clear everything.
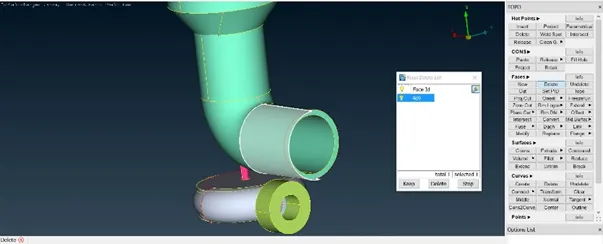
- We can see there is one extra face that we don’t require in casing so we can delete it by selecting delete option in faces tab and select the face to be deleted to delete it.
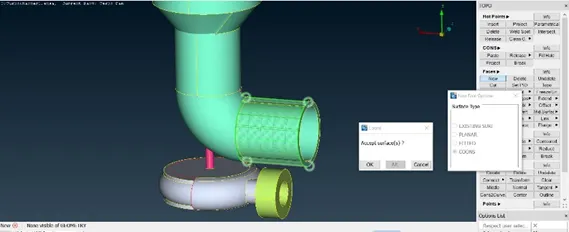
- After deleting the surface we have to create the face to fill the gap so select the new in faces tab and select the cons and click ok to create new face.
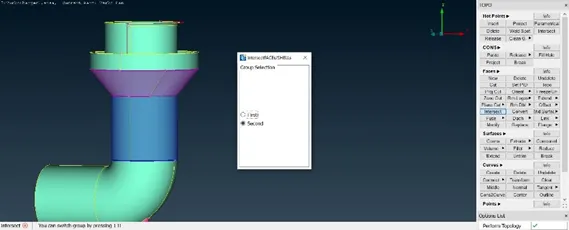
- As we can see in the upper part of casing some intersection error. So select the intersection option in faces and select the first region as neck part of casing and select the below region as second group.
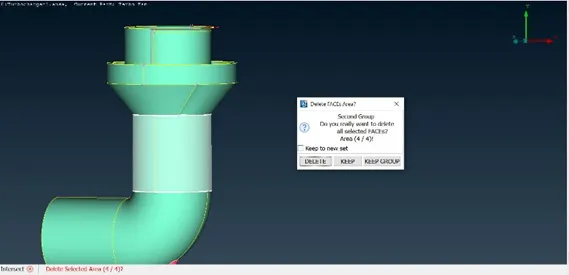
- We have to choose which face to be deleted and should be kept so select according to the required face need for geometry.
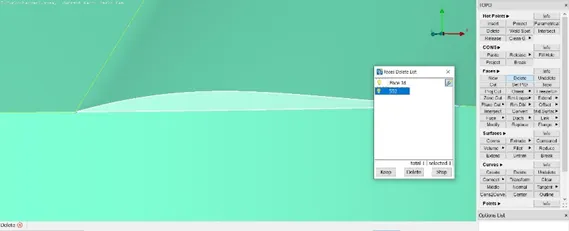
- After i9ntersection process we can see a little uneven face so select the cut option and cut the face respectively and delete the uneven face as shown in above fig.
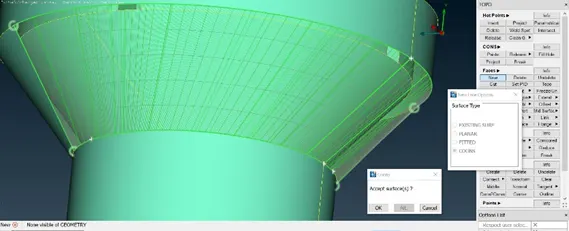
- Now we are creating a new surface in the deleted region for clearer geometry, by selecting the new option and by coons select the face to be created.
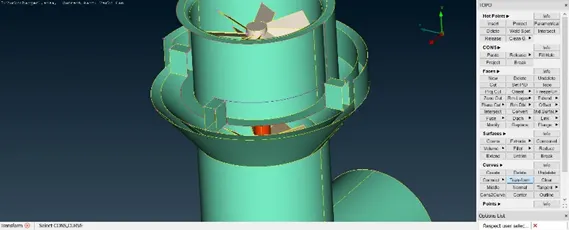
- In the inner part we can see single cons we have to clear that. Using not command isolate the area now using transform command we can project the curve we needed. Now select the curve to be created in same direction click ok now the curve created. Create the curve respectively wherever needed.
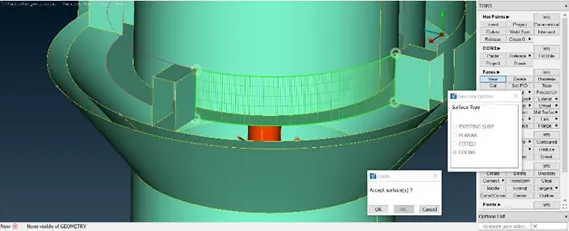
- Select the new option and select the curve created and the curves in the lower part of inner casing to be created new faces and create face respectively.
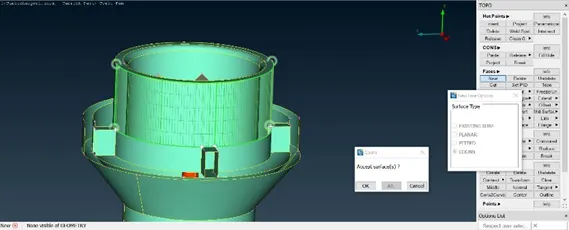
- After completing lower faces now we can easily create the face in the upper casing.
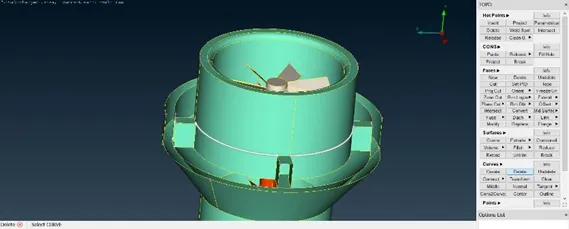
- After the new face created we have to delete the curve created.
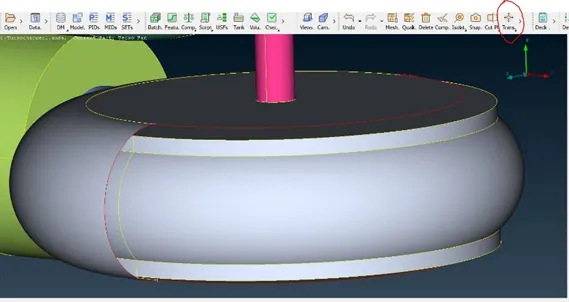
- Now the turbo casing have some faces to be created and now insert the hot point at the center of the single cons.
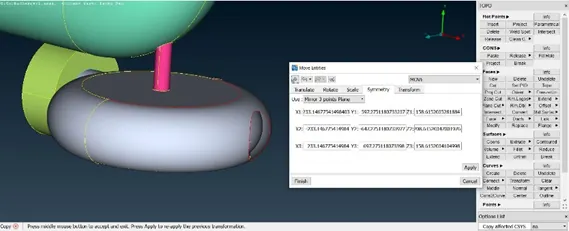
- Now select the transform command in the top deck and click copy. Now select the entities to be copied middle click and select the 3 point mirror option in the dialog box now select the three points respectively and click ok. Now the face is created.
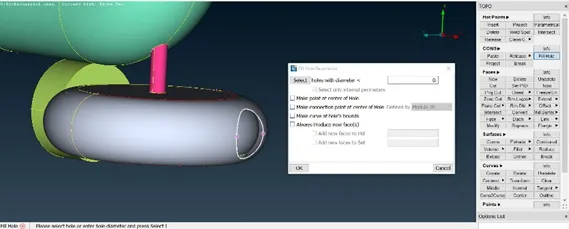
- Now using the fill hole command select the face to be filled and click ok. Now the turbo casing is finished.
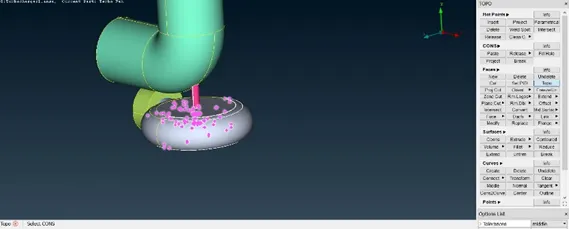
- After creating new face still we can see some glitches there so select the topo command and select the glitches and middle click to complete it now the glitches cleared.
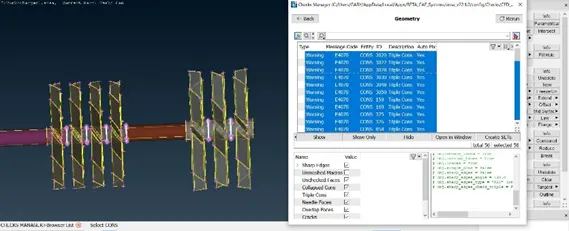
- Now we have to check the geometry by selecting the check manager in check deck. We can see some intersection errors in the inner part of the casing. As the blades are causing the errors so we have to clear the errors that are to be removed.
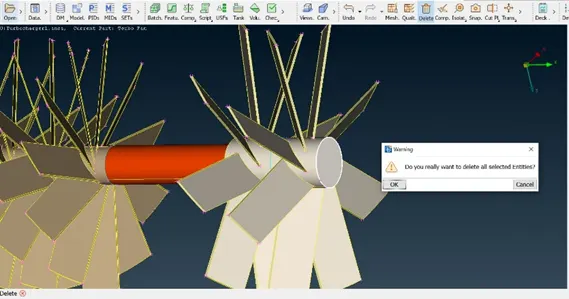
- Now we can see the blades are closed with one another. We have to delete the closed face as we need the inner part as ONE VOLUME, so clear the closed parts that are to be deleted.
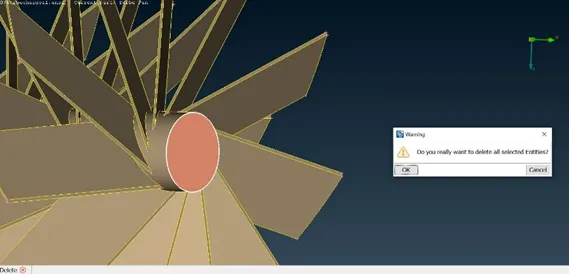
- Also repeat the same for second stage blade.
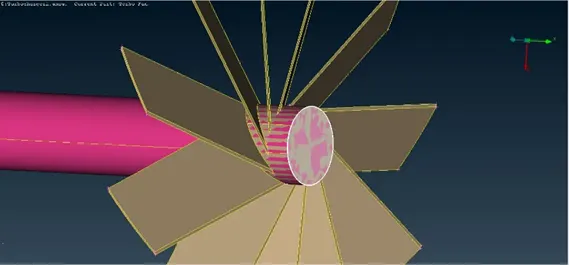
- We can see glitches at the end of the second stage blade so delete the closed face.
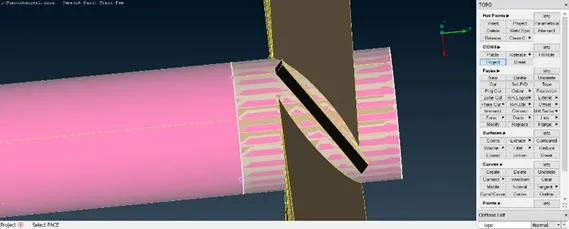
- We cannot delete the fans casing so we have to select the shaft and delete the intersection alone. So select the project in cons tab and select the curve and select the shaft to project in it.
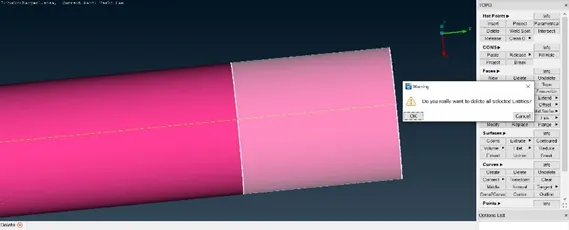
- After projecting the curve we can select the face that is overlapping and delete.
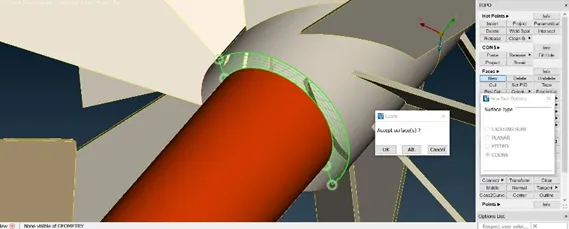
- After completing the deletion of faces we can see that there is a gap is to be filled so select the curves to be created new faces and create new faces respectively.
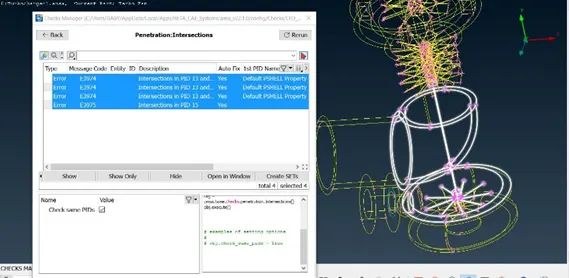
- Now we have cleared the intersection in blades and checking the geometry. We can see that there are still some intersection errors present in lower casing and turbo casing. We must clear it one by one.
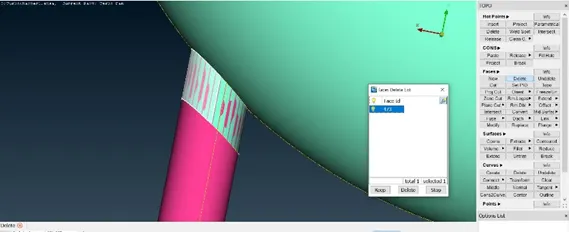
- We can see the joining region of shaft and lower case causing the error. Delete the overlapping surface at the shaft.
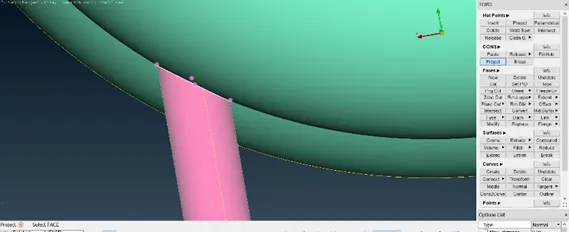
- Now project the curve between the case and project at shaft.
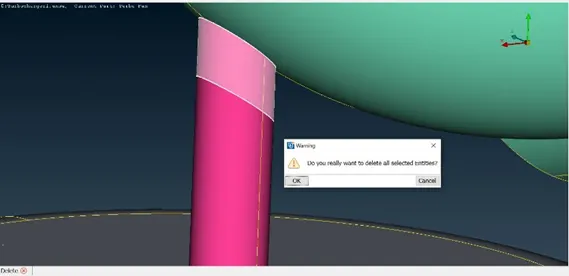
- Now delete the cut part of shaft so that to make a single volume throughout the turbo charger.
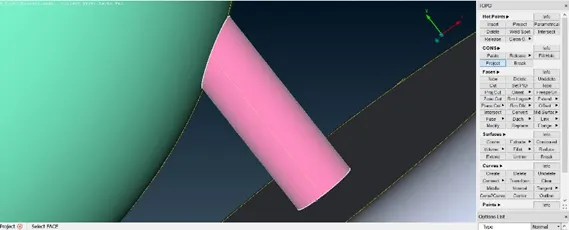
- Now select the project the curve between turbo case and project it in shaft. Also isolate the other part in turbo case now do the same to project the curve. Now the connecting part is cutted.
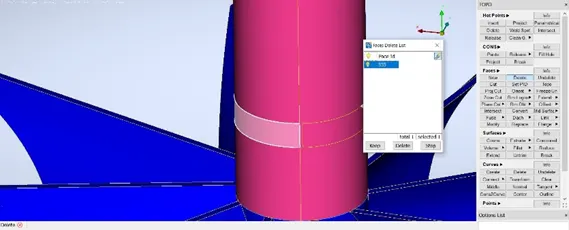
- Now delete the connecting part at the shaft between the turbo case.
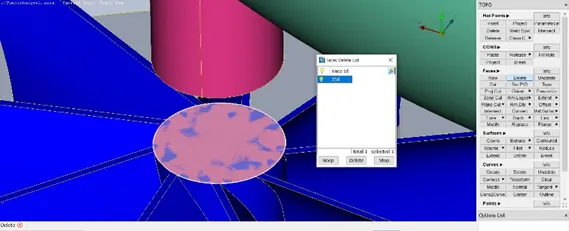
- Delete the over lapping faces.
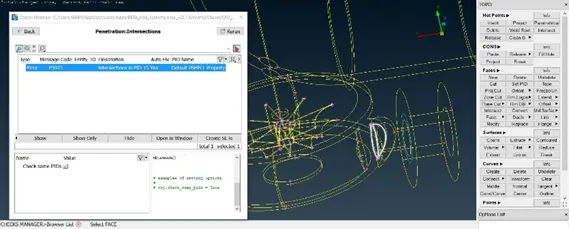
- So now do the check manager we can see one intersection error.
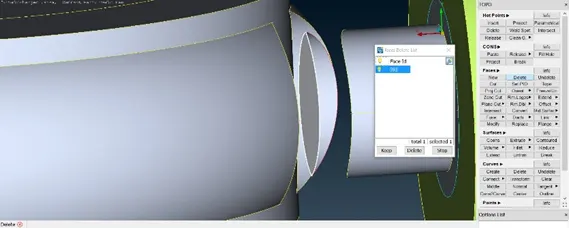
- Now isolate the intersection area and delete the face which is causing intersection error.
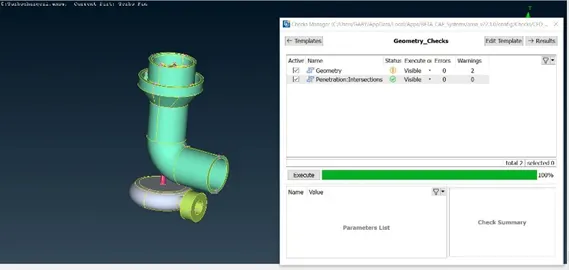
- Once again we have to check for error. As we can see there is no error found.
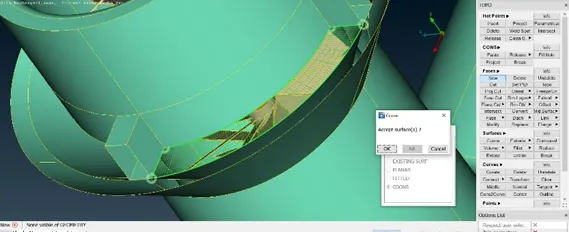
- We have to create a new face in order to close the top neck part as we have to consider as one volume.
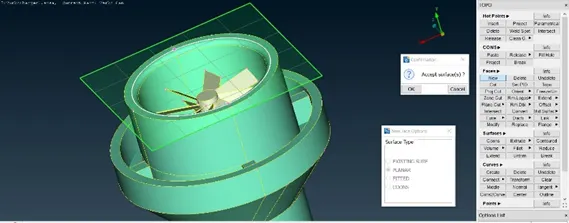
- We can see there is an opening in the top of turbo charger we have to close it by creating new face.
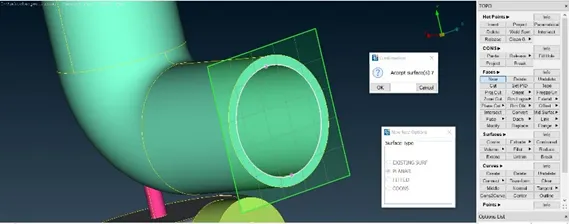
- Also we need to close the opening at bottom of compressor casing, by creating new face.
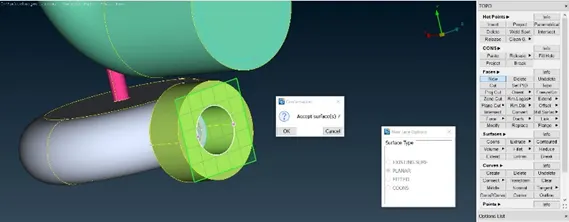
- Again we have to close the turbo case.
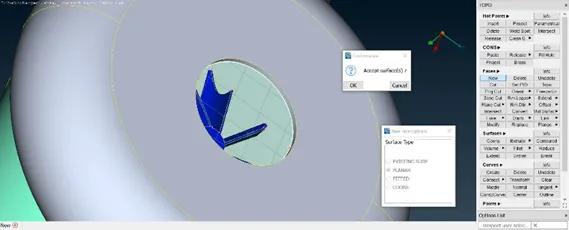
- Again we have to close the bottom opening of the turbo casing.
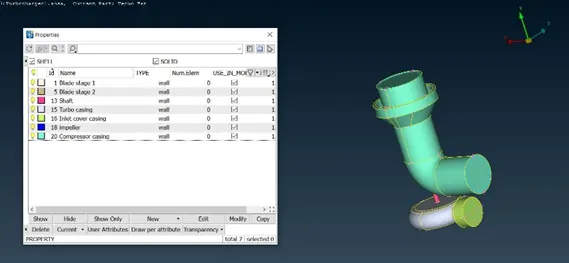
- Now we have to assign PID’s for the parts of turbo charger, according to the given requirements or as mentioned in above figure.
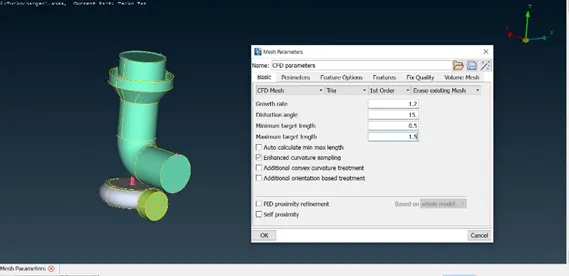
- Now select the mesh deck and give the min and max target length as required. And click ok.
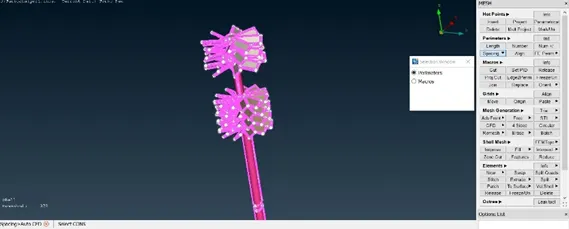
- Now isolate the shaft and blade stage 1 and 2 as their mesh length is 1mm, select the spacing and do auto cfd, now select both the parts as single and middle click and select macros and do again select the both part and give cfd visible.
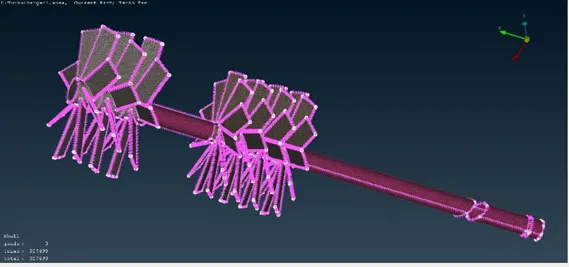
- Now the required mesh is generated.
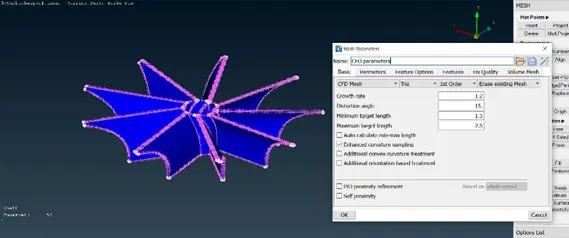
- Now isolate the impeller and give mesh length of 2mm b/w min and max, and do the same process as shaft and blades, then click ok.
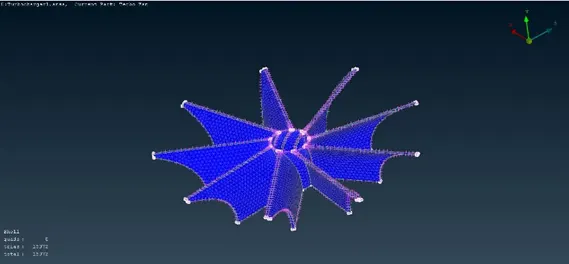
- Now the required mesh is generated.
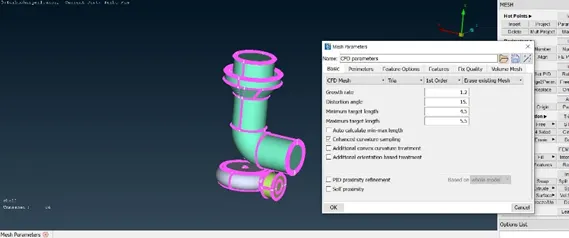
- Now isolate both the casings alone as their mesh length are 5mm. select the mesh deck and give min and max target length, click ok, and repeat the same procedure as above done meshing.
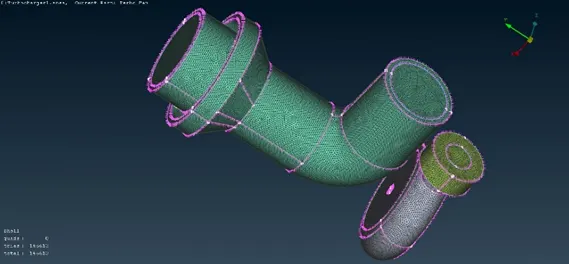
- Now the required mesh is generated.
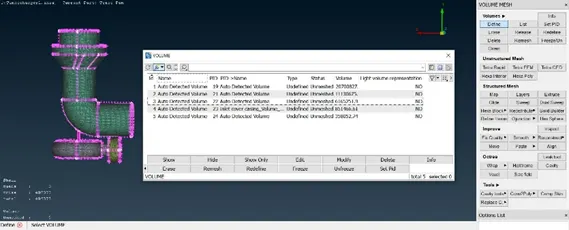
- Now go for volumetric meshing on the top right corner select v-mesh. And select define option in volumes tab now a dialog box opens we have to select the internal regions as this is a internal flow and delete the external parts.
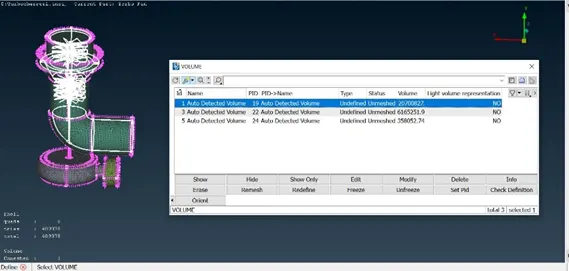
- We can see this are the internal regions that are to be meshed.
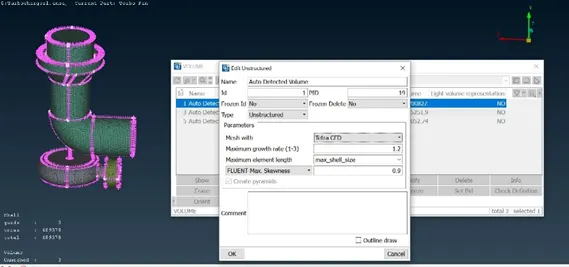
- Now double click on the first definition and select tetra cfd and click ok. Also do it for the remaining definitions. And click ok.
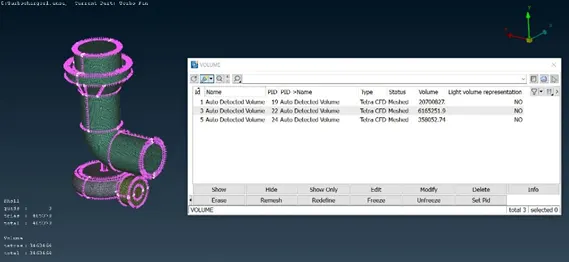
- Now right click the definitions and select Remesh option on by on for remaining definitions, we can see the tetra cfd meshed.
RESULTS:
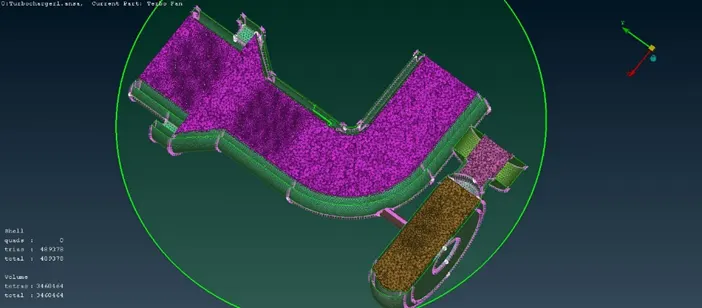
- Now the given volumetric cfd meshing is completed and shown as cut section.
CONCLUSION:
- By seeing the geometry we understand that this is a internal flow and we have to mesh accordingly.
- In this challenge I have learnt how to do a volumetric mesh.
- I have learnt to do multiple meshing length in a single body.
- I have learned to cut the half part to view the volume mesh.