Week 4 Challenge : CFD Meshing for BMW car
Aim: To perform CFD Meshing for BMW car
Objectives:
For the given model, check and solve all geometrical errors on half portion and Assign appropriate PIDs. Perform meshing with the given Target length and element Quality criteria. After meshing the half model, Do symmetry to the other side.
Target lengths for the different parts of a model are as follow:
- Body - 3 mm
- Lights - 4 mm
- Grills - 1 mm
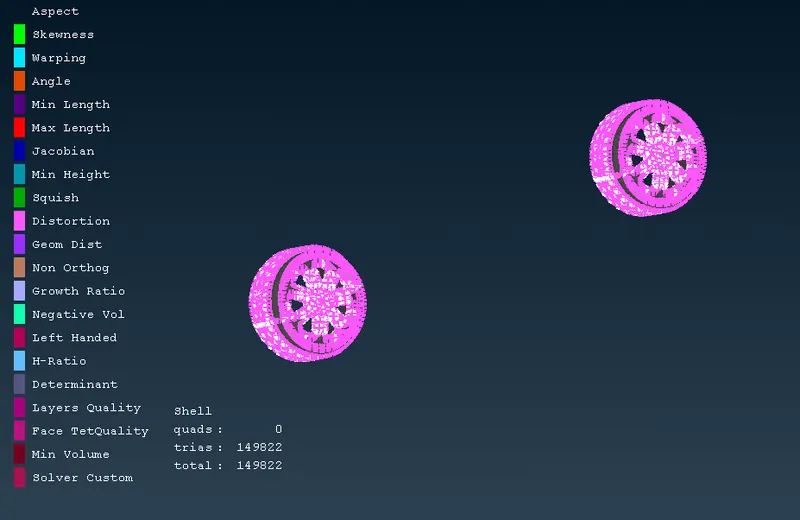
- Rims and Tyres - 2 mm
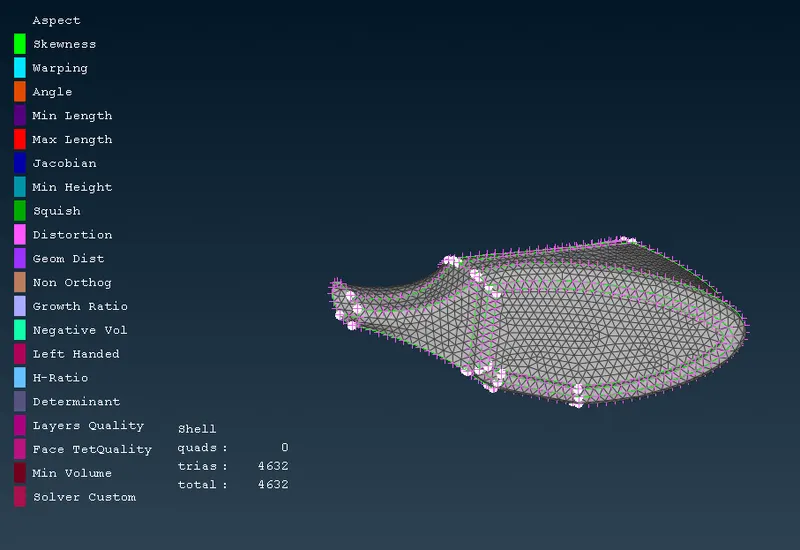
- Optical Rear view mirror - 2 mm
- Window - 2 mm
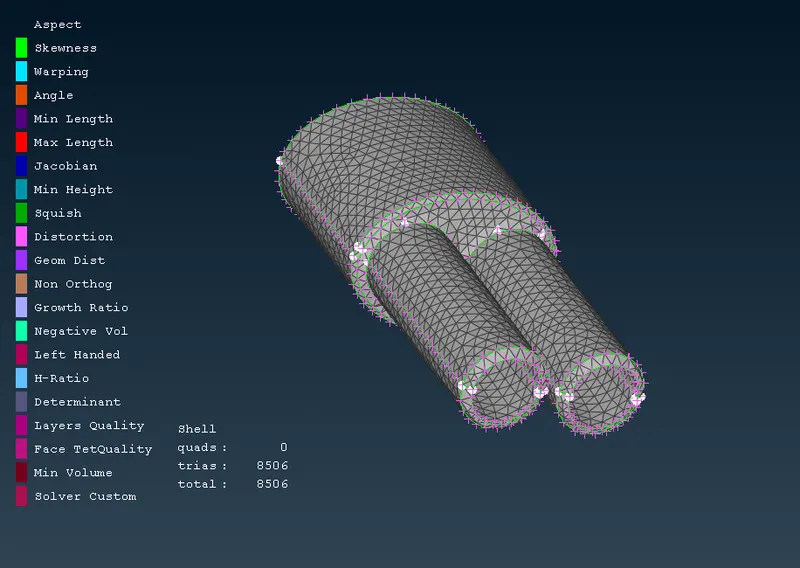
- Silencer - 3 mm
- Logo - 1 mm
Set up a wind tunnel around the car and Model can be submitted after performing surface mesh to Wind tunnel surfaces.
Procedure:
Step 1) Geometry clean up:
Import the geometry in Ansa ,we observed that the resolution is 30mm due to that some parts of geometry is not shown their accurate shape so we can change this resolution to 1mm . Go to Mesh > Perimeters > Length > set the perimeters and macros to 1 mm
Perimeter length:30mm
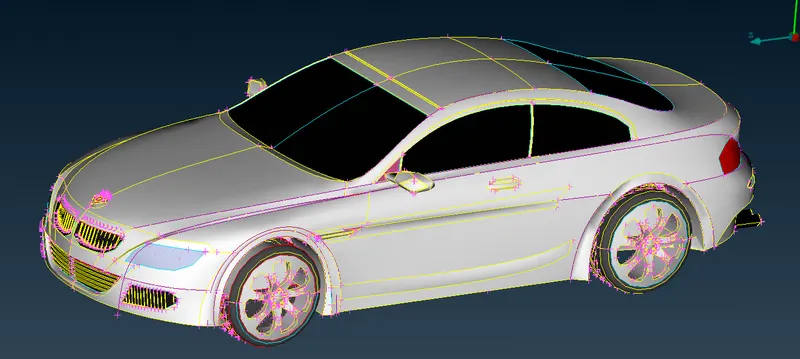
Perimeter length:1mm
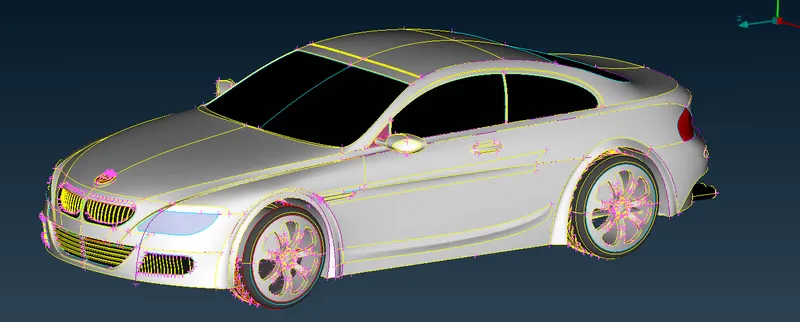
The given model is symmetric along z axis except the logo so we can delete the one part and after the surface meshing done we reflect this part to another side. we use universal delete option to delete the one part
After cut the half part the geometry is look like:
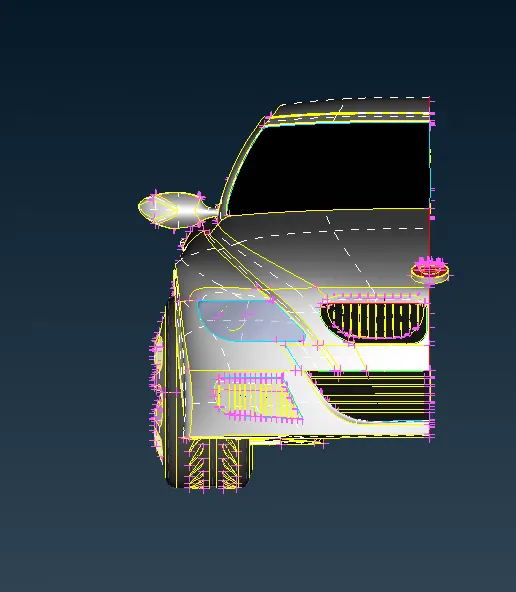
We can do the Topological clean up now by isolating the required surface.
- Light Area(front) :
Before Topo clean up :
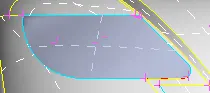
Here we use universal delete option and delete the overlapped surfaces and our aim is to create a single volume inside a car so we delete the unnecessary surfaces,we also used CONS paste options here to remove a single cons
After Topo clean up :
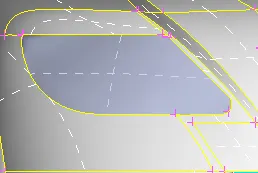
- Light Area(Back) :
Before :
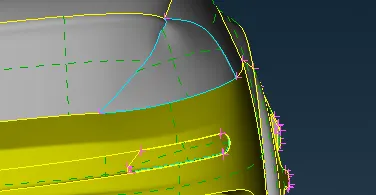
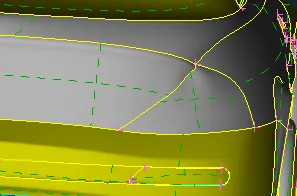
Here triple cons error is removed by deleting inside unnecessary surfaces to create a single volume at inside of car.
After:
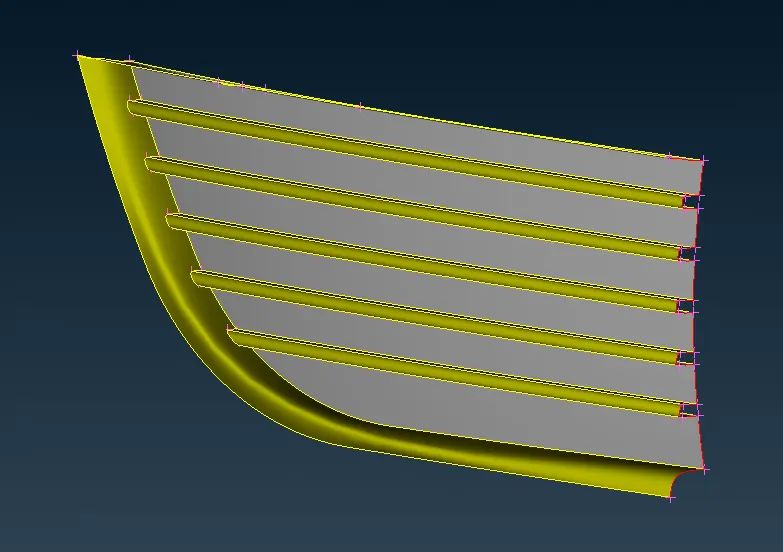
- Grill region:
Before
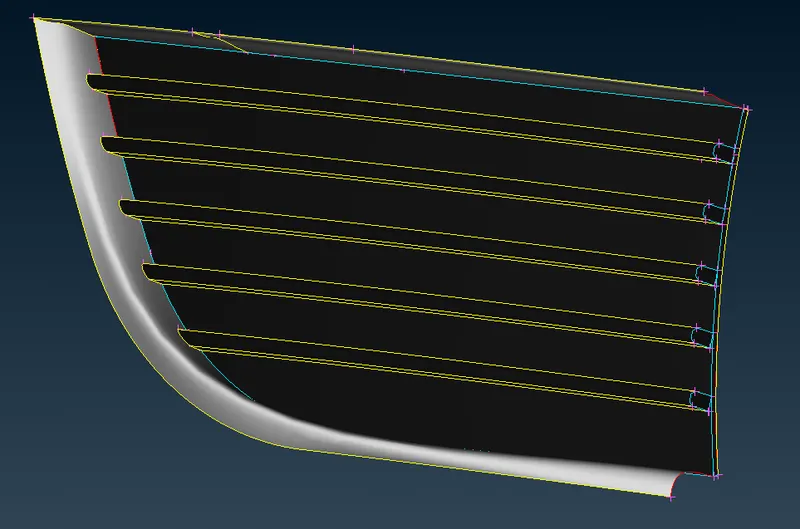
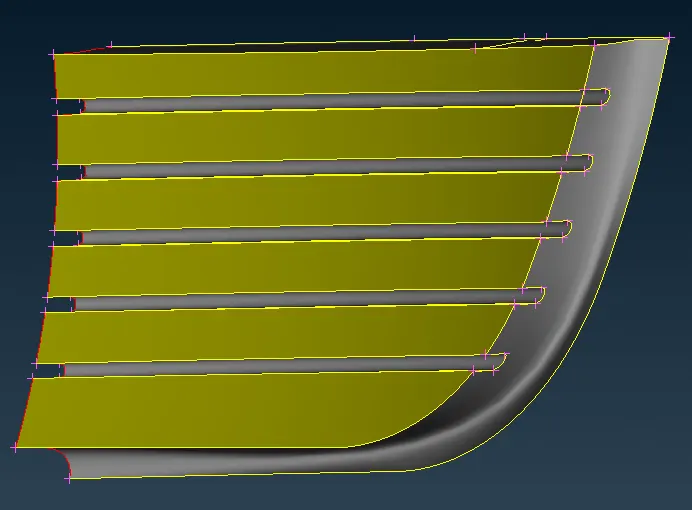
Here we use universal delete option to delete the unnecessary surfaces of grill and CONS > Project option is used for projecting cons to required surfaces ,faces > Cut option is also used and faces > New > Coons option is also used to create a surface .
After:
Before :
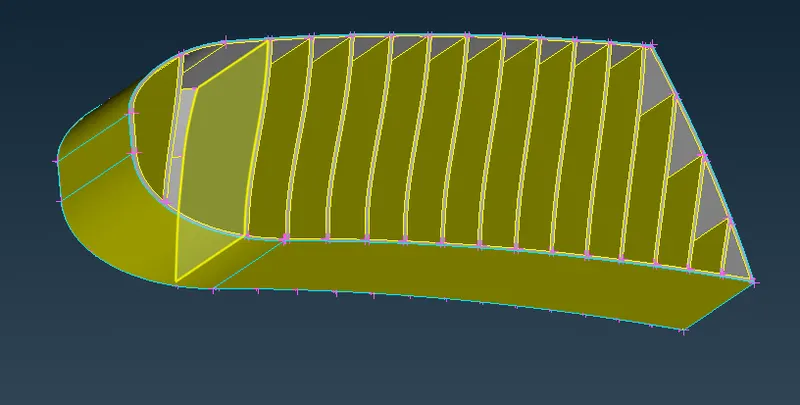
Here we use Faces > cut option to cut the surfaces and universal delete option to delete the unnecessary surfaces,for creating a new surfaces we use fitted and coons option as per requirements we also use CONS > fill Hole option here.After that we successfully removed triple cons and single cons in that region.
After:
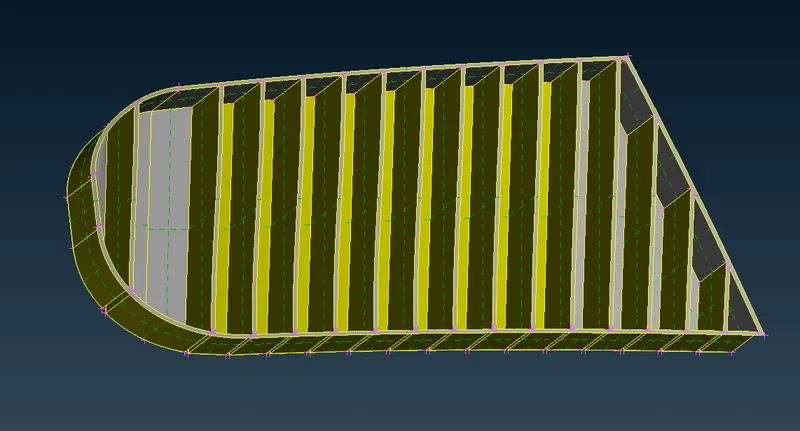
Before:
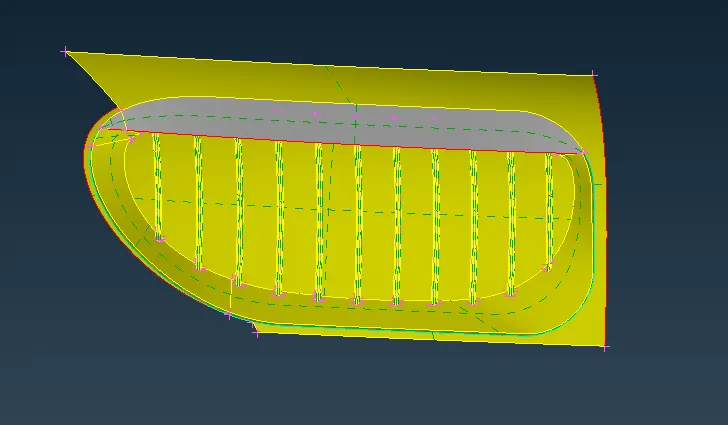
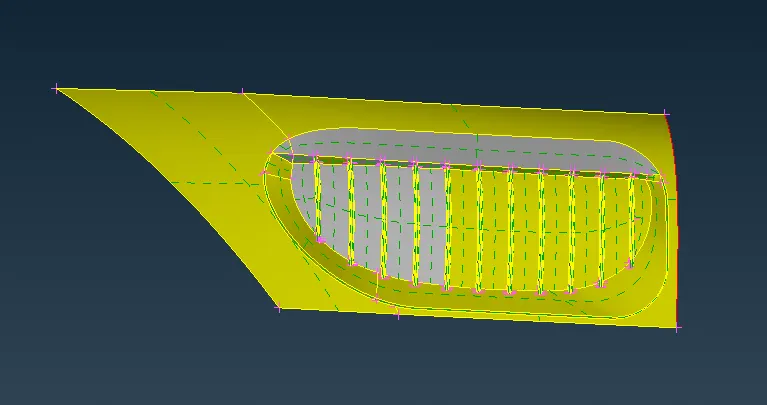
Here triple cons and single cons are present ,we use universal delete option to delete the unnecessary surfaces .we also used CONS > Project option to project the single cons to required surfaces,Faces > cut option and project cut option is also used here.for creating a new surfaces Faces > New > Coons option is used and Cons > fill hole option is also used. Hot points > multi project option is used to project the hot points on required surfaces.
After:
- BMW Logo :
Before :
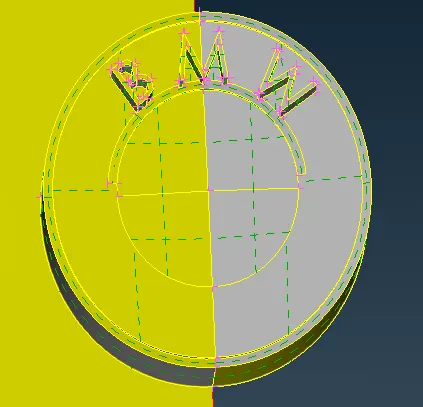
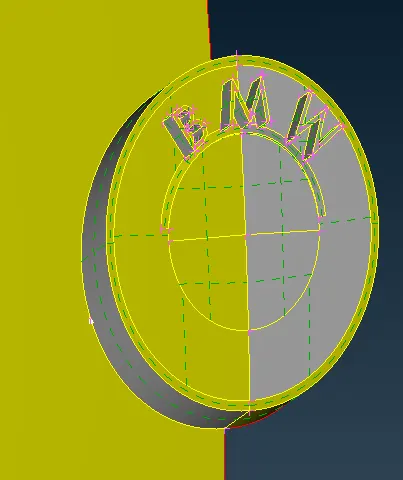
Here inside this BMW logo some triple cons are their and some overlap surfaces are also present we use universal delete option to delete the unnecessary surfaces and we use faces > extend option here to extend the single cons on required surface.Faces >New> Coons option is used to create surface.
After :
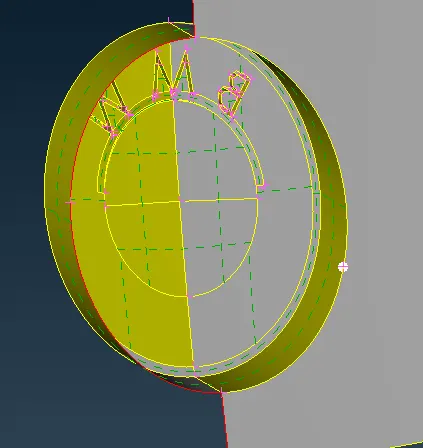
- Side glass region(Window region) :
Before:
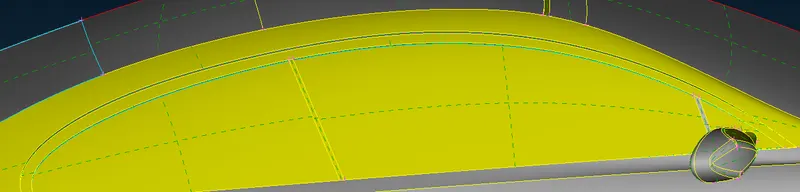
Here triple cons are formed due to two thickness of side glass ie inner and outer so we can delete the inner surfaces due to that we removed the triple cons error.
After:
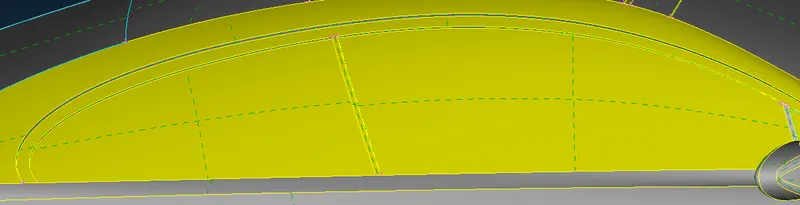
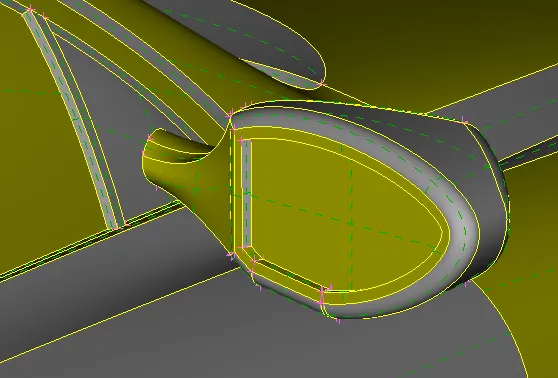
- Mirror region:
Before :
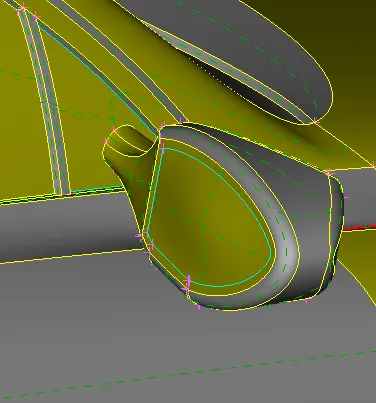
Here the triple cons are formed due to overlap surfaces are present at inside mirror part we delete that surfaces using universal delete option. for making the single volume at inside a car at the portion where mirror is joined we use faces intersect option and delete the required portion.
After:
- Tyre region:
Before:
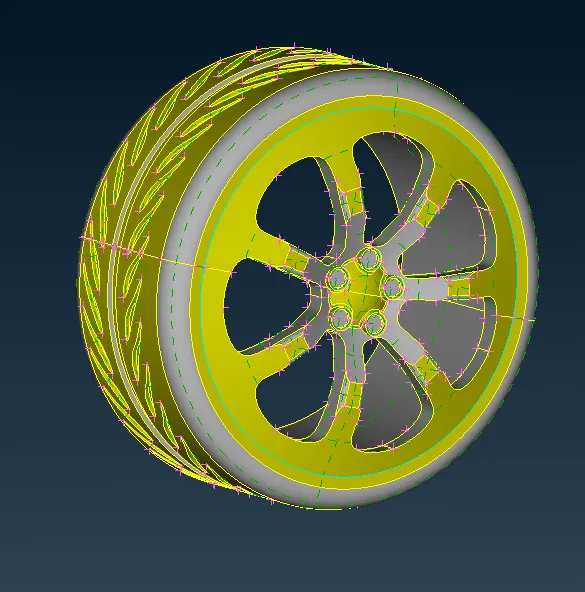
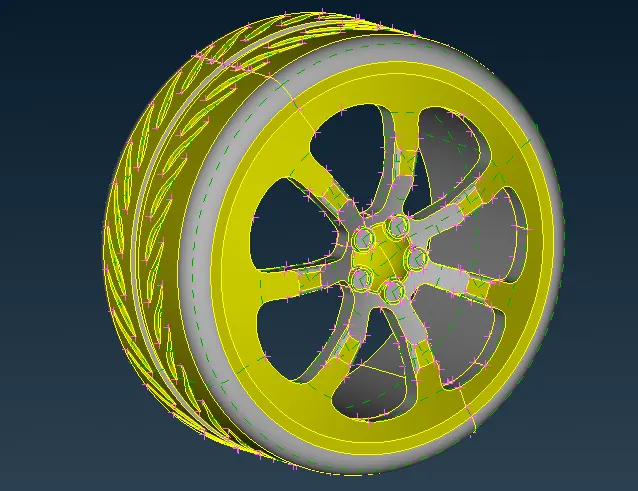
Here triple cons are present,to remove the triple cons, we delete the unnecessary surfaces inside the tyre region.The tyre having their own volume ie 4 tyres having 4 volumes in volume meshing we can delete this volumes,because this volume is not required .
After :
- Back side car region :
Before:
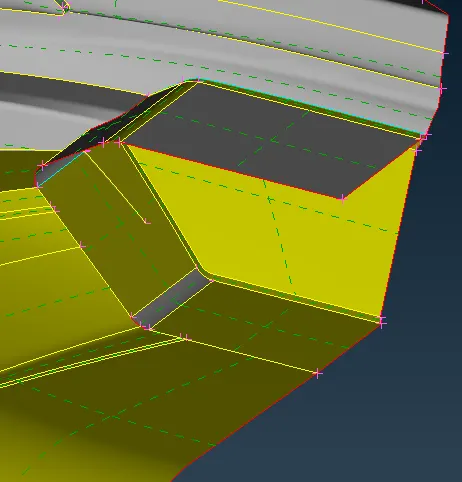
Here triple cons and single cons are present we delete unnecessary parts and here we also used faces> extend option to extend the single cons on particular surface then we can easily delete the unnecessary surface.Cons > fill hole option is also used to create a surface.
After:
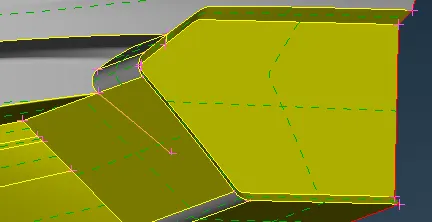
- Base of the car:
Before:
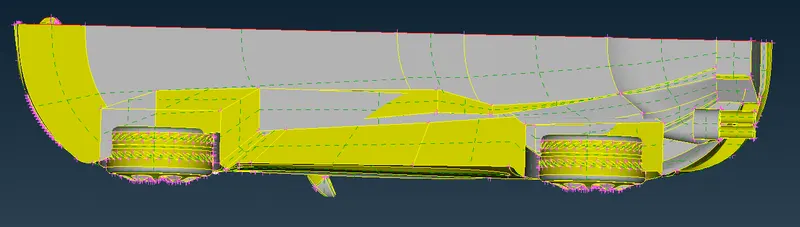
Here we can see that the surfaces are intersecting with the wheel of the car so we use faces > intersect option and delete the unnecessary surfaces.
After:
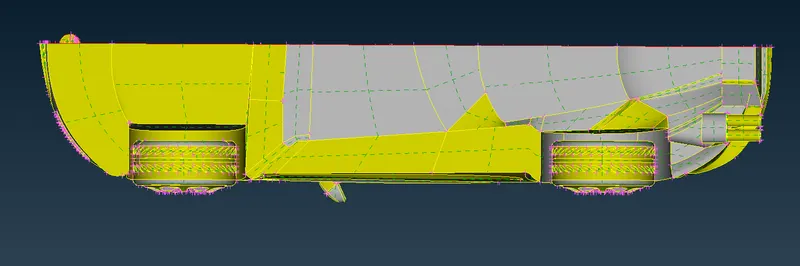
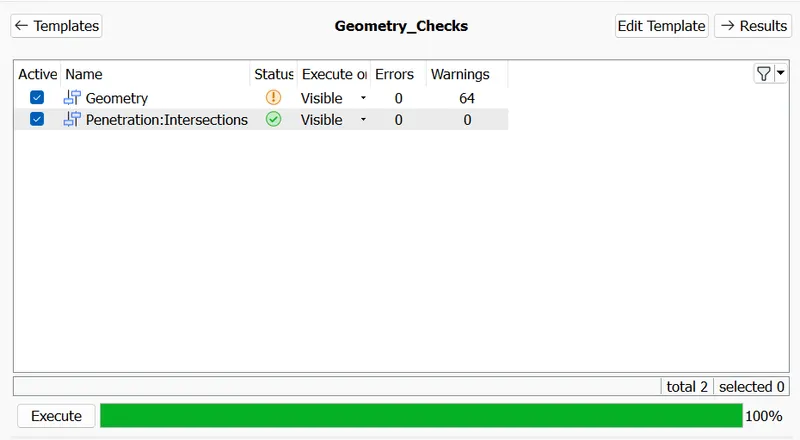
After removing all the errors we can check the geometrical error we get error free geometry:
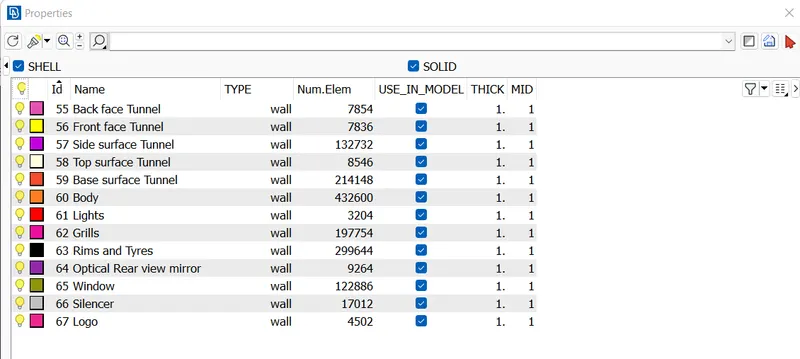
Step 2) Generate PIDs :
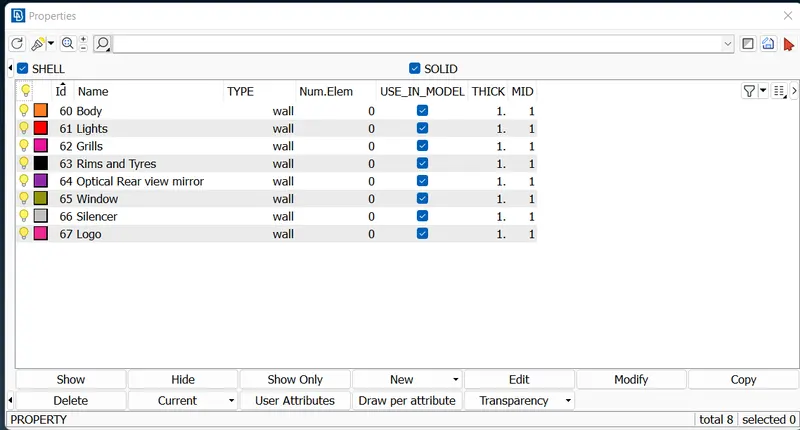
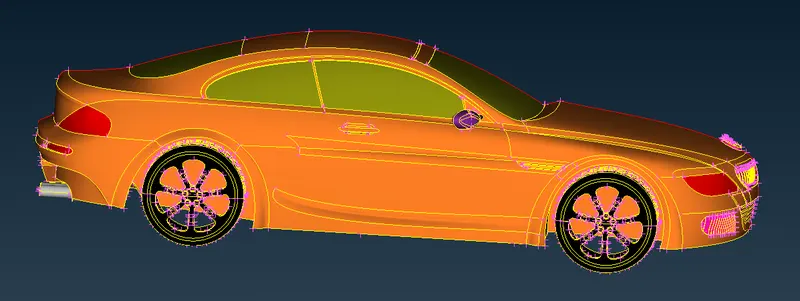
The car model after assigning the PIDs :
Step 3) :Generate surface mesh on the car body :
The mesh parameters ,quality criteria and perimeters length are set according to different PID Regions .
For meshing we use spot mesh tool and reconstruct the mesh if any off elements are there.
Target lengths for the different parts of a model are as follow:
- Body - 3 mm
- Lights - 4 mm
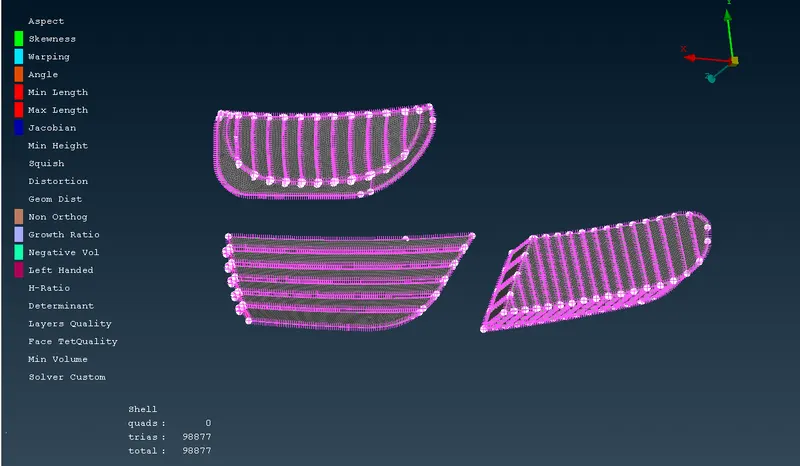
- Grills - 1 mm
- Rims and Tyres - 2 mm
- Optical Rear view mirror - 2 mm
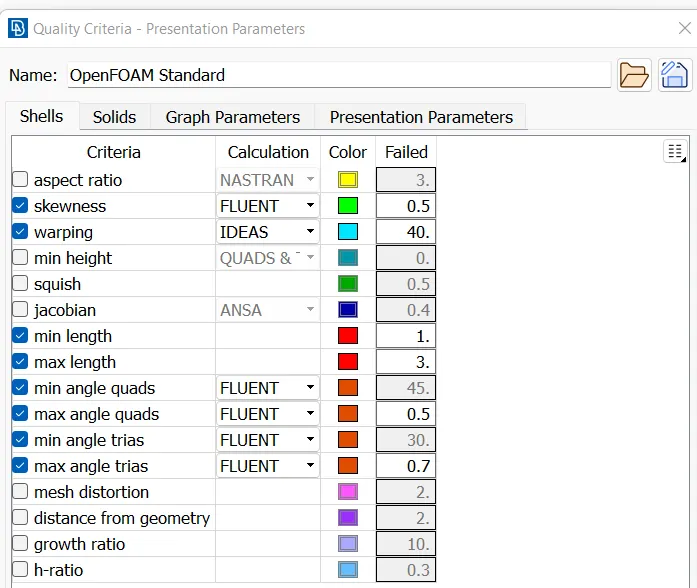
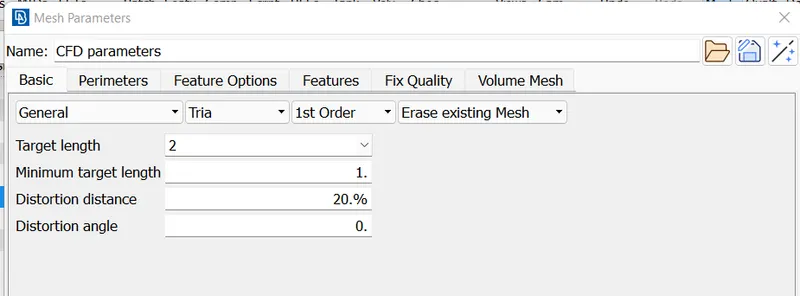
- Window - 2 mm
- Silencer - 3 mm
- Logo - 1 mm
Due to different target length are given for different components so we mesh components individually,
We mesh smaller component first:
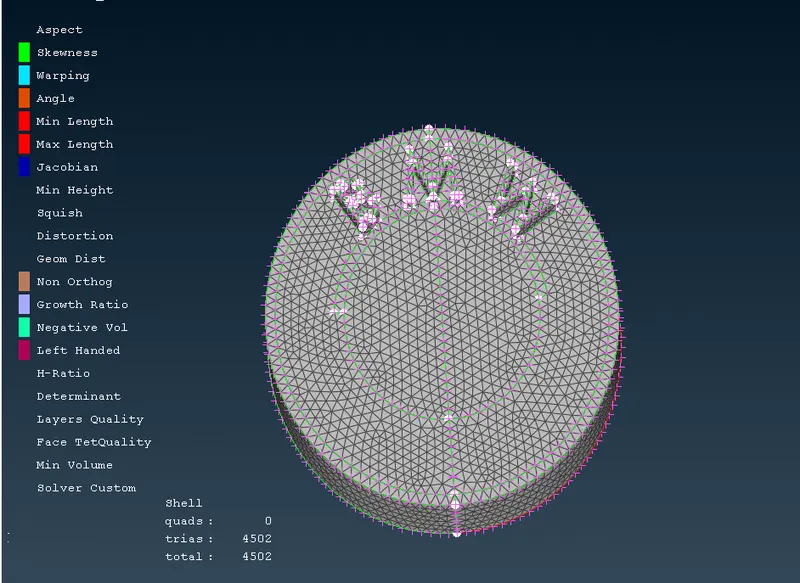
- Logo :
Mesh parameter and quality criteria:
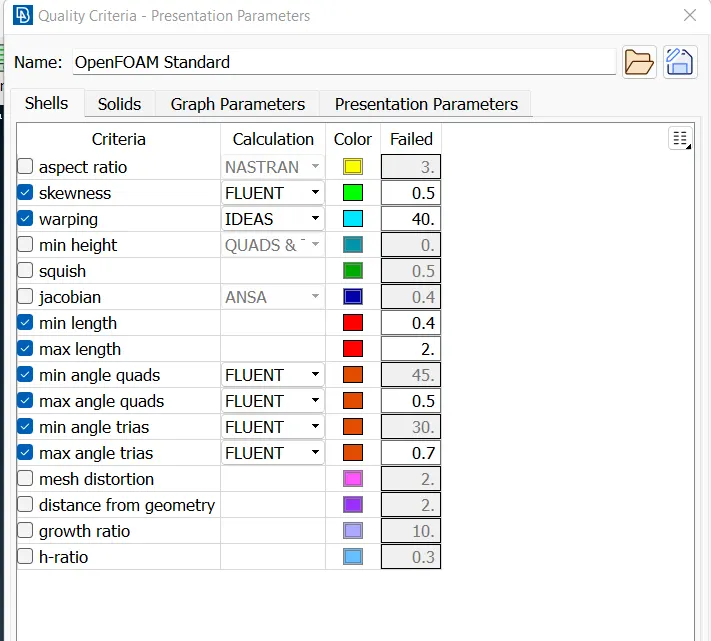
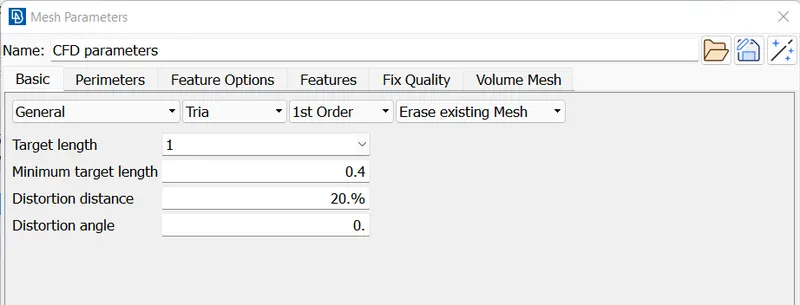
- Grills:
- Window :
- Mesh parameter and quality criteria:
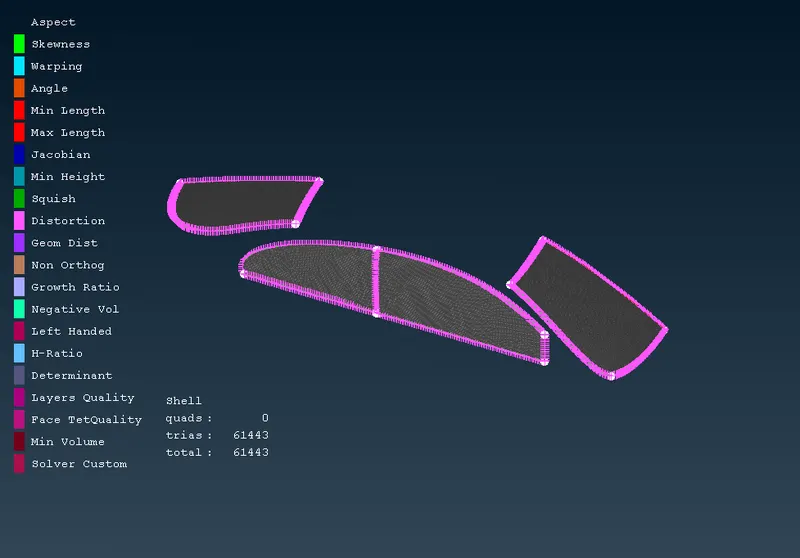
- Lights
- Mesh parameter and quality criteria:
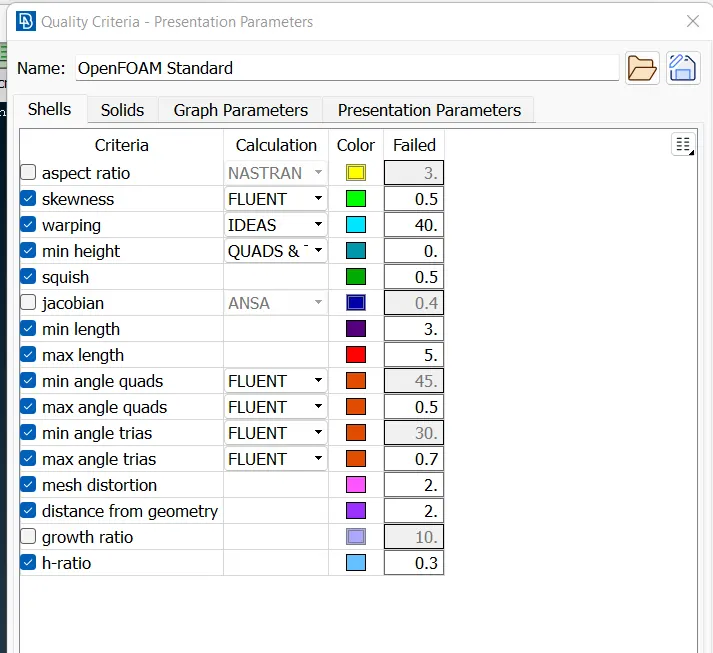
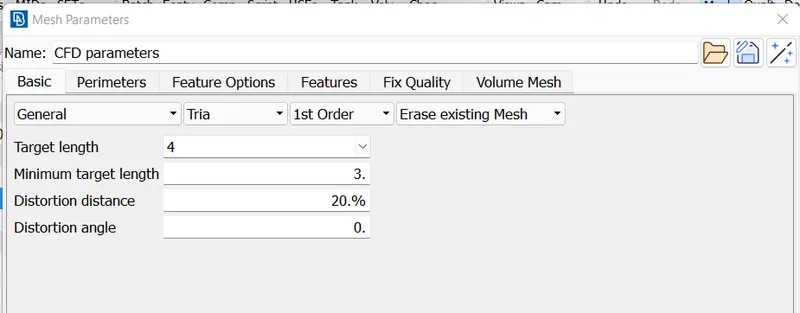
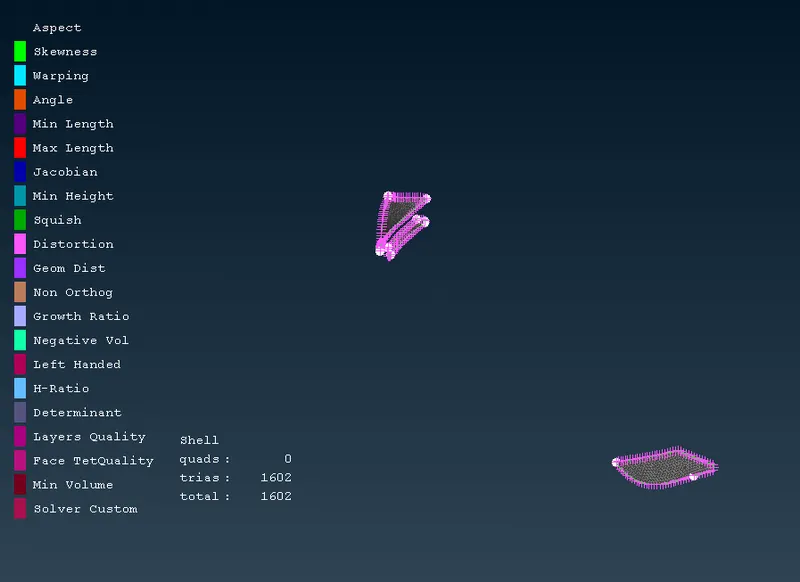
- Rims and Tyres:
- Silencer :
- Optical Rear view mirror
- Body :
- The body PID is in contact with other different PIDs so their will be a problem to erase mesh while meshing a body ,so in order to avoid that incident while entering the perimeters length we deselect the Cons which are commons for body PID and other PIDs
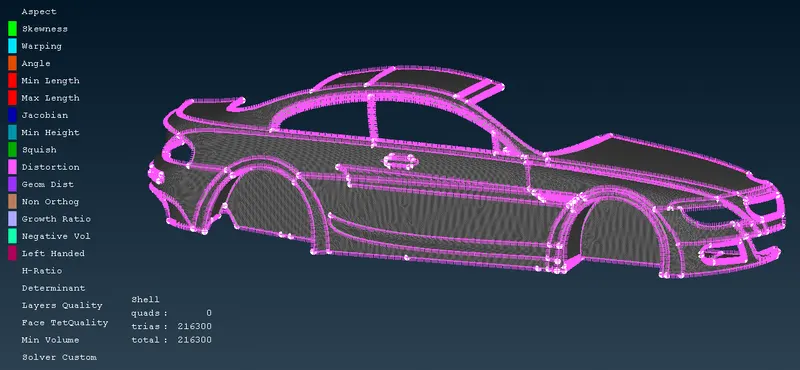
For reducing the off elements we use different tools such as Shell mesh > Reconstruction, Shell mesh >Smooth, Grids > move
Step 4) Generating or Joining the half body :
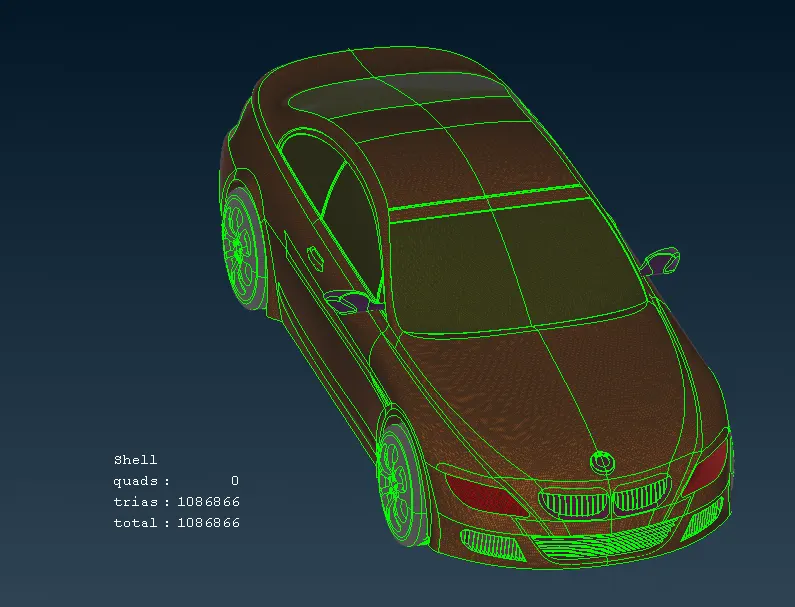
As we discussed at starting car body is symmetric in nature except the logo,we have completed a surface meshing of half body we use Transform option to complete the car body.
Transform > Copy > Entities (deselect the logo part) > Symmetry >Mirror 3 points plane> Finish
The complete Car body :
Step 5) Creating the wind tunnel :
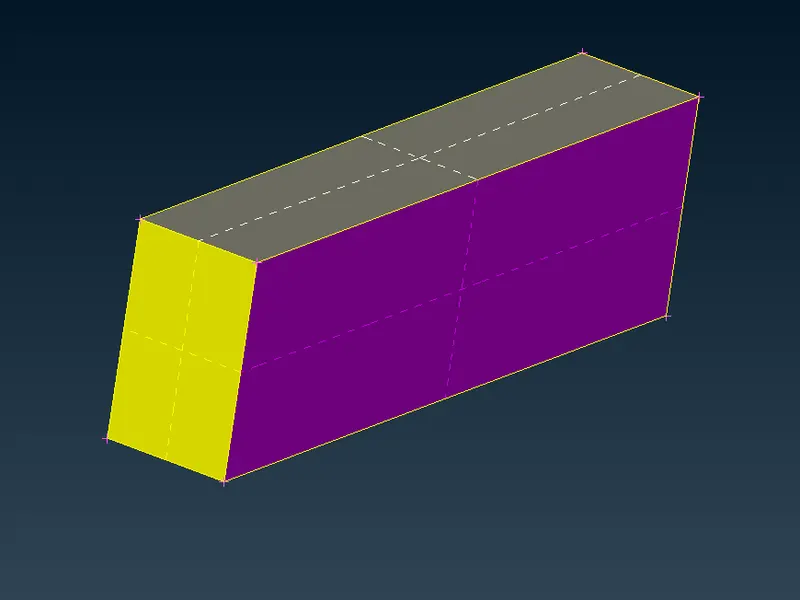
Dimensions of the wind tunnel :
Car length :1300 mm (Approx)
- From the front of the car is 4x =5200 mm
- From the Rear of the car is 6x = 7800mm
- From the Top of the car is 3x= 3900mm
- From the bottom =75 mm
- From the centre plane =The left and right are 1x =1300 mm
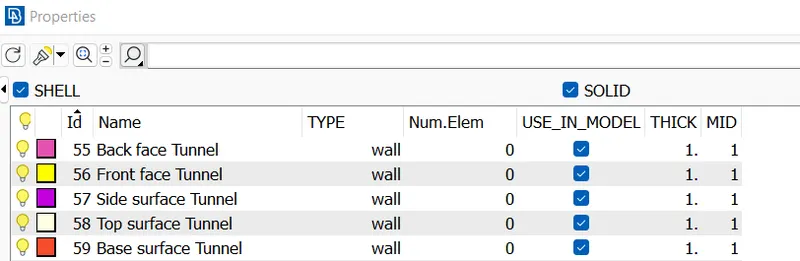
- Here we use Points > Relative , Curves > Create , Faces > New > fitted option is used to create a wind Tunnel and we create a respective PIDs for the Wind Tunnel surfaces .
Wind Tunnel :
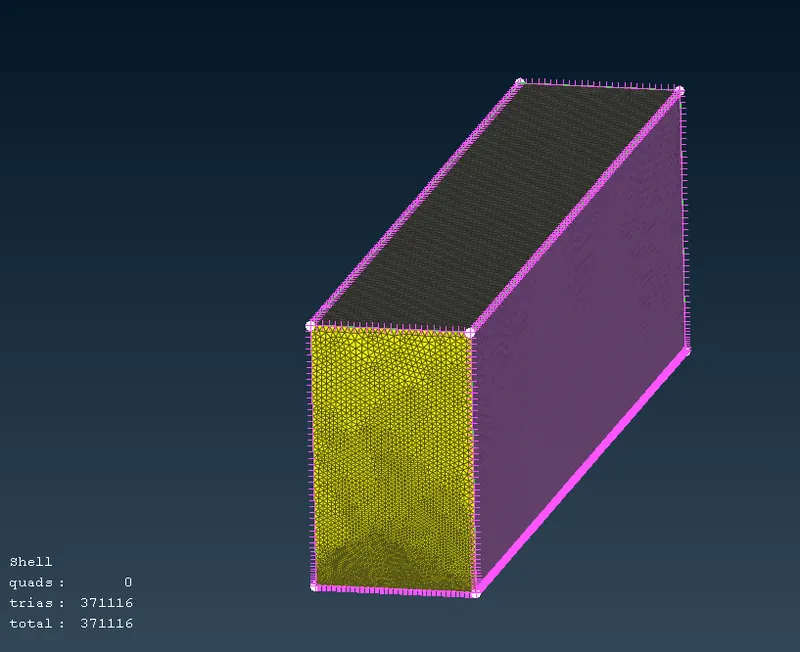
Meshing of wind Tunnel :
We required a finer mesh near a car and coarse element at away from the car because we want to capture the flow variables near the car. so we mesh the Top surface as 100mm mesh length and bottom surface as 20mm mesh length.and we use Perimeter > Spacing option and use factor 1.1 for varying the mesh length from bottom to top surface .
Step 6) Volumetric mesh of wind tunnel volume :
Here for volumetric mesh we go to Volumes > Defines > select Whole db > ok It will auto detect the volumes which are as follows:
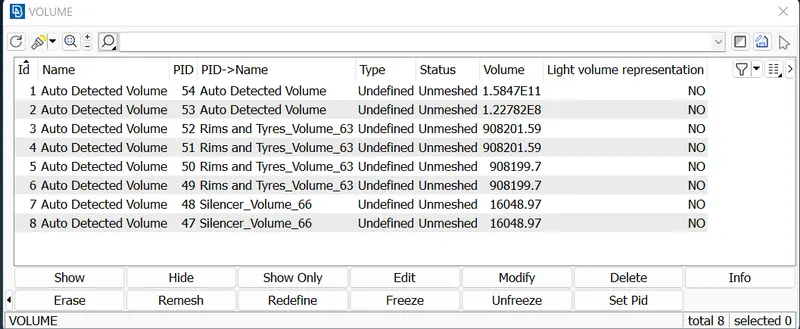
Total 8 volumes are detected out of that only the wind tunnel volume is required to mesh so we check all the volumes and delete the 7 volumes .since performing the volumetric mesh required 2-3 days so we did not perform it.
Result:
The mesh file google drive link is given below:
https://drive.google.com/file/d/1hvkwVdDP-ERREeQaT_HqrSO43ROvVK2u/view?usp=share_link
Conclusions :
- The geometry clean up is done with the help of various tools present in topo deck.
- The surface meshing is done for a given car model with zero off elements.
- The wind tunnel is created as per criteria and surface meshing is done.