Week 4 Challenge : CFD Meshing for BMW car
For the given model, check and solve all geometrical errors on half portion and Assign appropriate PIDs. Perform meshing with the given Target length and element Quality criteria. After meshing the half model, Do symmetry to the other side.
- Target lengths for the different parts of a model are as follow:
- Body - 3 mm
- Lights - 4 mm
- Grills - 1 mm
- Rims and Tyres - 2 mm
- Optical Rear view mirror - 2 mm
- Window - 2 mm
- Silencer - 3 mm
- Logo - 1 mm
Aim: Meshing the BMW car
Objectives:For the given model, check and solve all geometrical errors on half portion and Assign appropriate PIDs. Perform meshing with the given Target length and element Quality criteria. After meshing the half model, Do symmetry to the other side.
- Target lengths for the different parts of a model are as follow:
- Body - 3 mm
- Lights - 4 mm
- Grills - 1 mm
- Rims and Tyres - 2 mm
- Optical Rear view mirror - 2 mm
- Window - 2 mm
- Silencer - 3 mm
- Logo - 1 mm
- after that we have to performing surface mesh to Wind tunnel surfaces
Procedure:
steps whic we have to follow to create volumetric mesh shown below
- Geometry import and check
- Setting up Properties using PID command
- Geometry clean up
- Meshing
- performing symmetry of the car
- Creating wind tunnel for the meshed car.
- meshing the wind tunnel
Geometry import and check: First steps is to import the geometry into the ANSA by going to FILE>OPEN>IMPORT as shown below.
Geometry clean up :here we have to clean the geometry by removing the extra cons,face and hotpoints
- Go to mesh and choose length and enter 1 mm under perimeters to smoothen the sharp curves of the car and give a fine lookto the car .
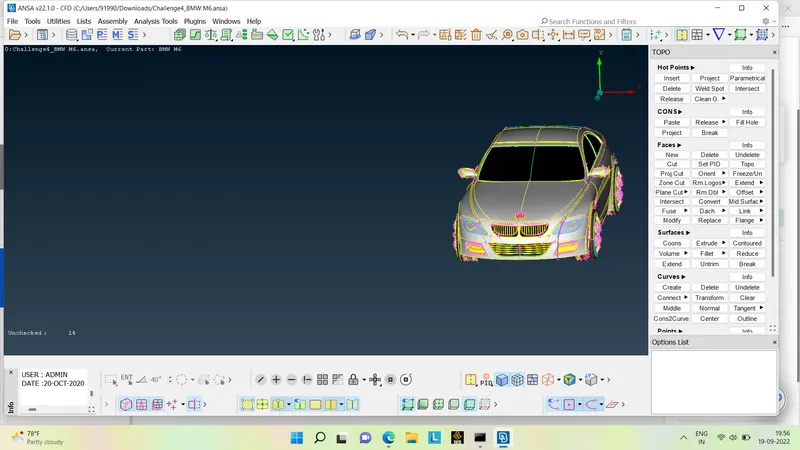
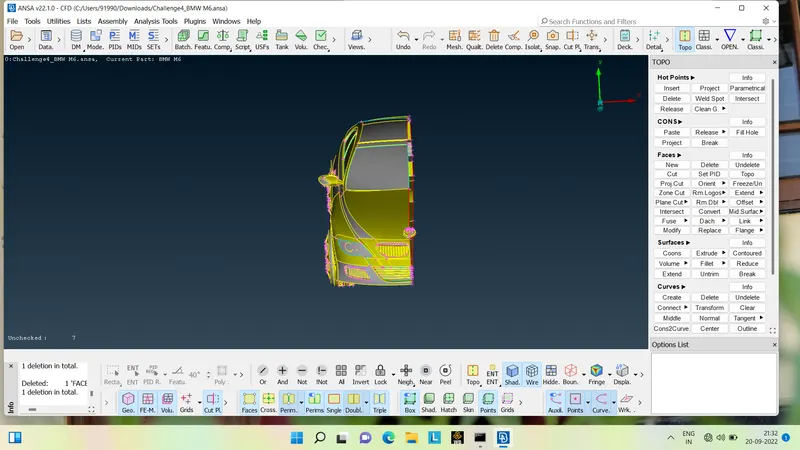
- Since the car is symmetric,we can delete one-side of the car and perform the necessary operations on one side of the car and use symmetry option to complete the car
- after using the symetry oppareter just delete the one half of the car as shown below
- after doing this we can start the topo clean up of model one by part as shown below
Grills
- first we have delete the all the extra part which is present in the inner part of the grill and also we have to delete the all the single and tripple cons and make the one volume as shown below
Deleting and creating new surfaces: 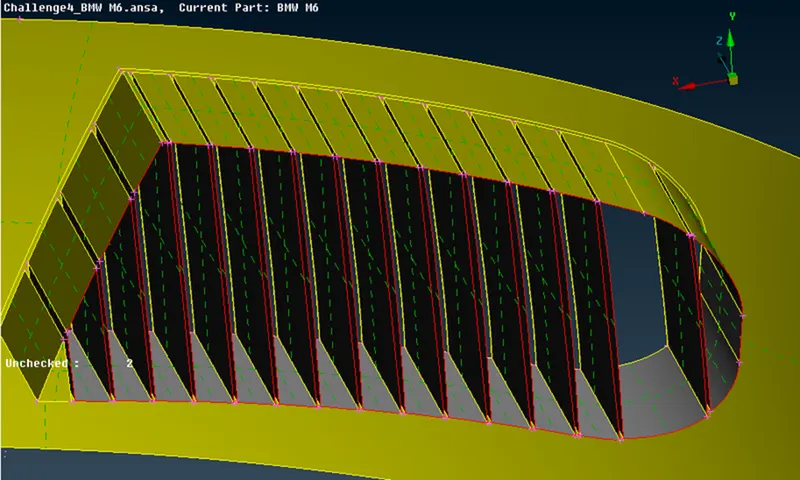
geometry cleaned grill:
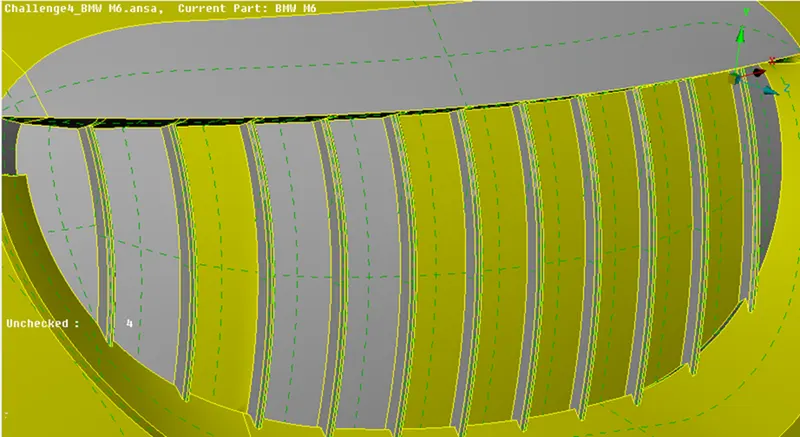
Similarlly we have to make the geometric clean up of Mirror , Logo ,Lights, window and body .
Body : for the body in the bottom side the are so many surface which has ovverlapped each other so we have to clean it up.
For keeping the track or path of the body we can create it by using cons2curve option present in curves 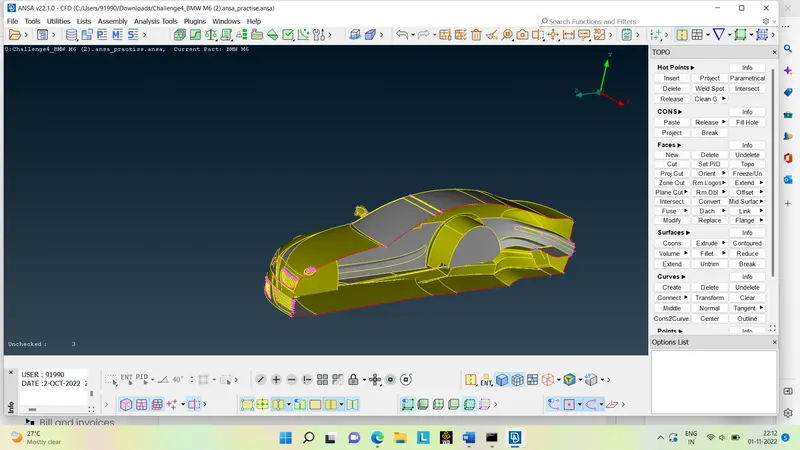
After doing the topo clean-up we can do geometric check up for the model.
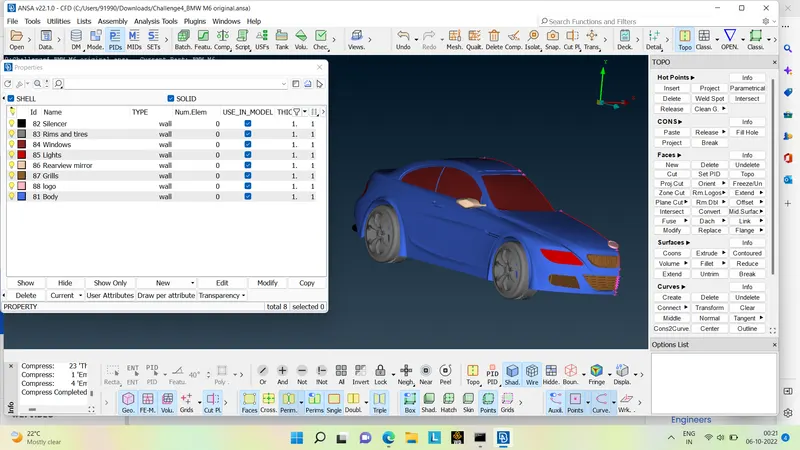
Setting up Properties using PID command:for setting the pid first we have turn on the crossedge in order to select the face for giving the properties
after that we have to go to PROPERTY then we have to creat the new labels and then we have to give naming to the facing as shown below
- body
- light
- grills
- rims and tyres
- rear view mirrors
- windows
- silencer
- logo
Meshing:After cleaning the geometry we have to create the mesh one by one for the each part of the body by going to MESH>LENGTH>PARAMETRIC+MACROS after this setup mesh element by going on MESH PARAMETER>CFD MESH as shown below
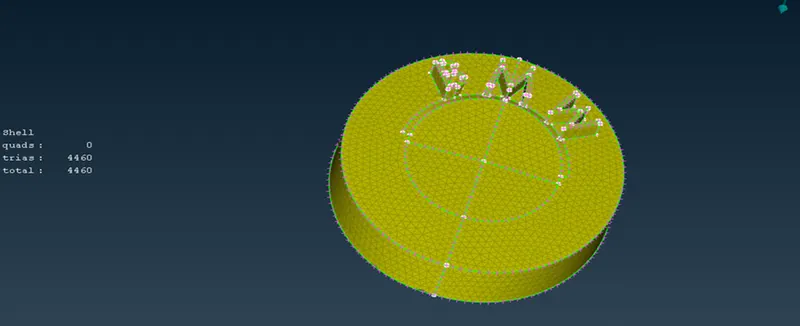
- Logo and Grills :for logo and grillsMI we have to give mesh lenght of about 1mm
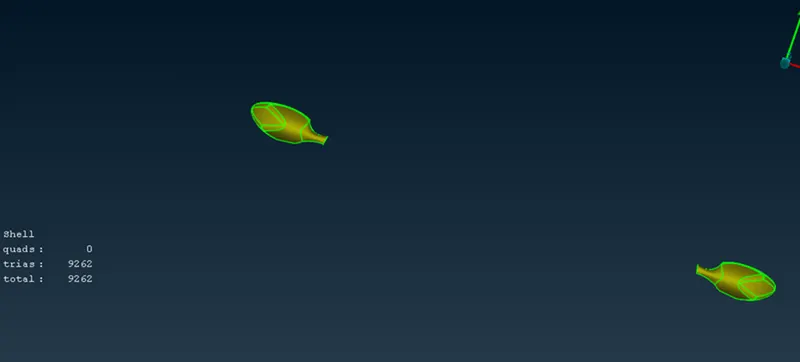
Mirrors and Rims and Tyres : mirror , rims and tyres have to mesh by using 2mm length
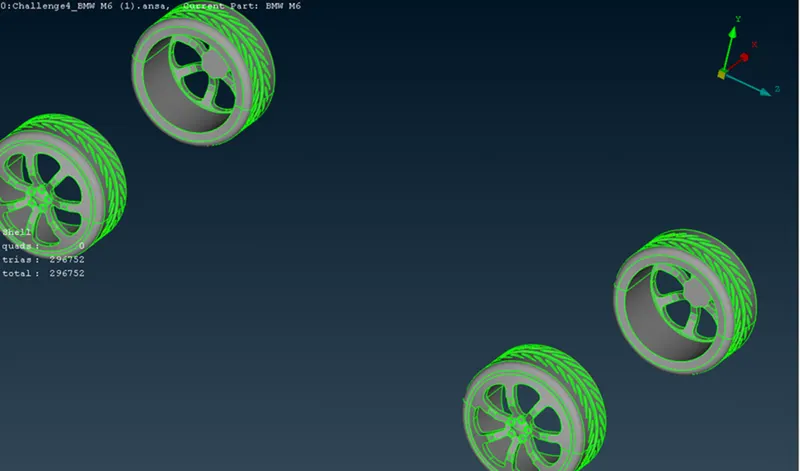
Lights :Lights have to mesh upto lenght of 4mm
Body and silencer : Body and have to mesh for the given length of 3mm.
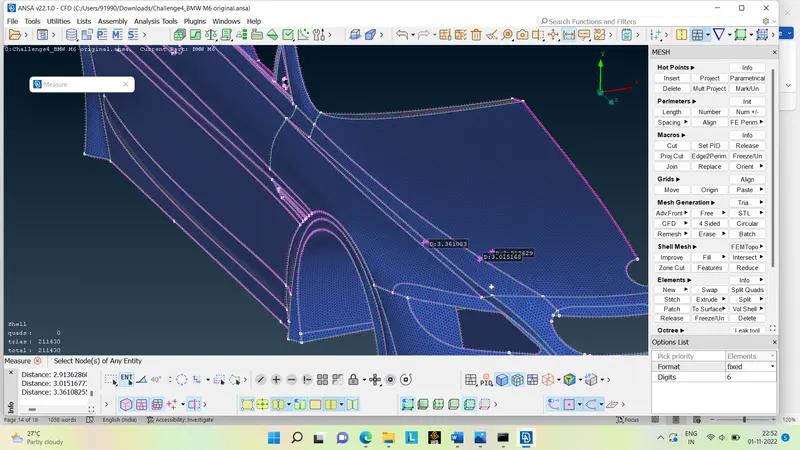
Performing symmetry of the car:
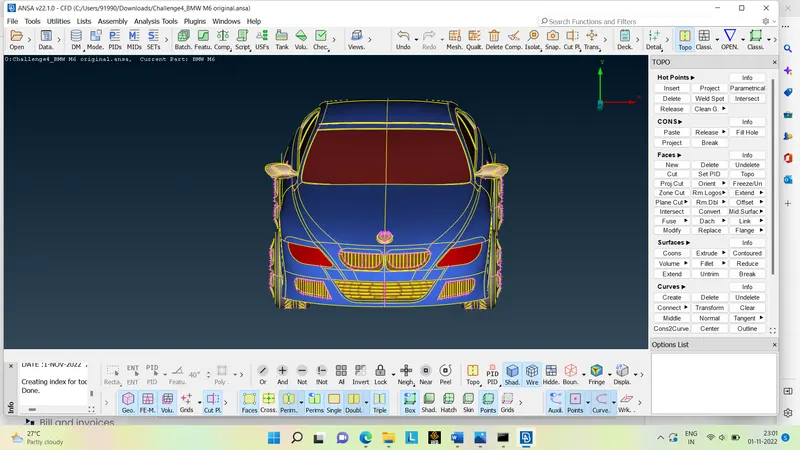
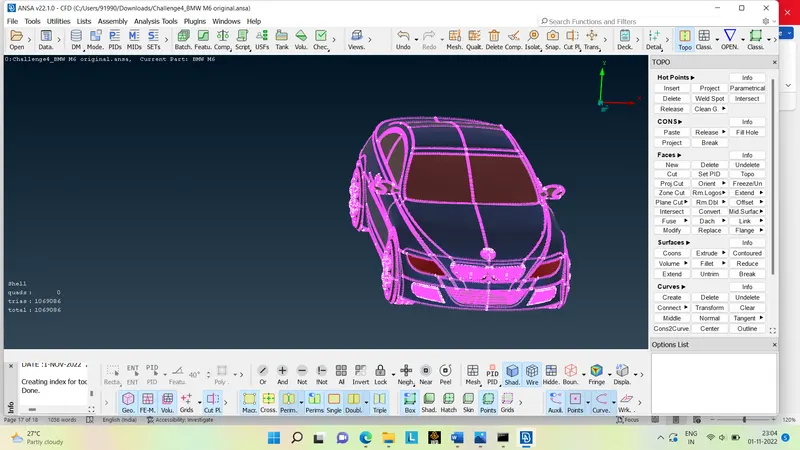
- After the successfull cleanup and meshing of half part of the given geometry we have to do the symmetric operation on the given car
- for performing symmetric operation we have to go TRANSFORM>COPY>MIDDLE CLICK.
- after this one window will open in that window in that CHOOSE symmetry option using 3 points then select 3 points and middle click then we will get our symmetry succesfully
- after succesful creating the symmetry we will get some single cons near our middle region that we have to solve by using paste option
symmetry car:
Creating wind tunnel:
- for creating wind tunnel we have to create a reference point below the car as shown below
- after that calculate the dimension of the wind tunnel and create the wind tunnel as shown below
- give the PID for the wind tunnel
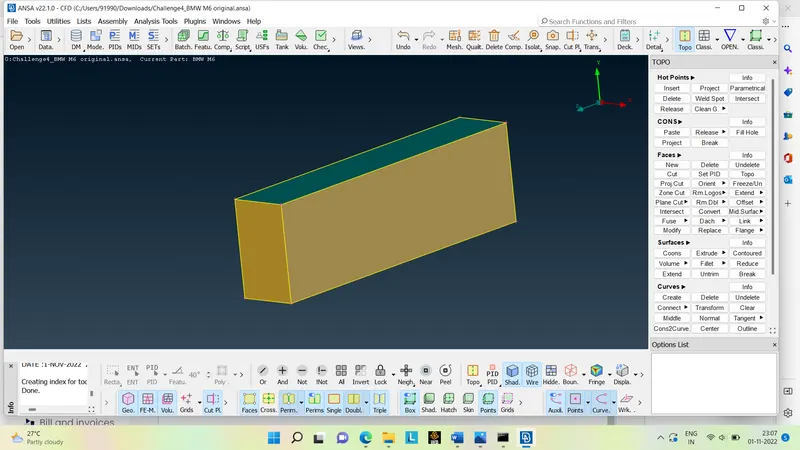
Surface meshing of the wind tunnel:
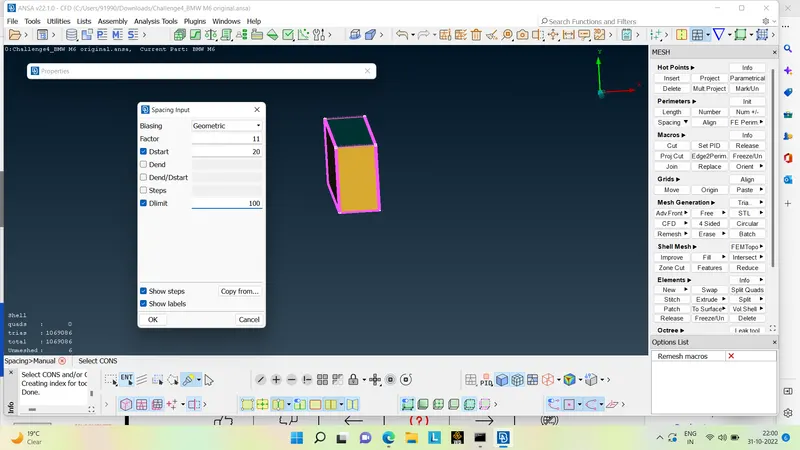
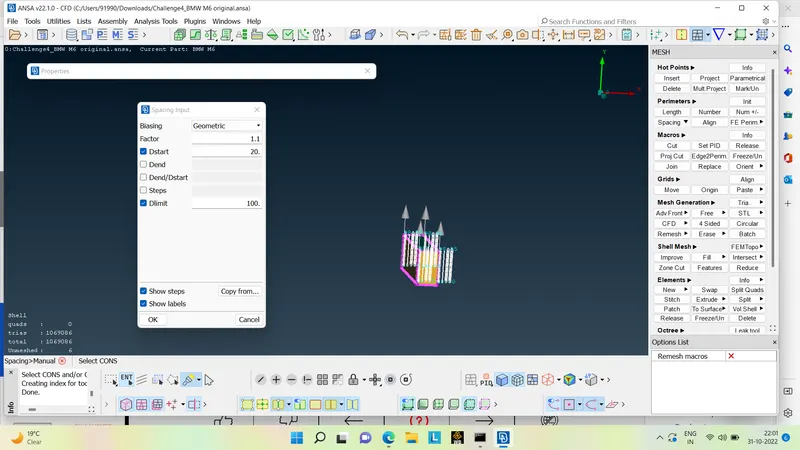
- The top side element length is 100. The bottom side element length is 20. Use the option "Spacing" in paramter. Select geometry type. Enter dmin as 20 and dlmt as 100 and select the 4 vertical cons of winf tunnel.
- apply surface mesh on wind tunnel
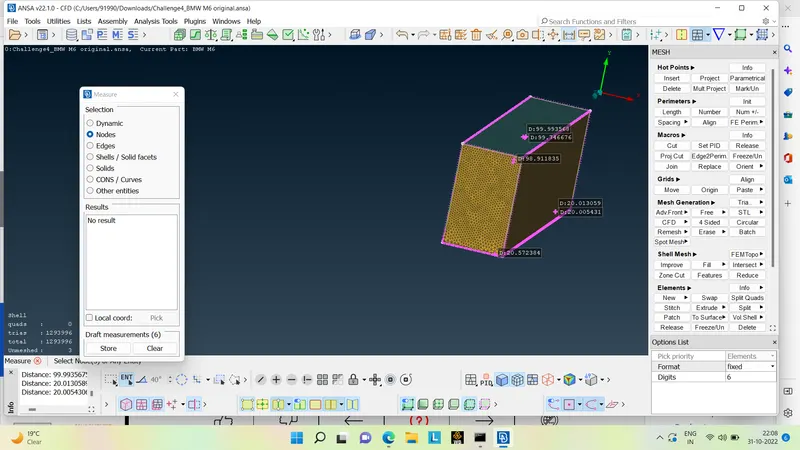
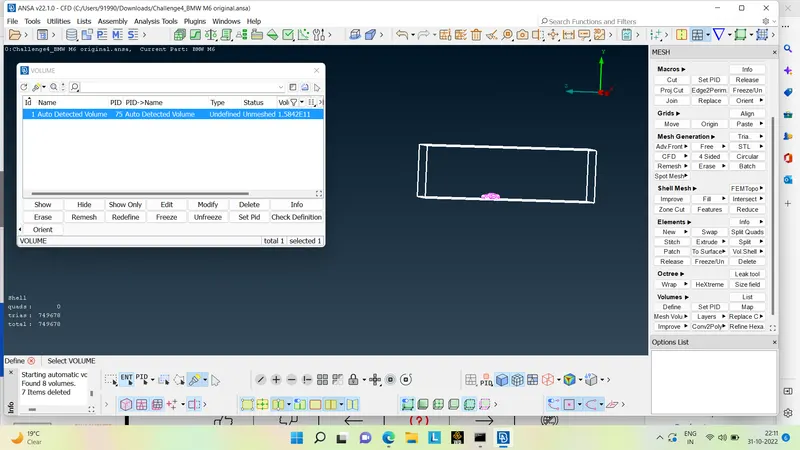
Volumetric meshing : For doing volumetric meshing we to go to VOLUMES>DEFINE>Wholedb .
we have to detect the needed surface to perform the volumetric mesh and have to delete the rest .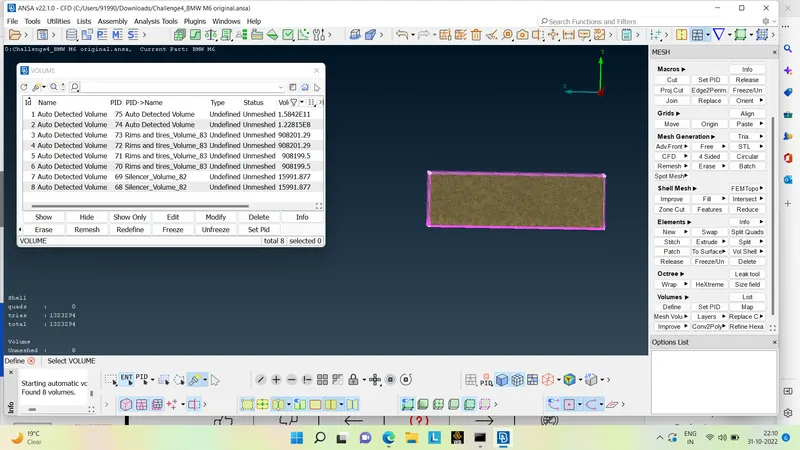
Conclusion:
- The BMW car model is top-cleaned and has a suitably netted surface.
- A wind tunnel is created and the surface is meshed with reference to the size of the car model.
- There are different volumes of the car model because the shock absorber and tires are not connected to the car body.
- A single volume is created from the car body, so that it can be avoided in one go when creating a volume mesh.
- The required physical tests can be performed on the volume model of the wind tunnel after a successful volume connection.
link for meshed car:
https://drive.google.com/file/d/1gPl1EvE6YPd29Z4PUc4RNJ_XBpNCeSNf/view?usp=share_link