Week 4 Challenge : CFD Meshing for BMW car
CFD Meshing for BMW Car
AIM: To check and solve all geometrical errors on half portion and Assign appropriate PIDs. Perform meshing with the given Target length and element Quality criteria. After meshing the half model, to do symmetry to the other side.
Procudrure:solve all geometrical errors on half portion and Assign appropriate PIDs
Perform meshing with the given Target length and element Quality criteria
After meshing the half model, to do symmetry to the other side.
Learning Outcomes
- Advanced Topology cleanup to define volumes.
- Variable Surface meshing part by part
- Solving quality failed elements as per Quality criteria
- Symmetry operation for surface and mesh elements
- Wind Tunnel Creation
- CFD Meshing for Wind tunnel
Methdology:
Step1 : Delete symmetry of given model
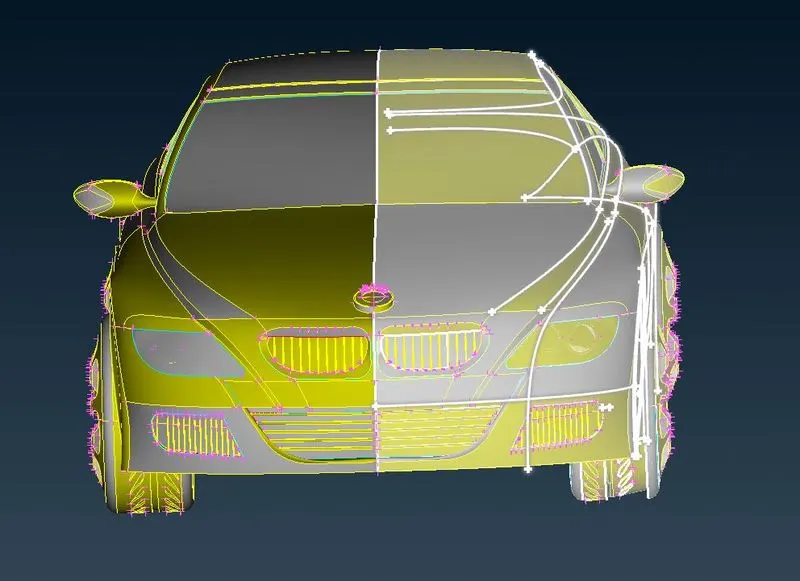
Deleting the symmetric part of car to ease the proseses
Step2:Topo cleanup
Resolution of given model is to be set
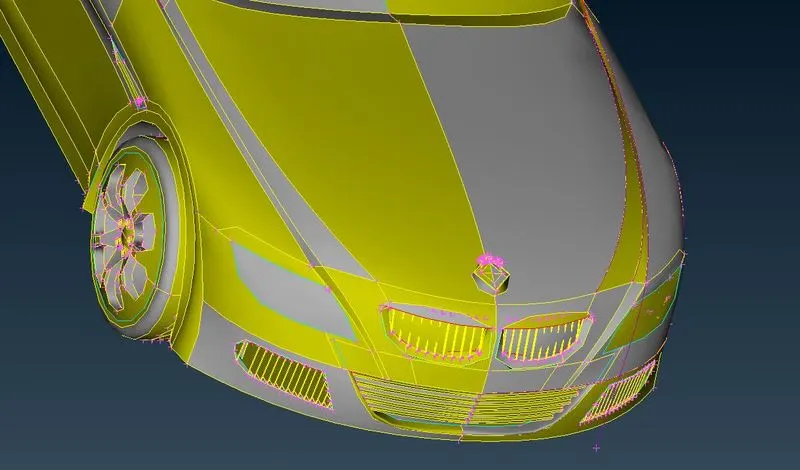
Resolution of given model is not proper
going to settings , setting the resolution as needed
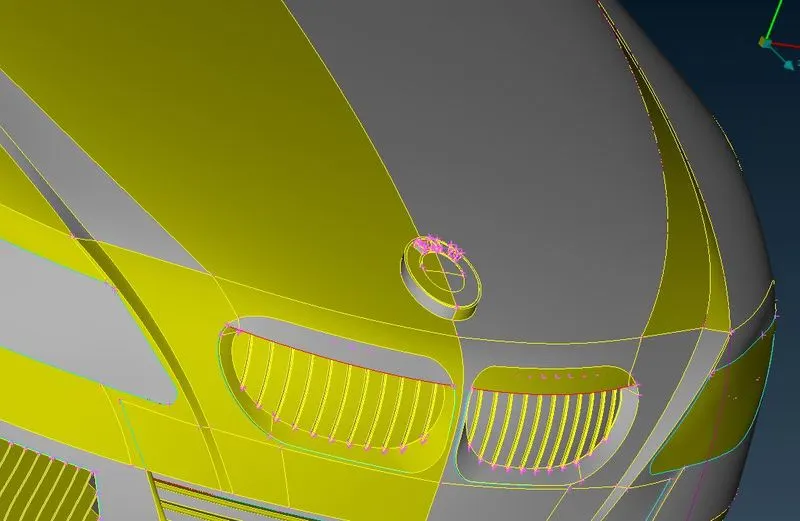
as we can observe model the log of BMW is changeing from sharp edges to curve
a.moving to grid for to topo clean up
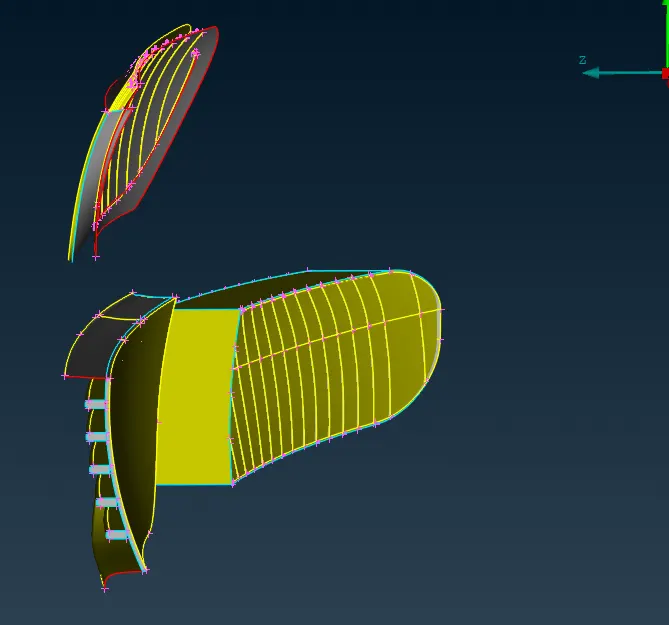
for above image we can observe that extra cons creat extra volume we are going to remove them to single volume element
there are diffrenet methods to clean up
some of them are planecut and some are normal cleanup
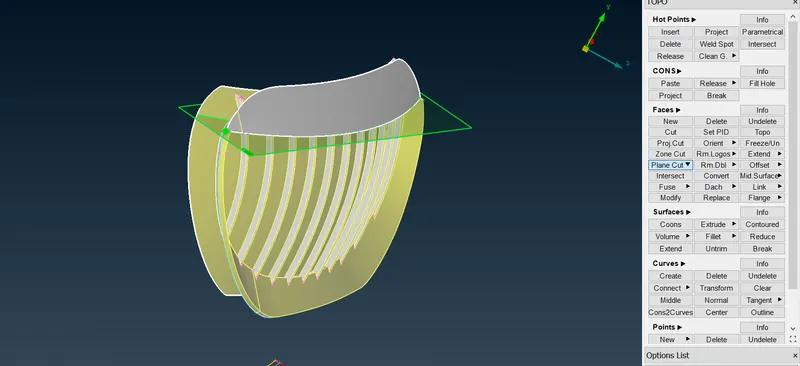
and normal clean up
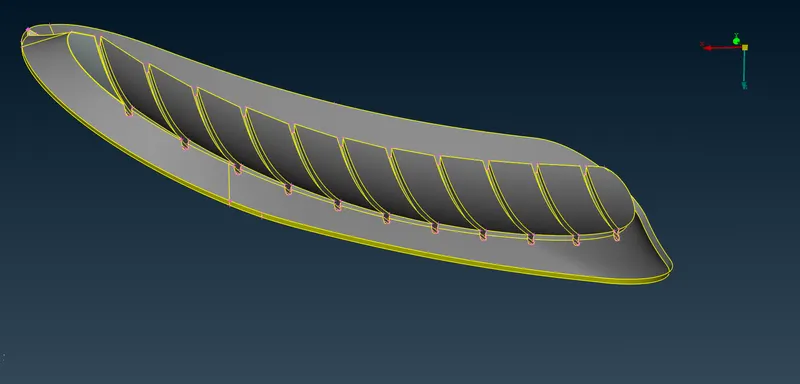
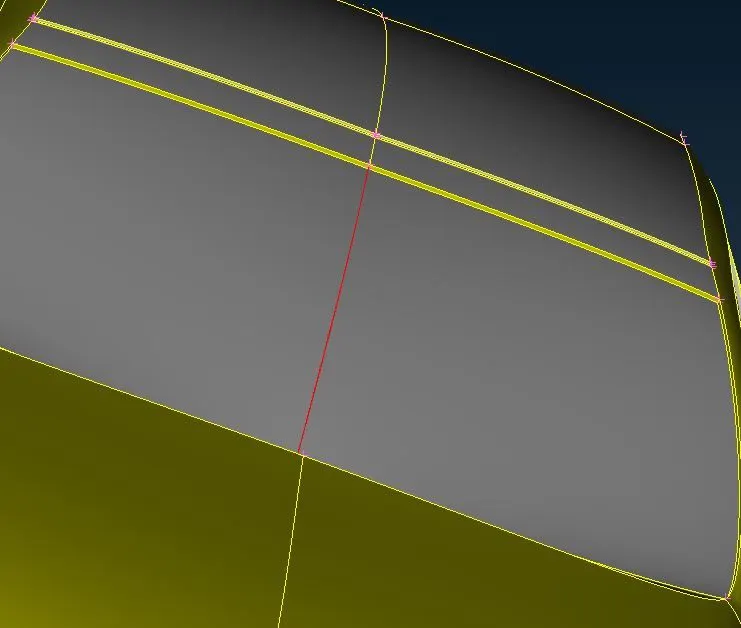
after clean up with normal methods the grill looks like above ,and there should not be any triple cons
and elete every small faces avoid riple cons
B. faces offset option
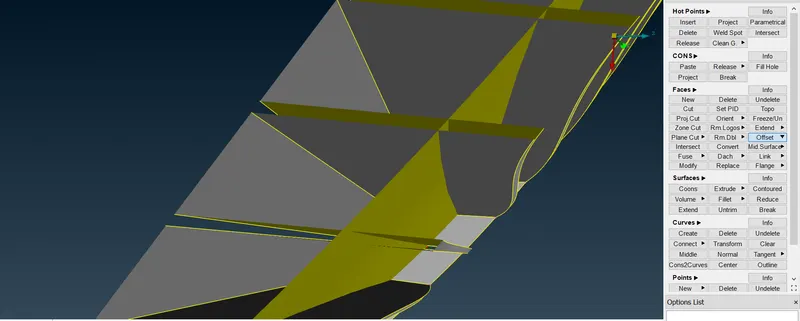
Faces are offsetted and intersected and then deleted ,and topo clened up
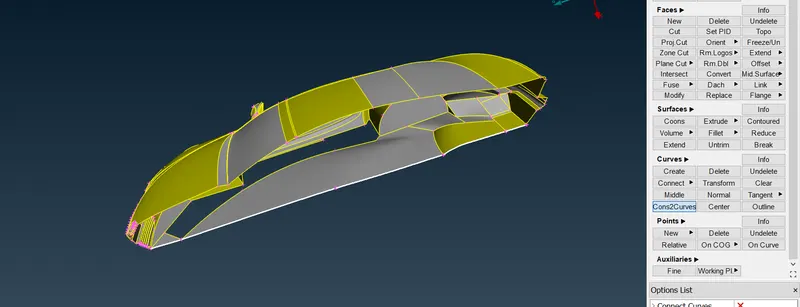
To clean up bottom part of car to maintain symetry of model we use cons to curve option
and then cleanup the bottom part
Step 3:Cheaks manager
going to cheks manager we
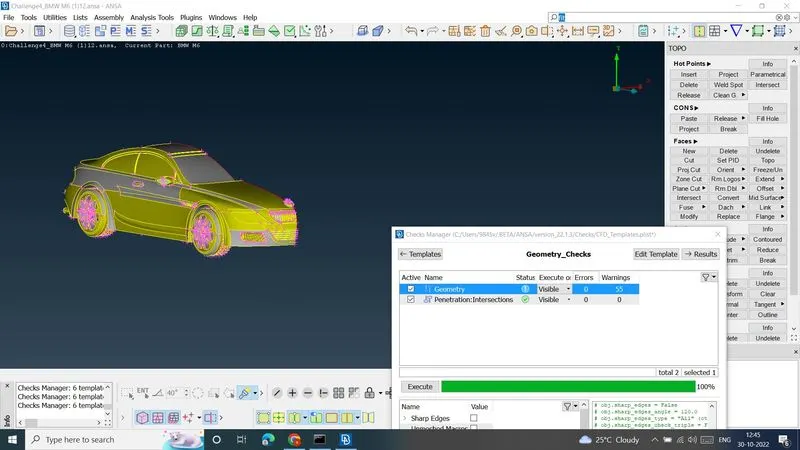
55 errors are are single cons due to warning of single cons to join the other copy of car
Step 4: PId assignement
- Body - 3 mm
- Lights - 4 mm
- Grills - 1 mm
- Rims and Tyres - 2 mm
- Optical Rear view mirror - 2 mm
- Window - 2 mm
- Silencer - 3 mm
- Logo - 1 mm
and also above given mesurements are for target length
Step 5:quality creiteria
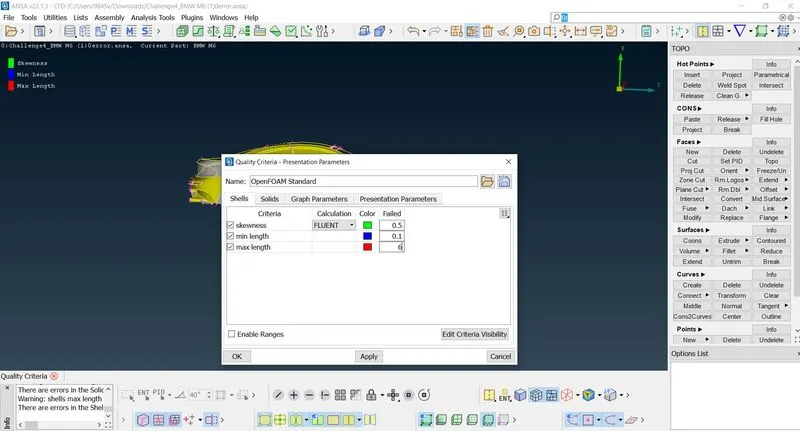
from the given target lenghts we can approximate min length and max length and we ca set skewnes 0.5 and moveing to meshing ,
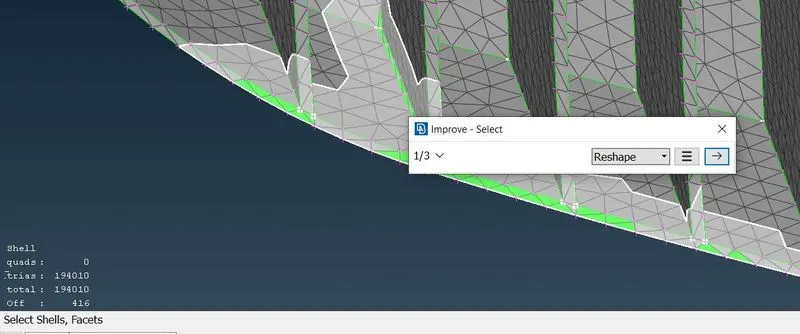
green colour cells are exeeded from quality criteria , we cant imrove manualy 416 cells , by clicking right clik over off elements and selecting reconstruct and agiain same process and then almost all off elements will be cleare in this process
if they are below 10 we can solve it manual my move option from grid section
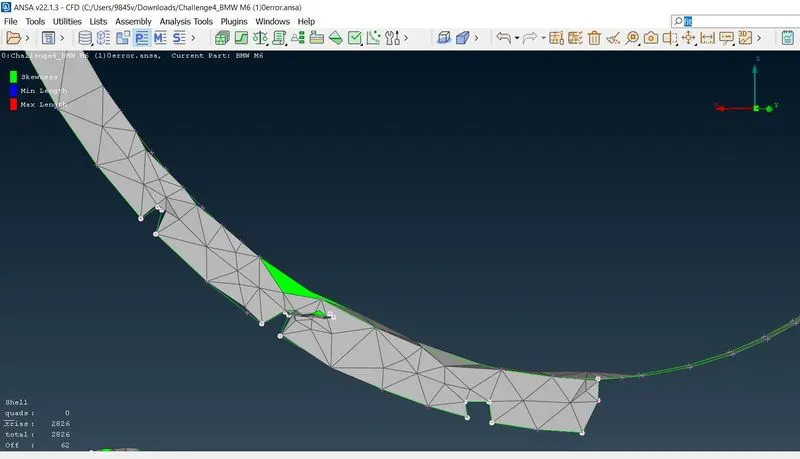
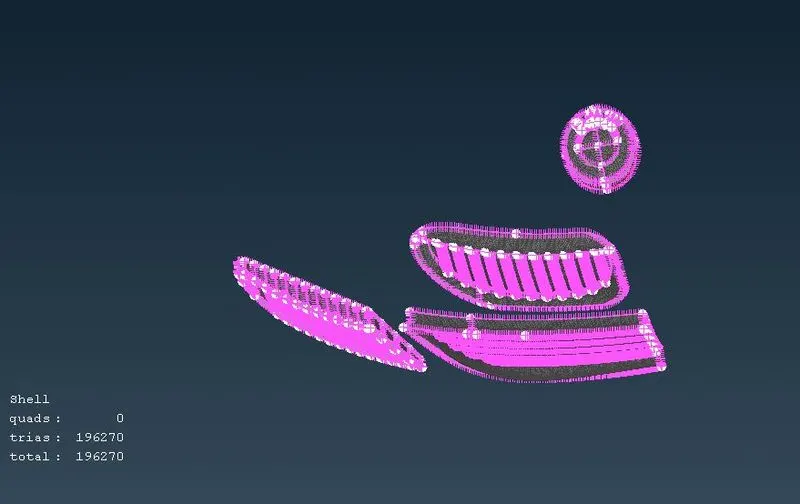
here Frezzing is very important as to maintain quality of mesh
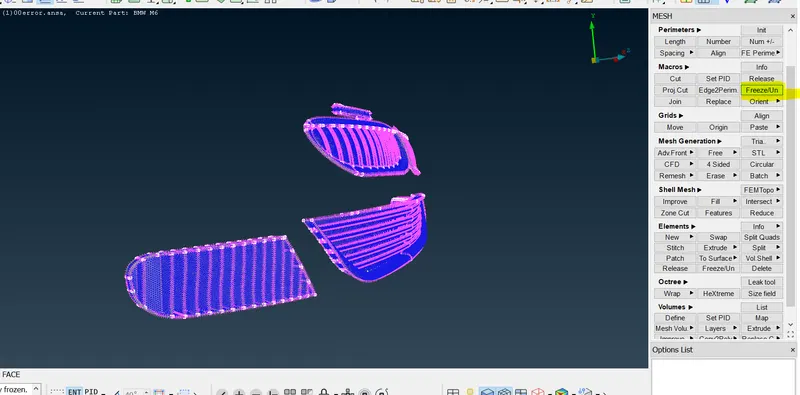
like wise we have to freez all pid's after imdieatly meshing them
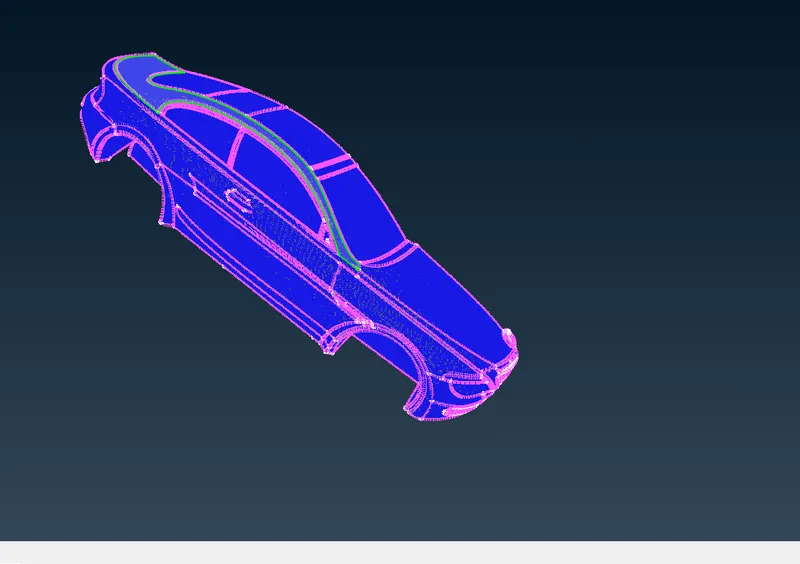
Step 6: Creating copy of symetric by three points (mirror)
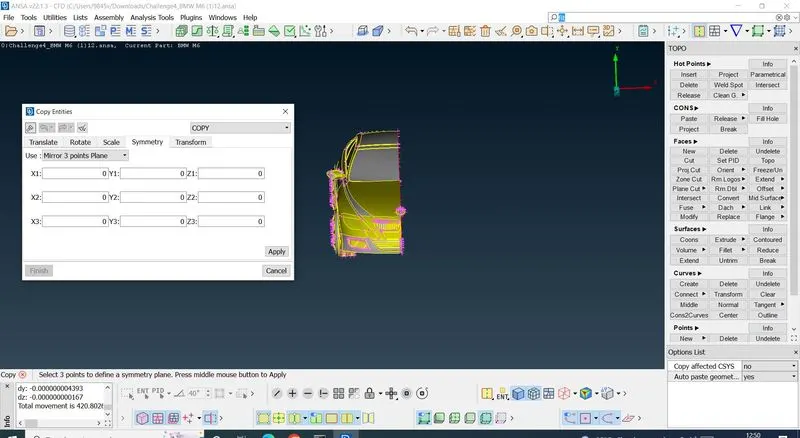
After creation mirror we can use paste optio for those cons with shareing same points
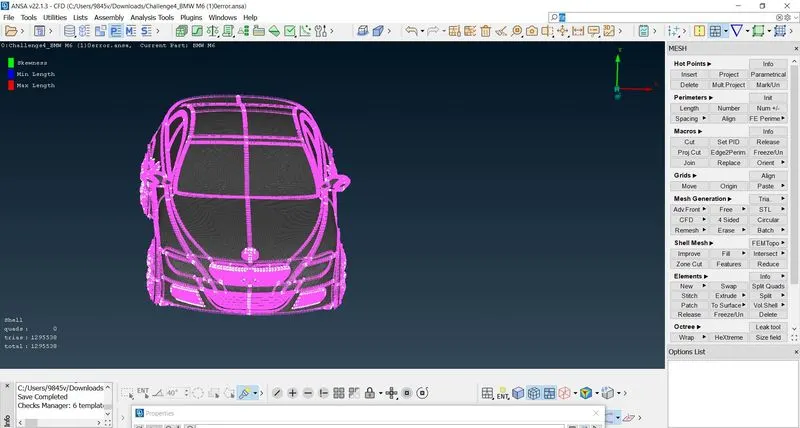
above image shows zero off elements
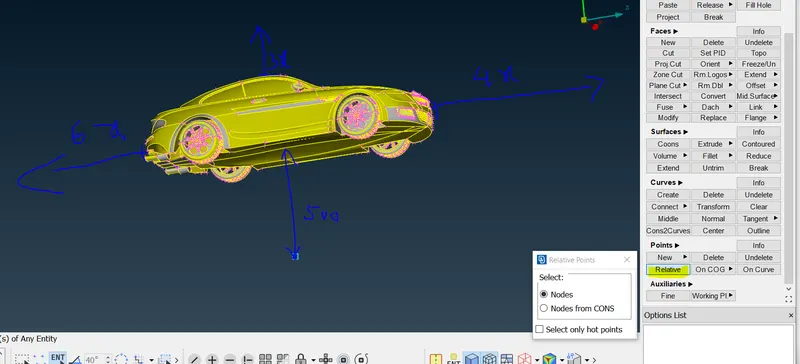
Step 7: Creating points for wind tunnel faces
X=length of Car
4X=From front of car
6x=From back off car
X=left and right of car
Step 8:
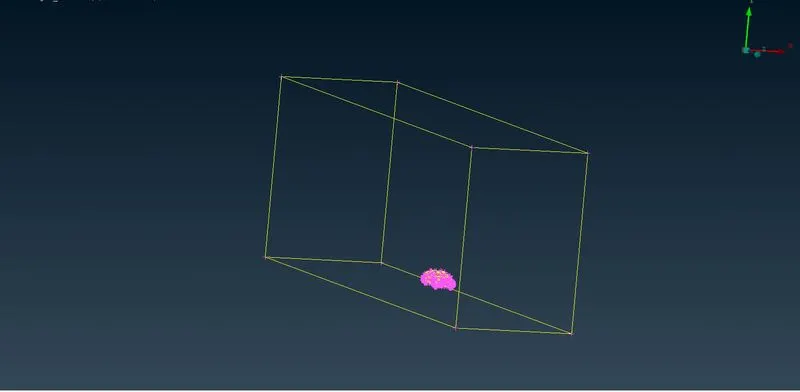
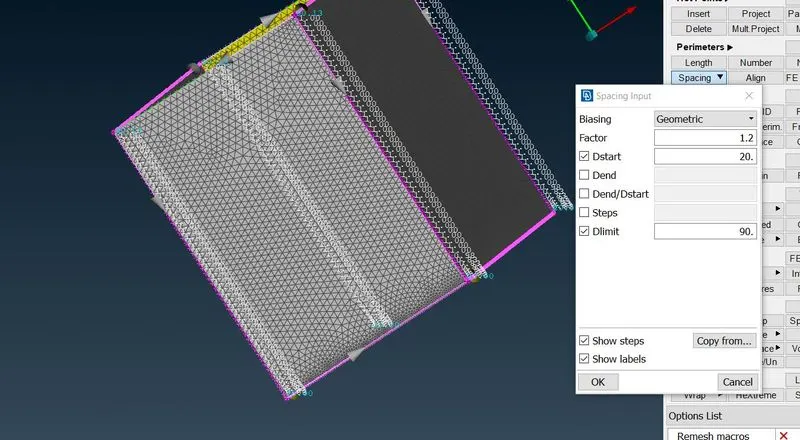
Meshing the wind tunnel and its faces meshlength grws from bottom to to 10mm to 100mm
by spaceing manual option
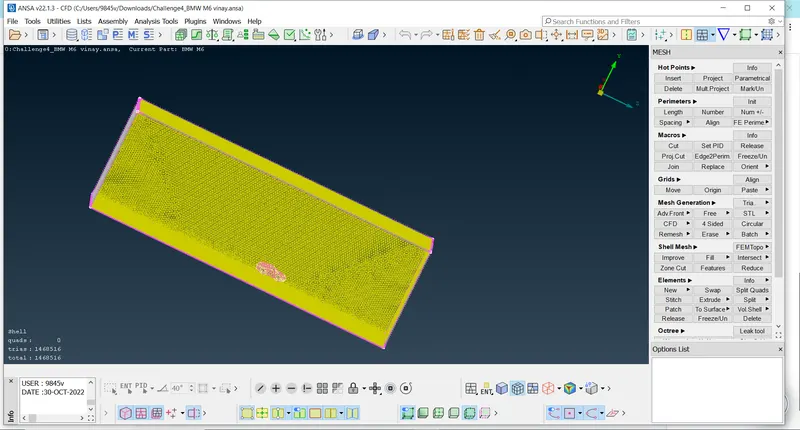
Result
fully meshed model with wind tunnel
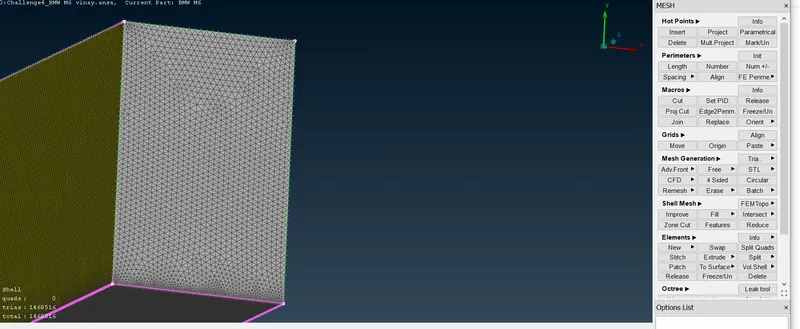
Conclusion :From this we can conclude that from the quality criteria parameter make our mesh good mesh or stranded mesh