Week 4 Challenge : CFD Meshing for BMW car
AIM:
- To check and solve all geometrical errors on half portion and Assign appropriate PIDs.
- To Perform meshing with the given Target length and element Quality criteria.
GIVEN DATA:
- Target lengths for the different parts of a model are as follow:
- Body - 3 mm
- Lights - 4 mm
- Grills - 1 mm
- Rims and Tyres - 2 mm
- Optical Rear view mirror - 2 mm
- Window - 2 mm
- Silencer - 3 mm
- Logo - 1 mm
OBJECTIVE:
- Meshing Wind tunnel volume with tetra elements.
PROCEDURE:
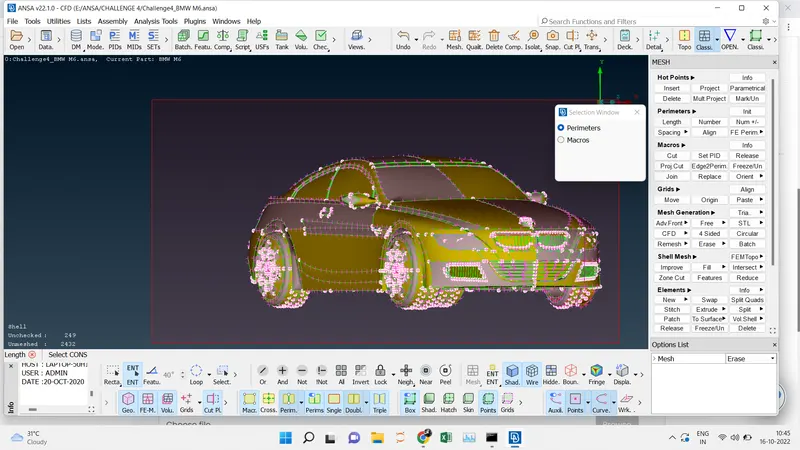
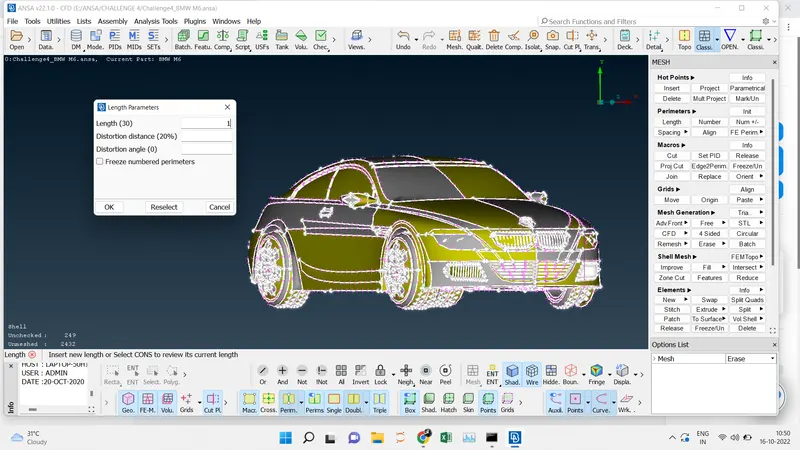
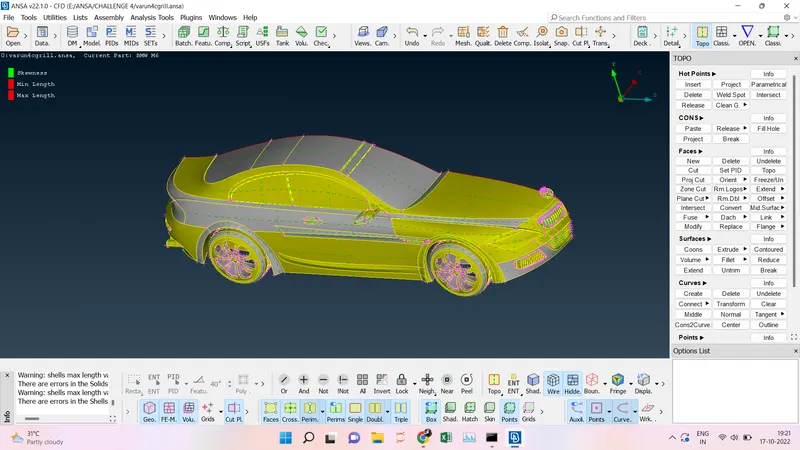
- We are going to increase the resolution of the model by Classic Mesh ----> Perimeter ---->Length ------> Perimeter (Box Select and then Middle> ----> Length -----> Ok. Now the model looks good.
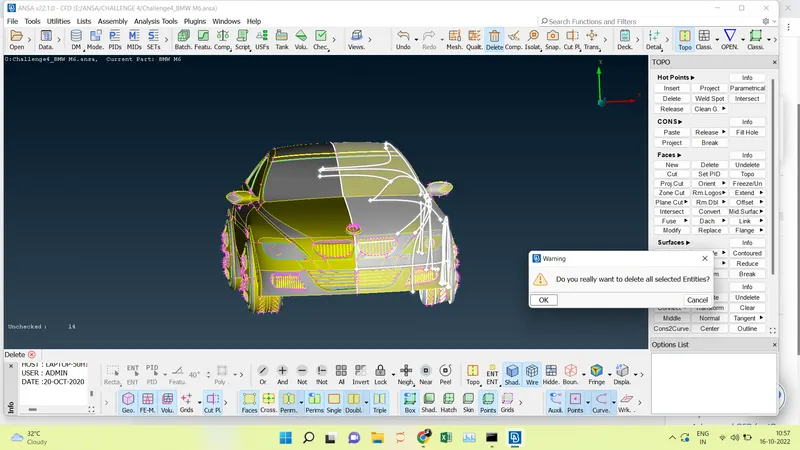
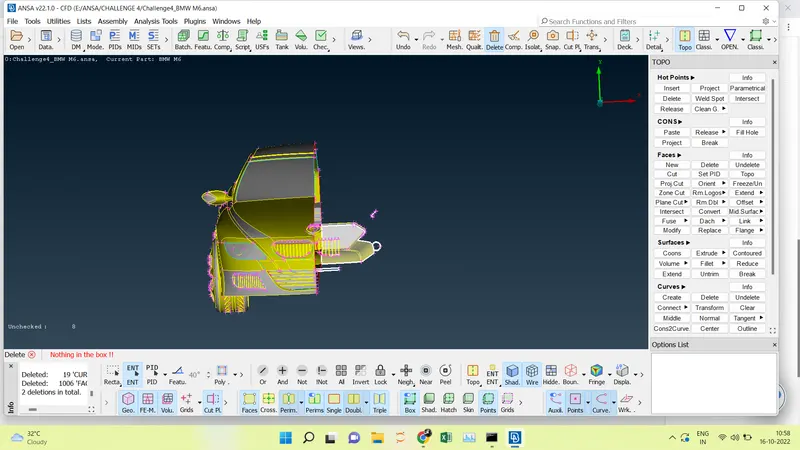
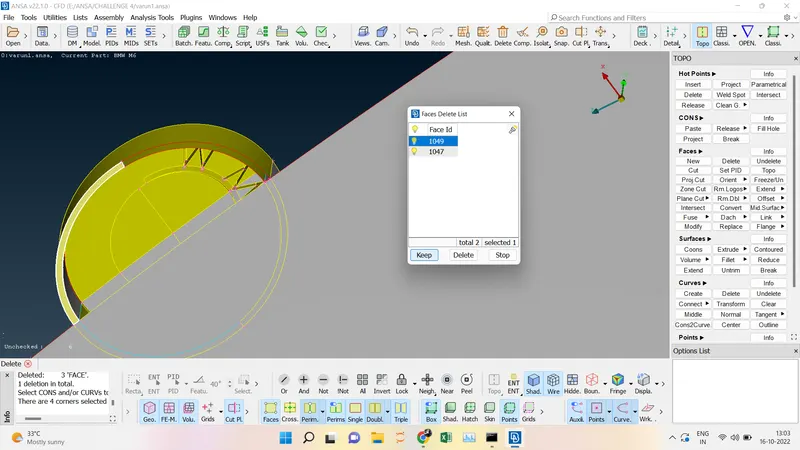
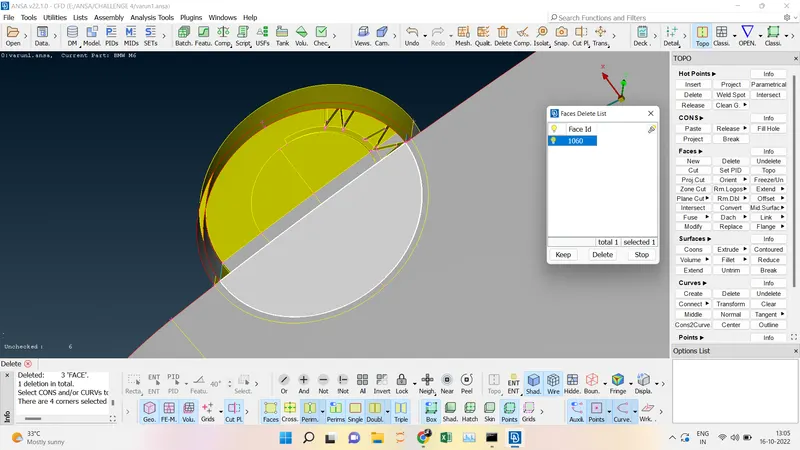
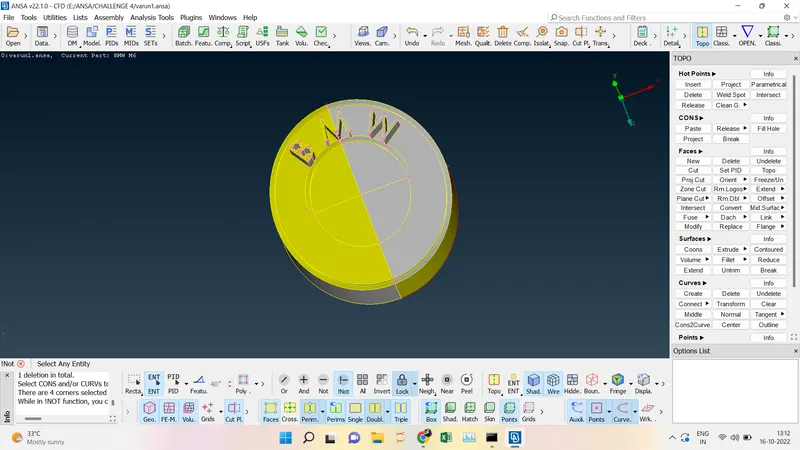
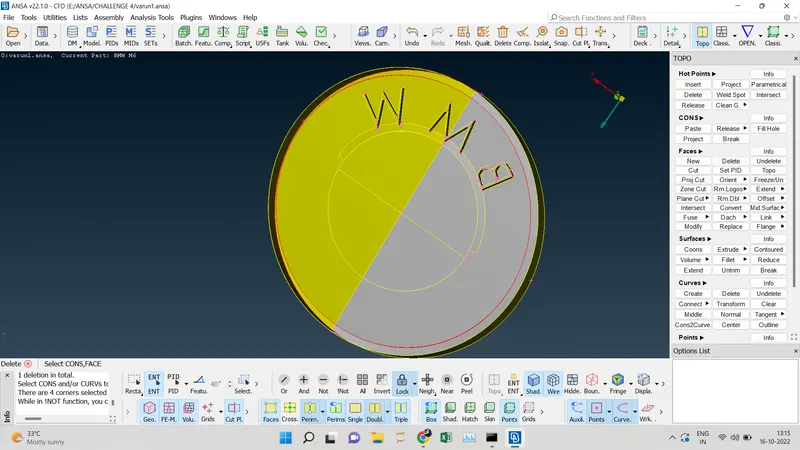
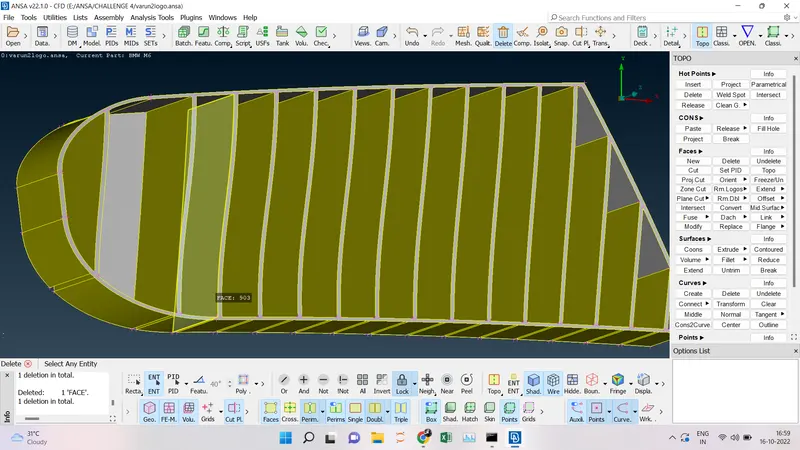
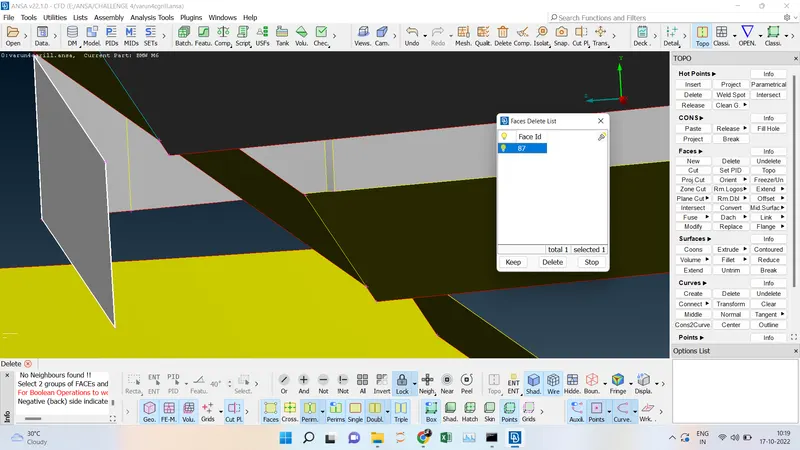
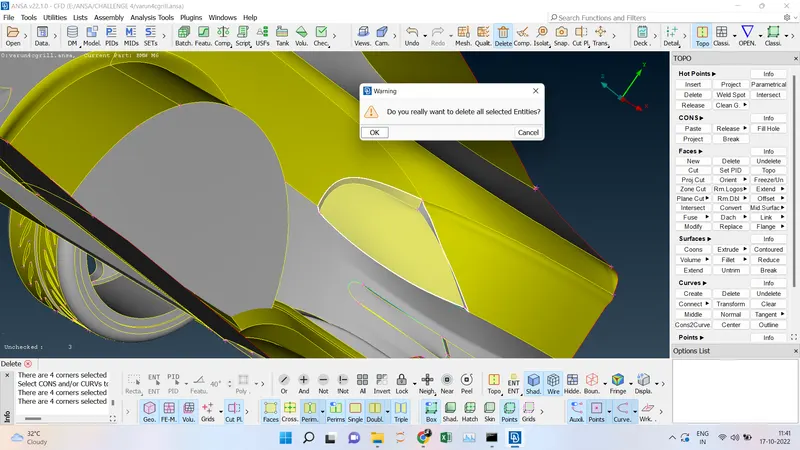
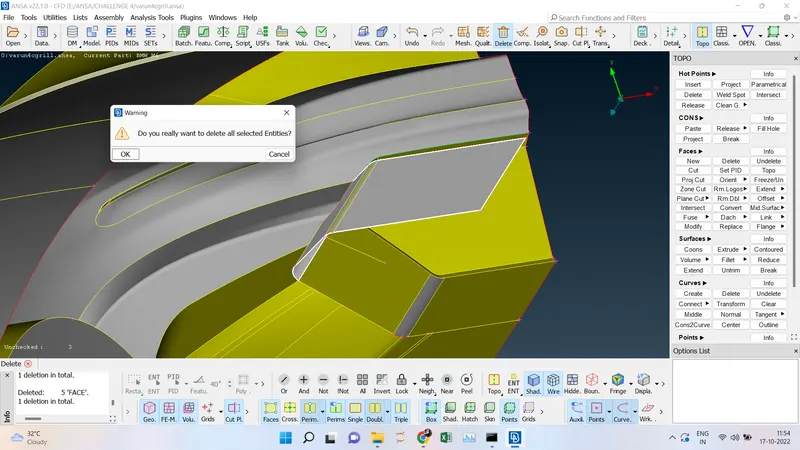
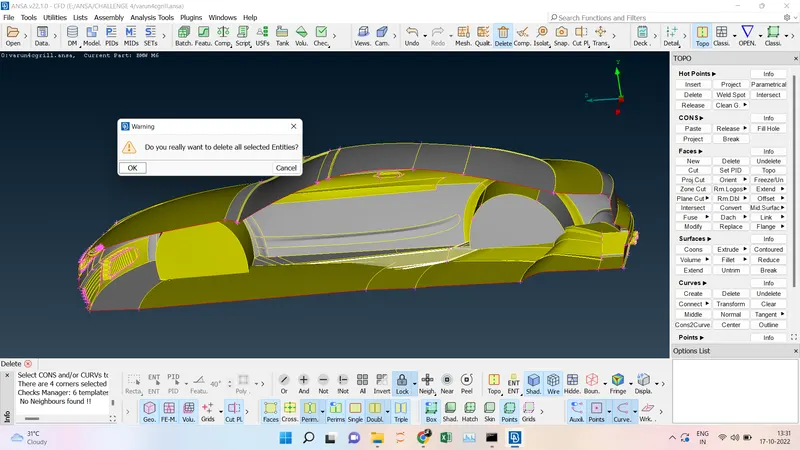
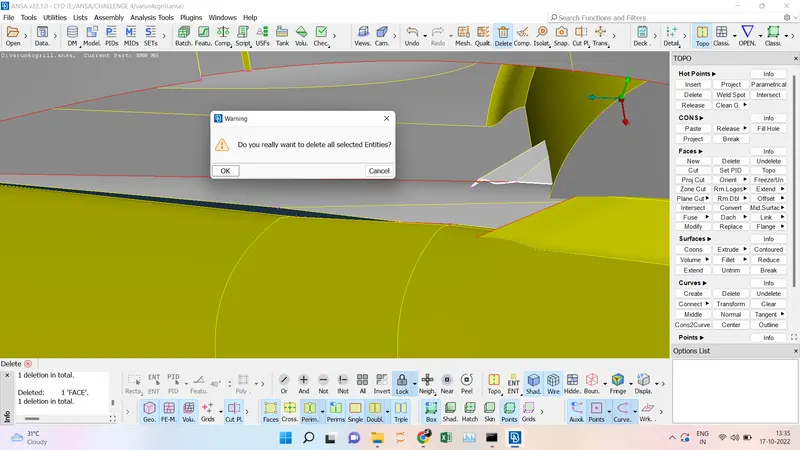
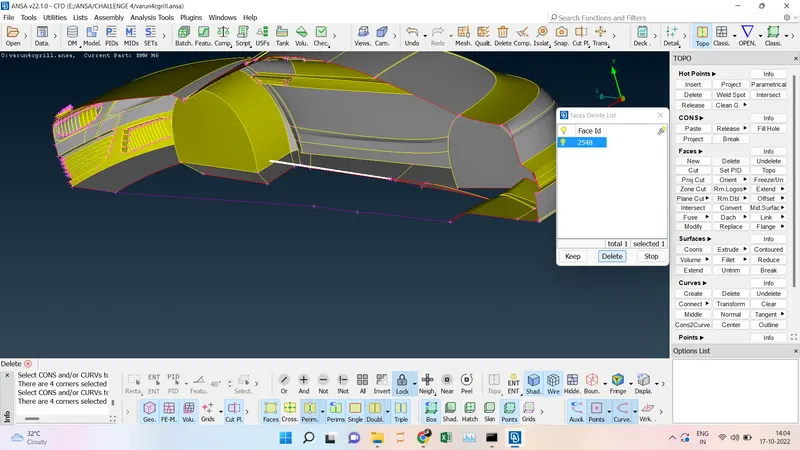
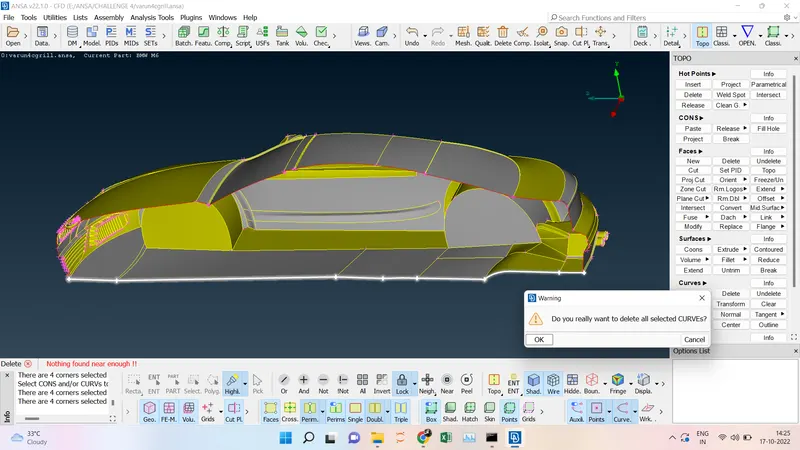
- Since the model is asymmetry we are going to delete the half model except the Logo by using the universal delete option.
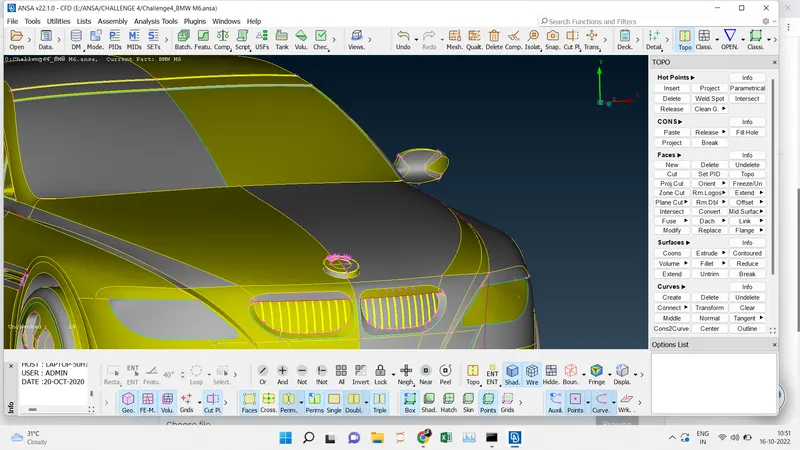
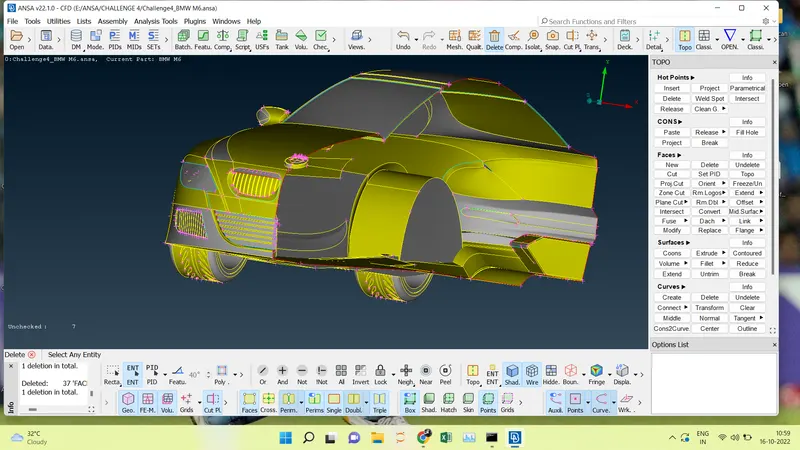
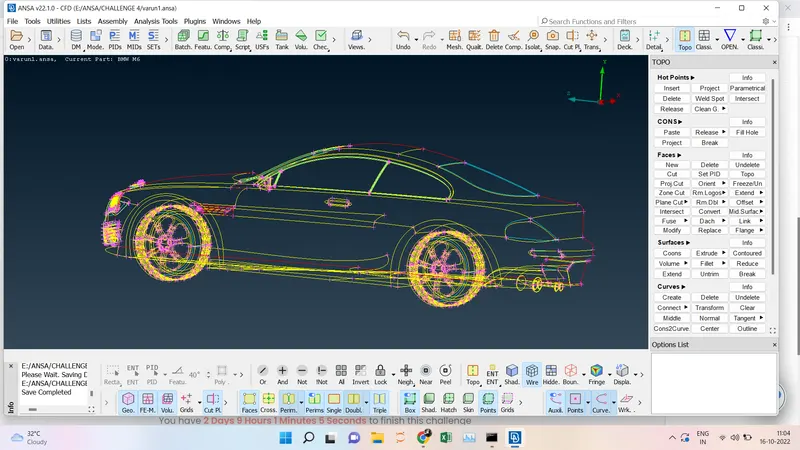
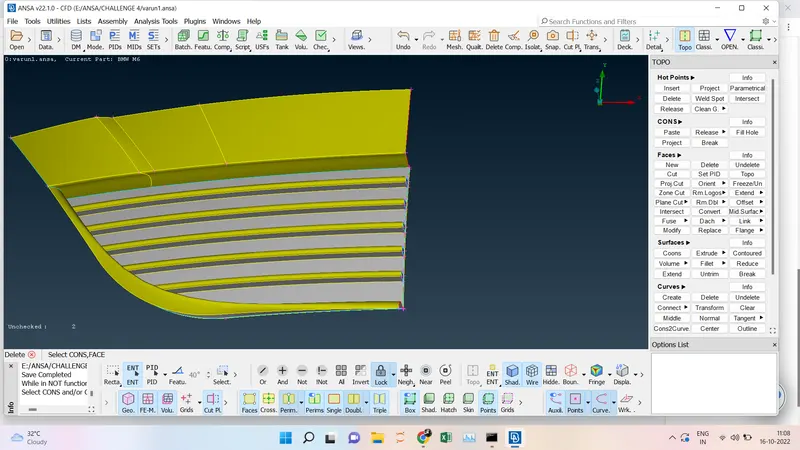
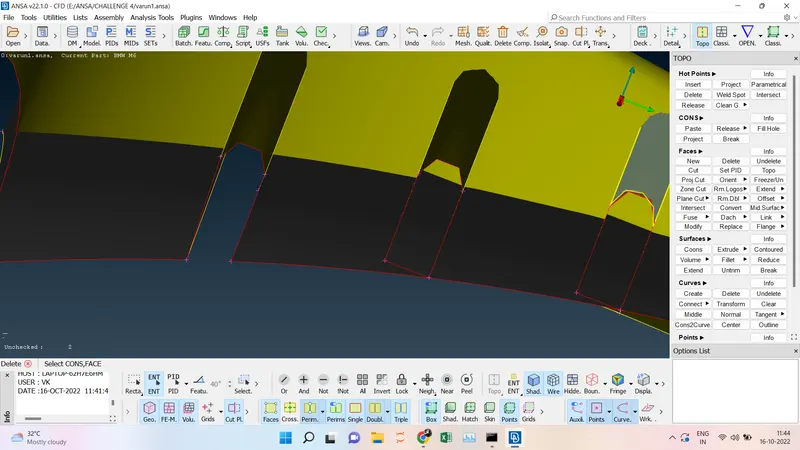
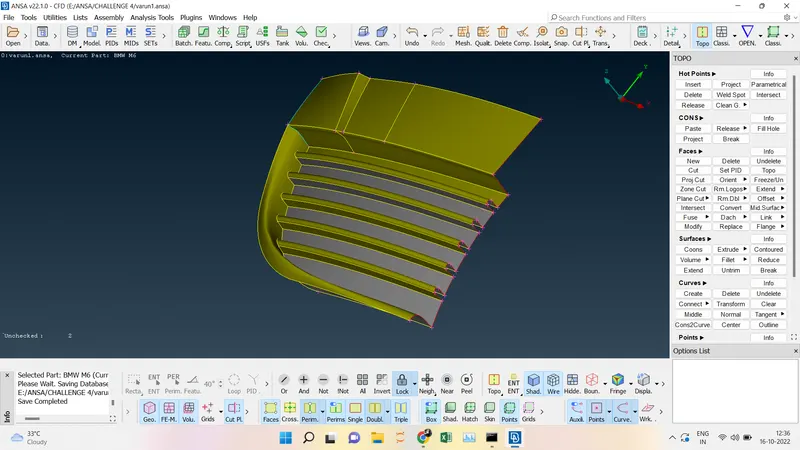
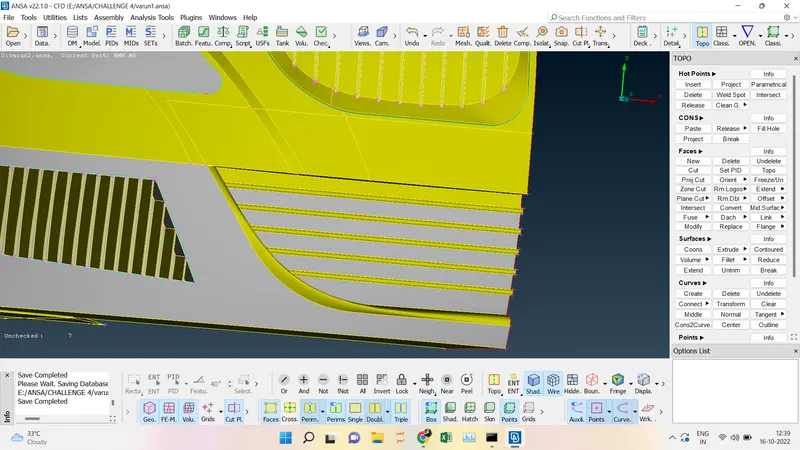
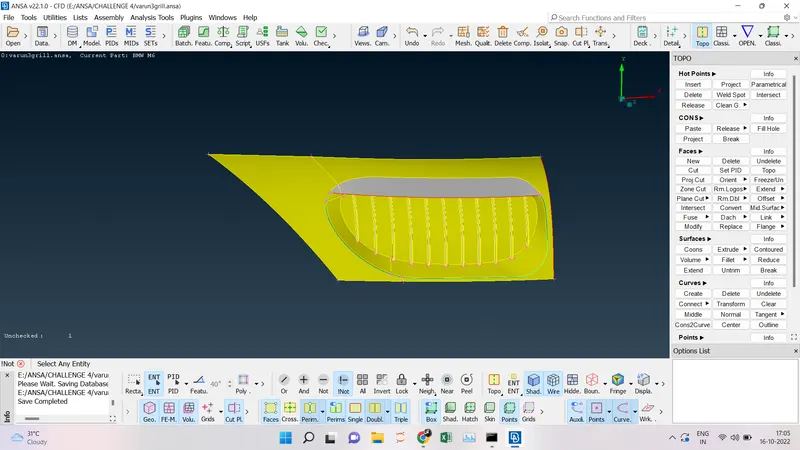
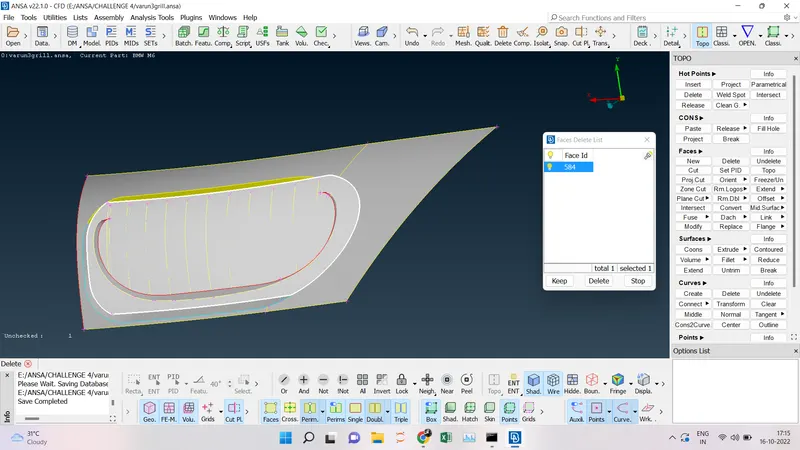
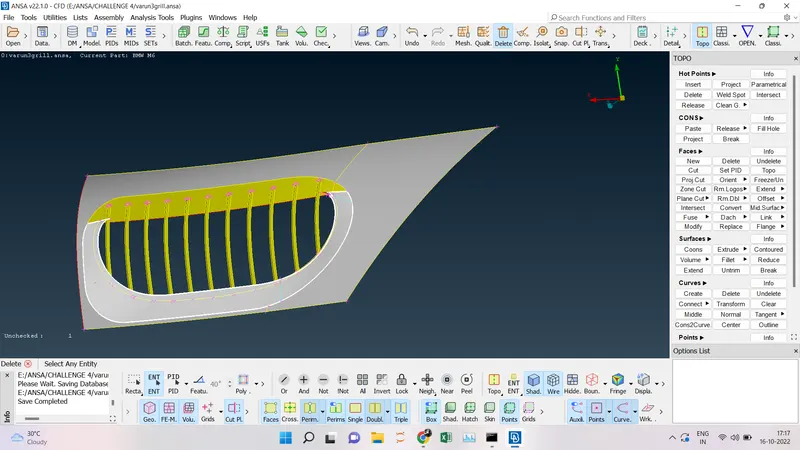
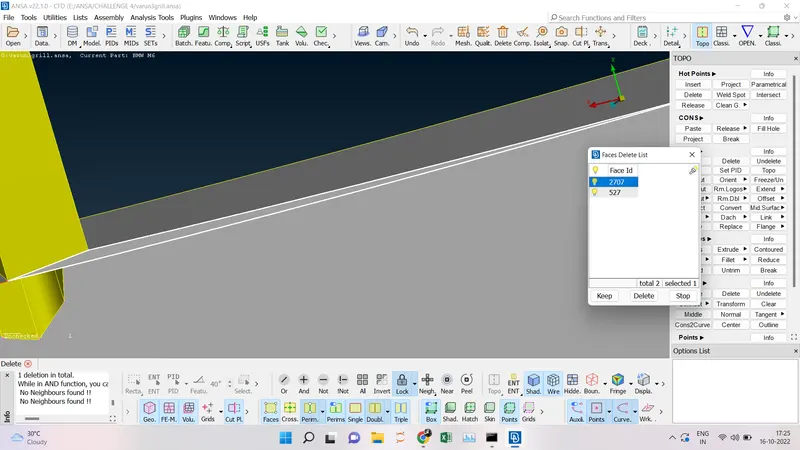
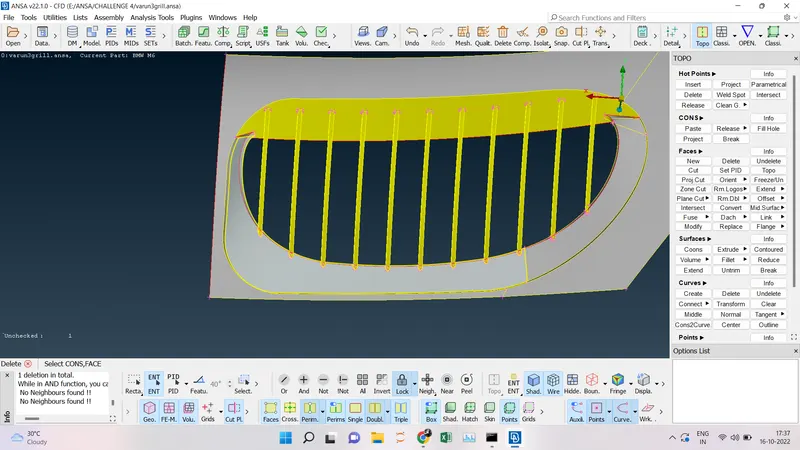
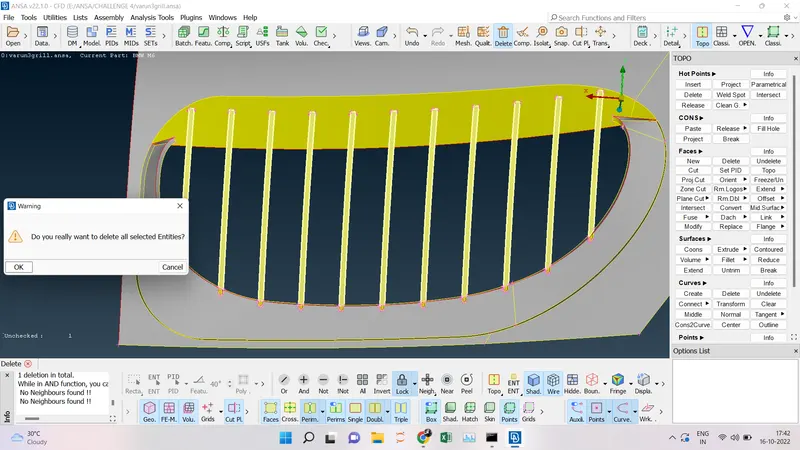
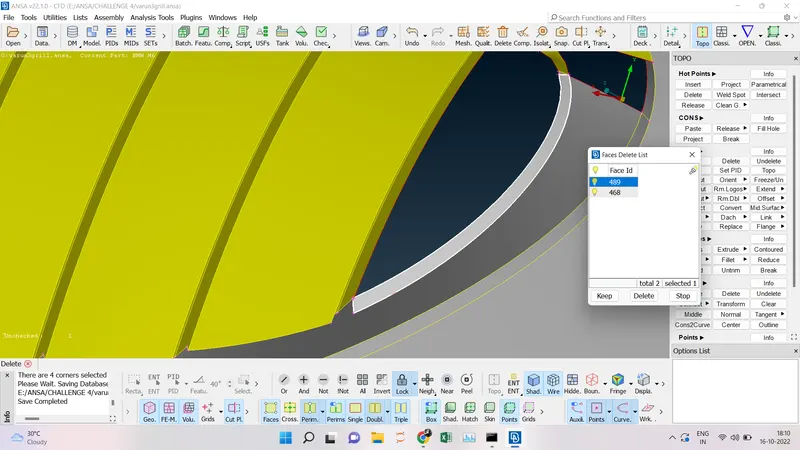
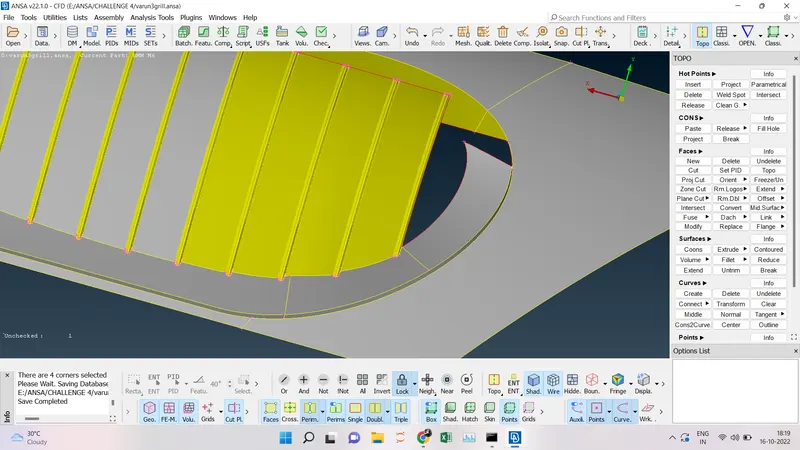
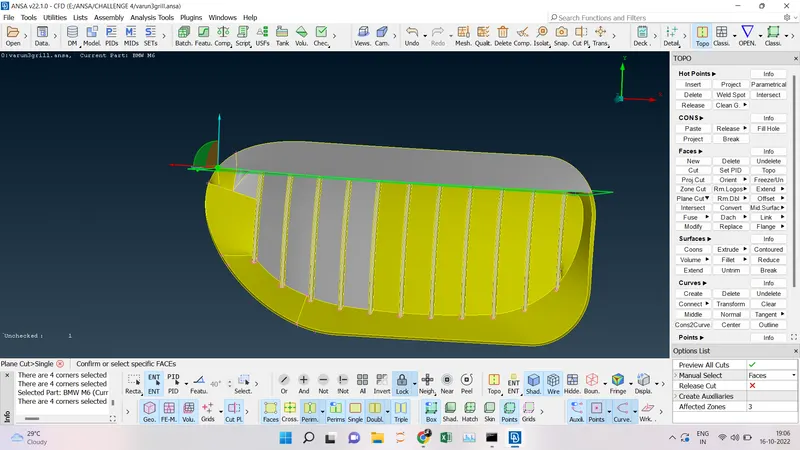
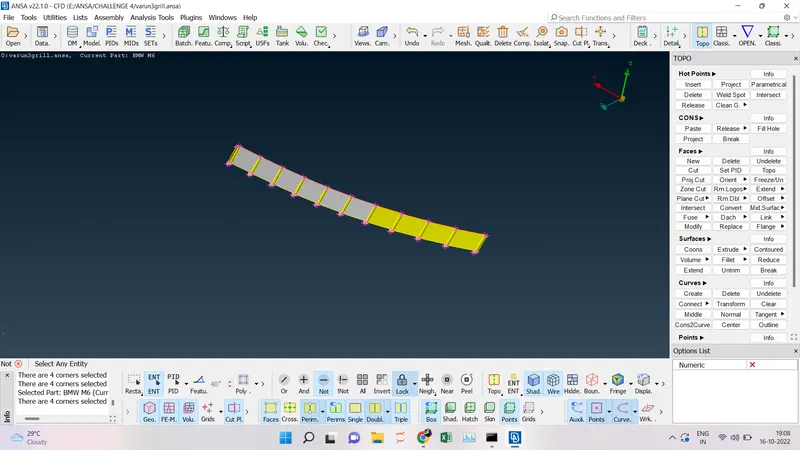
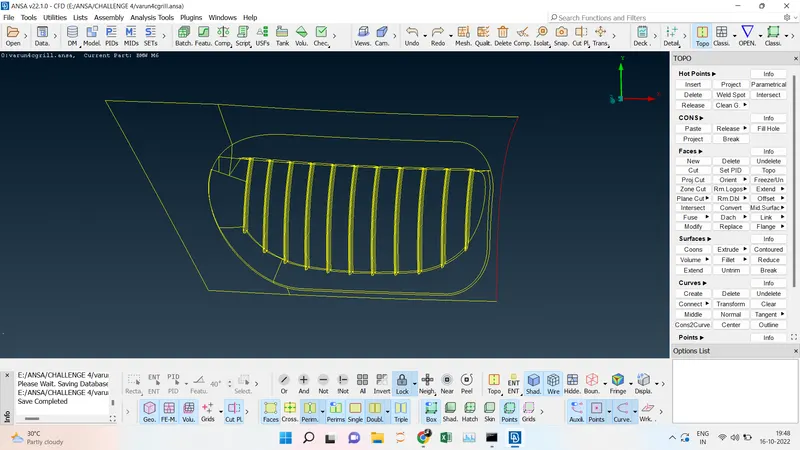
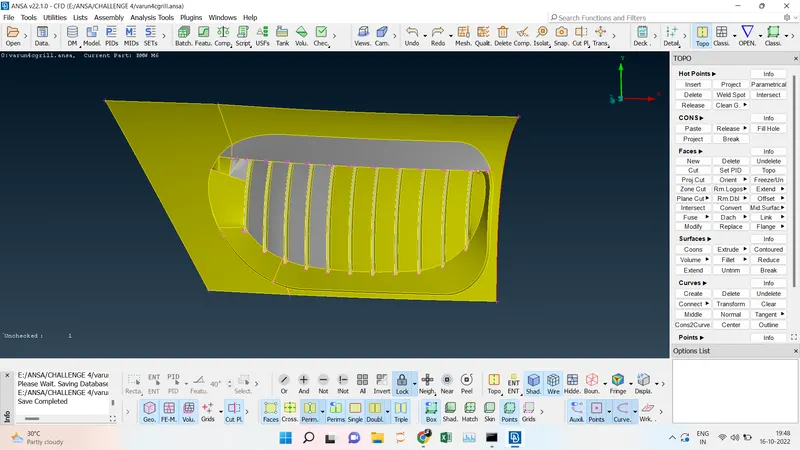
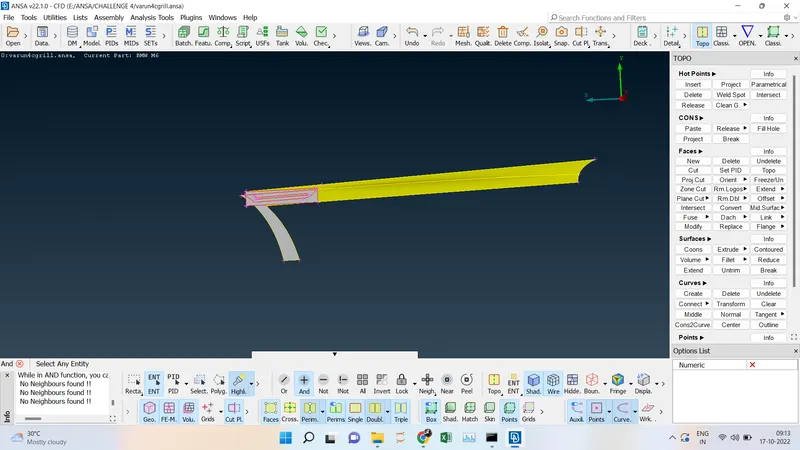
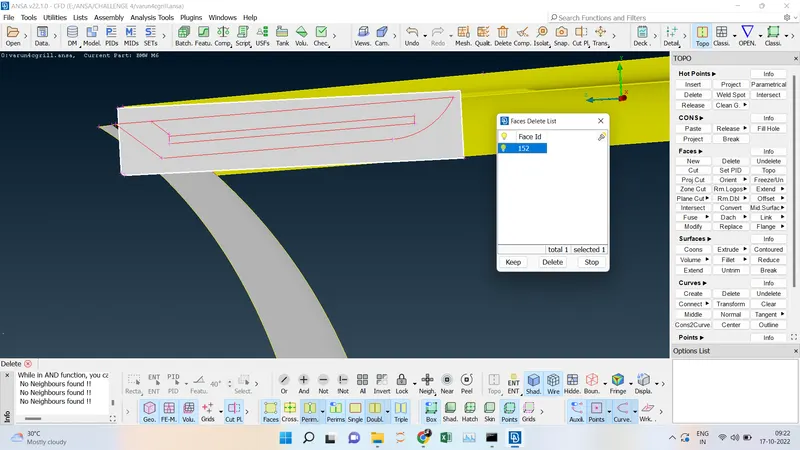
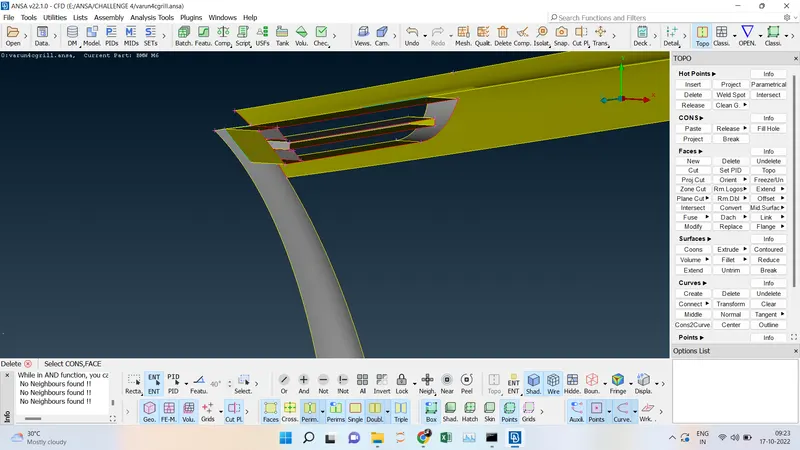
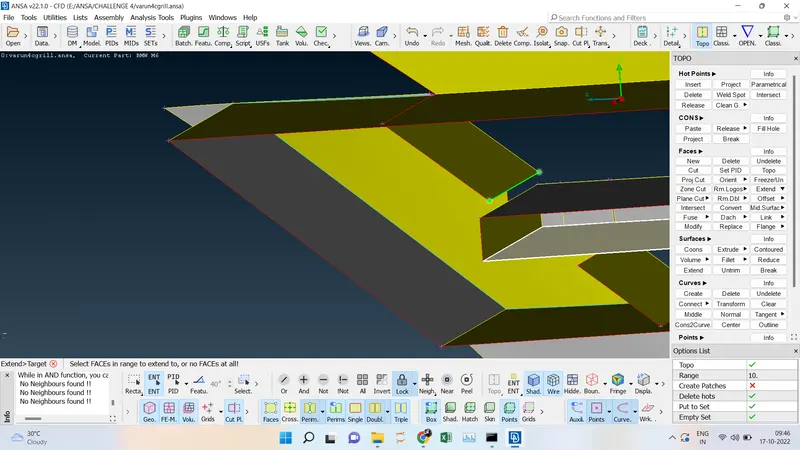
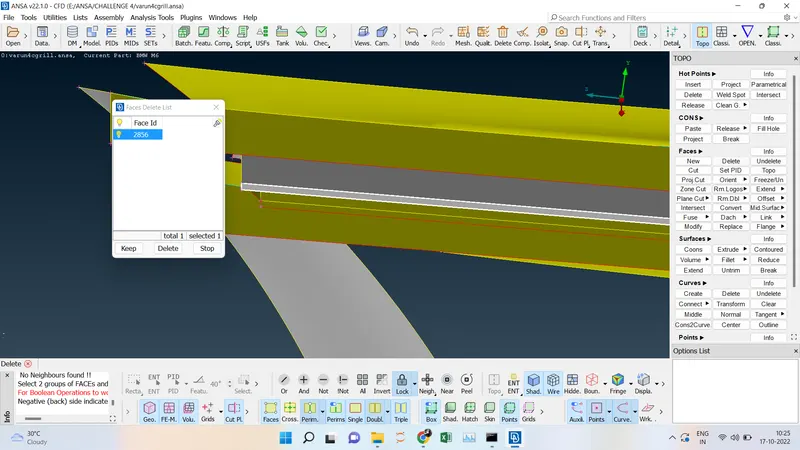
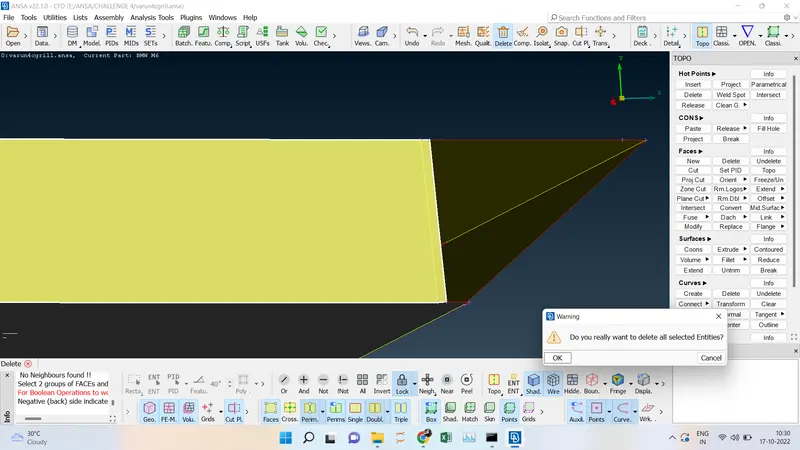
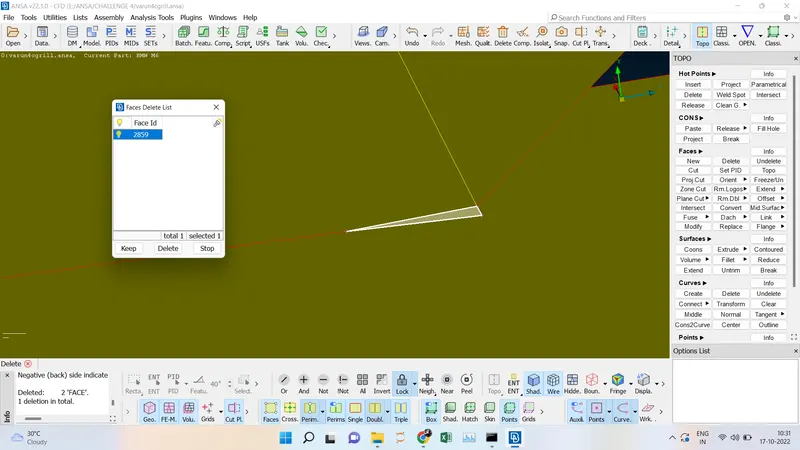
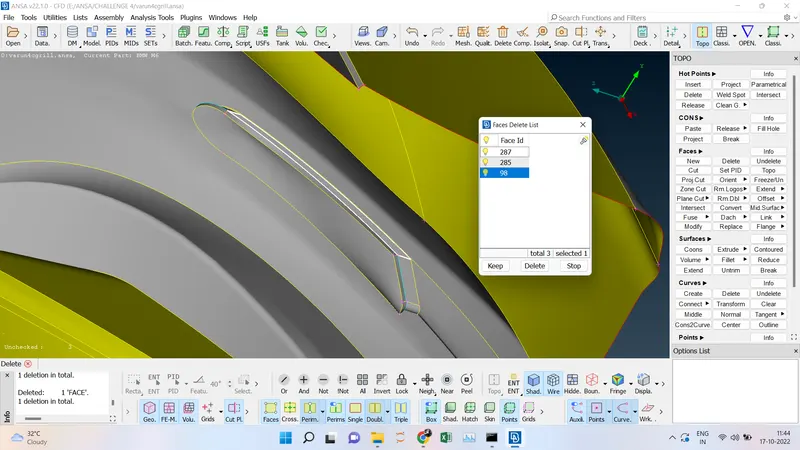
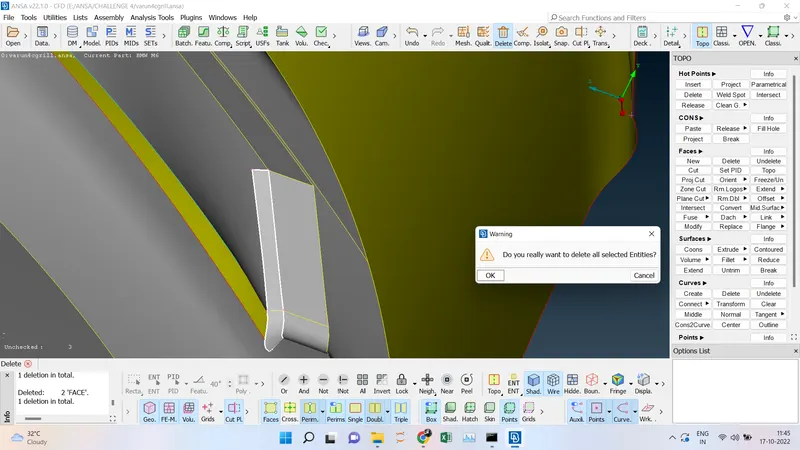
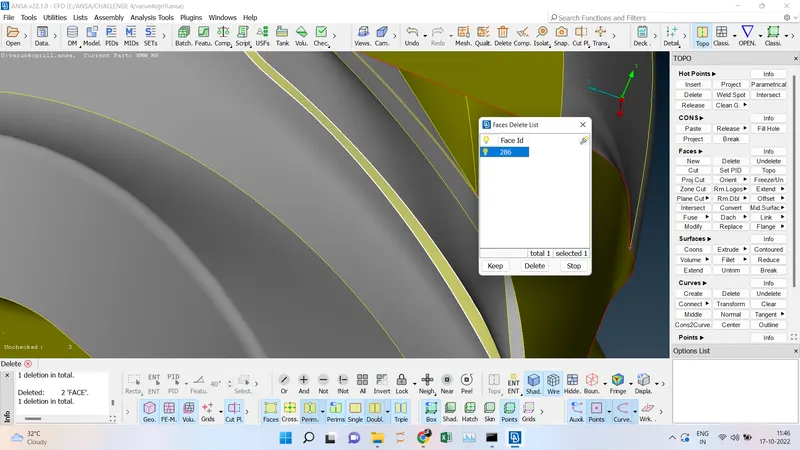
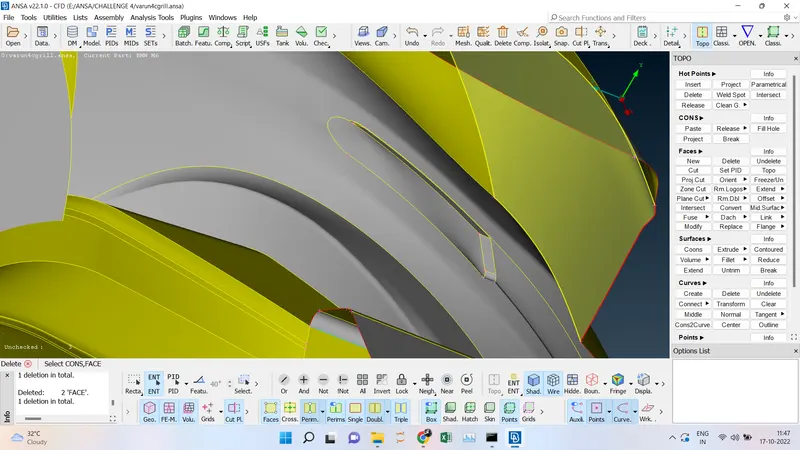
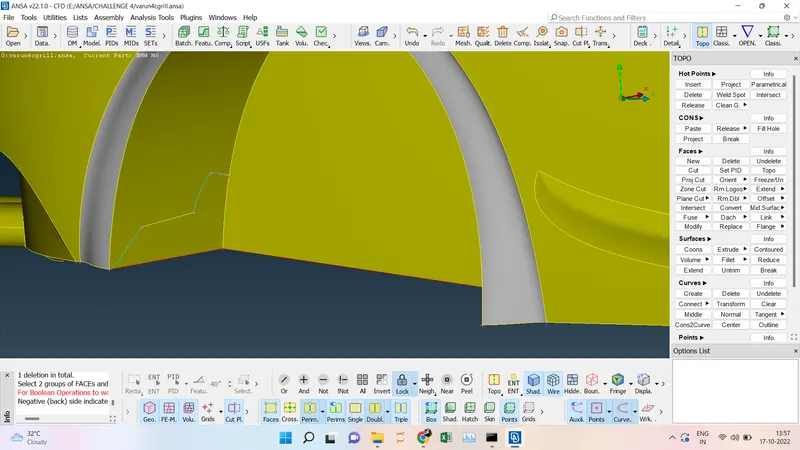
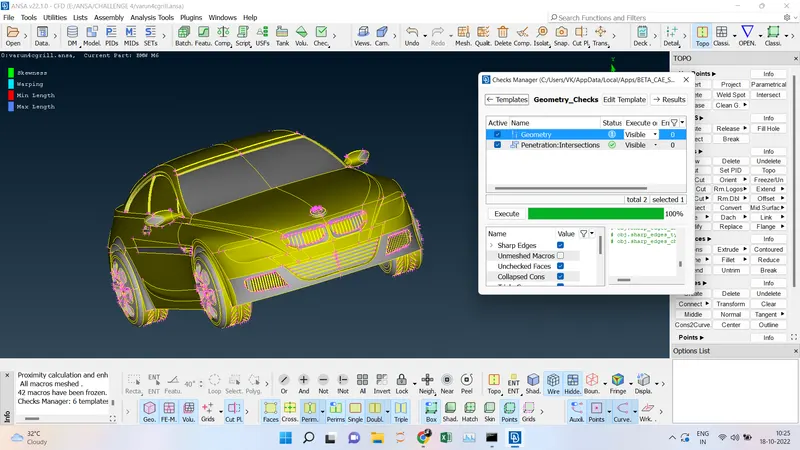
- Geometric cleanup and we are going to clean step by step first we are going to isolate the grills first. We are removing the extra thickness which is not required and then using the project and cut option all the geometric error has been cleaned and the grill is ready.
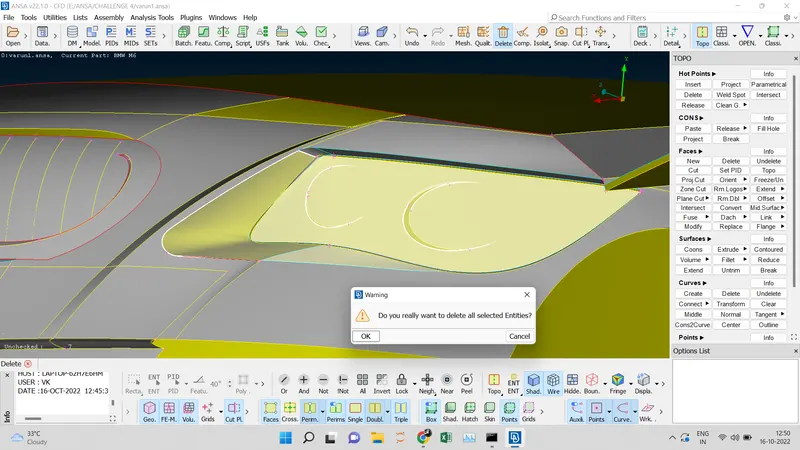
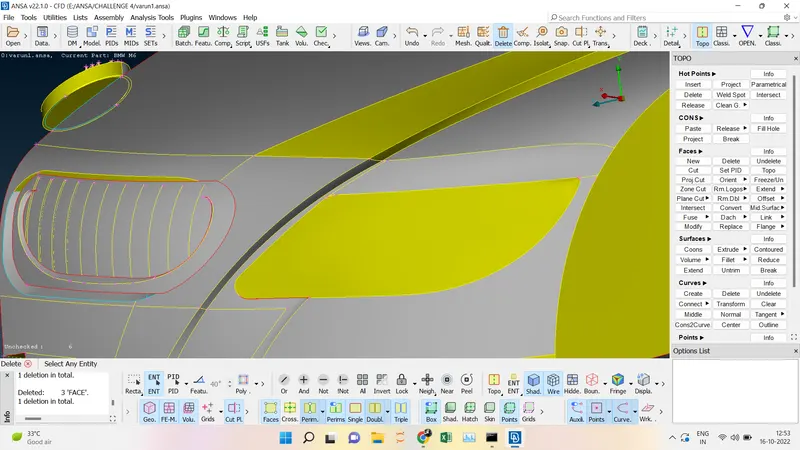
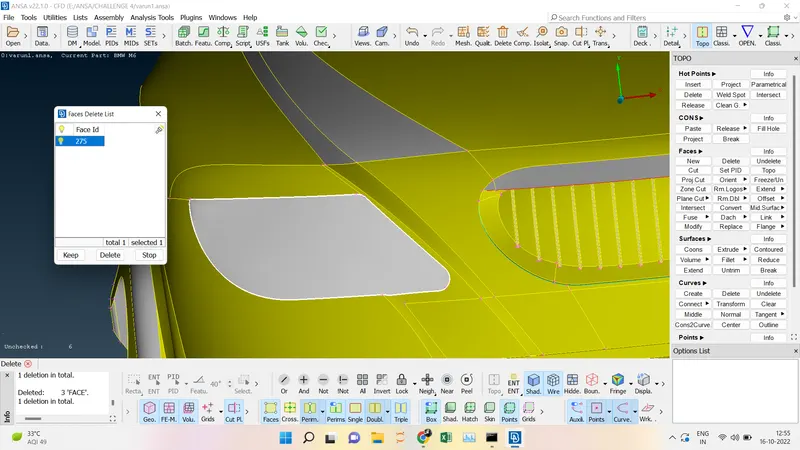
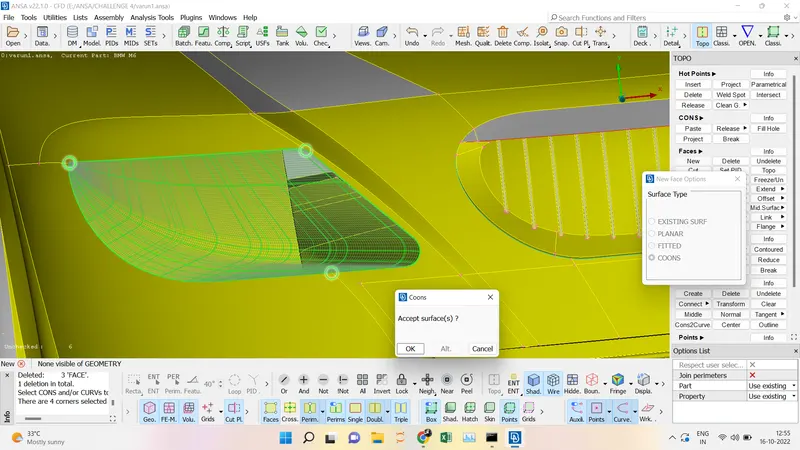
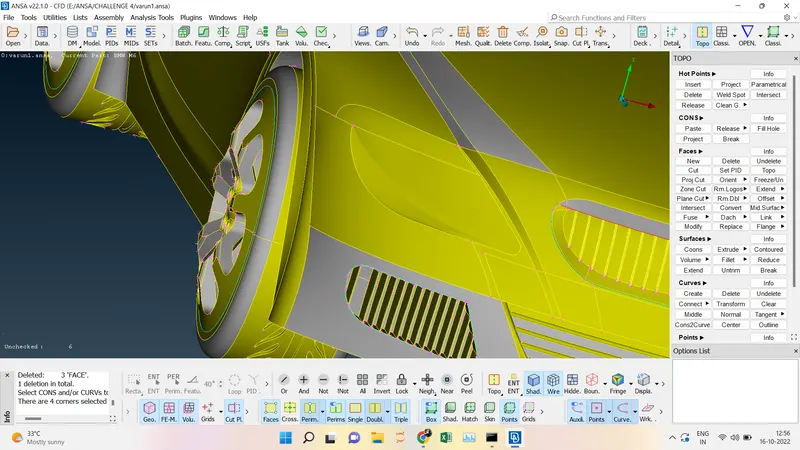
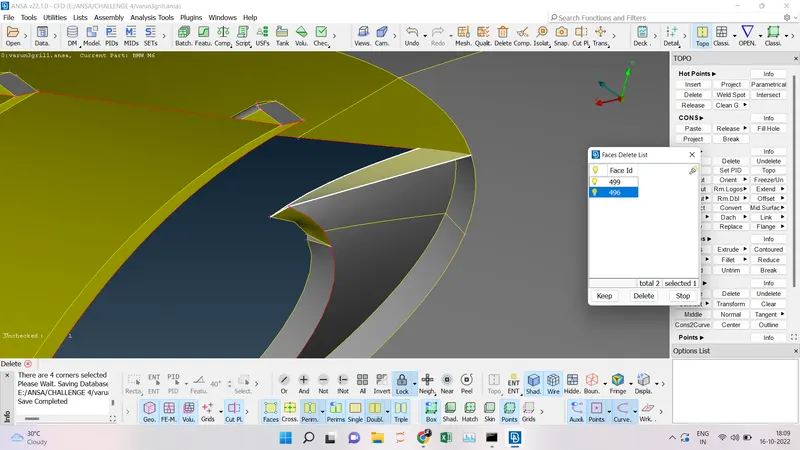
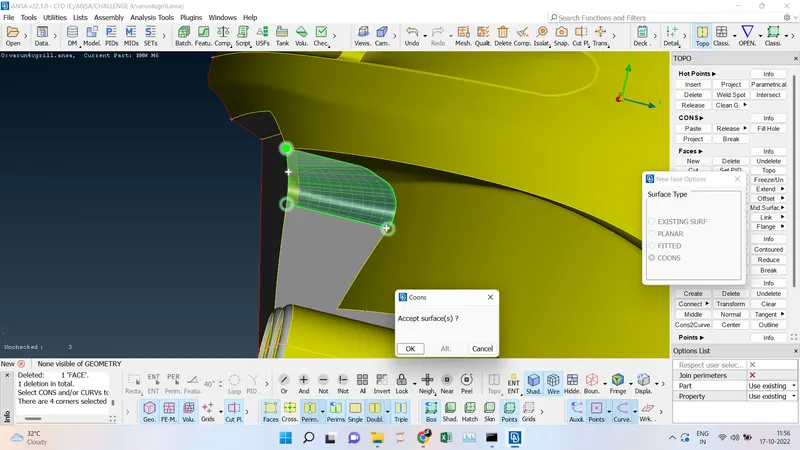
- We are going to remove the internal part of the headlight which is not required and since there are unnecessary hot points we are going to remove that and we are going create a new headlight now the red cons have been rectified.
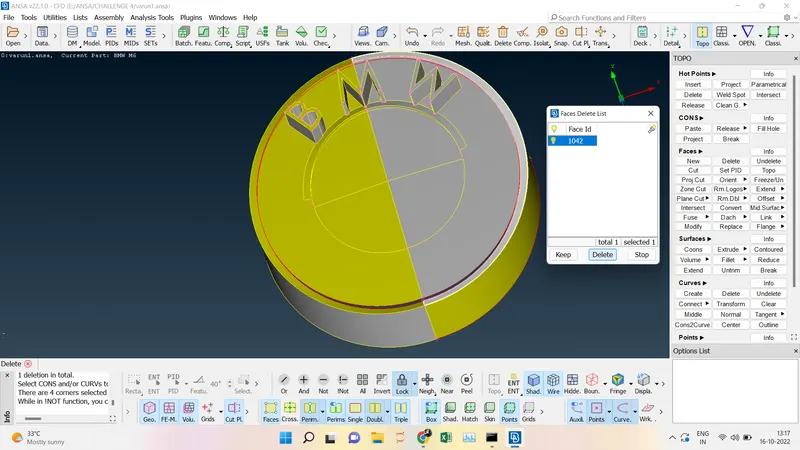
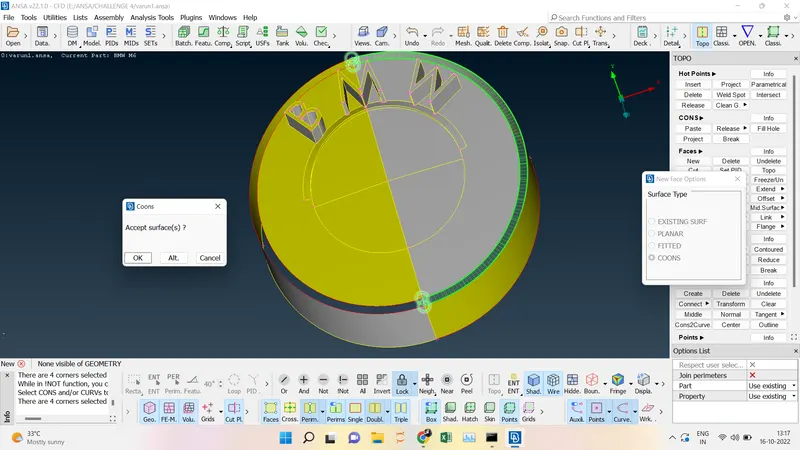
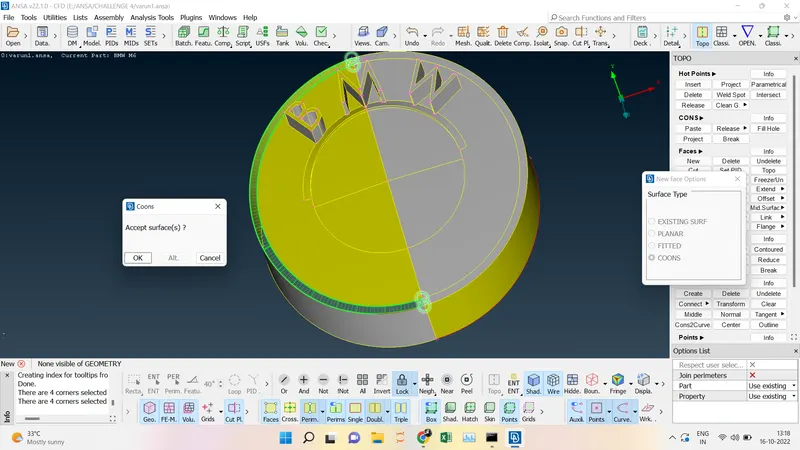
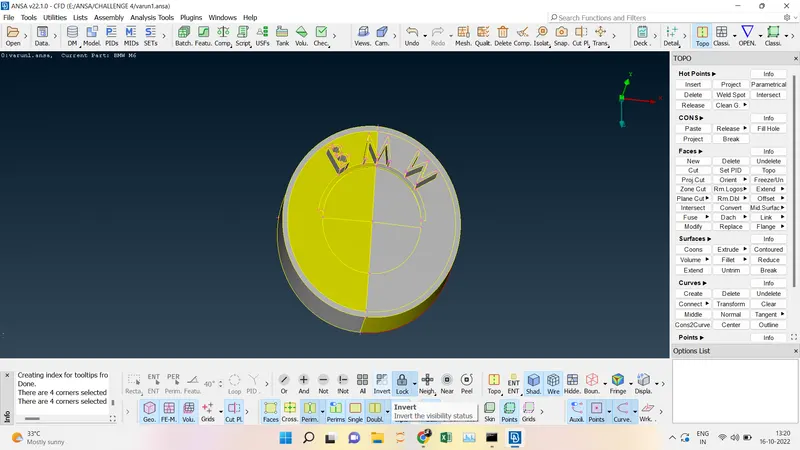
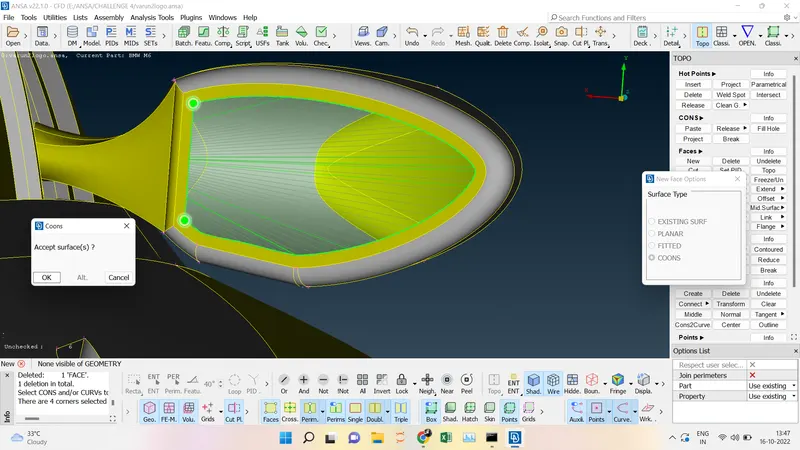
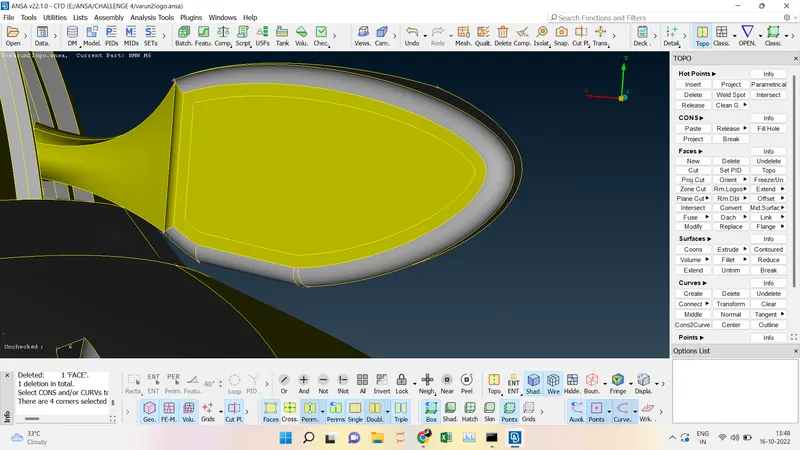
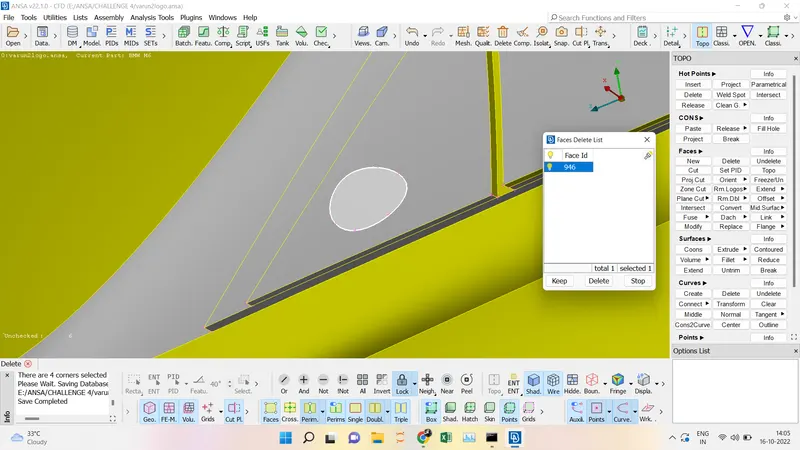
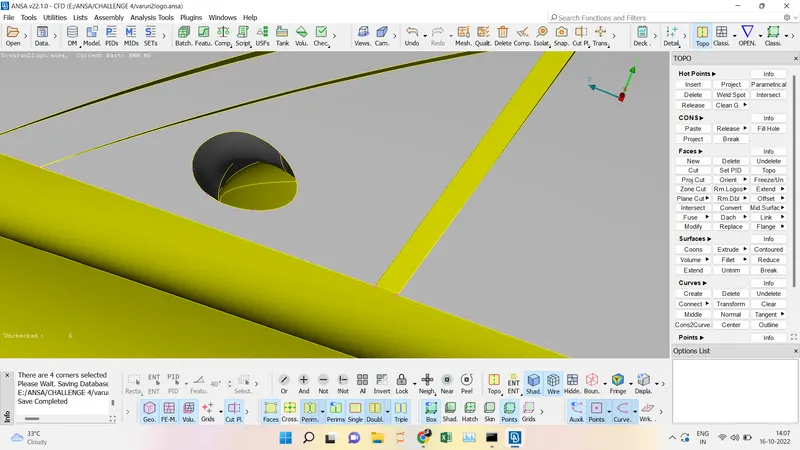
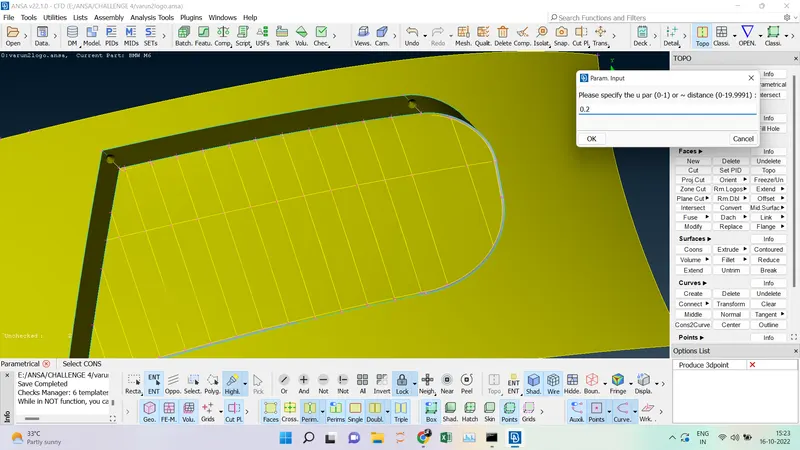
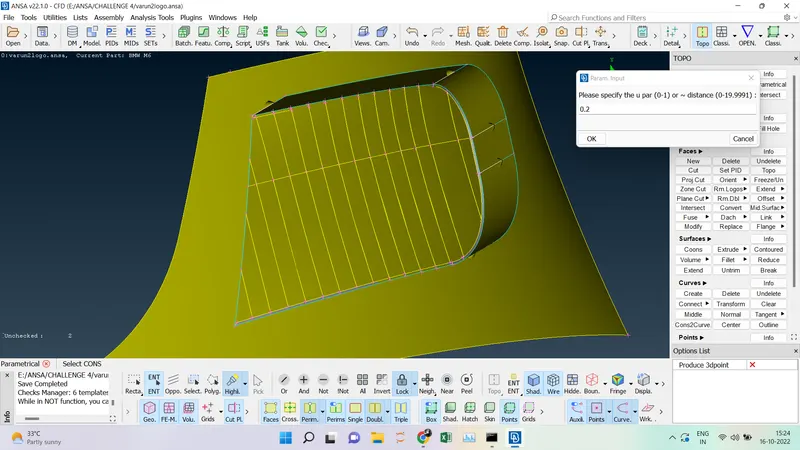
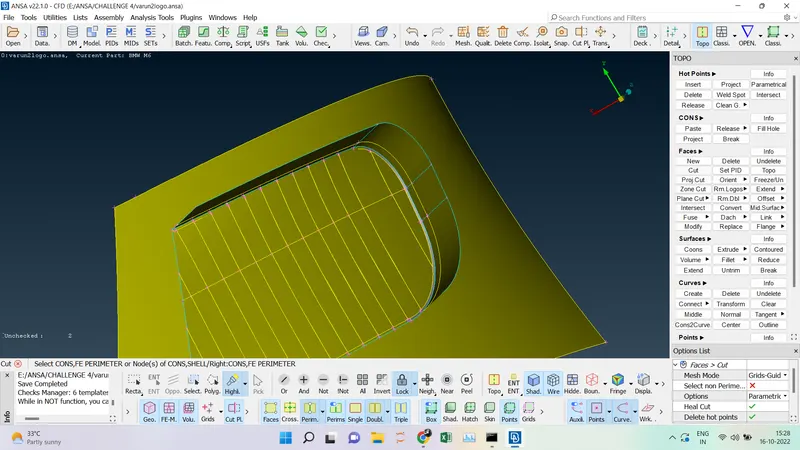
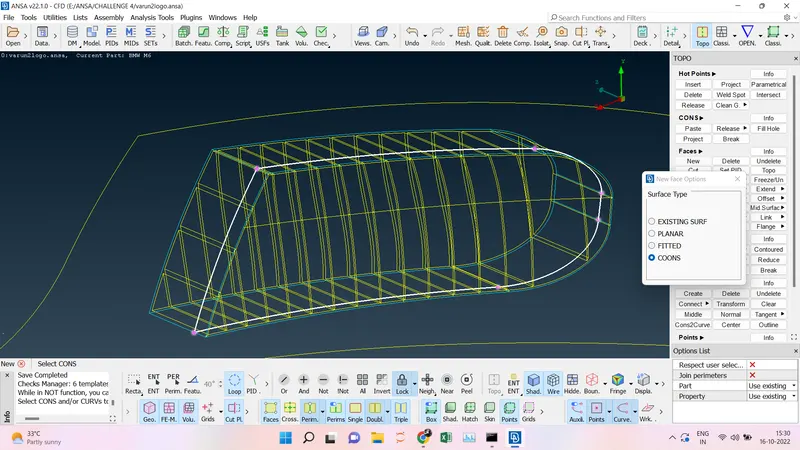
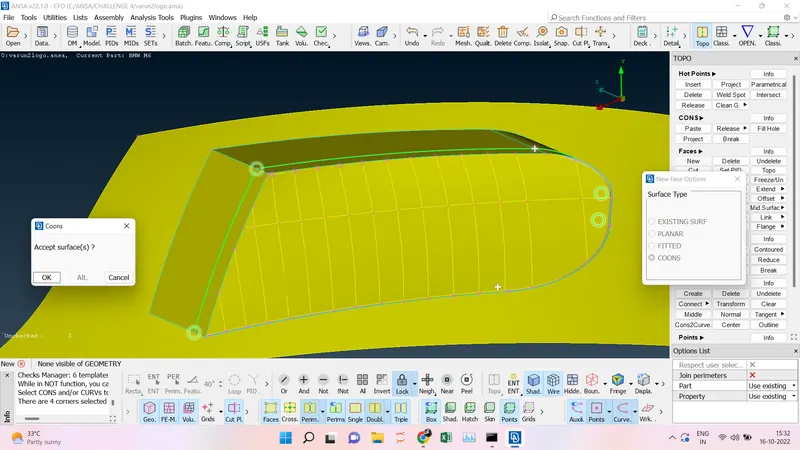
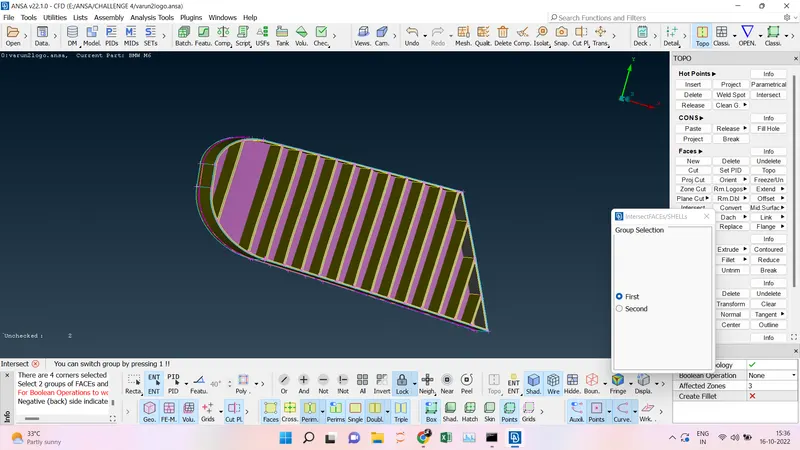
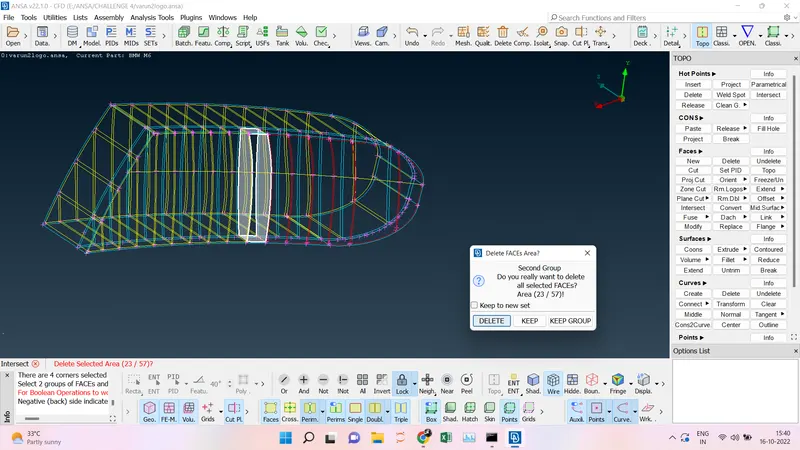
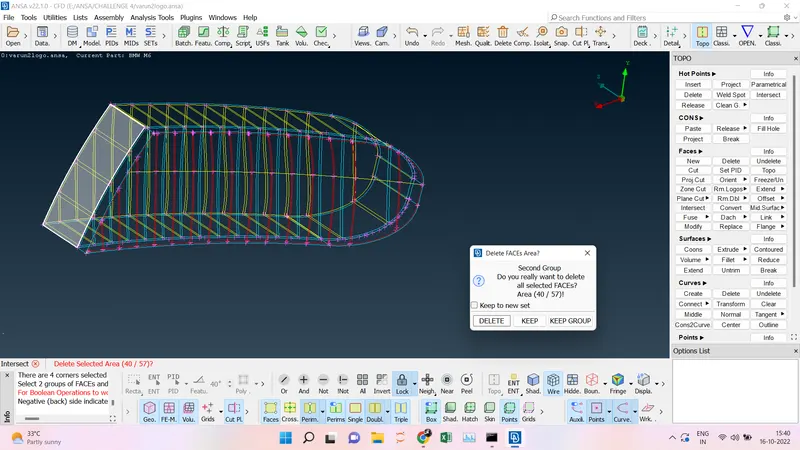
- Coming to Logo were going to remove the internal surface of the logo and then we are going to check for geometric errors if exist.
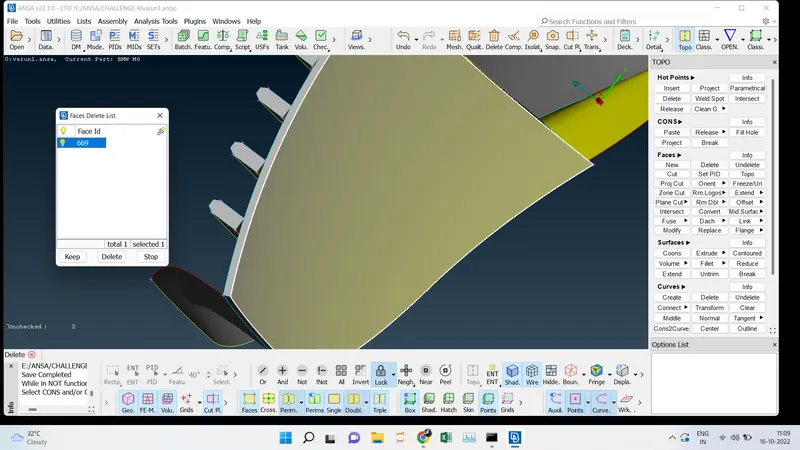
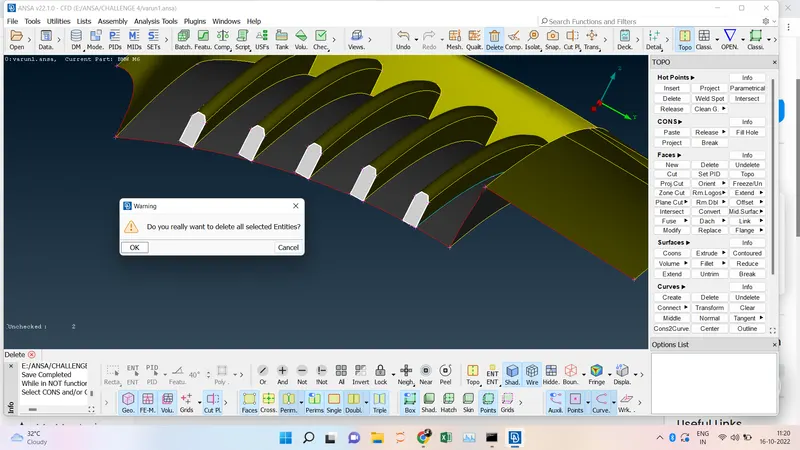
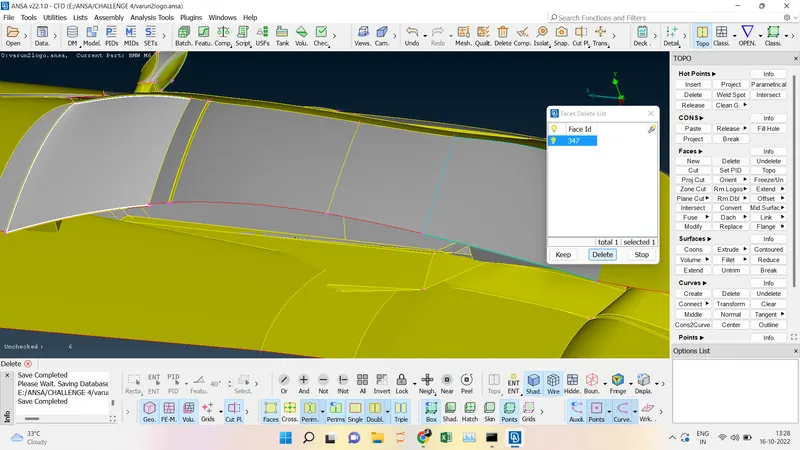
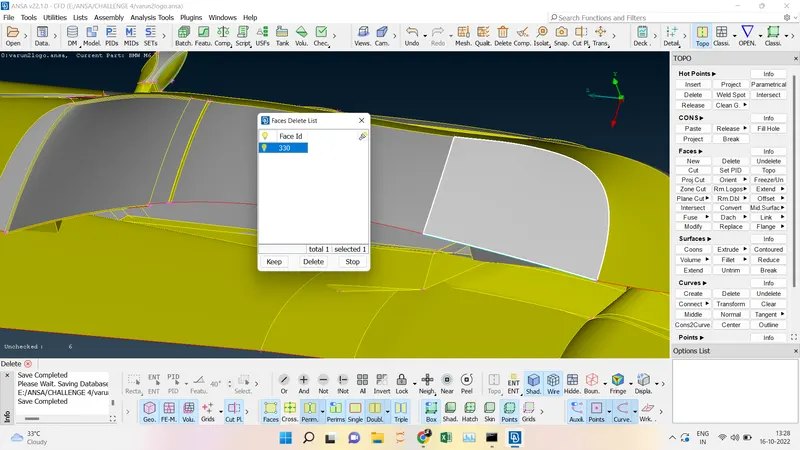
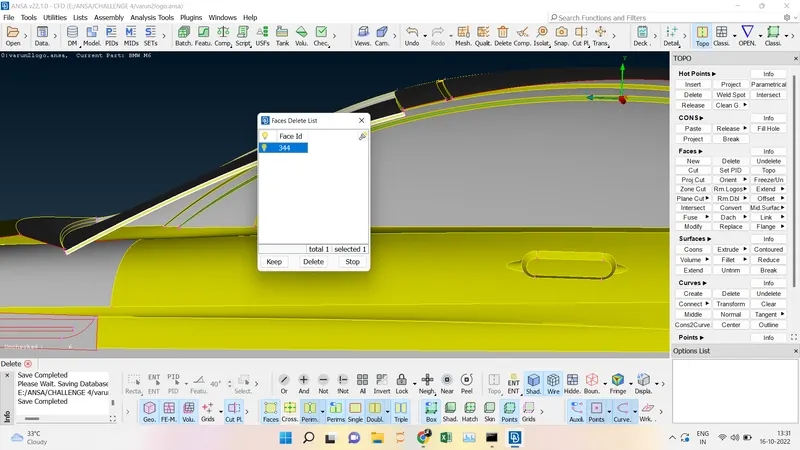
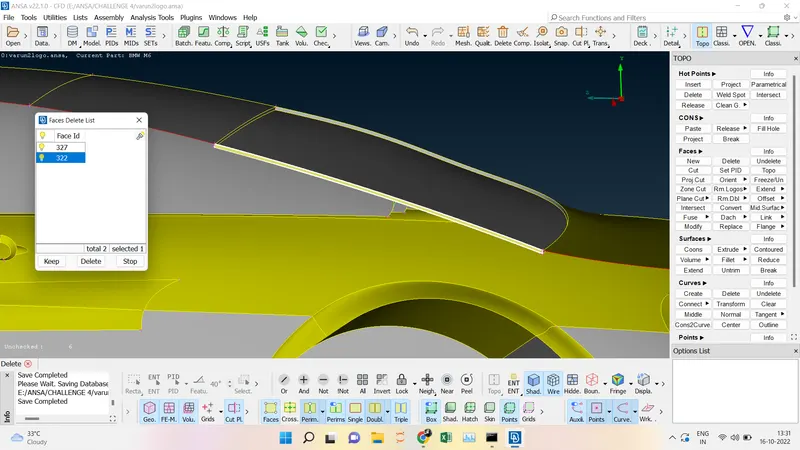
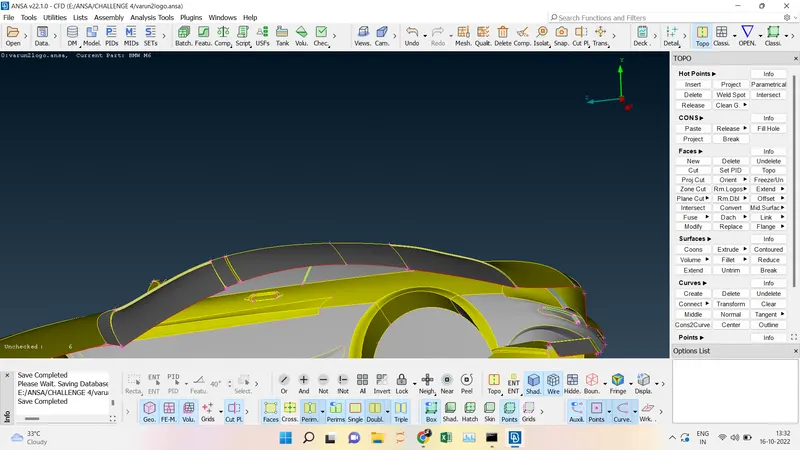
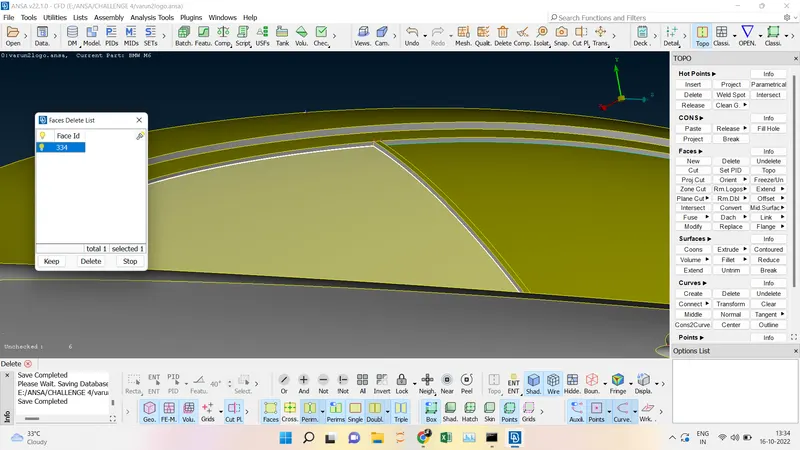
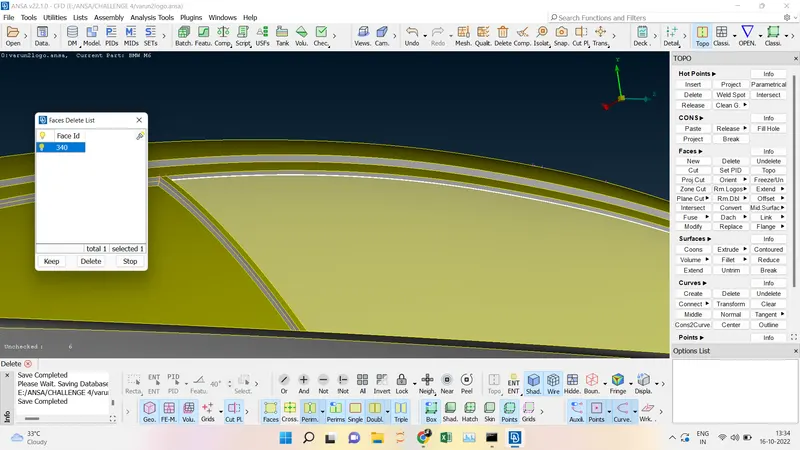
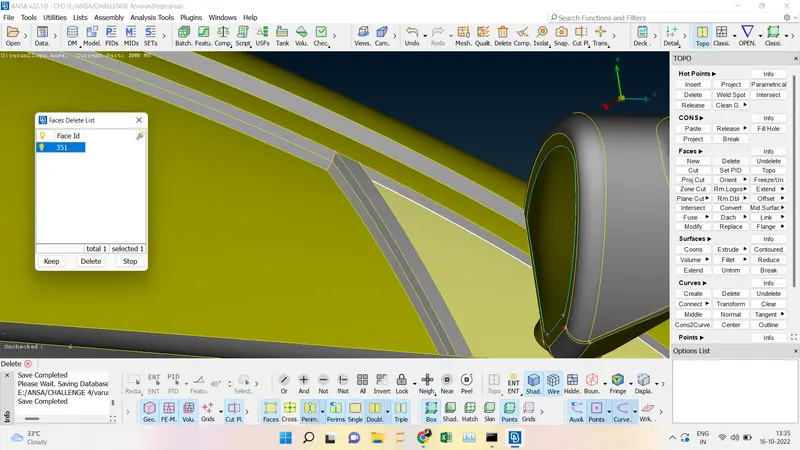
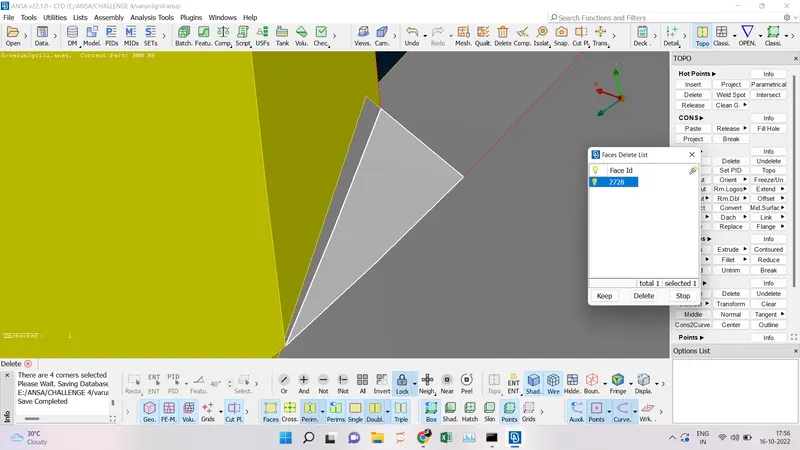
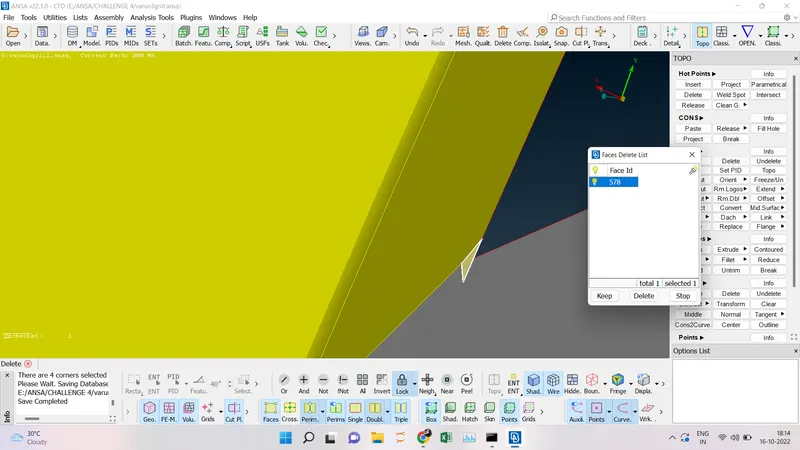
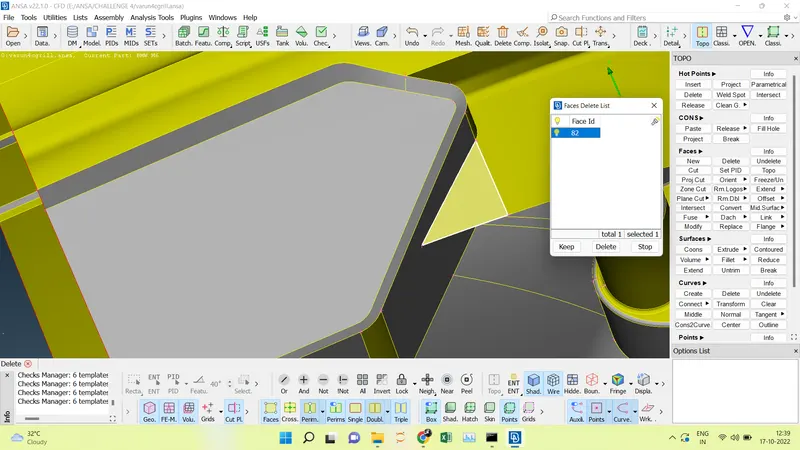
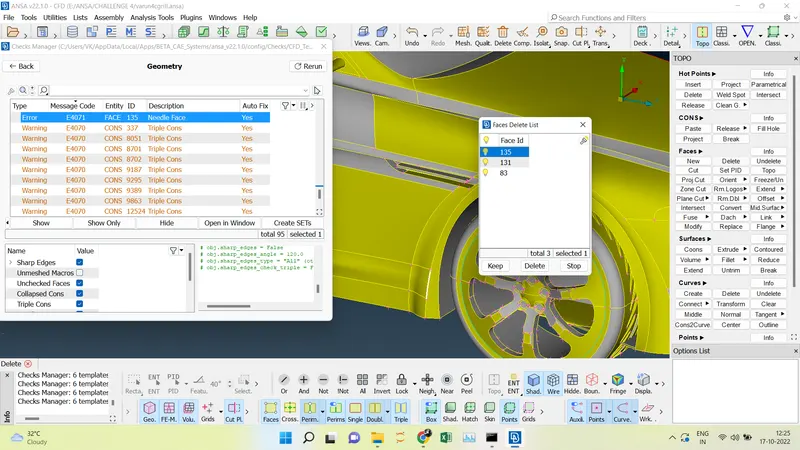
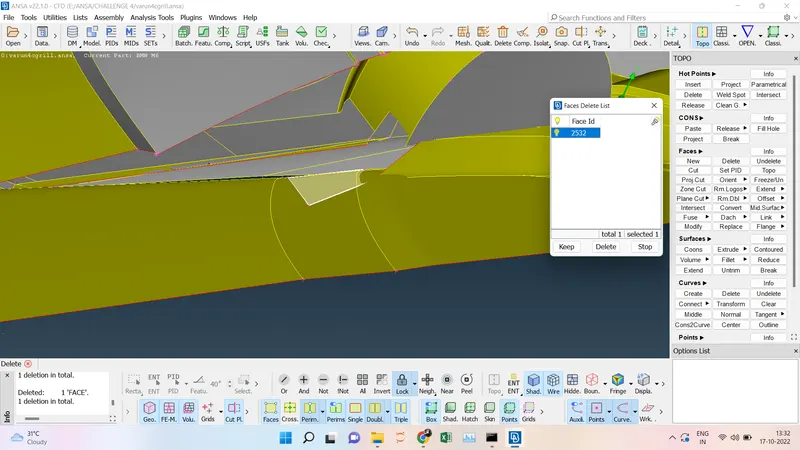
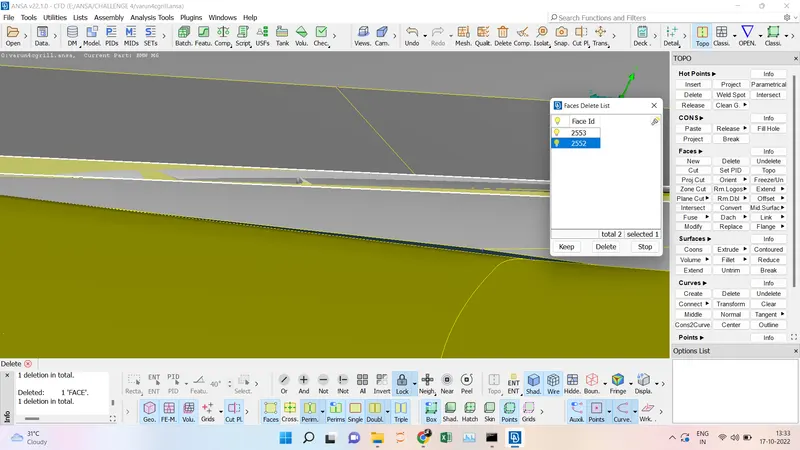
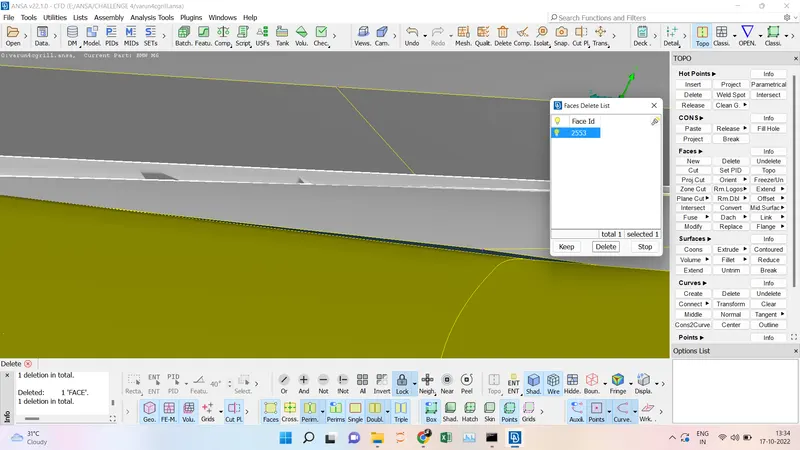
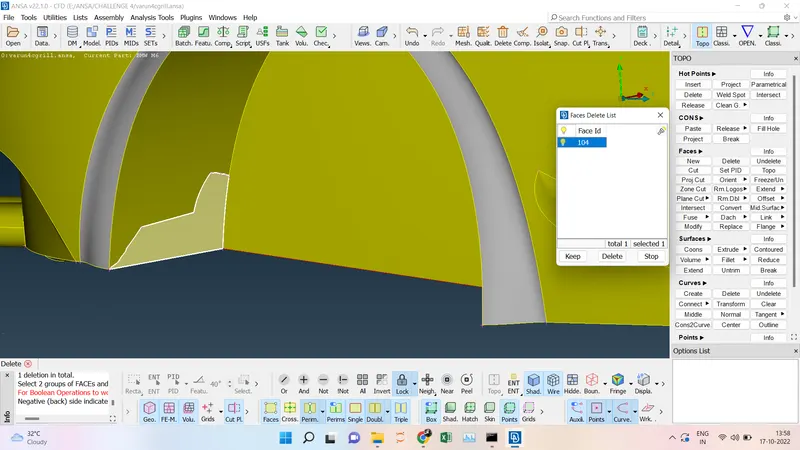
- Remove all the extra thickness on the windshield and back glass by using the Faces delete option and then the same has been done for the side glass and the triple cons have disappeared.
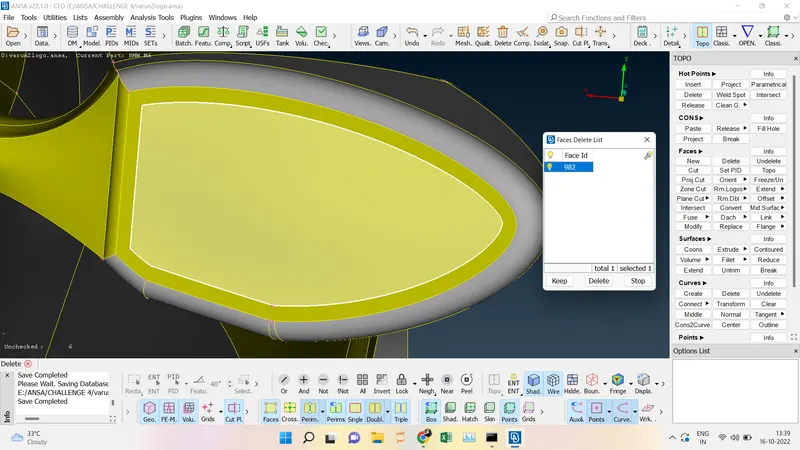
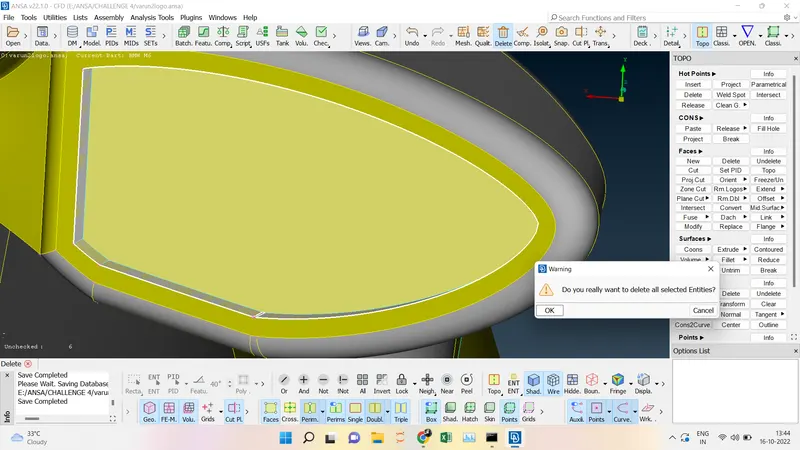
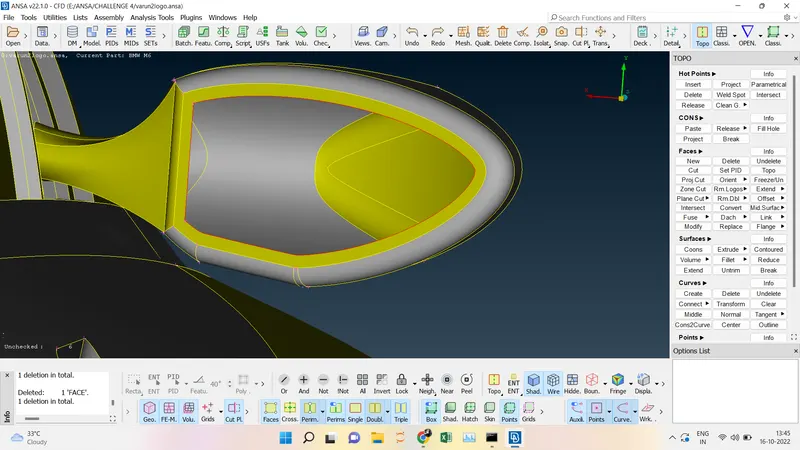
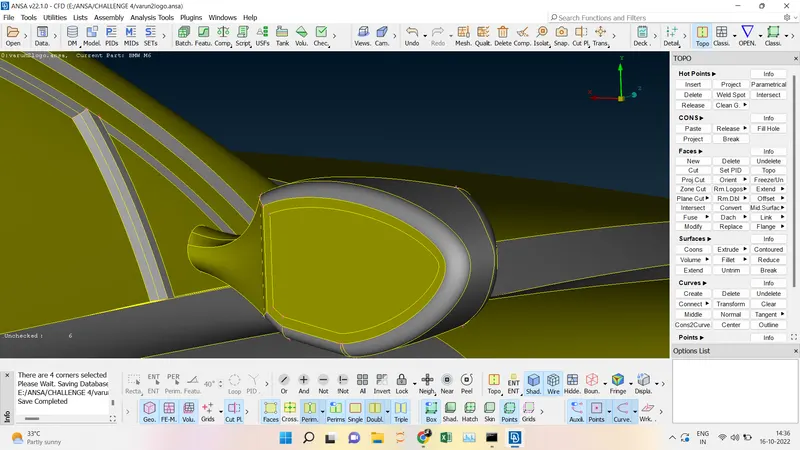
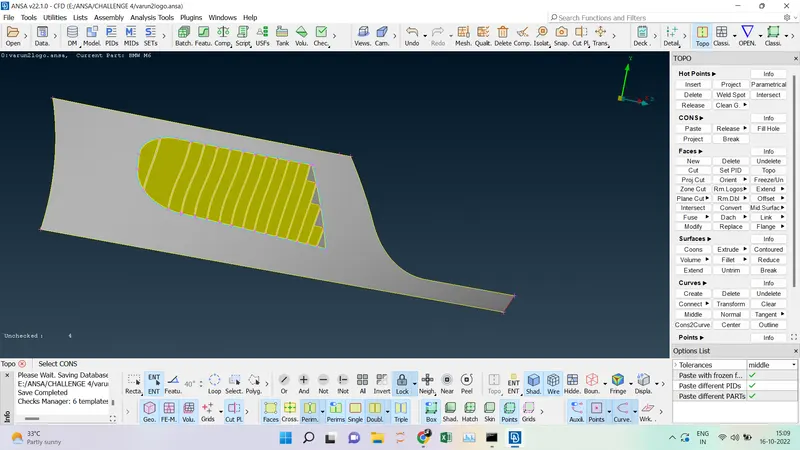
- Here for the side mirror, there is an internal surface so only the three cons are appearing so to remove that we are going to delete the face and then we are creating a new outer surface on the mirror.
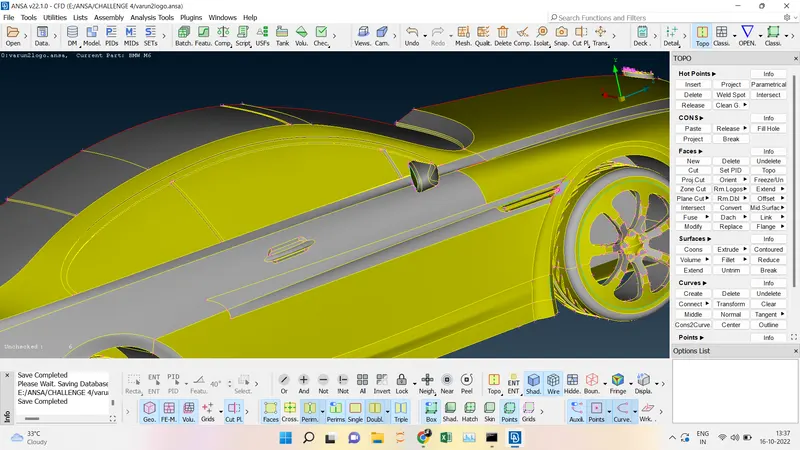
- There is an internal surface projected to the side mirror so it has to be removed by using the project option and deleting the unnecessary area.
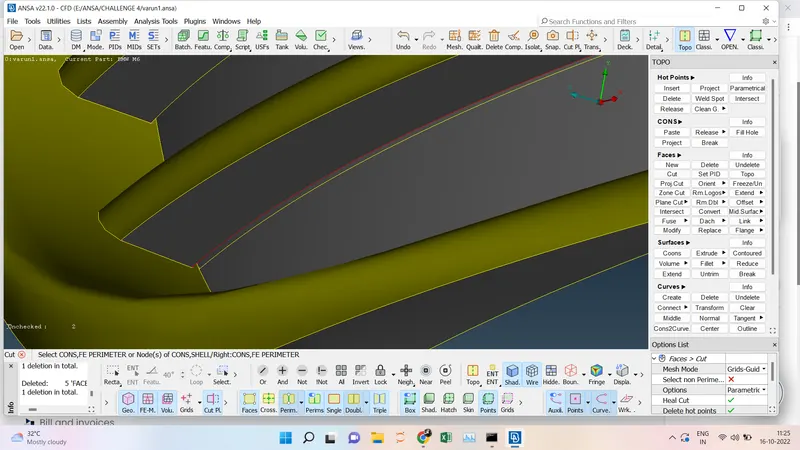
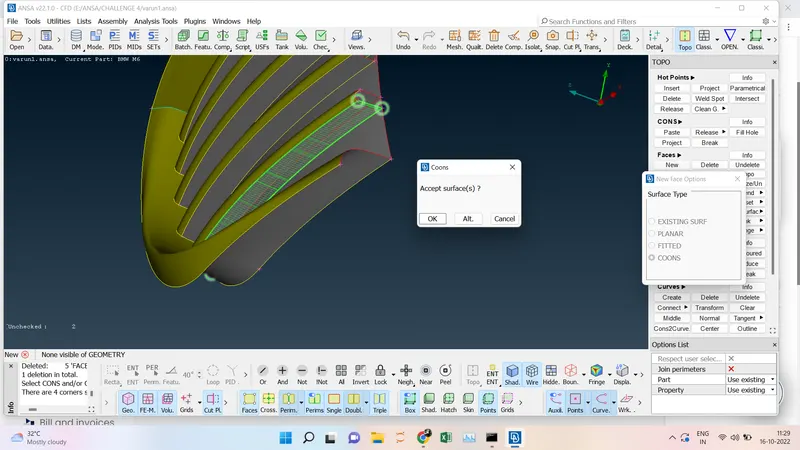
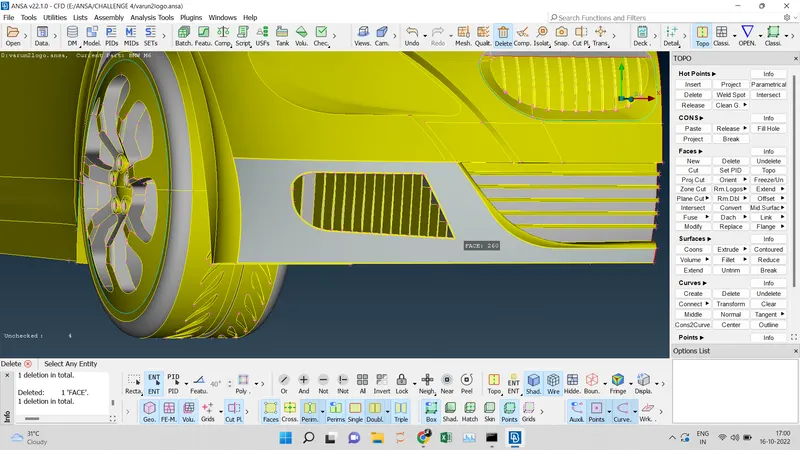
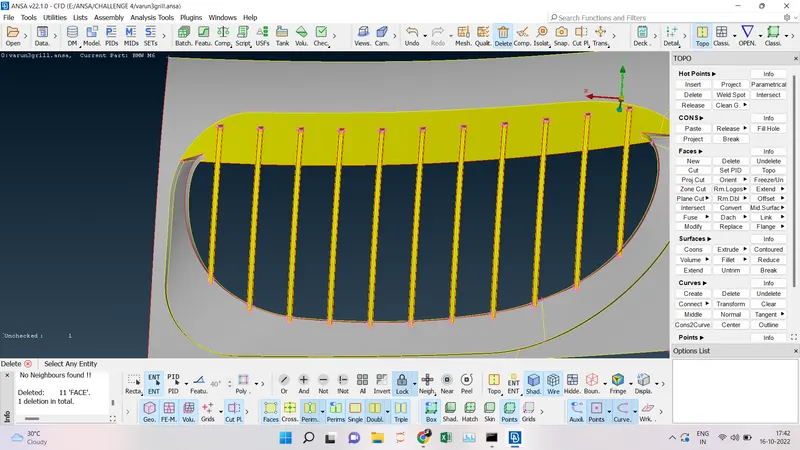
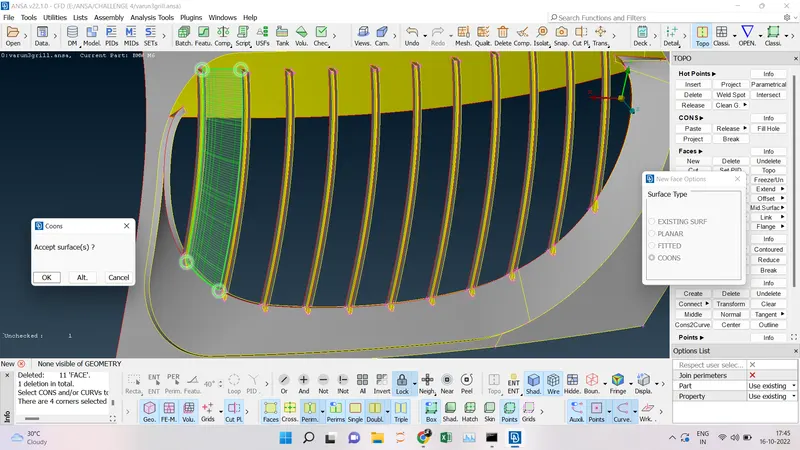
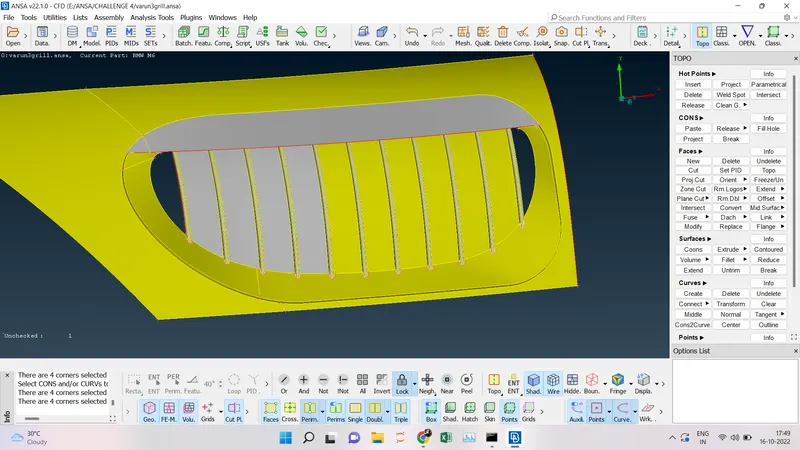
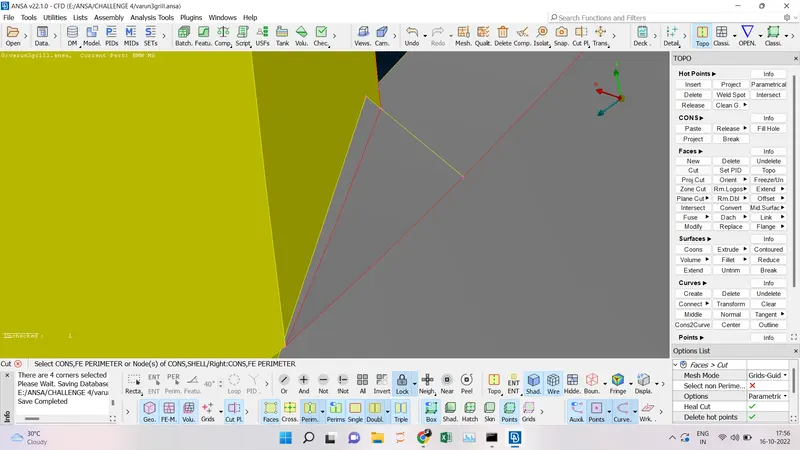
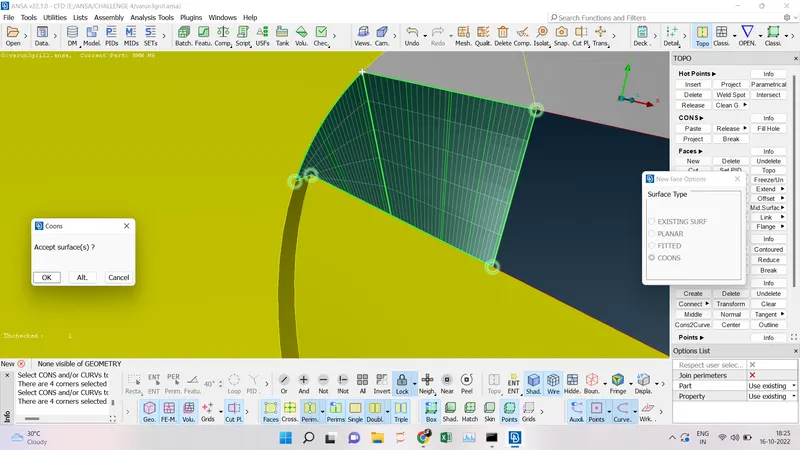
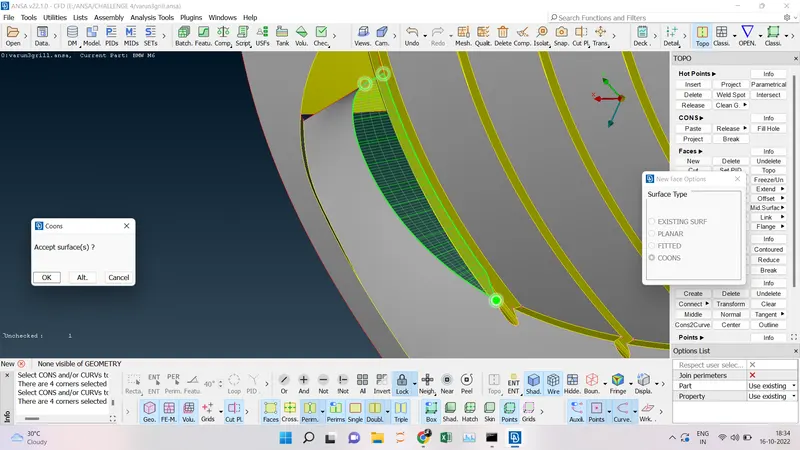
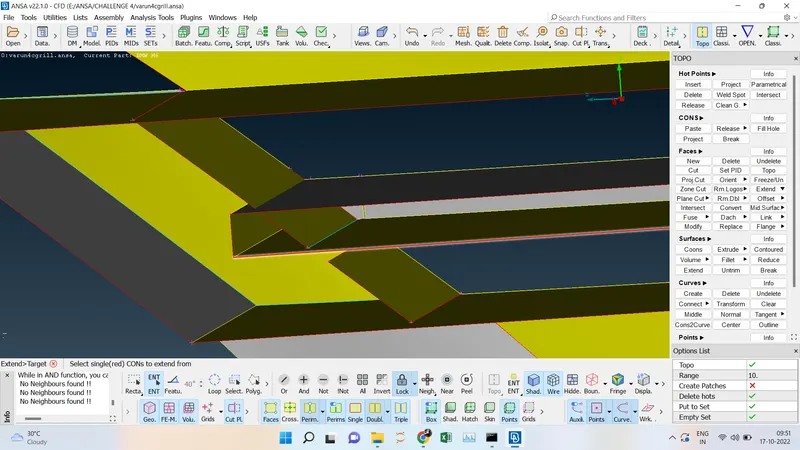
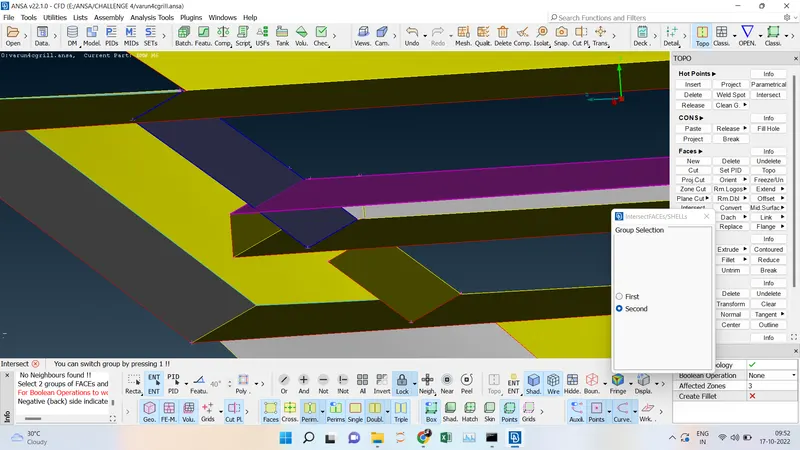
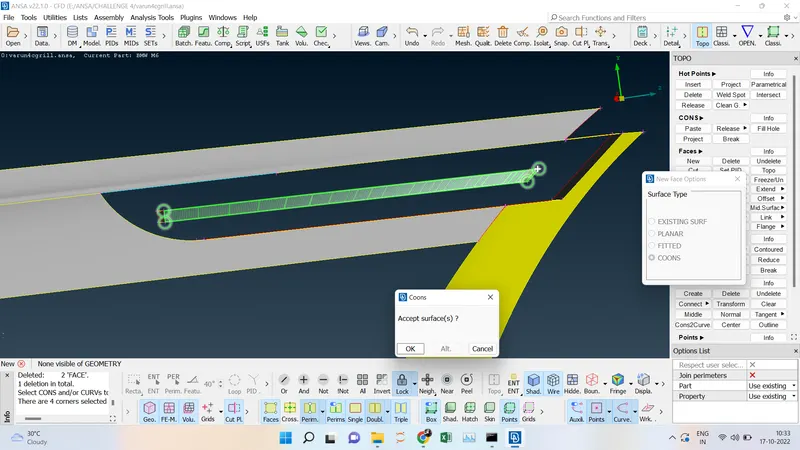
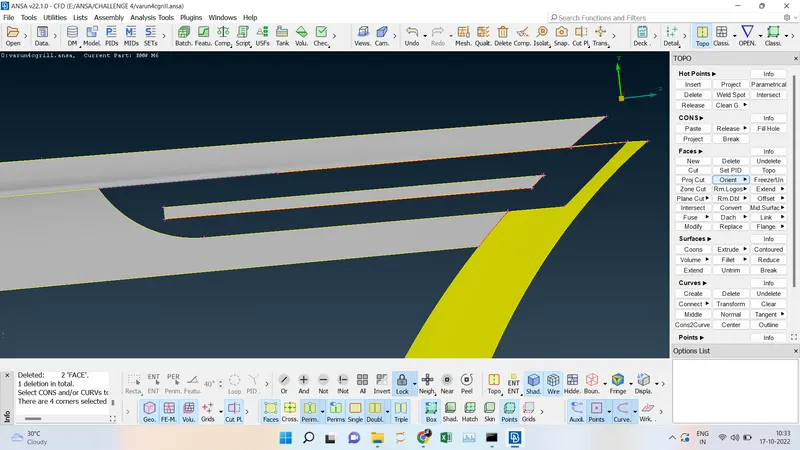
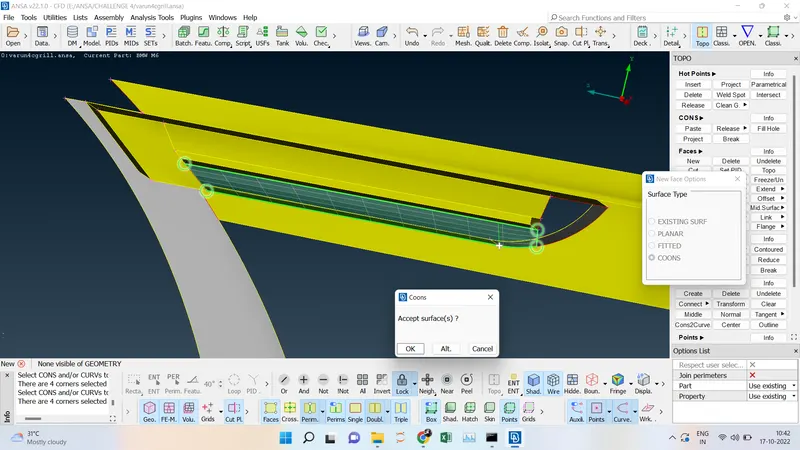
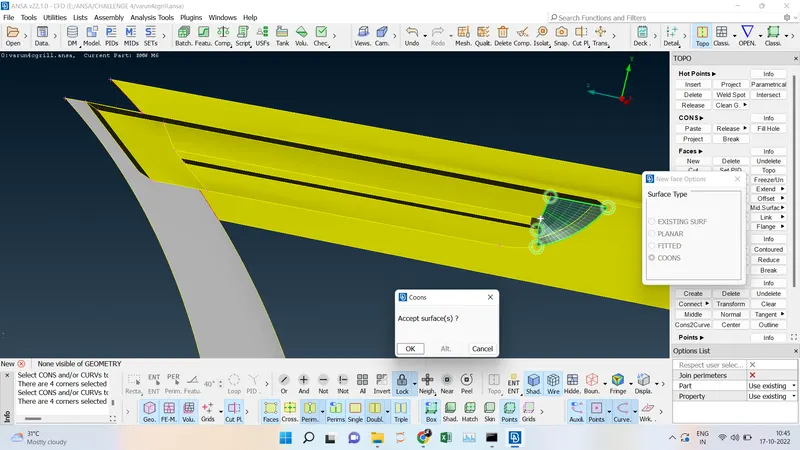
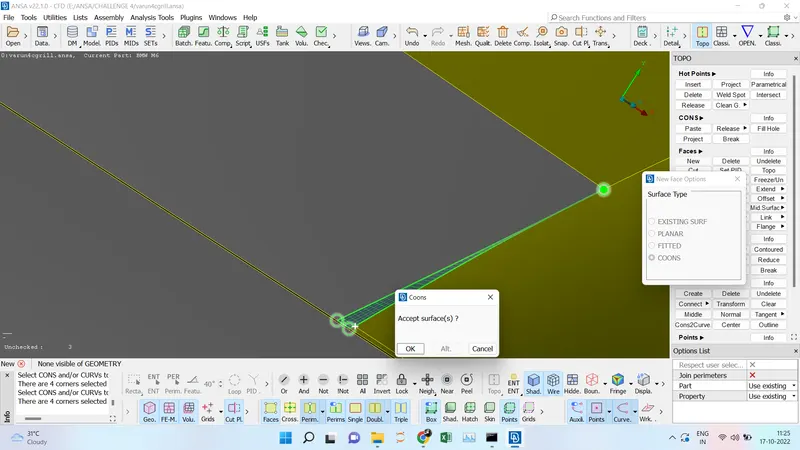
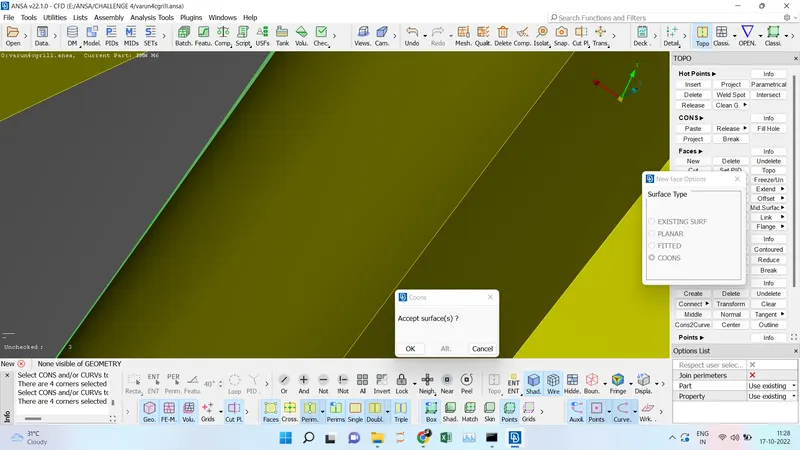
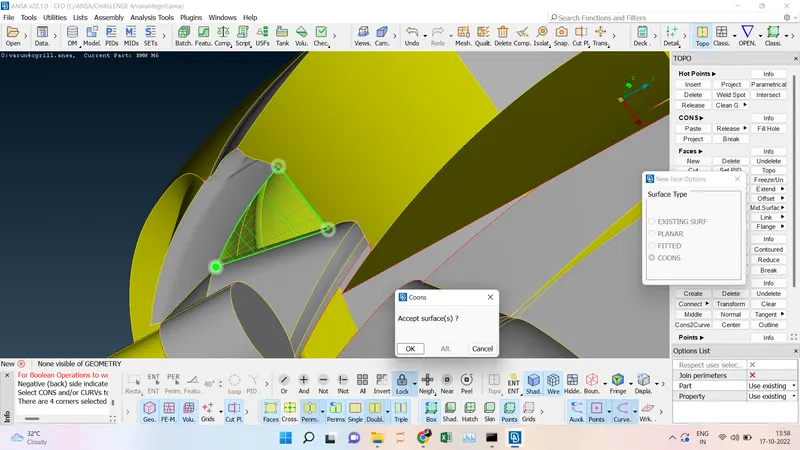
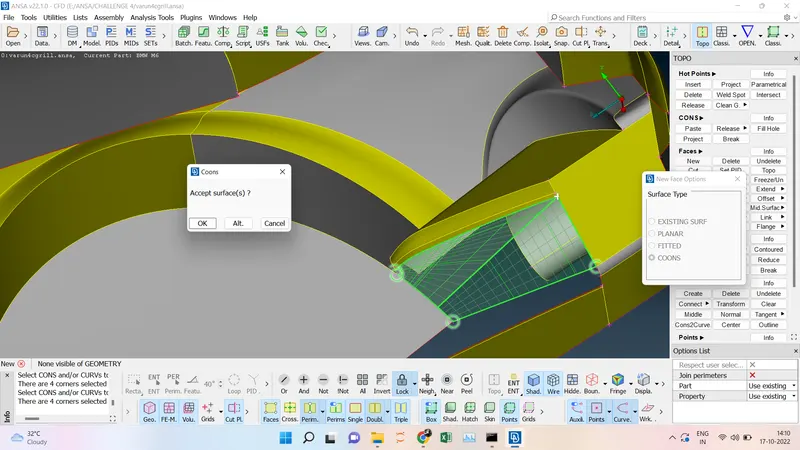
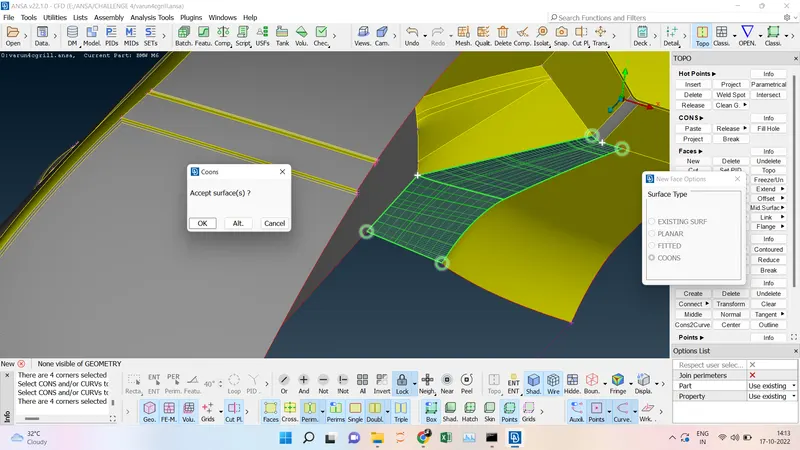
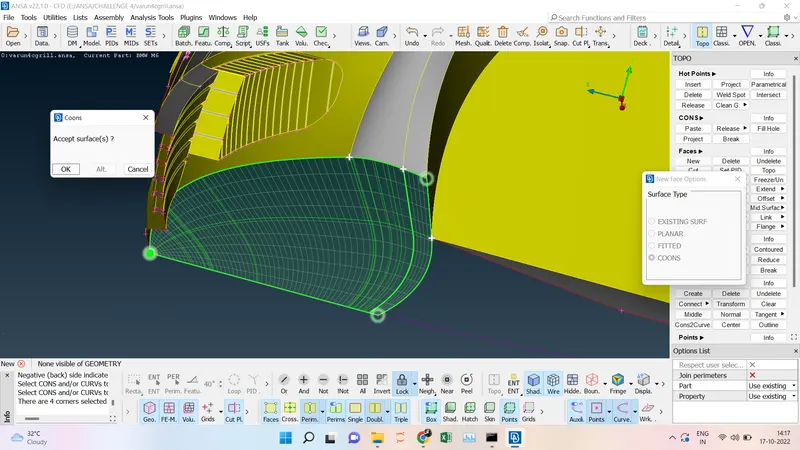
- In the lower grill first, we are going to insert the Hotpoint ----> parametrial (0.2 mm) and then select the face on the back surface of the grill using the project ---> Cut we are going to create a guiding curve on the surface of the grill. we are going to create a surface on the create guideline using Face ---> New---> Cons-----> Loop.
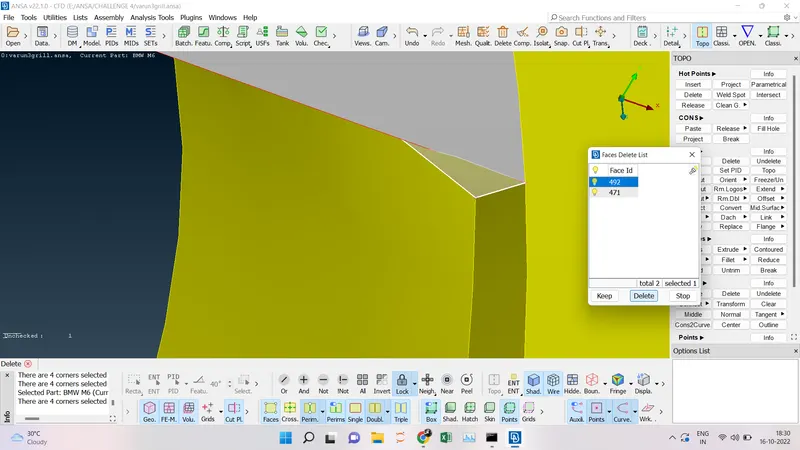
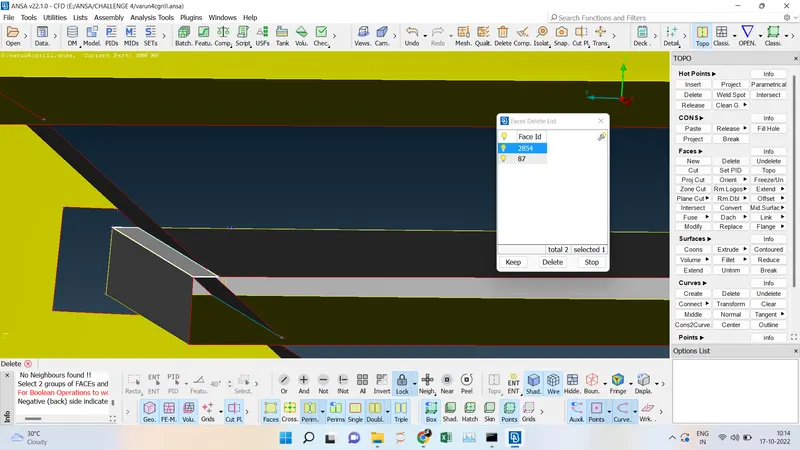
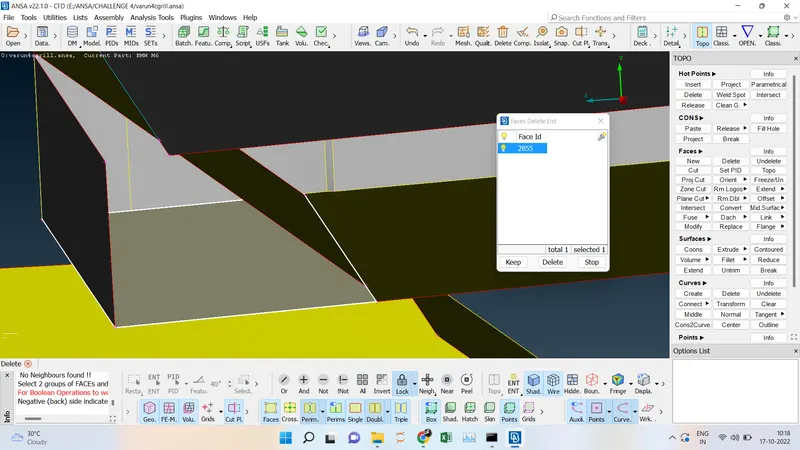
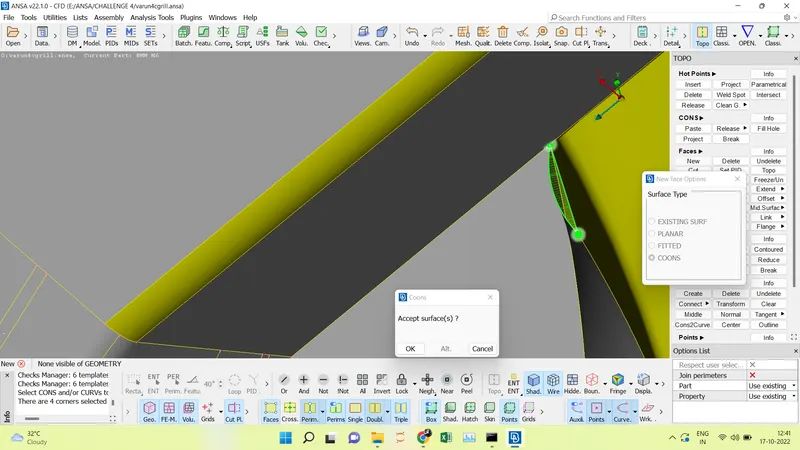
- Using the Delete option we are deleting the overlapping surface in the central grill and then using the project ----> cut option we are going define the exact grill surface. Since the grill itself is making a volume we are going to delete all the back faces and we are going create the face connecting to the grill using Face ---> New ----> CONS Loop.
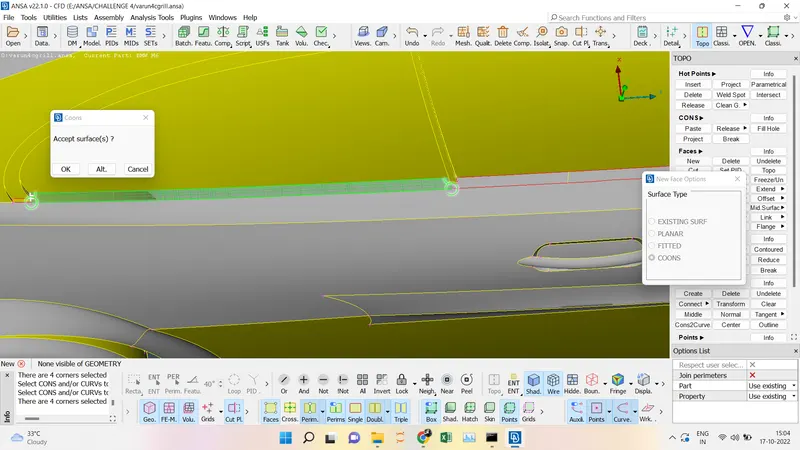
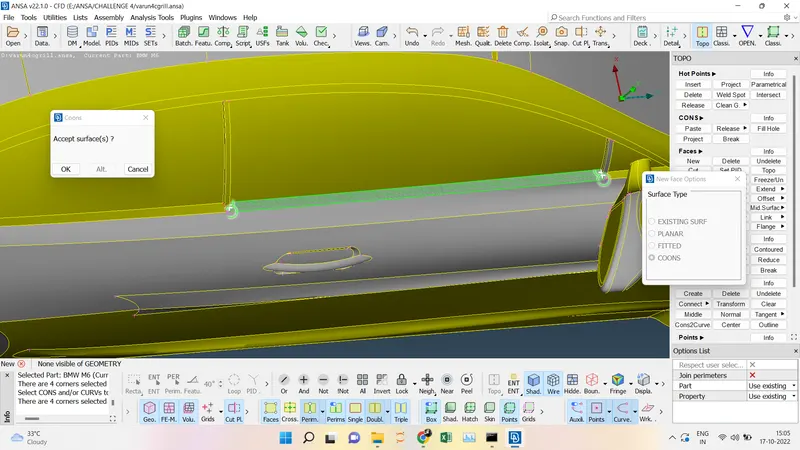
- Isolate the Door surface there is an extra surface inside the door we have to remove the unwanted and reduce the single cons.
- Here we have to remove the extra surface at the back side of the car and reduce the single and triple cons.
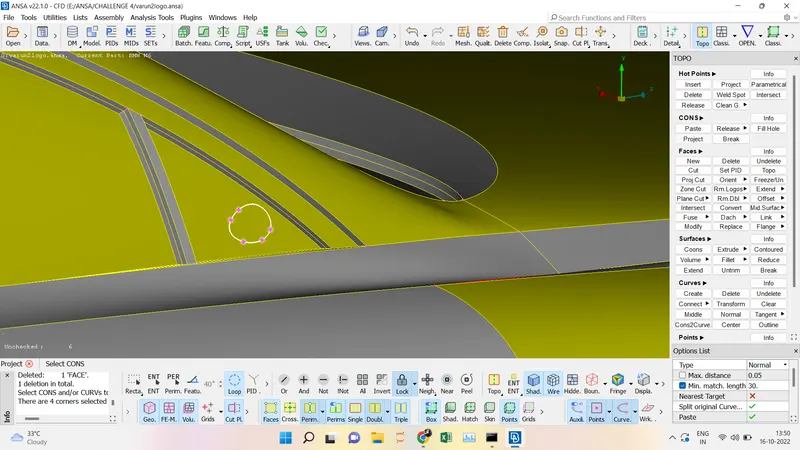
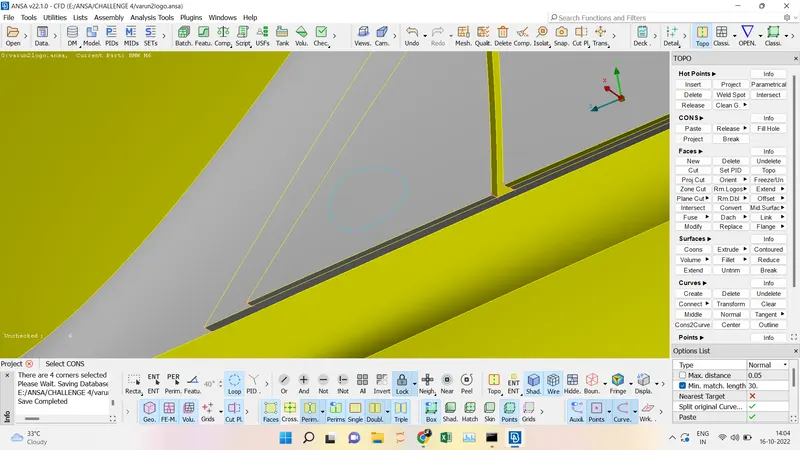
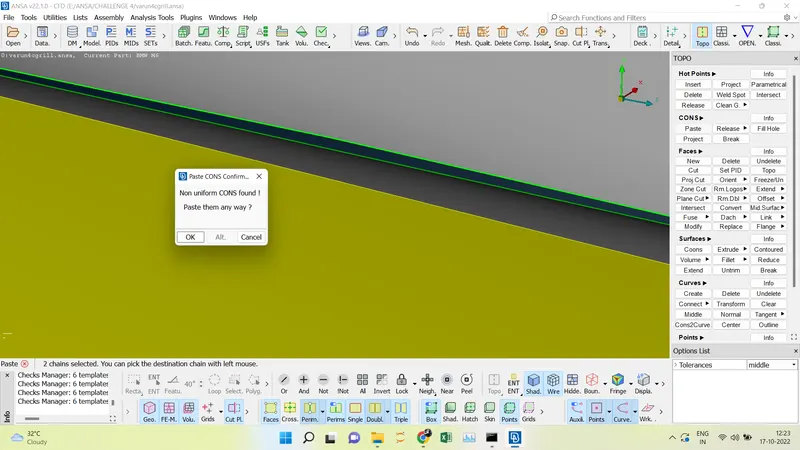
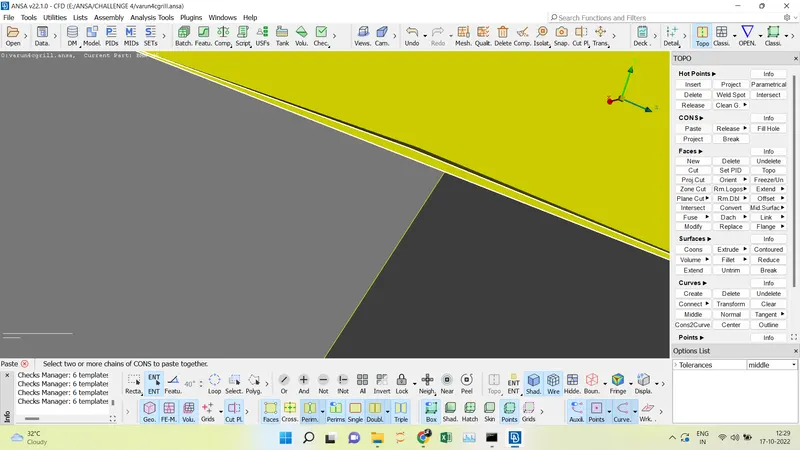
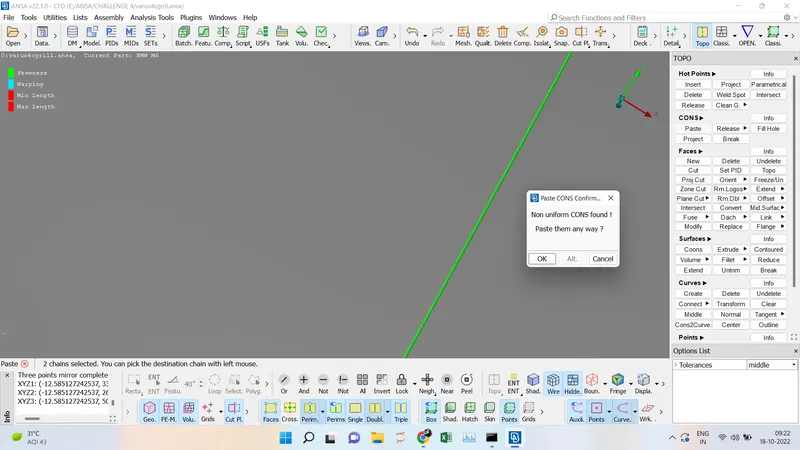
- We are going to eliminate the cracks between the cons by using the paste option.
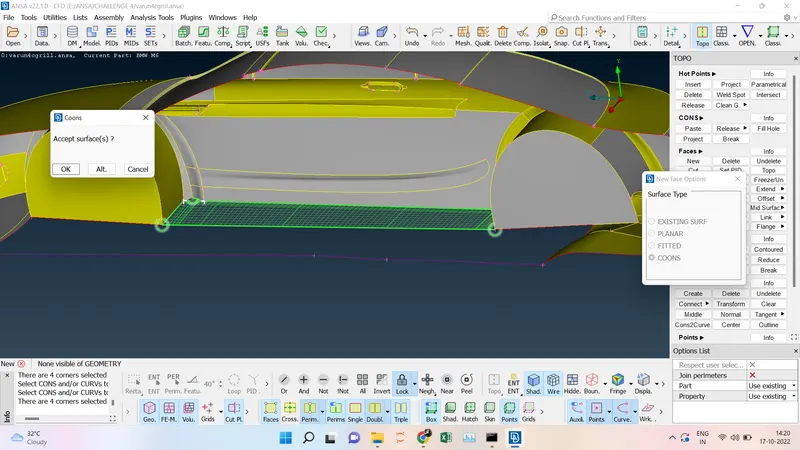
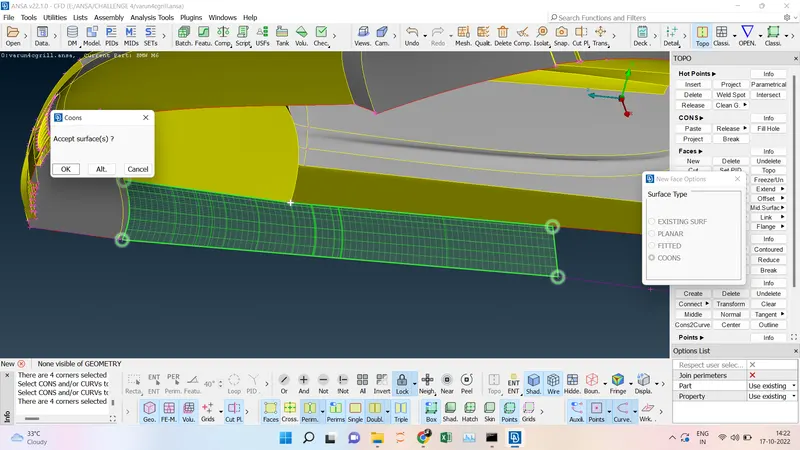
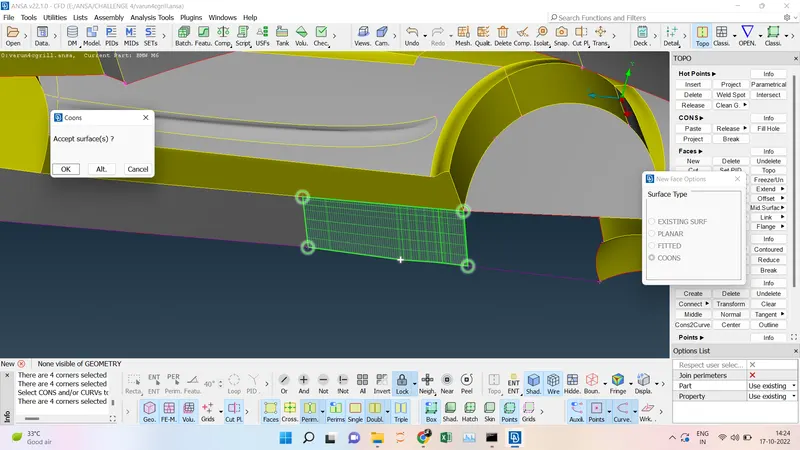
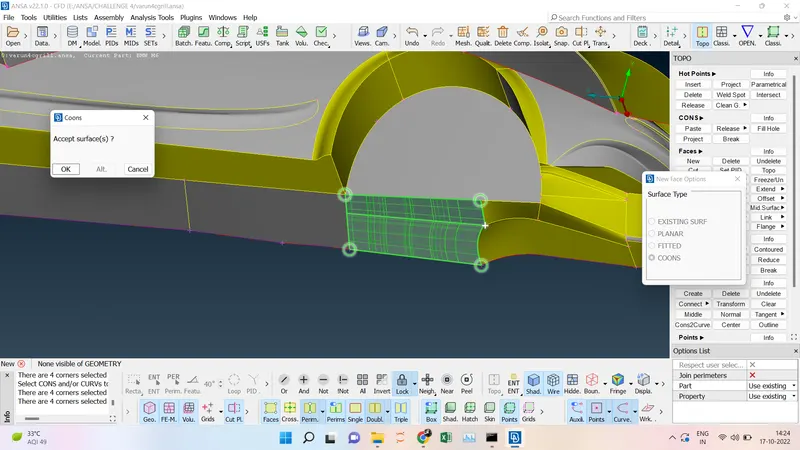
- Now we are going for the floor clean-up by deleting the unwanted surface on the floor.
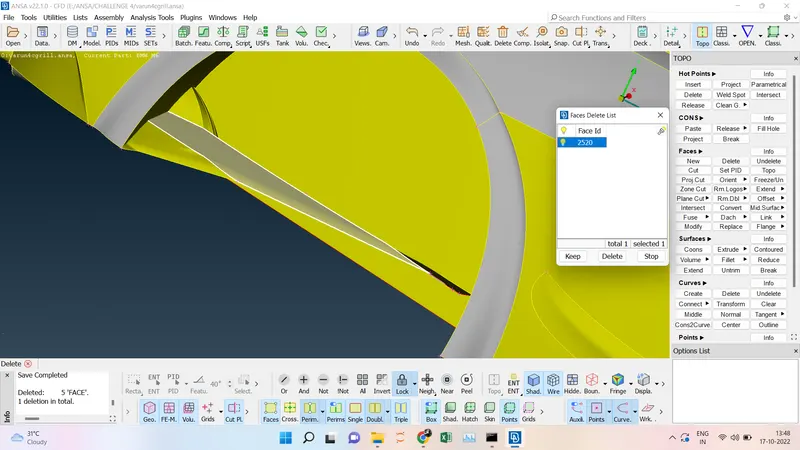
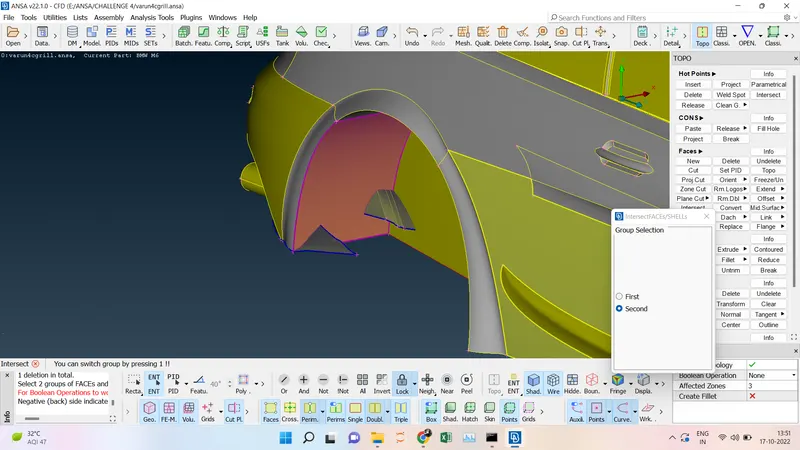
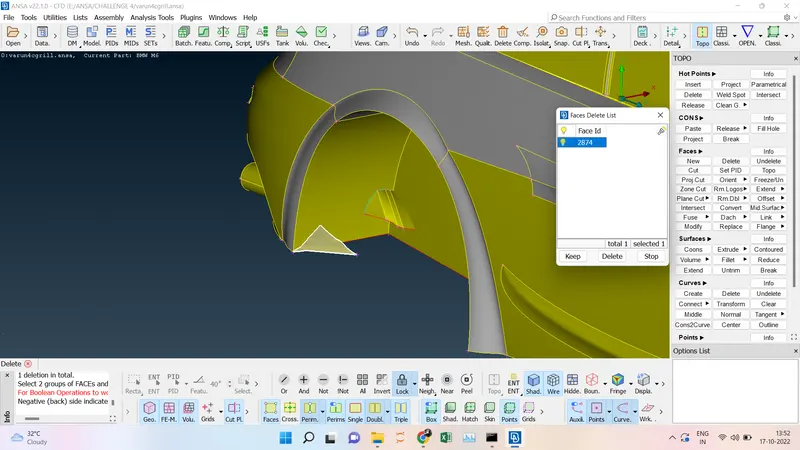
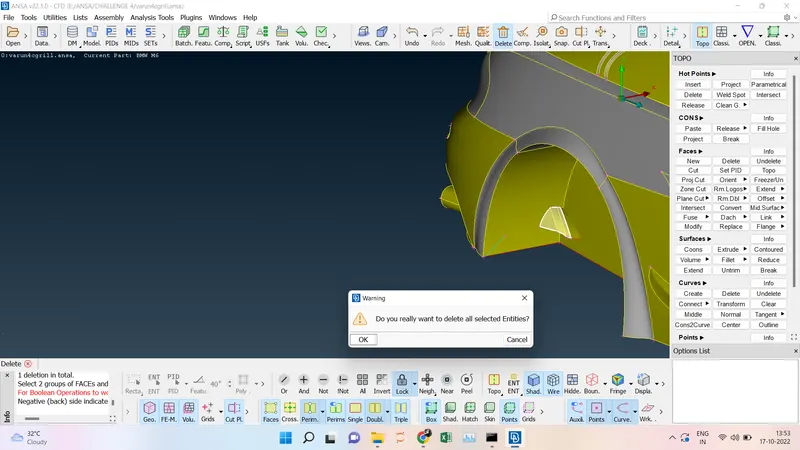
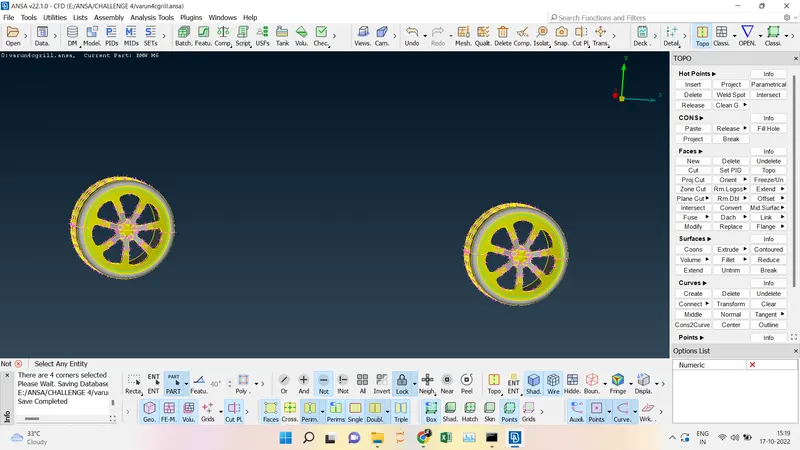
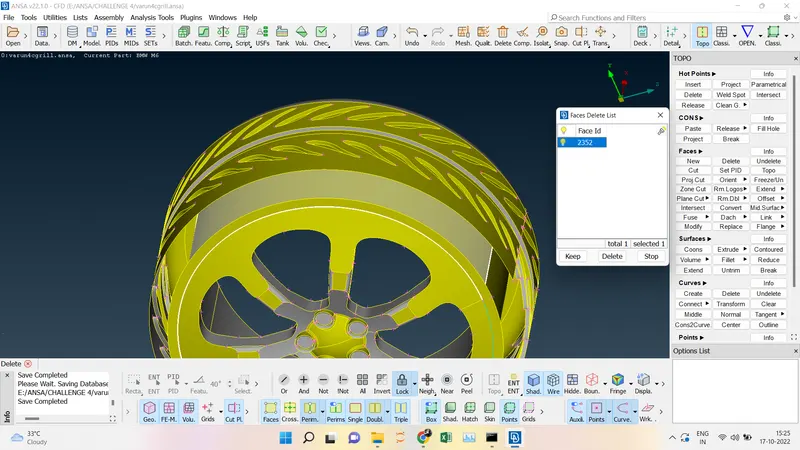
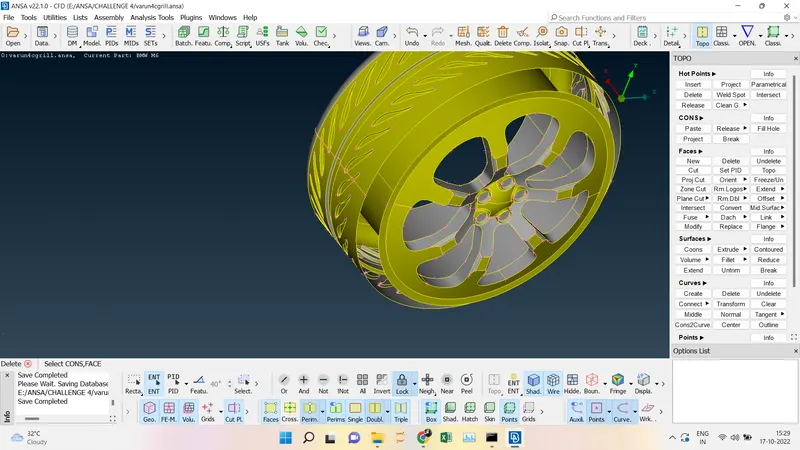
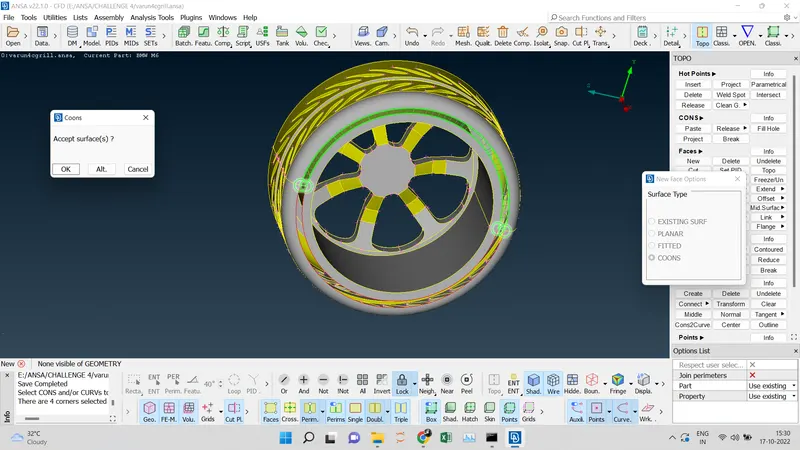
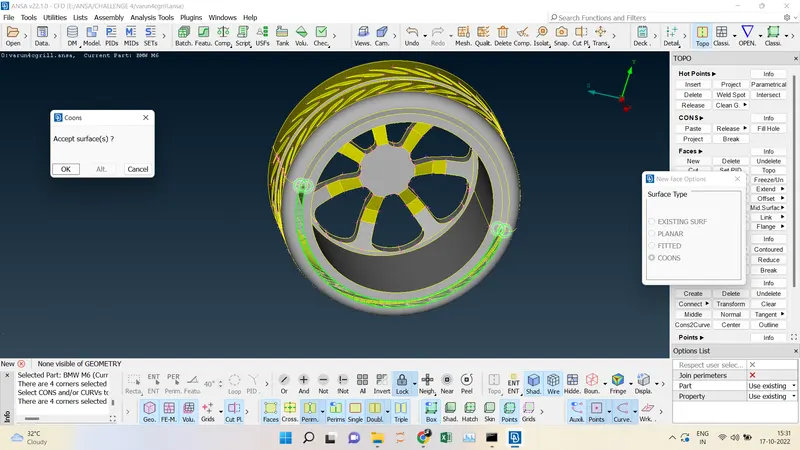
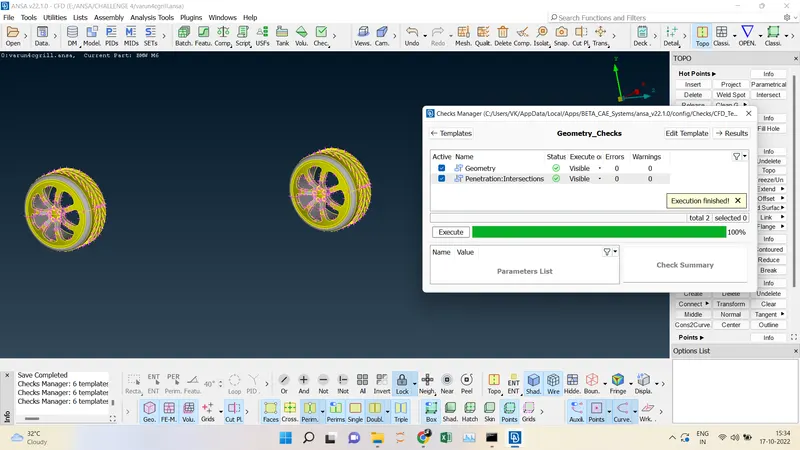
- There are triple cons in the tyre and the wheel and there is an intersection by deleting the inner surface which is intersecting the error can be rectified.
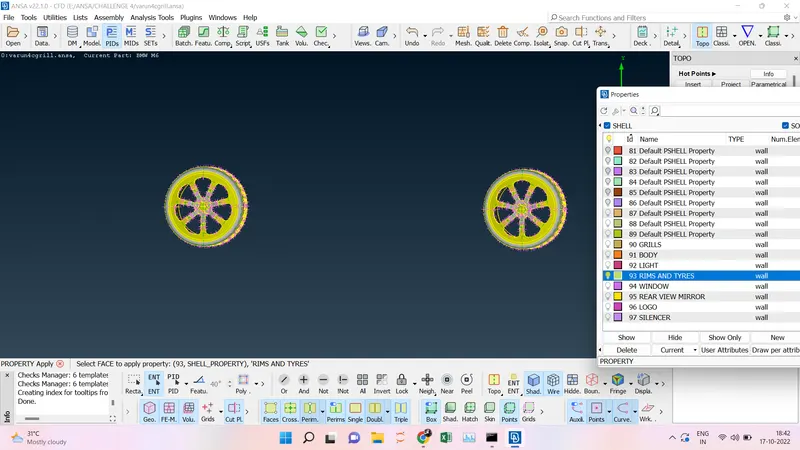
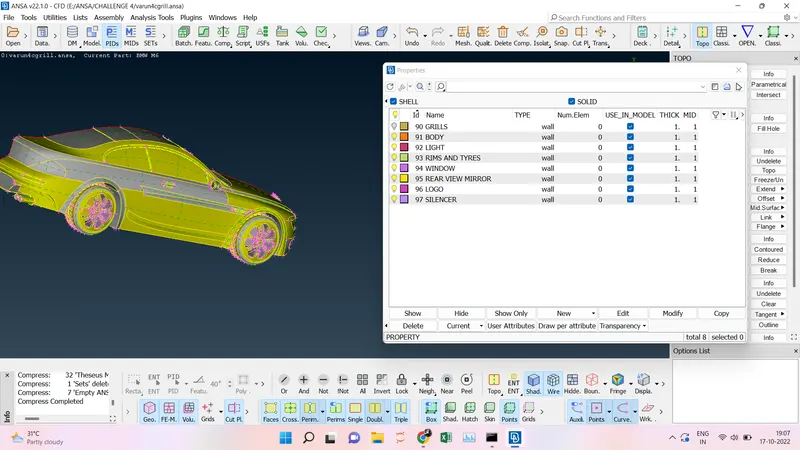
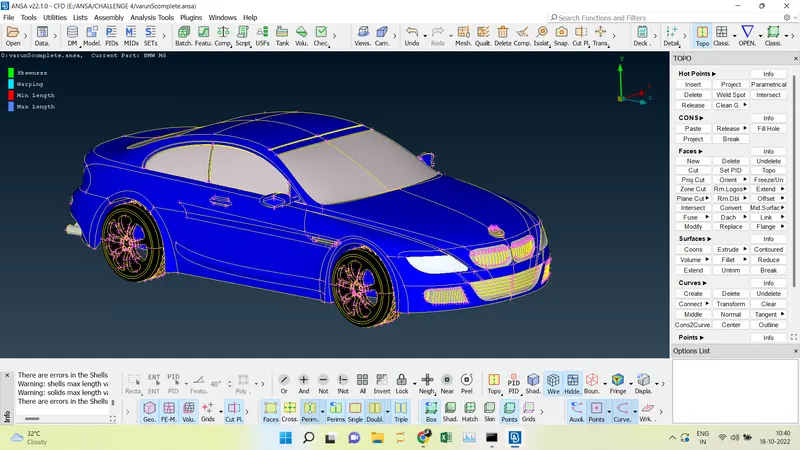
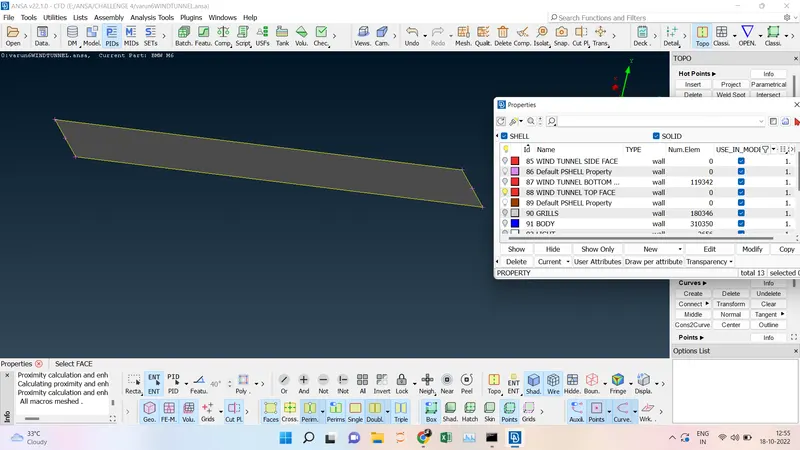
- Assign the PIDs for every part of the car.
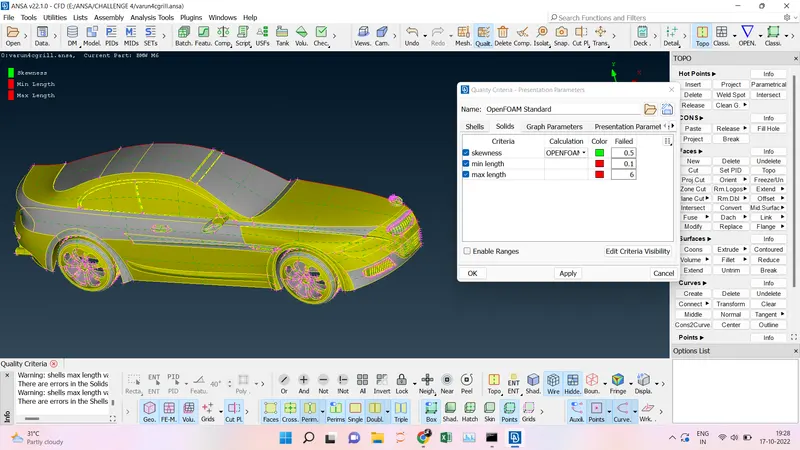
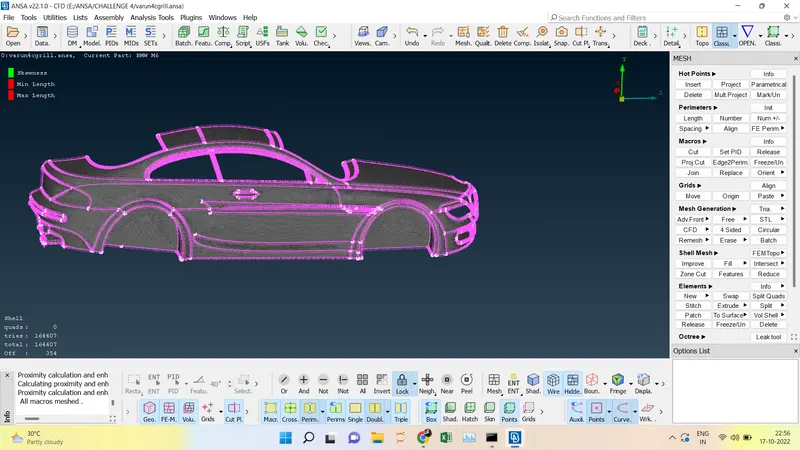
- Quality criteria switch on and set the skewness, minimum length, and maximum length.
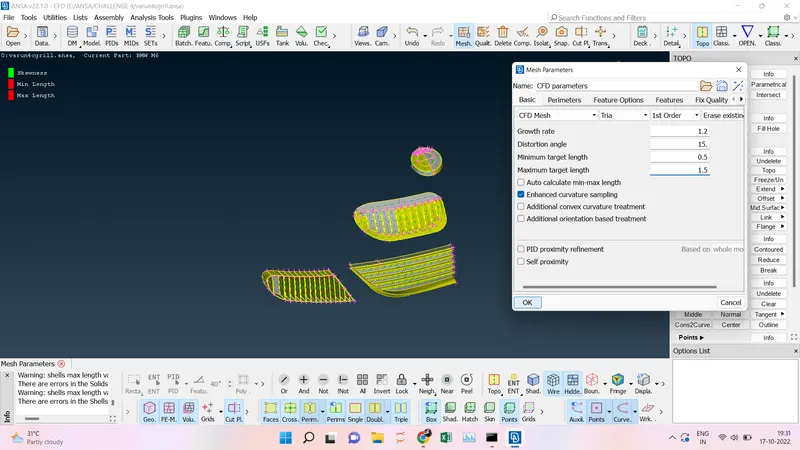
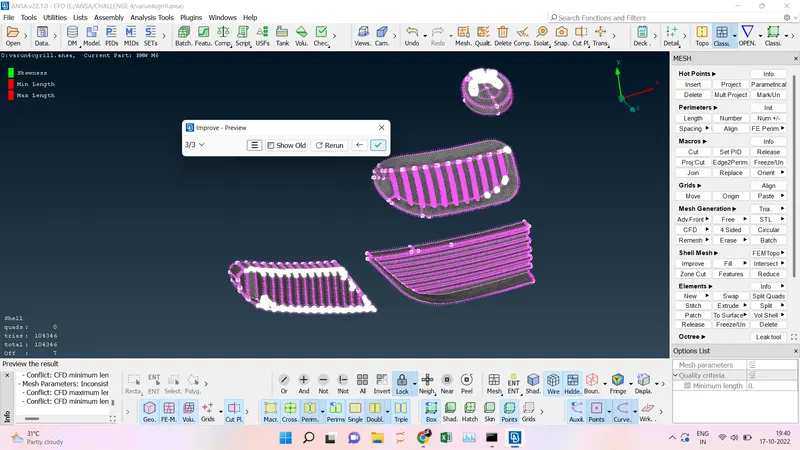
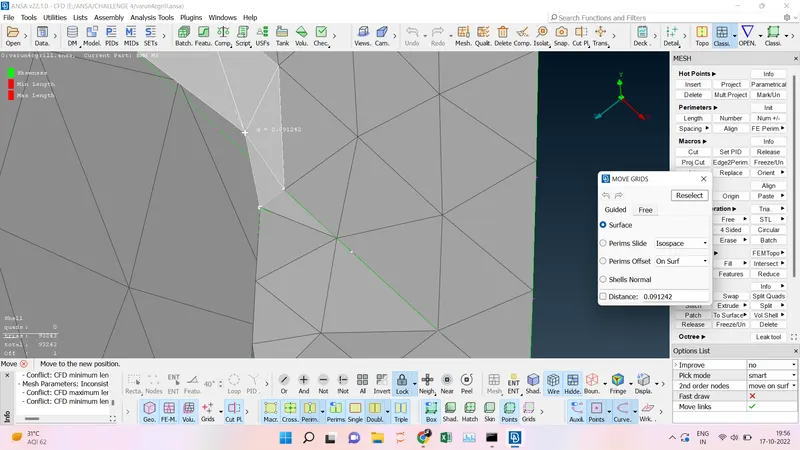
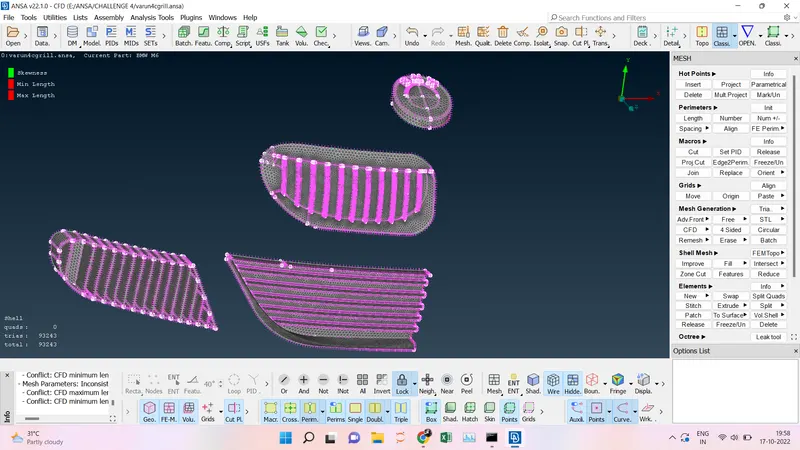
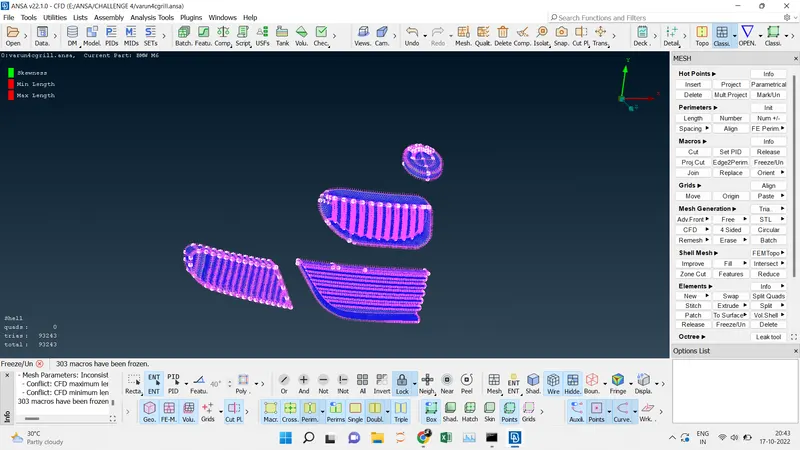
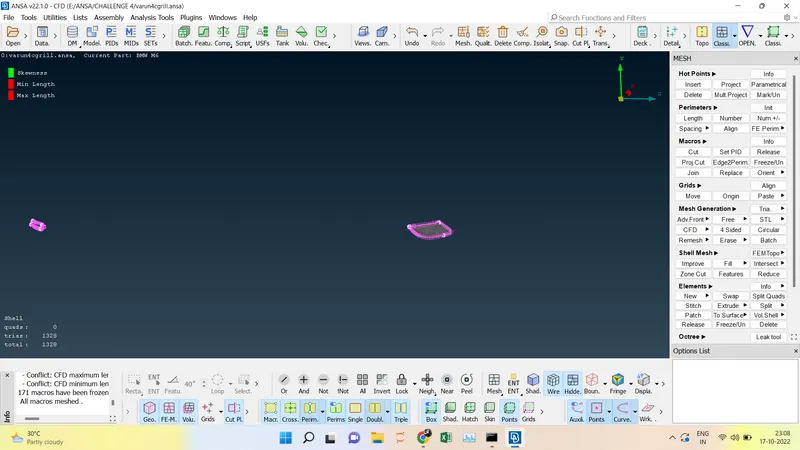
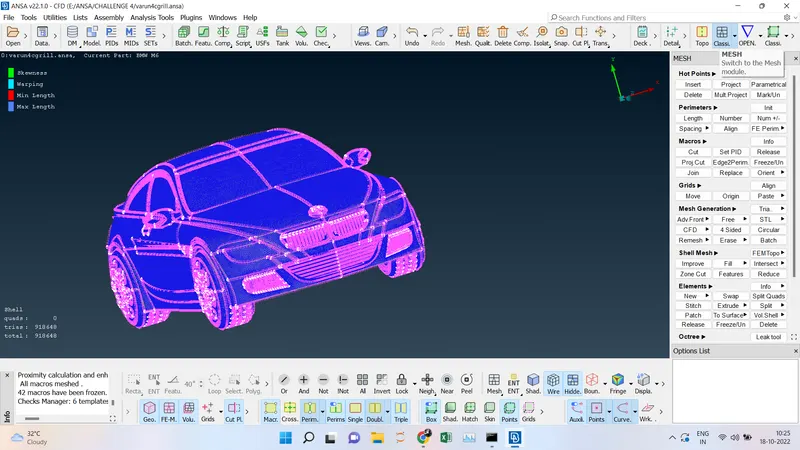
- The meshing of Grills and logo with 1 mm mesh and off element from 846 was reduced by 0. Then Freeze the surface.
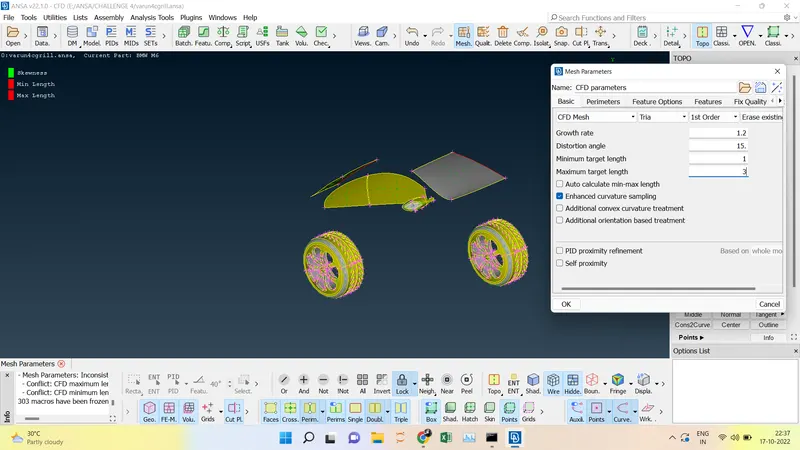
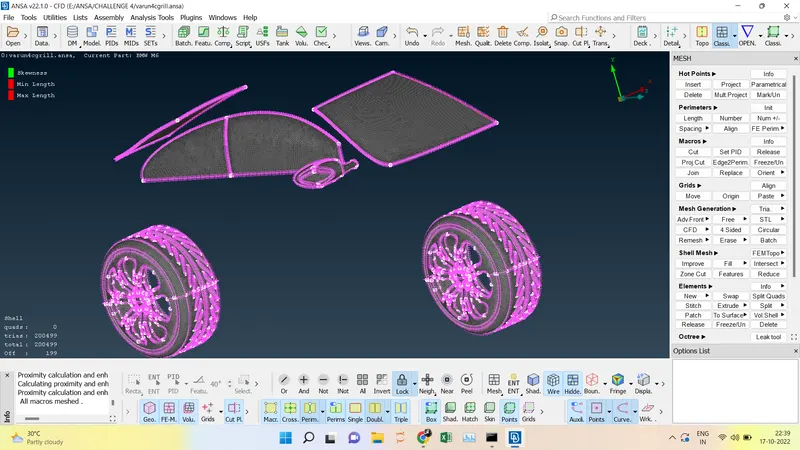
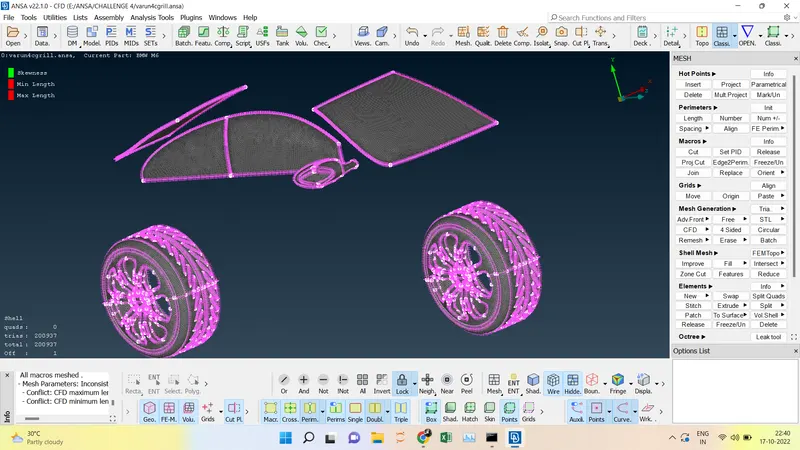
- We are going to mesh the Tyres, rims, Optical Rear view mirror, and Windows with 2 mm and after meshing the off elements show as 199 which is reduced by 0. Then Freeze the surface.
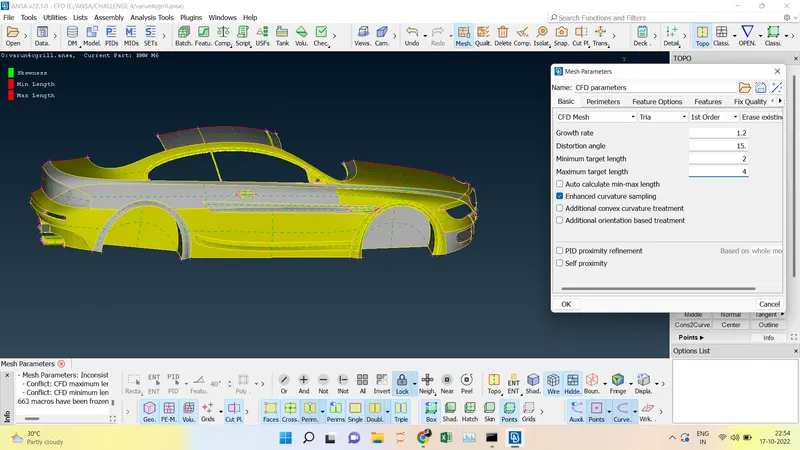
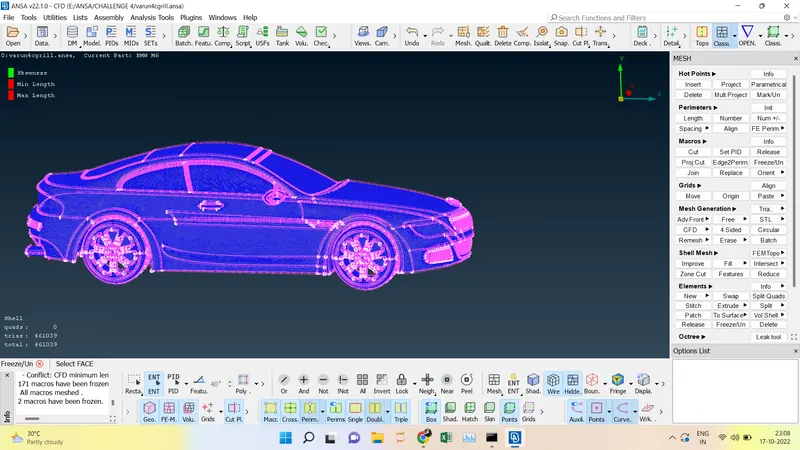
- We are going to mesh the body and silencer with 3 mm and after meshing the off elements show as 354 which is reduced by 0. Then Freeze the surface.
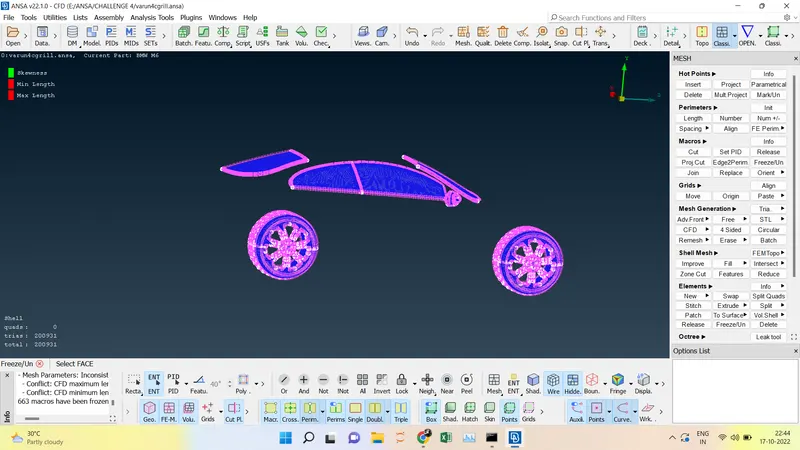
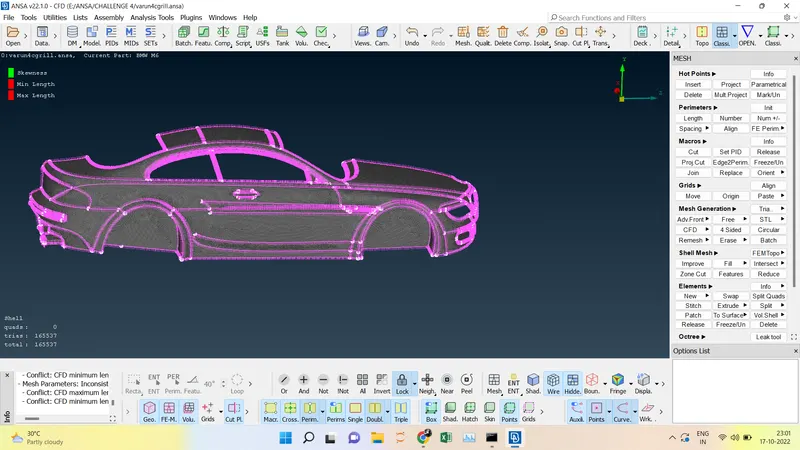
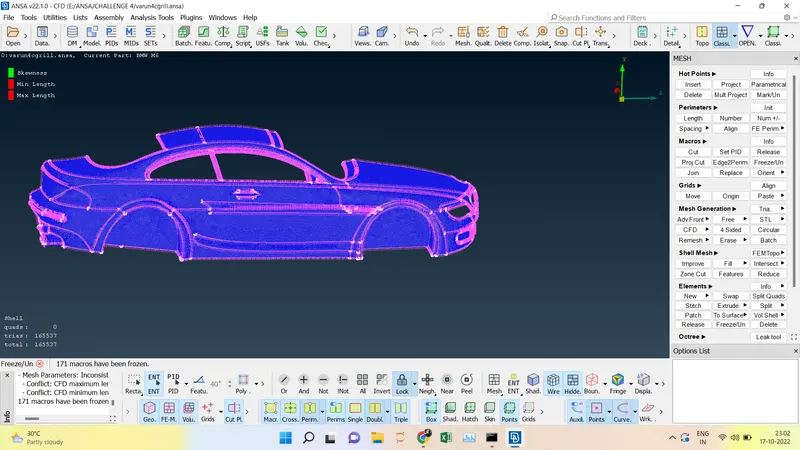
- We are going to mesh the body and silencer with 4 mm and after meshing there are no off elements shown. Then Freeze the surface.
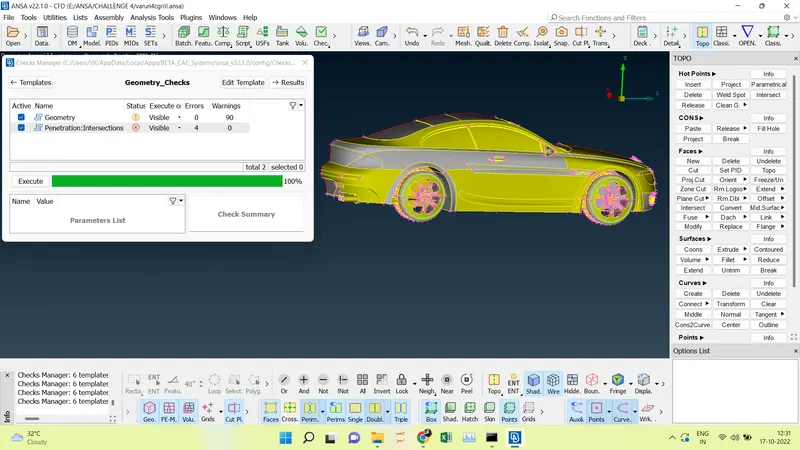
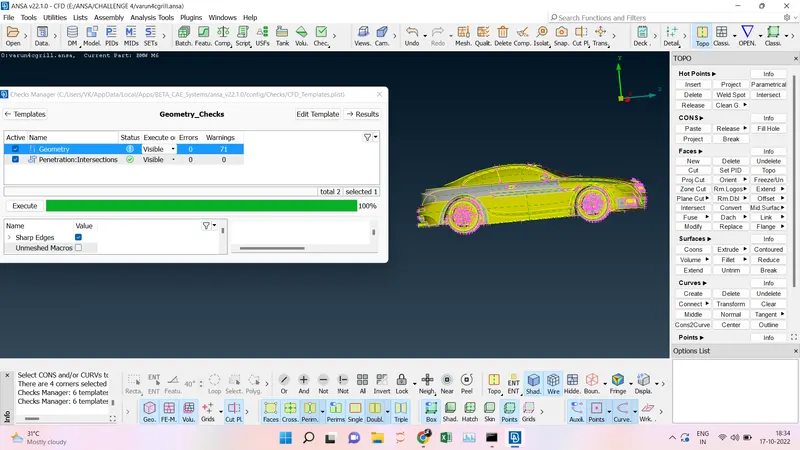
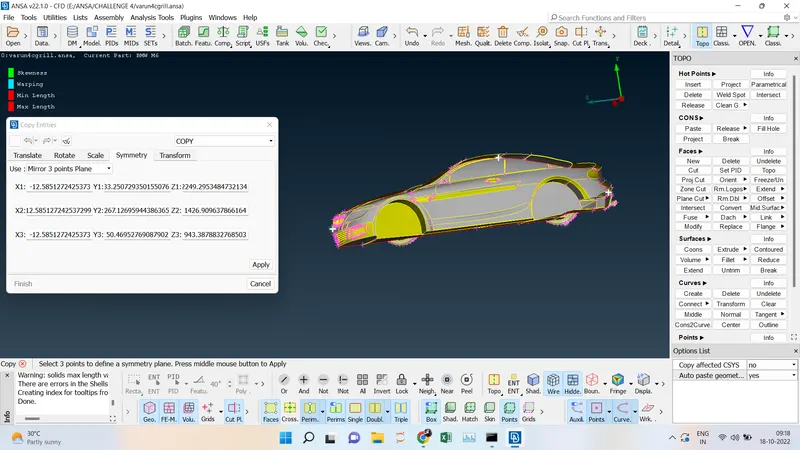
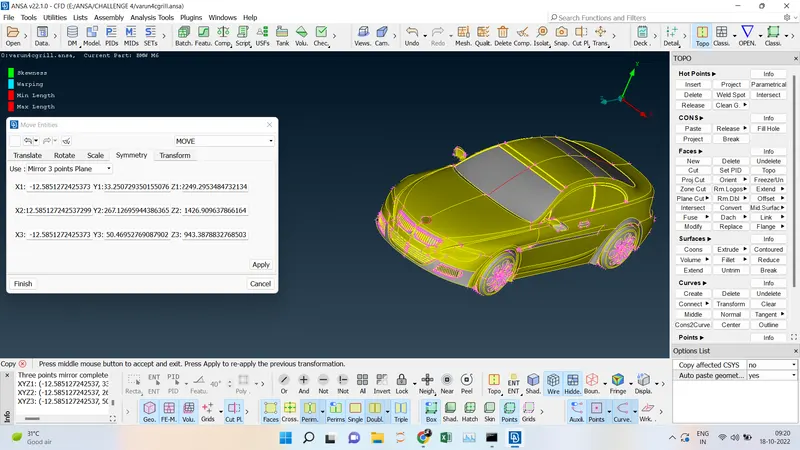
- Do it all, so we can see all the PIDs have meshed well and there are no off elements and no unmeshed surfaces in the model. So the mesh is successfully done. After that, we going to transform ----> Symmetry ------> 3 Points we are going to select the point and middle click then the full car will be appeared and then go for a geometric check and reduce the error and do the mesh again and give all their are no off elements and the mesh is perfect.
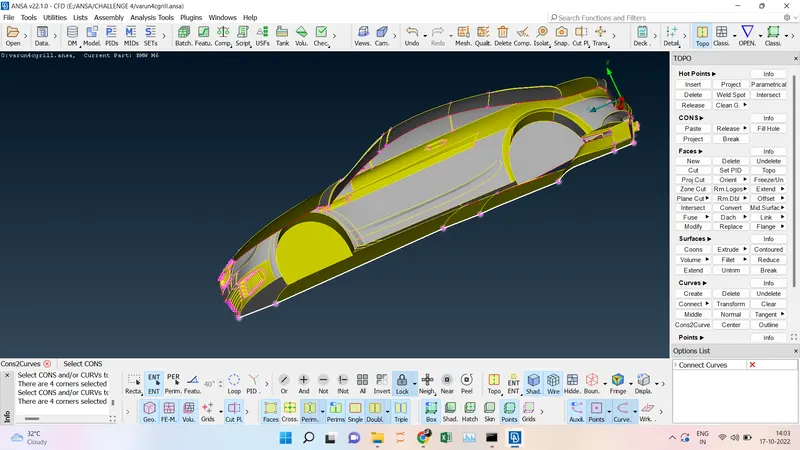
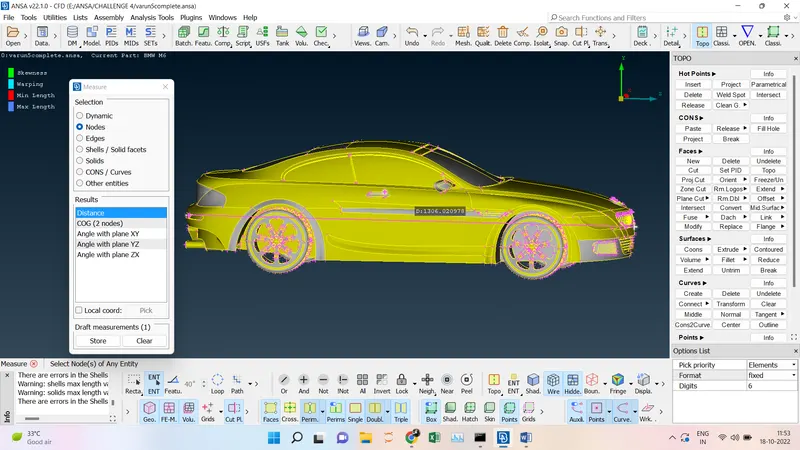
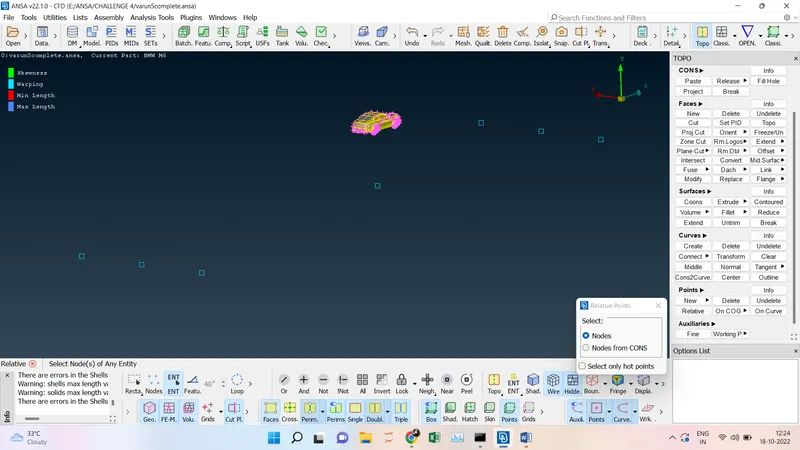
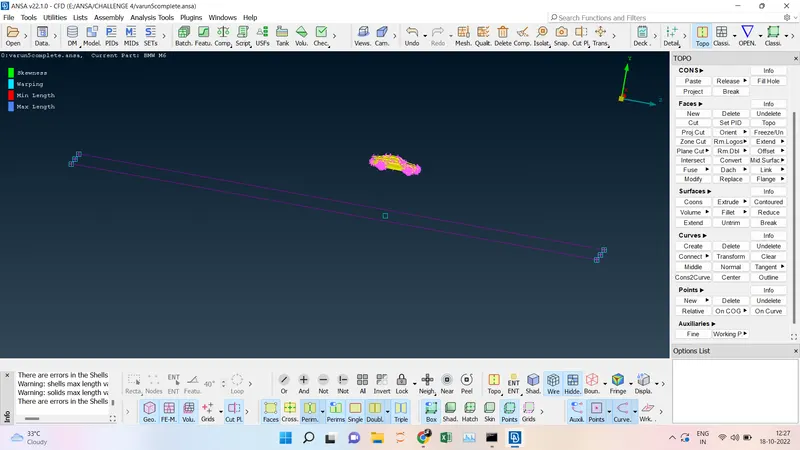
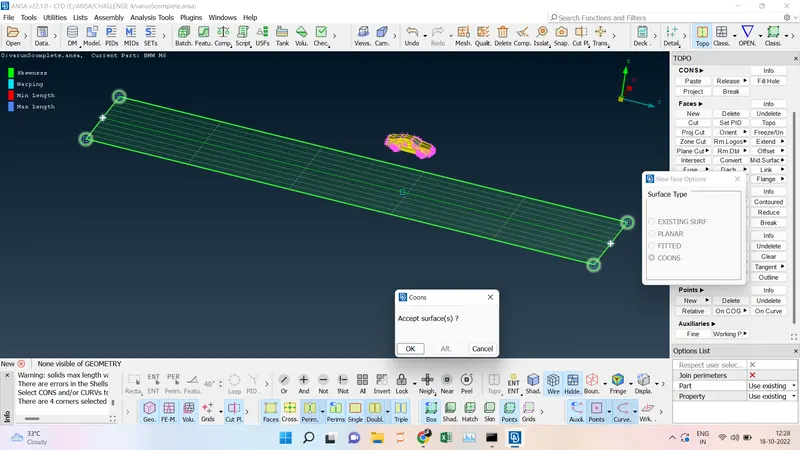
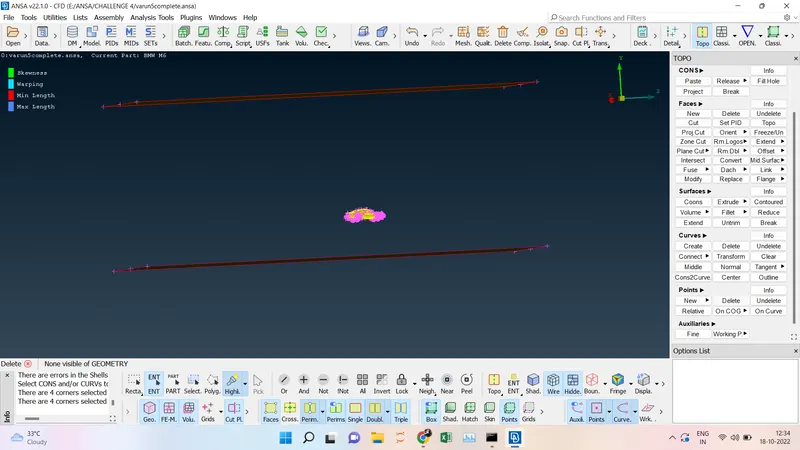
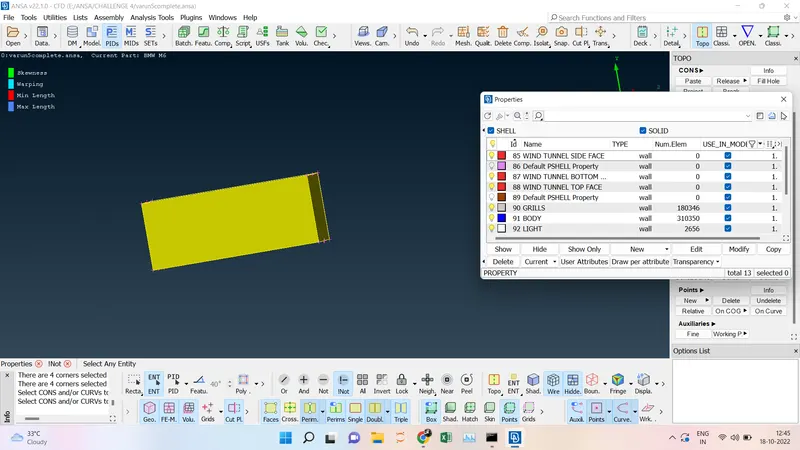
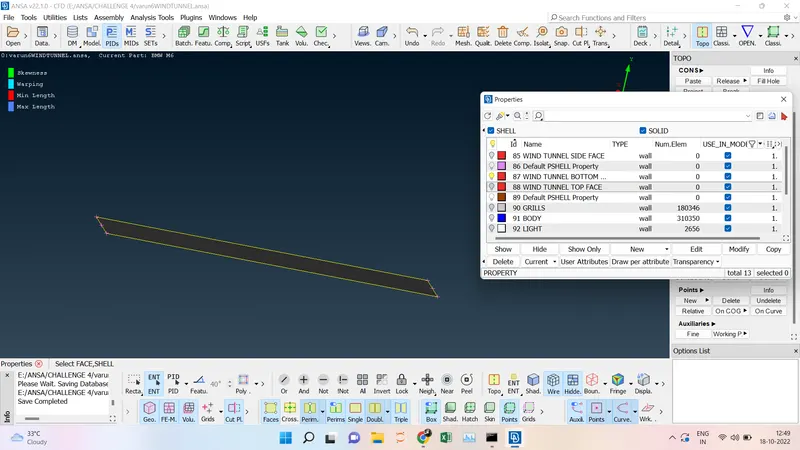
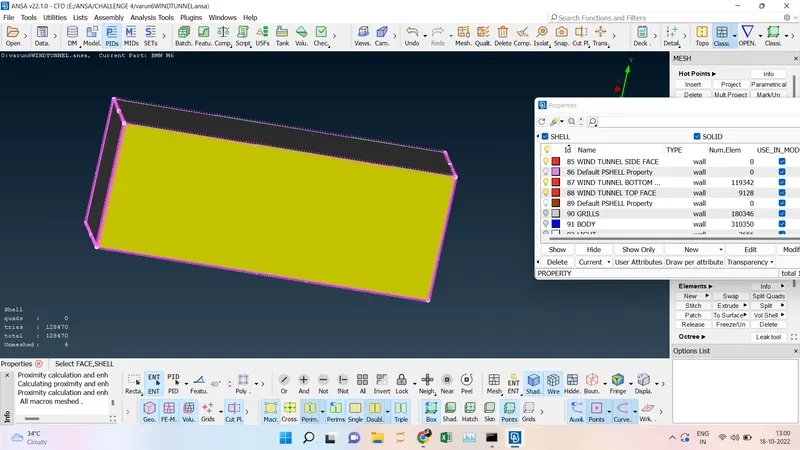
- To create a wind tunnel we have to measure our model by selecting the node at the centre bottom and creating Point it has to be done positive direction and a negative direction and using the curves option we have to create a curve connecting the nodes and then using the curves we can able create a wind tunnel bottom surface using planar and using the offset we can able create wind tunnel bottom surface. By connecting the top and bottom surfaces we can able to create the side faces of the wind tunnel.
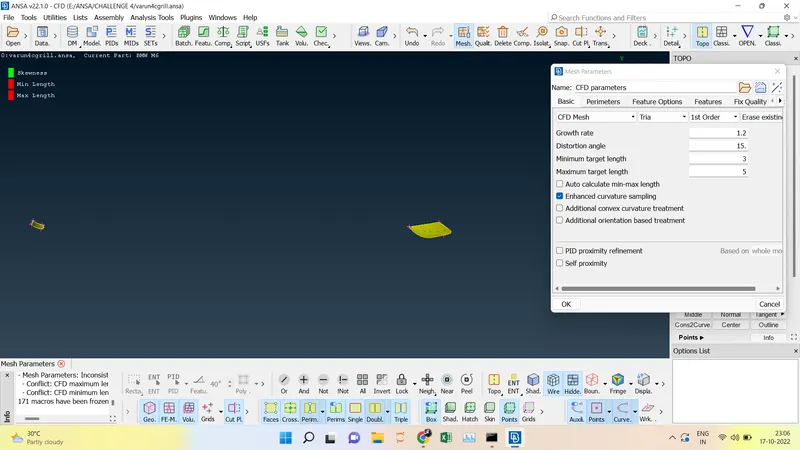
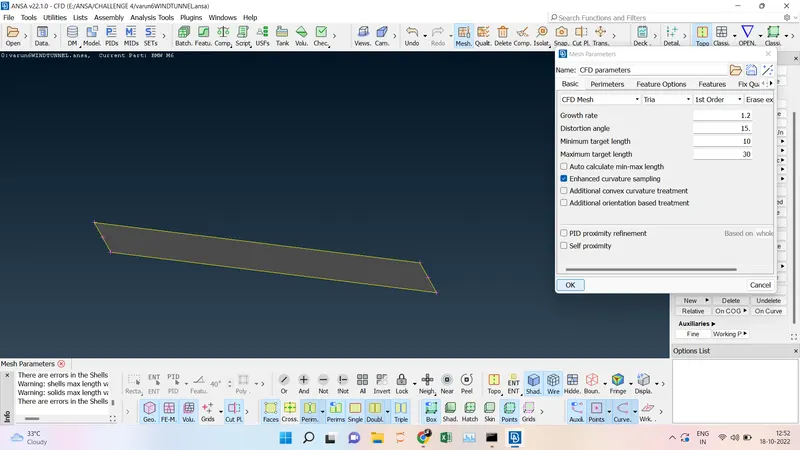
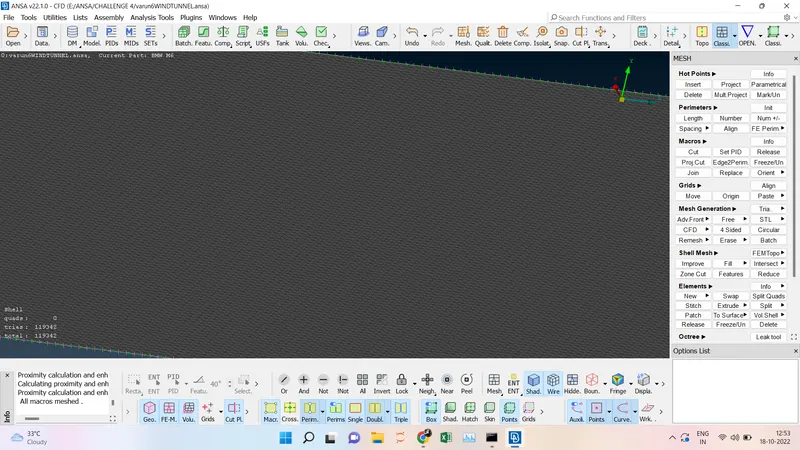
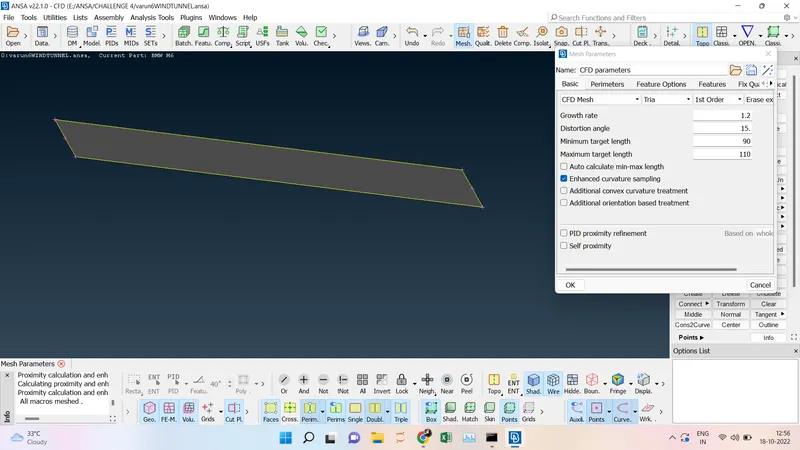
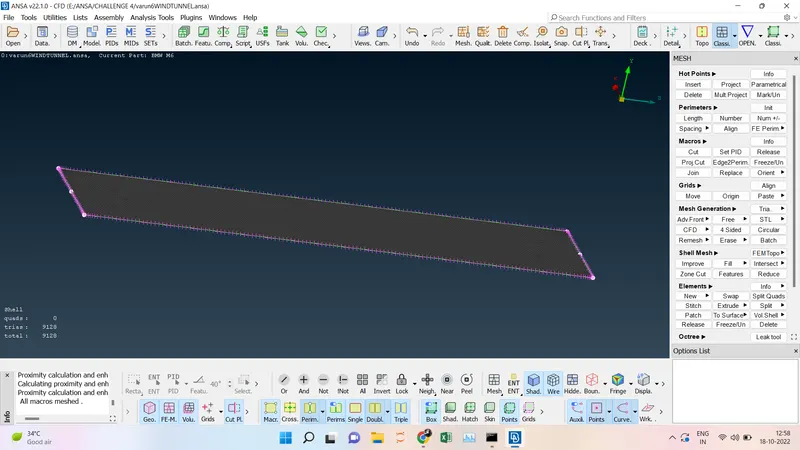
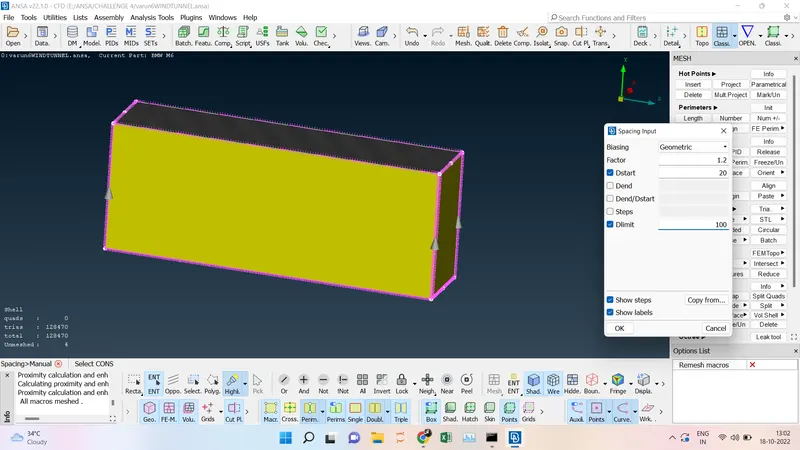
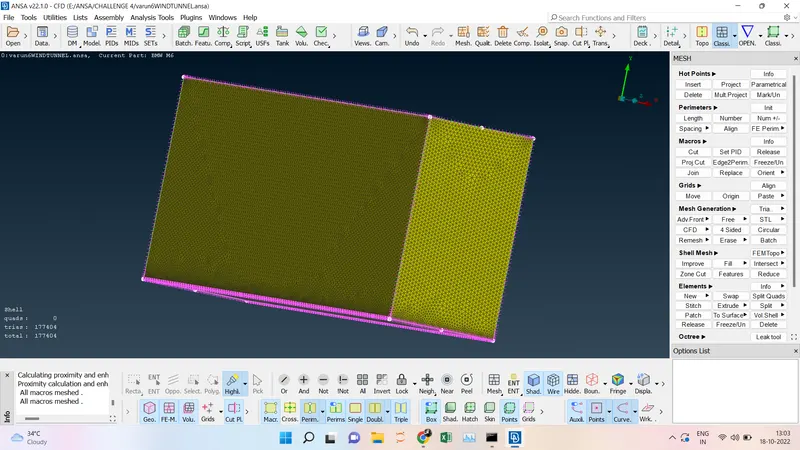
- By Assigning every face of the wind tunnel and meshing will be done individually, the Bottom Face of the wind tunnel mesh parameter (Min Target length = 10, Max Target length =30), the Top Face of the wind tunnel mesh parameter (Min Target length = 90, Max Target length =110) and Side Face of the wind tunnel mesh will be done by manual CFD ---> Dstart=20----> Dlimit=100 and select the side and do CFD visible.
1.
2.
3.
4.
5.
6.
7.
8.
9.
10.
11.
12.
13.
14.
15.
16.
17.
18.
19.
20.
21.
22.
23.
24.
CONCLUSION:
- BMW car model is topo-cleaned.
- PIDs have been assigned for every part of the car.
- Meshing has been done with the given targeted length and Quality criteria.
- The wind tunnel is created and the surface meshed with reference to the car model size.
OUTPUT:
https://drive.google.com/file/d/1yKSuUZKI-cxoX6BlKm4yOb1D2MdEMQDa/view?usp=sharing