Project 1 : CFD Meshing for Tesla Cyber Truck
AIM:
- To check and solve all geometrical errors and Assign appropriate PIDs for the Tesla Cyber Truck.
- To perform meshing with the suitable Target length and element Quality criteria.
OBJECTIVE:
- Target lengths for the different parts of a model can be decided by your own.
-
The finer mesh will give good results and will compromise with the longer processing time.
- To Mesh the Wind tunnel volume with tetra elements.
PROCEDURE:
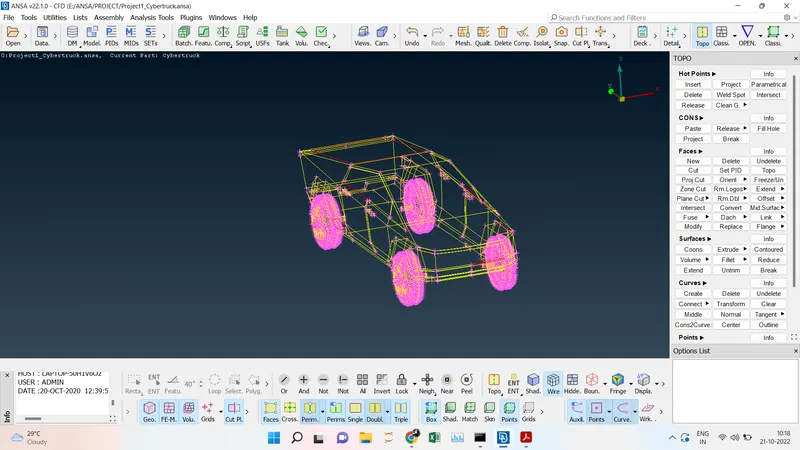
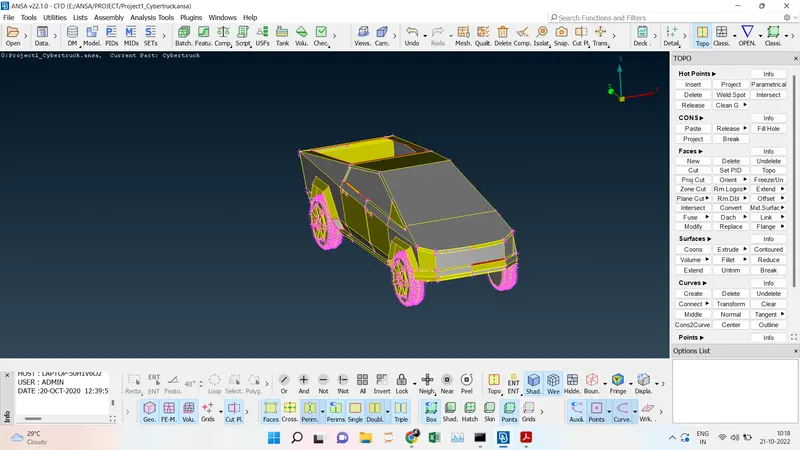
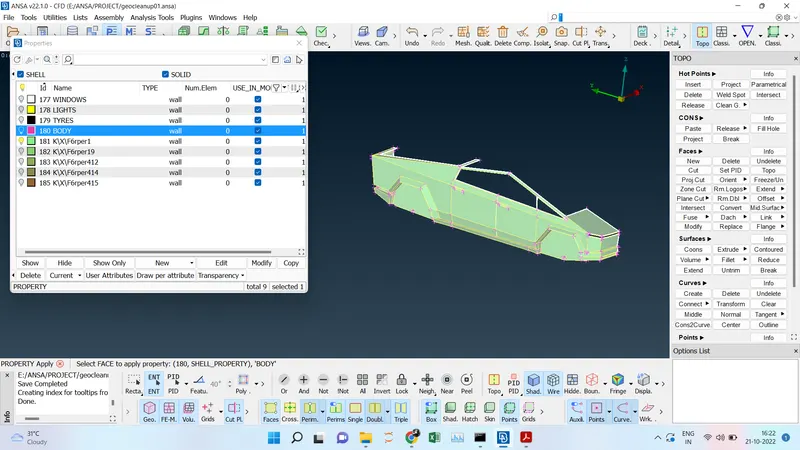
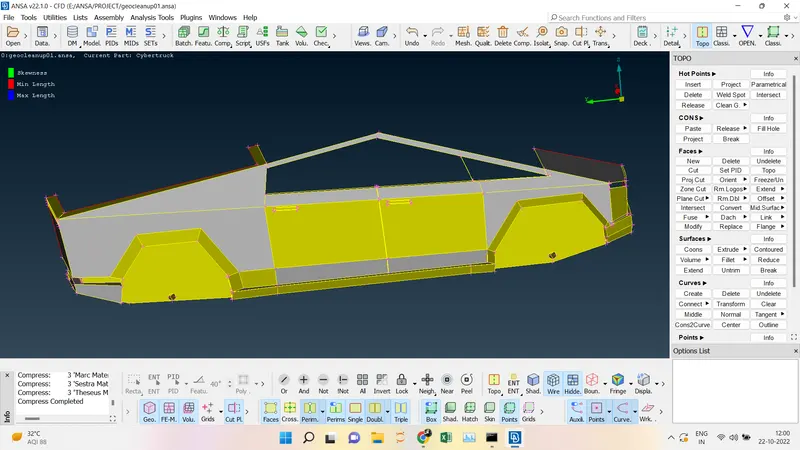
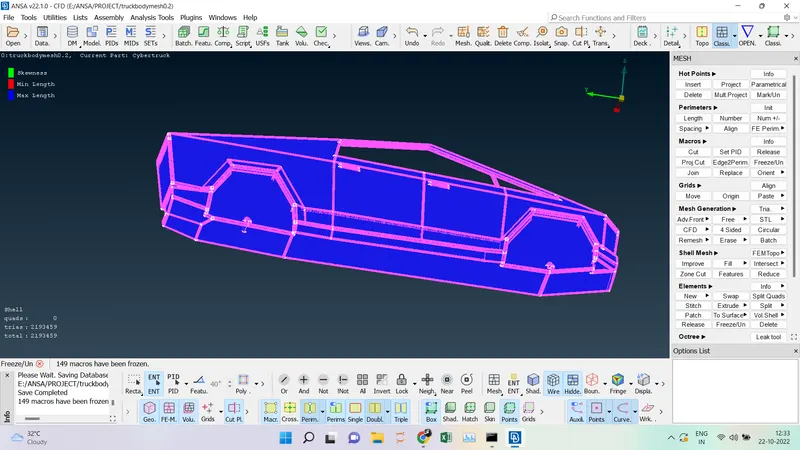
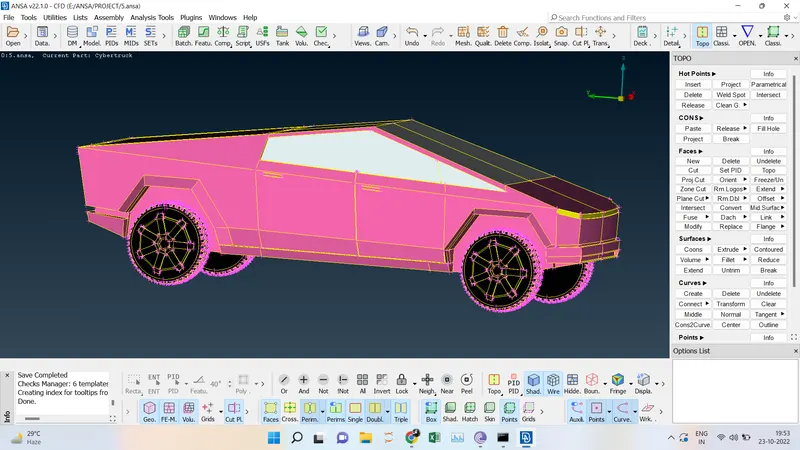
- Now we are going to import the Tesla Cyber Truck model to ANSA Software by clicking File ---> Open ----> Go to the location and select the file and click ok the model will appear on the screen here initially it will be in wireframe mode then we have to switch on the shadow mode and hit a topo and box select.
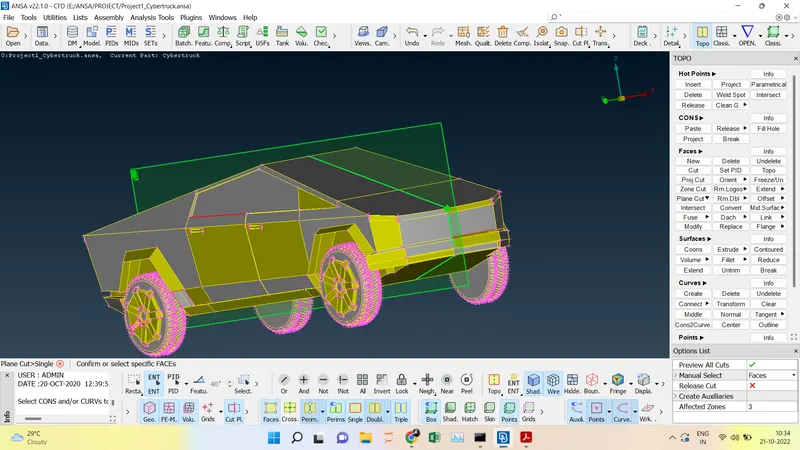
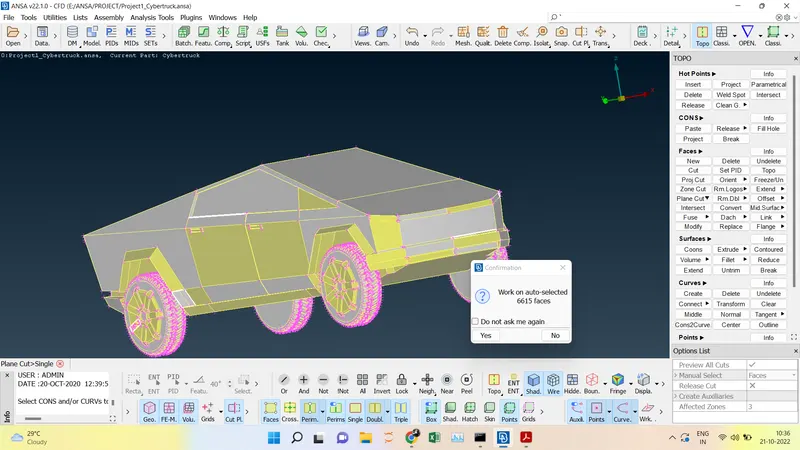
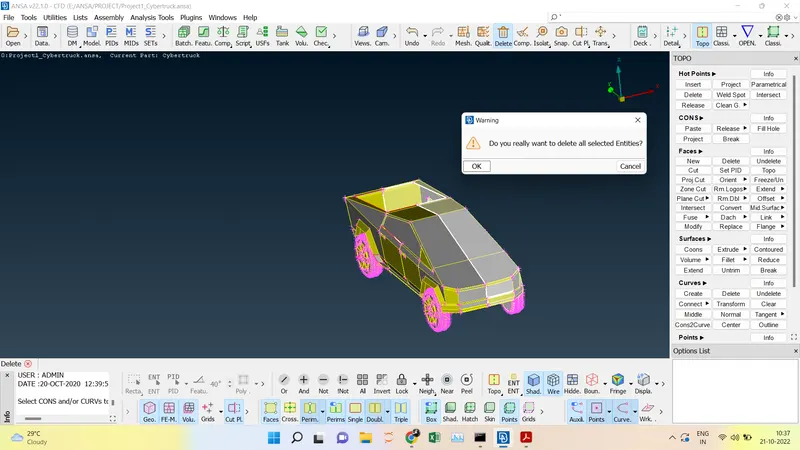
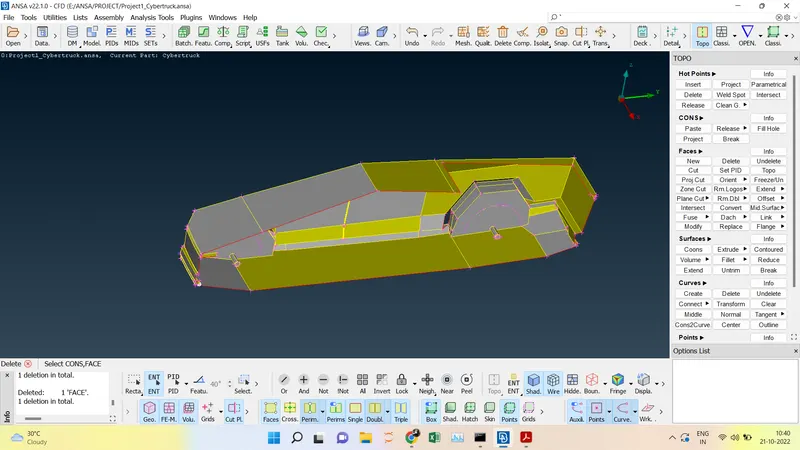
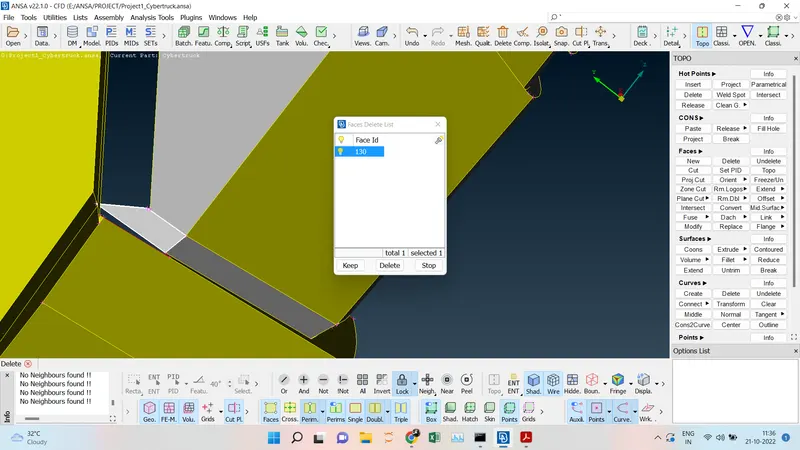
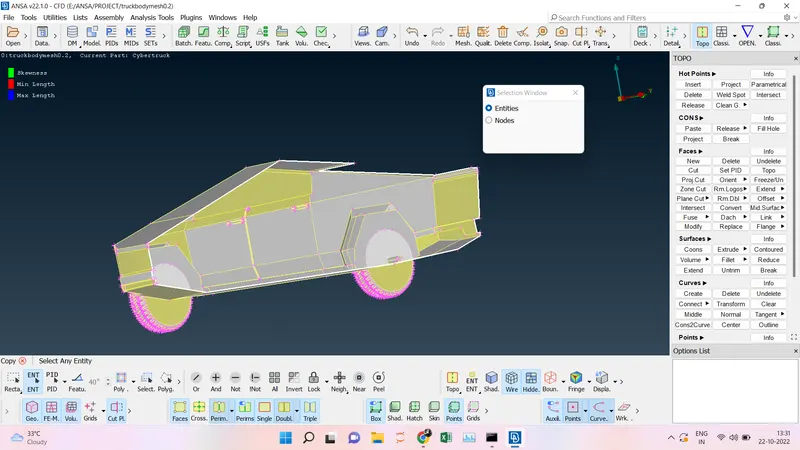
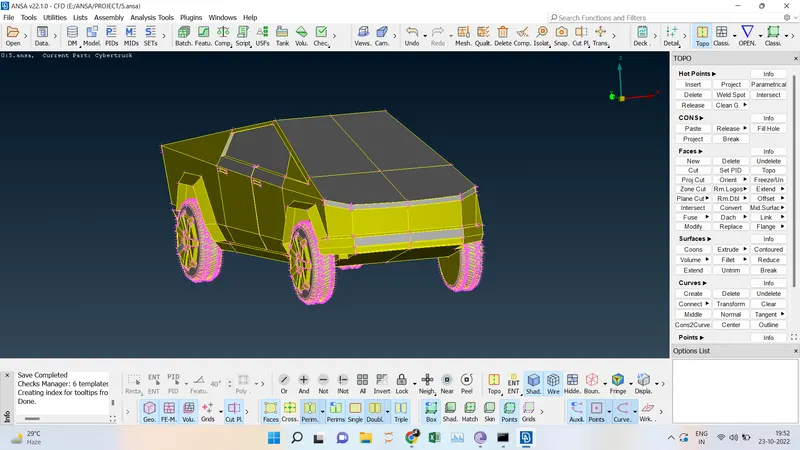
- To make the geometric cleanup easier we are going to use the plane cut option by selecting the hot points we are going to make the cut. Then using the universal delete option we are going to delete the half surface of the model.
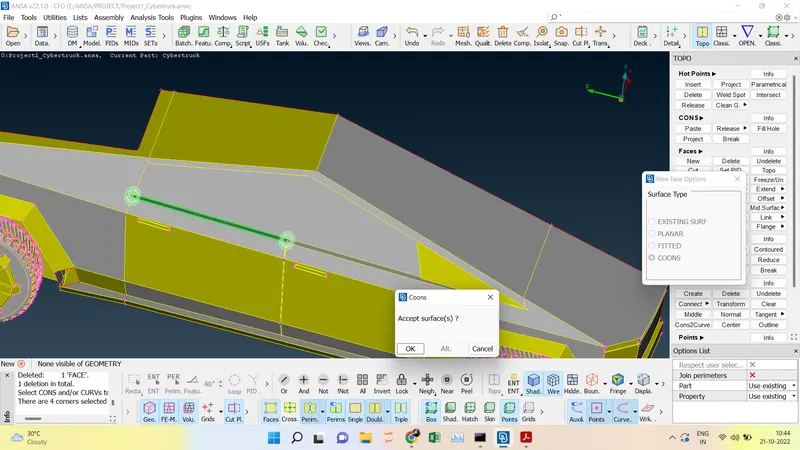
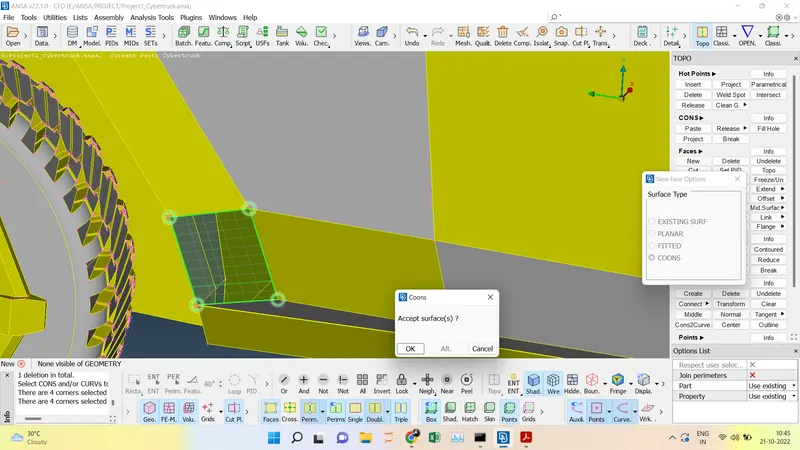
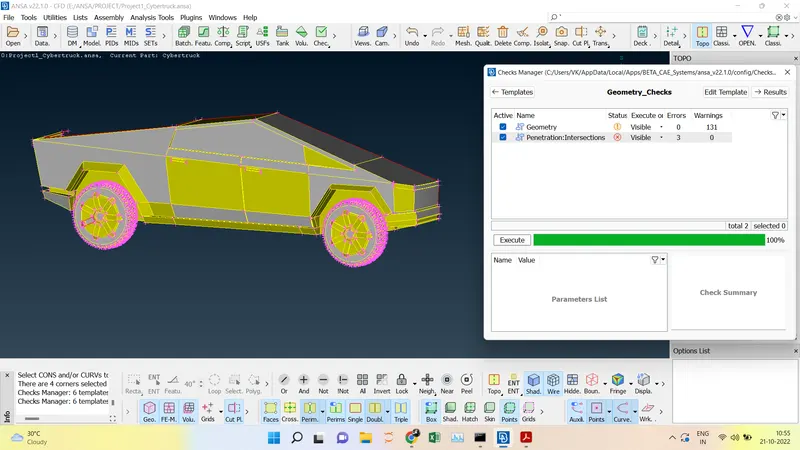
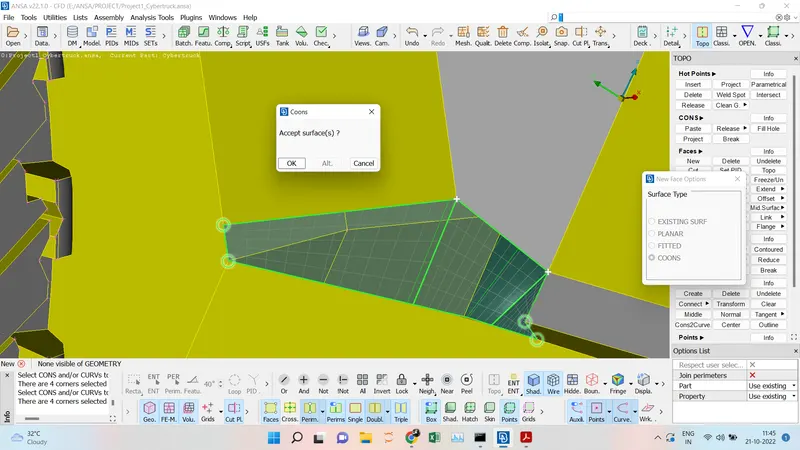
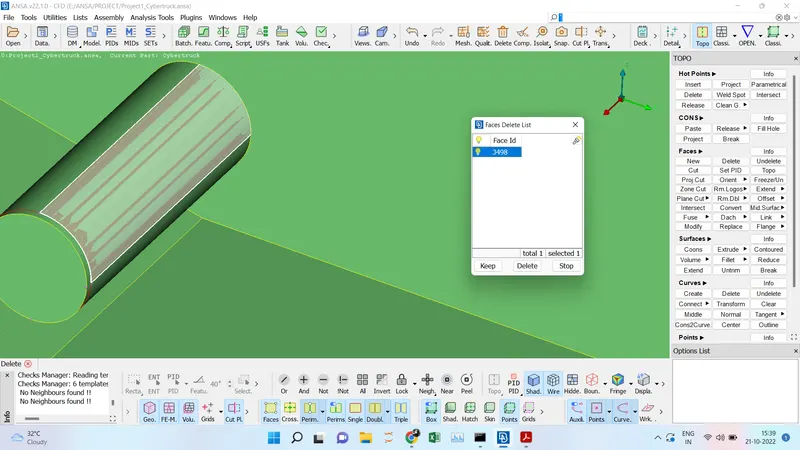
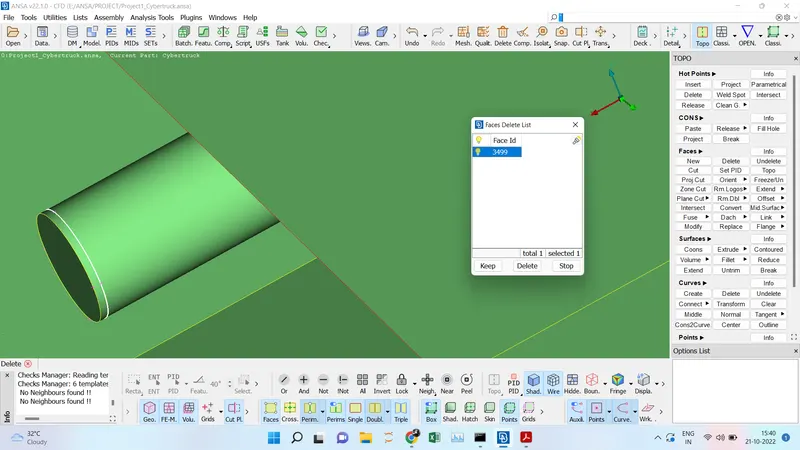
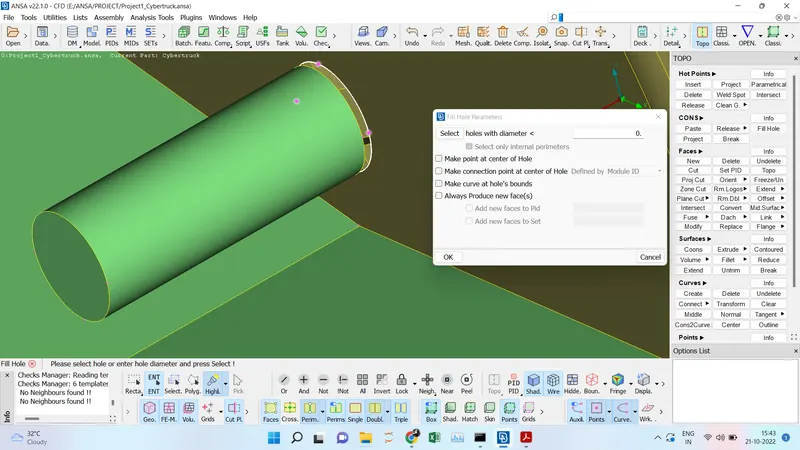
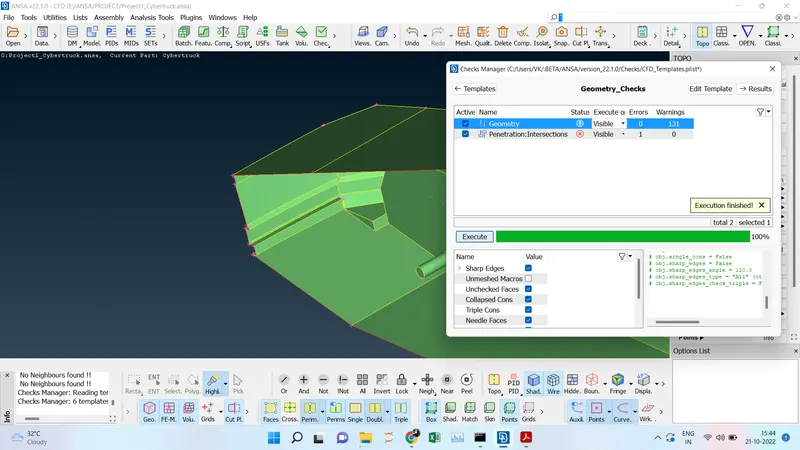
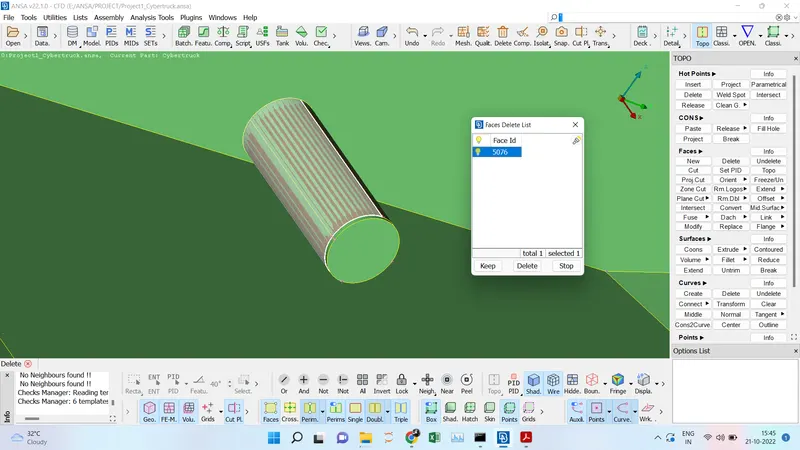
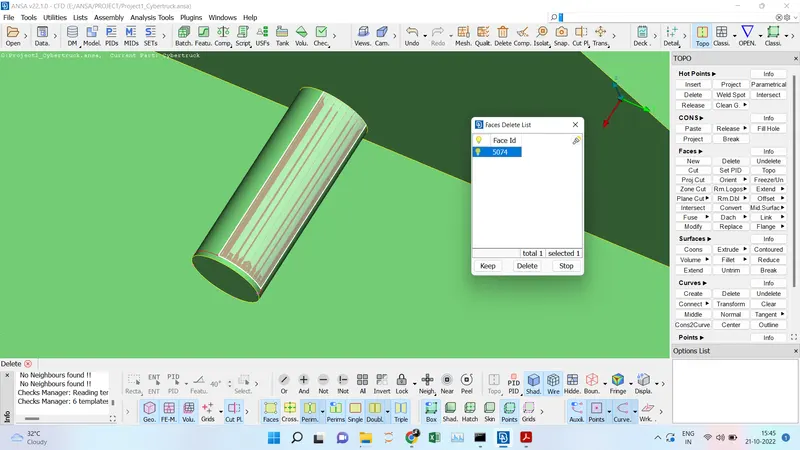
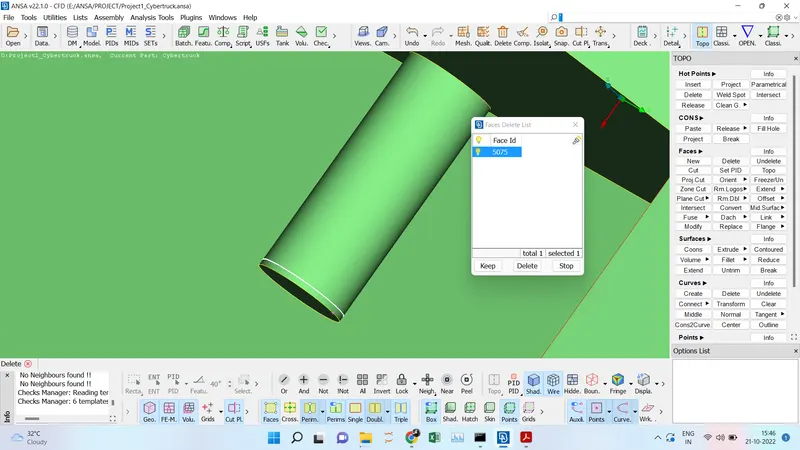
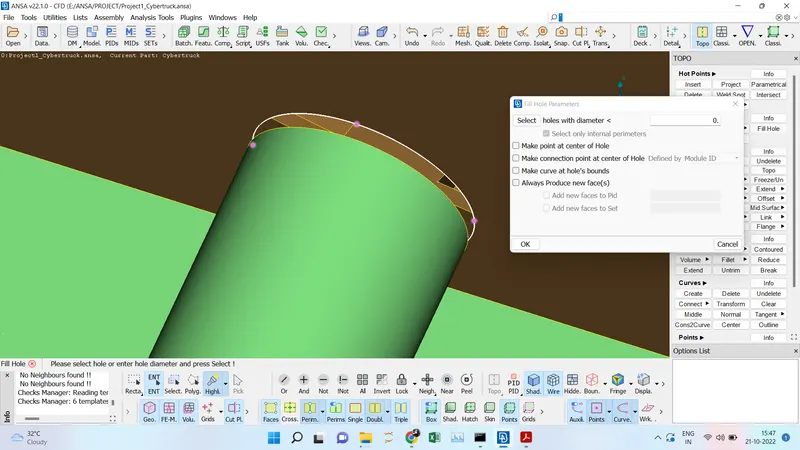
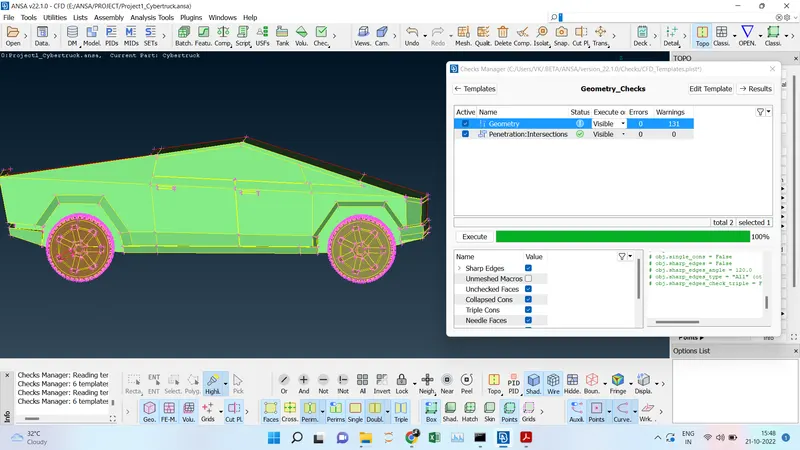
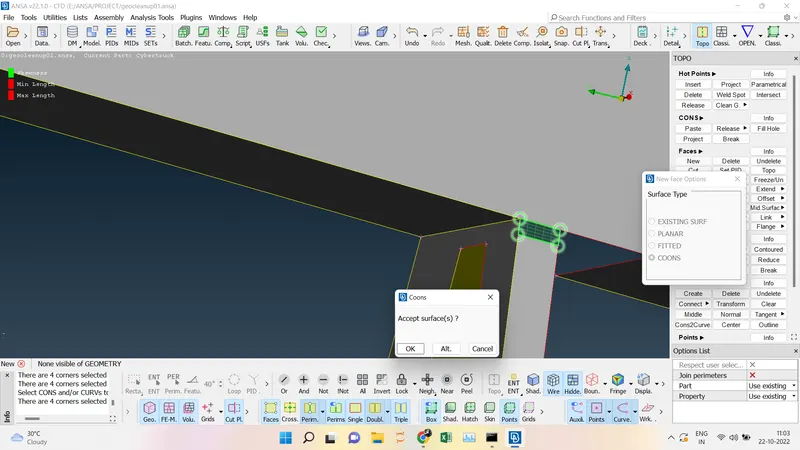
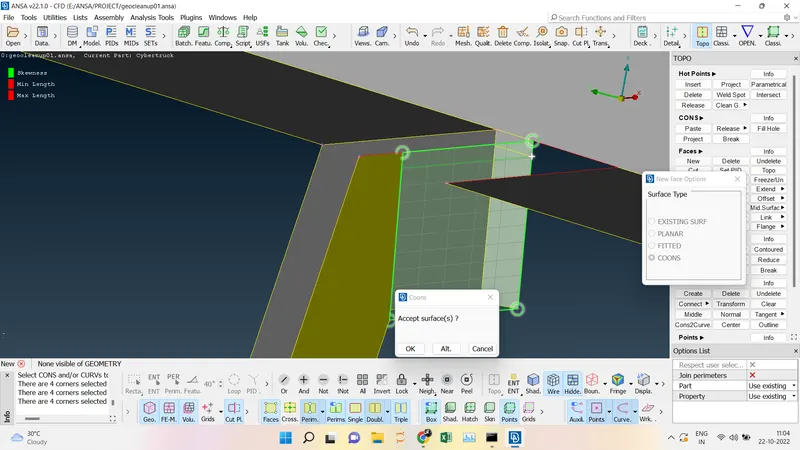
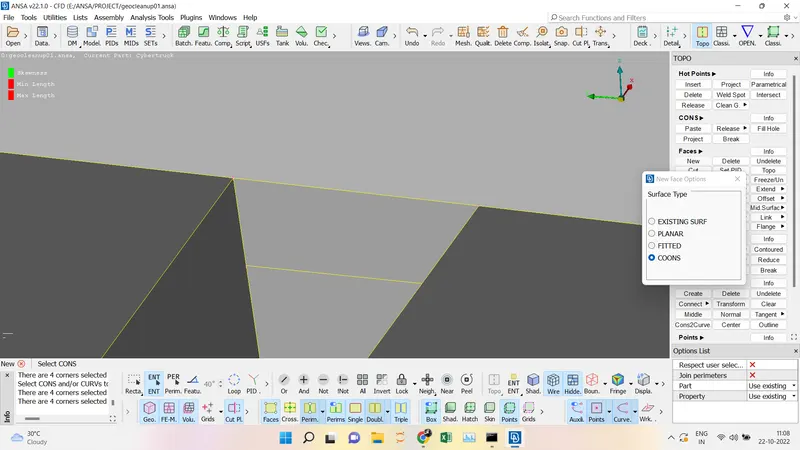
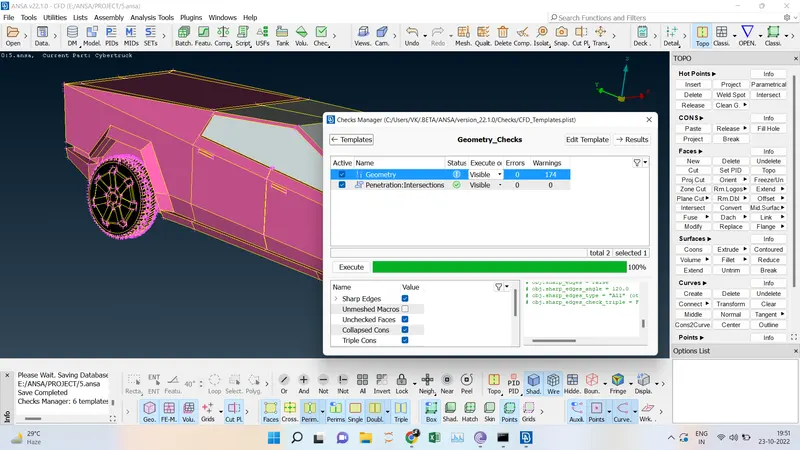
- We are going for the geometric cleanup by reducing the single cons in the model. Using the Face ---> New---> CONS ----> Loop we are going to create the surface which is missing in the model. Then go for the geometric check after the check there is no error in the geometry of the model.
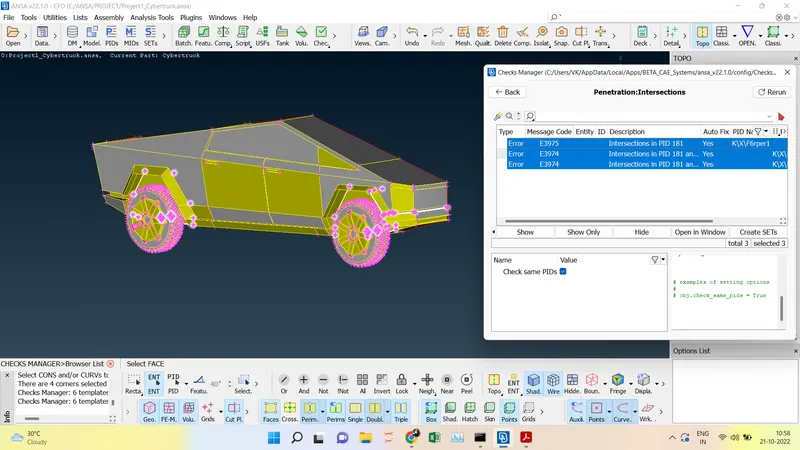
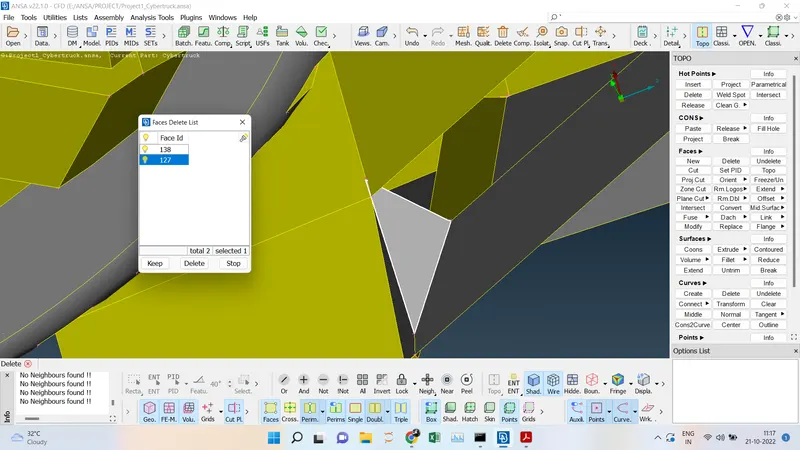
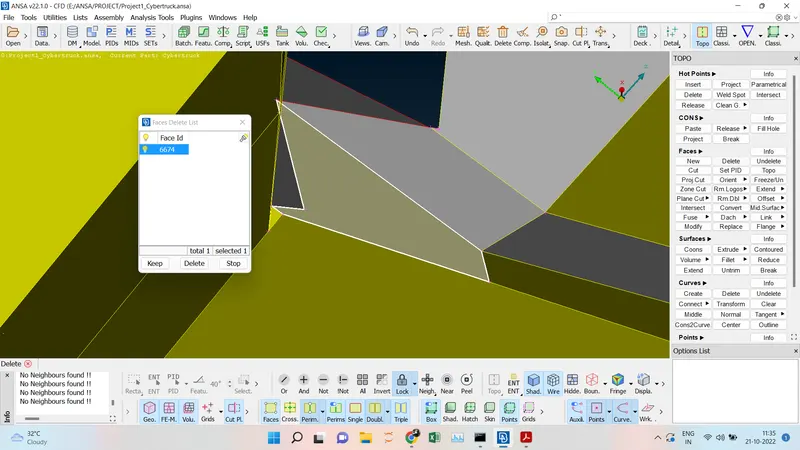
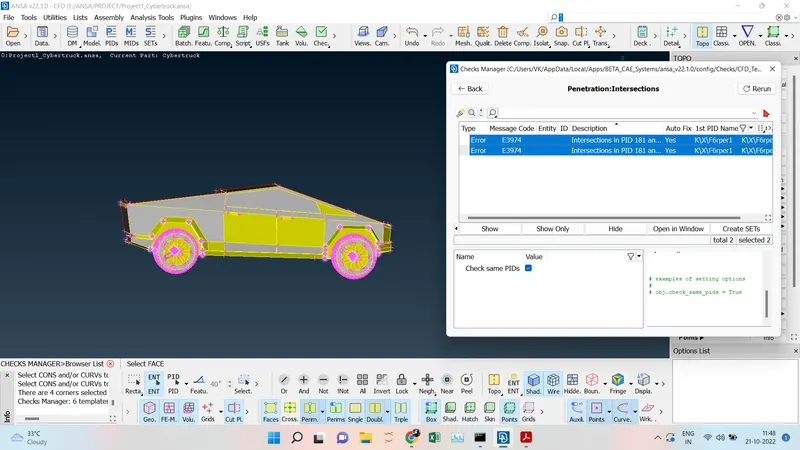
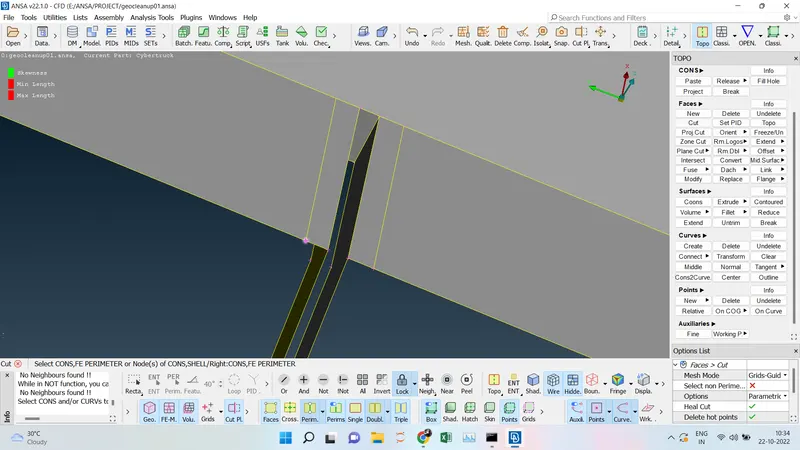
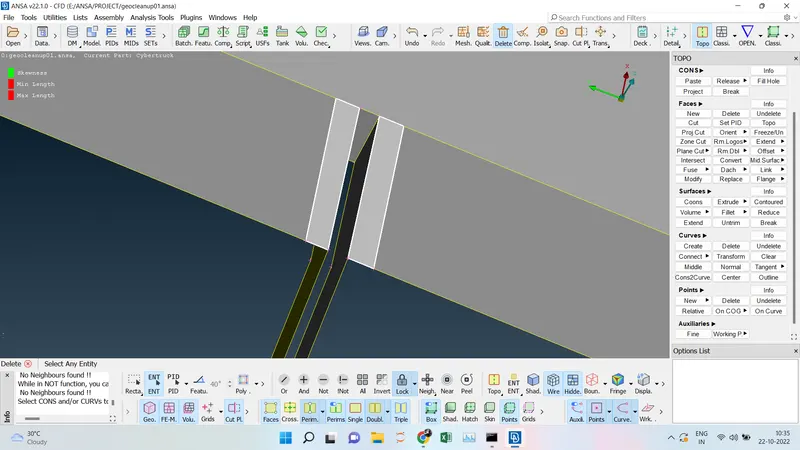
- Then we are going to look into the intersection errors and there are three intersection errors shown we are going to rectify one by one. The intersecting part inside the front bumper is removed and then now the intersection error is reduced to two.
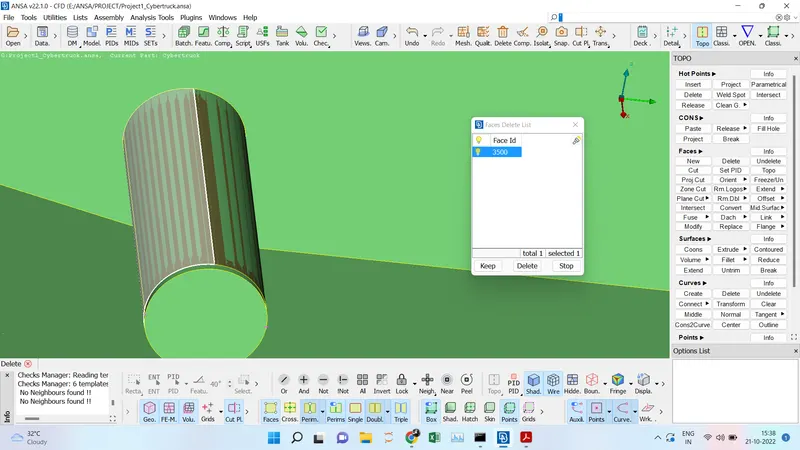
- We found that the two intersection error arises between the wheel and axle so we are going to remove that intersection for both the front wheel and the back wheel. So the intersection has been resolved.
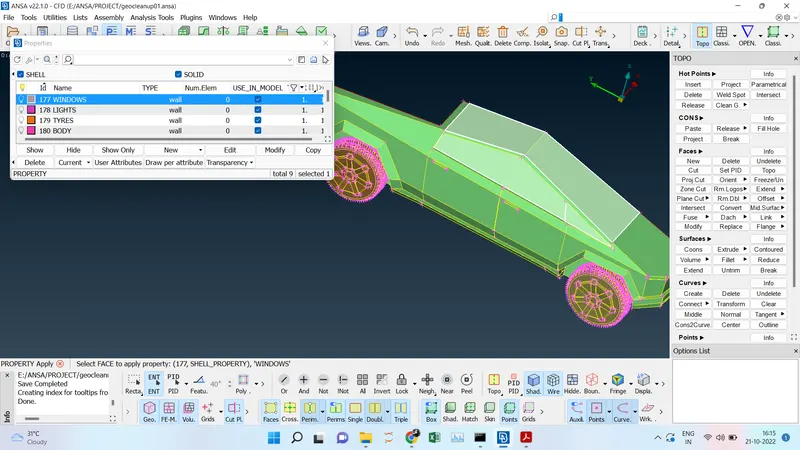
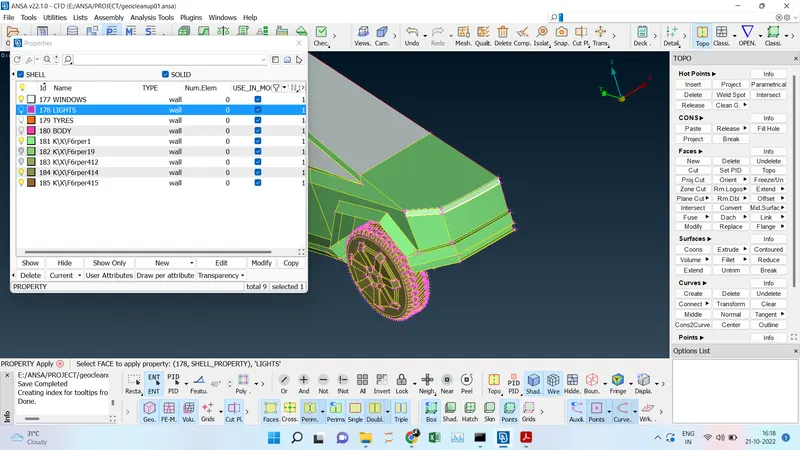
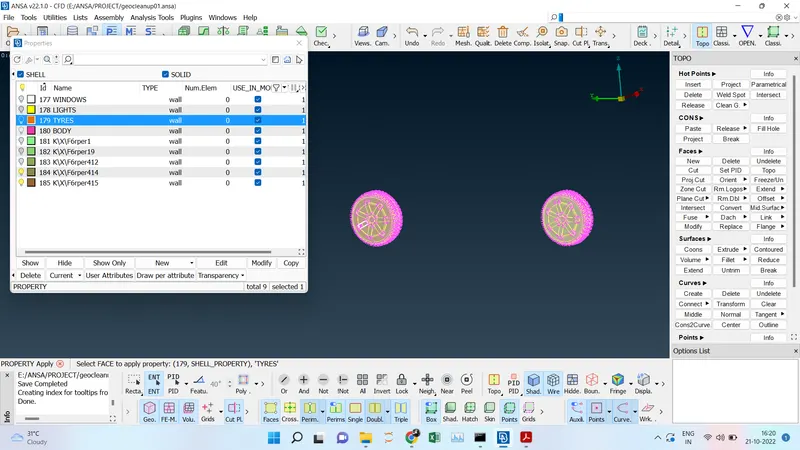
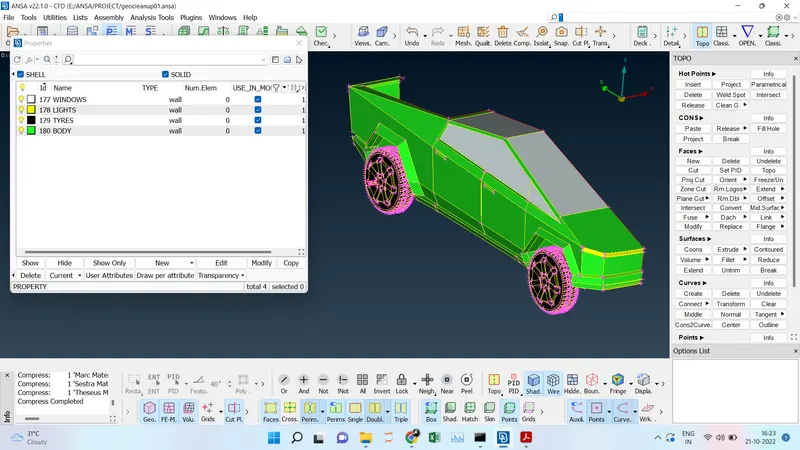
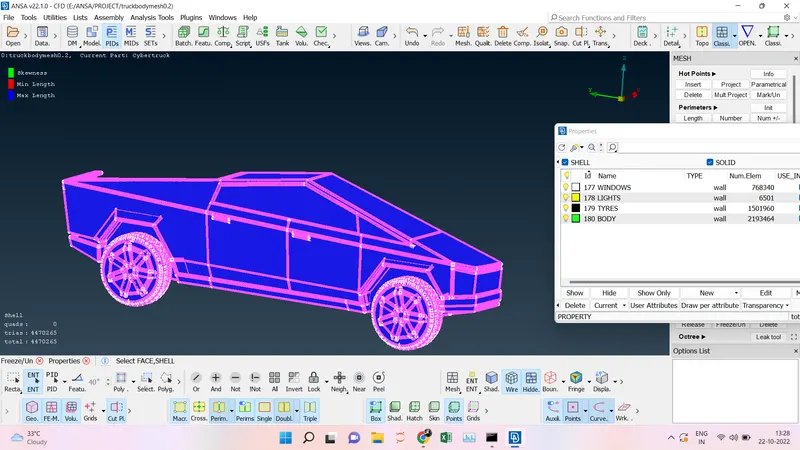
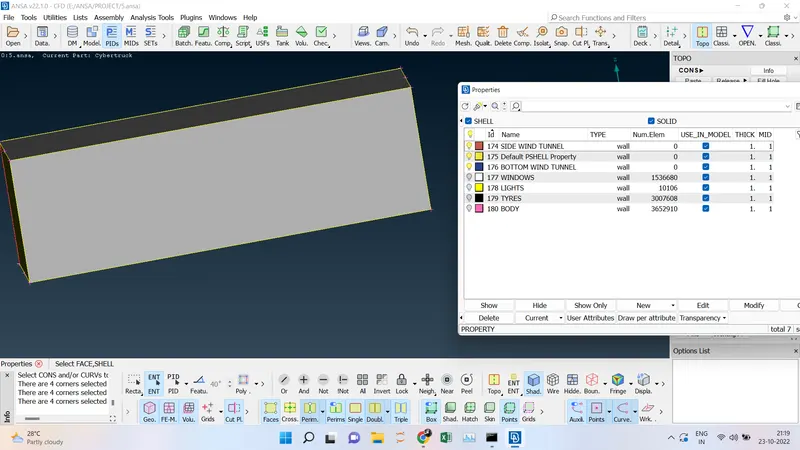
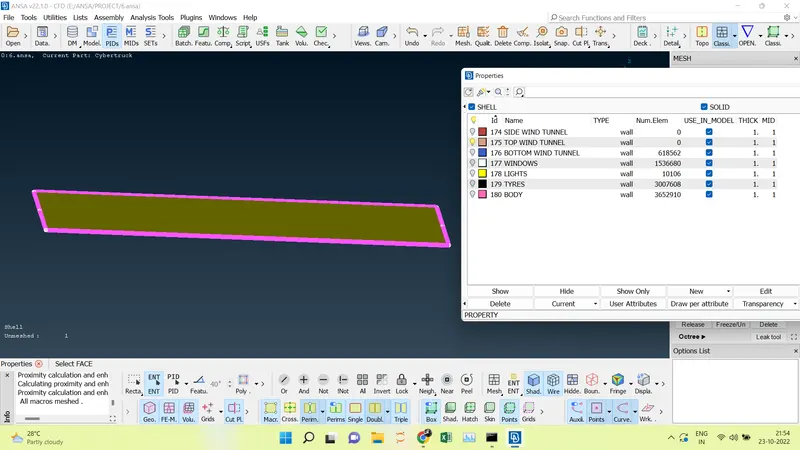
- To Assign the PIDs of the Body, Lights, Windows, and Tyres.
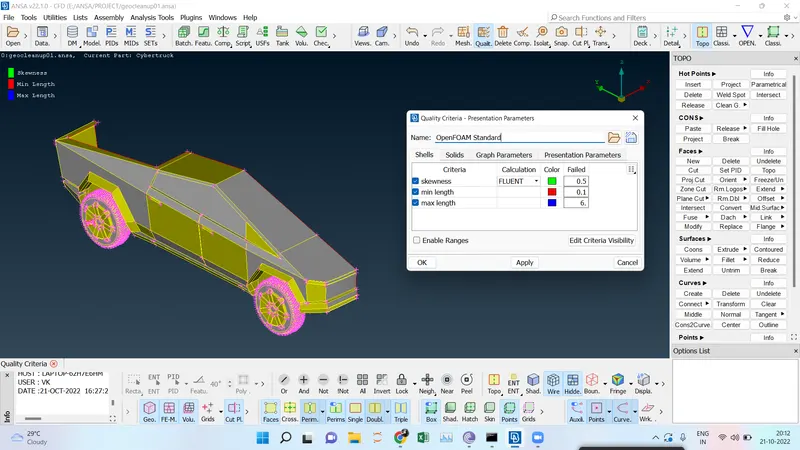
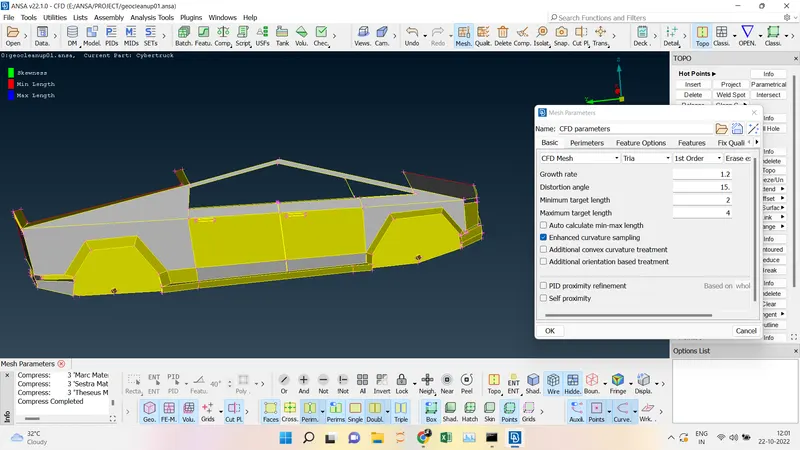
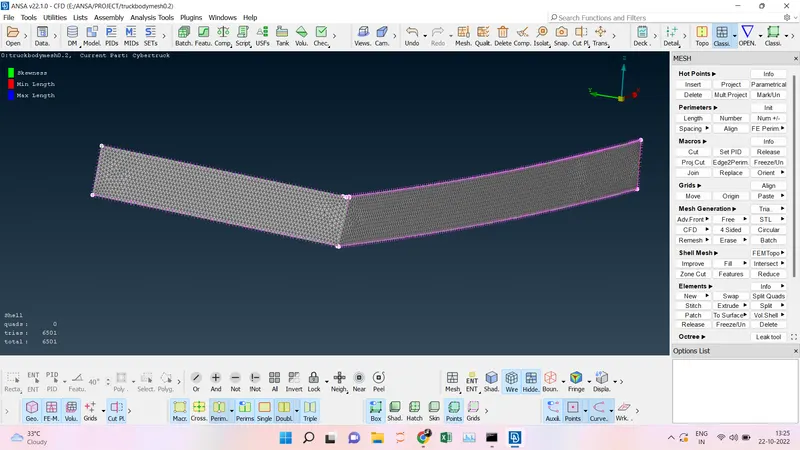
- Quality criteria for the model are Skewness = 0.5, Min length = 0.1, Max length = 6.
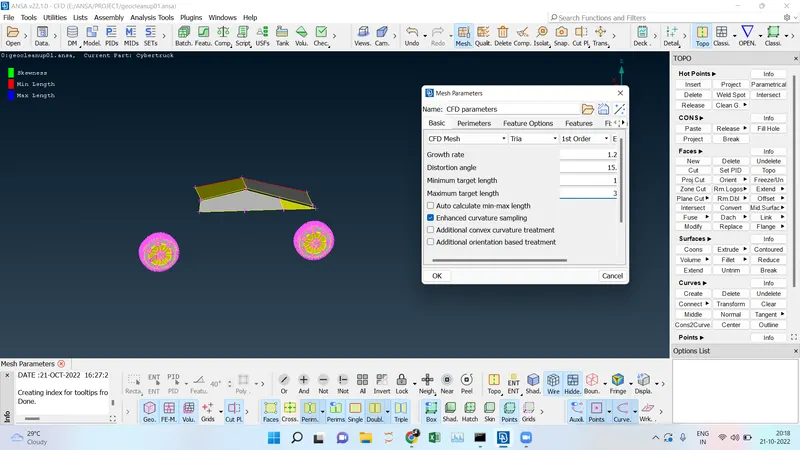
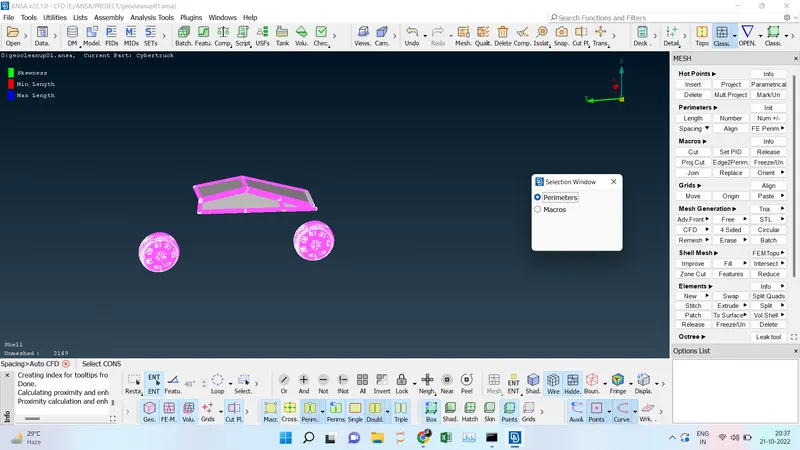
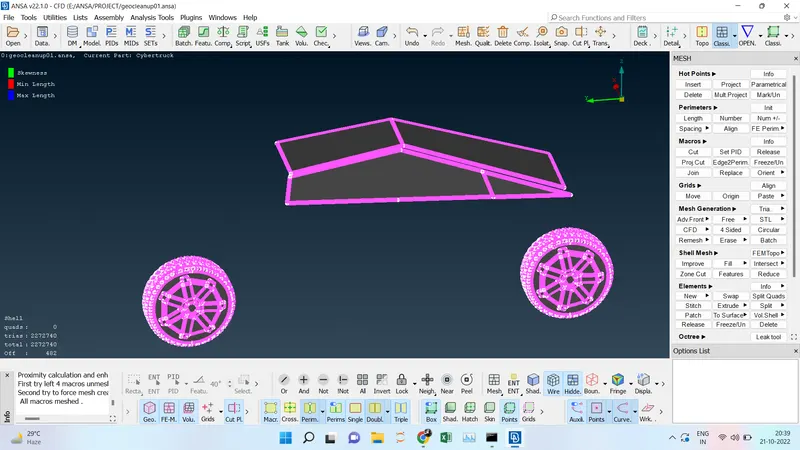
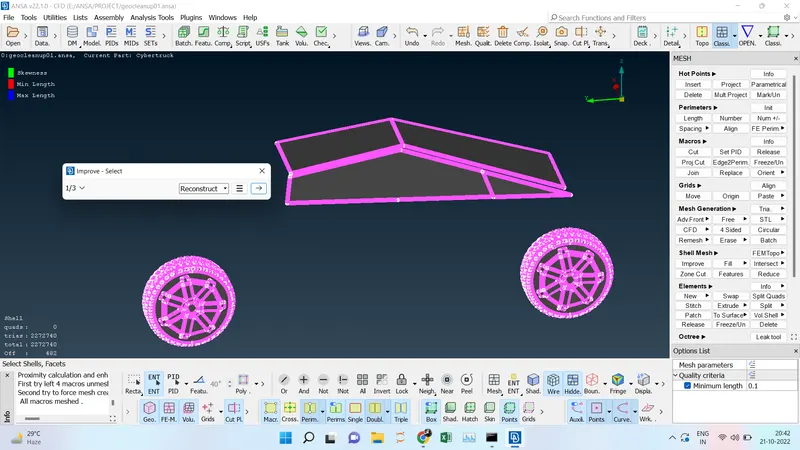
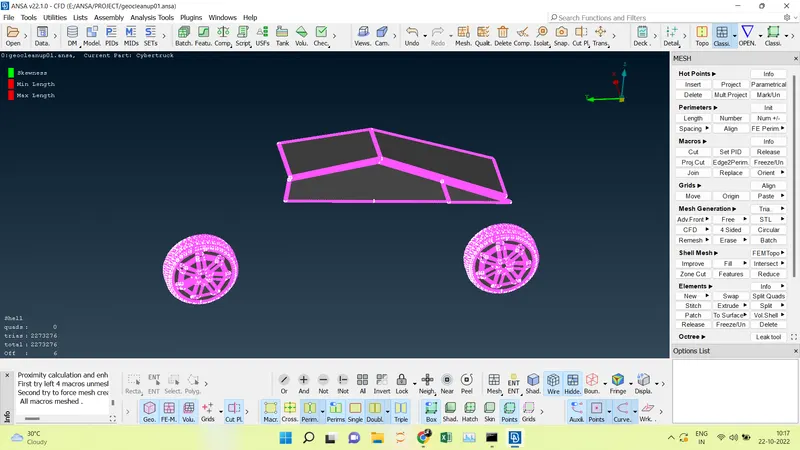
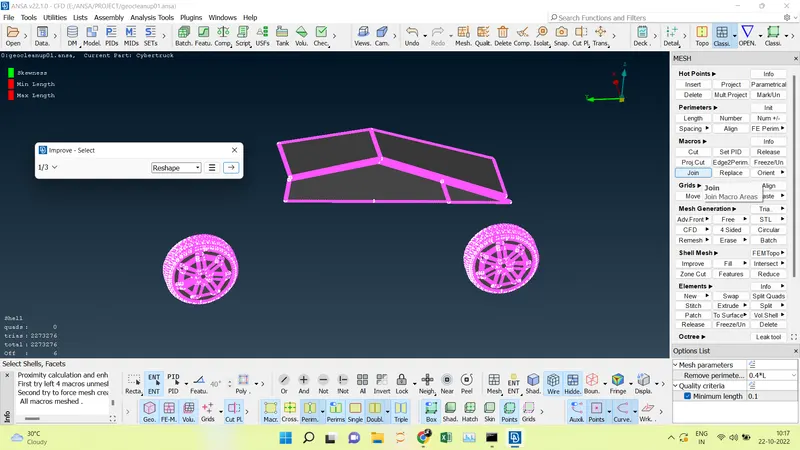
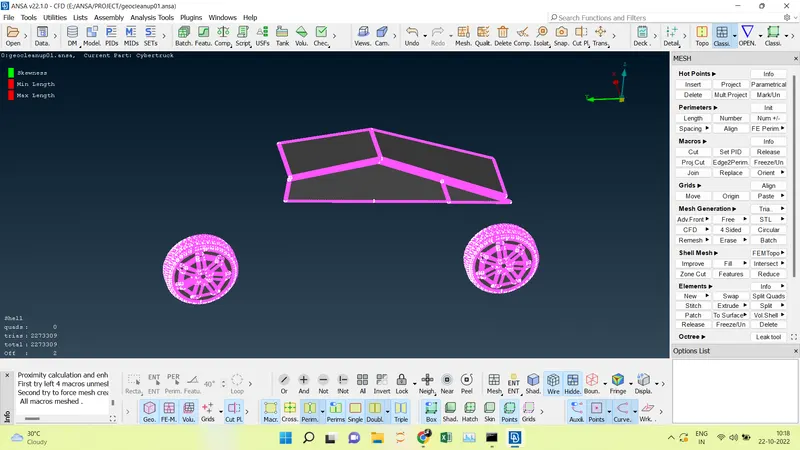
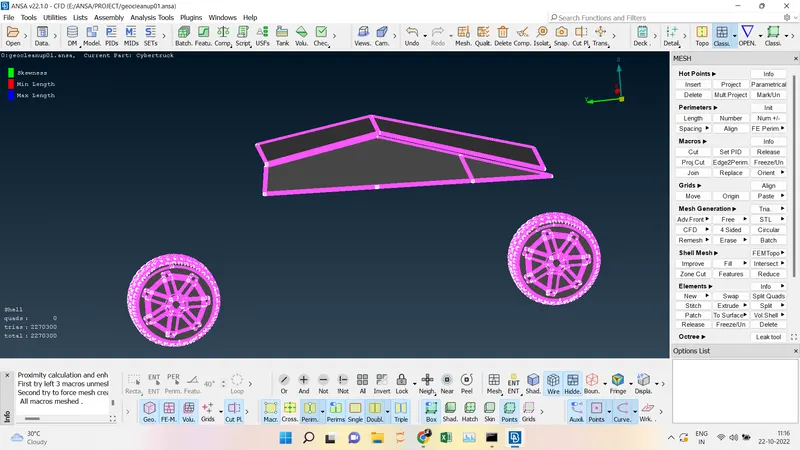
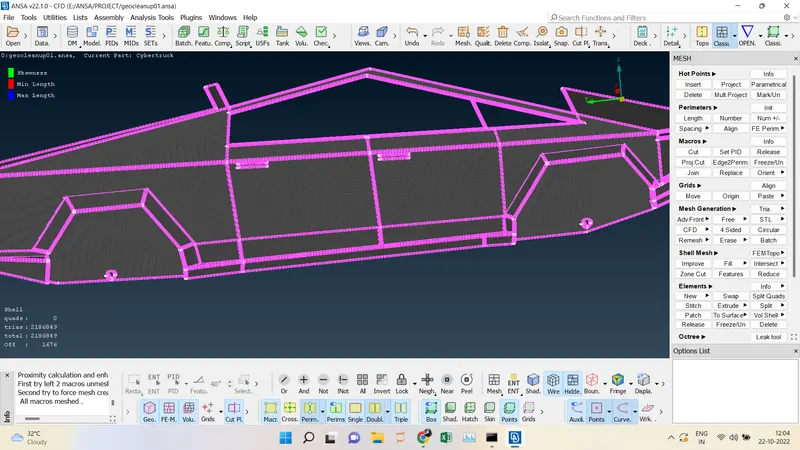
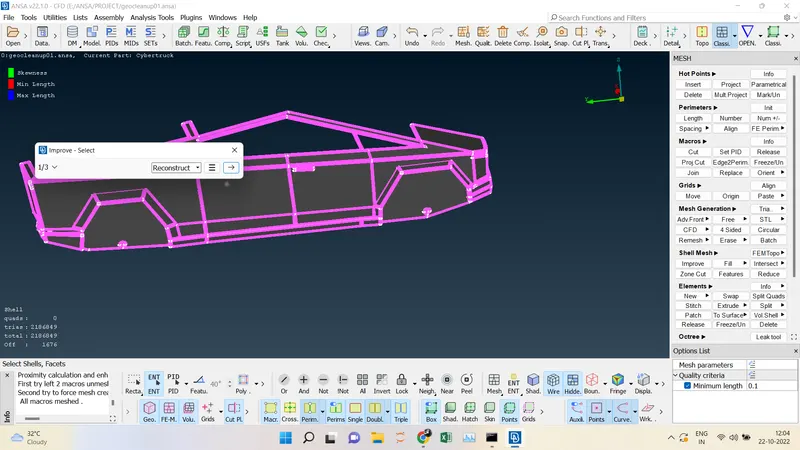
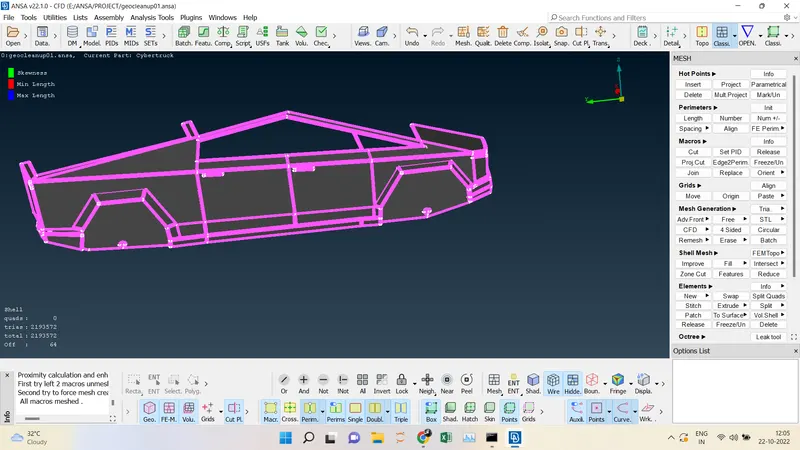
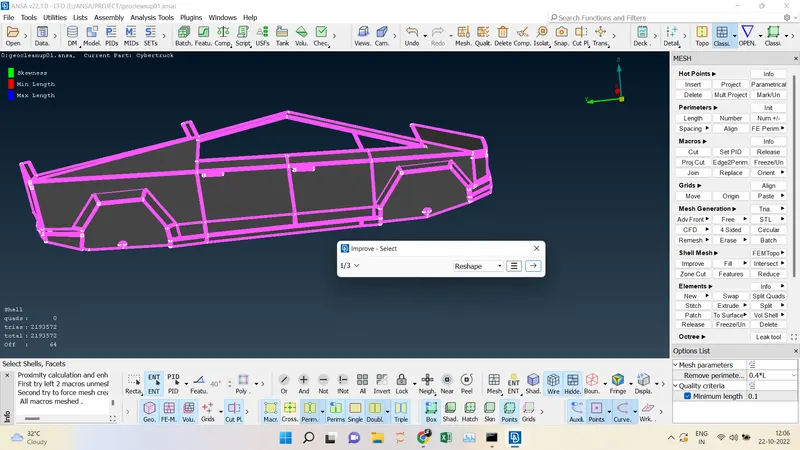
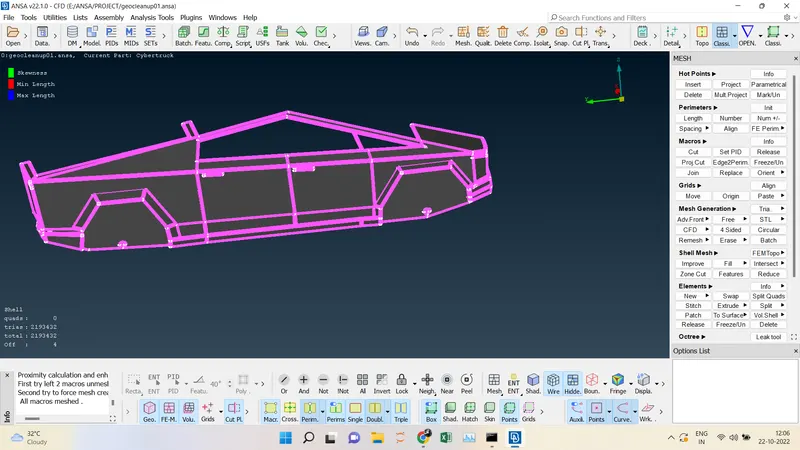
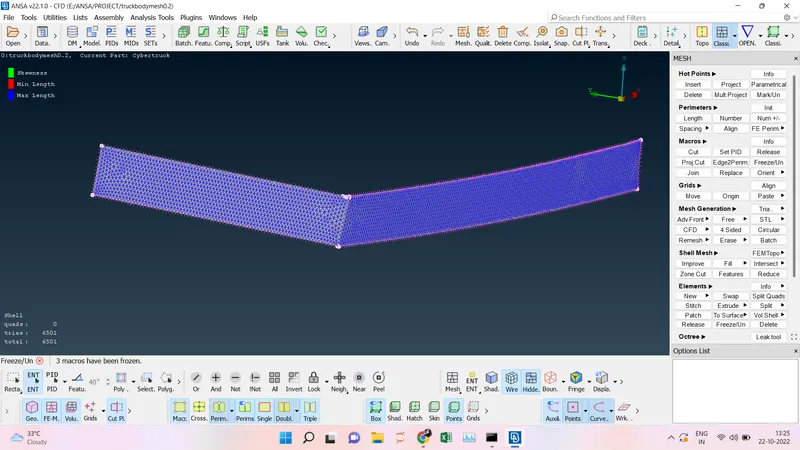
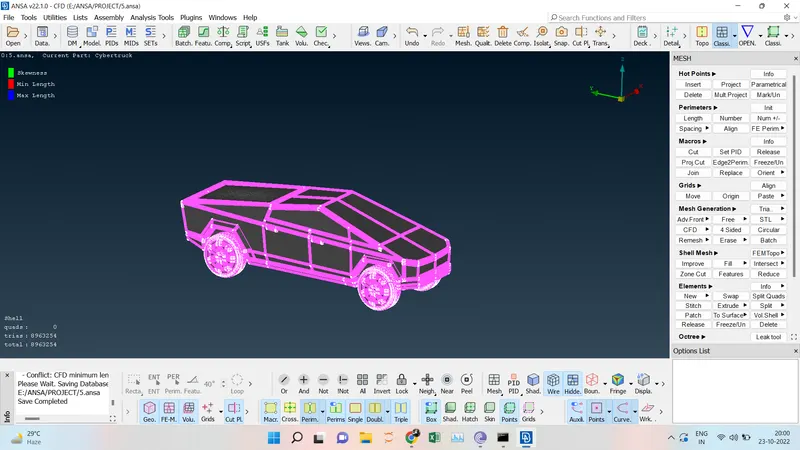
- We are going to mesh the Windows, Rims & Tyres with meshing parameters of Targeted Length = 2 mm, Min Targeted Length = 1 mm, and Max Targeted Length = 3 mm. Classic Mesh ----> Spacing-----> Perimeter (Box Select and Middle Click)----> Macros (Box Select and Middle Click). Make CFD -----> Visible. Mesh will be done. It shows 482 off elements to reduce that zero. we are going to improve ---> reconstruct and reshape. Then we have to freeze the elements by Left click-box select.
- We are going to mesh the Body with meshing parameters of Targeted Length = 3 mm, Min Targeted Length = 2 mm, and Max Targeted Length = 4 mm. Classic Mesh ----> Spacing-----> Perimeter (Box Select and Middle Click)----> Macros (Box Select and Middle Click). Make CFD -----> Visible. Mesh will be done. It shows 1676 off elements to reduce that zero. we are going to improve ---> reconstruct and reshape. Then we have to freeze the elements by Left click-box select.
- We are going to mesh the Lights with meshing parameters of Targeted Length = 4 mm, Min Targeted Length = 3 mm, and Max Targeted Length = 5 mm. Classic Mesh ----> Spacing-----> Perimeter (Box Select and Middle Click)----> Macros (Box Select and Middle Click). Make CFD -----> Visible. Mesh will be done. It shows 3 off elements to reduce that zero. we are going to improve ---> reconstruct and reshape. Then we have to freeze the elements by Left click-box select.
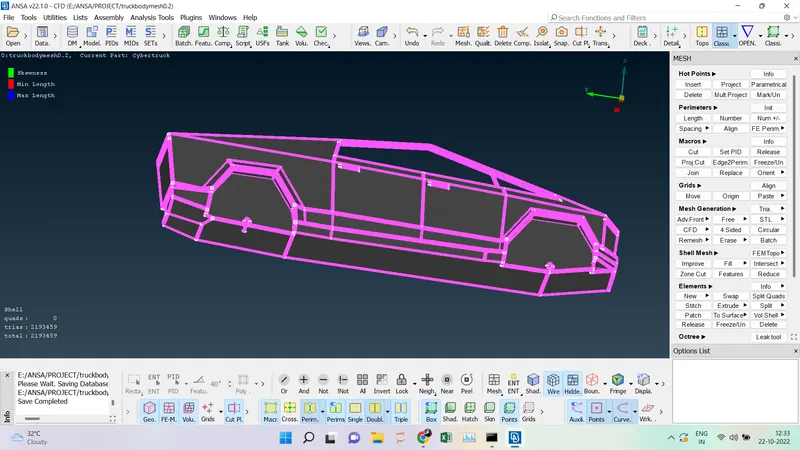
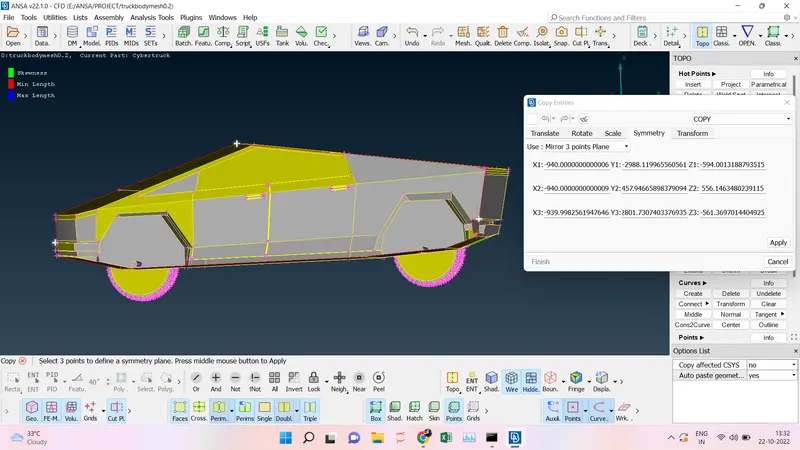
- Switch on all the PIDs and there no unmeshed and no off elements are there, so we can do the symmetry for we have to go to Topo ---> Transform---> Copy----> Select the Entities ----> Symmenty --->Select three point plane ----> Click OK.
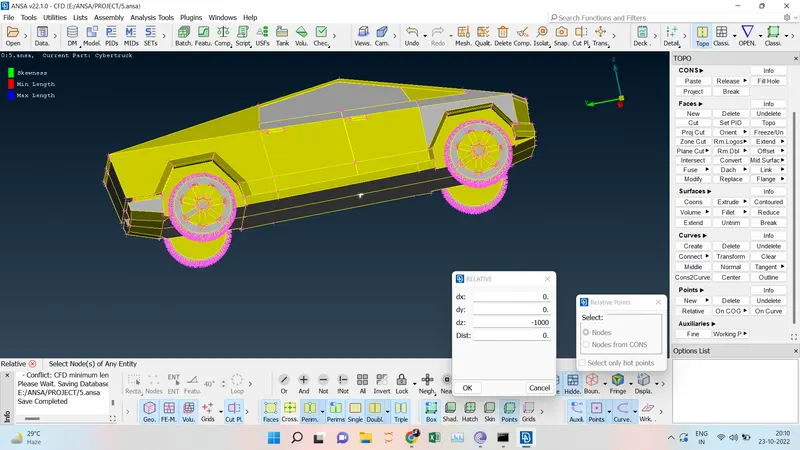
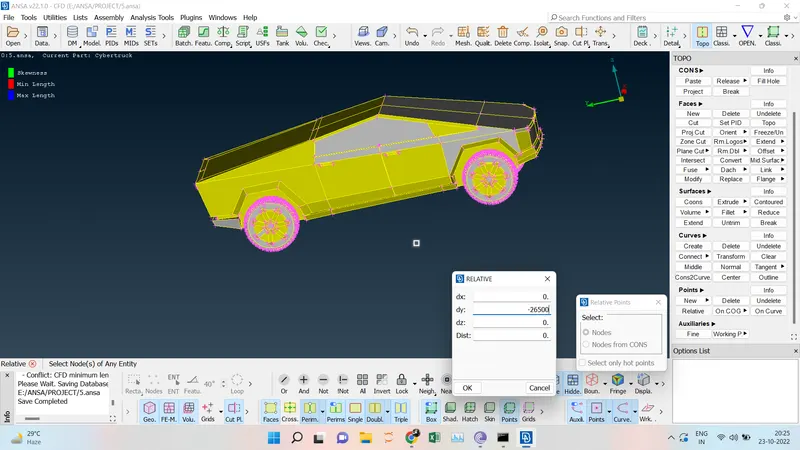
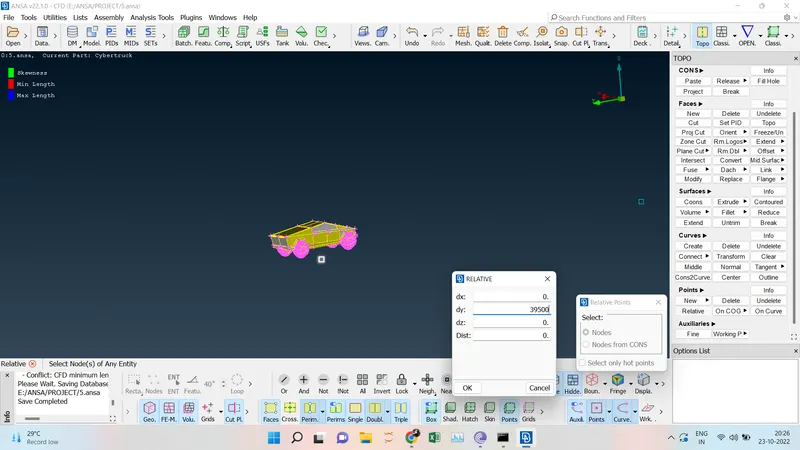
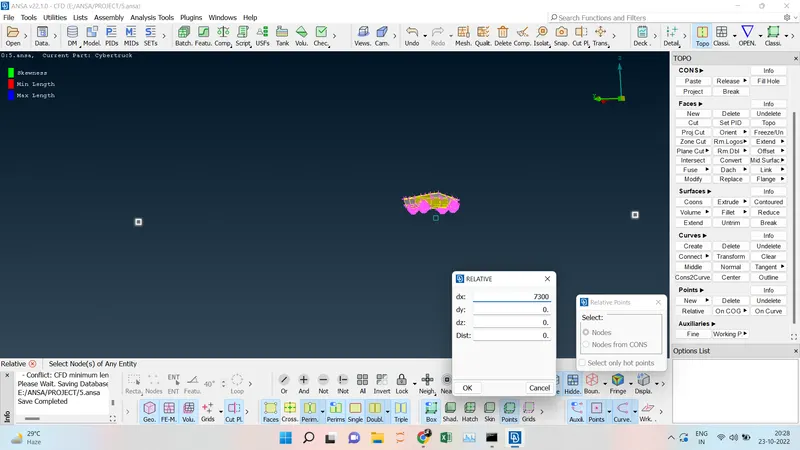
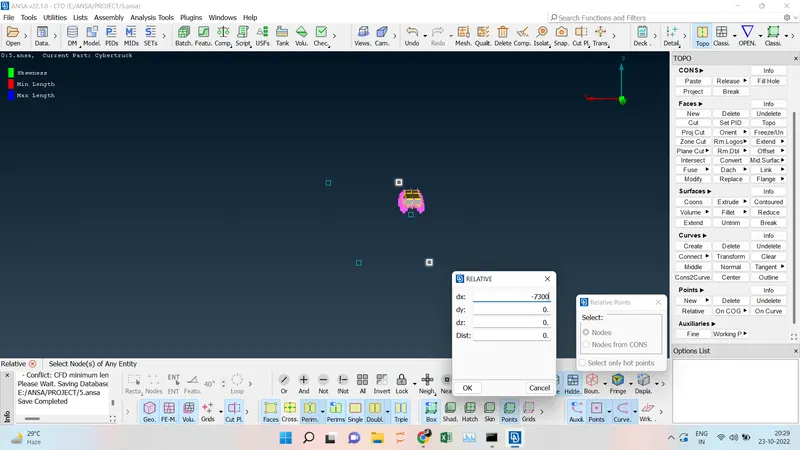
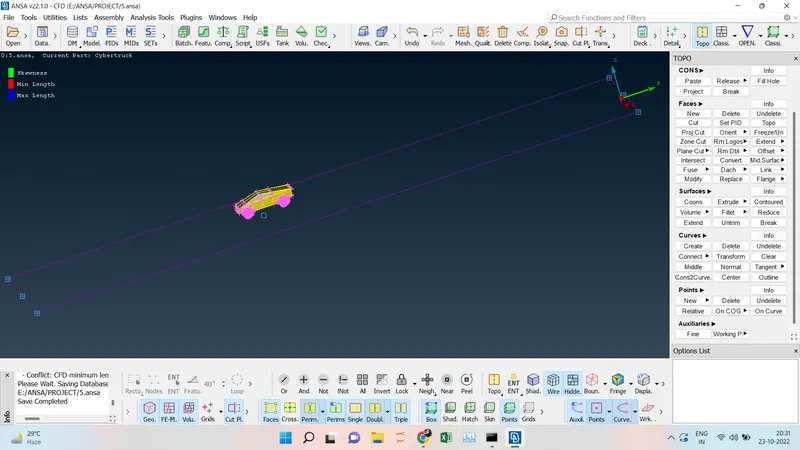
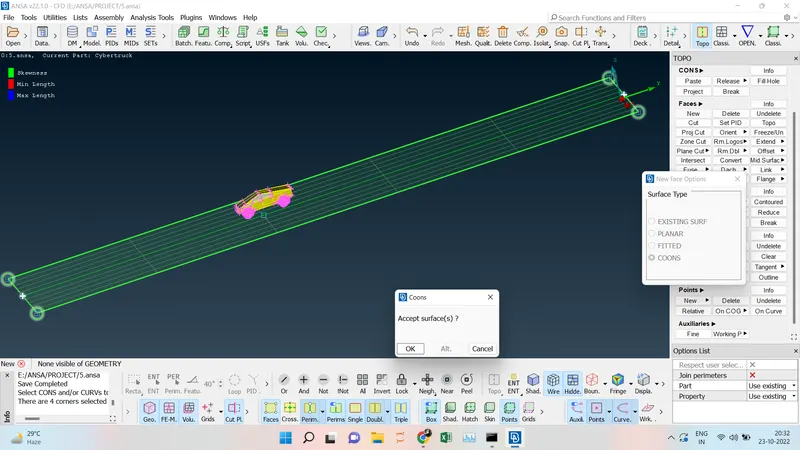
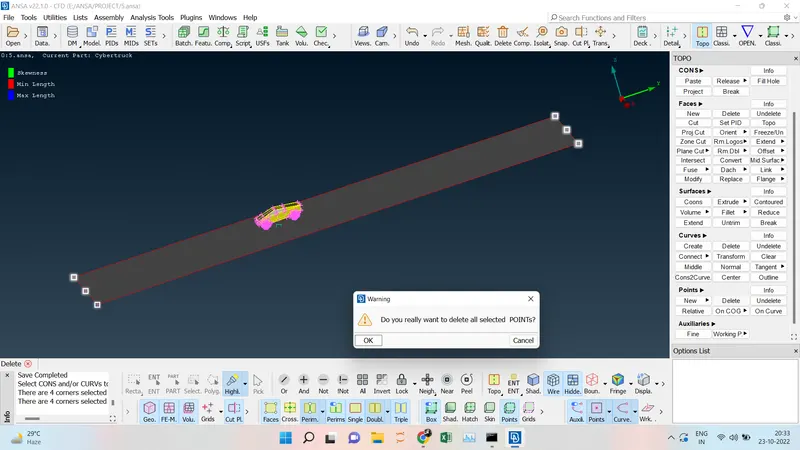
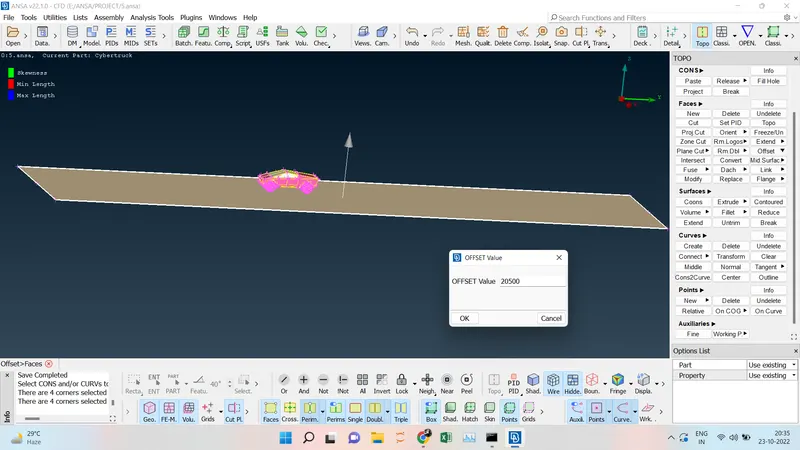
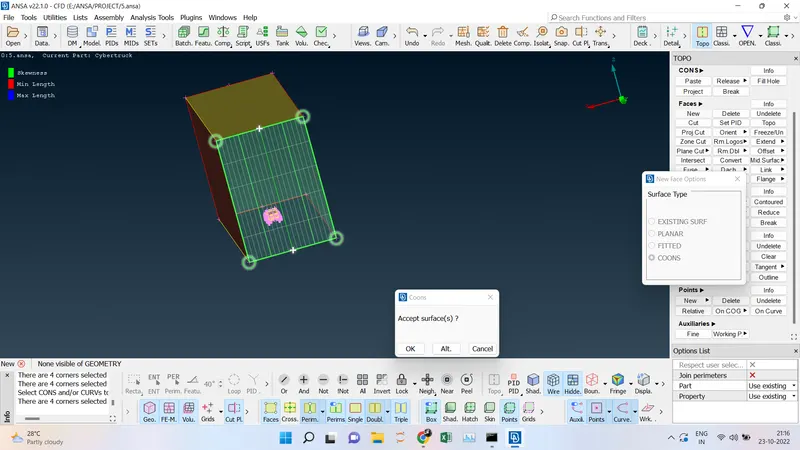
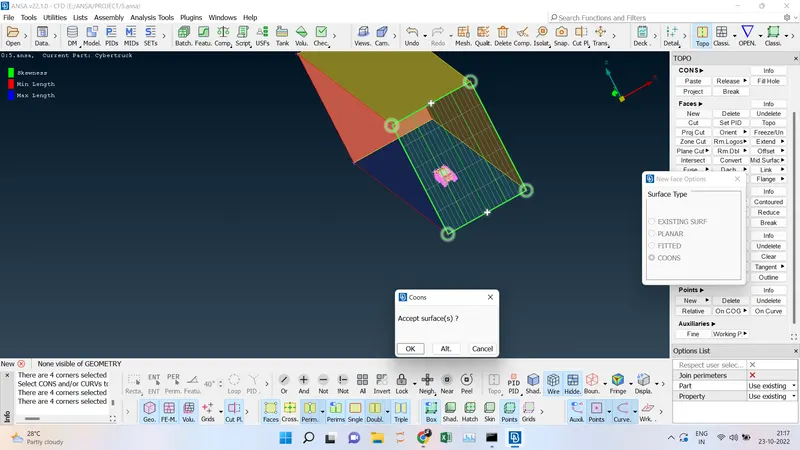
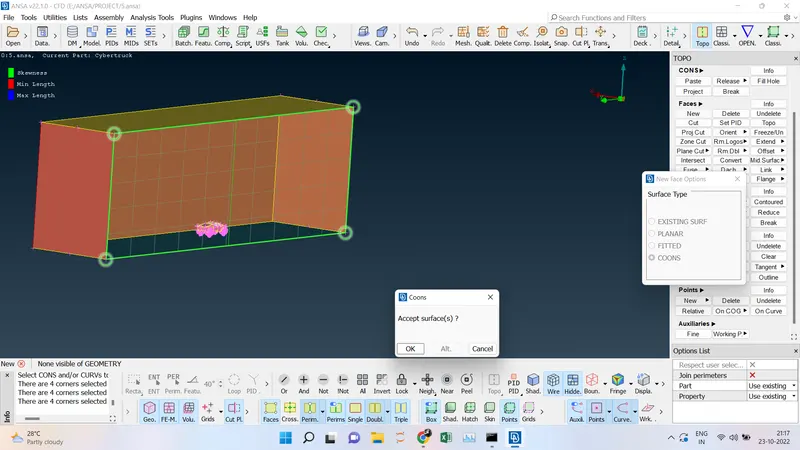
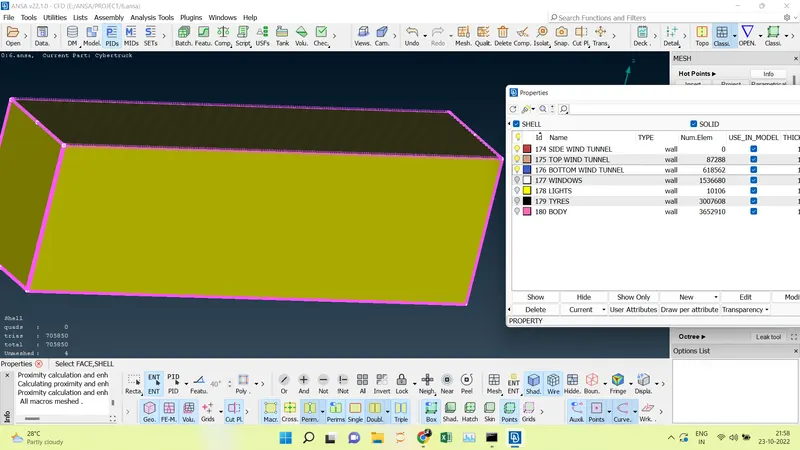
- To create the wind tunnel we have to measure the car body length as x and from the bottom using Points----> Relative -----> Select the Node -----> to enter the value where the point should appear. Using the curve option connect the points and then create a new face and assign it as the bottom wind tunnel. Using the Offset option we can able create the Top face of the wind tunnel. And using the Faces option connect the top and bottom face and assign it as the side face of a wind tunnel.
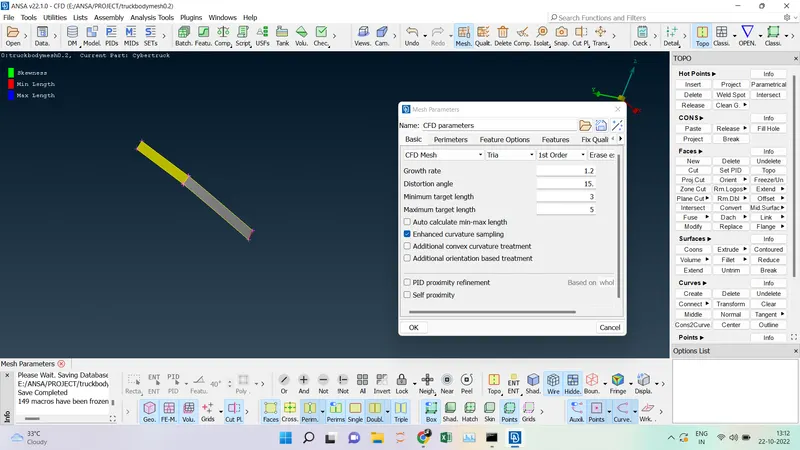
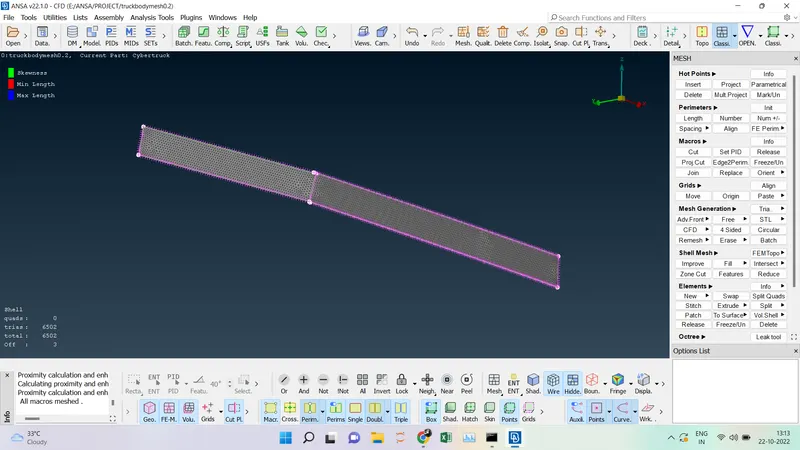
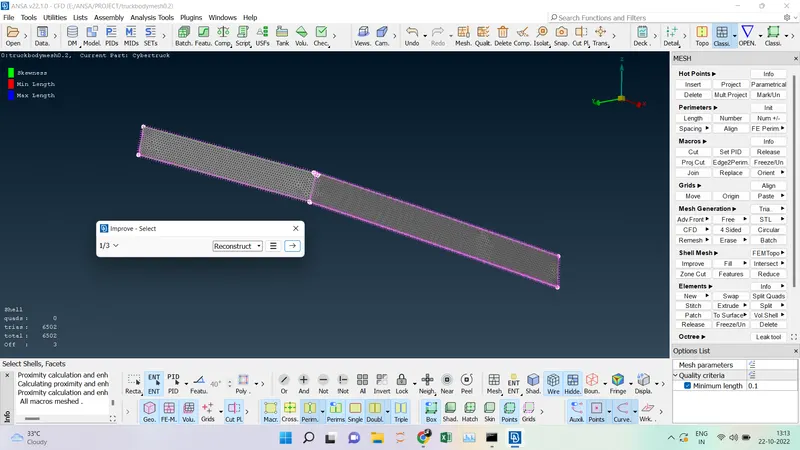
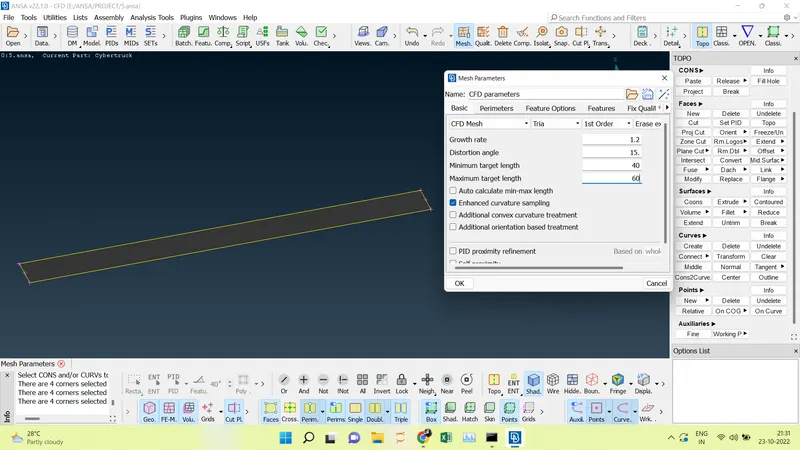
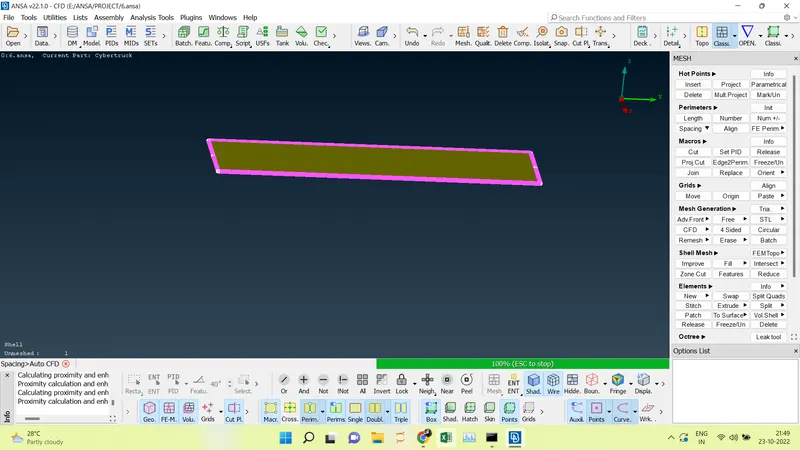
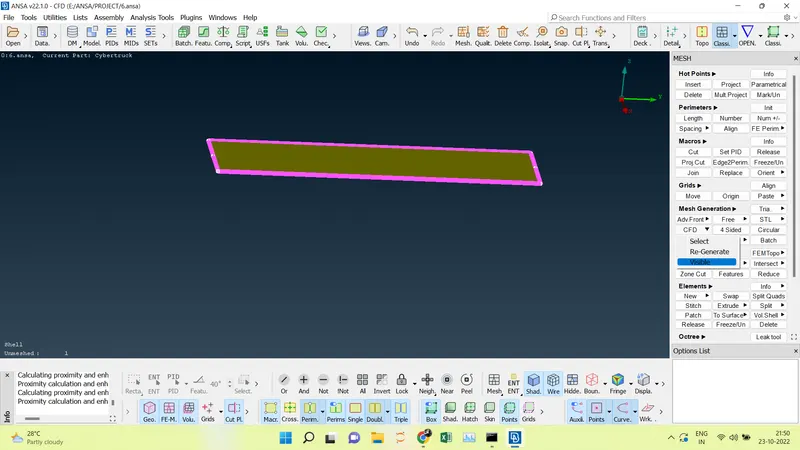
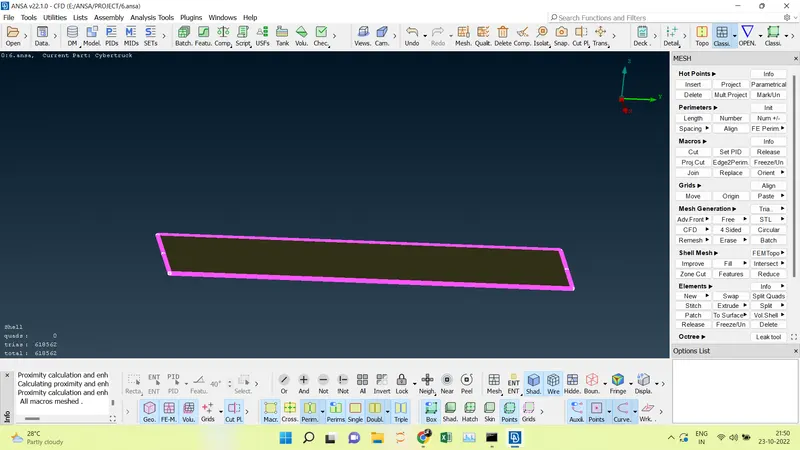
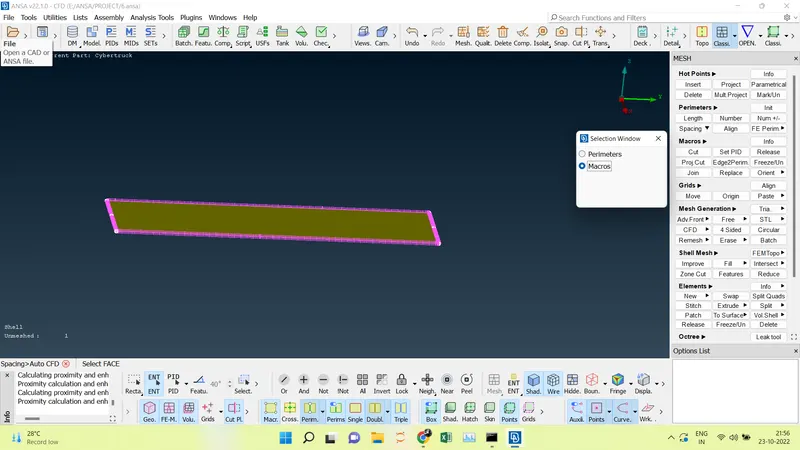
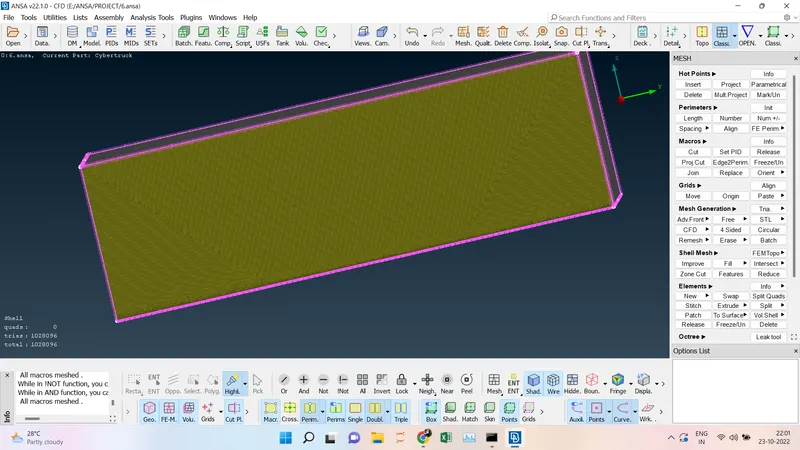
- Switch off all PIDs except the Bottom Wind Tunnel for meshing the min targeted length is 40 mm and the max targeted length is 60 mm. Spacing----> Auto CFD----> Perimeter-----> Macros------> CFD ----> Visible. Mesh will be successfully created.
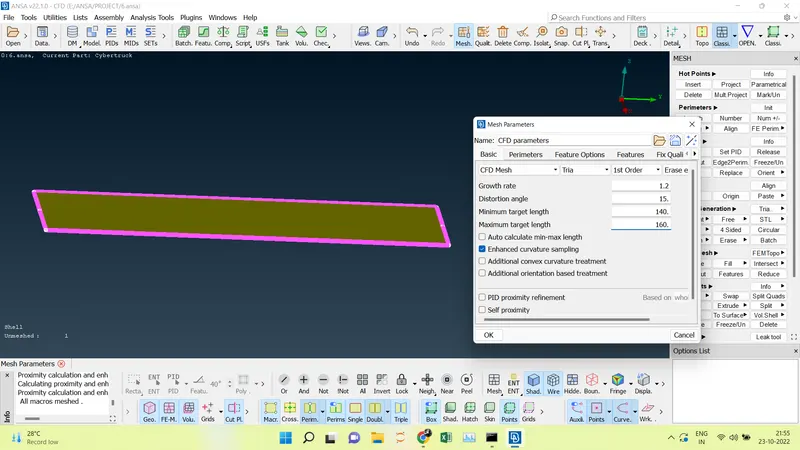
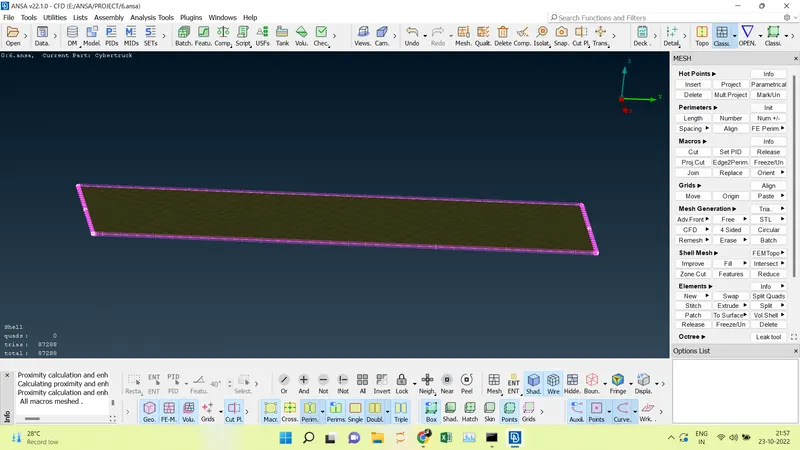
- Switch off all PIDs except the Top Wind Tunnel for meshing the min targeted length is 140 mm and the max targeted length is 160 mm. Spacing----> Auto CFD----> Perimeter-----> Macros------> CFD ----> Visible. Mesh will be successfully created.
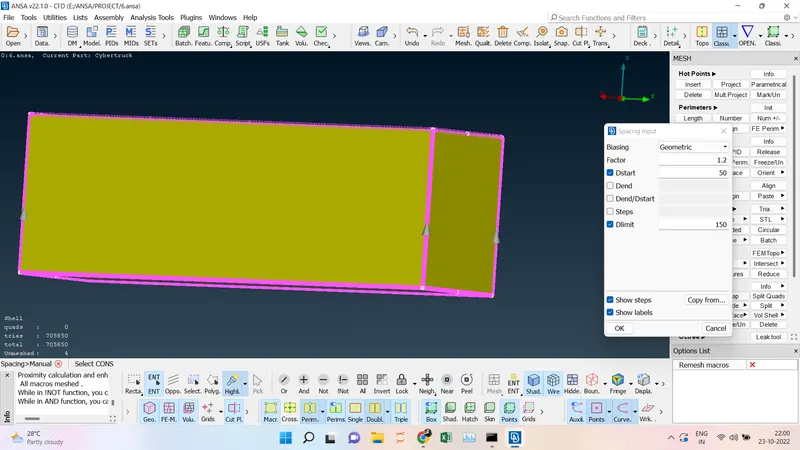
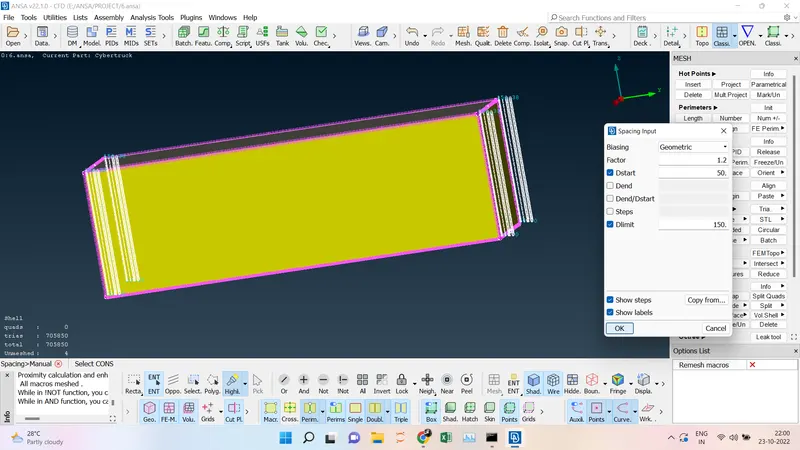
- Switch On the Wind Tunnel of the Top, Bottom, and Side to mesh the Manual----> Select the Sides ----> Dstart = 50 ---->Dlimit=150. Mesh will be created by growing from the Bottom face of a wind tunnel to the top face of the wind tunnel.
1.
2.
3.
4.
5.
6.
7.
8.
9.
10.
11.
12.
13
14.
15.
CONCLUSION:
- Tesla Cyber Truck model is topo-cleaned.
- PIDs have been assigned for every part of the MODEL.
- Fine Meshing has been done with its own targeted length and Quality criteria.
- The wind tunnel is created and the surface is meshed with reference to the model size.
GOOGLE LINK:
https://drive.google.com/file/d/10wf7wyxVTT8H_BwTnL5IDHDM4RGKZc-B/view?usp=sharing