Week 4 Challenge : CFD Meshing for BMW car
CHALLENGE 4-CFD MESHING FOR BMW CAR
AIM-for week 4 challenge we are given a bmw carwe have to check and solve all the geometrical errors on half portion and assign PIDs,perform meshing with the given target lengthand element Quality criteria after meshing the half model do symmetry to the other side
target lengths for the different parts of model are as follows-
1.body-3mm
2.lights-4mm
3.grills-1mm
4.rims and tyres-2mm
5.optical rear view mirror-2mm
6.windows-2mm
7.silencer-3mm
8.logo-1mm
PROCEDURE-
1.download the geometry of bnw car from challenge website
2.open the downloaded geometry in ANSA software the model will be in wireframe mode enble shadow and switch from entity to PID MODE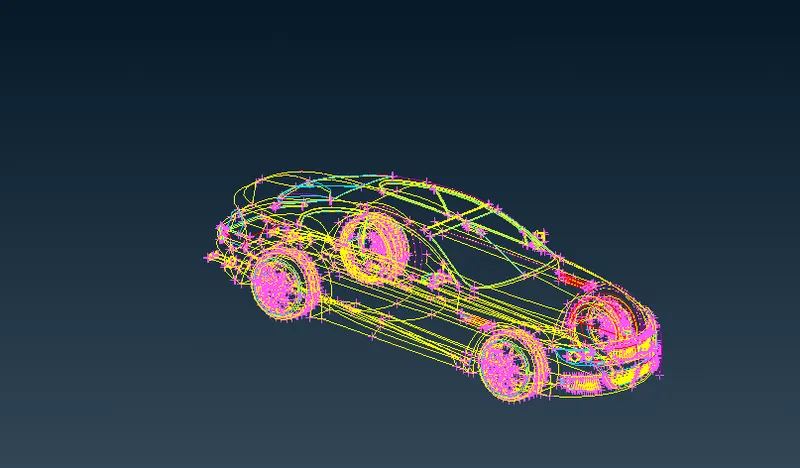
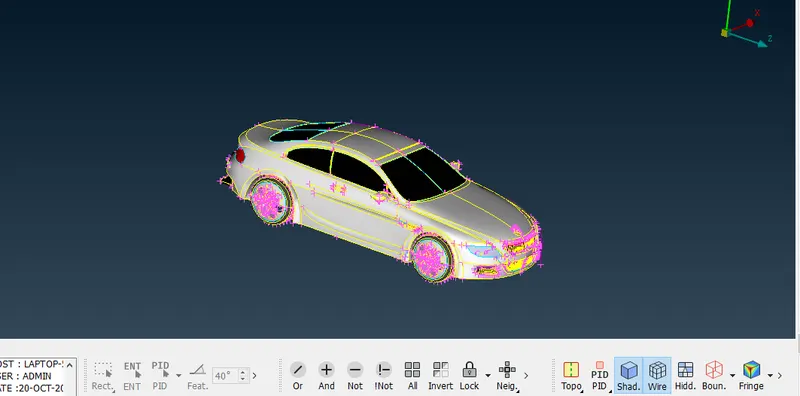
3.after this you will see some red cons perform a topo cleanup using topo option it will delete unnecessary red cons and hot points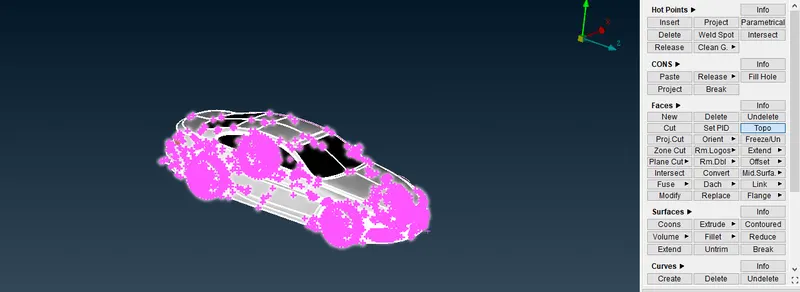
4.after topo cleanup we can see the surface is not even or in proper way as it should be we can clear this problem by two methodsfirst is using fine option and second is changing perimeter lenghts
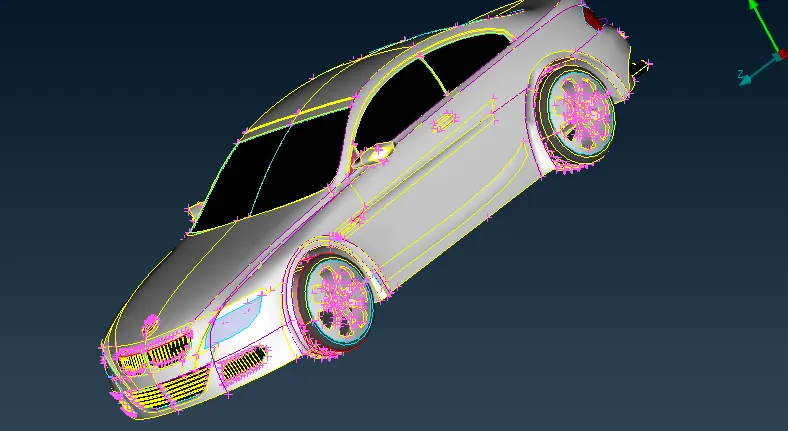
5.as you can see the surface is uneven we will use fine option just to see how it performs we will use it on a mirroras you can see below
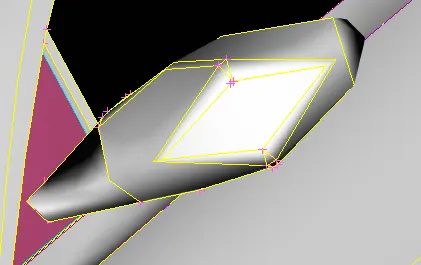
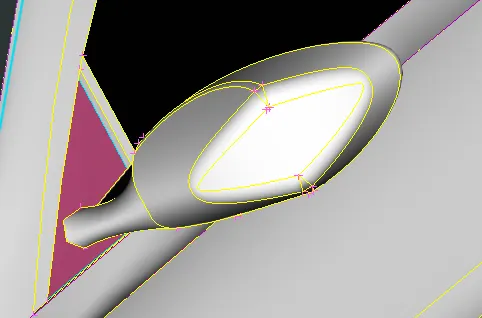
6.the second way is changing the perimeter lenghts this will reduce the distance between two nodes as you can see in pictures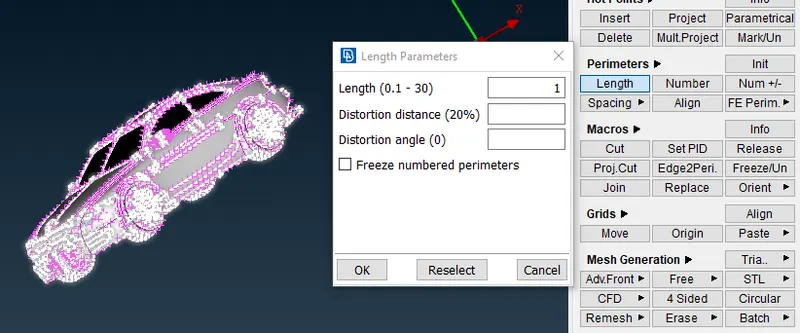
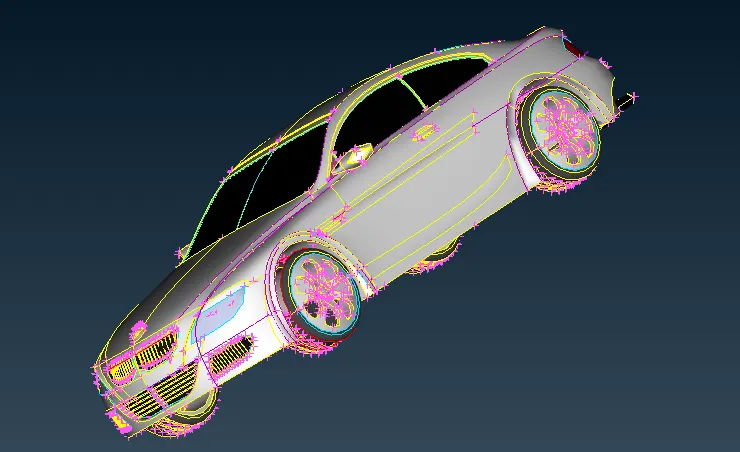
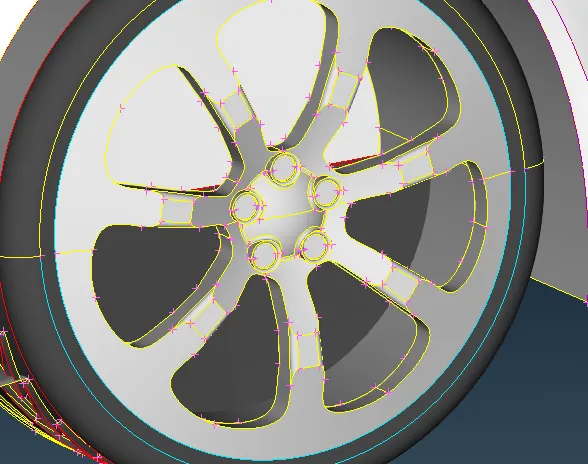
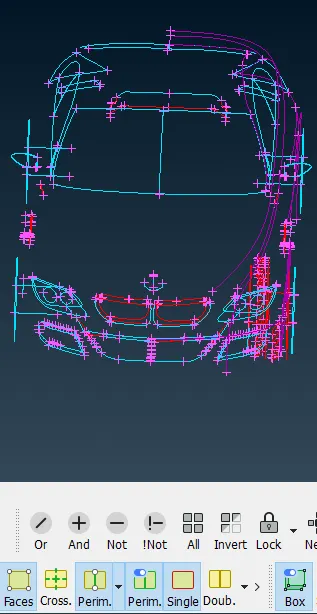
7.for checking the single cons and triple cons we can disable the double con opyion and see errors we have to clearin wireframe mode
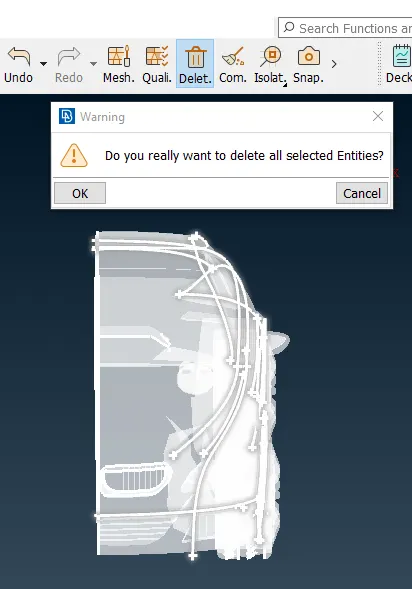
8.for next step we will delete the half part of the car using universal delete option and we will generate that part after we finish topological cleanup and meshing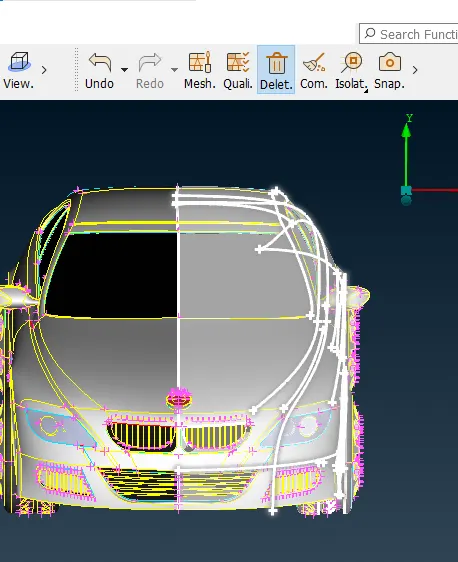
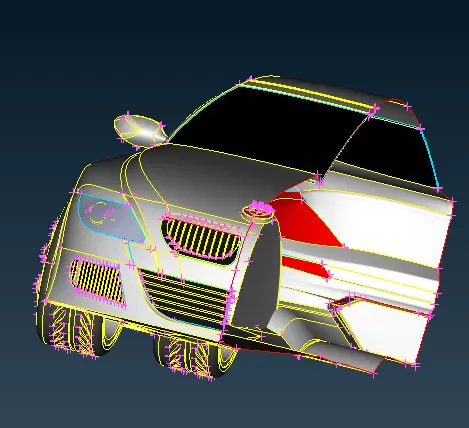
9.now we will start the topo cleanupwith headlights we will delete the unnecessary surface from inside as we need only outer surface for meshing
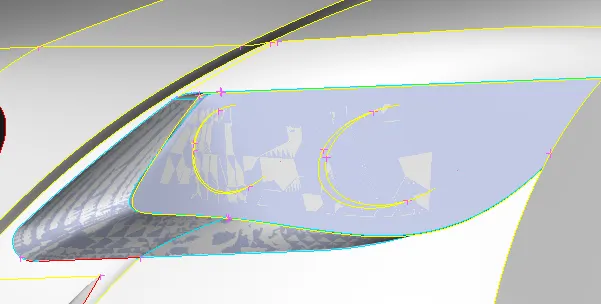
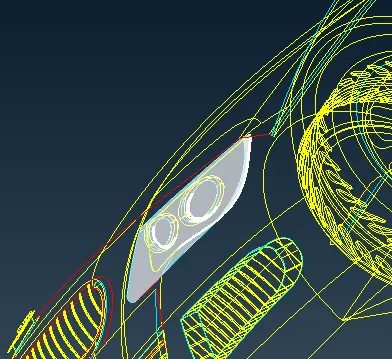
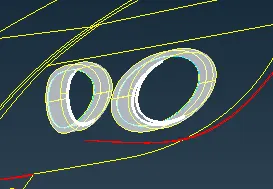
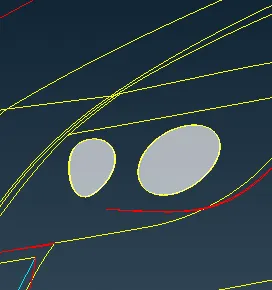
10.now as we have cleared the triple cons from headlight we encountered with red cons in the headlightsas you can see belowwe can overcome this error by using paste option click the paste option and then double click the red cons
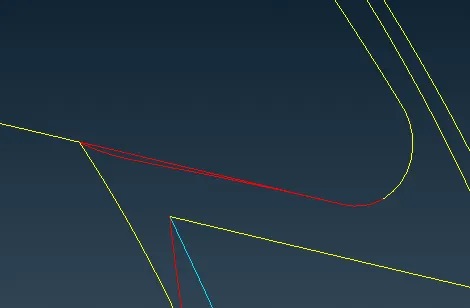
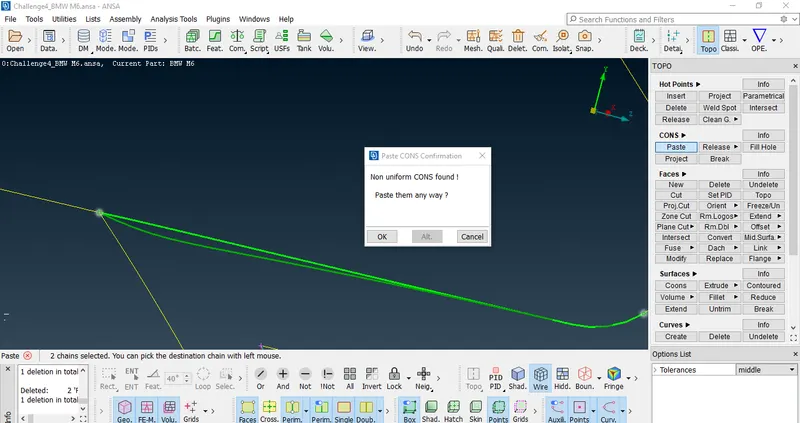
11.now the lower grill also has some overlapped surface as you can see below we have delete those surfaces we will delete the unnecessary surfaces from inside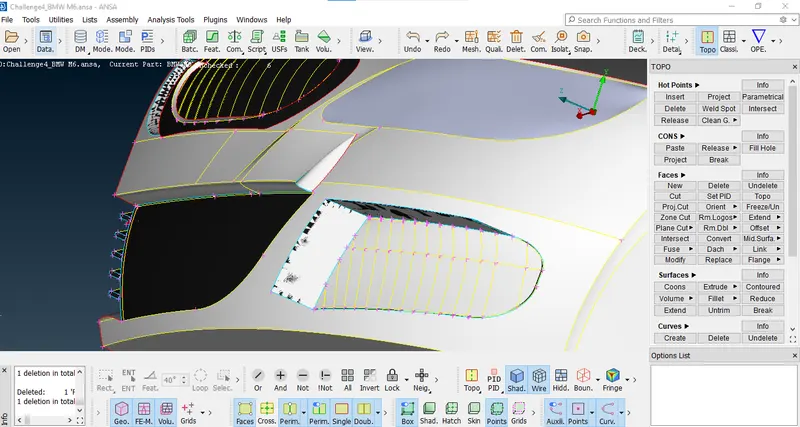
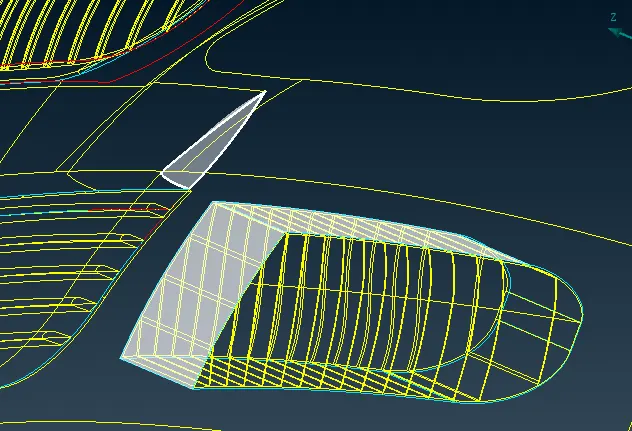
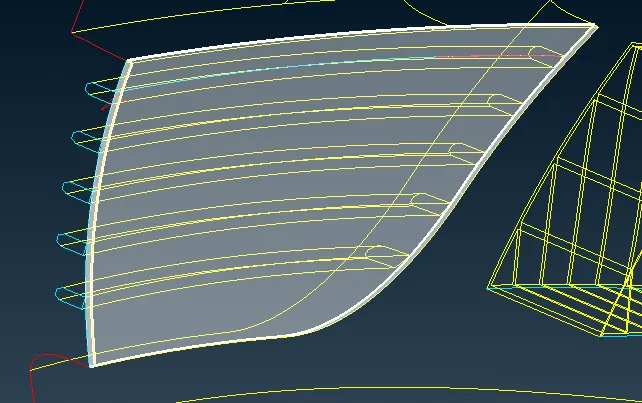
12.now we will start with lower grill as shown below we will delete the triple con and try to remove the topo errors
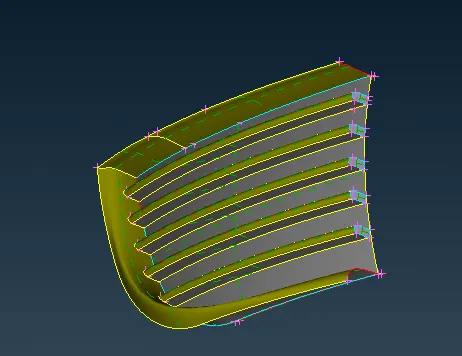
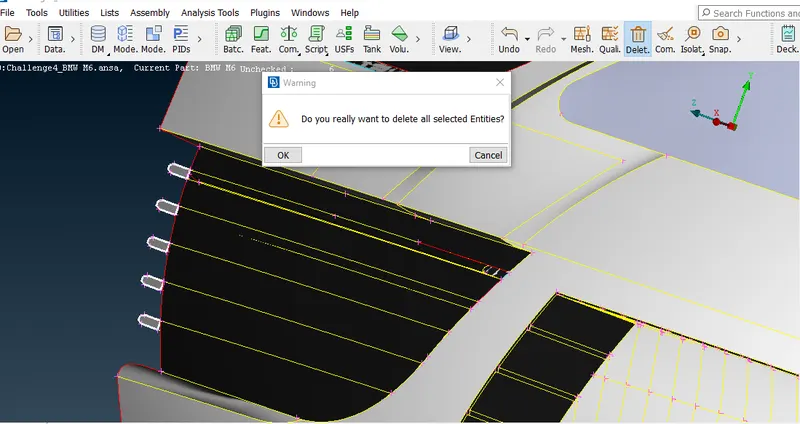
13.now we need to delete the unnecessary thickness of grill
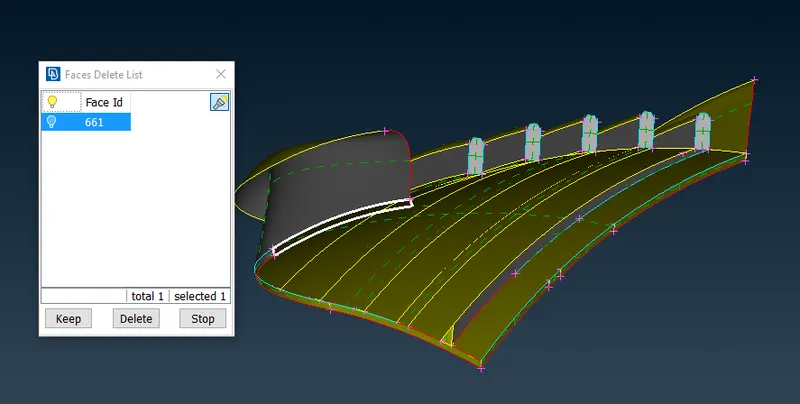
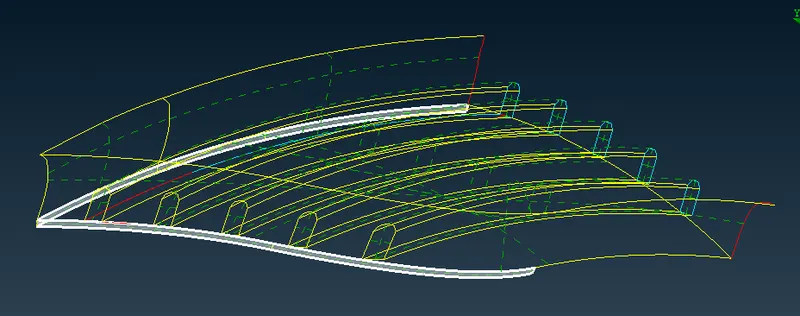
14.as you can see the grill showing like its made from different parts we have to makesure that the grill should look like a entire one part we have to clear the error in order to that we have to deletesome surfaces as shown below
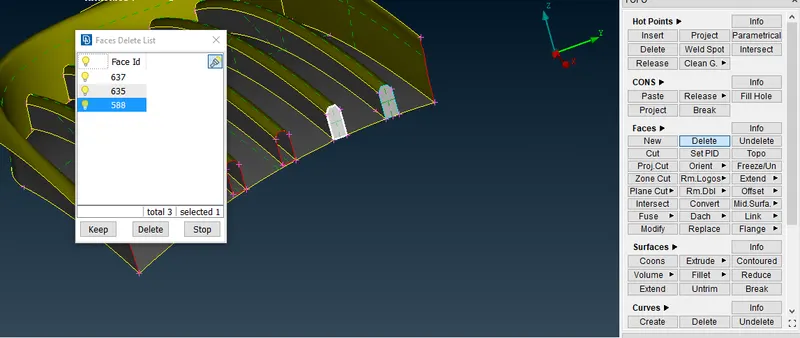
15.now we have to projrct thr con as shown below using project optionas you can see the projected con is not curvetureor we can say as per previous surfaceso we have change its resolution
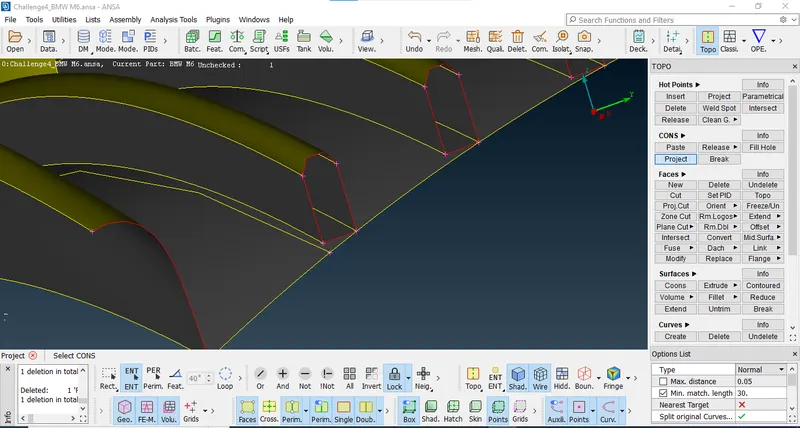
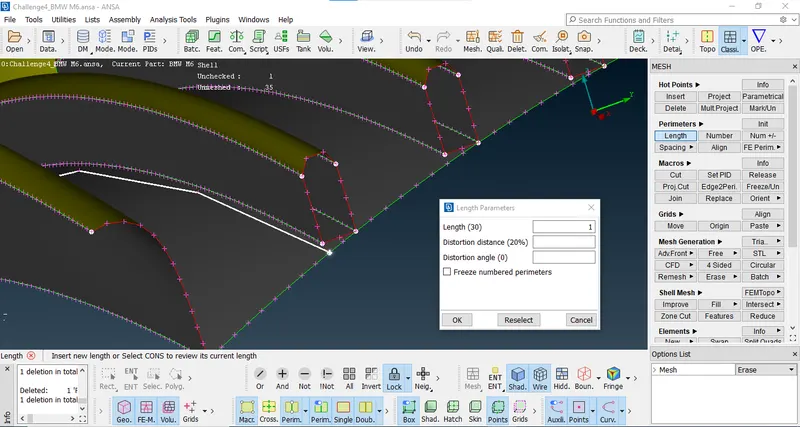
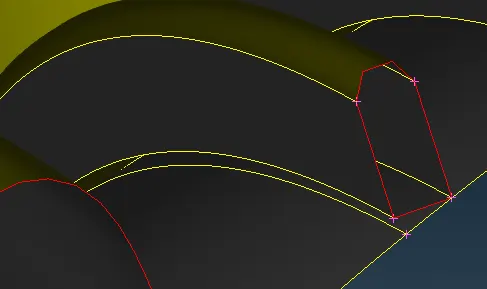
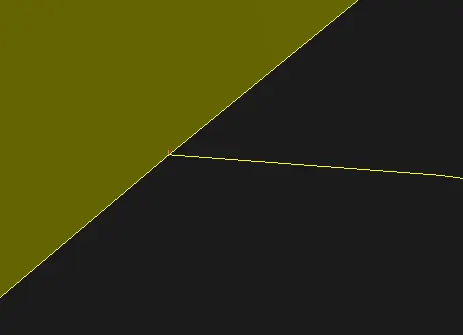
16.as you can see there is gap between double cons we have to make a cut using cut option to join the double cons after joining we will delete previouse surfaceas you can see belowwe can use new-coons option to gemerate the surface
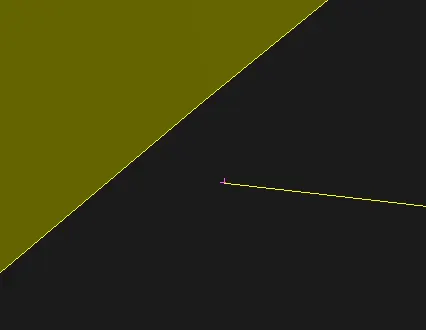
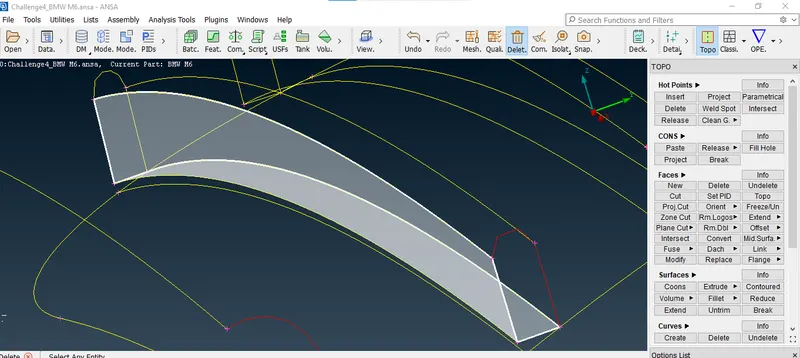
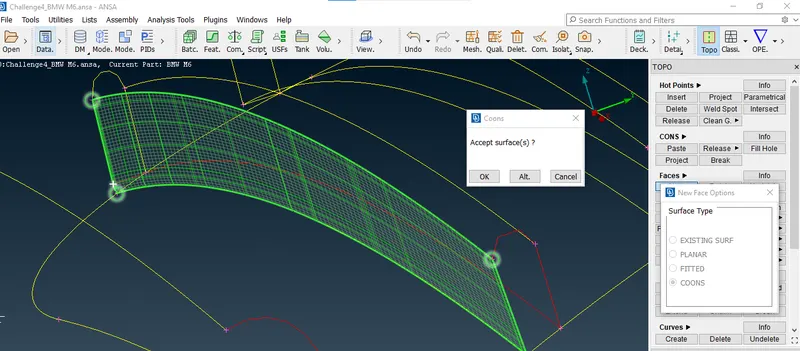
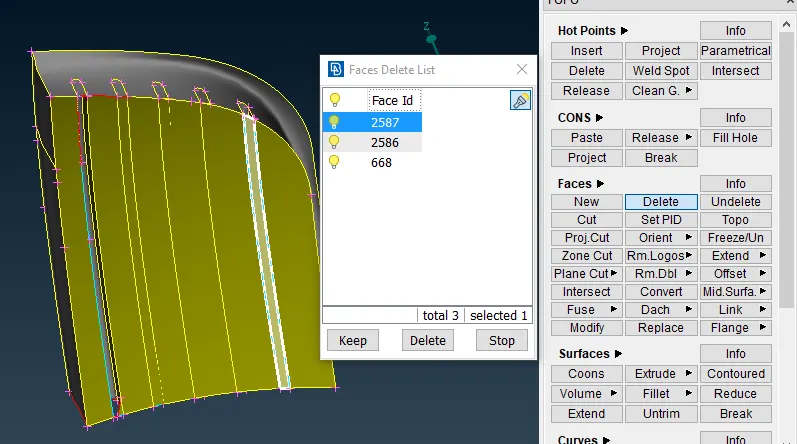
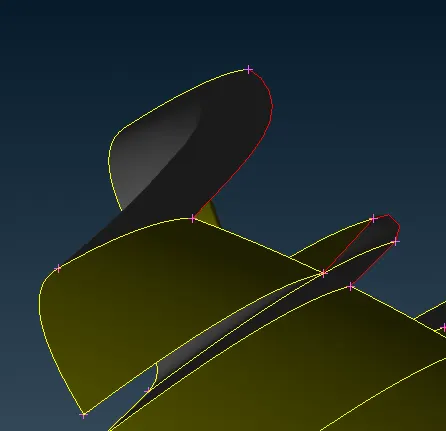
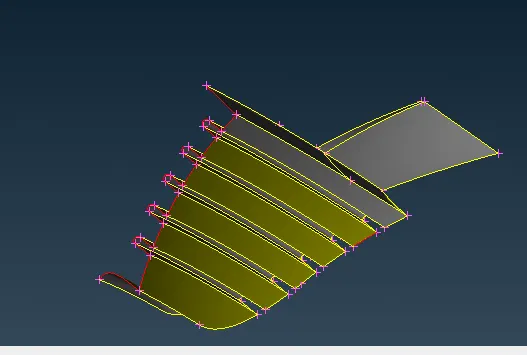
17.now for deleting the bottom part we have to use project option after using project option we have to delete the surface as shown below like wise we have to perform this operation for remaining grill to generate one surfaceafter doing all cleanup and removing errors the grill will look like this
18.now moving tonext grill after isolating the grill we want to work the grill will look like this here we can see faces are aligned properly we have to claer those errors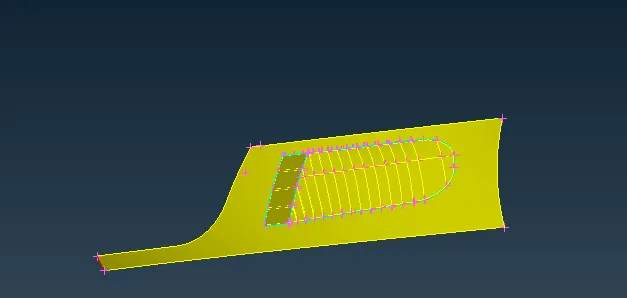
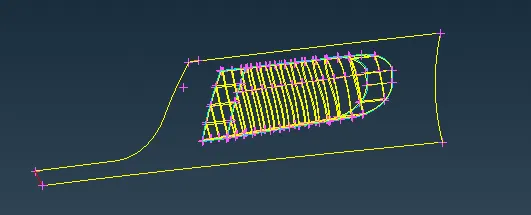
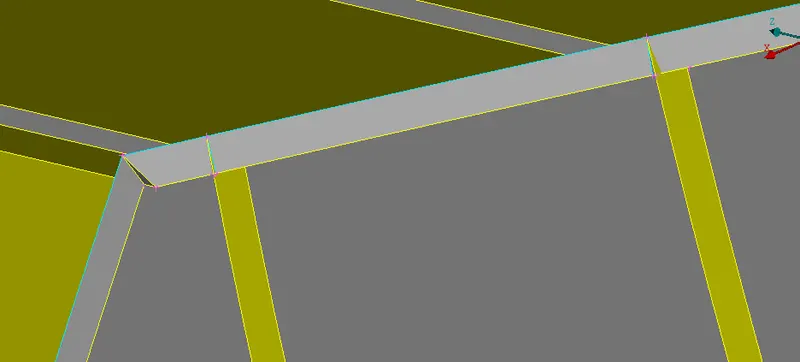
19.as to clear the distortionwe will make a intersection for that we will use parametrical input to create hot points as shown in picture now we will use cut option as shown below in picture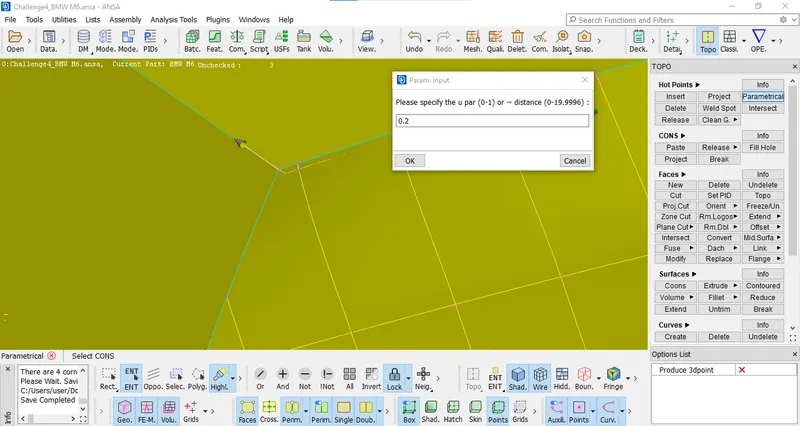
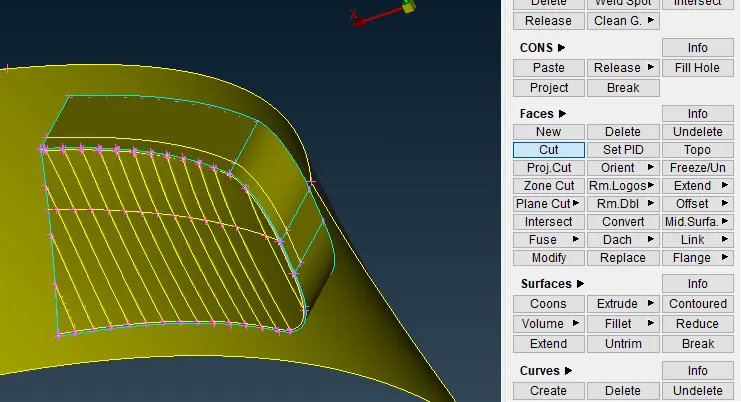
20.after this we will create a new surface using fitted option a shown below after assigning the PIDs to the grill for further operations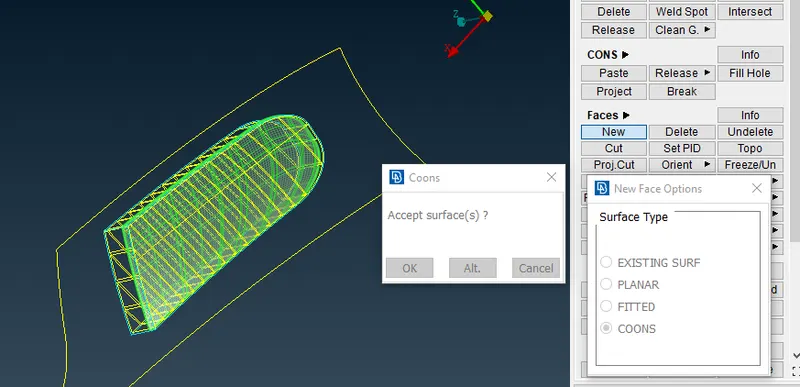
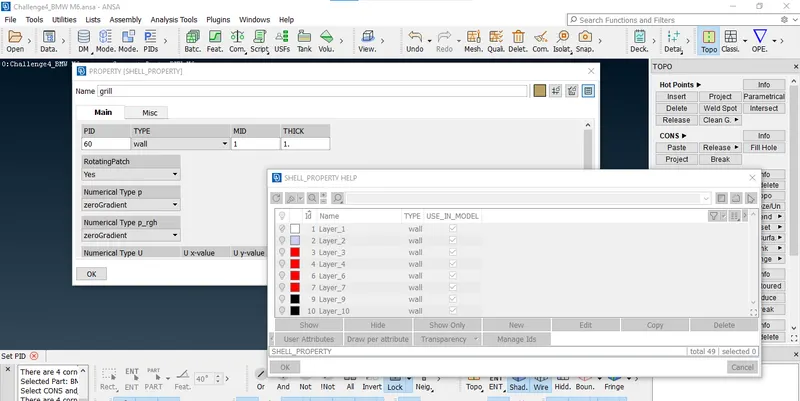
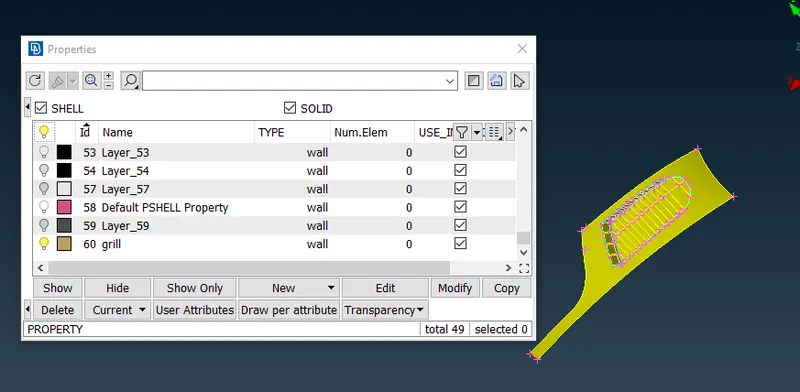
21.as you can see we have assignedthe PIDs in below image then we will start intersection process as shown in below we will keep necessary surfaces and delete the unnecessary surfaces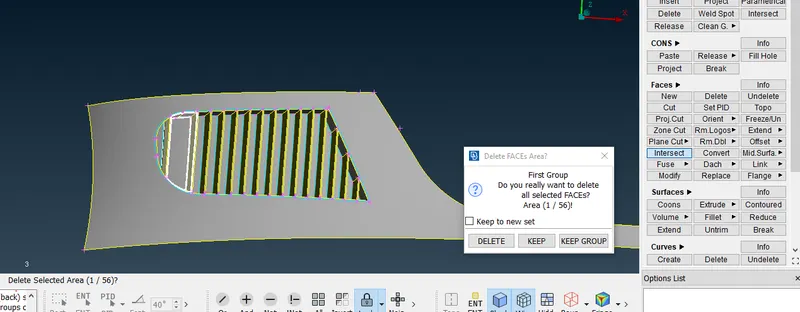
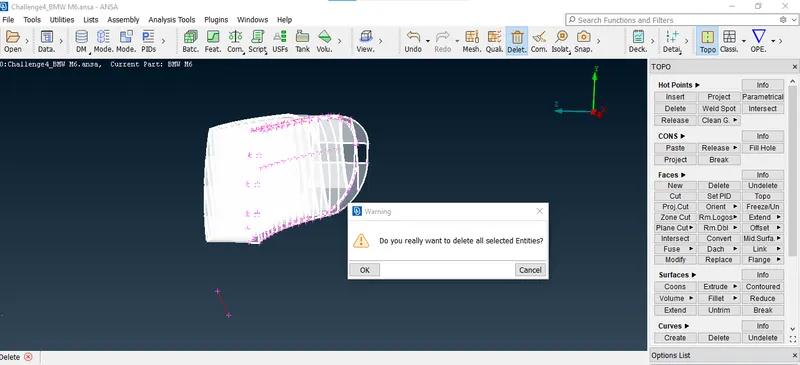
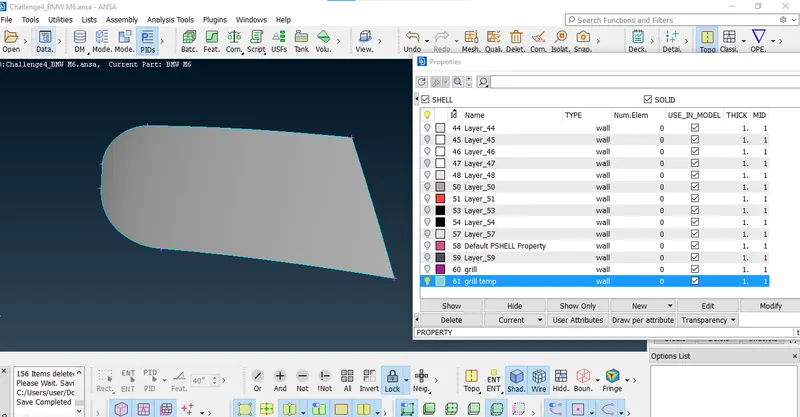
22.after doing all the intersection part the grill will look like this in wirefame mode as well as shadow mode we have cleared all the errors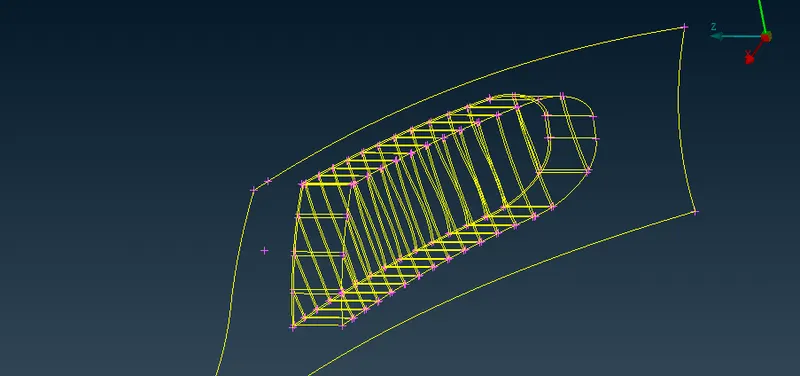
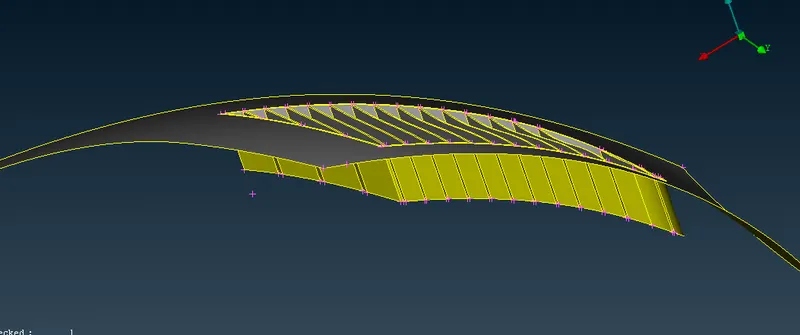
23.now we will start working on this grill as shown belowas you can see there are some overlapped surfaces and some red cons are present we have to clear those errors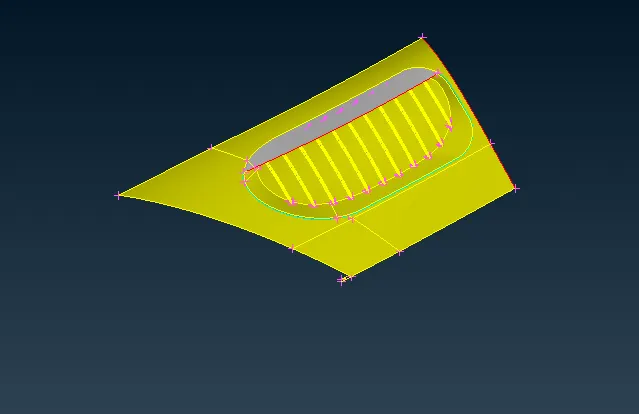
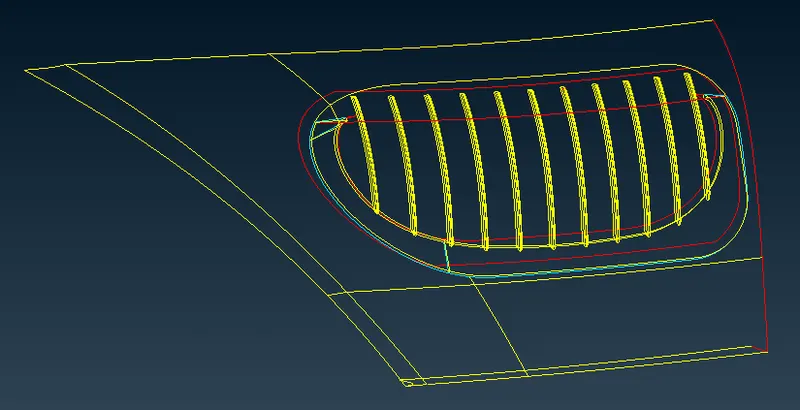
24.as you can see we have a unnecessary surface we have to delete that part using universal delete
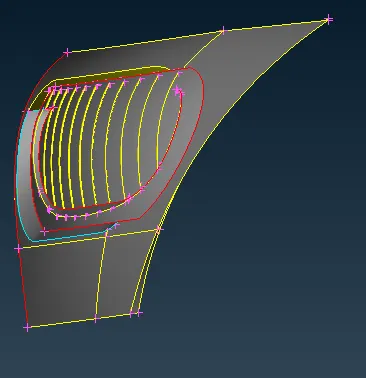
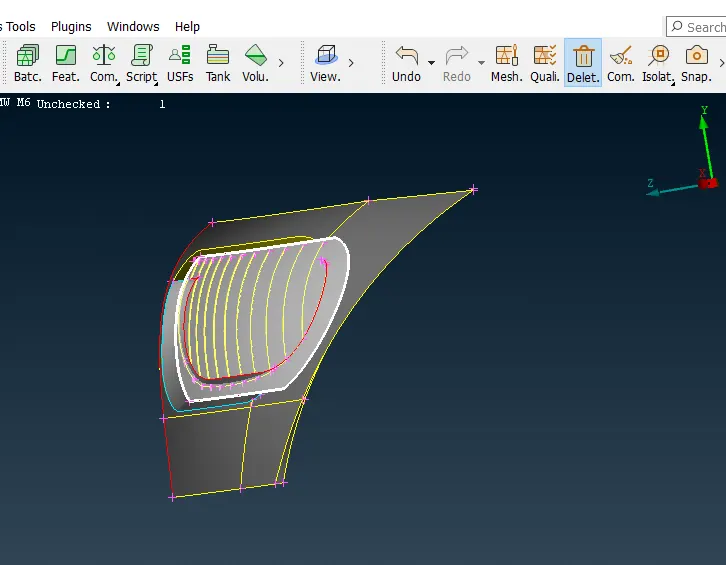
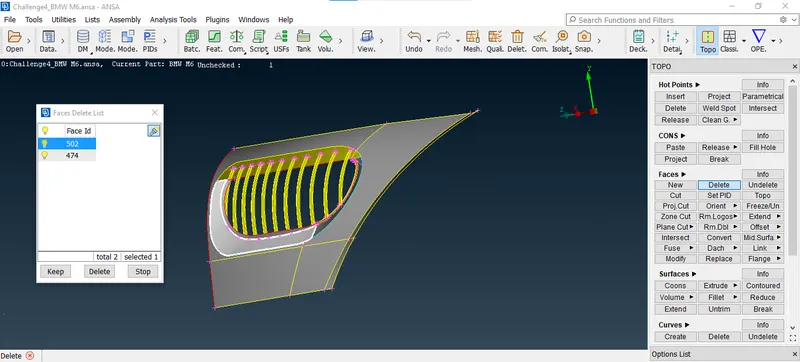
25.now we have to delete the overlapping surface as shown below
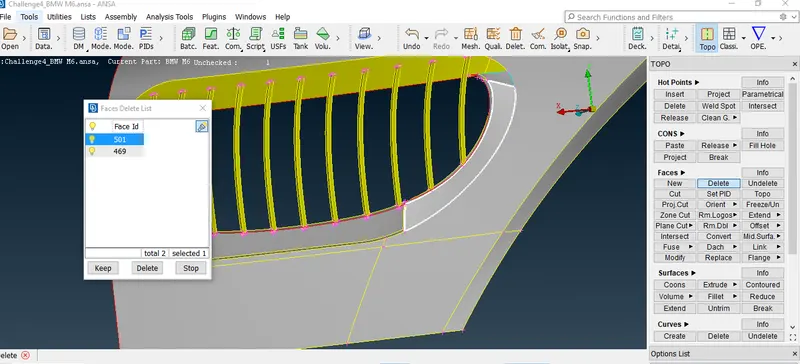
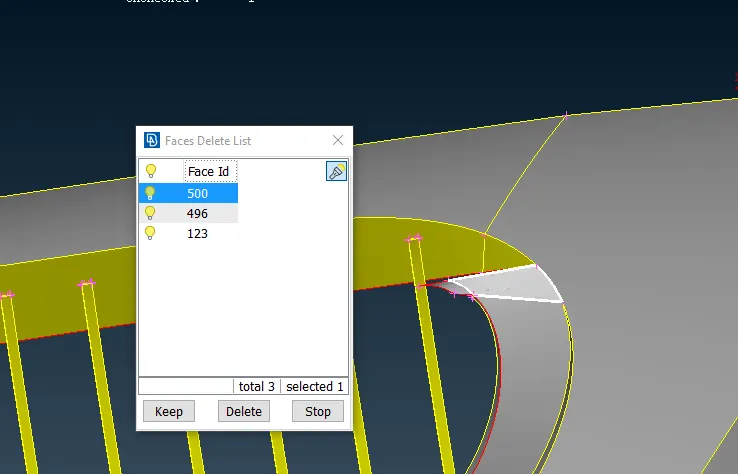 \
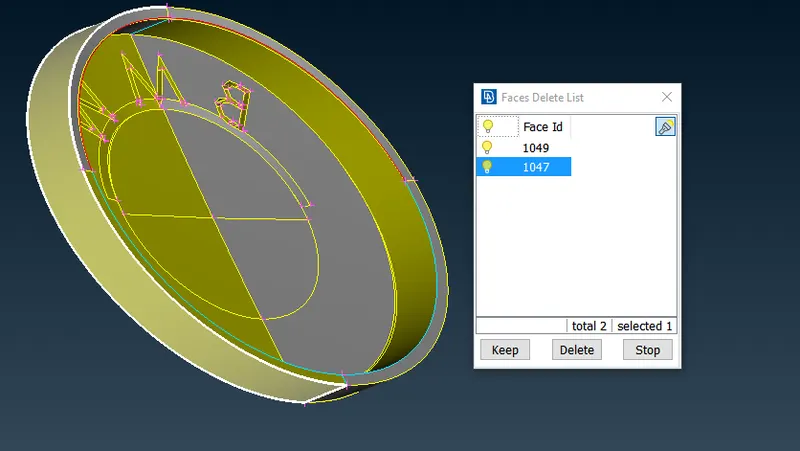
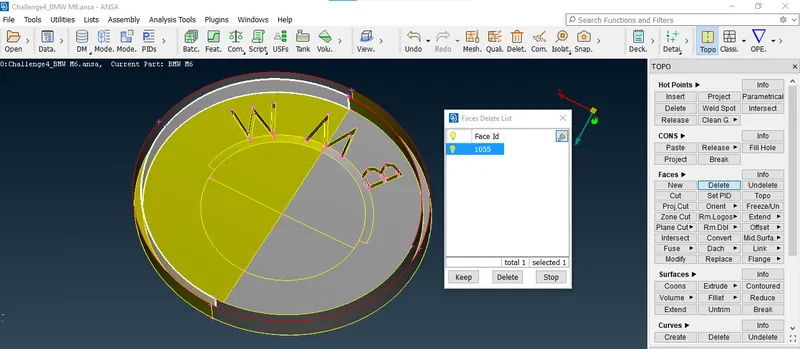
\
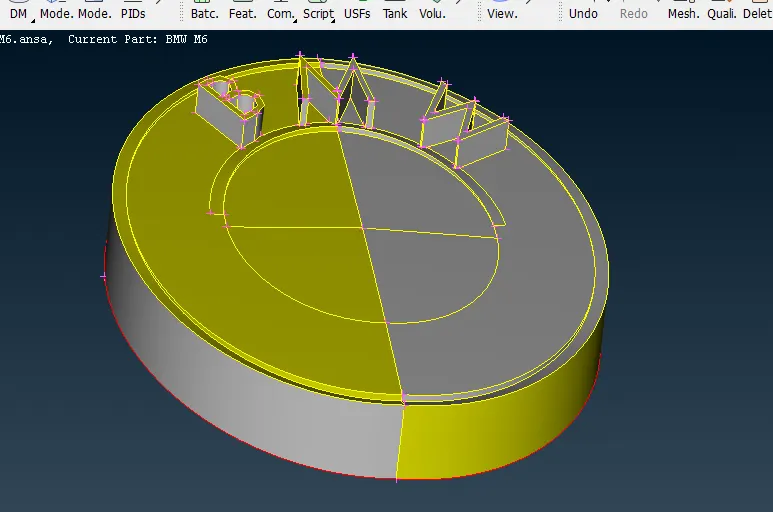
26.as you can see from picture the surface are not aligned for that we have to delete the back surface
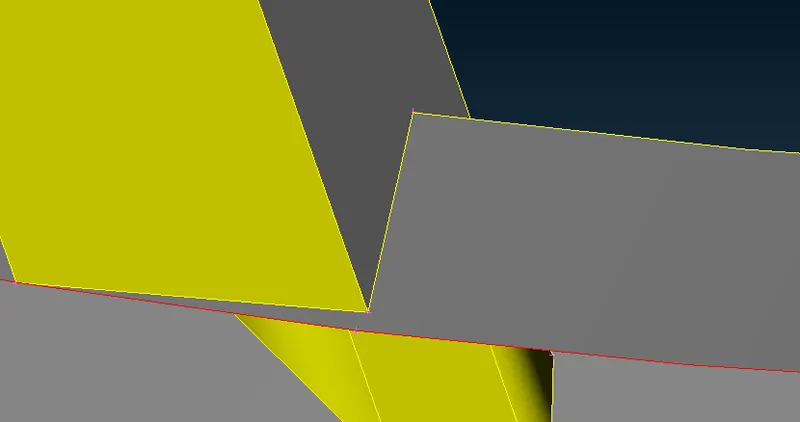
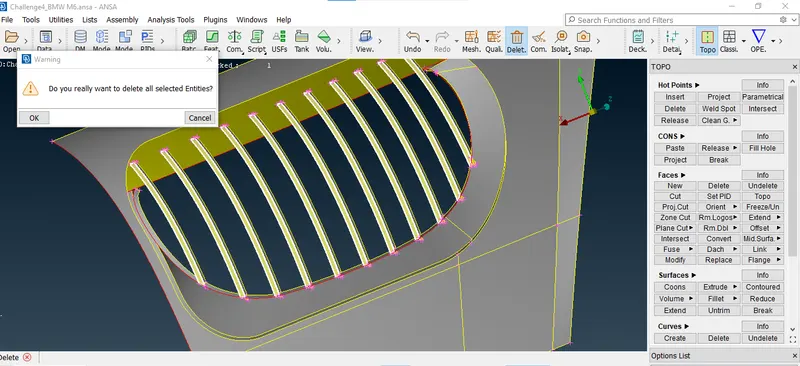
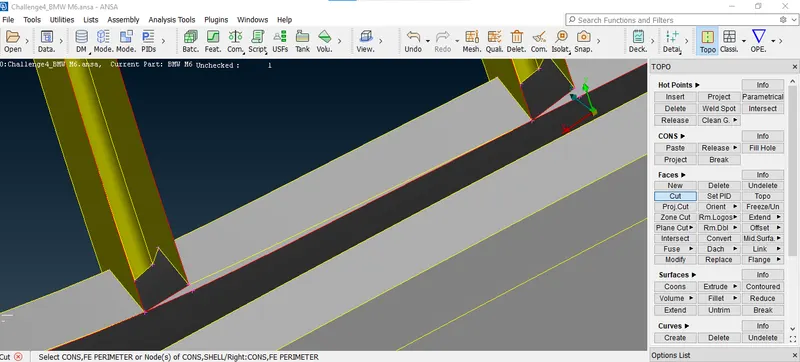
27.now we are going to use cut option to align the surface as shown in picture and then we will delete the unnecessary surfaces which was remaining we will delete the remaining surfaces by universal delete now the surface is aligned
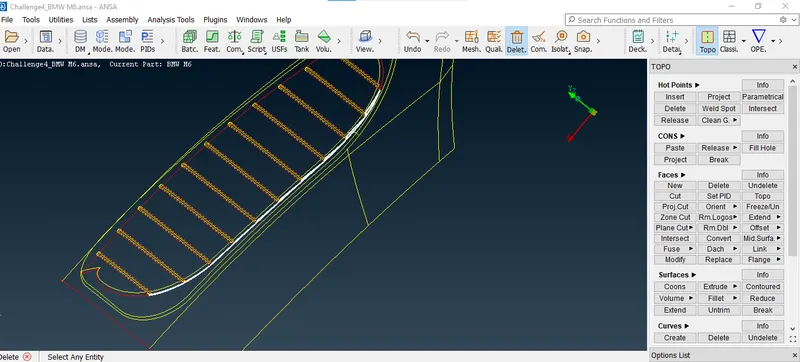
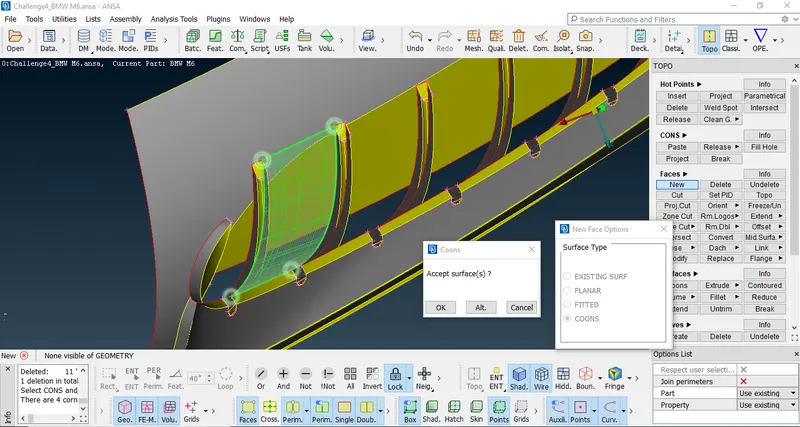
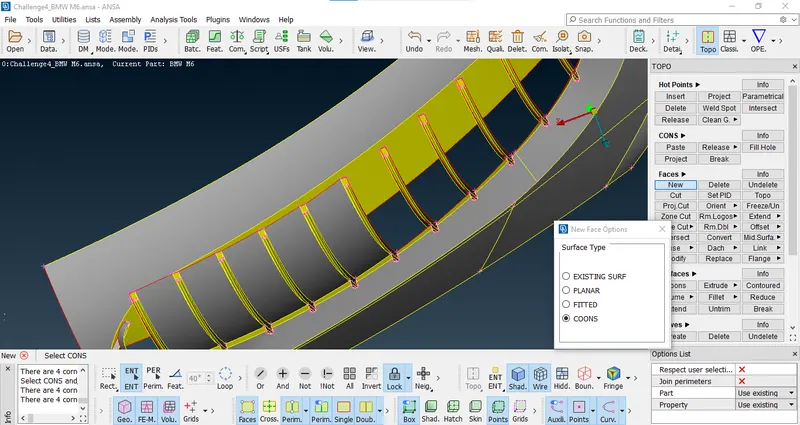
28.now we have to generate surface using coons option as shown below
29.now we will project the red con for that we will hide other parts and keep necessary parts only
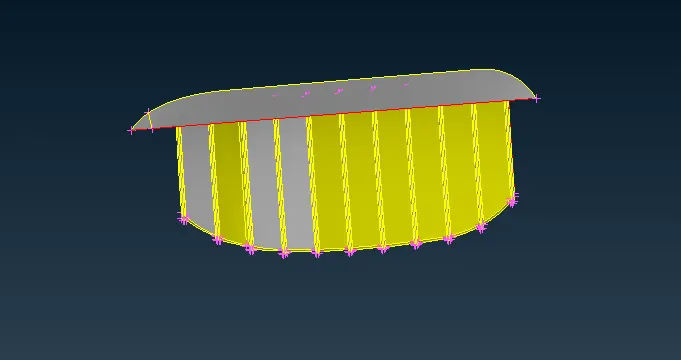
30.now we will use a plane cut option to divide the surface so we can delete the unnecessaryas shown below first we will insert ahot point as shown in picturethen we will use plane cut option the surface will be divided in perfect manneras shown below
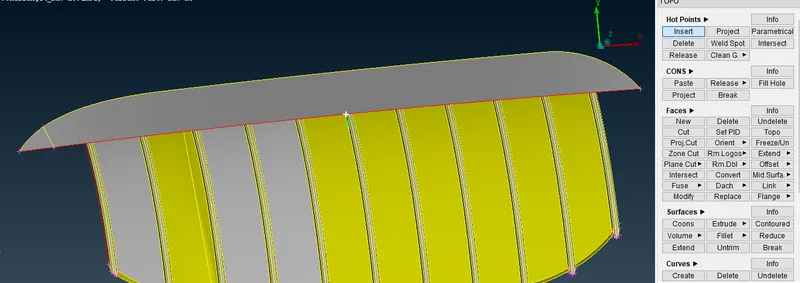
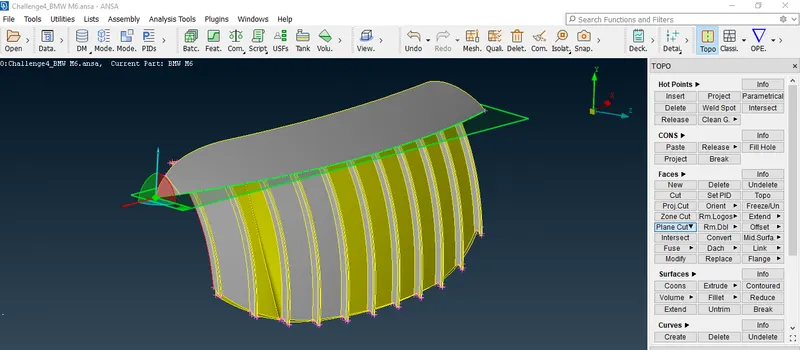
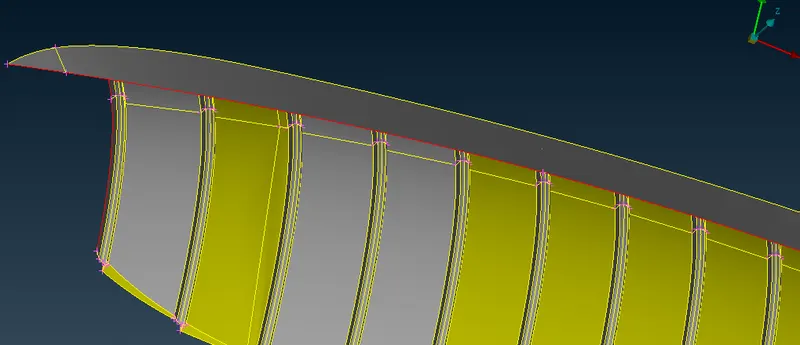
31.now by hiding all necessary part we can see the unnecessary we will delete that part as you can see half of the grill is gone
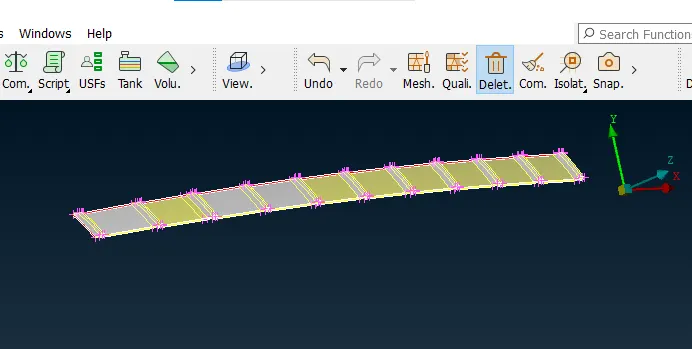
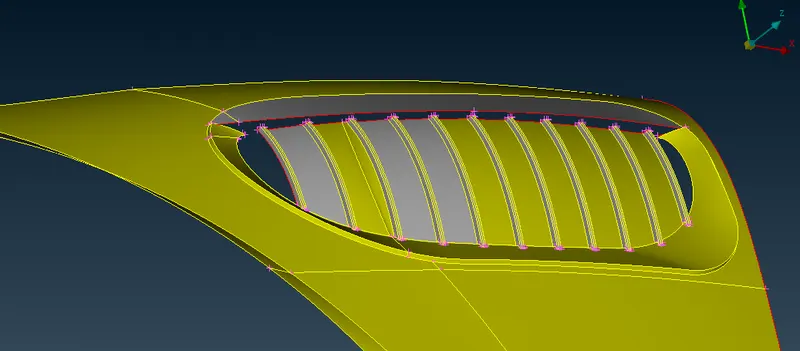
32.as we run geometry check we can see that there is only one intersection erroris there
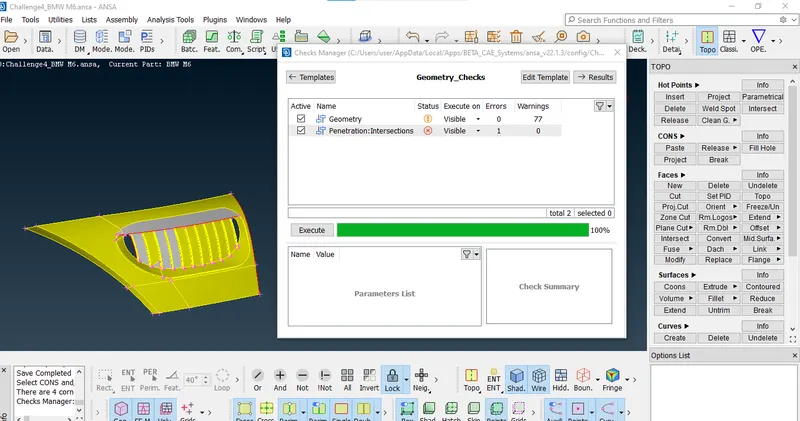
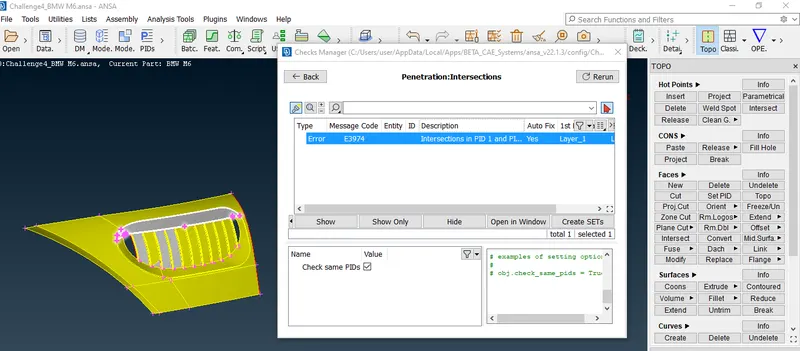
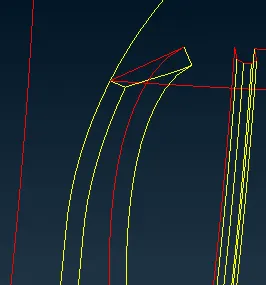
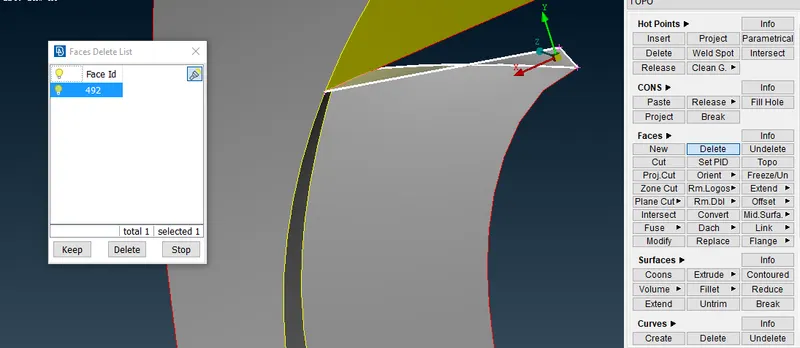
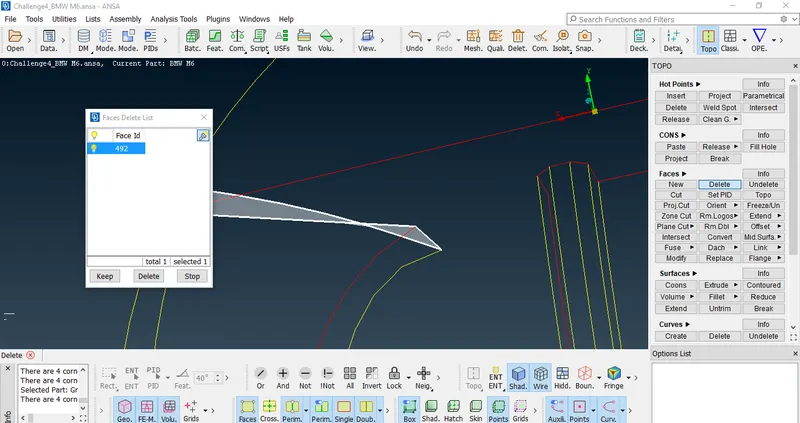
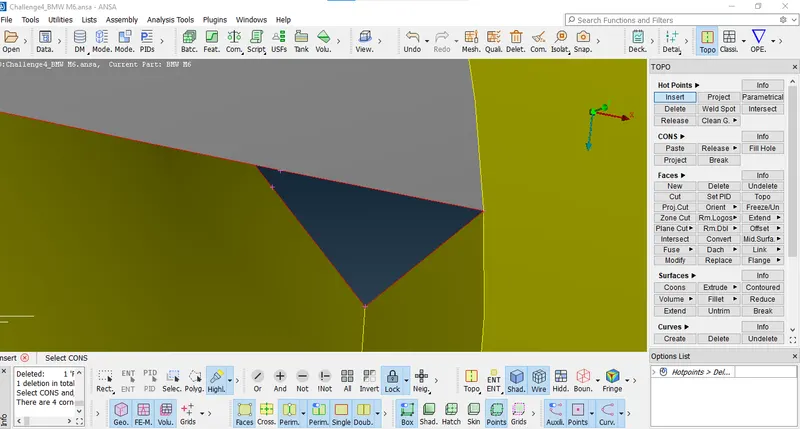
33.now for intersection error we will delete the unnecessary surfaces like shown below we will delete some surface and generate some new surfaces
34.as we run checks manager we can there are no errors we have cleared all the errors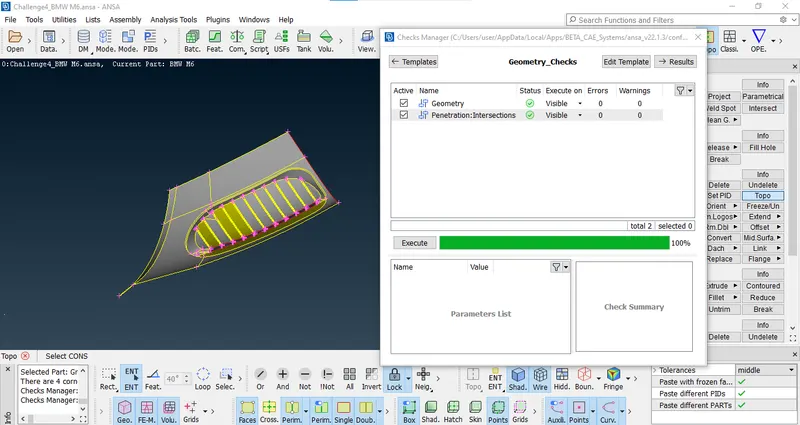
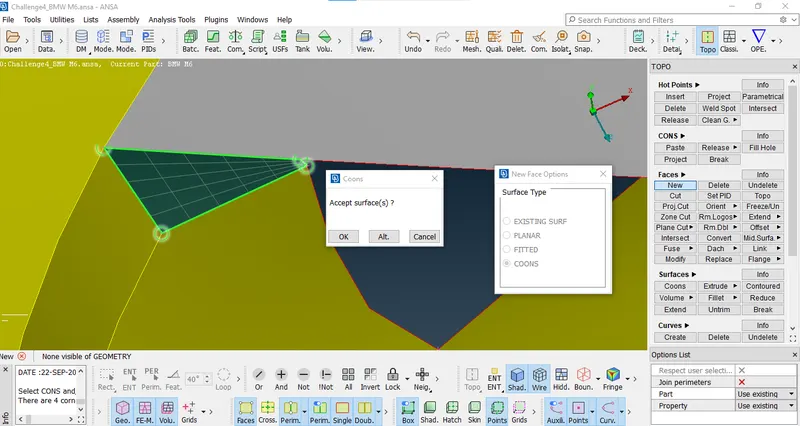
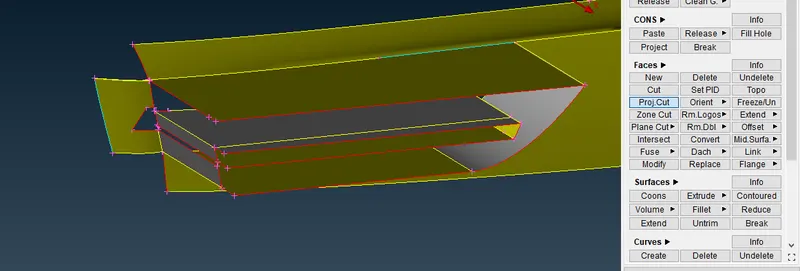
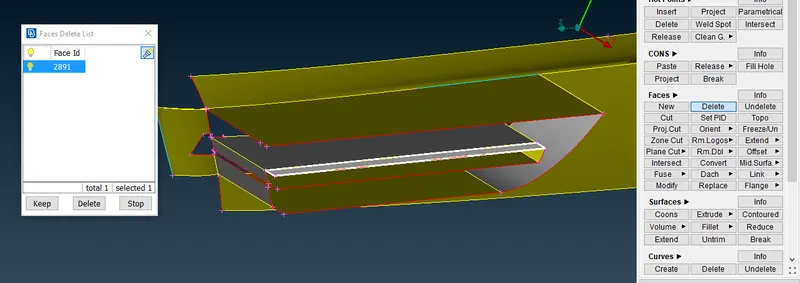
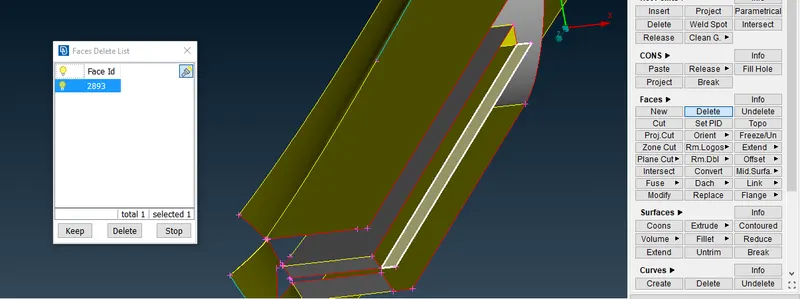
35.now we will create these remaining surfaces by inserting hot points and by using coons option for surface generation
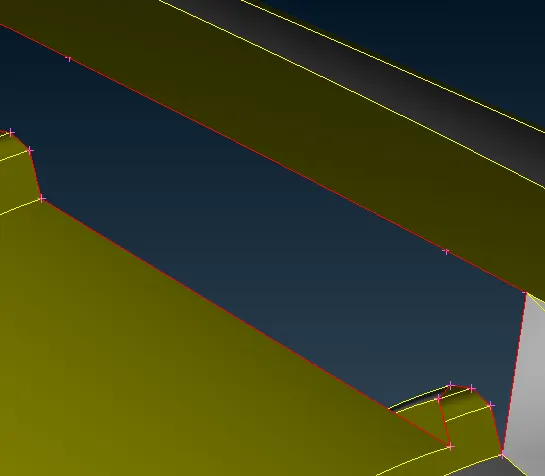
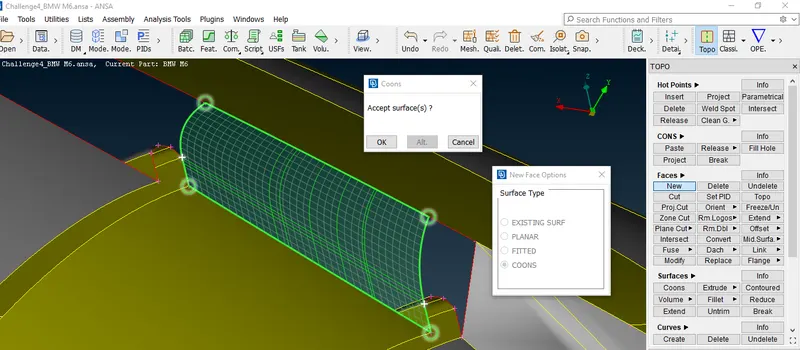
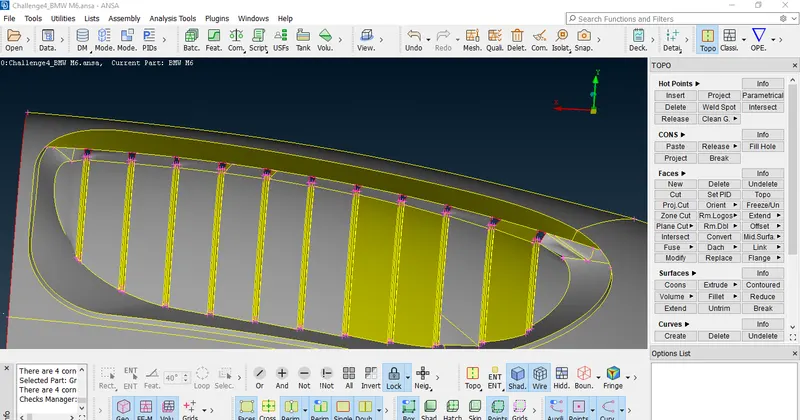
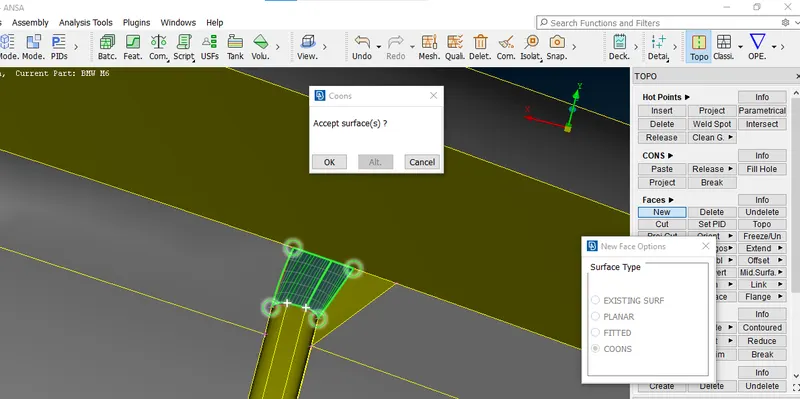
36.after generating all the surfaces the grill will look like this
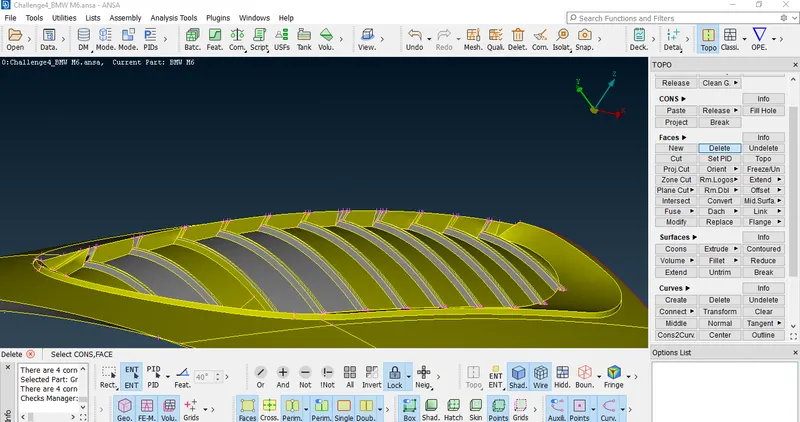
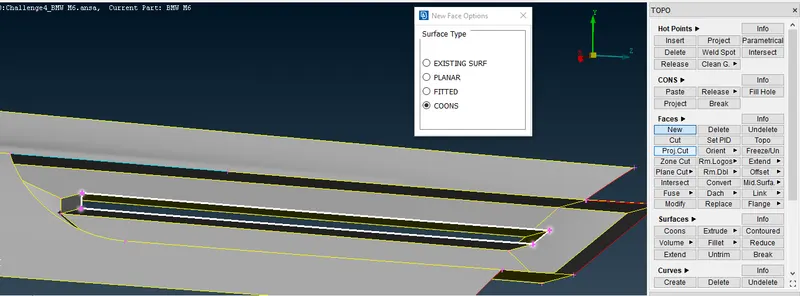
37.now wr will run checks manager we can see we have cleared the grill portion front bumper portion
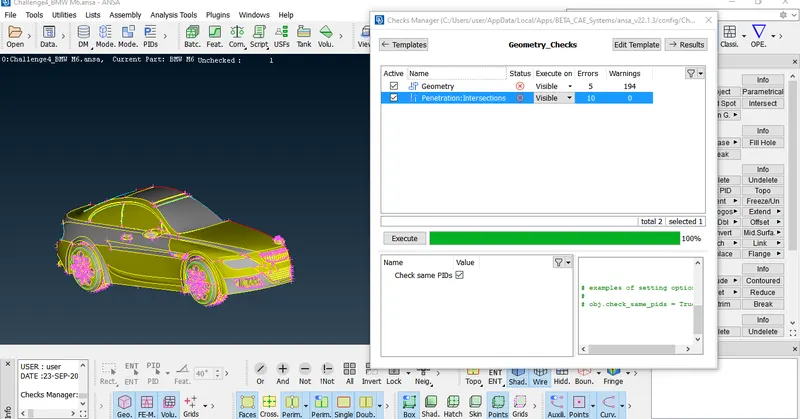
38.now we will work on logo isolate the logo as you can see in wireframe mode these are the error we have to clear
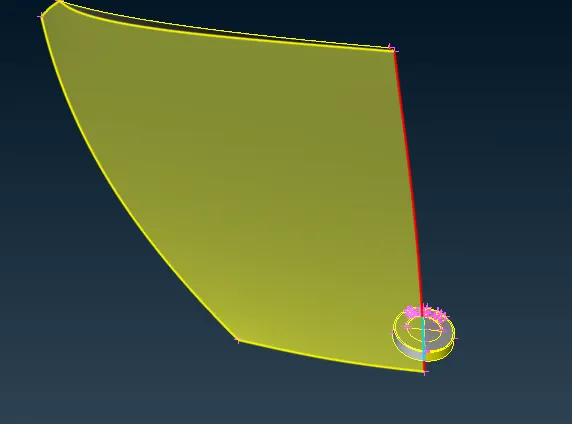
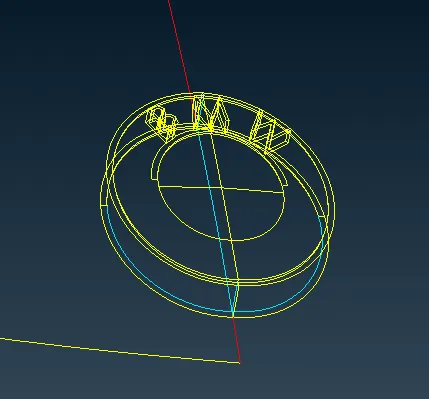
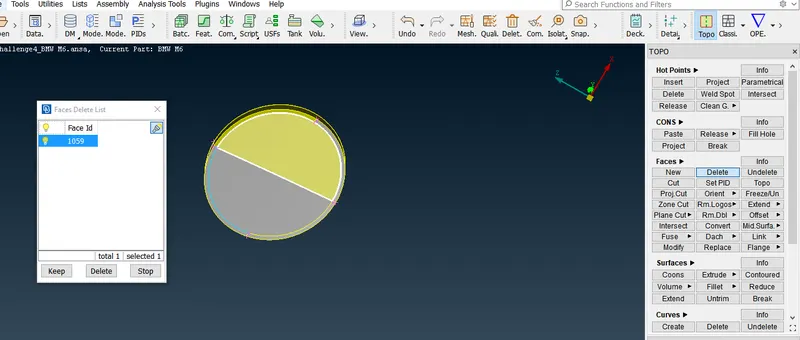
39.first we will delete the bottom part of the logo as shown below as wll as we will delete the thickness as we dont need that also we will delete some inner surface as shown
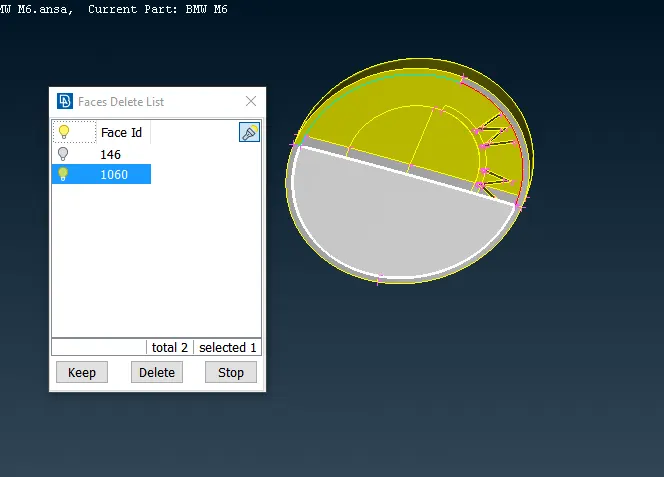
40.as you can see there is gap between two surfaces(red cons) we will create asurface there using coons option after generating surface the logo will look like this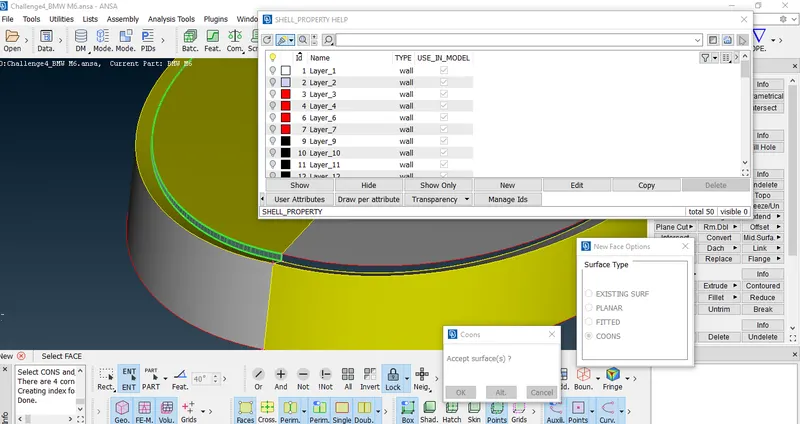
41.as you can see there is red con present at the bottom part we will project those red cons on other surface using project option then we will delete that part as you can see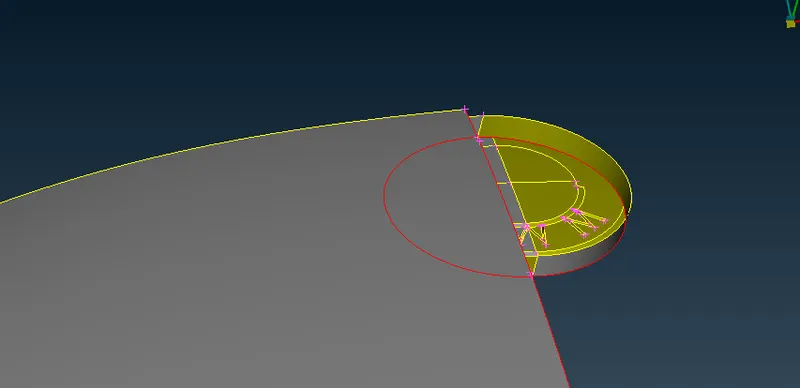
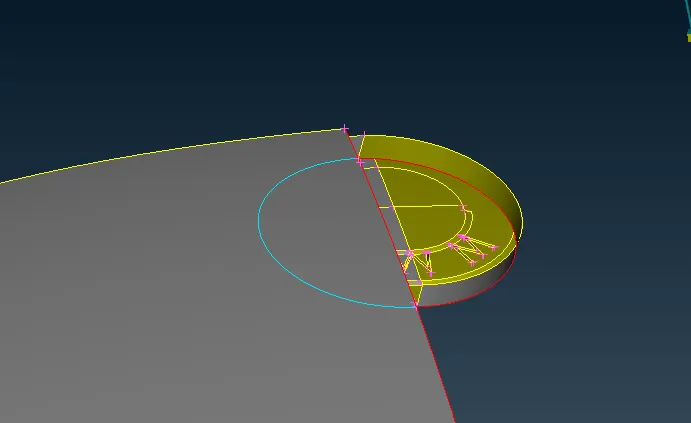
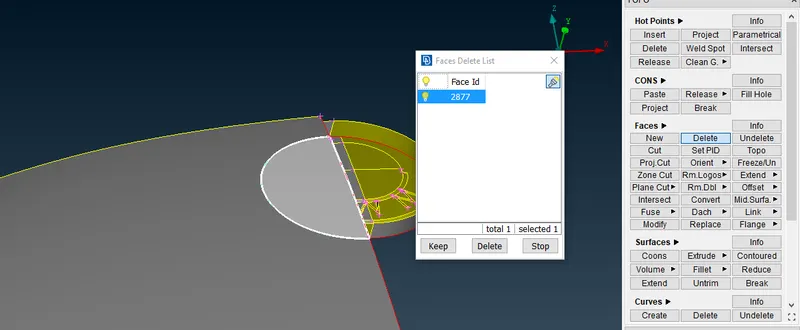
42. the logo will look like this
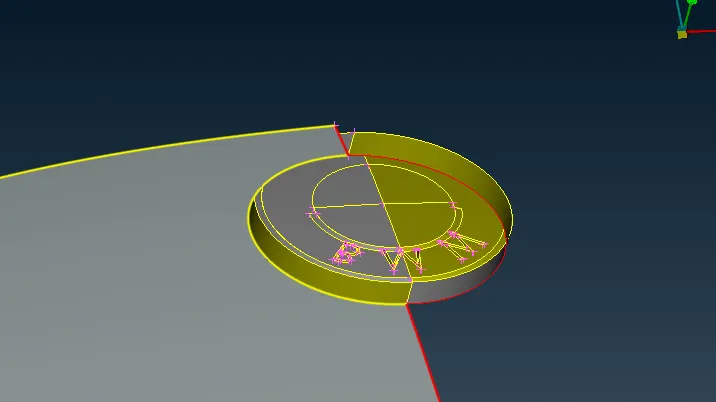
43.as you can see we have encountered with intersection warning we have to delete some surfaces and generate new surfaces to be precise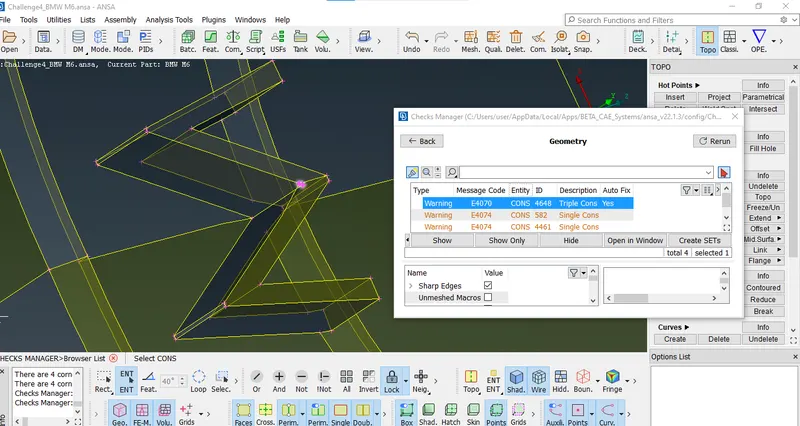
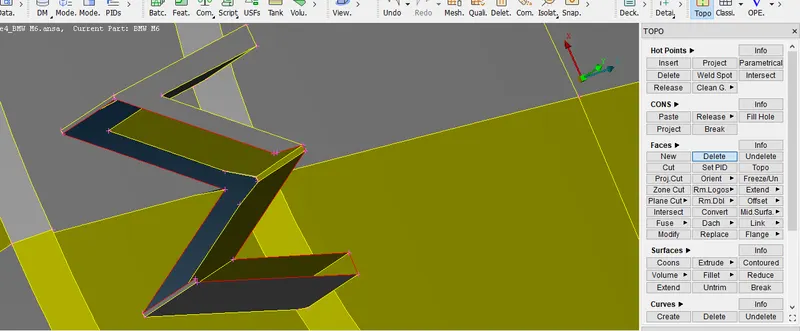
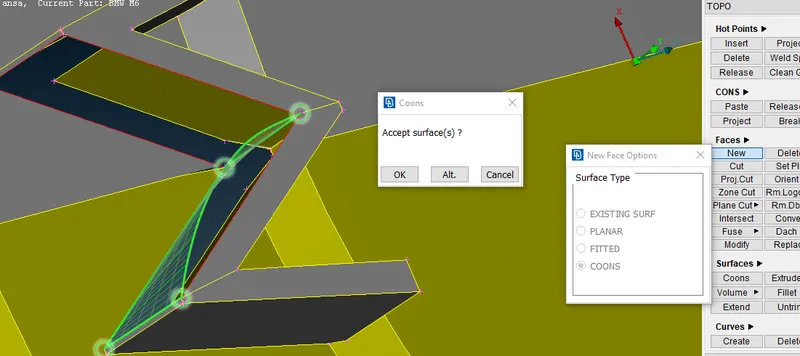
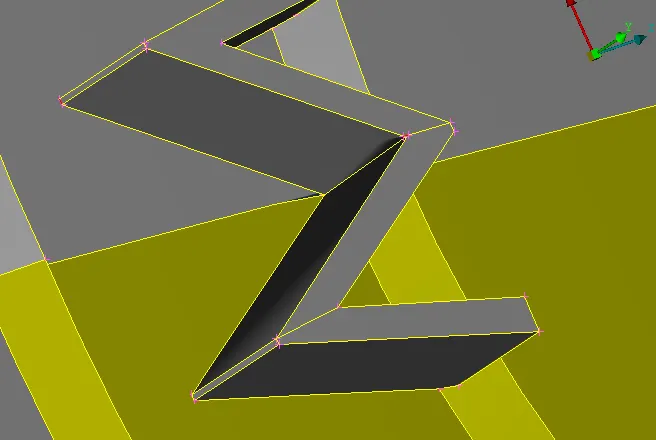
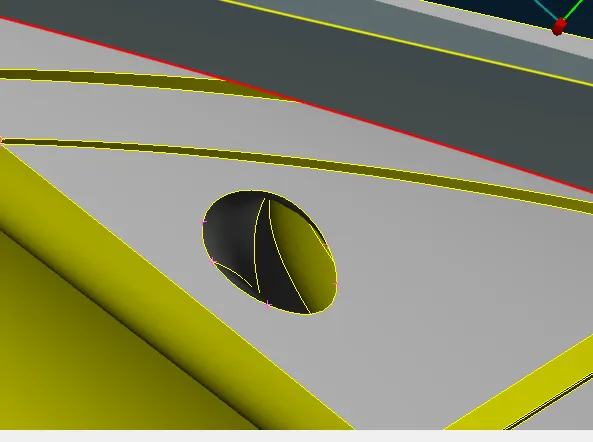
44.in the upper part of surface we will delete some surfaces which are causing intersection error we will generate new surfaces there
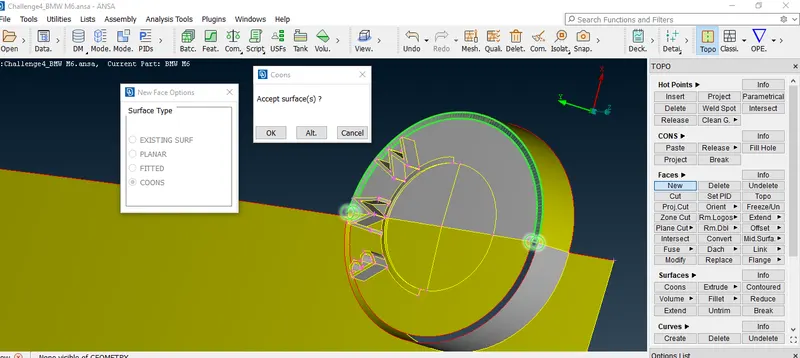
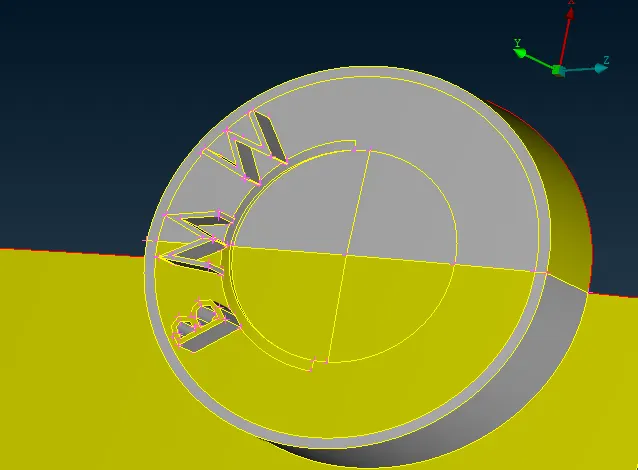
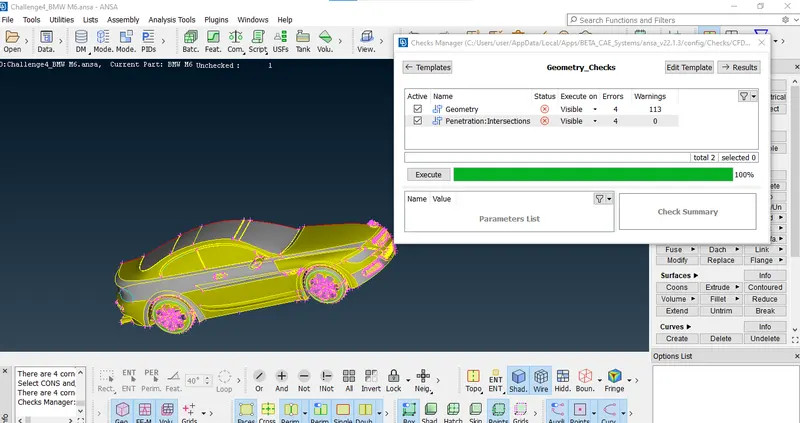
45.as you can see there is no intersection error present in the logo
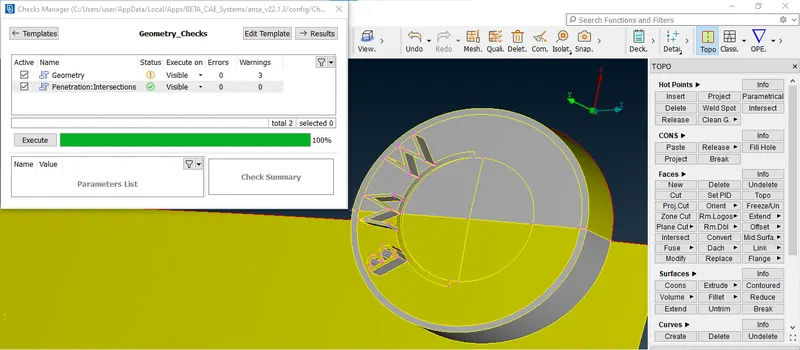
46.now we will work on this part od bmw car to start working on this we will delete the surfaces as shown below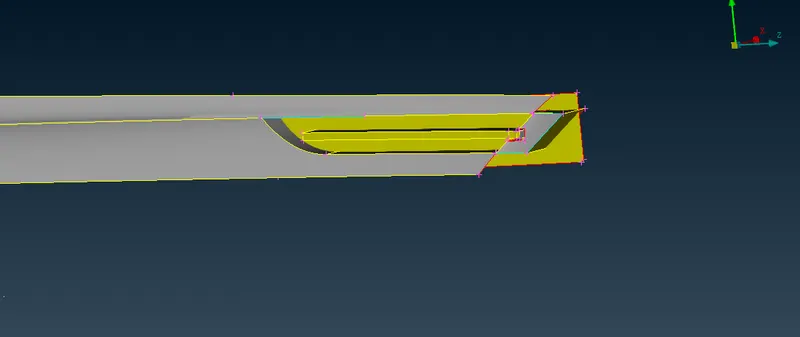
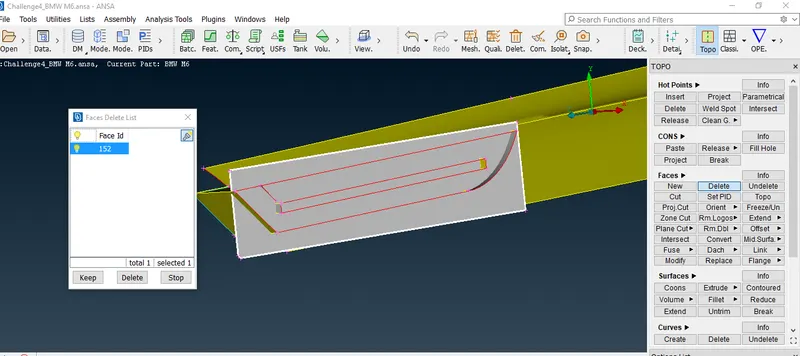
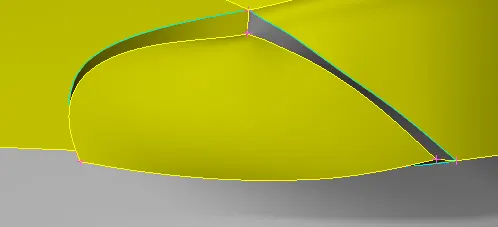
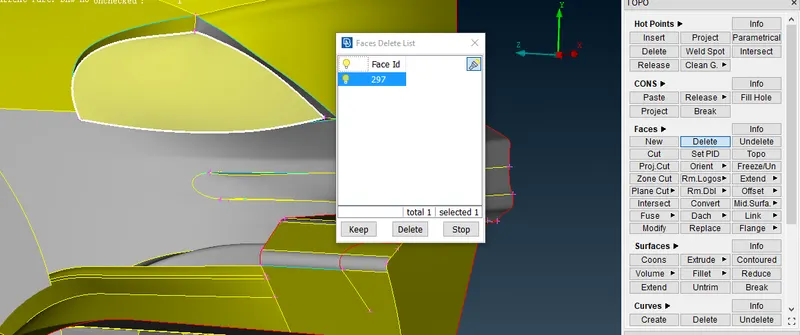
47.now we are going to extend the surface using the extend option now we will make acut then delete that surface as shown below and then by using release the double con which was created by surface extension
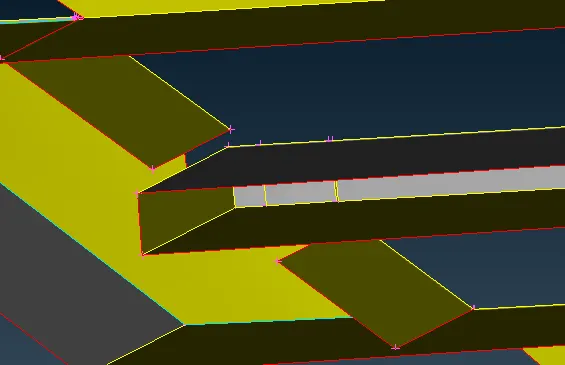
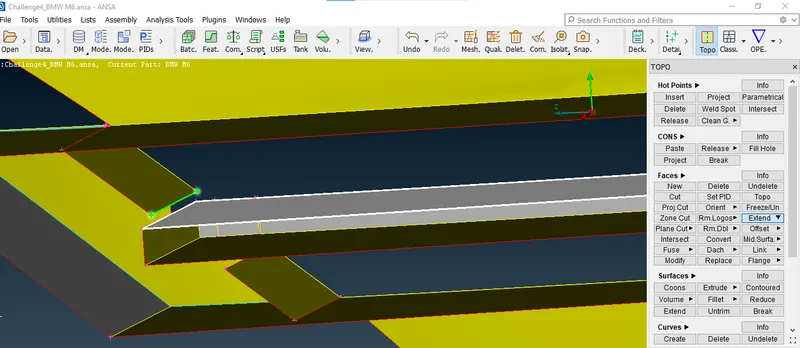
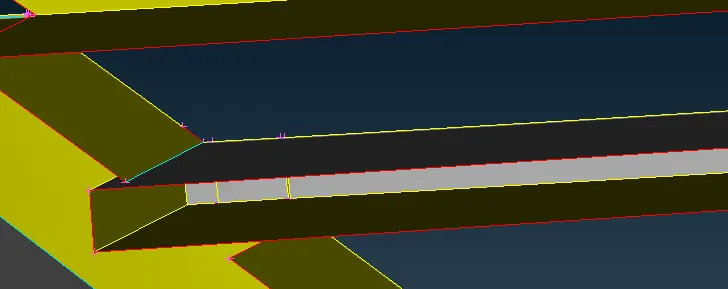
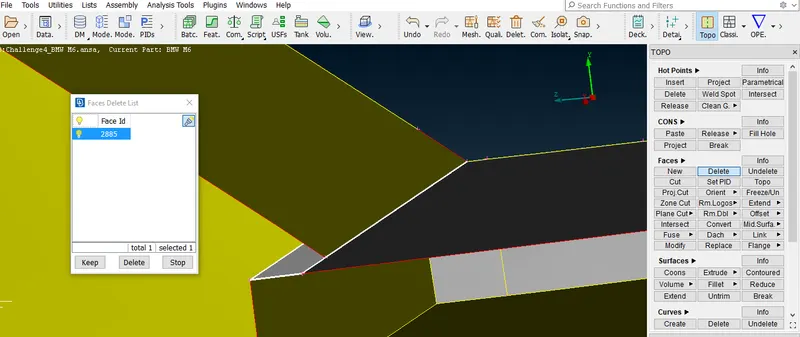
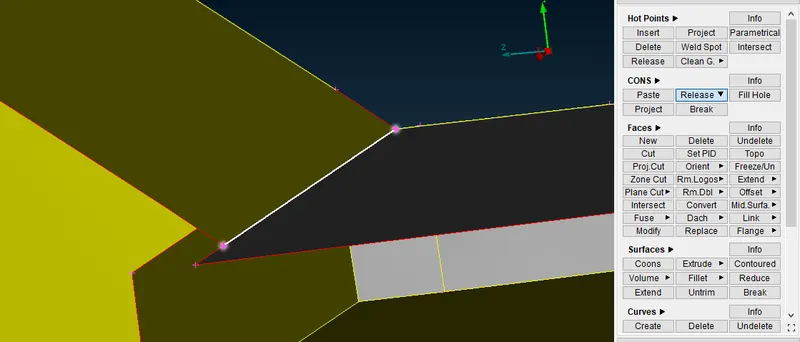
48.now usingextend option extend the surface and thenmake a cut to both sides then delete the surface as shown below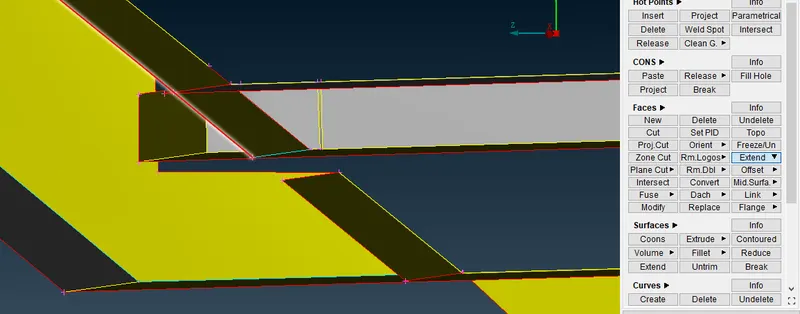
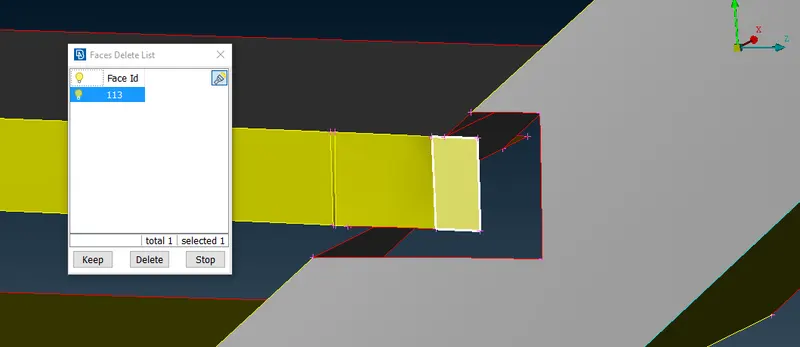
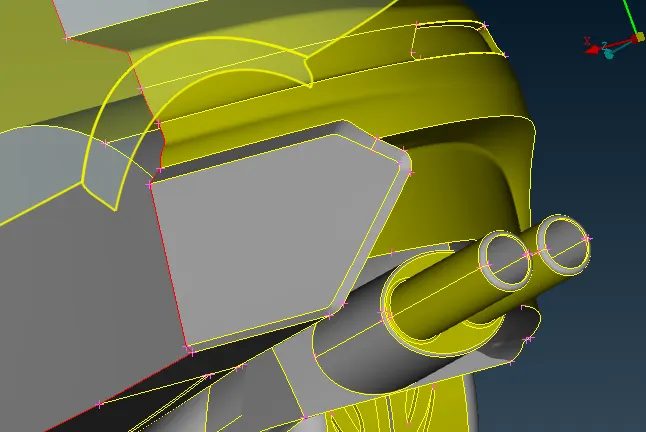
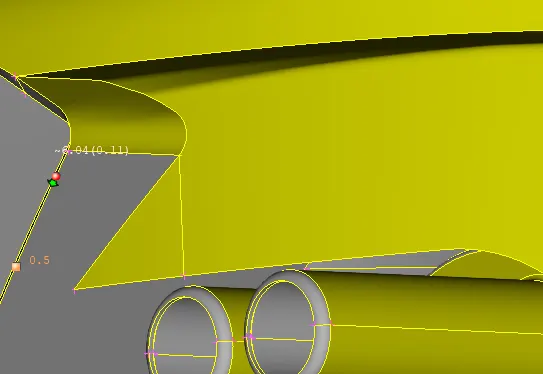
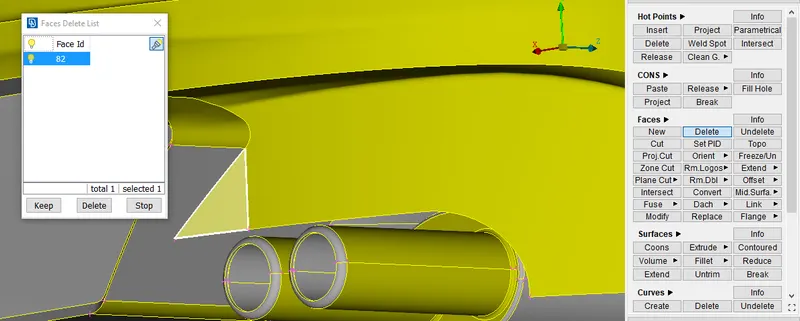
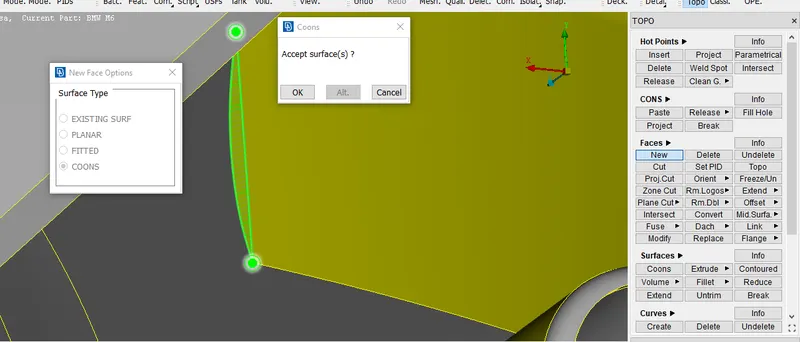
49.then we are going to use project option to isolate the surface then delete that surfac
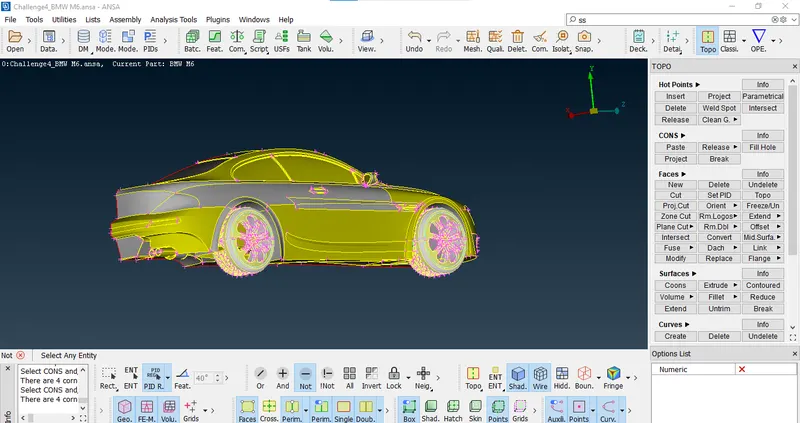
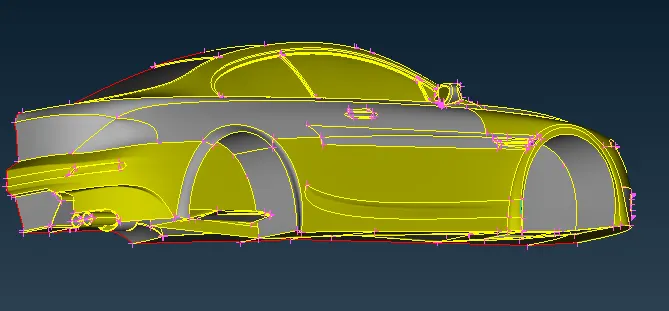
e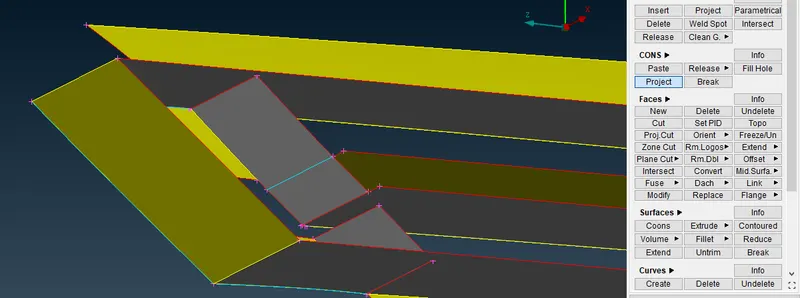
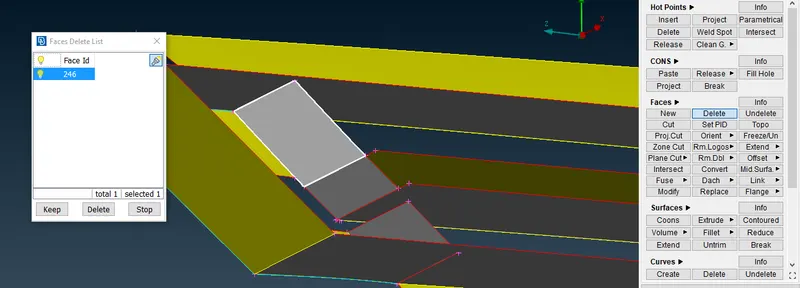
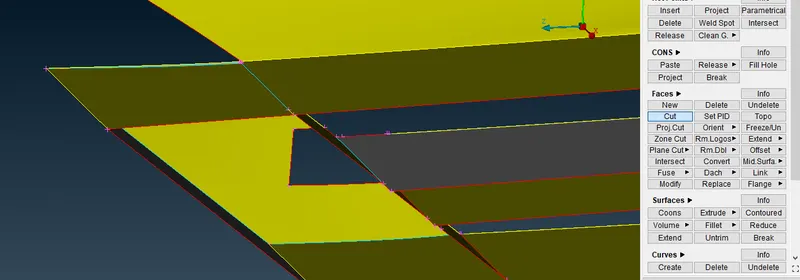
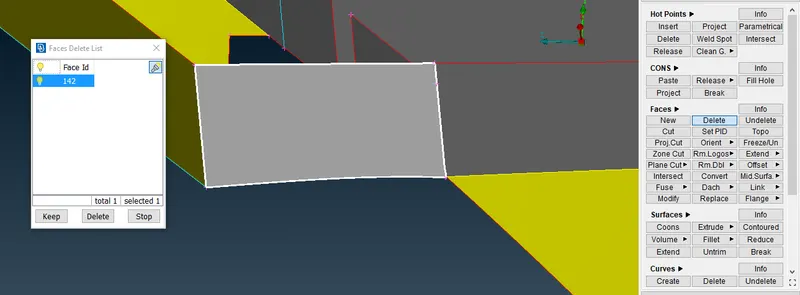
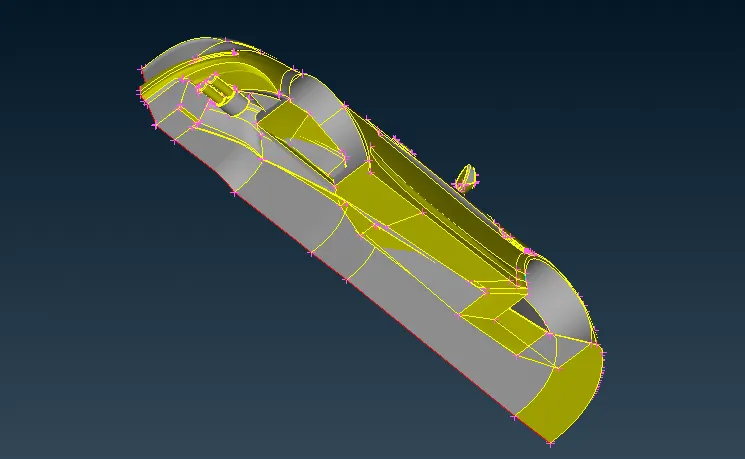
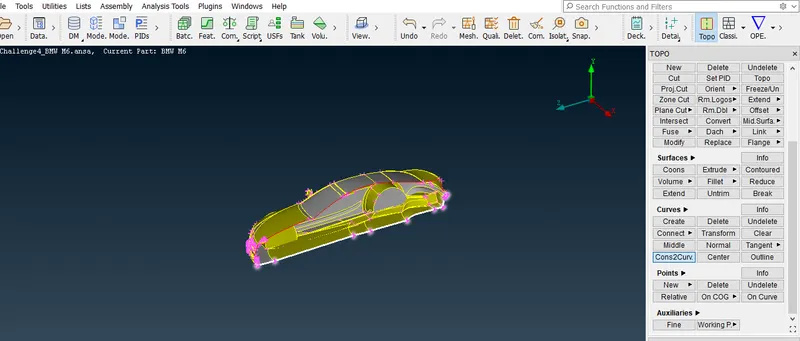
50.by using project option we will create some surface then delete those surface
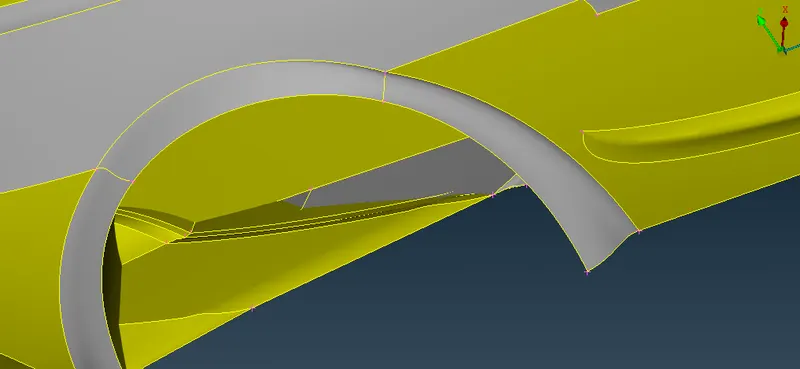
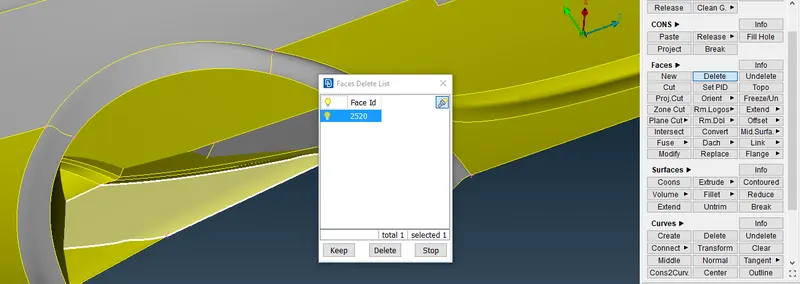
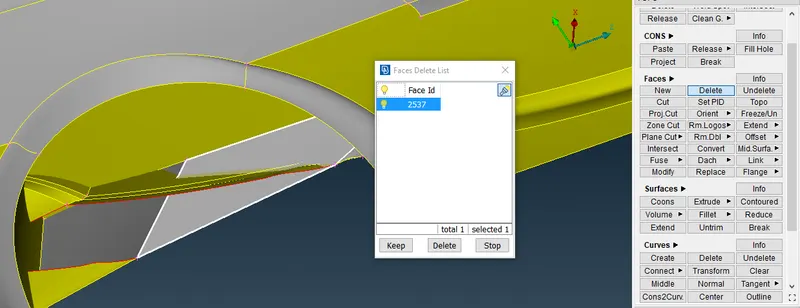
51.we will generate new surfaces using coons option to make the part as one and delete the unnecessary surfaces
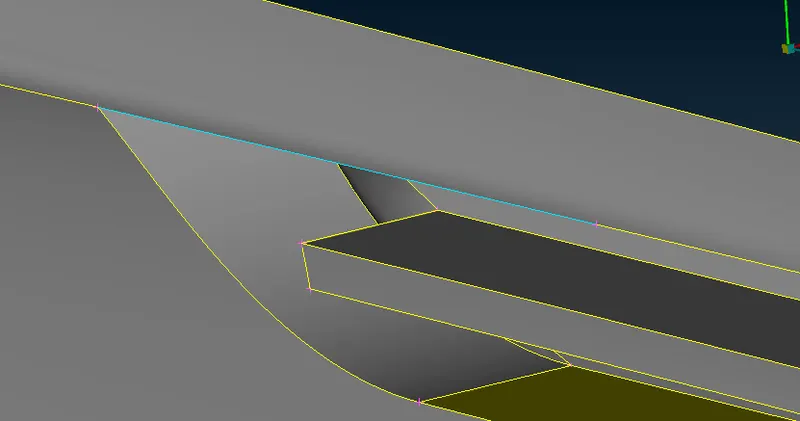
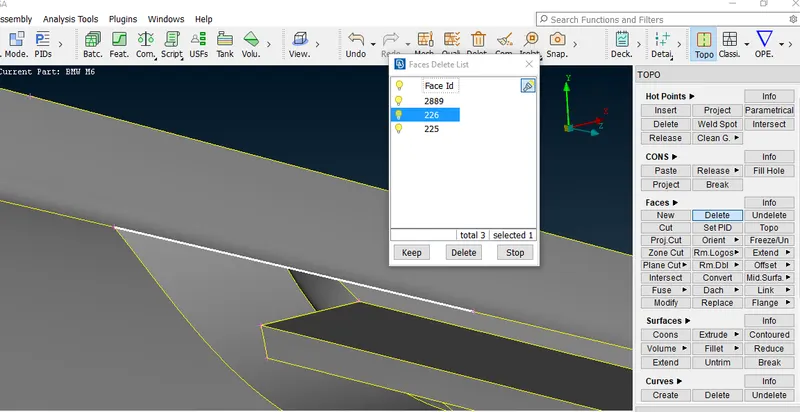
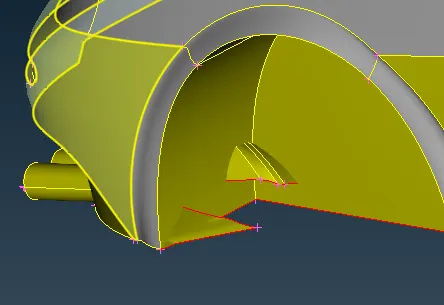
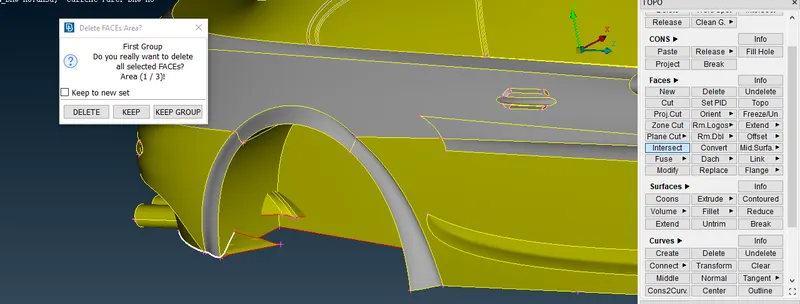
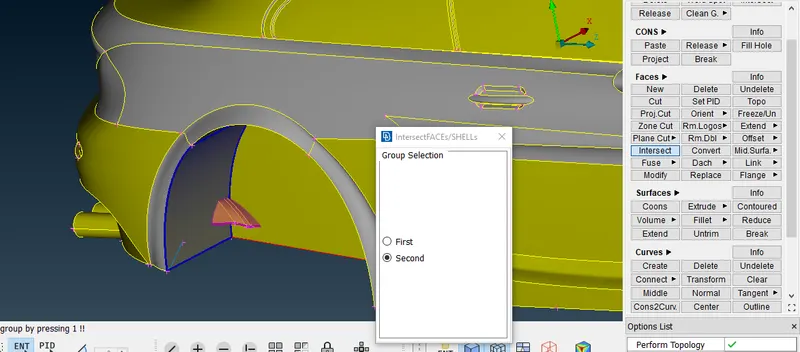
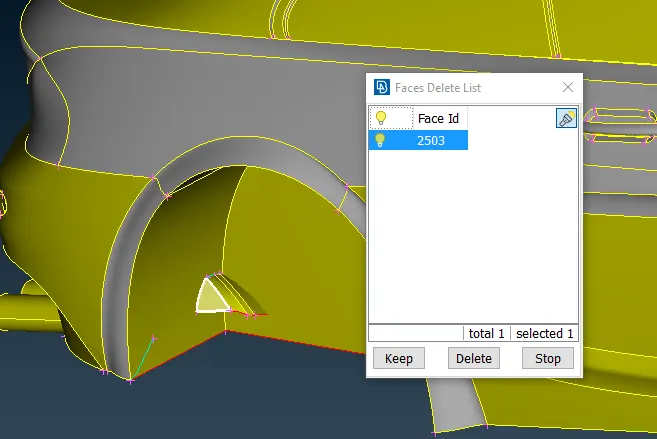
52.as you can see there is blue con present we can just simply delete that surface as it is small surface
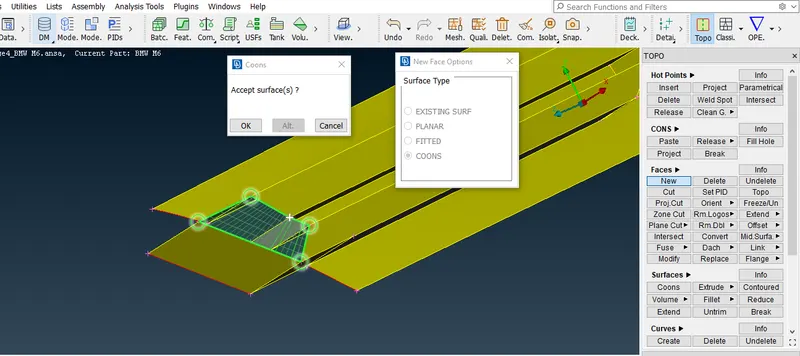
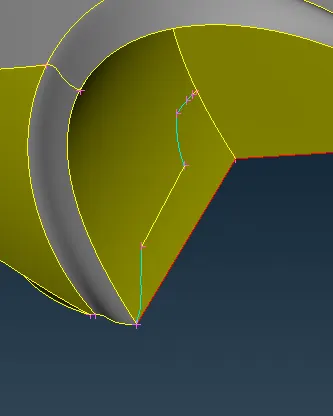
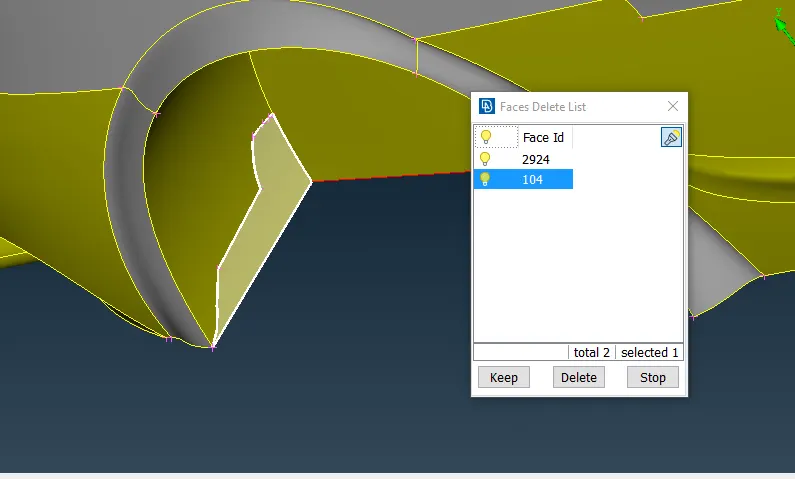
53.now for red cons present we have to make new surface there using conns option
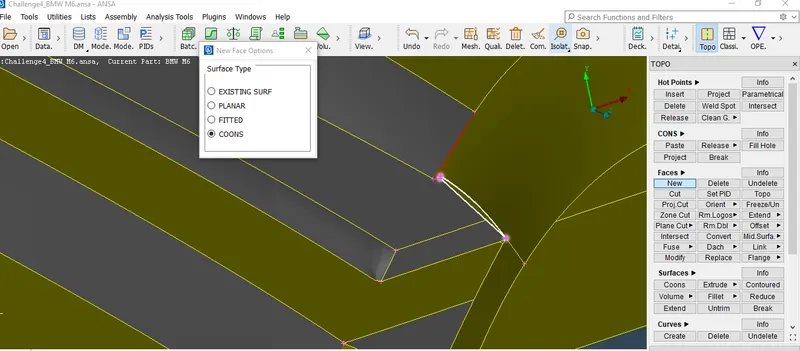
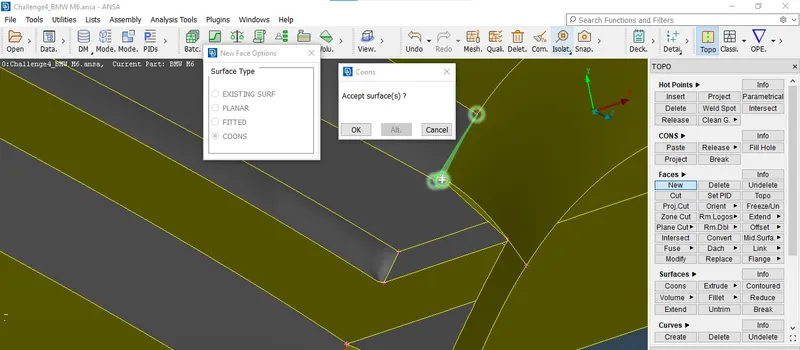
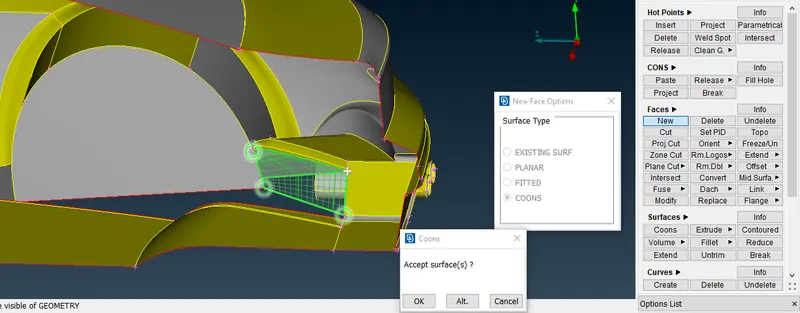
54.as for lower red con we will make a cut then delete that surface then we will create a new surface there with the coons option
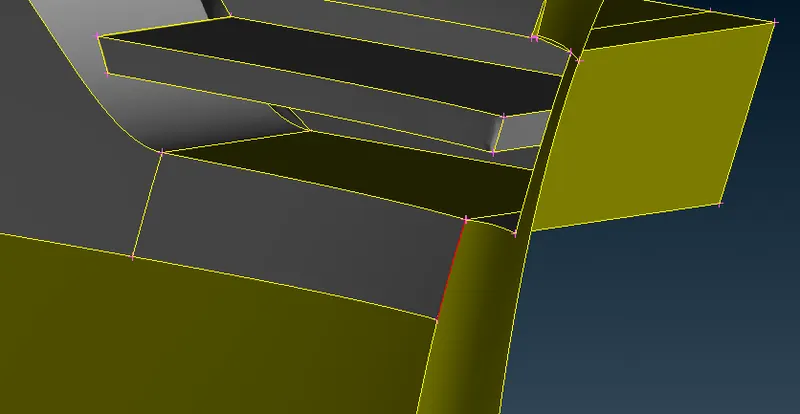
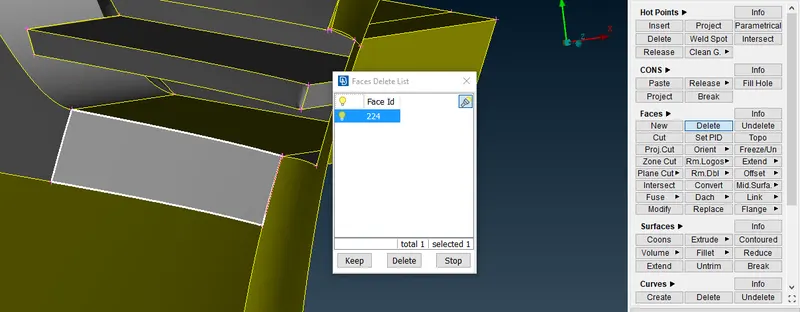
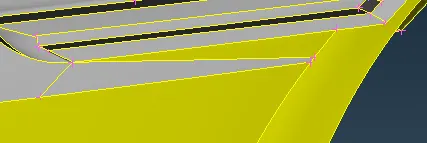
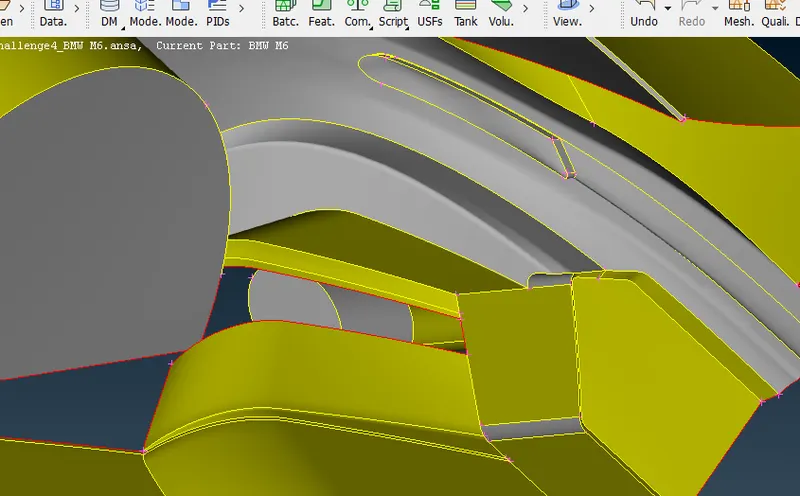
55.now we will delete the wind screen surface to overcome the triple con there then delete the thickness surface as well repeat this process for back wind screen as well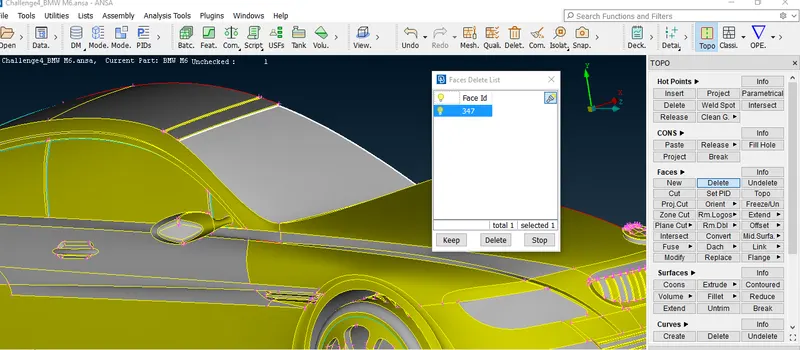
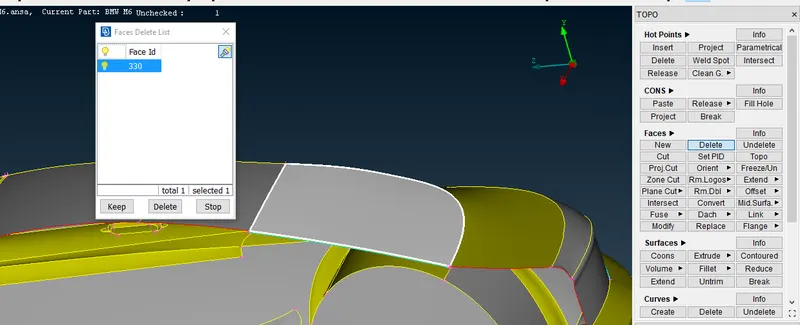
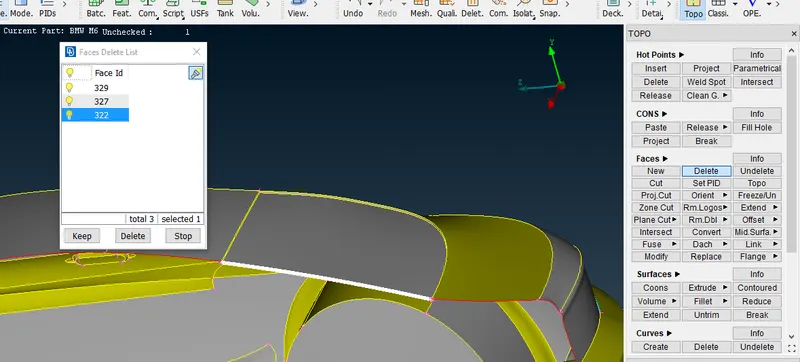
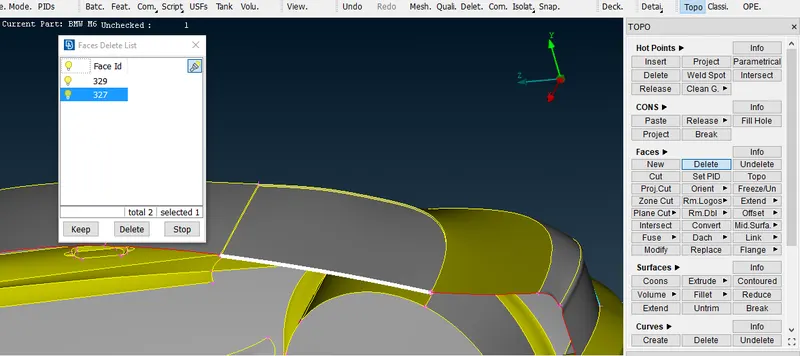
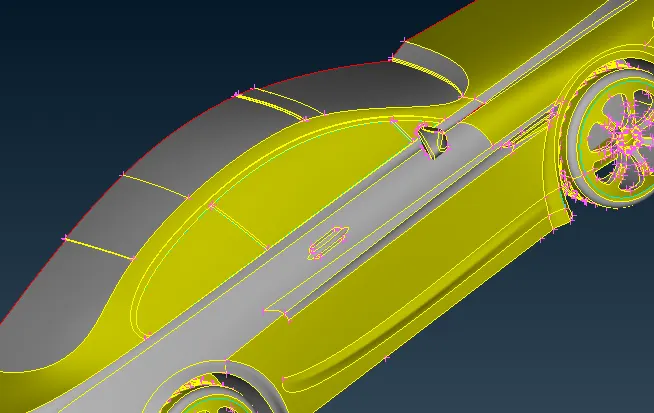
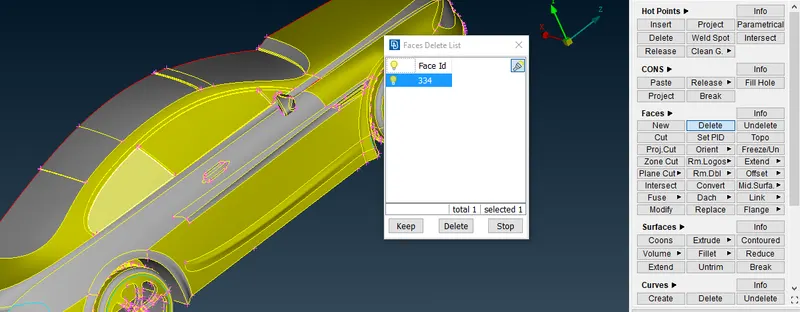
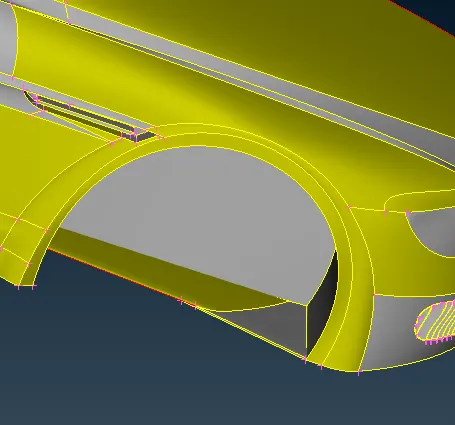
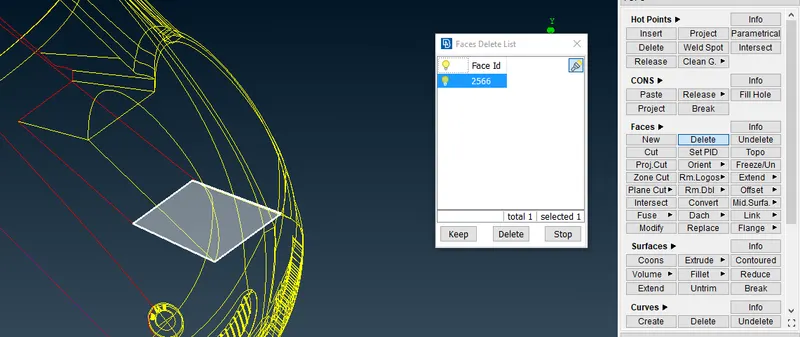
56.now we will work on side windows delete the surfaces which are causing the triple con as shown
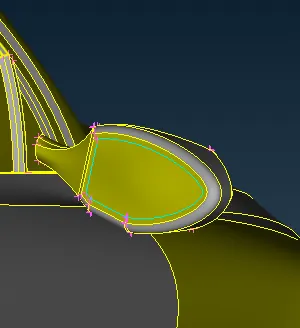
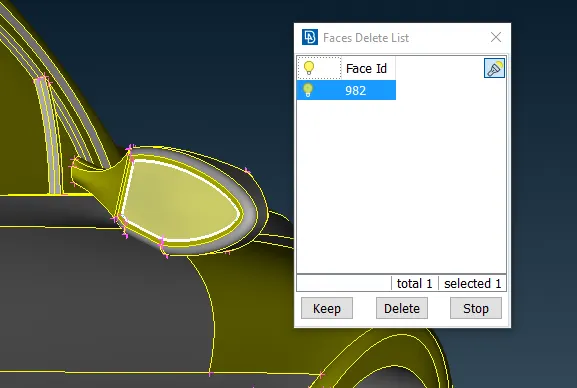
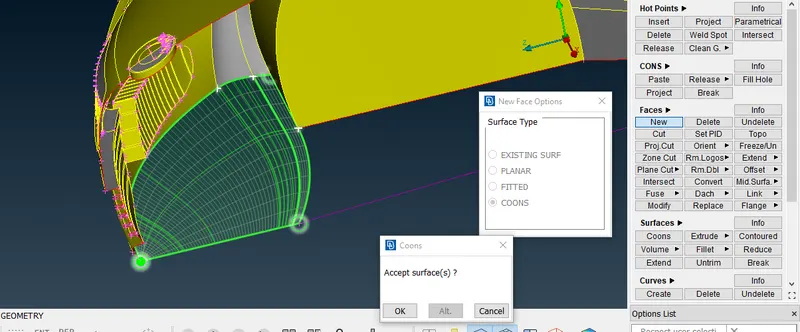
57.now we will work on the side mirror delete the surfaces which are causing triple con there are some overlapping surfaces are present delete those surfaces and then using coons create new surface
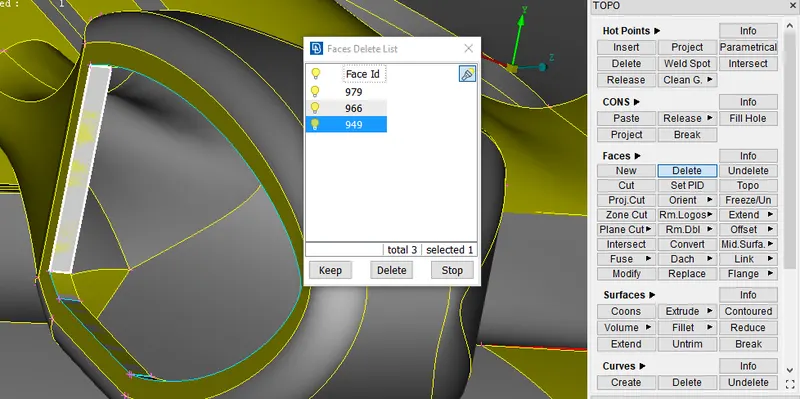
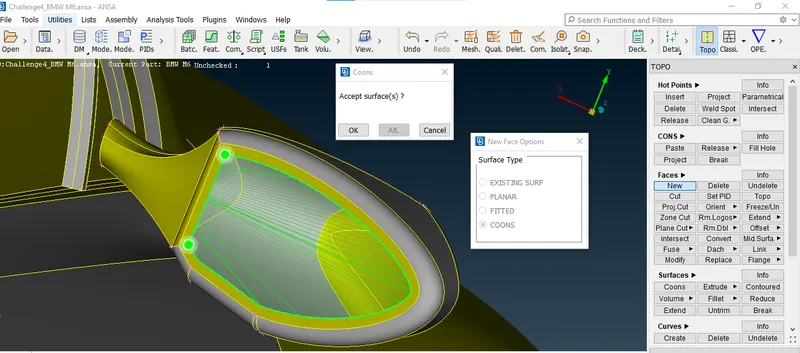
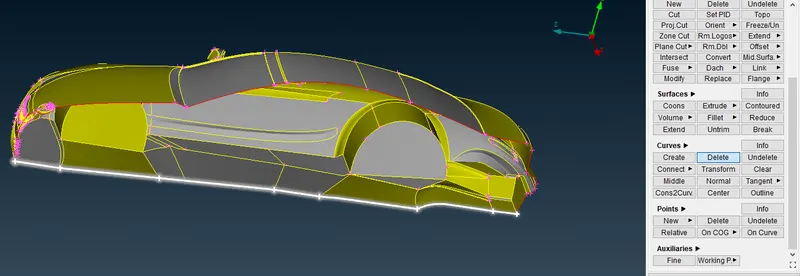
58.NOW WE HAVE TO WORK ON THESURFACE SHOWN BELOW WE WILL project thet surface on the body then we will delete the surface so it will not cause a intersection error
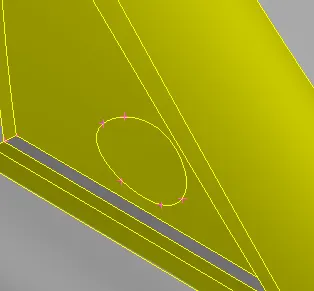
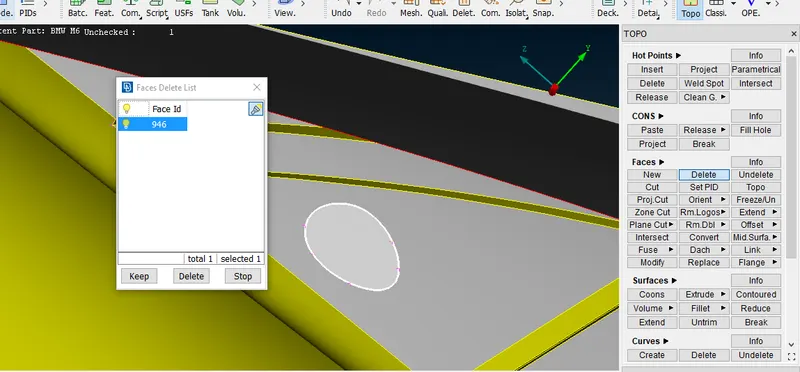
59.we run checks manager to see how many errors are still there
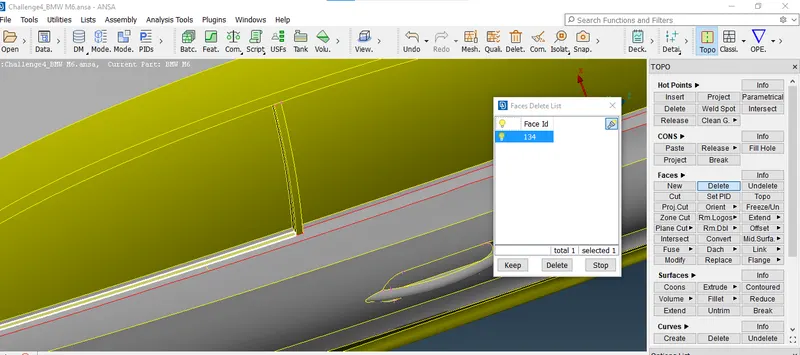
60.now we are going to work on the rear tail lightwe will delete unnecessary surface here
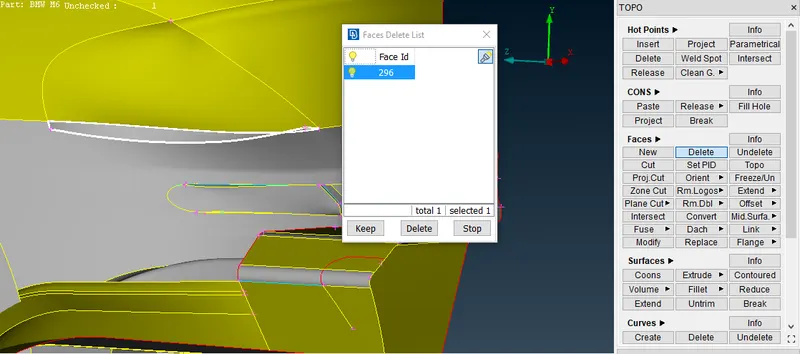
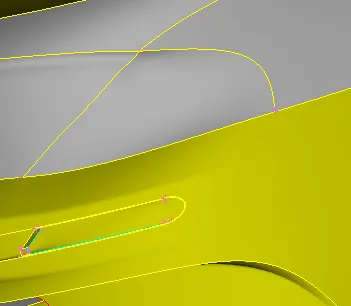
61.now we will work on lower part which is showing blue con for that we will delete the extra surface after deleting extra surface we can see below the blue con is gone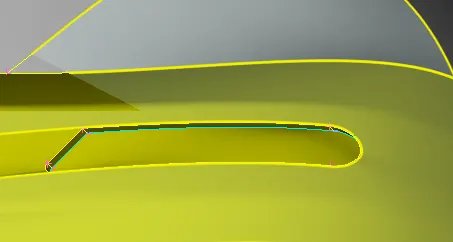
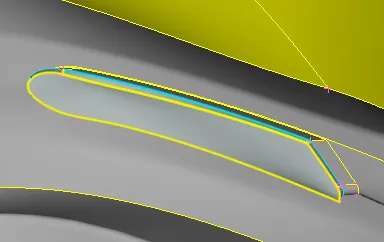
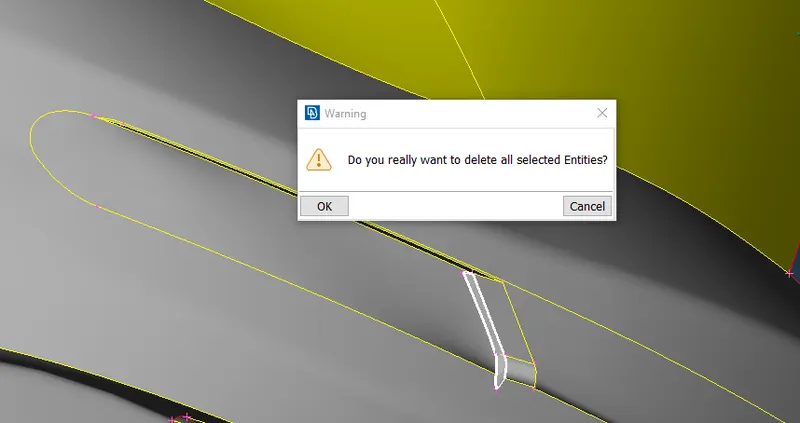
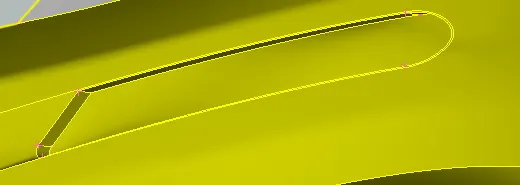
62.now we will work on the part shown below we will try to eliminate the blue con there by deleting the surface as shown below
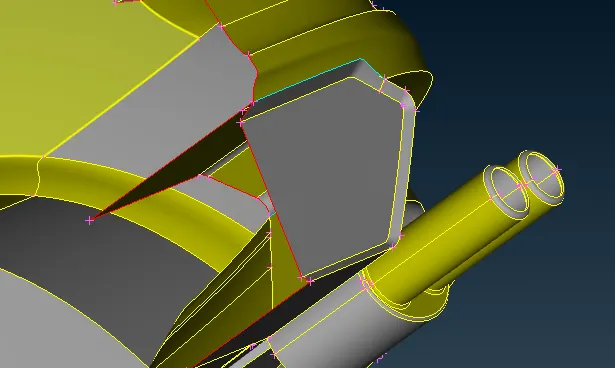
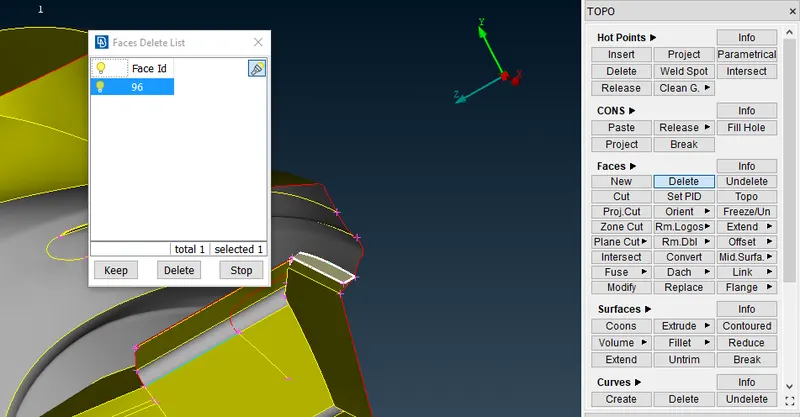
63.now we will start working on this surface first we will make cut then we will delete those surfaces after deleting those surfaces we just have to generate new surfaces as shown below
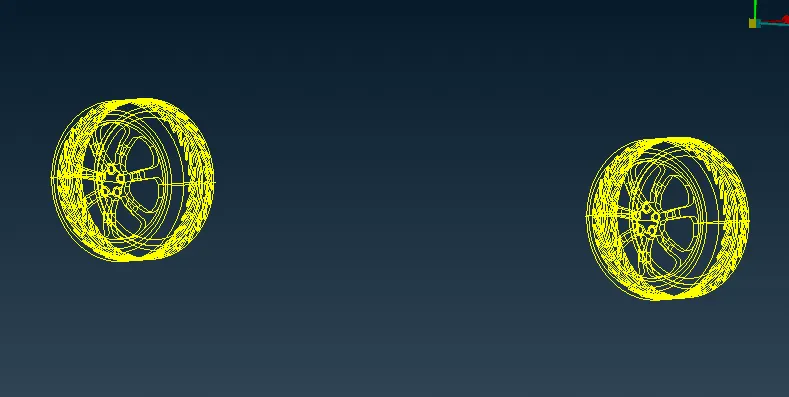
64.now we will move to floar cleanup for floar cleanup we will hide the tyres first using not option
65.as you can see below we have to clear these surface which are causing intersection error for that first we will use cons2curve option that will give us a boundry so even after deleting the surfaces we can generate them
66.we are starting with this part as shown below we will delete those part which are causing intersection
67.for the part shown below we are going to use the intersection option and then delete the faces
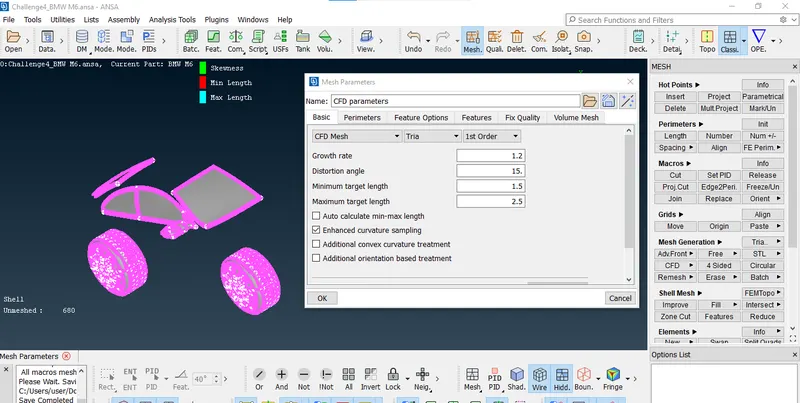
68.now for blue cons make a cut and the delete that part
69.now we will generate the surfaces as shown below
70.there are some small surfaces which will cause a intersection error we have to delete those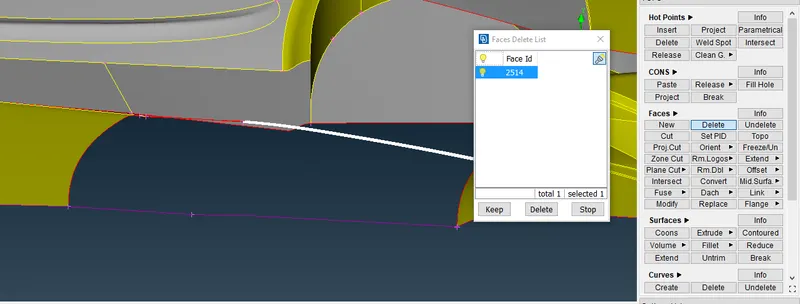
71.now we will work on front tyre portion here we have to delete some surfaces
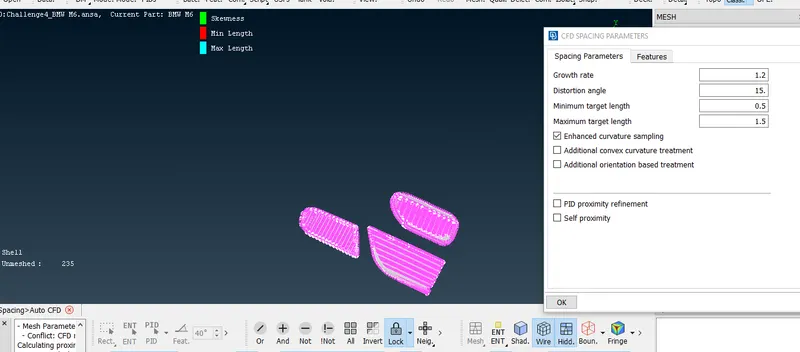
72.after deleting surfaces we will create a new surfaces as shown below
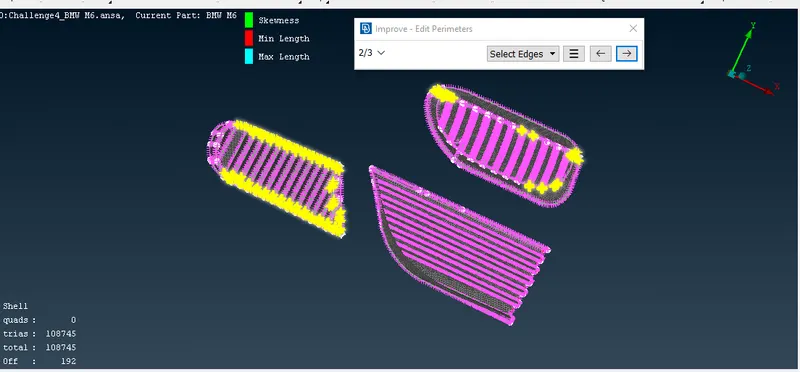
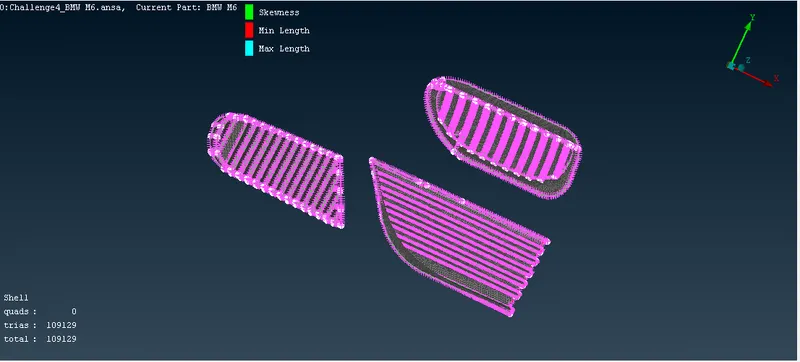
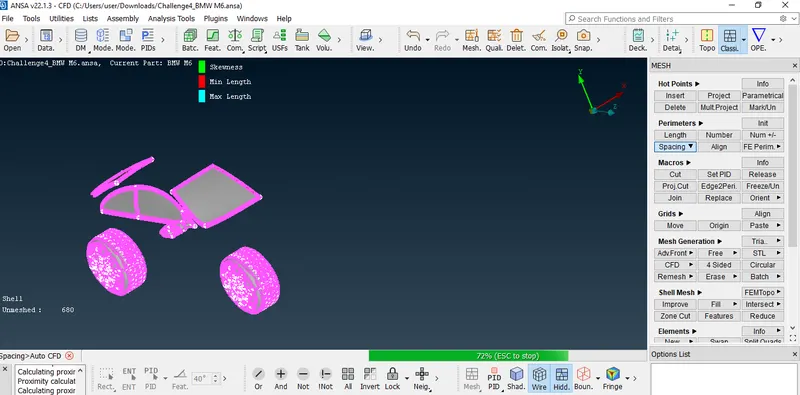
73.now to delete the curves we will use delete option from curve section yhen select curve and delete them
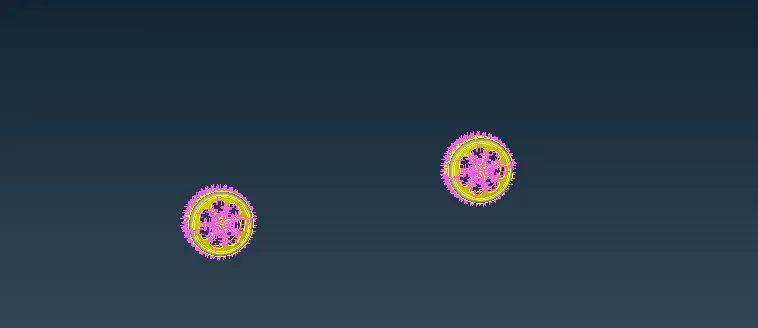
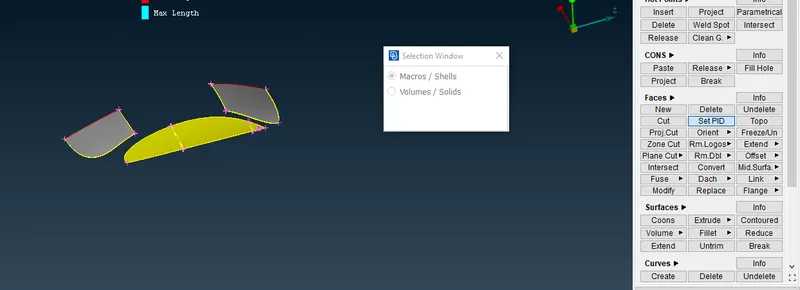
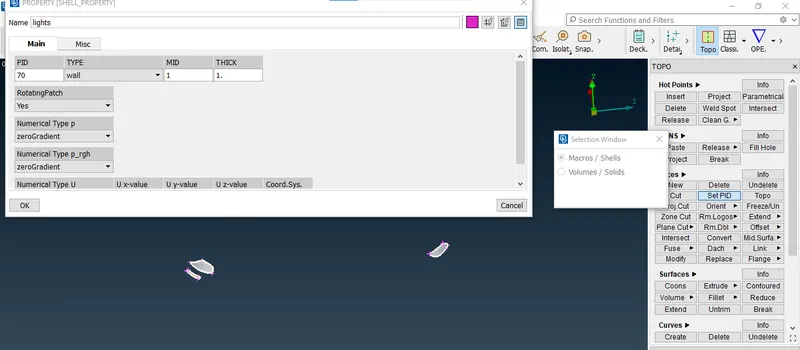
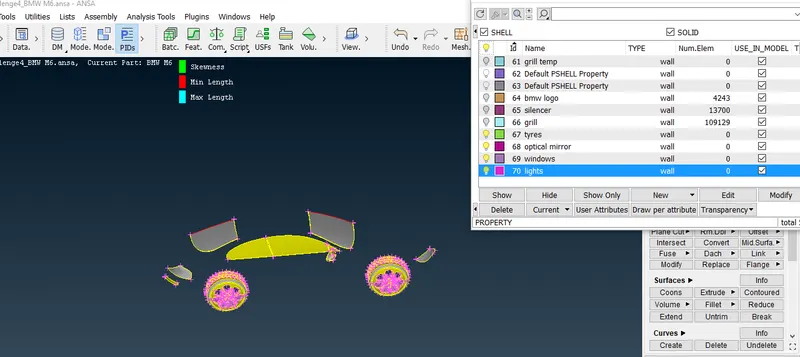
74.as we do geometry check we can see there is one intersection error and warnings in geometry
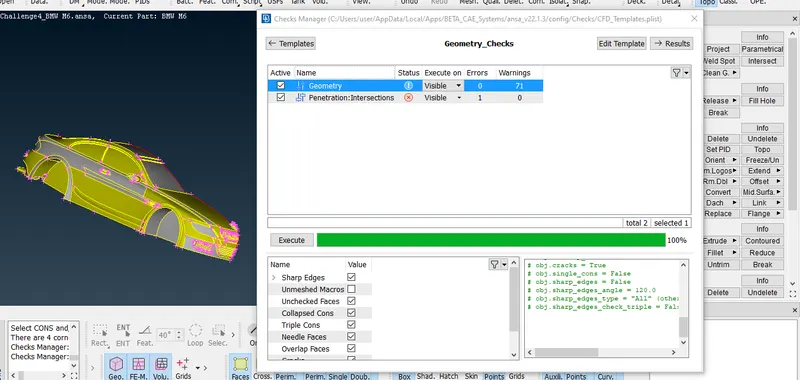
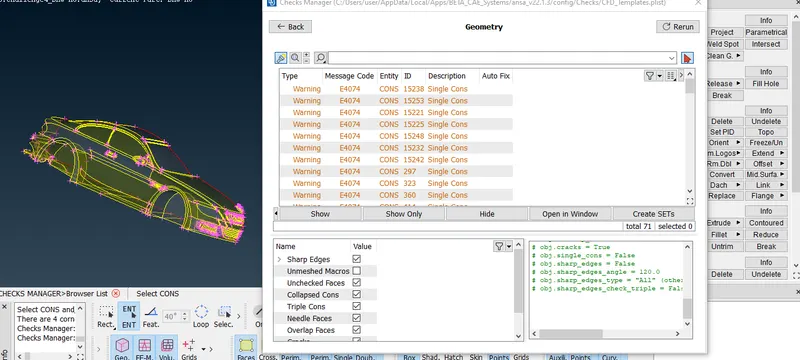
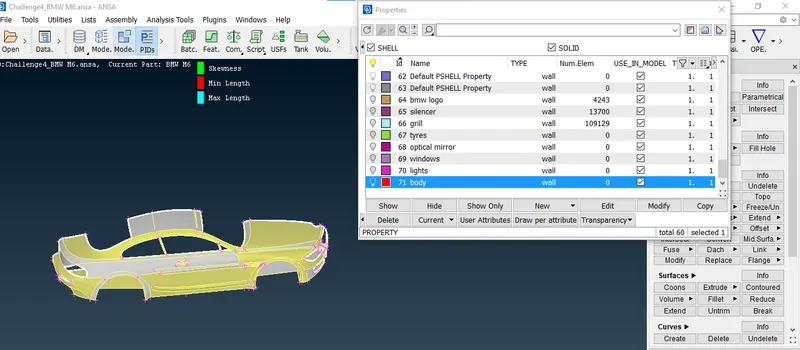
75.now we will work on that intersection error which is highlighting as shown below we will delete the intersecting surface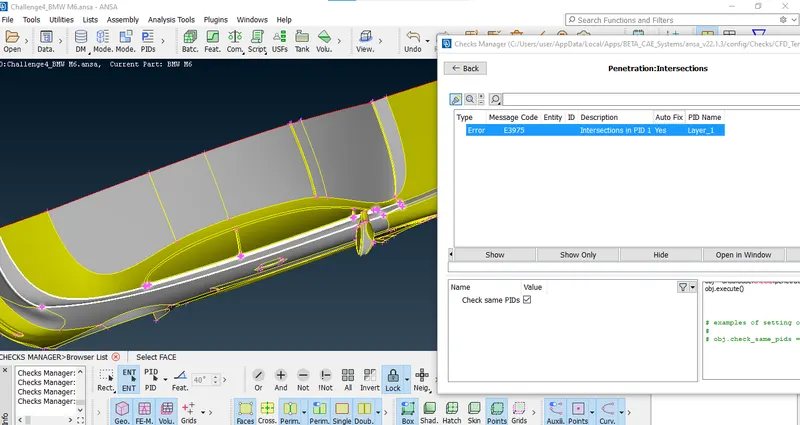
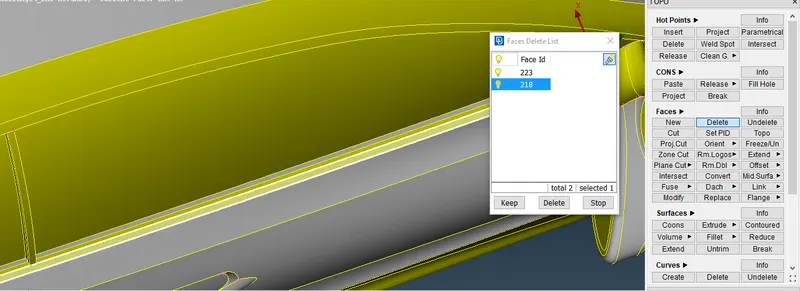
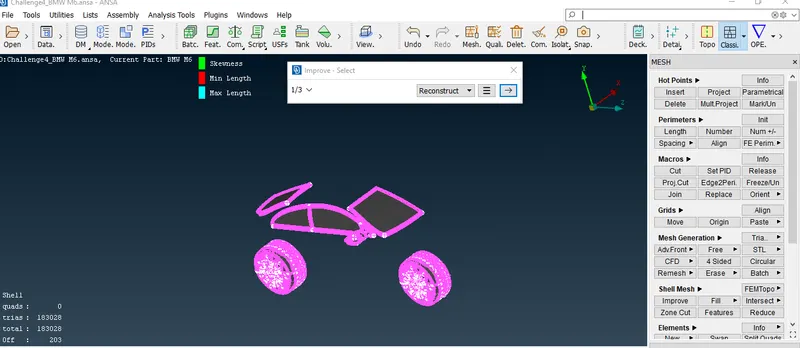
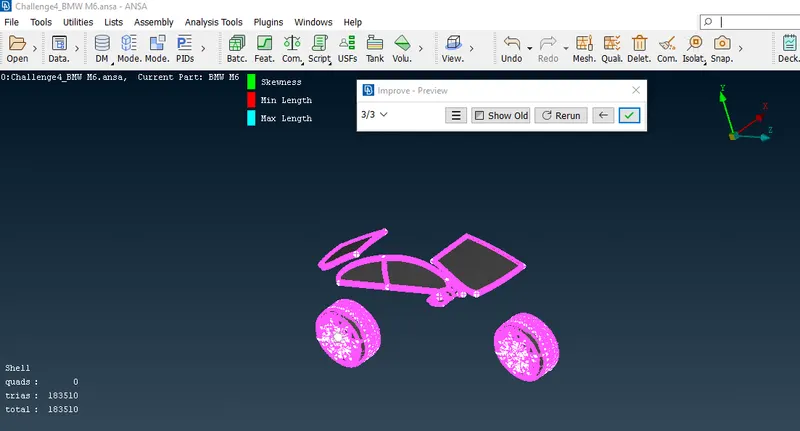
76.then by using coons generate new surfaces create hot points if needed reamining small surfaces can be created by fill holes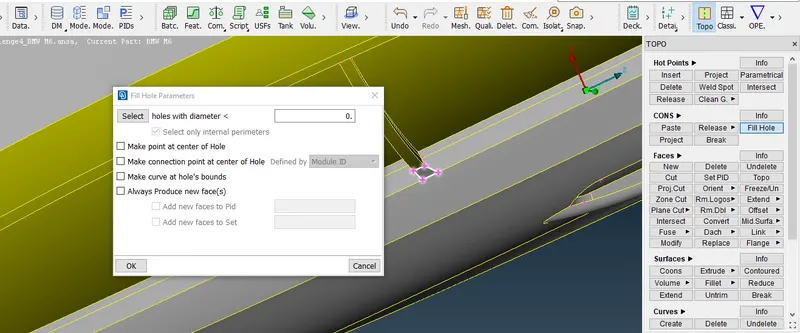
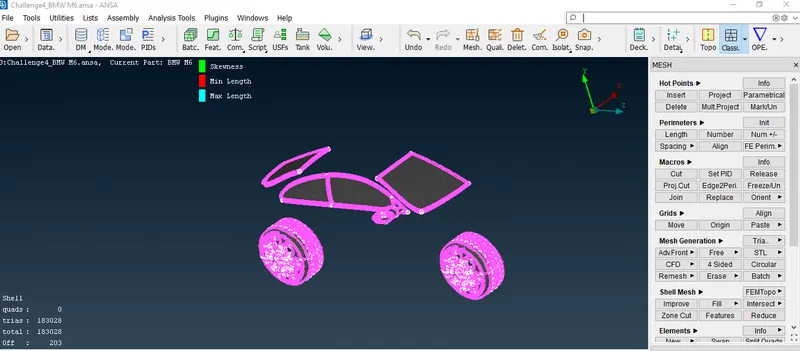
77.as we run check manager we can see that tyres has a intersection error as shown below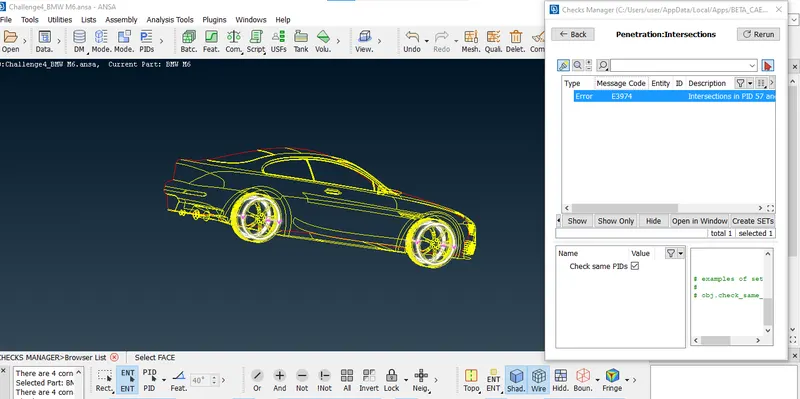
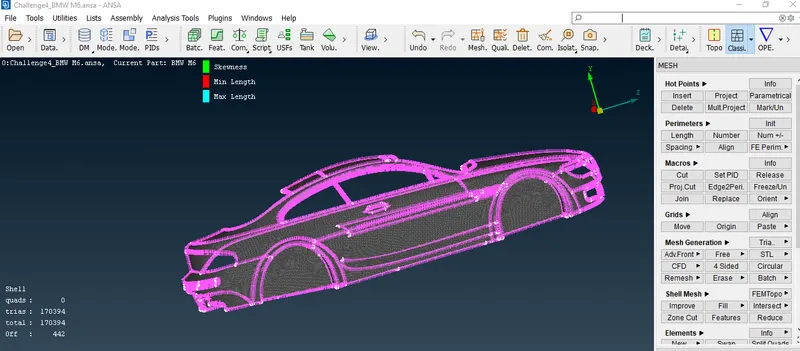
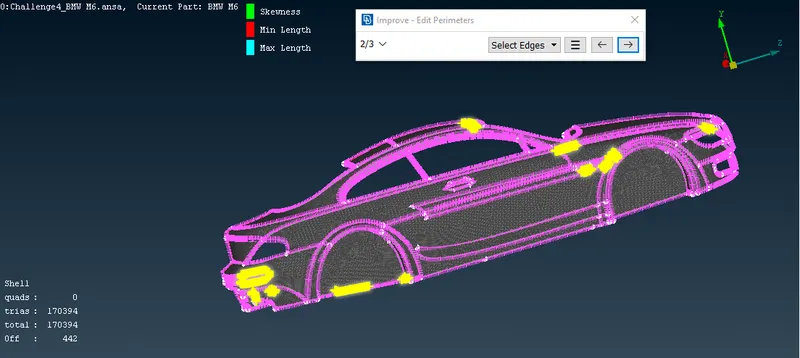
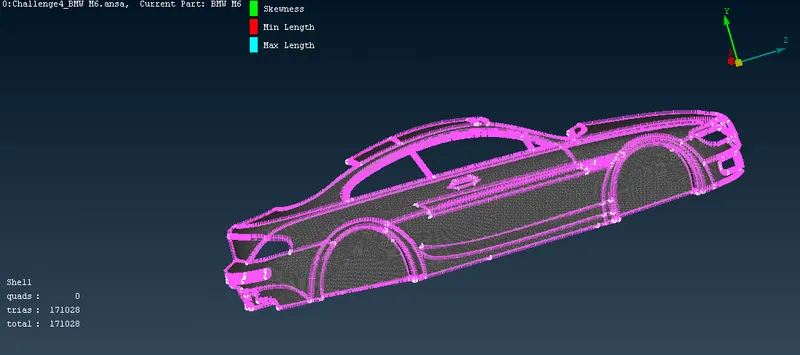
78.now remove that bluecon we will delete the exrta surfaces as shown below so it will remove the triple con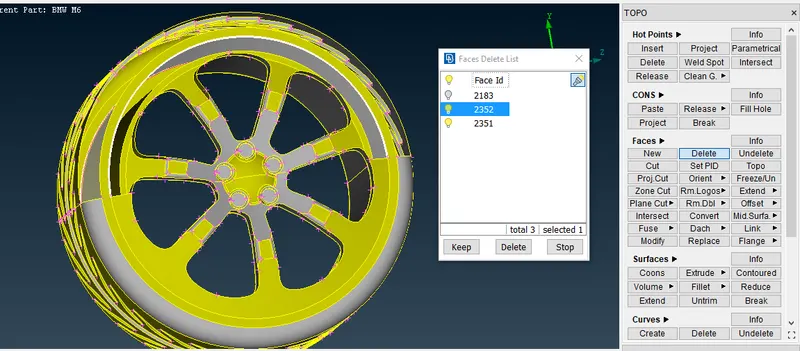
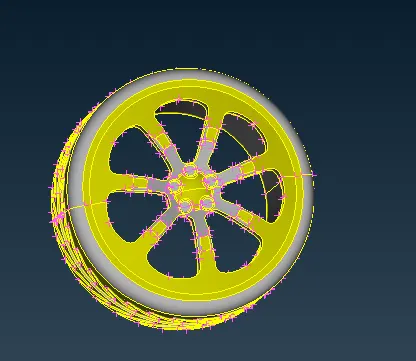
79.deleting the surface will cause ared con as shown below we will create a surface using coons option
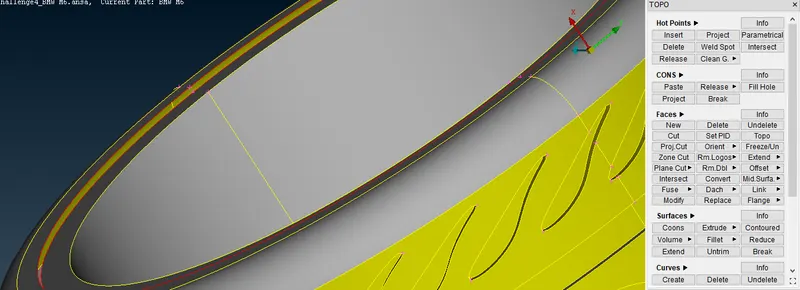
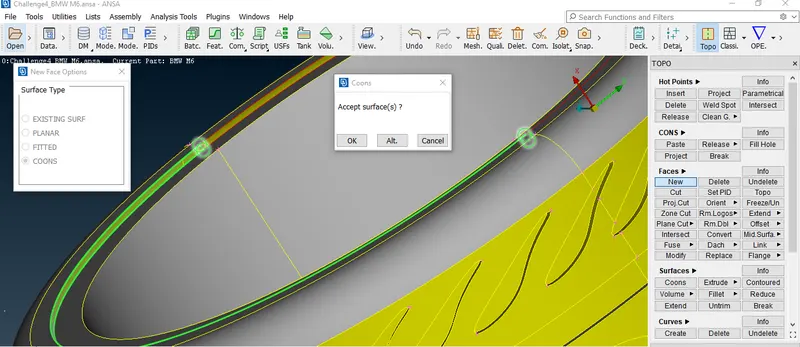
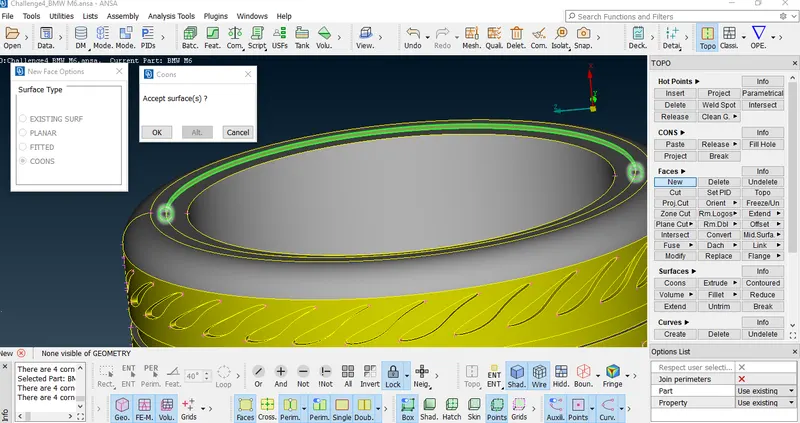
80.after repeating same procedure for another tyre as you can seethere is no error in tyres
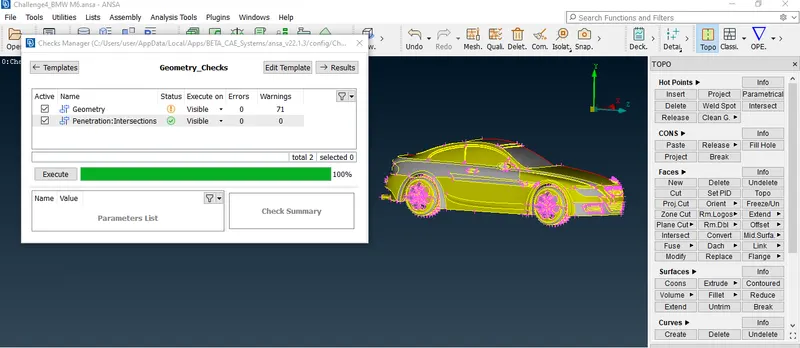
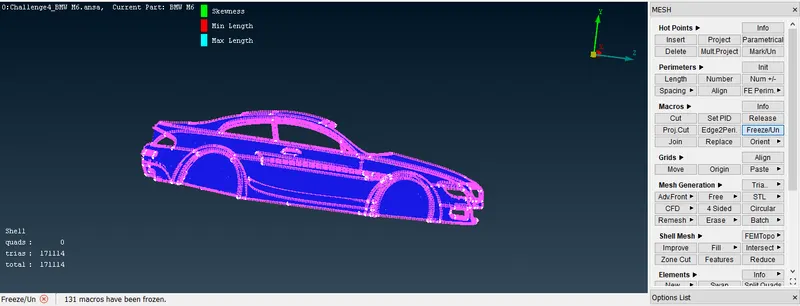
81.now we run check manager as we can see there are no errors
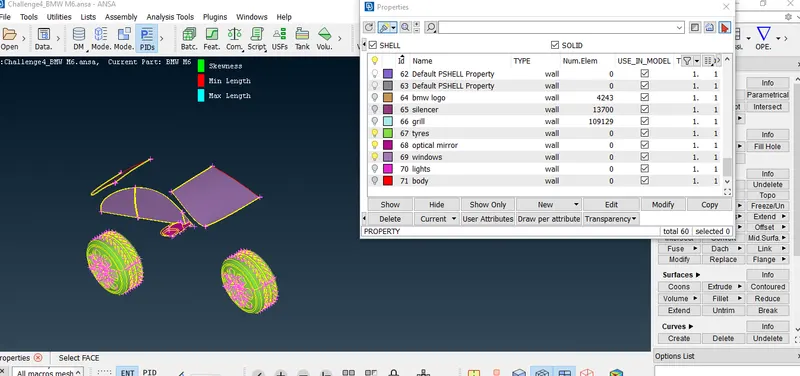
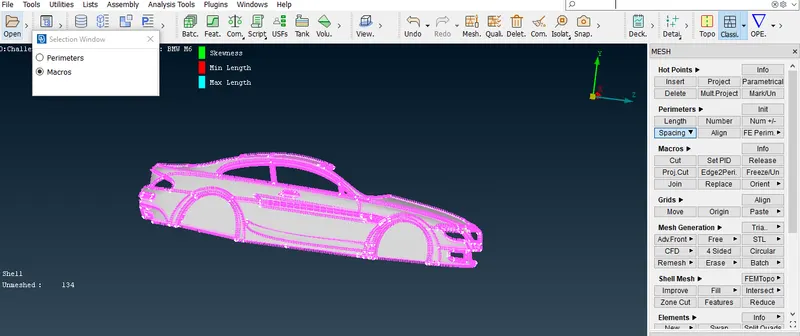
82.now we can start meshing we will start meshing with logo first isolate other parts just keep logo assign PID to the logo using set pid option
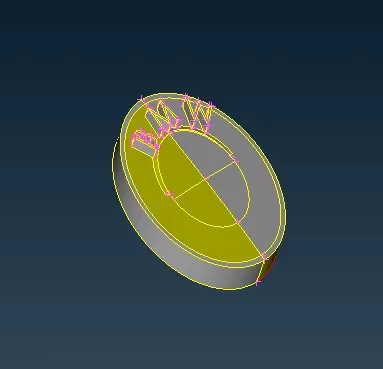
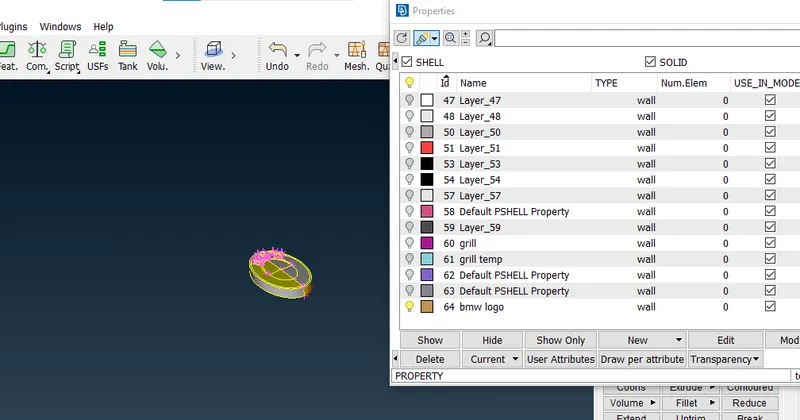
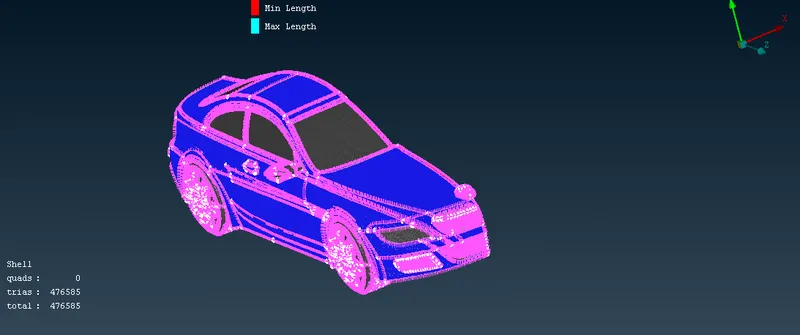
83.after assigning the PID we will give mesh parameters and quality criteria and then auto cfd then we will make cfd visible but there are some off elements we will get rid of those elementsusing improve-reconstruct option as shown below
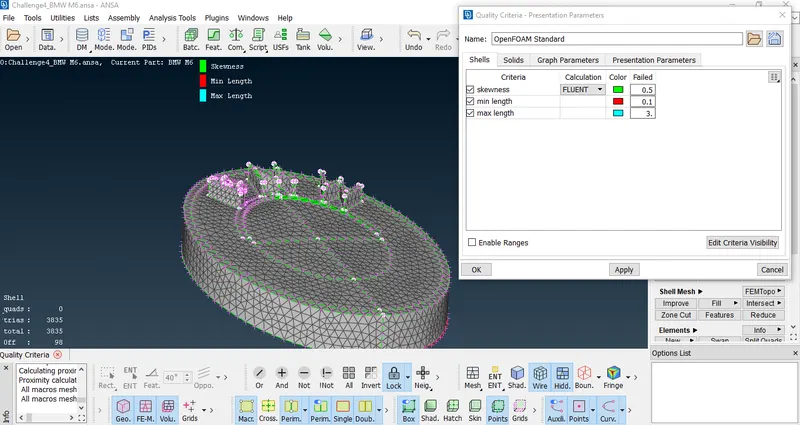
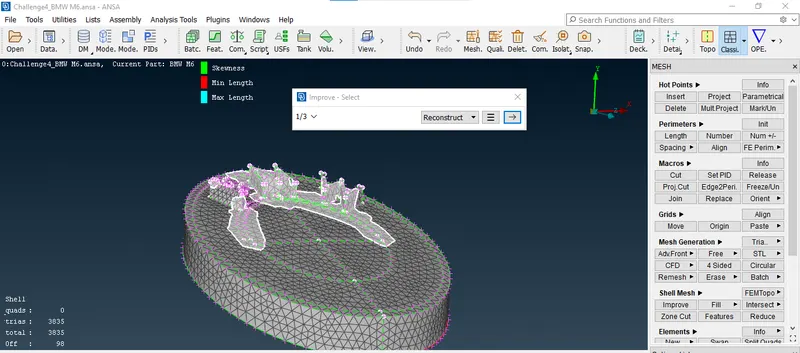
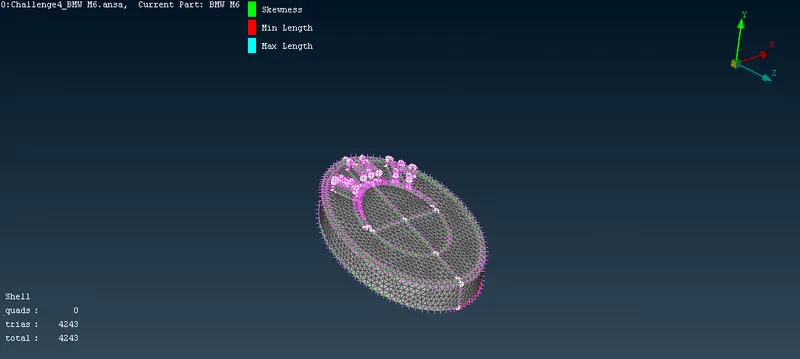
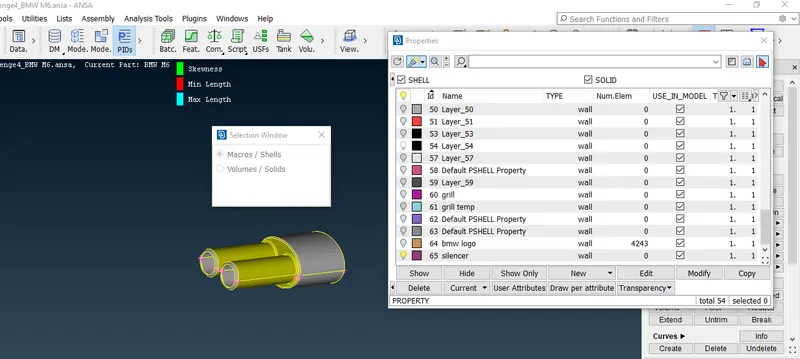
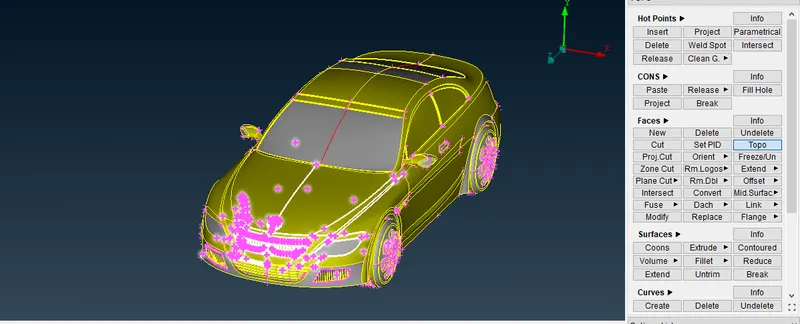
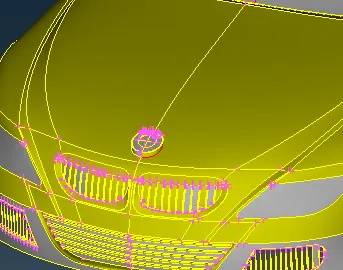
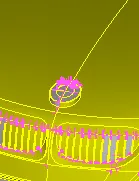
84.now we will mesh silencer we will assign pid the give the mesh parameters and quality criteria as shown below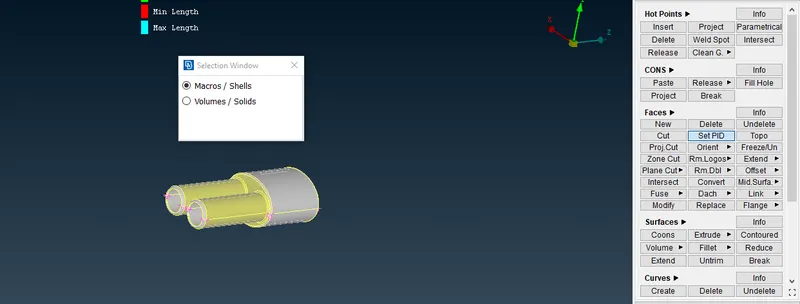
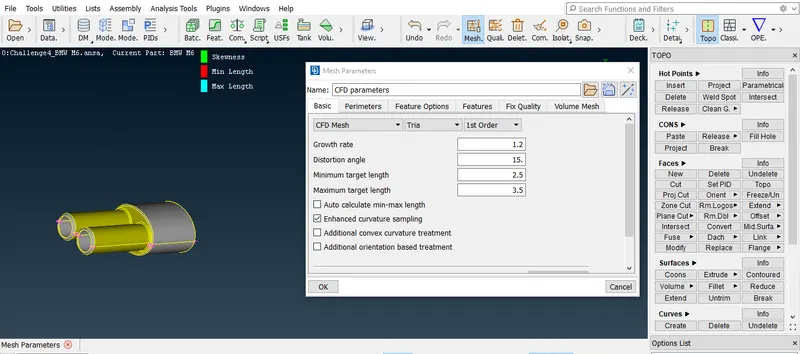
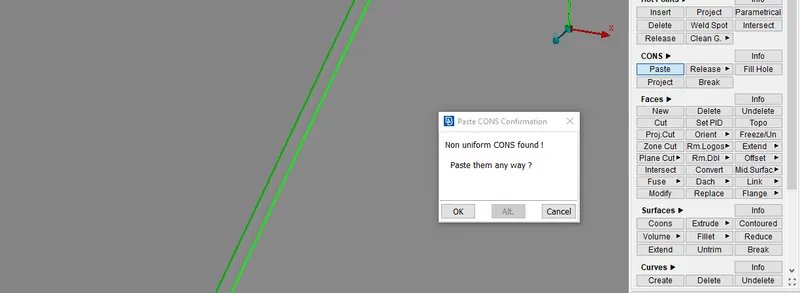
85.now we will use autocfd for meshing we can see there are some off elements by using improve-reconstruct optin we can get rid off those elements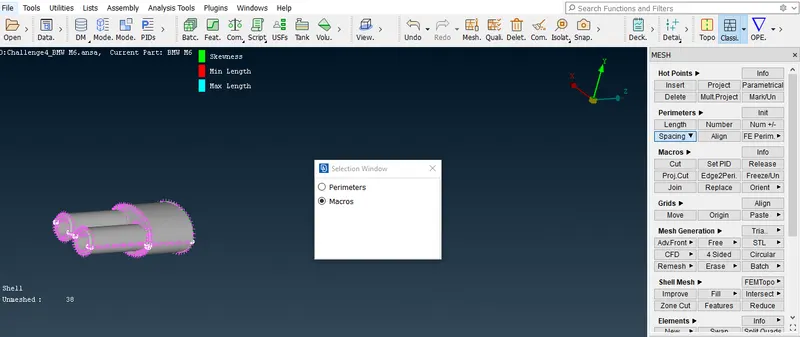
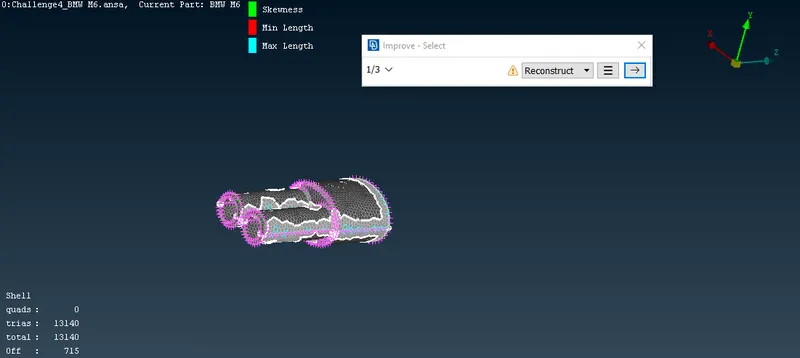
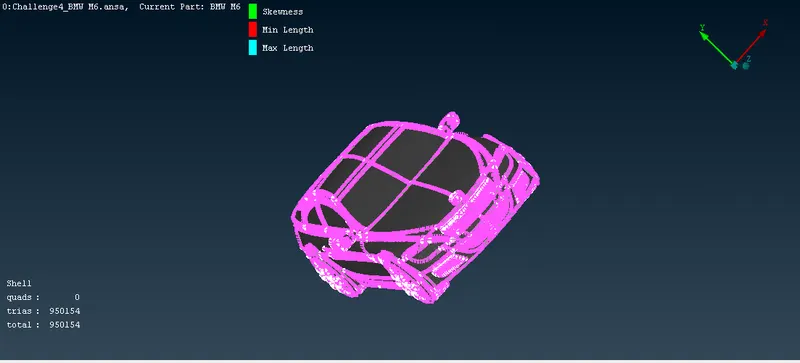
86.now if we change our quality criteria according to entire geometry the remaining off elements will be gone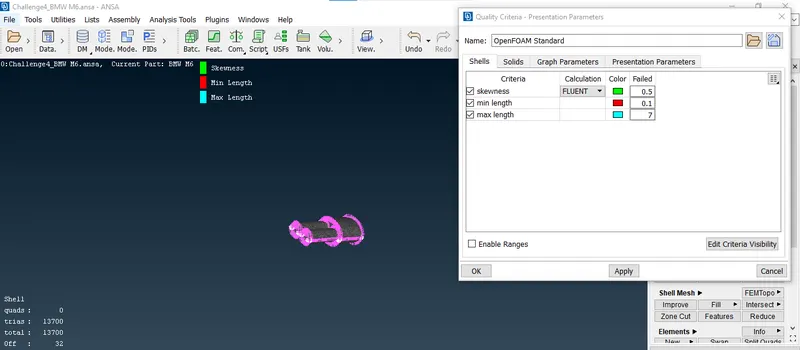
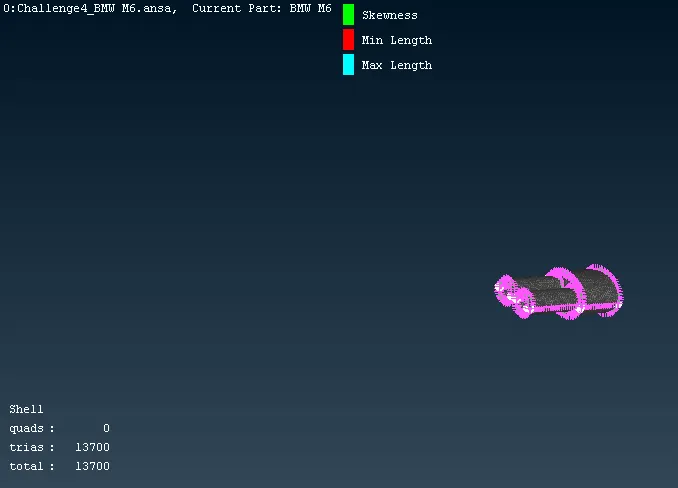
87. as we move to grill part first we will isolate the grills using inot option then we will assign those grills a PID using set pid option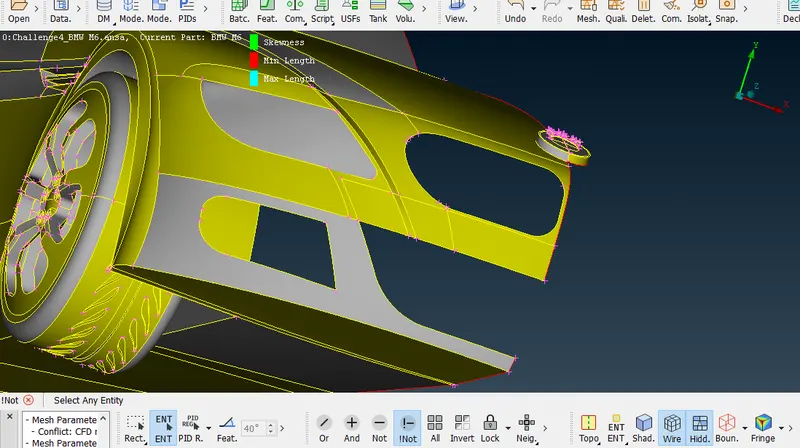
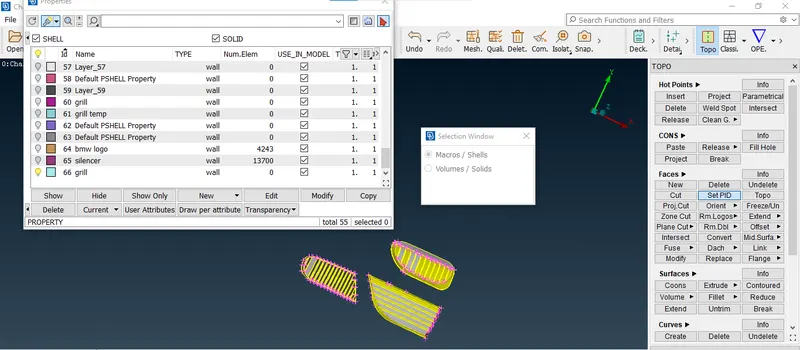
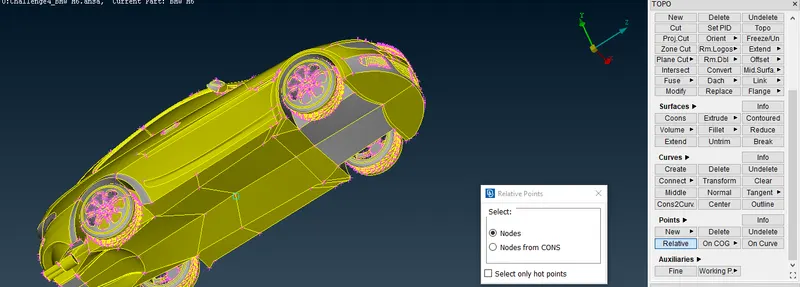
88.after this we will give the meshing parameteraccording to target length then perform auto cfd as we can see there are some off elements here again usng reconstruct option we can get rid of off elements as you can see below
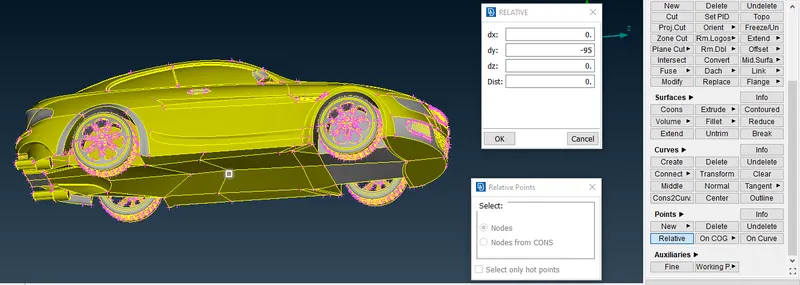
89.as we proceed further we will assign the pids to the remaining parts as shown below
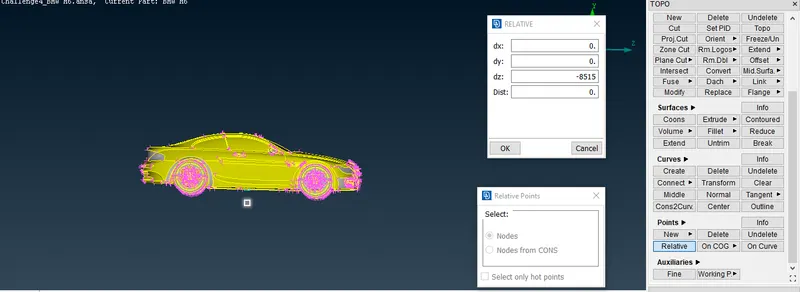
90.we will assign the final PID which is body as follow
91.as we know the target length for windows,tyres,and rear view mirror is same so we isolate them and provide meshing parameters perform auto cfd we can see there are some off elements
92.as we perform reconstruct option we can see the off elements are gone
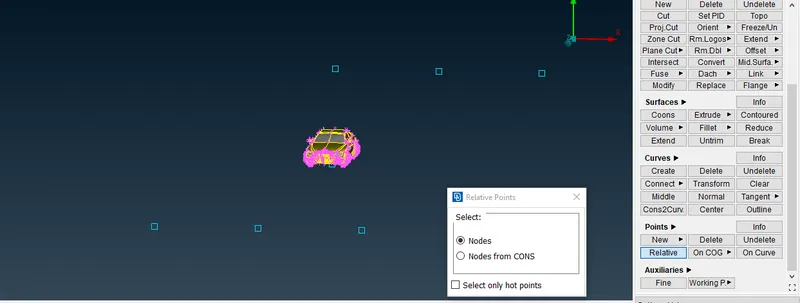
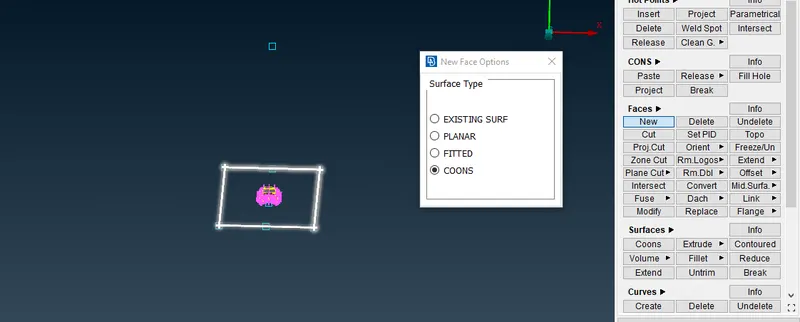
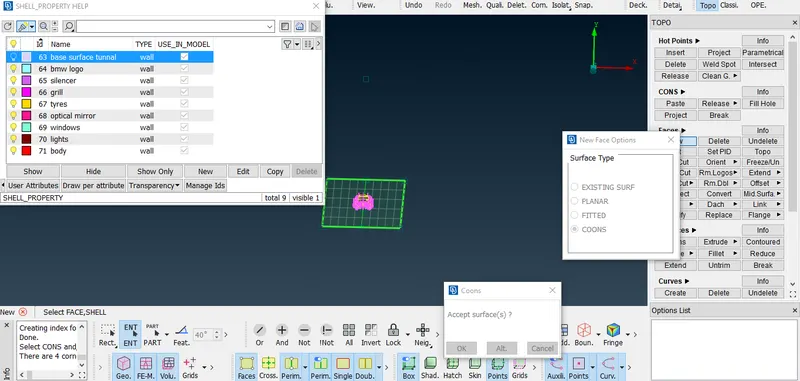
93.now we will work on body after providing mesh parameters we can see some off elementsare there we will clear those using reconstruct option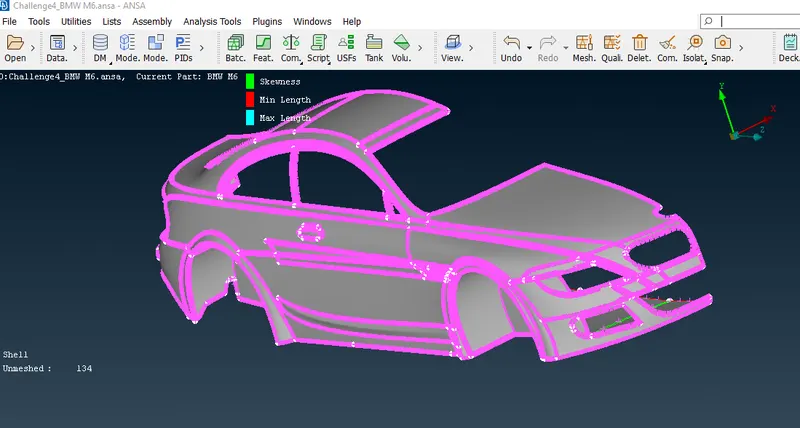
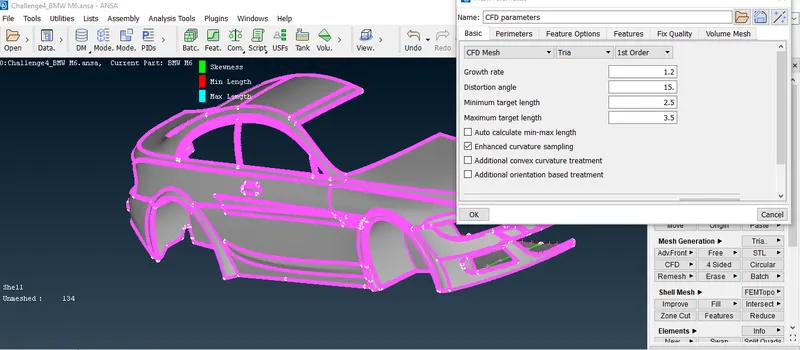
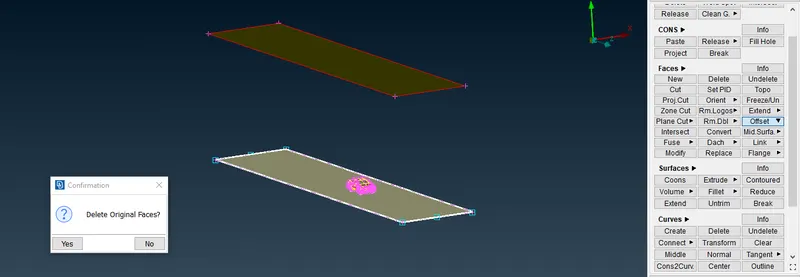
94.now we willwork on the lights isolate them give mesh parameters and perform auto cfd then by performing reconstruct get rid of off elements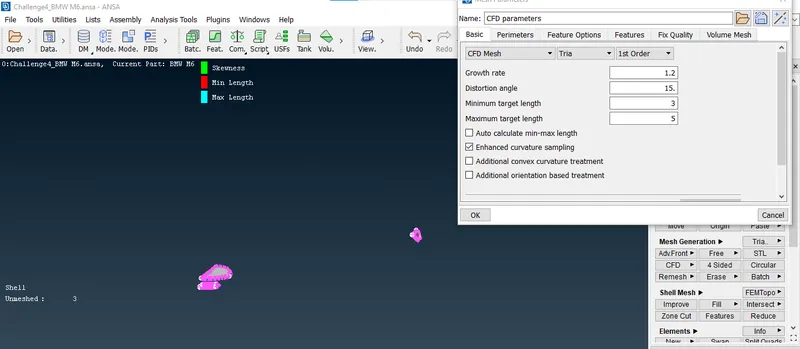
95.as you can see due to different target lenghts some parts remain unmeshed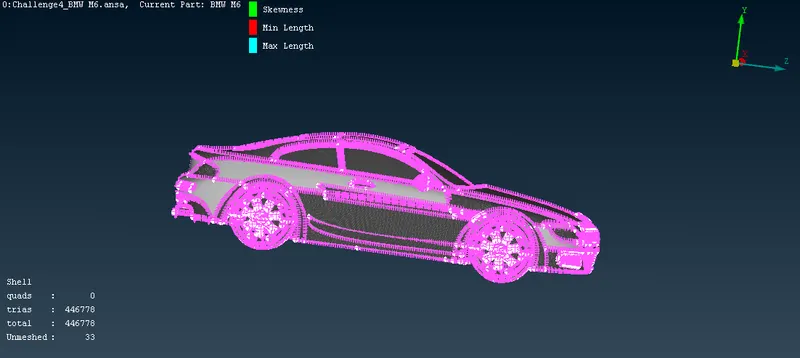
96.isolate the body perform meshing again get rid of off elements and by using freeze option freeze the meshing so it wont move or change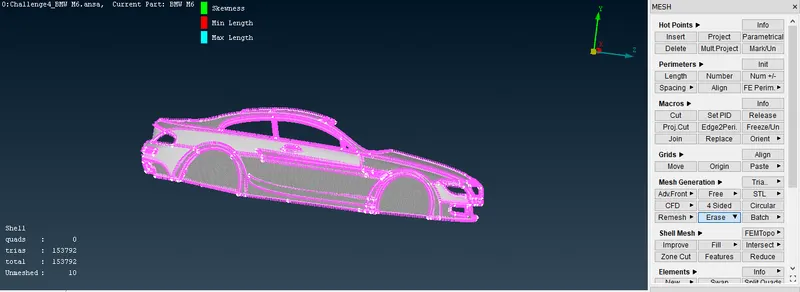
97.other than freeze option we can use free mesh as well as shown below then perform reconstuct to get rid of off elements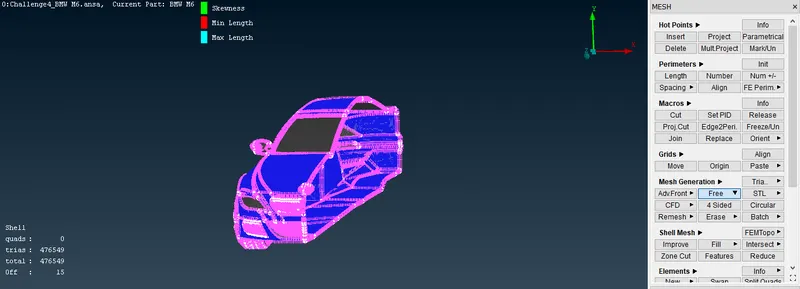
98.now we will create other half of the bmw car using transform and then mirror 3 point plane as showm below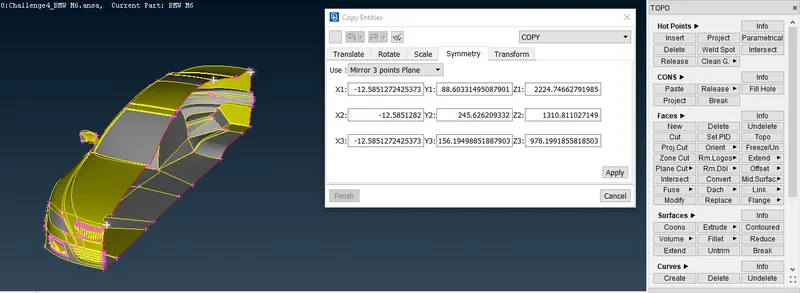
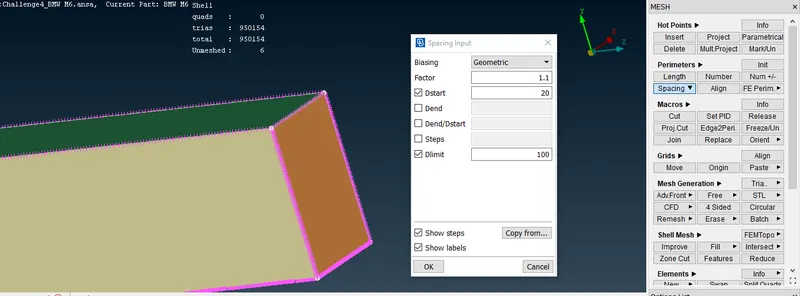
99.as there are some red cons present there first perform topo to eleiminate red cons
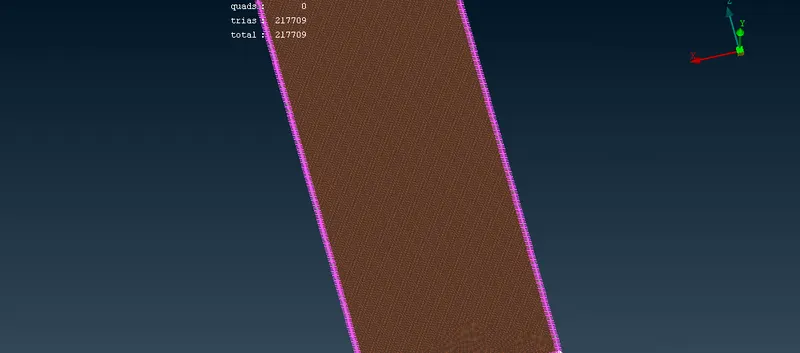
100.for other two red conswe are going to use paste option as there are two red cons are present nearby we can eliminatethem by uniting them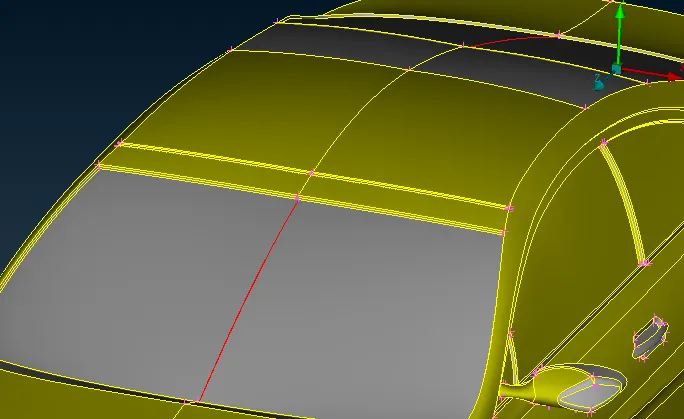
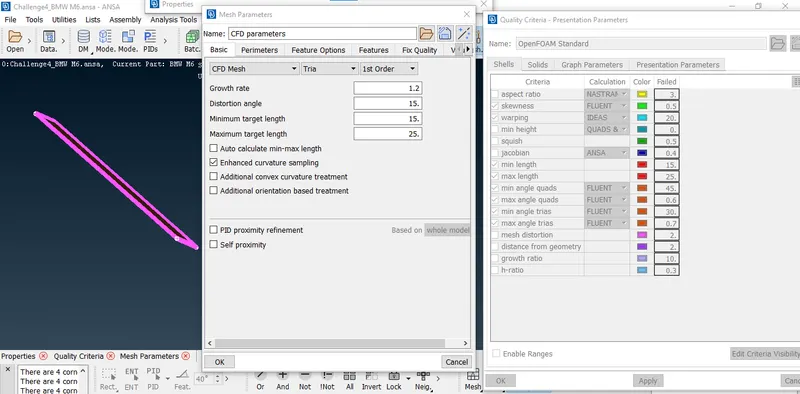
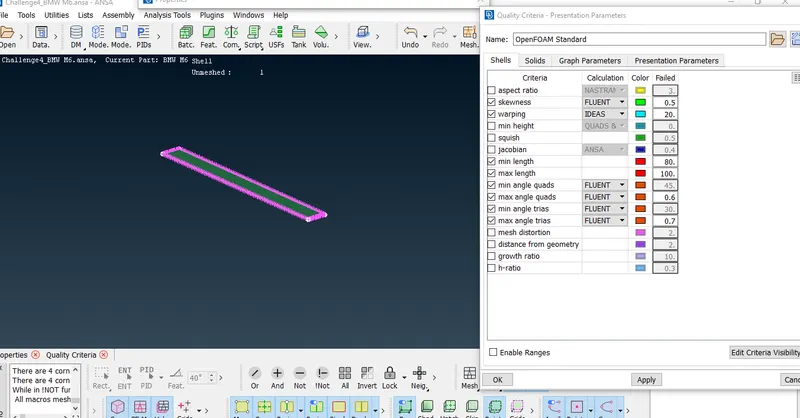
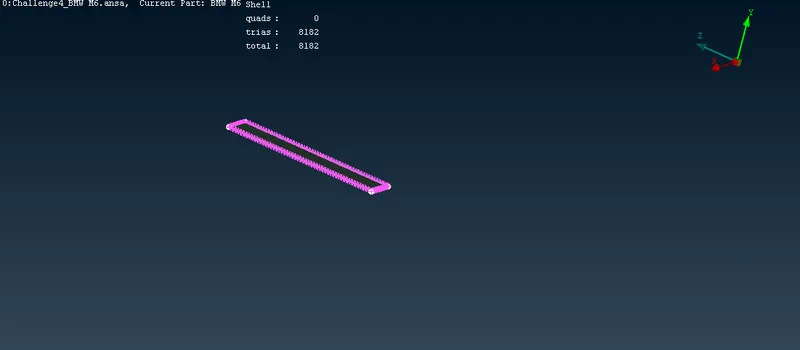
101.as you can see there is no off elements are prersent
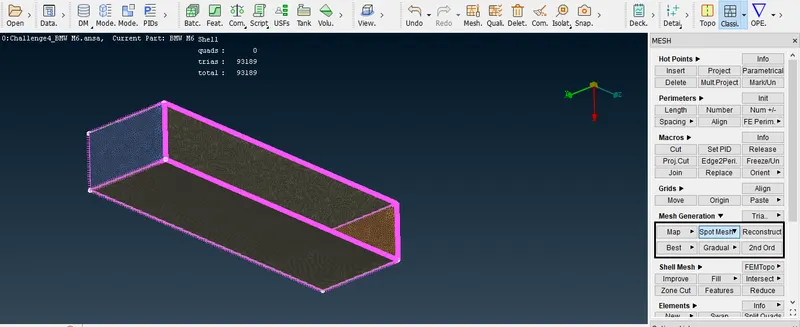
102.now we are going to create a wind tunnel for car geometry
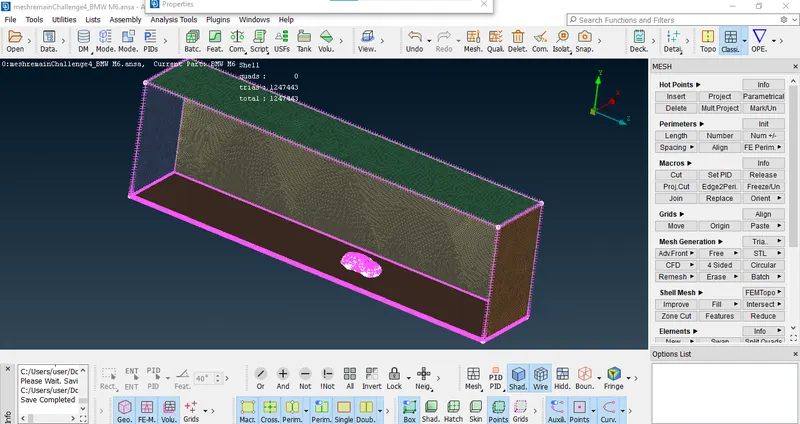
103.using points-relative option we will create a midpoint as shown below(x=1310)
104.as shown below we will create a point on y axis as shown in picture(X=1310)
105.now we will create points on z axisfor front side of car its 4x distance n for back of car its 6x distance as you can see in picture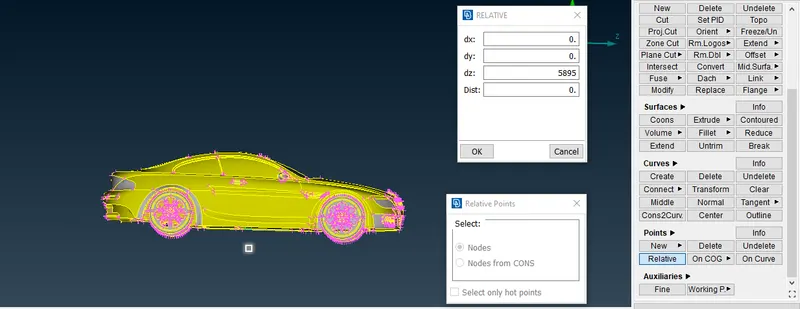

106.now we'll create a top point by same process like above here the distance for top point is 3x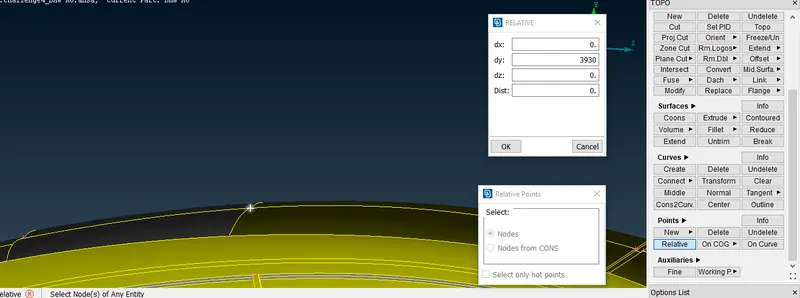
107.now we will create side points whose distance is x by same peocedure like above we have to create points on both sides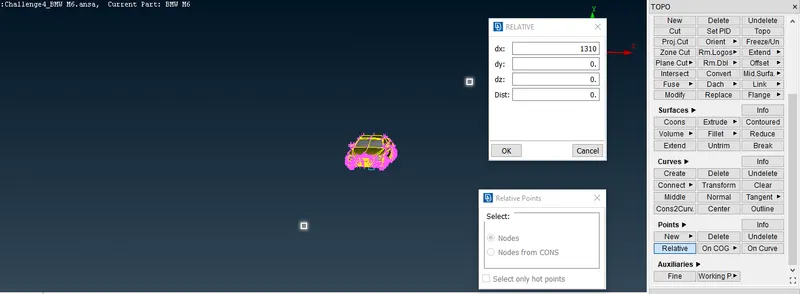
108.using curves-create option we will create curves and then by using coons we'll create a bottom surface and assign pid to it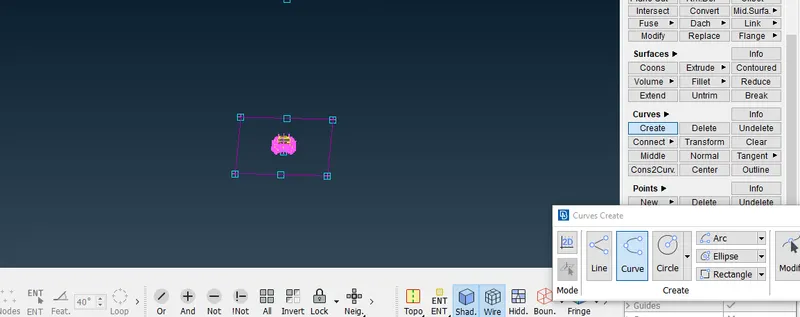
109.we will create a upper surface using offset option as shown in picture
110.now we will create side walls using coons option
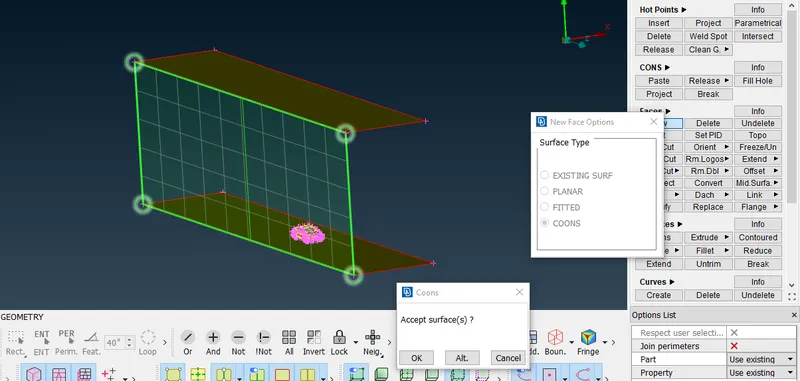
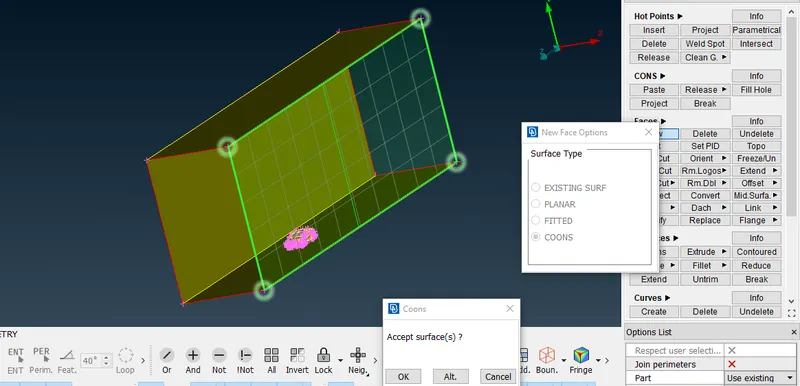
111.wind tunnel will look like this we have to assign pids to the wind tunnel
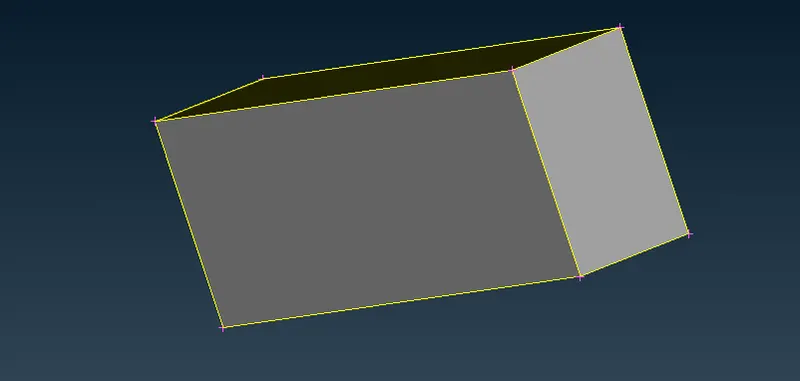
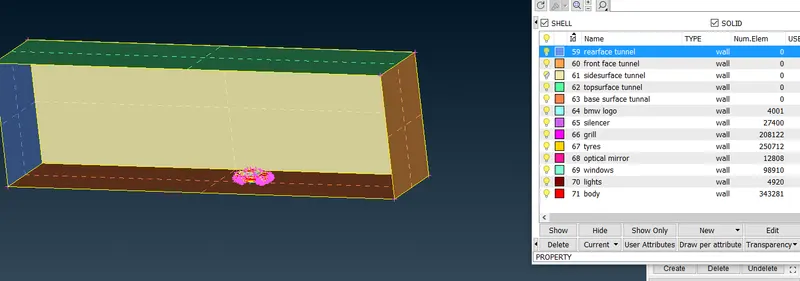
112.now we will give the perimeter length and macros to the upper surface as shown in picture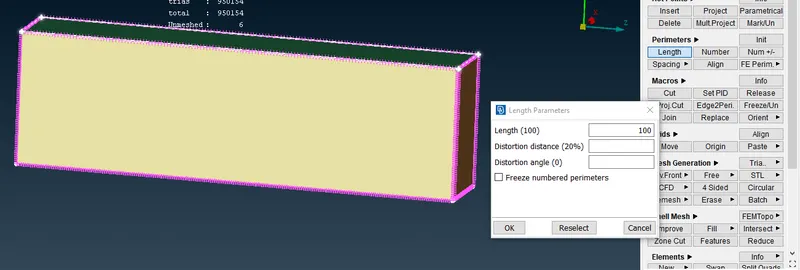
113.for base surface we will give the perimeter and macros 20 as shown in figure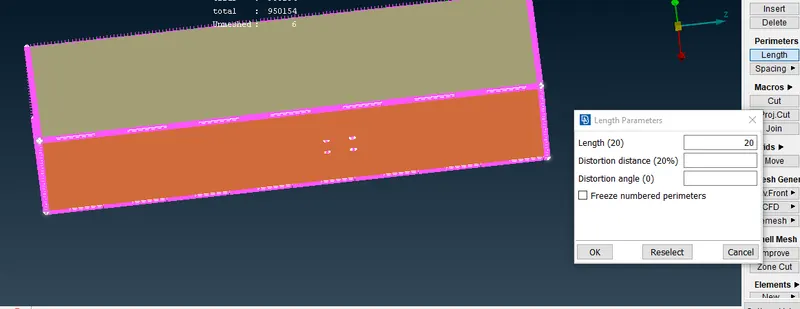
114.for front face we will use spacing option to give limits as per our fit
115.now we'll mesh the bottom surface
116.now we will mesh upper surface by same above procedure
117.after meshing upper and bottom surface we'll mesh remaining surfaces of wind tunnels as shown below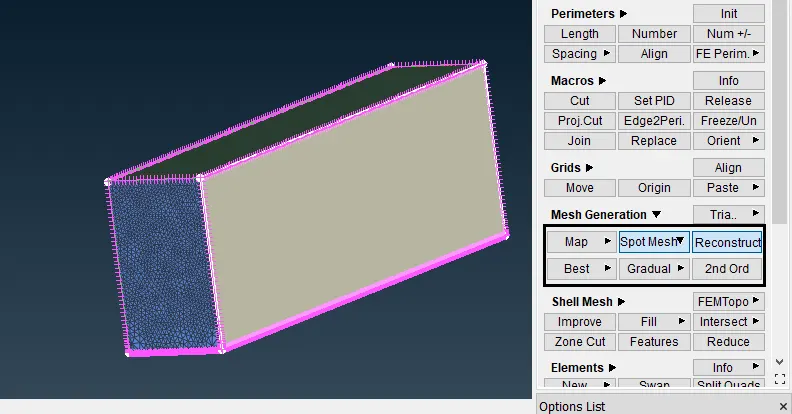
118.finalyour model will look like this after doing all the surface meshing we are not going for volumetric mesh because of laptops limits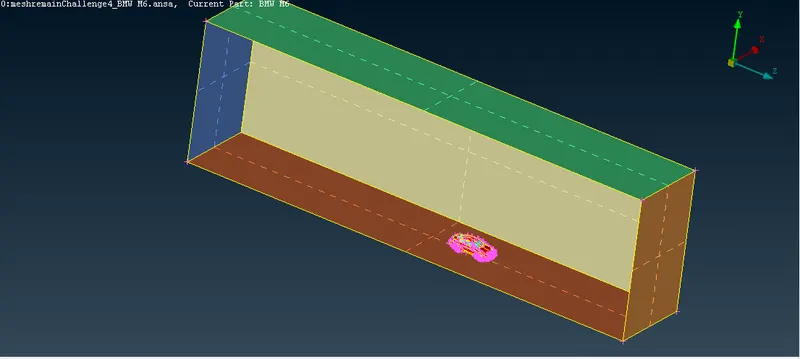
LEARNING OUTCOME-
in this challenge we have learn to how to deal with complex and big geometry like bmw car how eliminate off elements to perform different opertoins like freeze,spacing and many more
RESULT-
as we have cleared all geometrical and intersection error and after performing surface mesh and getting rid of off elements then creating wind tunnel oue model will look like this
CONCLUSION-
its important to check every small parts for errors and clear all the errors avoid off elements eliminate them
GOOGLE DRIVE LINK OF FILE-
https://drive.google.com/file/d/1wwsWEQpSH6-zyst_5GwDBalxtJUsCHNF/view?usp=sharing