Week 2 Challenge : Surface meshing on a Pressure valve
CHALLENGE 2- SURFACE MESHING ON PRESSURE VALVE
AIM-for this challenge we have given a pressure valve,we have to do geometrical and topology clean up and do the meshing in the 3 different lenghts (1mm,3mm,5mm)
PROCEDURE-
1)to start this challenge we have to download the pressure valve geometry file from the challenge section after downloading the geometry file open it using ansa software in the CFD mode it will open like this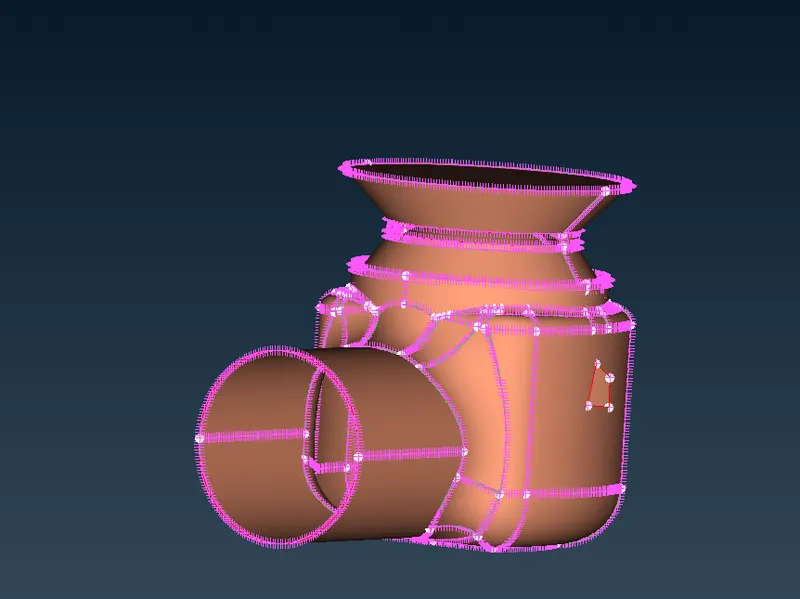
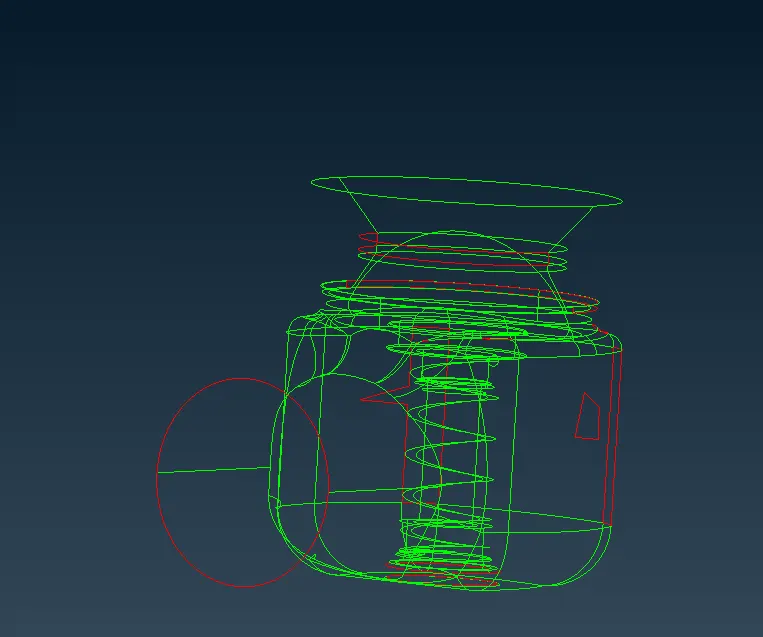
2)after dooing geometry check it'll show different errors like single cons,triple cons,penetration error like this
3)to eliminate this error we have to create the new surfaces we can do this with the help of this options *cons-fill hole & *faces-new-coons (in this option we get 4 options such as existing surface,planar,fitted,coons) we can use any option according to our convenience and as per need or whichever option seems to be fitted as per need
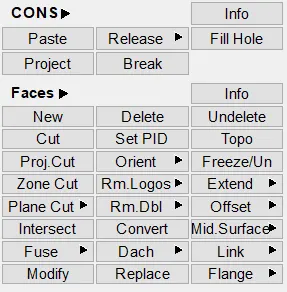
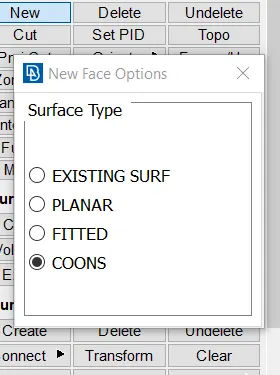
4)then we have to delete the unnecessary surfaces and cons(like triple cons)using "cut" or "delete" options after deleting unwanted surfaces and cons we'll face intersection error like this,all the geometrical errors are eliminated
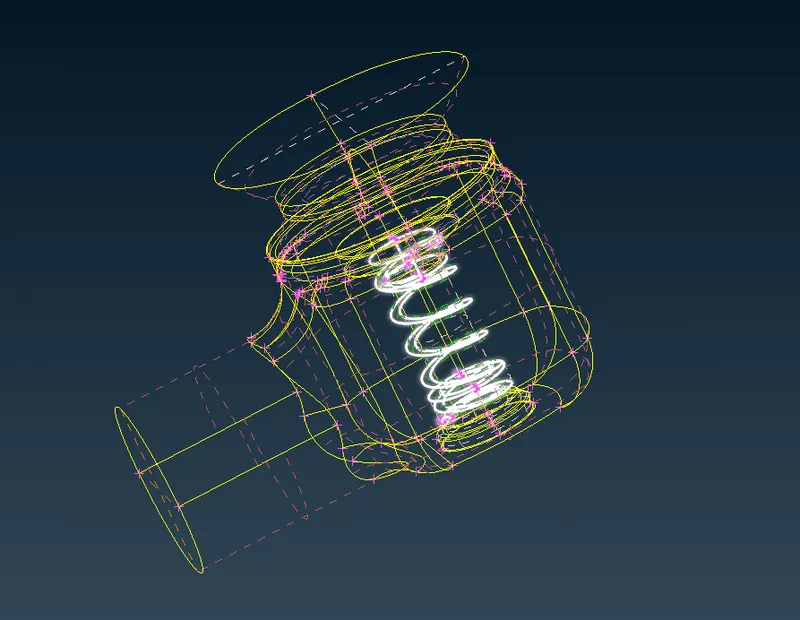
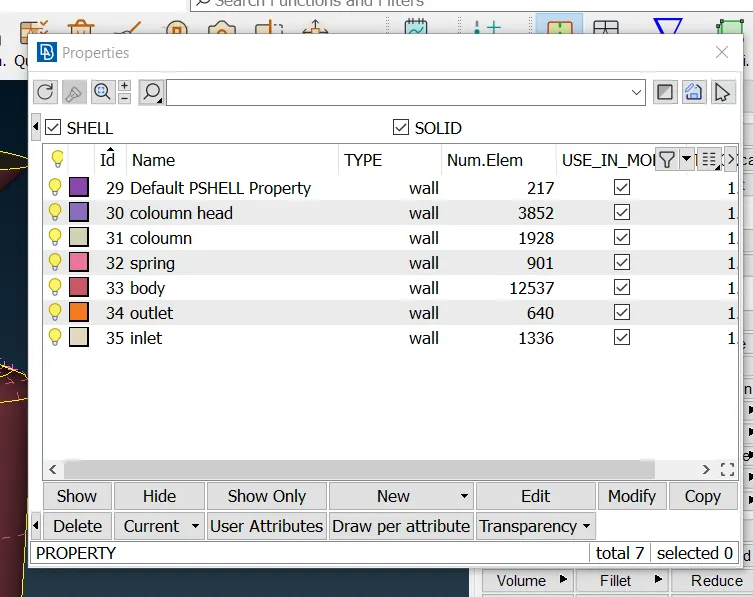
5)to solve this error we have to assign the each part of assembly with its own PID using PID managerby this each part will have ots own pid no and colour we can show and hide a perticular part with PID manager
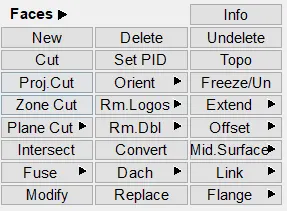
6)after this we have to select faces and then intersect option this will ask to select the first shell (select spring),for second shell(select coloumn)
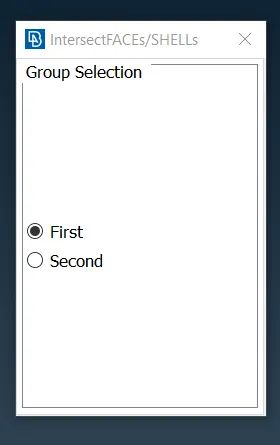
7)after selecting the first and second shells a window will appear asking to whether to keep a intersection or delete that intersection we can keep the necessary intersections and delete the unwanted intersections
8)after this we have to give the mesh parameter and quality criteria as per our targeted length, we have to give min. and max length according to our targeted length
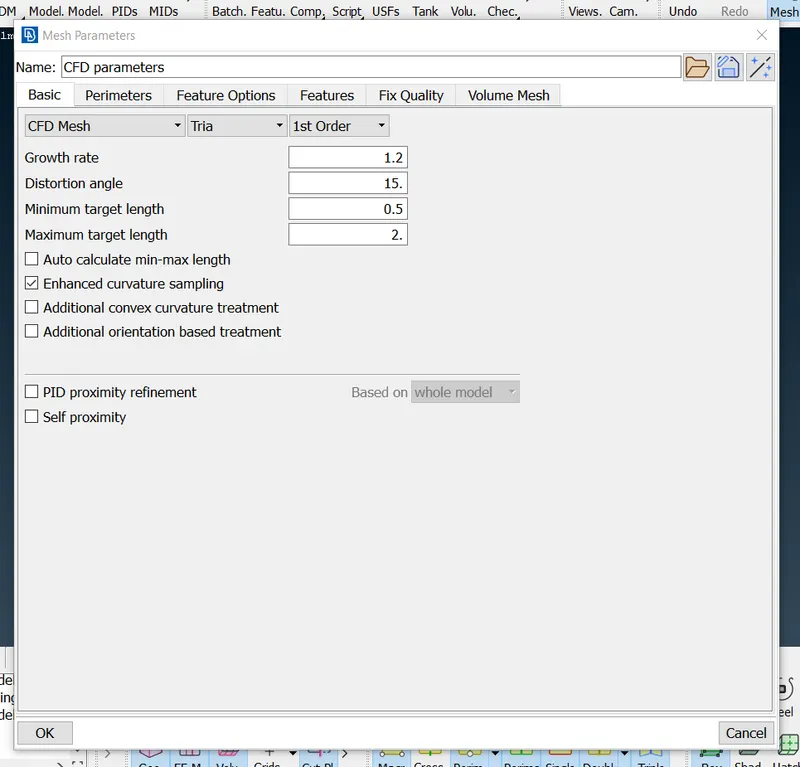
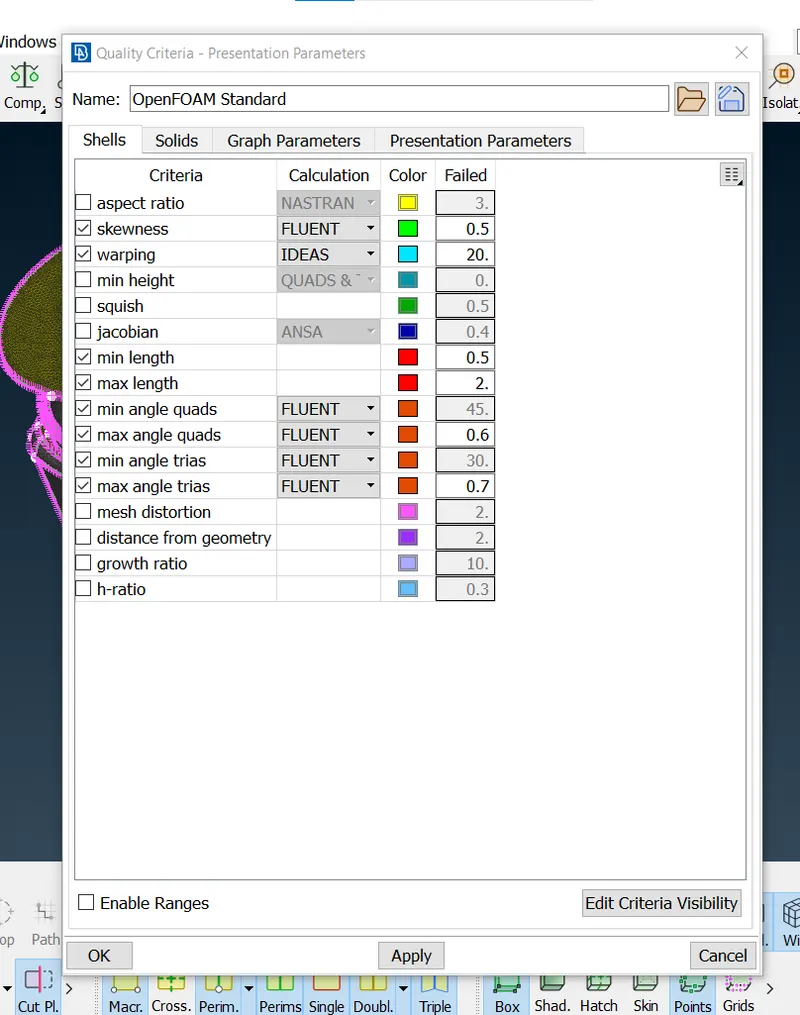
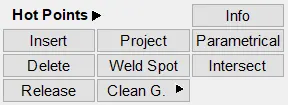
9)after this we have delete the unnecessary points we can do this by selecting hot points-delete then box select the entire assembly then do the middle mouse click
10)after this select classic mesh then select perimeters-length and give the targeted length in perimeters and macros
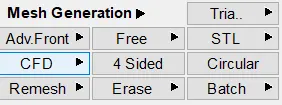
11)after this select we have to select mesh generation and then CFD then visible by this mesh generation will happen
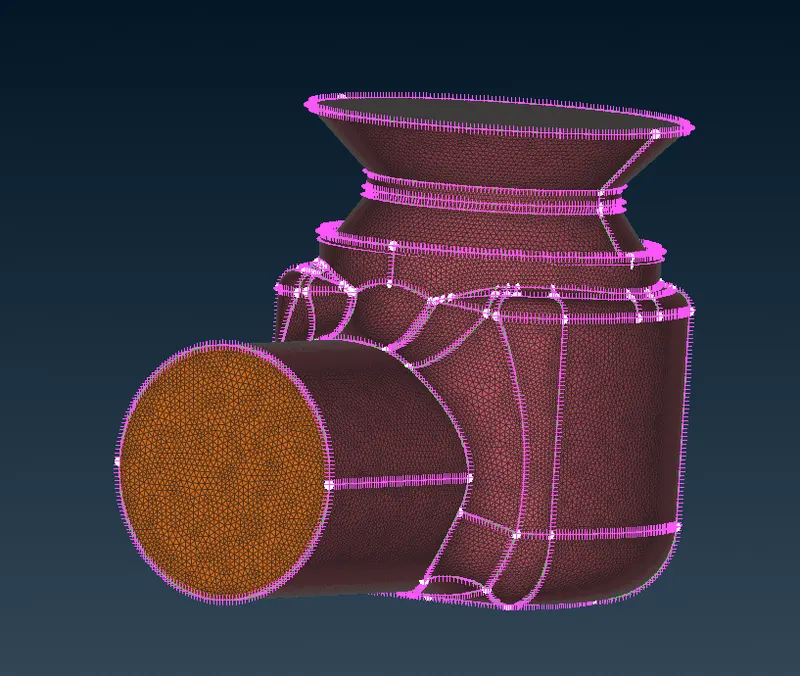
12)the mesh generated model will look like this here the targeted length is 1mm
LEARNING OUTCOMES- BY DOING THIS CHALLENGE WE LEARN TO DEVELOP THE NEW SURFACES AND TO ELIMINATE THE INTERSECTION ERROR AS WELL AS ASSIGNING THE PID TO THE PARTS AND HOW TO USE THE PID MANAGER AND OTHER STUFF
RESULT-THE MESH GENRATED BY THE 1MM TARGET LENGTH IS AS FOLLOWS
CONCLUSION-WE CAN SAY WE HAVE TO ASSIGN THE PID TO THE PARTS IT'LL HELP IN MESHING AS WELL AS TO ELIMINATE THE ERROR ,AND IT PALYS MAJOR ROLE IN HIDING THE CERTAIN PART OR ASSEMBLY