Week 4 Challenge : CFD Meshing for BMW car
AIM
For the given model, check and solve all geometrical errors on half portion and Assign appropriate PIDs. Perform meshing with the given Target length and element Quality criteria. After meshing the half model, Do symmetry to the other side.
Target lengths for the different parts of a model are as follow:
- Body - 3 mm
- Lights - 4 mm
- Grills - 1 mm
- Rims and Tyres - 2 mm
- Optical Rear view mirror - 2 mm
- Window - 2 mm
- Silencer - 3 mm
- Logo - 1 mm
PROCEDURE
The model is shown below
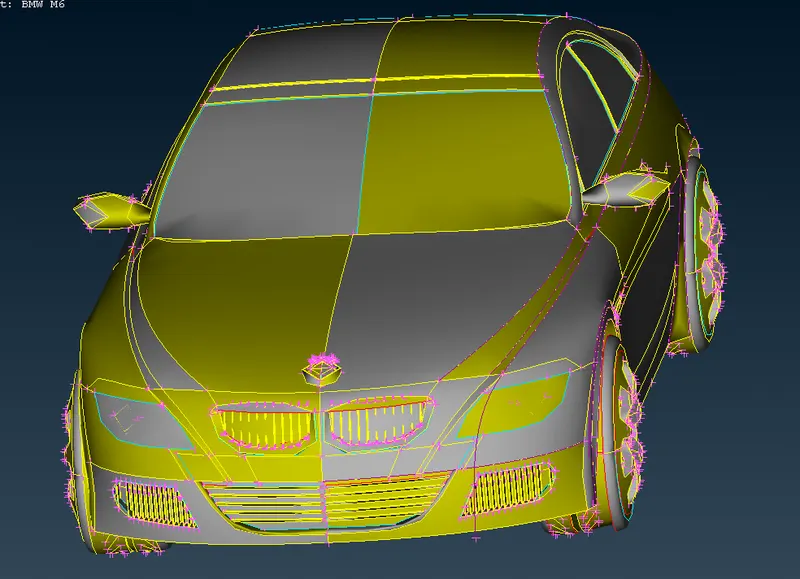
Change the resolution to 1 mm for better view so that some distortion gets cleared.
Go to classic mesh mode and select length from Perimeter and then select the entire edges of the BMW model and change it to 1 mm.
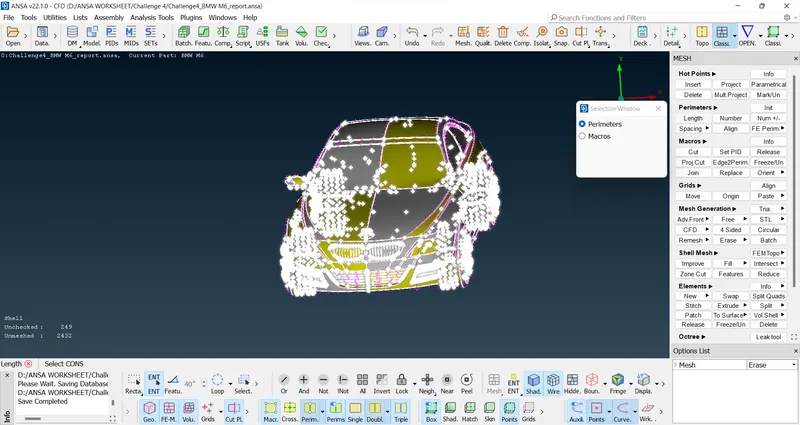
Set both Perimeters and Macros to 1 mm.
After that, come back to Topo mode and then the figure looks like this
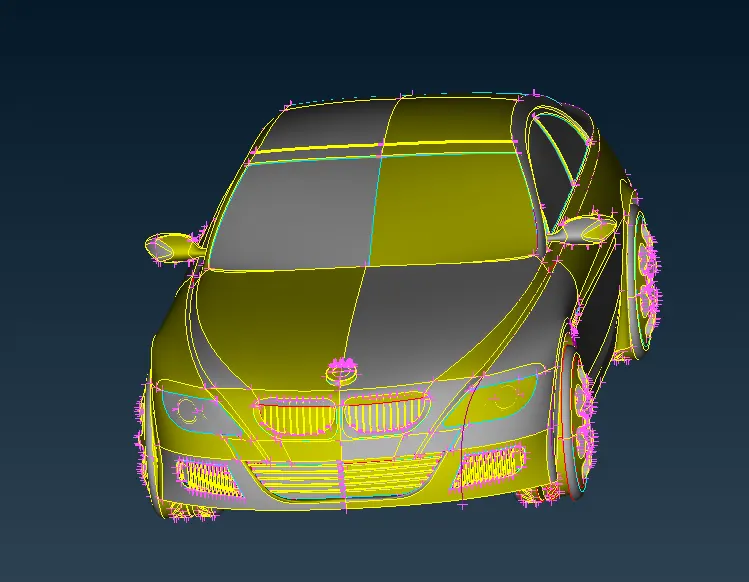
Now, delete the half part of the model
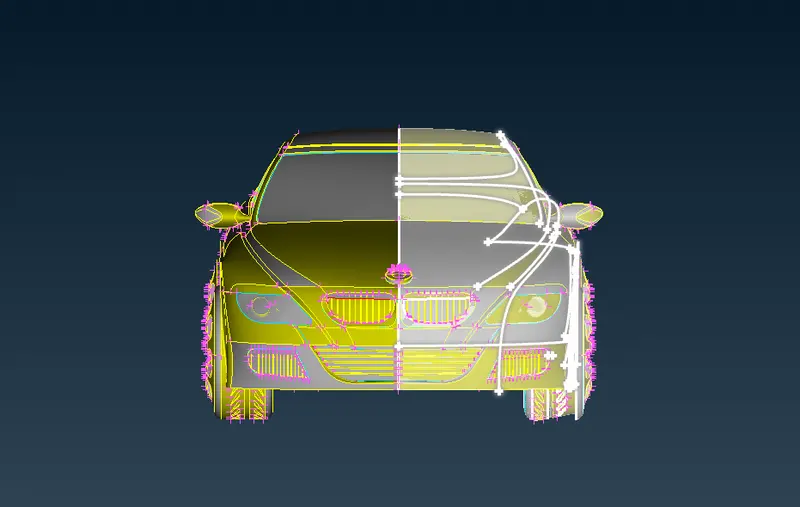
and then the model looks like shown below
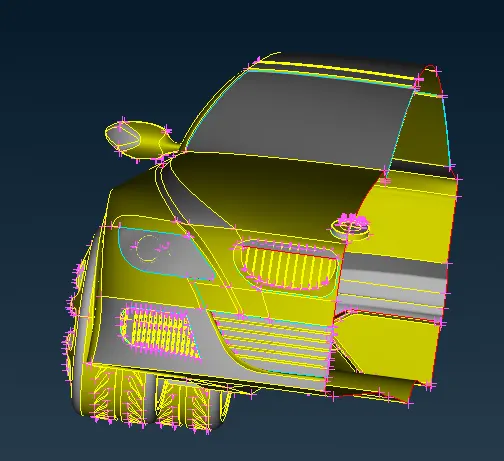
Now, we try to identify triple cons,single cons and intersection errors in the model and then try to solve it.
As we are going to perform wind tunnel experiment, we are concerned about outside surface of the model. So, we can delete unnecessary surface that creates volume inside the car. Modify the model at outer surface such that there is less deviation from the parent model.
So, I m starting isolating the surface where triple cons and single cons are present.
The surface to isolate is shown below.
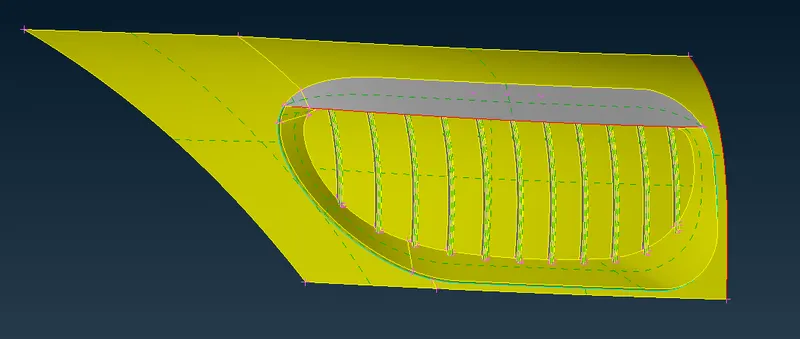
So, I rotate to back side to delete the unnecessary overlaping surface.
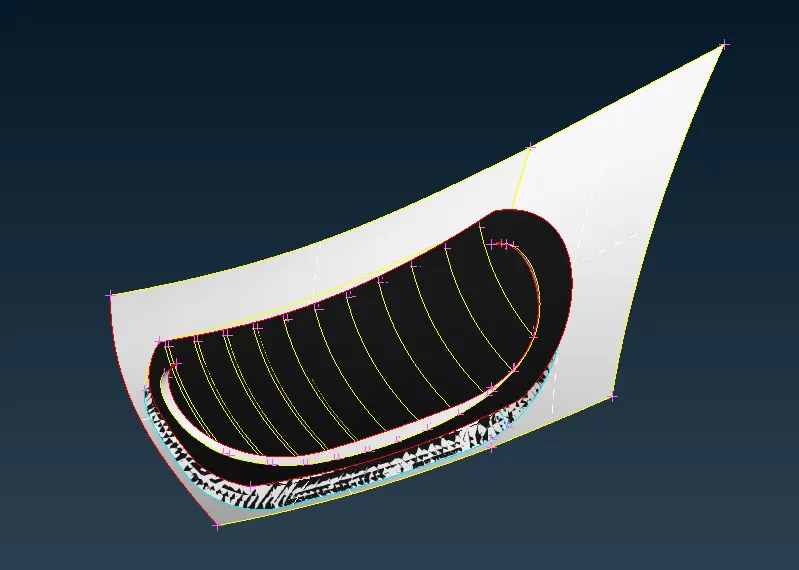
Delete the surface where glitches are present
After deleting the extra overlaping surfaces, the model looks like this shown below in entity mode
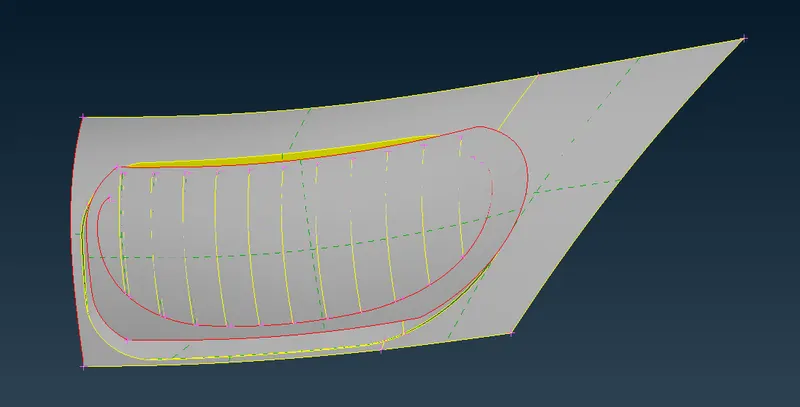
As we removed triple cons at contact, we can hide 2 unnecessary surfaces and then the model looks like this shown below
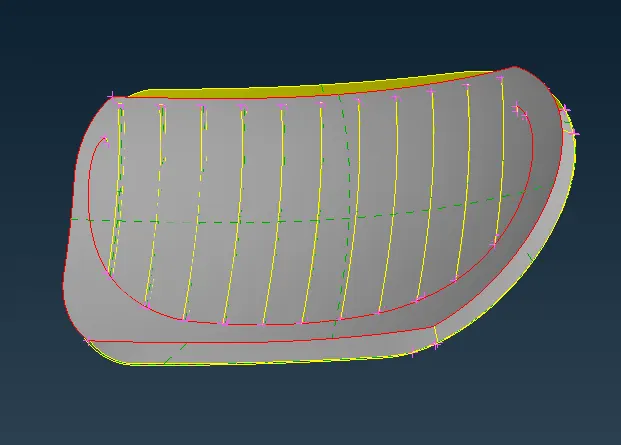
As we can see the vertical yellow lines are not in uniform and there is no triple cons instead of yellow colour, we can assume that the surface to which the grill is attached is not properly aligned. So, we have to delete that surface and realign the grills
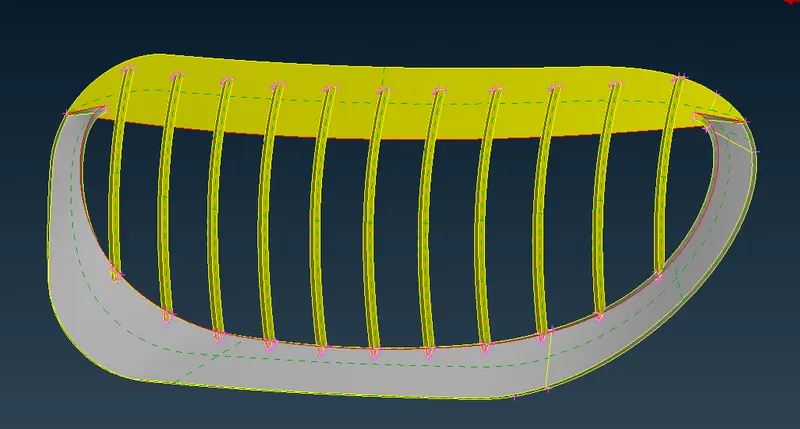
If we zoom at the bottom of vertical grills, we can see the misalignments. So, make a cut in all grills to align it as shown below.
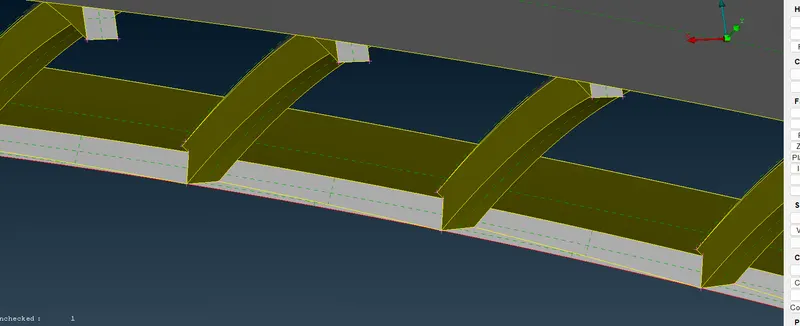
Then delete the unnecessary part from the cut we made.
After deletion the part looks like this as shown below.
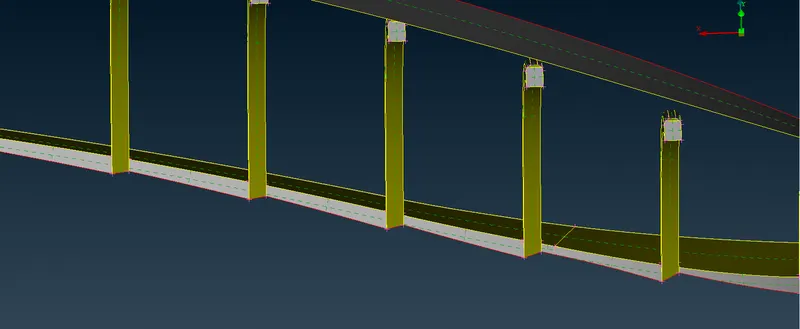
Now, delete the shaded part in all grills to make one single volume inside the car.
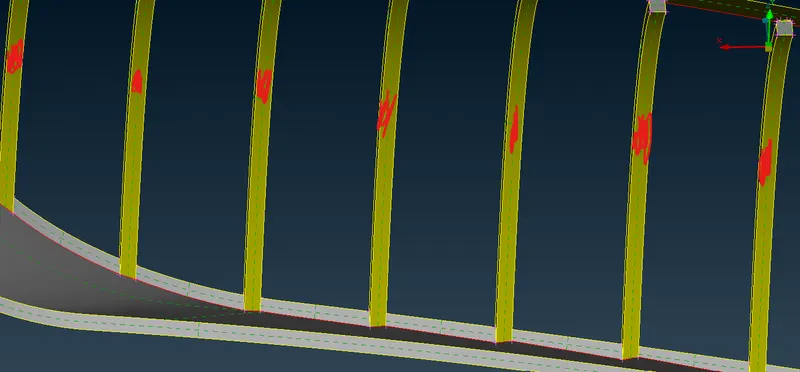
Create the surfaces between red cons
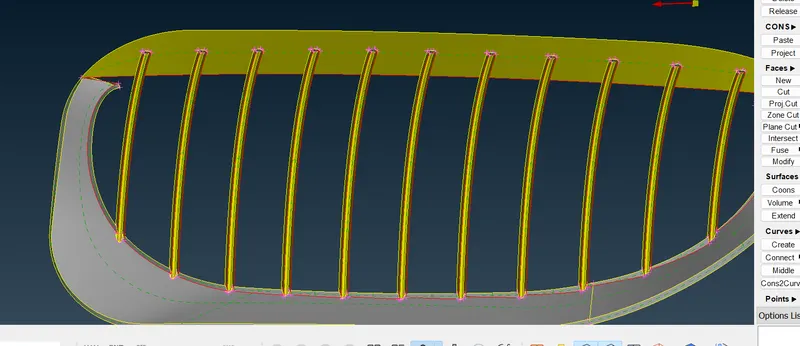
The surface looks like this as shown below
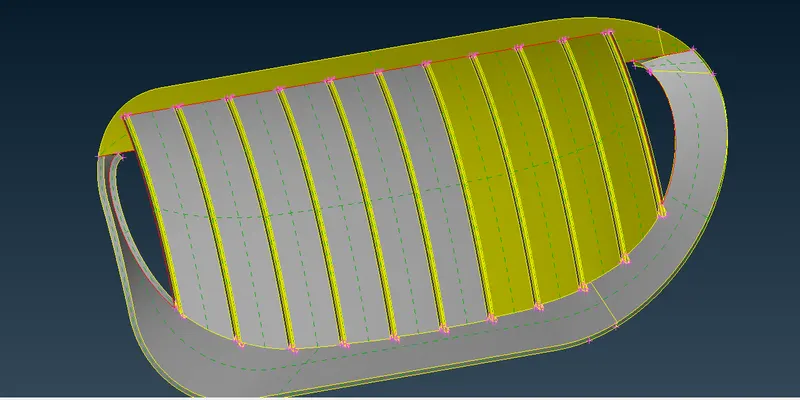
We will fill the remaining 2 gaps later.
On one side we can clearly see intersection error as shown below. So, solve it
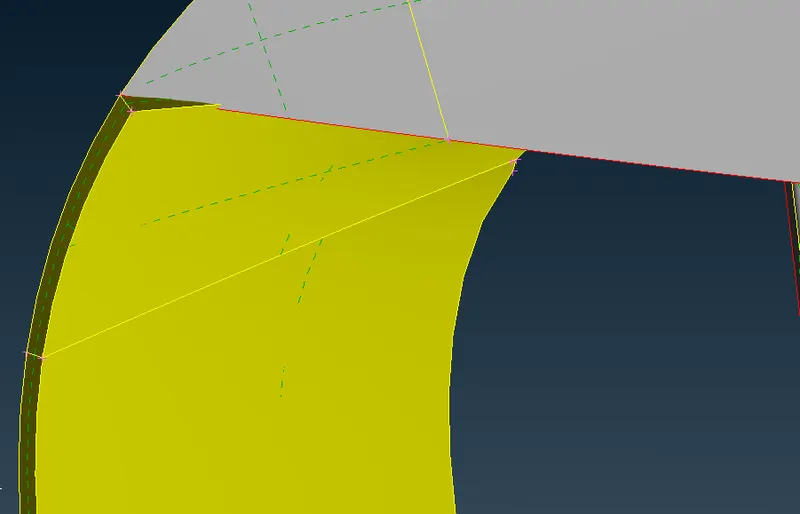
For solving this, we have different methods that we can do as trial and error so as to get smooth surface.
I m now inserting a plane like this shown below.
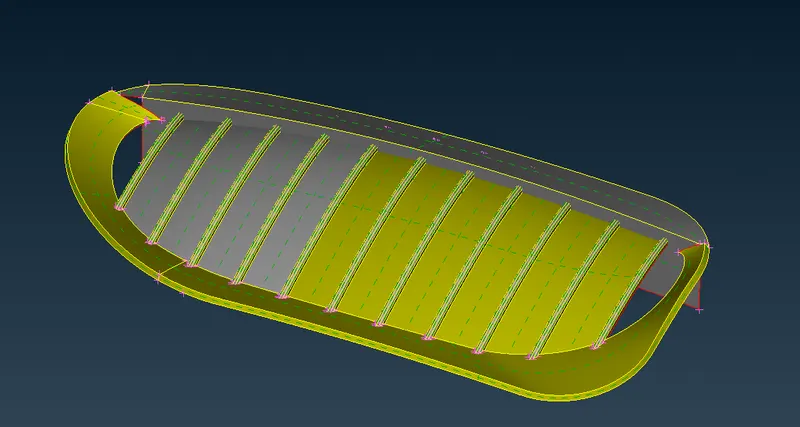
After doing some trials,I got the figure as shown below. Then, we need to remove the shaded part
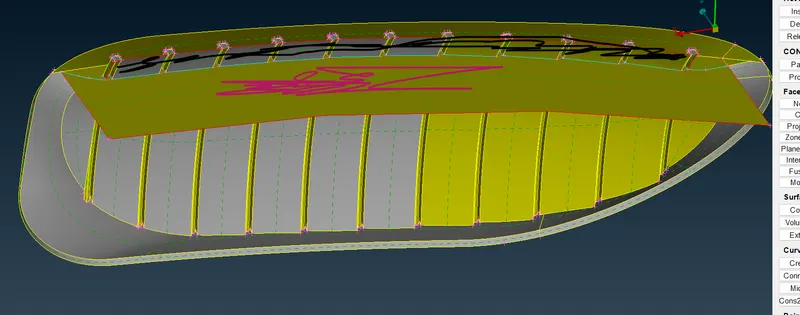
Now, the geometry looks like this as shown below.
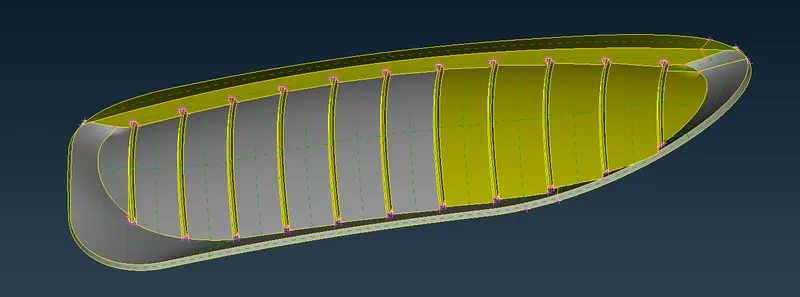
After making this model, when I gone for geometry check No errors and warnings found.
Now, I want to go to other parts for solving errors.
Lets solve this part
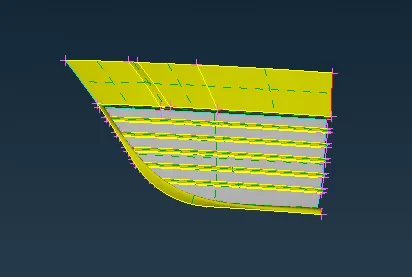
As we can see the triple cons, we can delete unnecessary surfaces
Now, the surfaces looks like this, but delete the small surfaces shown as triple cons
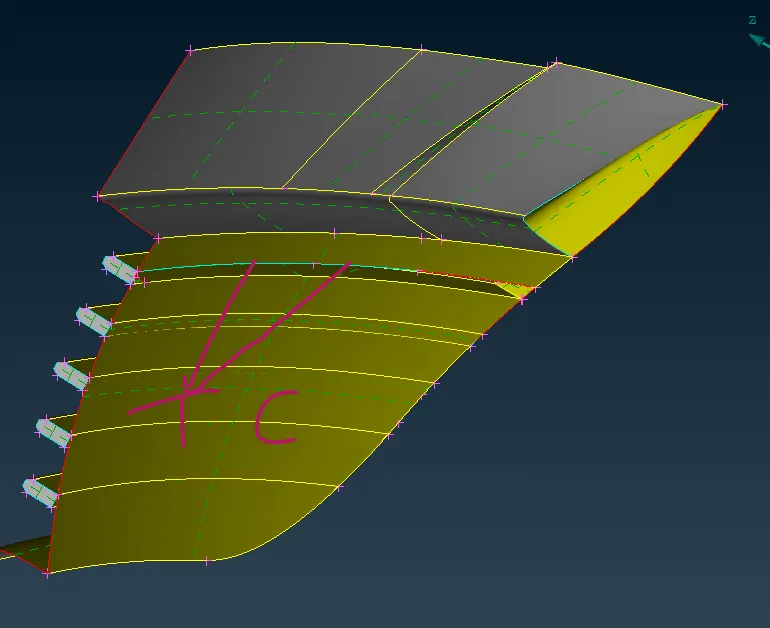
After deletion, we get the figure like this shown below.
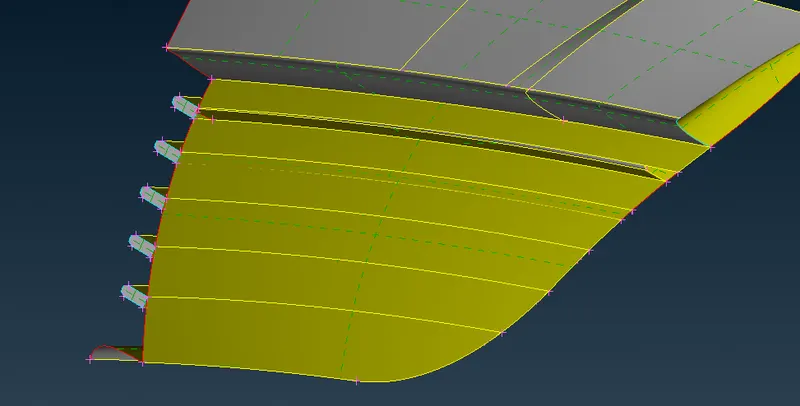
I m deleting the shaded part now.
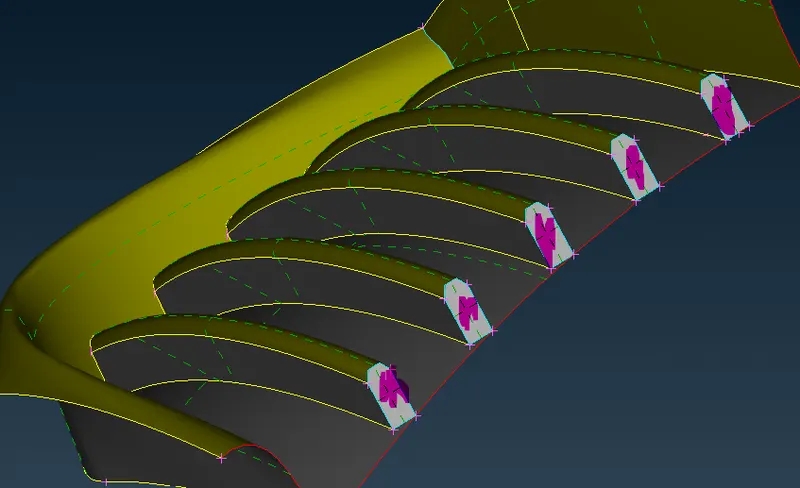
But, the surface and grill are not in contact. So, we can use the previous method of grills.
Delete the surface and recreate. Before that, I m using Cons2Curve to get a track of red cons
After that, the figure looks like this and then delete the shaded part.
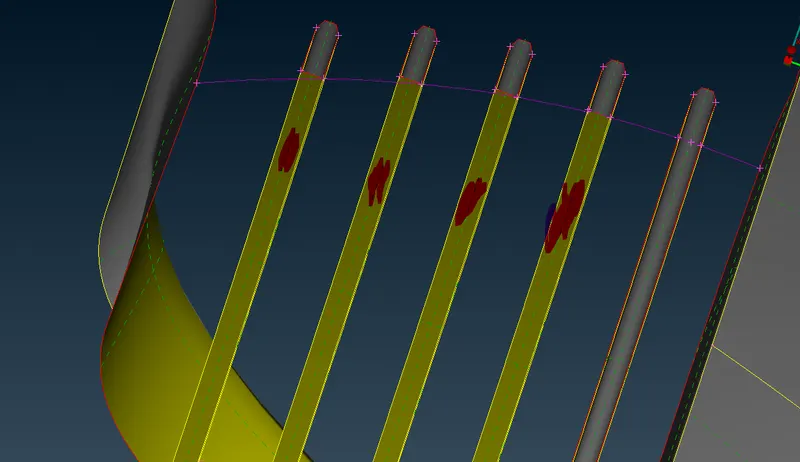
After that recreate the new surfaces and then delete the curves
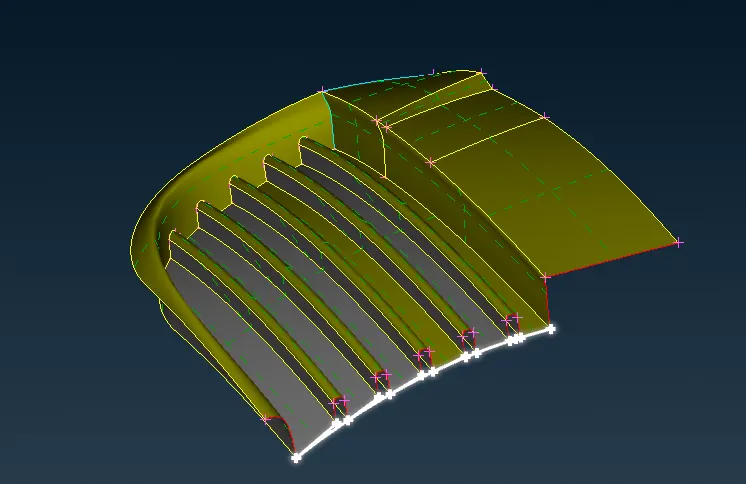
Then delete this unnecessary surface as shown below
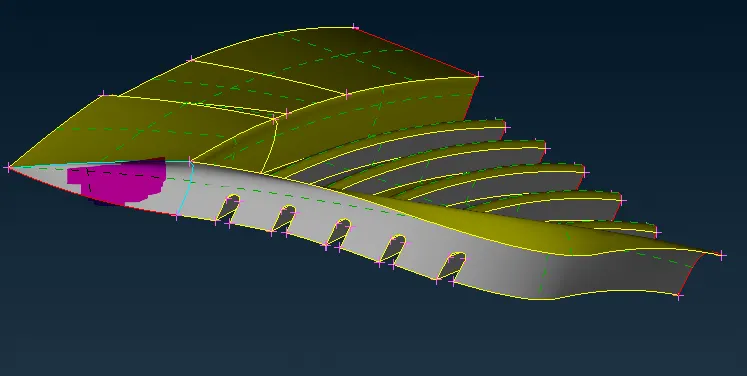
After that if we go for geometry check, we find only single cons, which is the symetry part. So, we can ignore it and move onto the next part
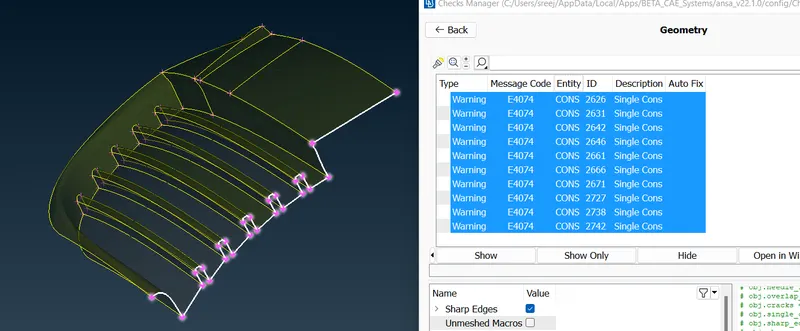
Now, we go to another grill part
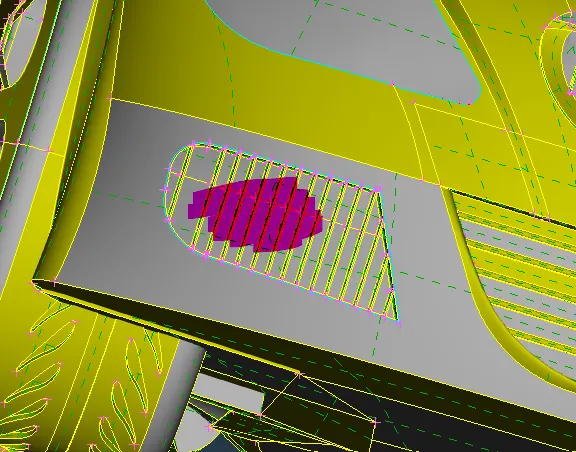
Lets isolate it
Then delete the overlaping surfaces shown as glitches
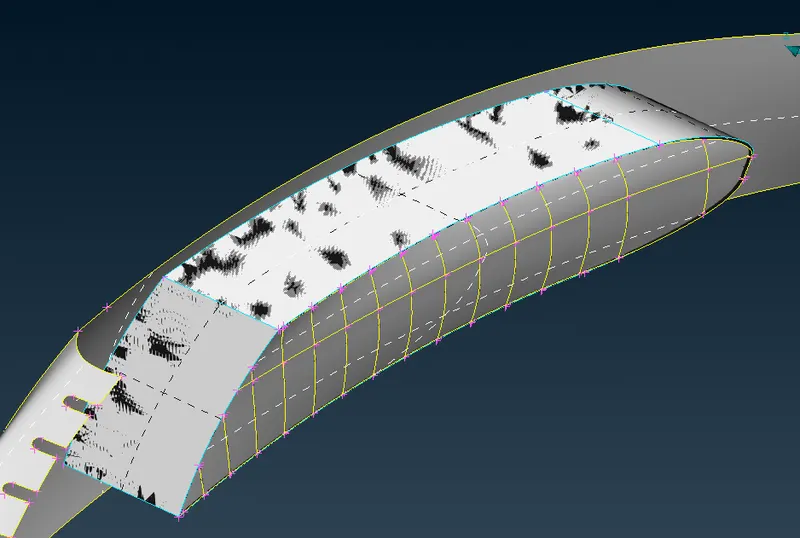
If we remove the surface, we can see lot of misalignment which will cause intersection errors
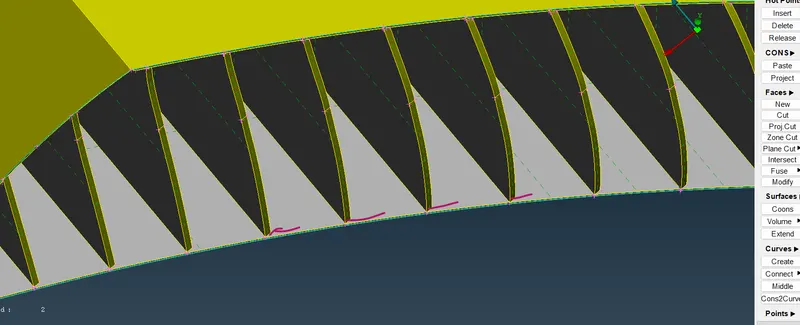
So, we are going to create one surface parallel to the hided surface, so that the intersection errors and misalignments are solved.
So, I m inserting hot points at some distance along the edges as shown below
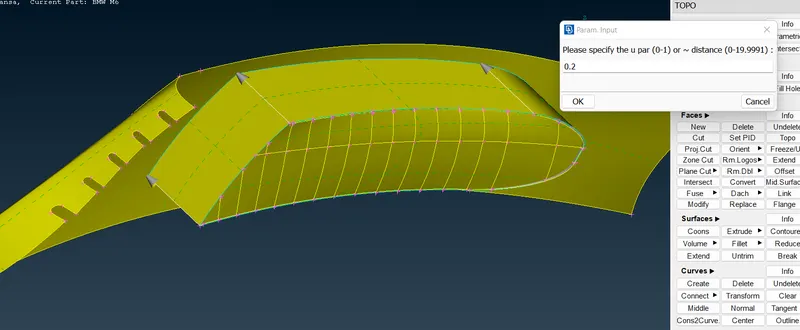
Then I create cuts using hot points to make a surface
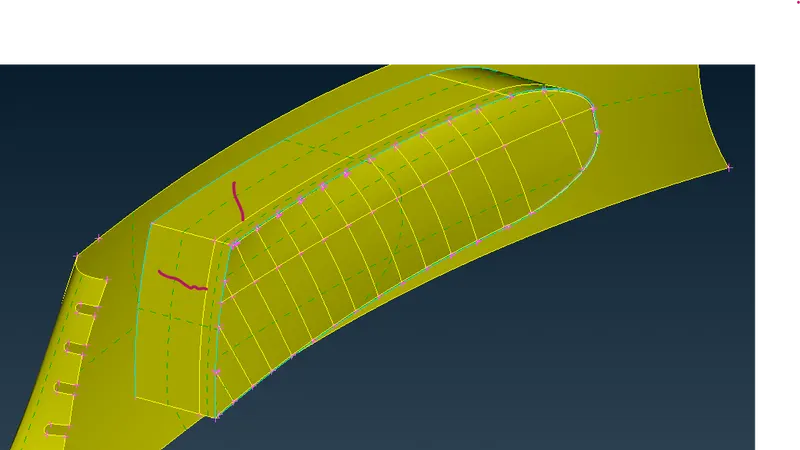
Then make a surface using cuts as cons
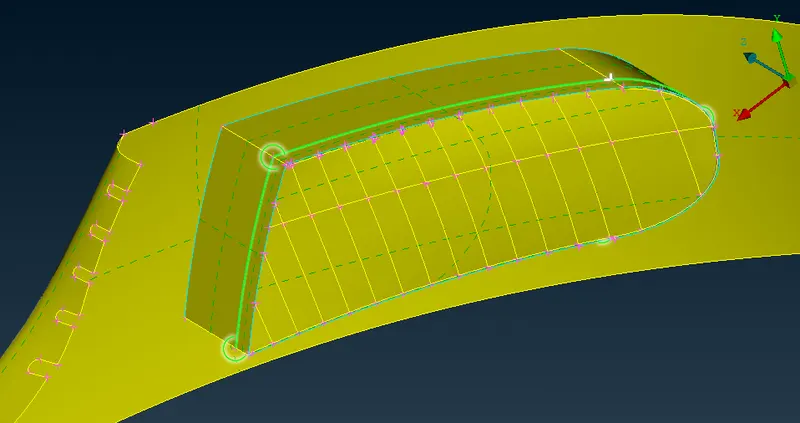
Now lets delete all the parts behing the triple cons as shown below
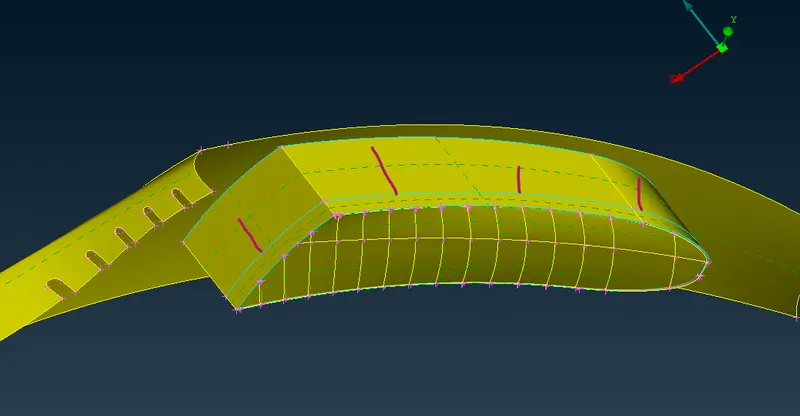
Lets do intersect to solve this
After removing unnecessary surface behind triple cons, the surface looks like this
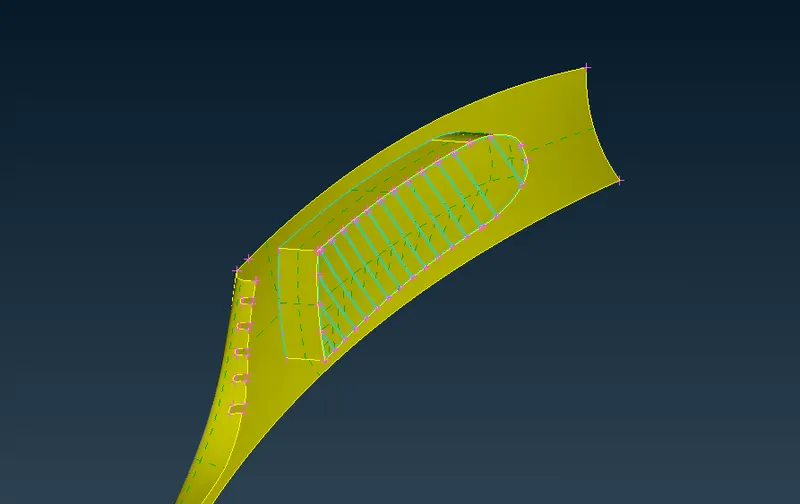
Remove unnecessary closed volumes and triple cons,delete the surface shown below
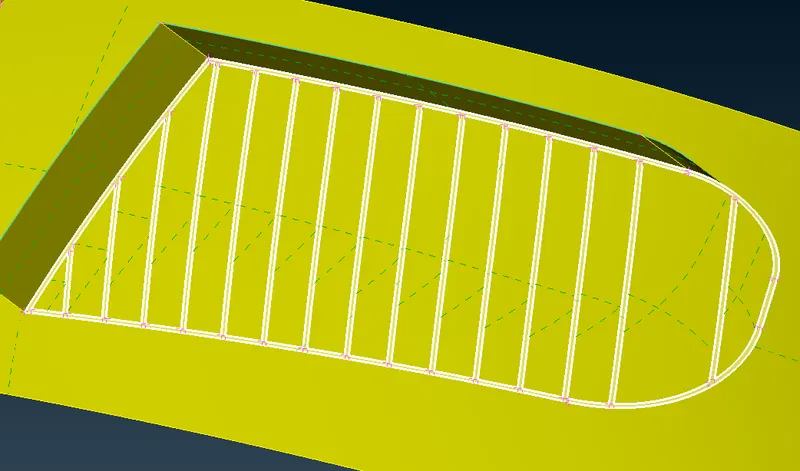
In order to remove triple cons, delete these surfaces shown below
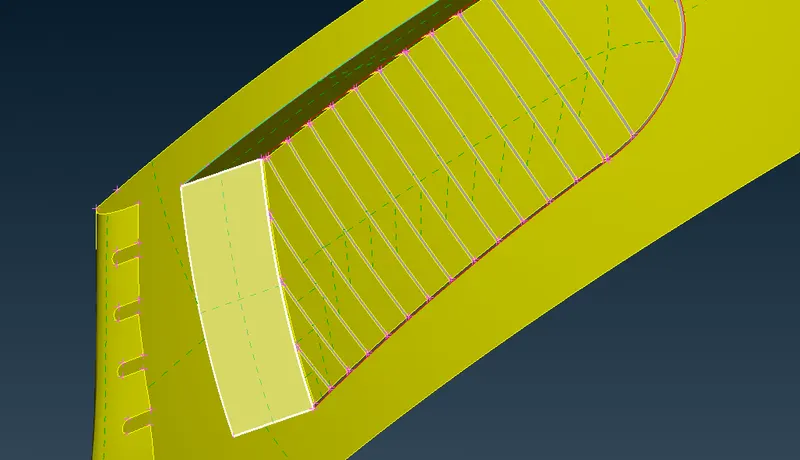
Now, the model looks like this, which is free of errors and warnings
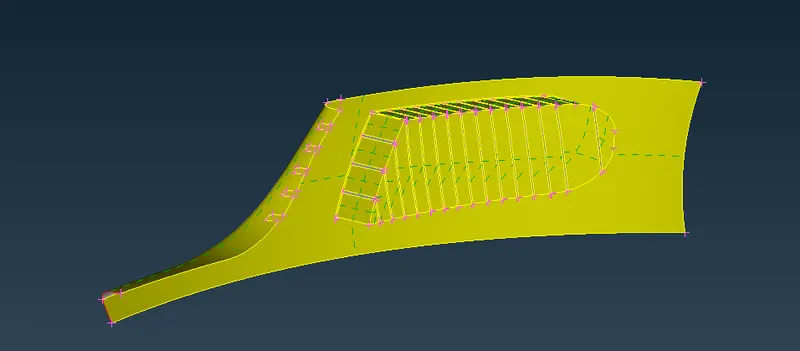
Lets go for another part
Delete the part inside which is attached to this light
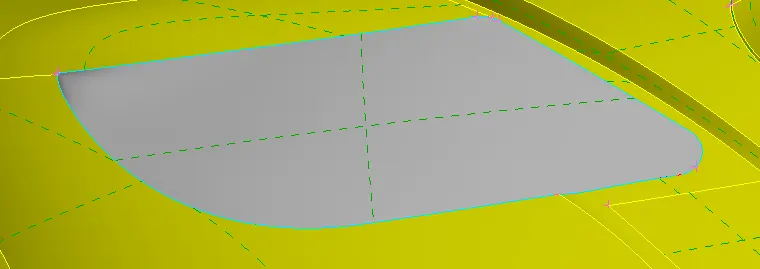
Lets delete the part shown below
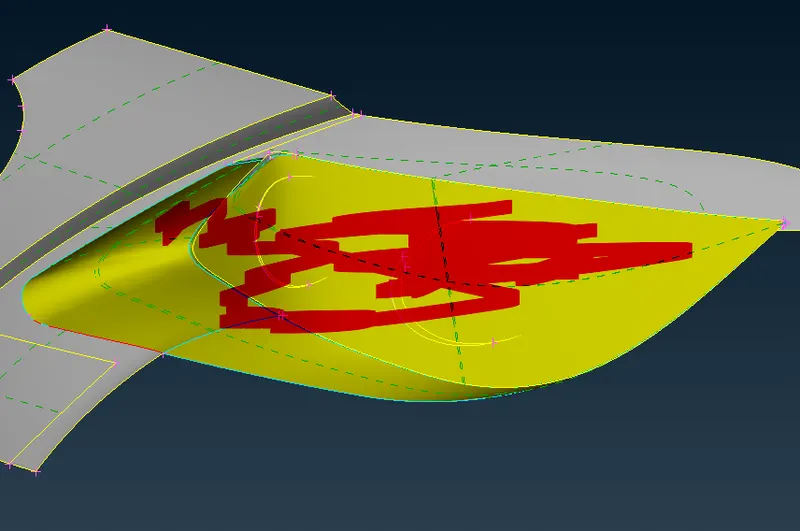
Now, one red con in light which is to be solved. Lets do All
In order to solve this red con, delete the surface attached to light and then recreate it
For that make a cut like this
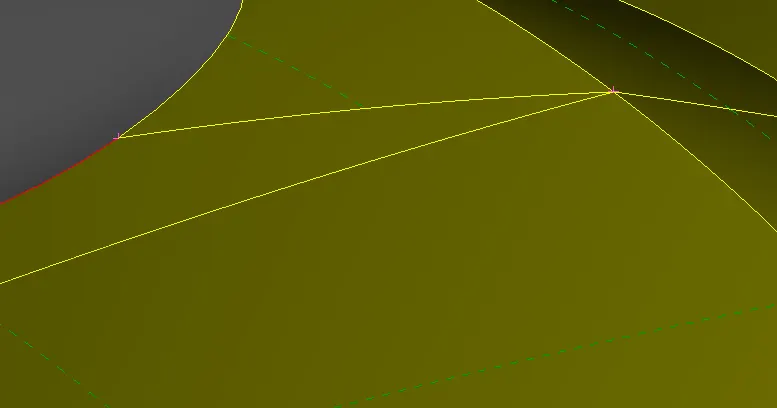
Then delete the surface and then recreate a new surface in red cons using coons option
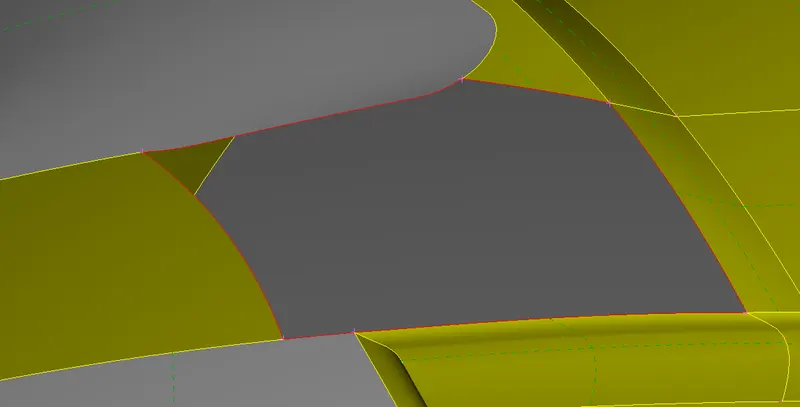
now the model looks like this shown below
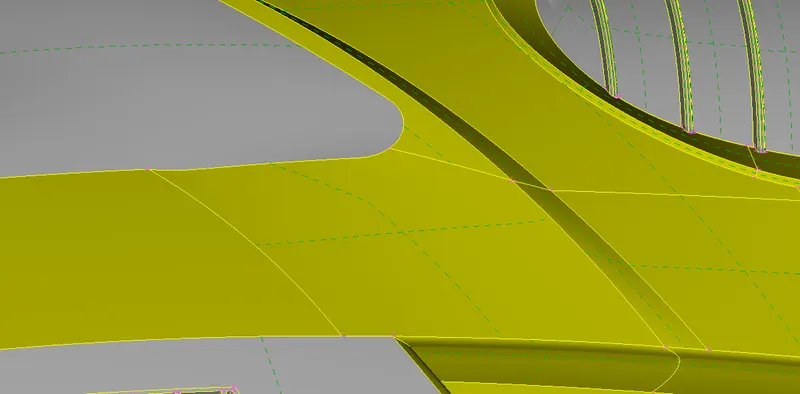
Now, lets go to the glass and window part
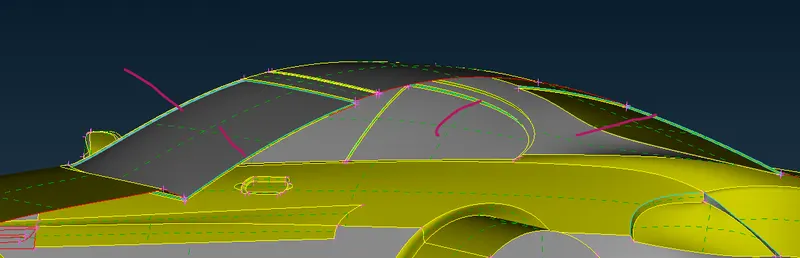
Lot of triple cons can be seen in window that I marked. So, delete the unnecessary overlapped and inside surface attached to the glass and window
The glass part is cleared as shown below
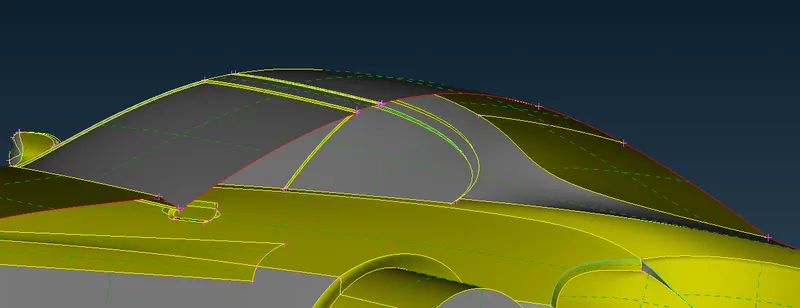
Now, we move to window part and remove unnecessary triple cons
The triple cons in windows removed.
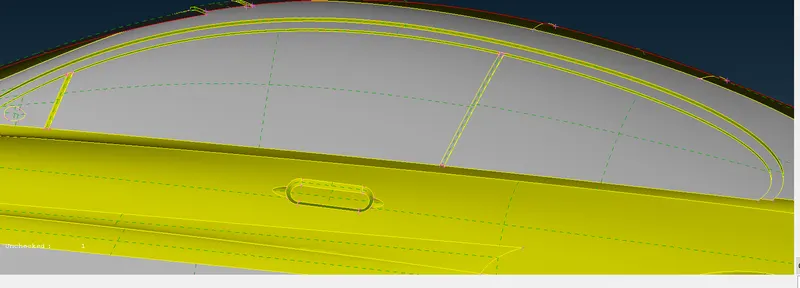
So, lets move to mirror part
Remove the unnecessary surface attached to glass and mirror shown as glitch
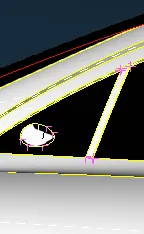
project the red con on window, then delete one more surface and obtain figure like this shown below
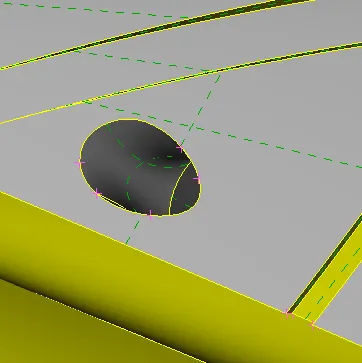
Now solve the mirror part
The triple cons to be removed
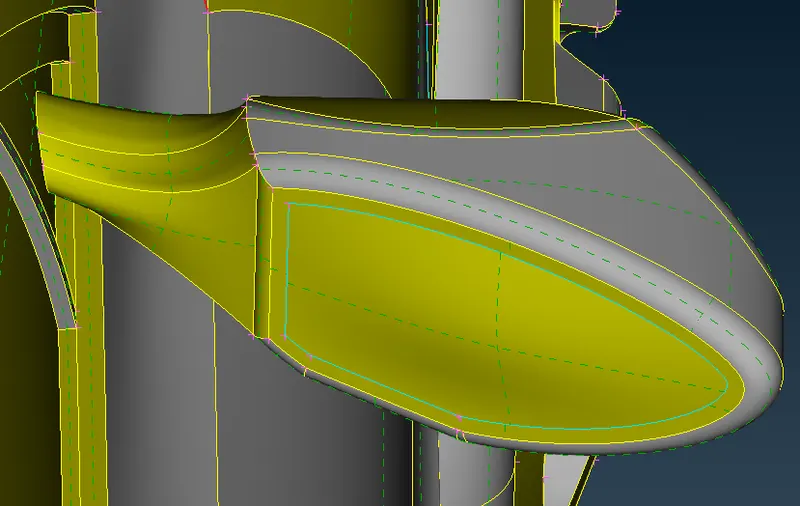
Remove the glitches and triple con surface shown here
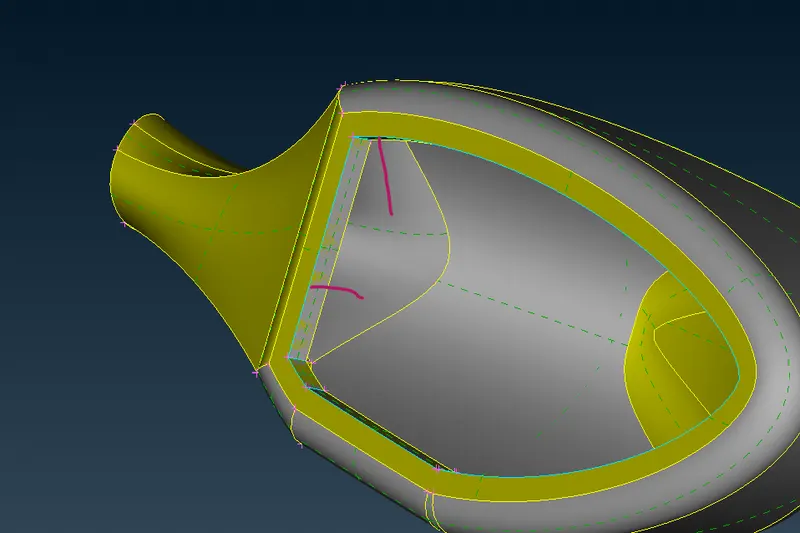
Now the mirror looks like this where no errors and warnings
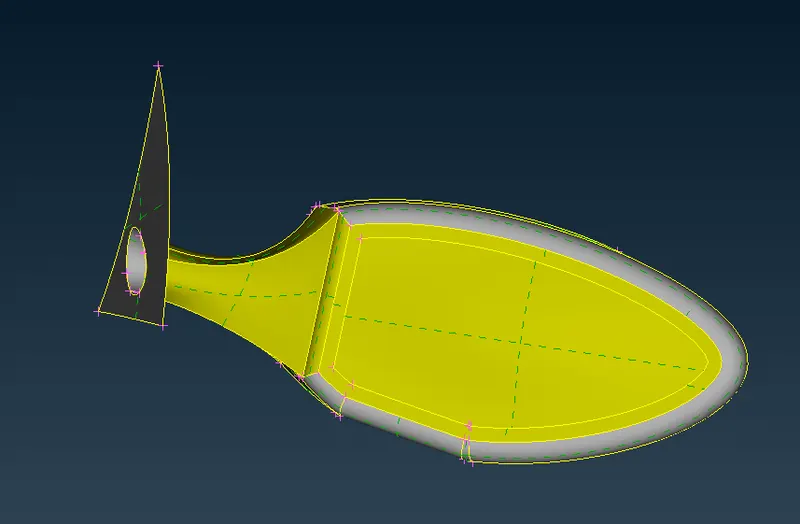
Now, lets solve these parts
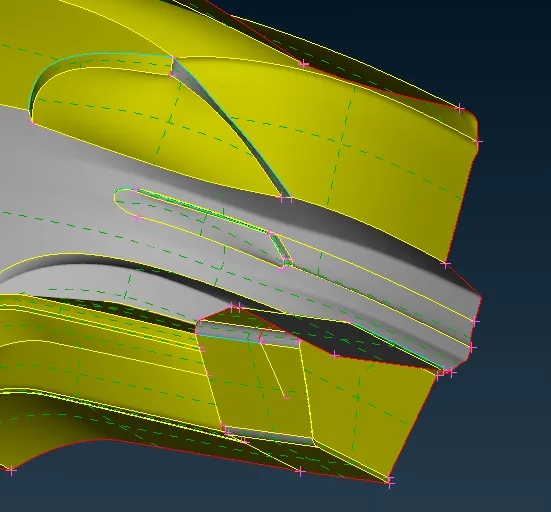
Delete unnecessary surfaces causing triple cons
Now the surface looks like this
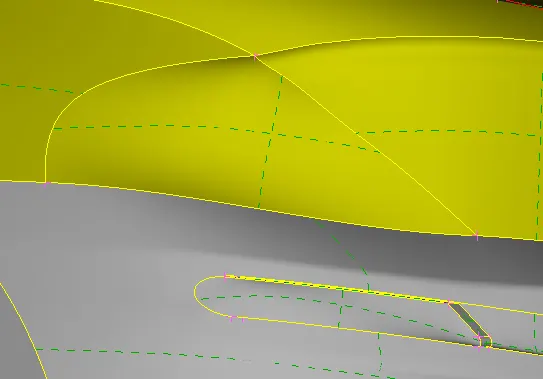
Project red con on the shaded surface and delete unnecessary surface
Now the figure looks like this
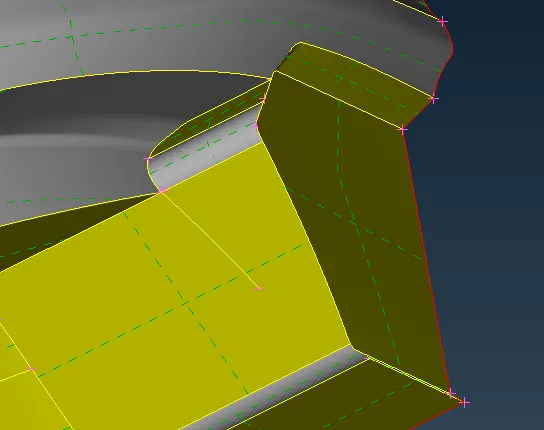
In order to solve intersection error, lets delete some part shown below
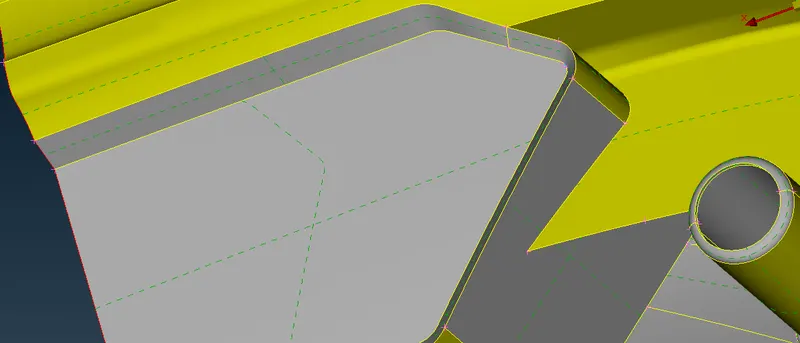
After deletion of unnecessary part, figure looks like this
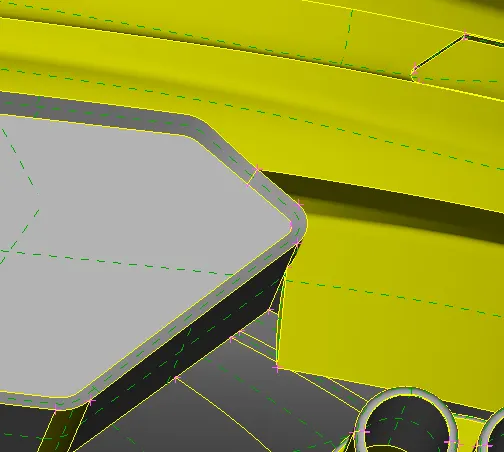
Now, lets do the floor clean up.
Use Cons2Curve option to create a guideline on red cons which cause symetry.
Now, lets delete all the unnecessary part in floor
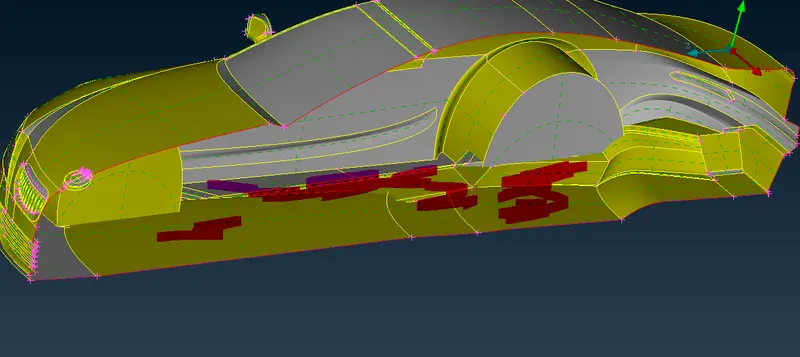
Its better to recreate the floor
Do intersect option to maintain necessary part here
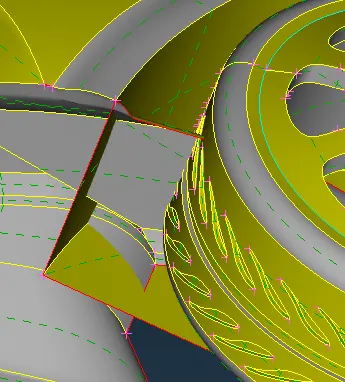
Delete this unnecessary part
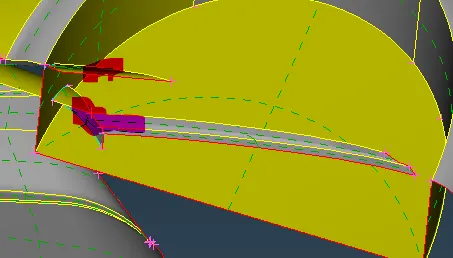
During some trials, if we get some parts under triple cons, delete it as shown below
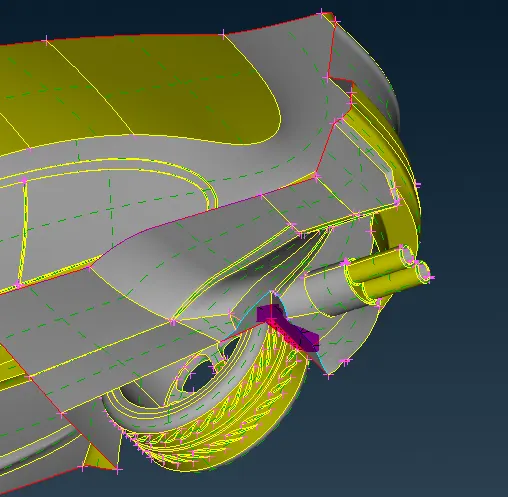
Empty the floor like this and then recreate it
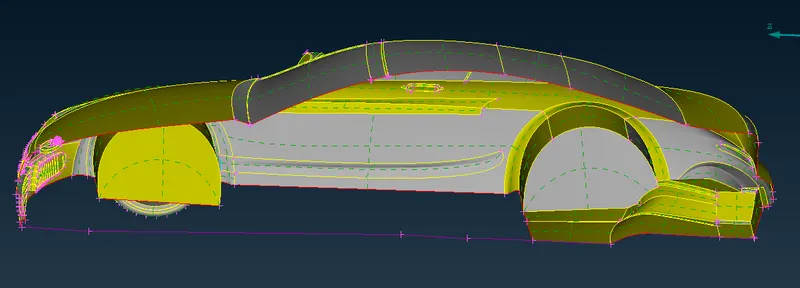
After recreating the floor delete the curves, then the model looks like this
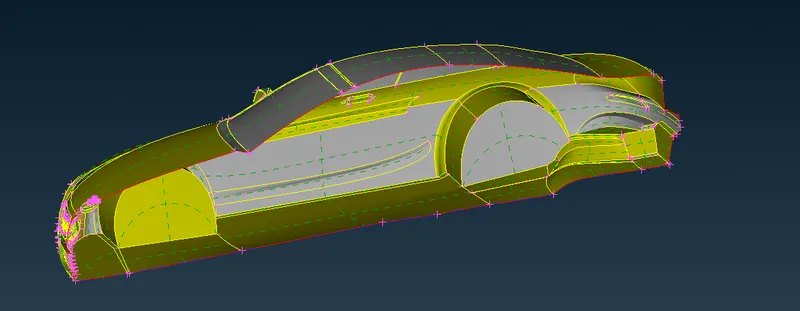
Now, lets go to this part and isolate it
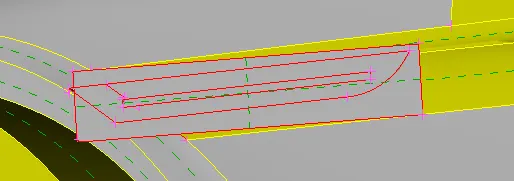
We can directly delete the shaded part
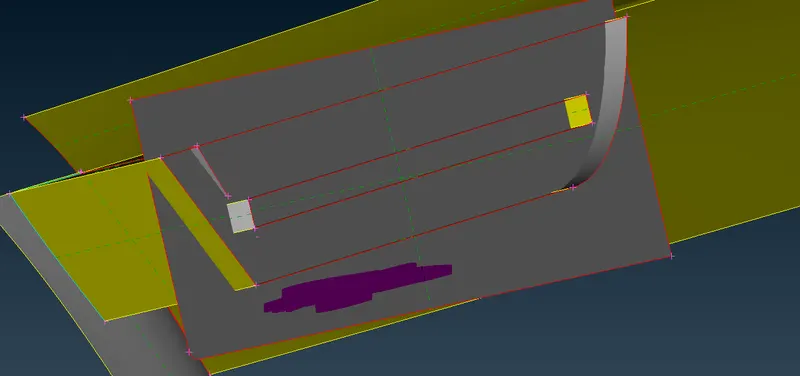
These shaded parts will cause intersection errors. So, we can delete it
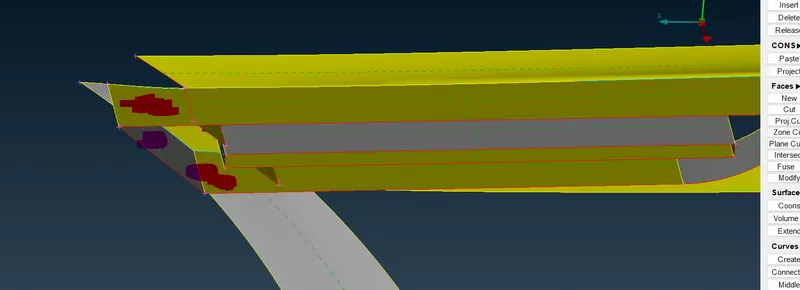
We have to project red cons on the surface and then do cut to delete that surface.
After deletion, the part looks like this
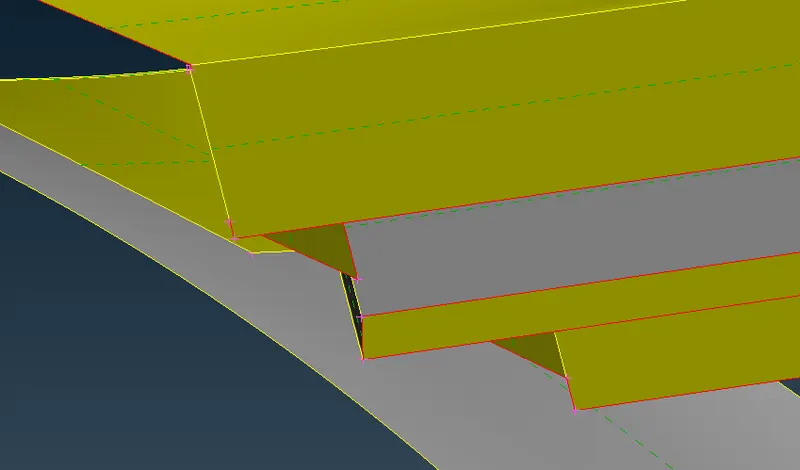
Lets close some surface shown below.
Select the cons below and create the surface
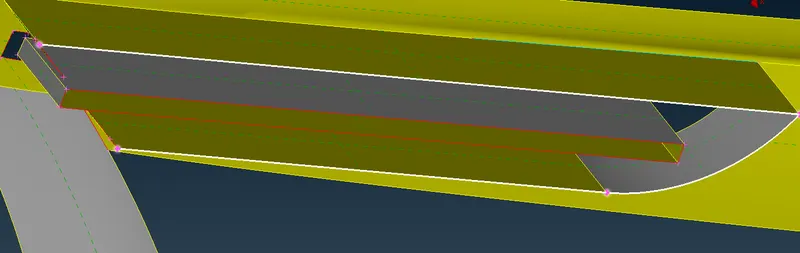
Then close the red cons
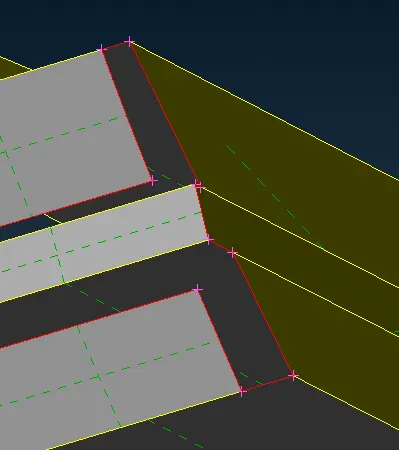
Then model looks like this
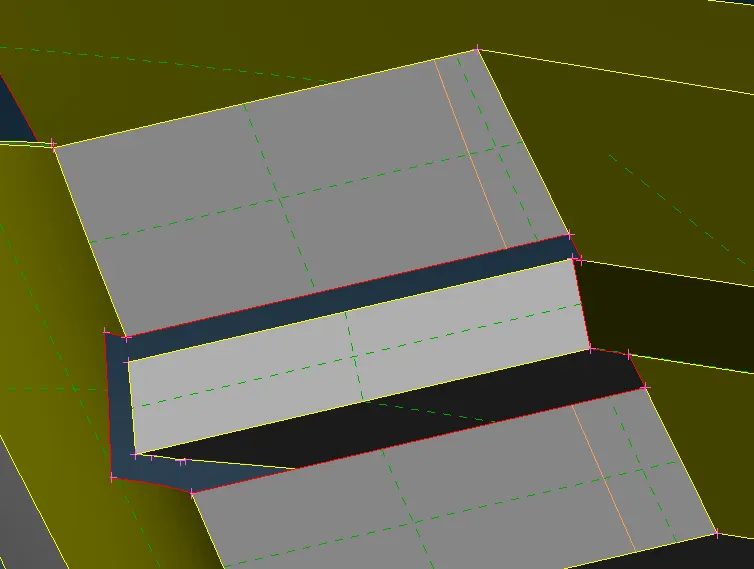
After some trials the model looks like this
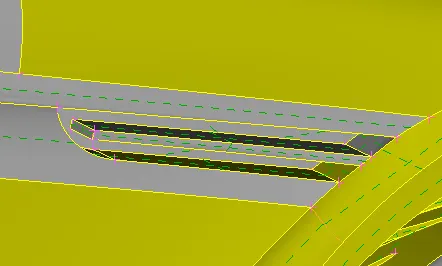
Now, lets move to solve tyres
Delete this small surface near to tyre
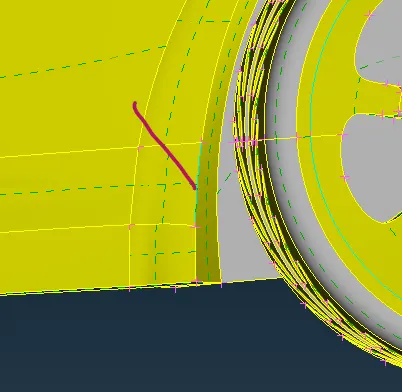
Isolate the tyres
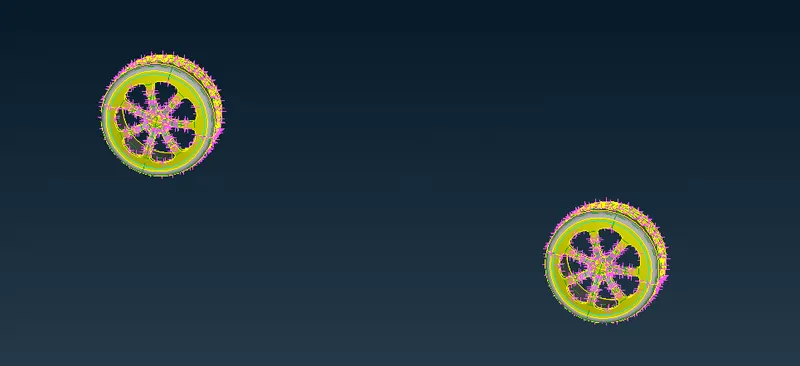
Lets solve the triple cons in tyres
Lets hide these shaded parts
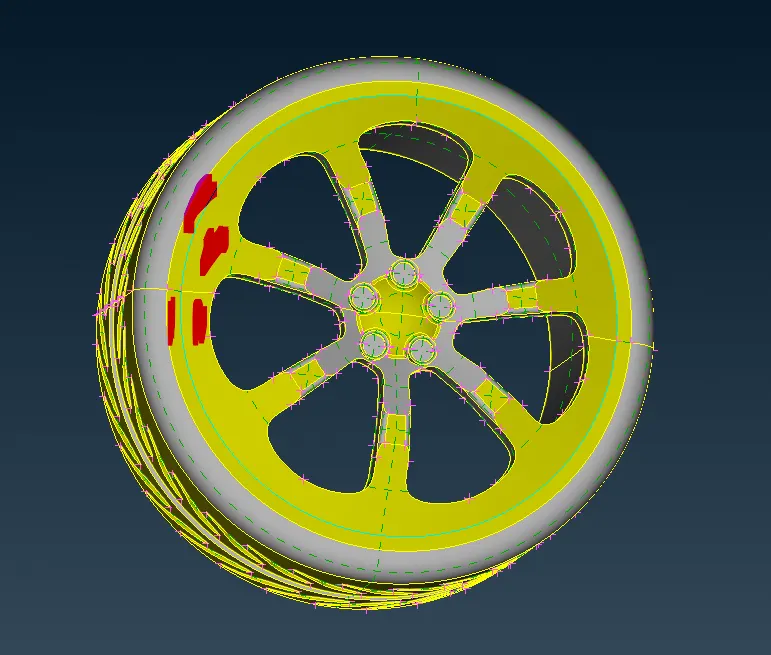
Remove this small surfaces
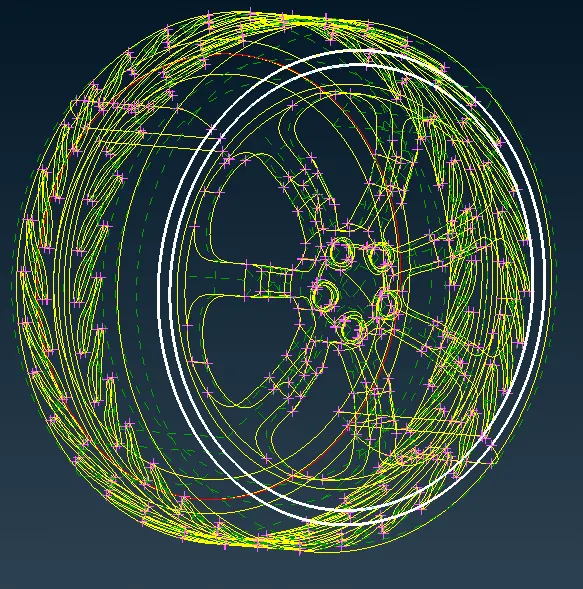
Remove this part of the rim
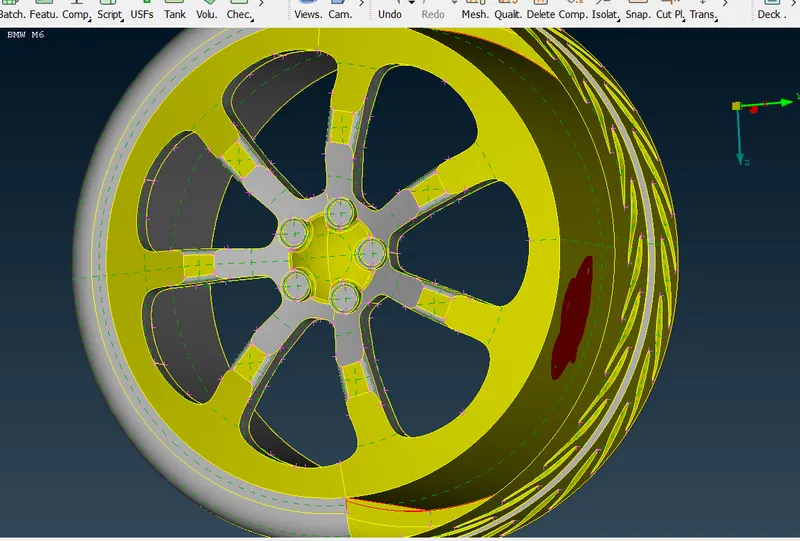
Now the geometry of tyres get cleared
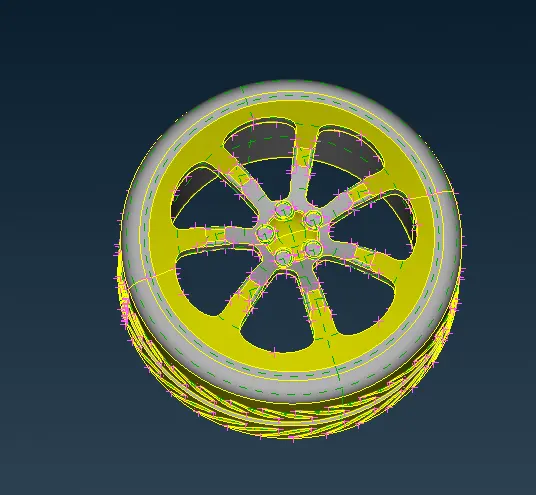
Do the same thing to the second tyre.
After that lets move to logo part
Isolate logo as shown below
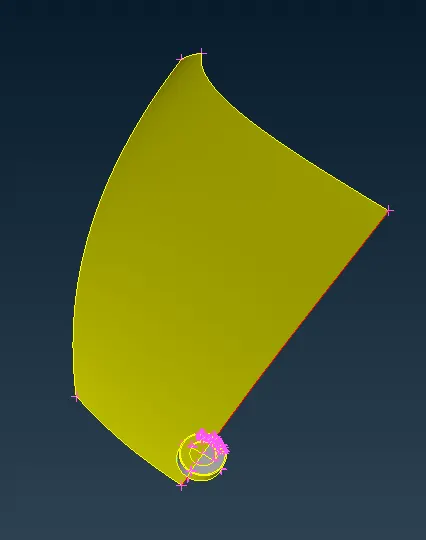
Delete unnecessary surface that create volumes
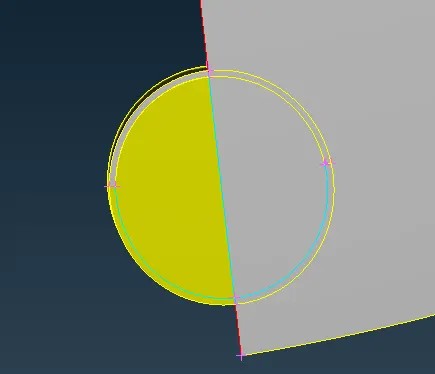
2 surfaces deleted. Now the red cons to be projected on the big surface to delete the unnecessary part
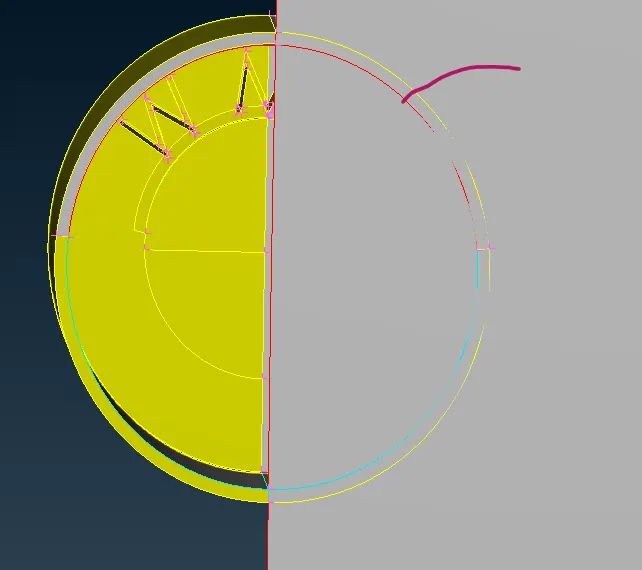
After that delete these shaded parts
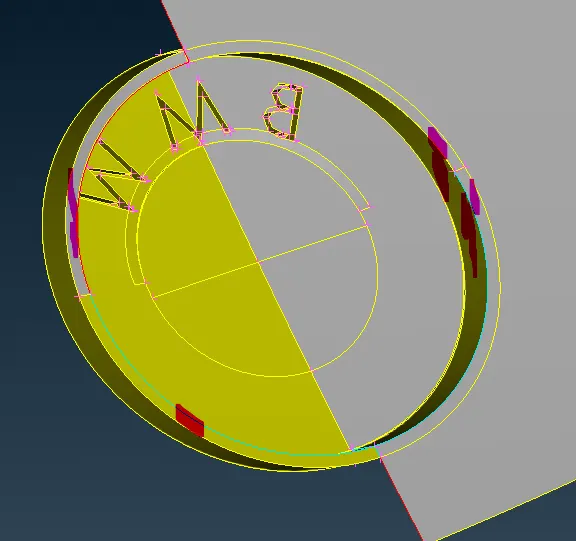
Project this marked red con on big surface to delete unnecessary part
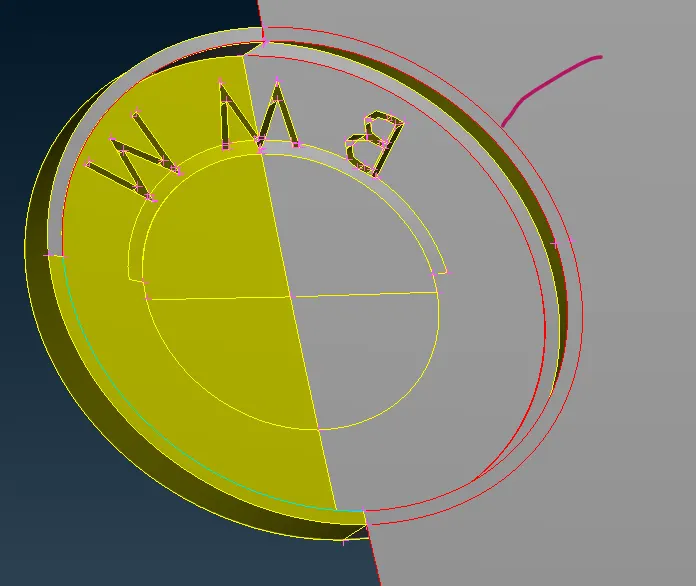
After making surface like this, isolate logo from big surface
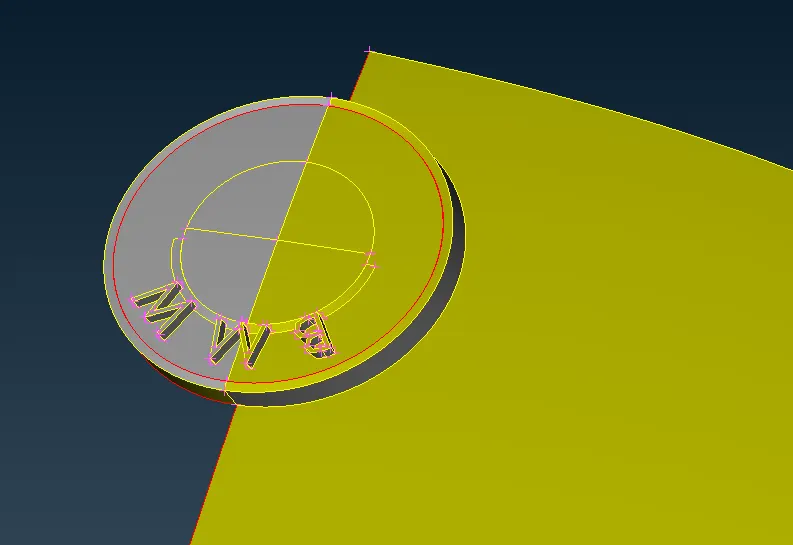
Solve for this red cons on the logo
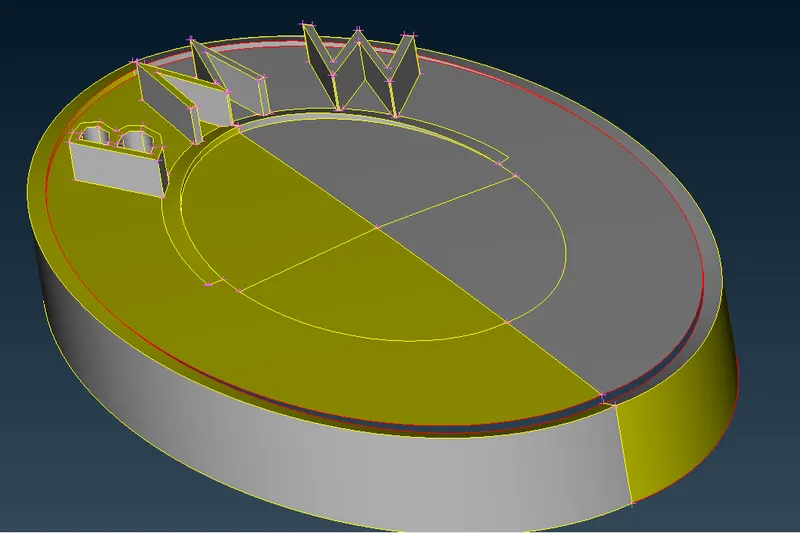
Delete the marked/shaded surface and then recreate it to solve for red con
The model looks like this
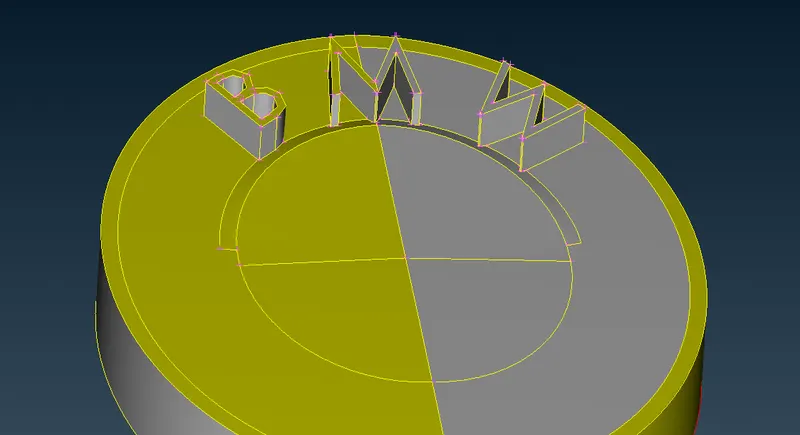
Remove the shaded small part of M and join the other 2 surfaces
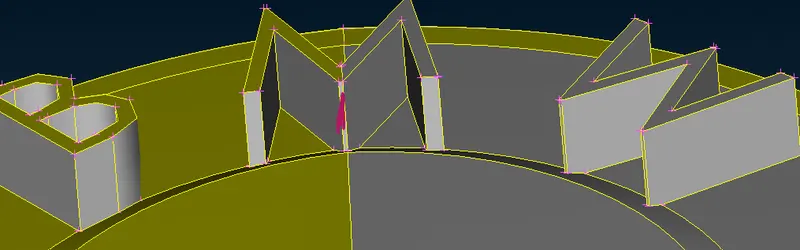
Now, M got sharp edges
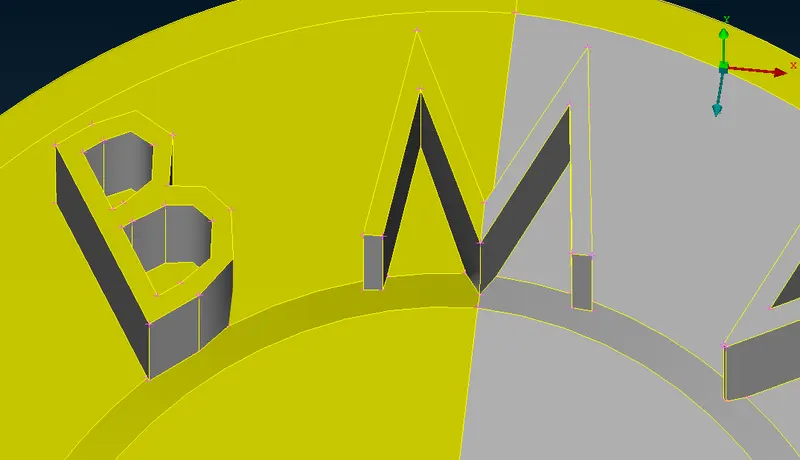
Do the similar work for W also
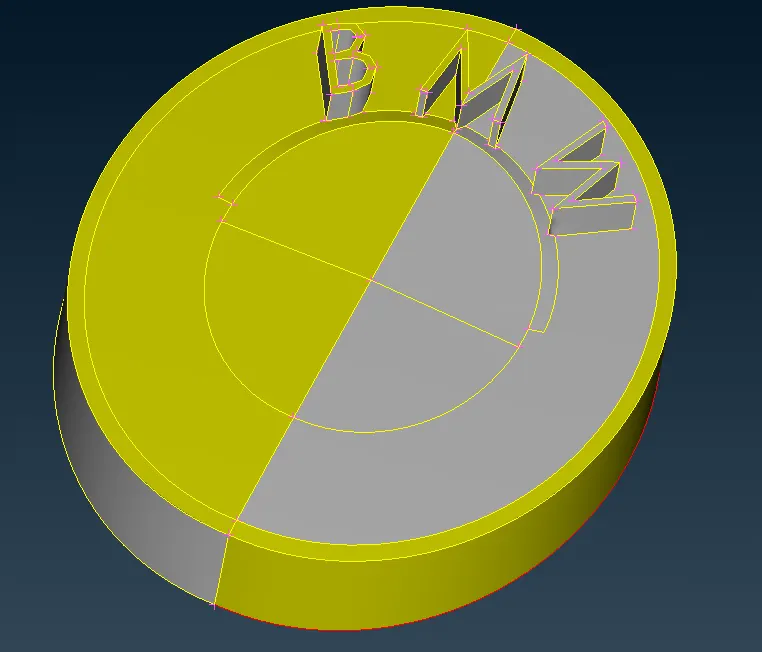
Now, the BMW logo looks like this
Now I left with only one intersection error as shown below
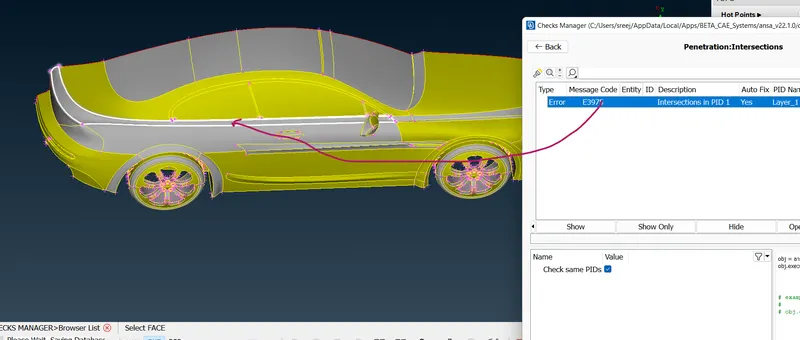
In order to solve it, join these 2 surfaces on both sides of window
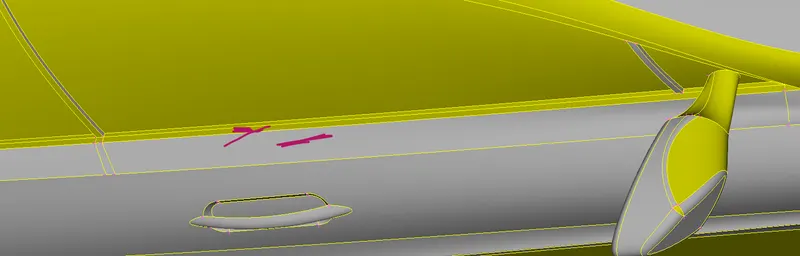
Now, the model looks like this
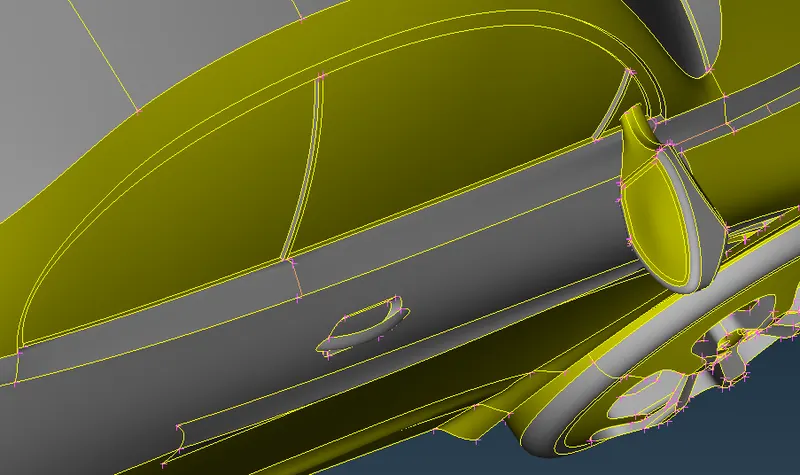
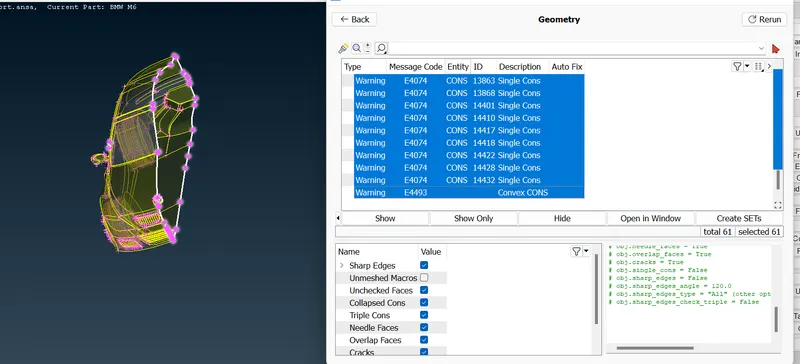
Lets go for a geometry check
Other than single cons at symetry line, there is no any other warning. The Convex cons at the door handle can be ignored.
Lets assign PIDs
1) Rims and Tyres
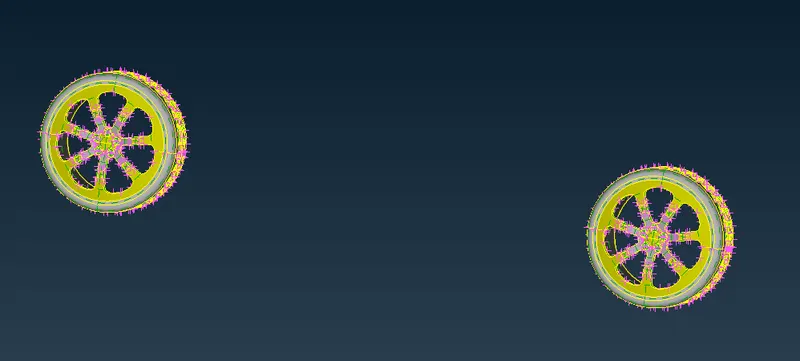
Select PID and enter new PID name as Rims and Tyres
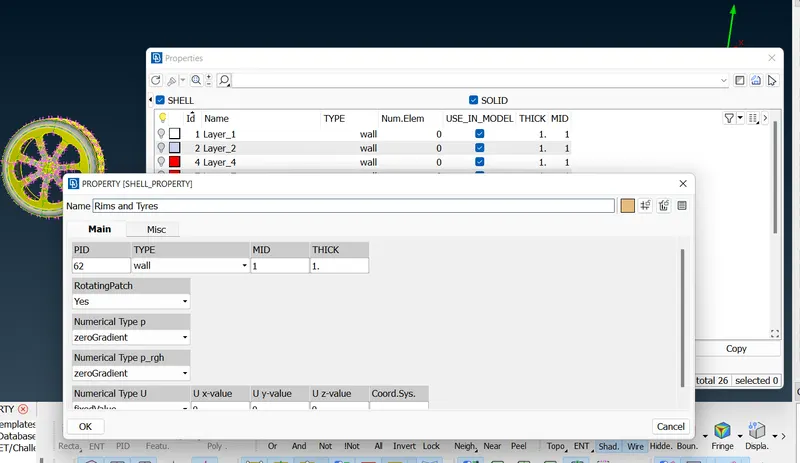
Right click and then click on Apply and then select the desired part
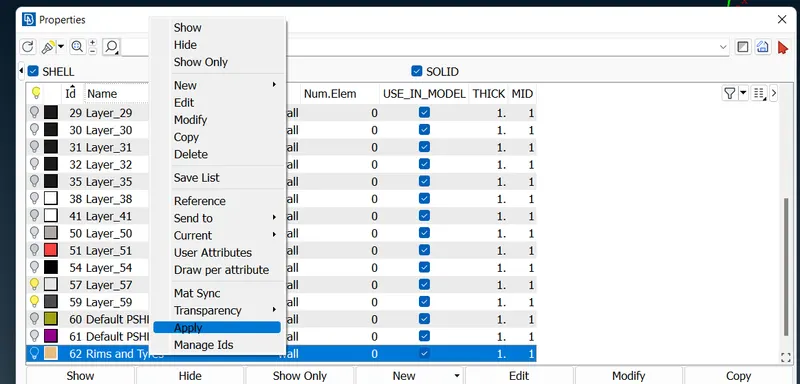
After click on Apply select the part shown below and then middle click
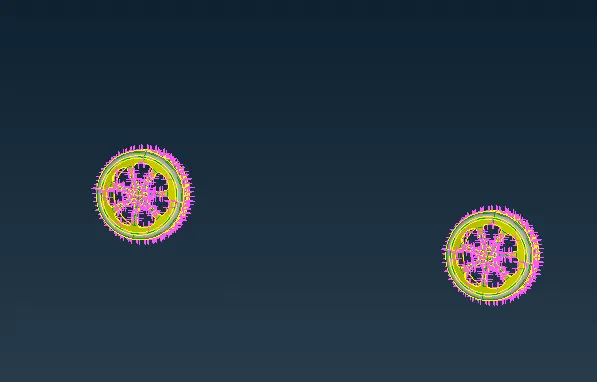
Do the same procedure for other parts and assign PIDs
2)Silencer
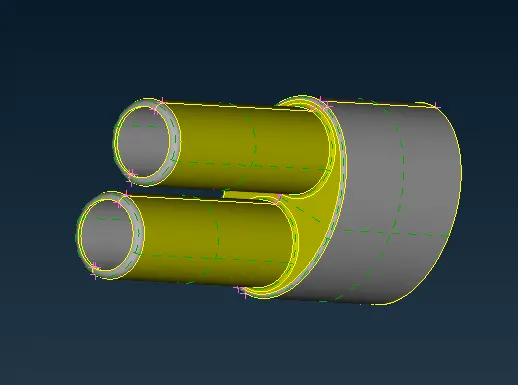
3)Optical Rear view mirror
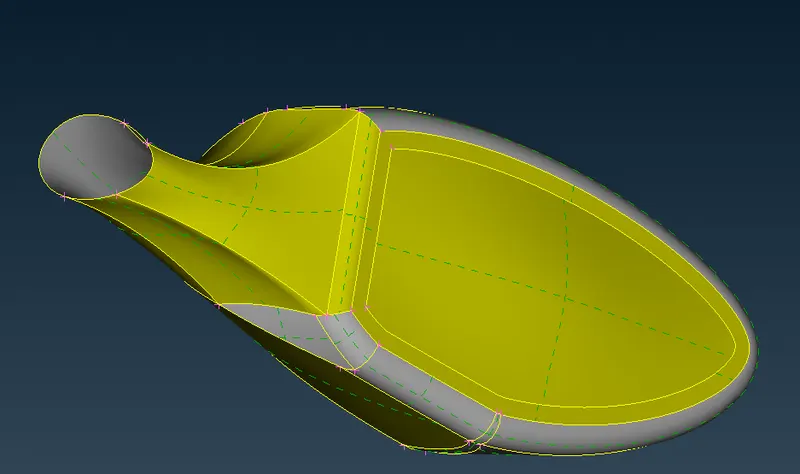
4)Window
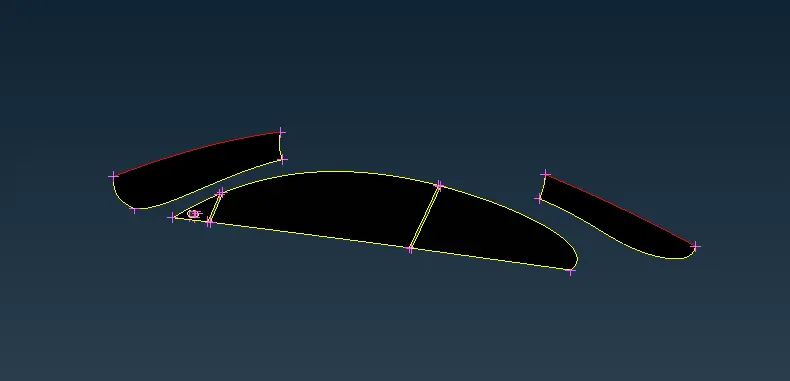
5)Logo
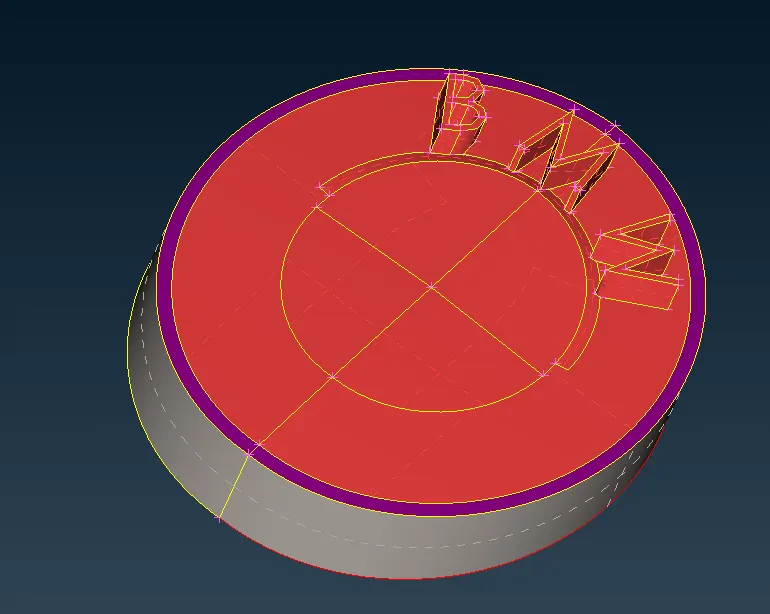
6)Grills
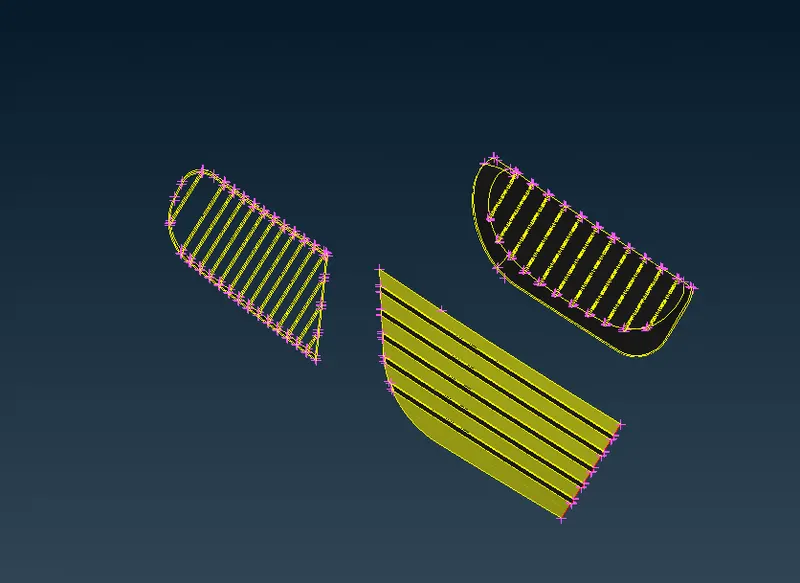
7)Lights
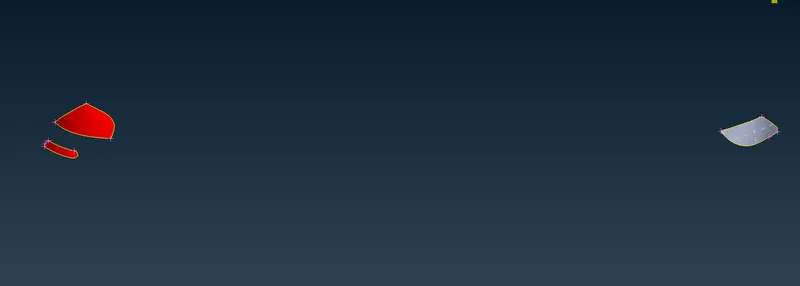
8)Body
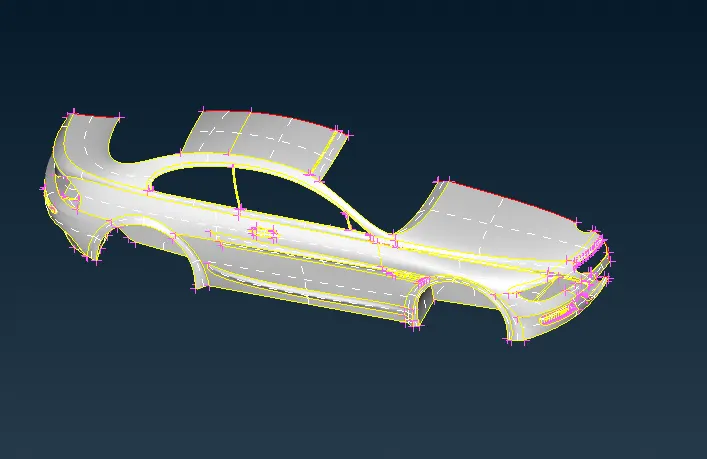
After assigning PIDs the model looks like this
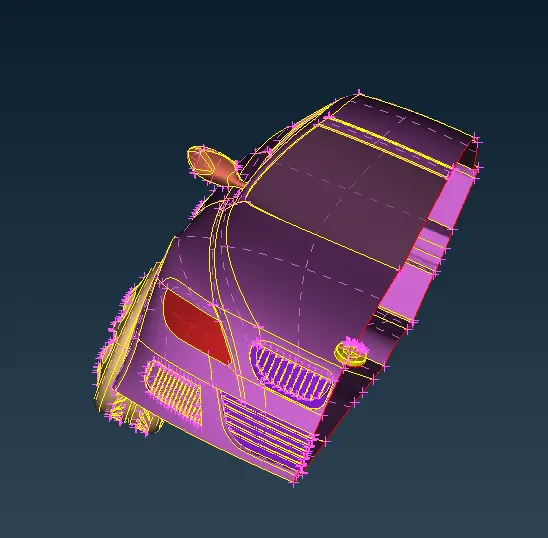
Now, we go for meshing
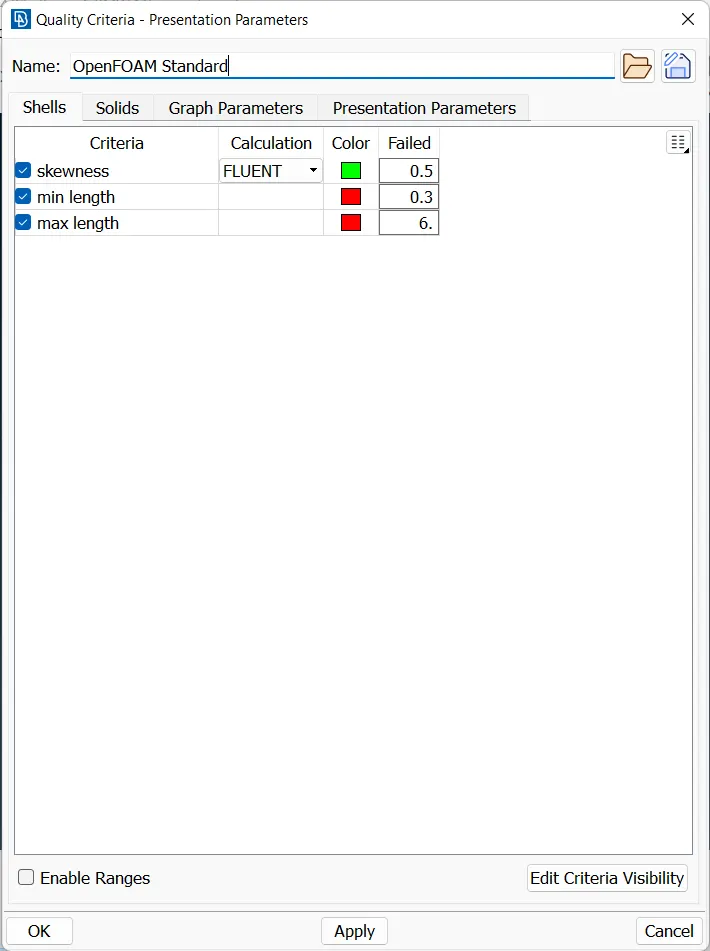
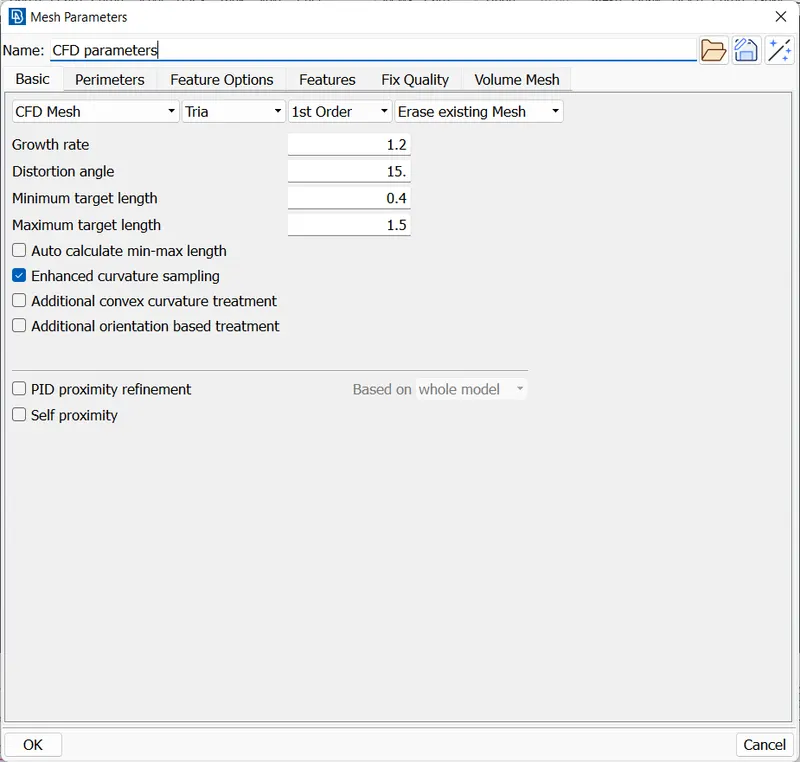
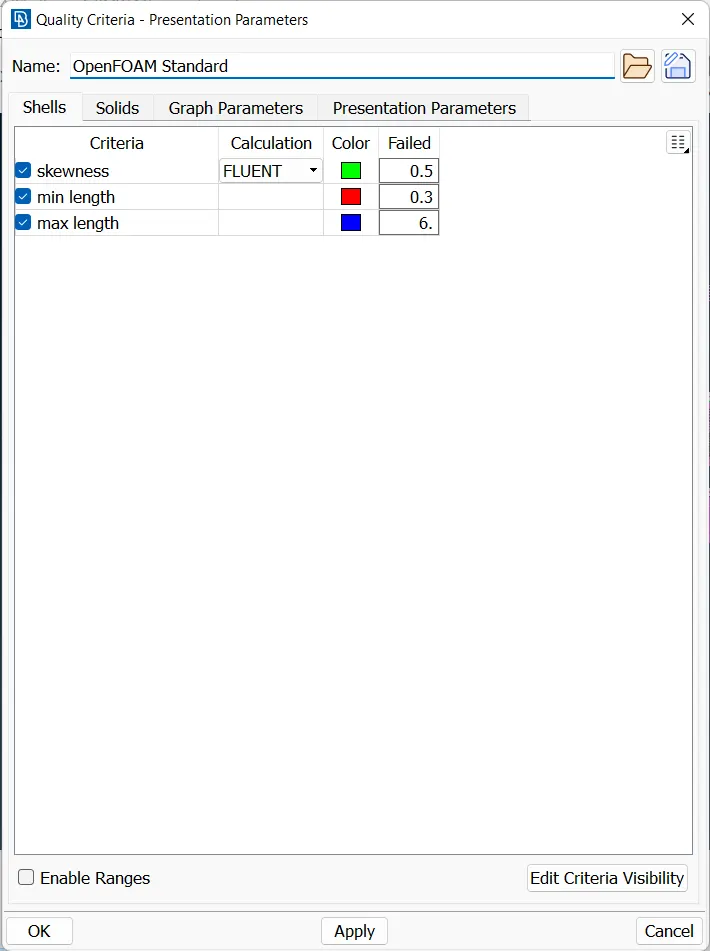
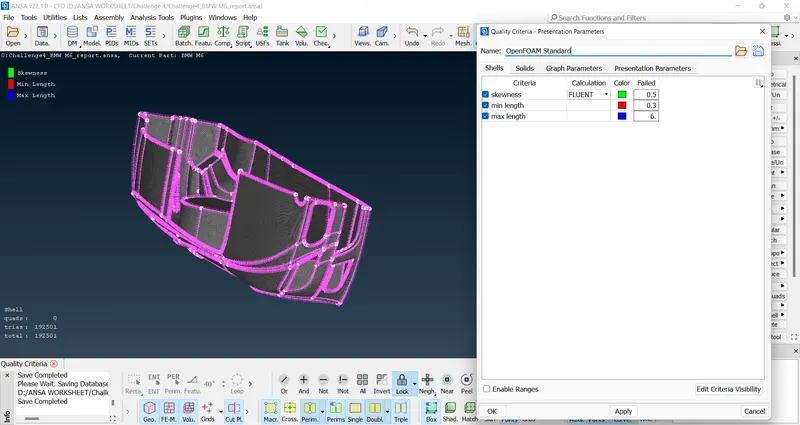
Set the quality parameter as shown below for the entire part
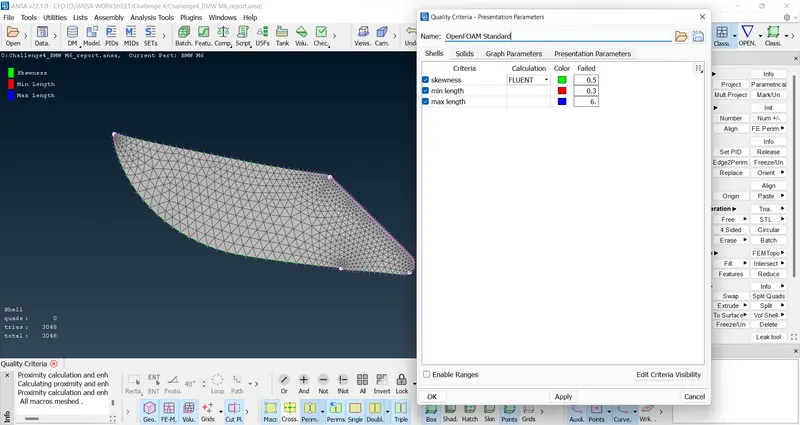
The minimum and maximum length criteria set based on looking at mesh parameters in the question. Light having target mesh length of 4 mm and grills & logo have 1 mm. So, we set minimum and maximum length accordingly as 0.3 mm and 5 mm.
1) Do CFD meshing for PIDs of 1 mm target length
a) Logo and grill
Set the mesh parameters like this
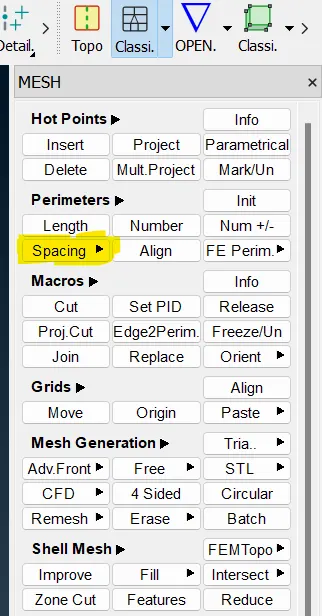
Select AutoCFD under spacing and set perimeter and macros as shown above with minimum and maximum target length
Then select CFD under shell mesh and do meshing
After meshing, the window looks like this
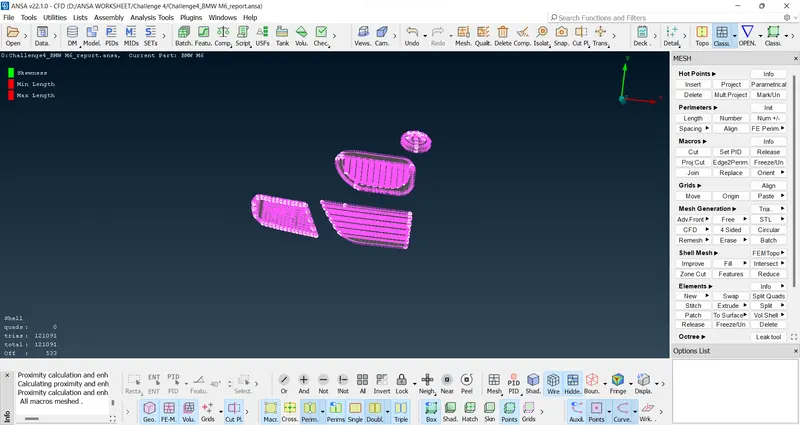
Clear the off elements using reconstruct and reshape option
After clearing off elements the mesh looks like this
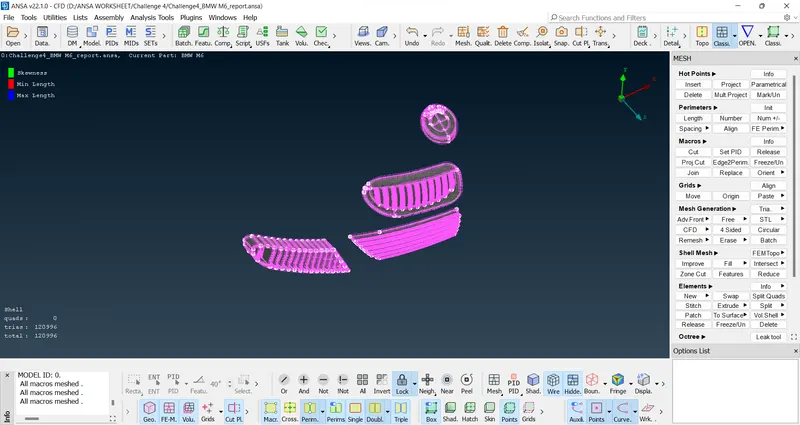
The quality criteria is also attached
After meshing freeze it
2) Do CFD mesh for elements with target length 2 mm
Rims and Tyres - 2 mm, Optical Rear view mirror - 2 mm, Window - 2 mm
Set the meshing parameters as shown below
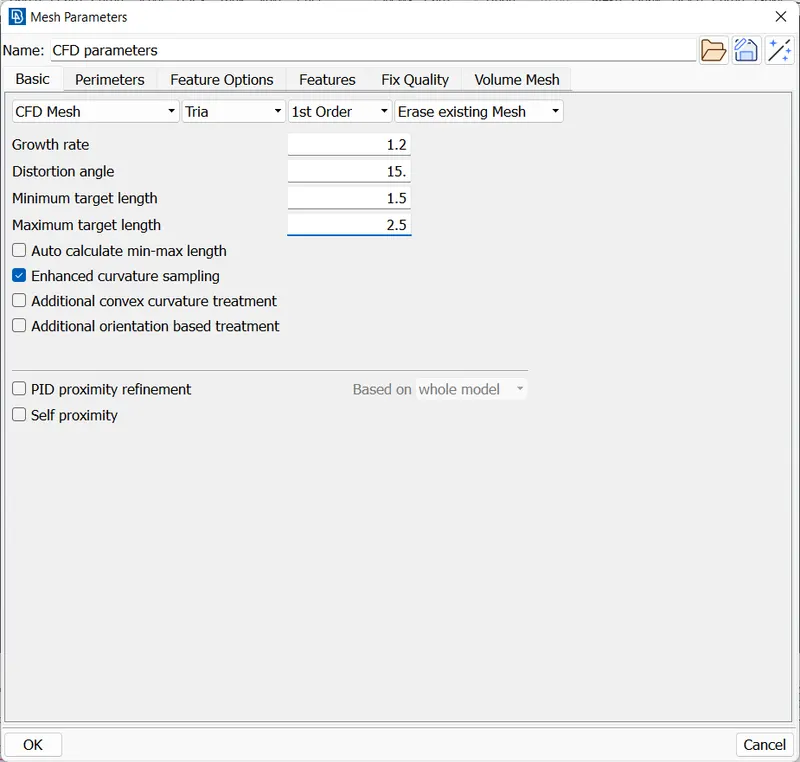
Do the same thing for perimeters and macros for AutoCFD
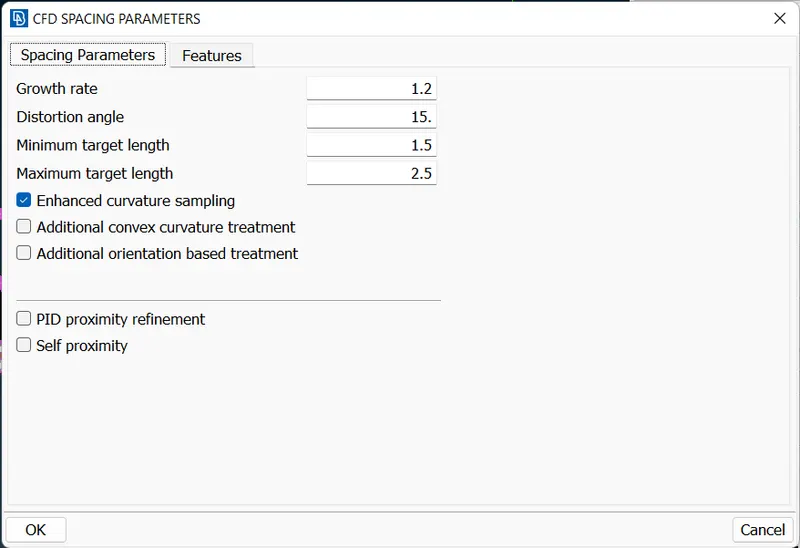
Do CFD mesh
The off elements are removed
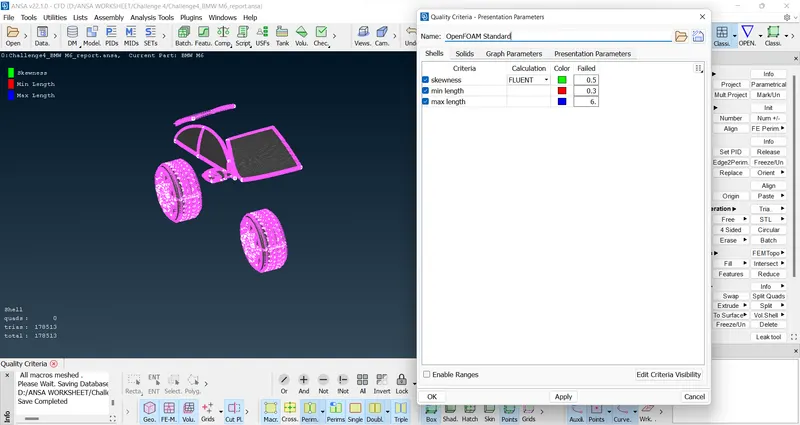
Freeze it
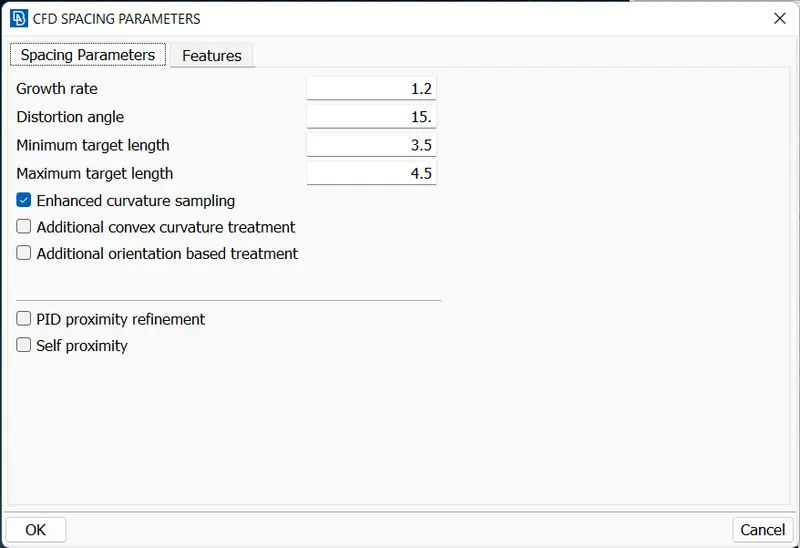
3) Do CFD mesh for lights now of target length 4 mm
Set the mesh parameters and AutoCFD parameters as shown below
There is no off elements with quality criteria shown below
Freeze it
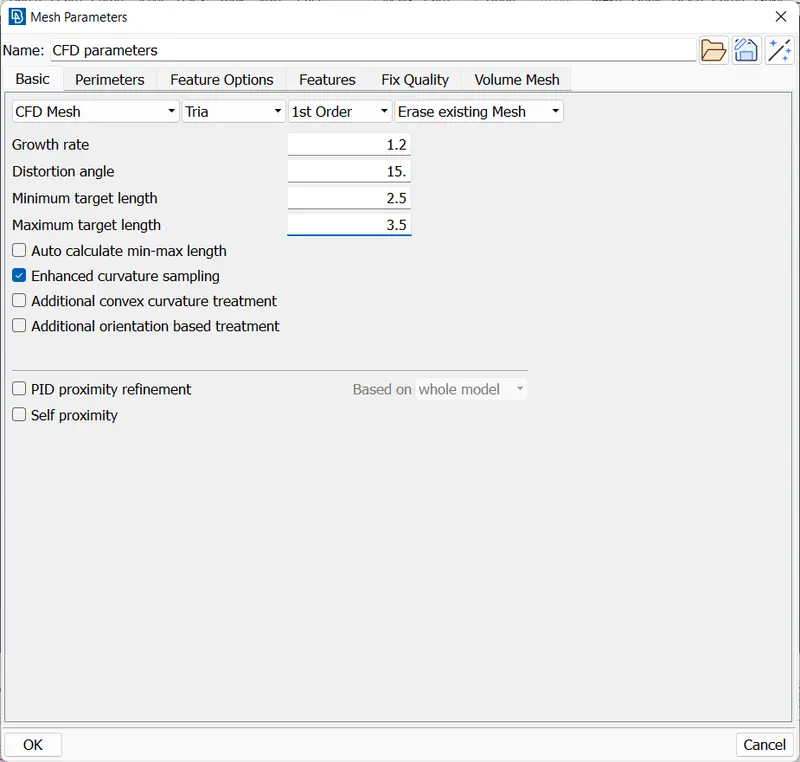
4) Do CFD mesh for body and silencer of target length 3 mm
Isolate body and silencer
Set the mesh parameters and AutoCFD parameters as shown below
After meshing the model looks like this
Freeze it
Bring back all the other PIDs and unfreeze it
The entire half BMW looks like this with no off elements
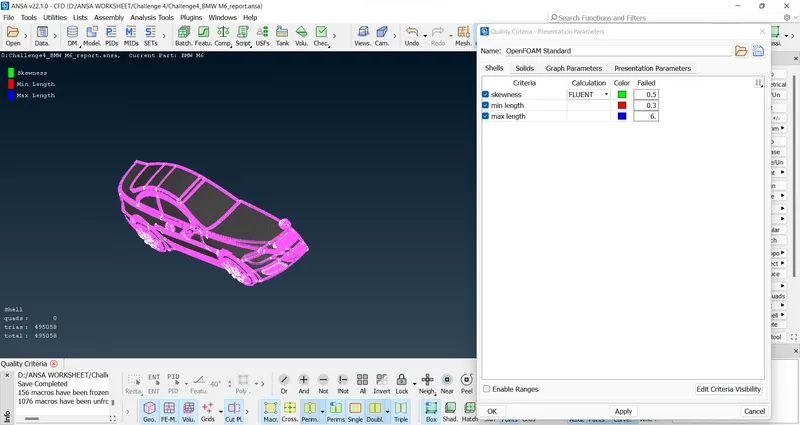
Do the transform option to symetry on 3 point and copy it to the other side
The entire full model of BMW looks like this with no off elements
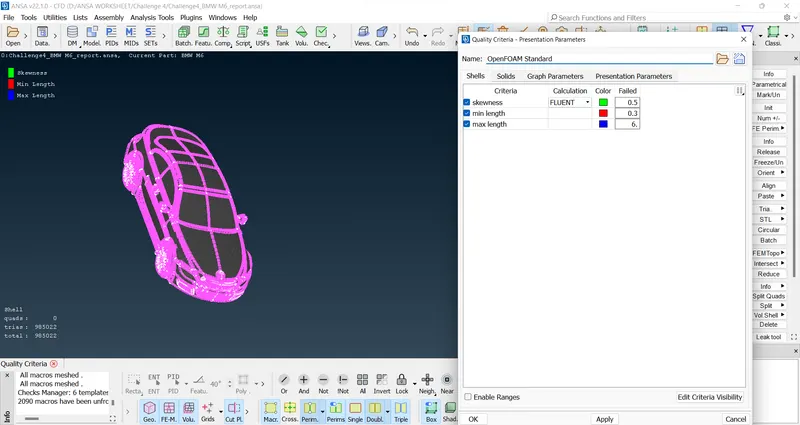
After doing geometry checks it shows no error
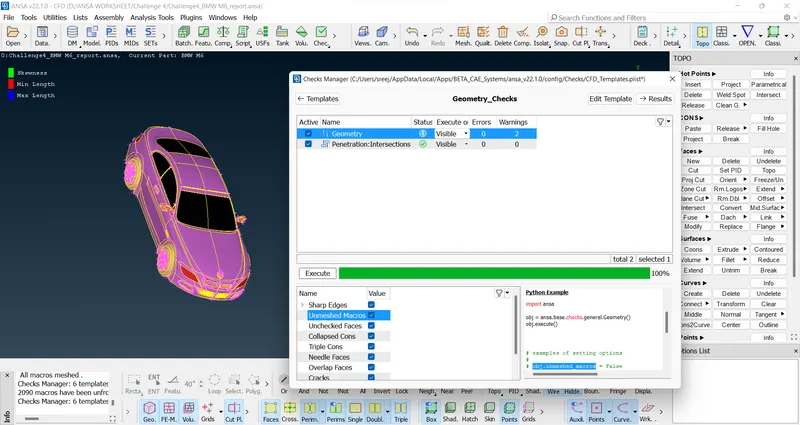
Now, create wind tunnel.
For that measure the length of the car. It is around 1310 mm. Take it as x.
The wind tunnel is created in such a way that is shown below
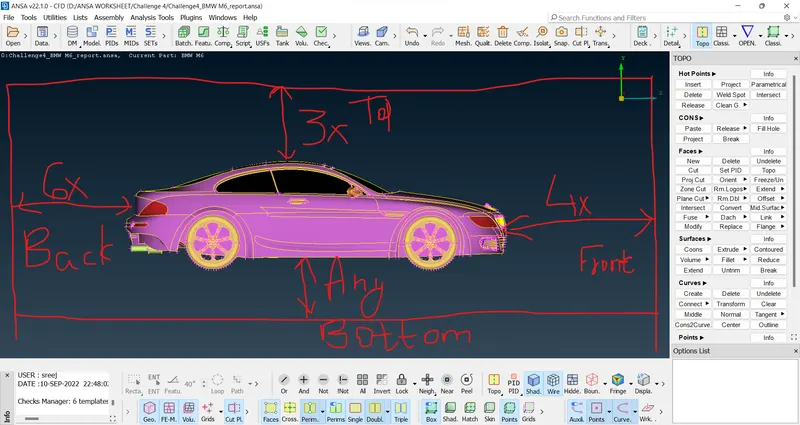
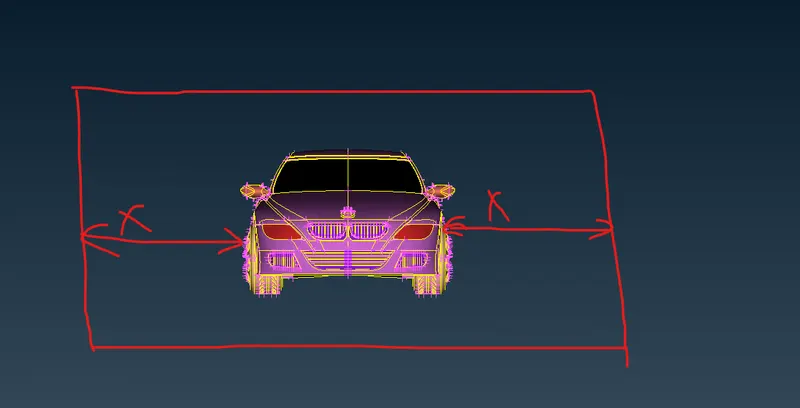
Create a wind tunnel like this shown below
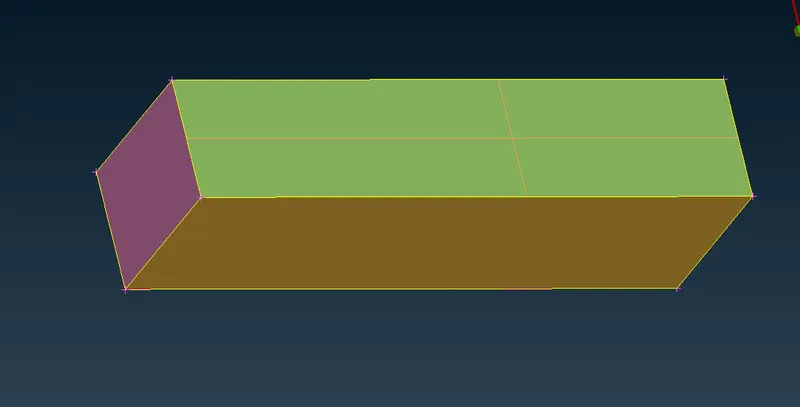
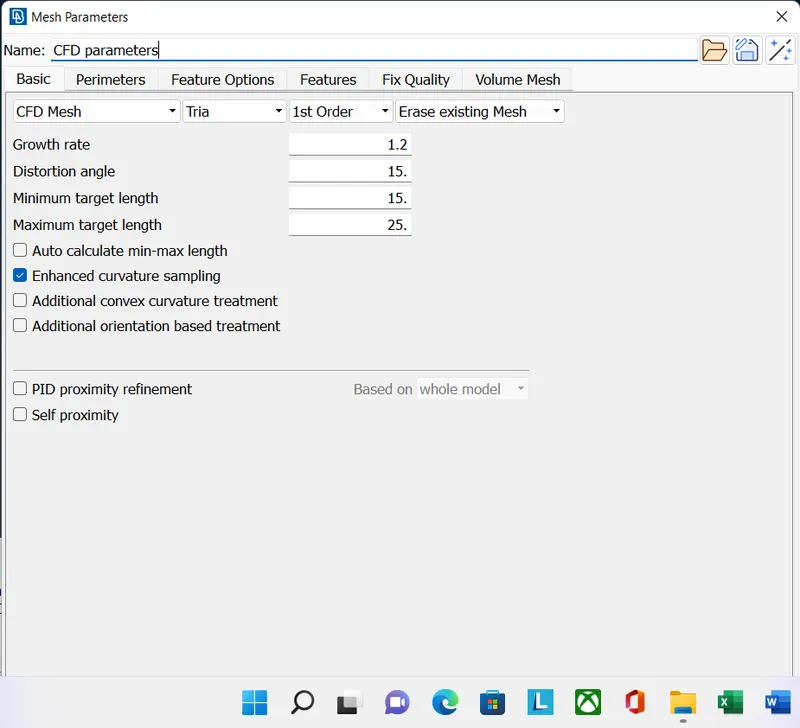
Apply CFD mesh at bottom sides with the following parameters
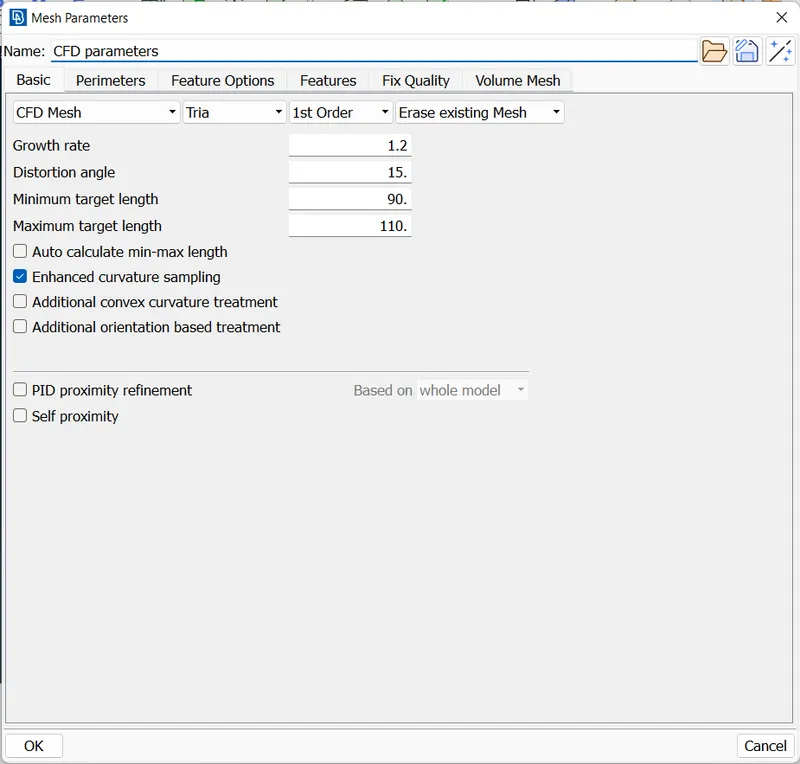
Apply CFD mesh at top sides with the following parameters
For the other 4 surfaces use spacing input and do the meshing
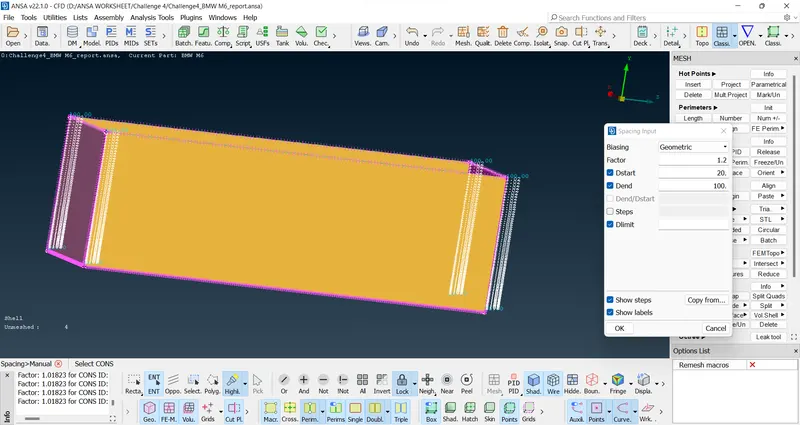
Use the meshing input like this as shown below
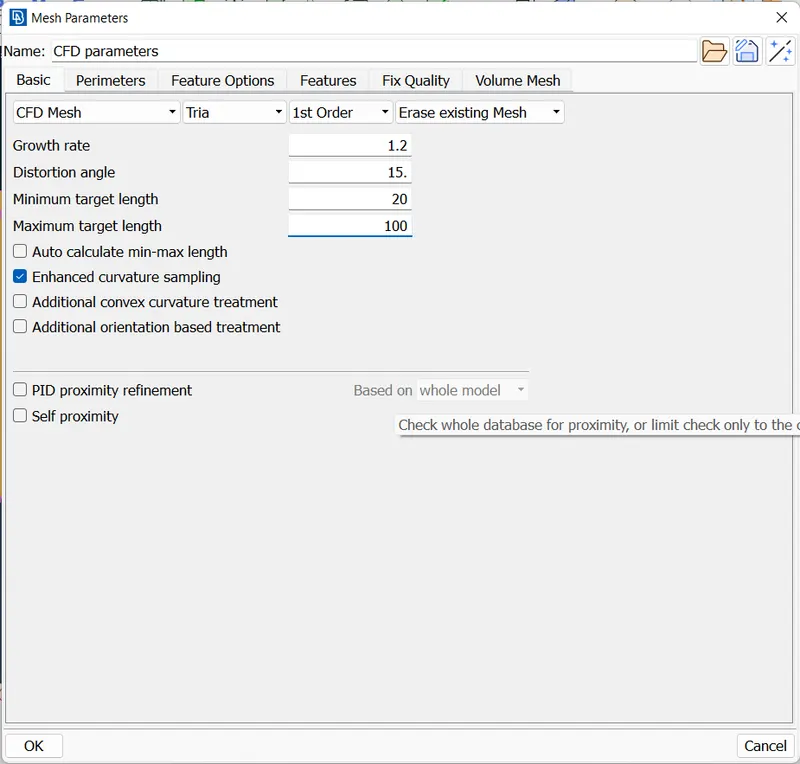
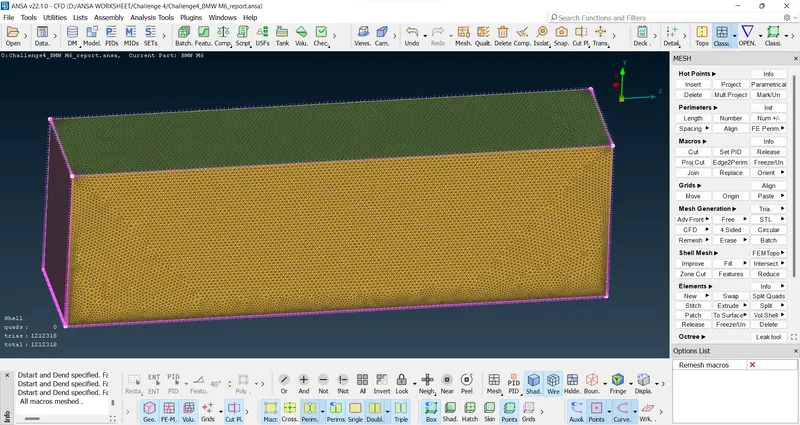
After meshing the figure looks like this
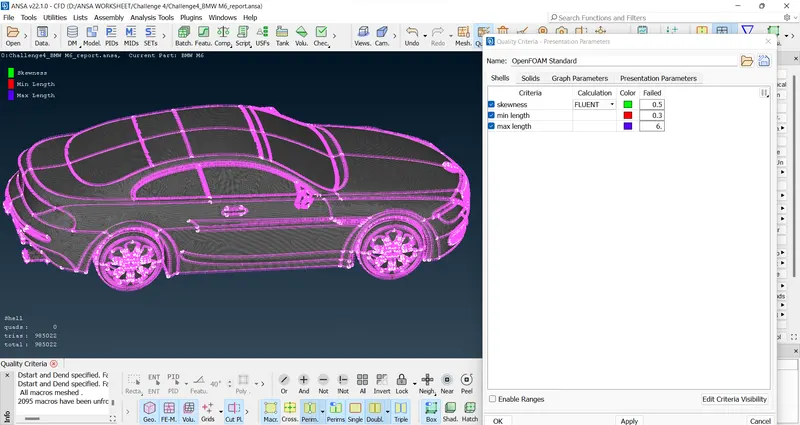
If we go to see the BMW model with no off elements, the image is shown below
ATTACHMENT
The final model meshed with CFD mesh is attached as https://drive.google.com/file/d/1WkGDAzPBmuj2pZsOJN6KLdKAiQg21ejv/view?usp=sharing
The model meshed with spot mesh is attached as https://drive.google.com/file/d/16djnLEy_KLukgRUk83dbJ9uiF5ez4N26/view?usp=sharing
Both the files are also attached as compressed file
CONCLUSION
CFD mesh give good result for meshing