Week 4 Challenge : CFD Meshing for BMW car
Week 4 Challenge : CFD Meshing for BMW car
Aim:-
To check and solve all geometrical errors on half portion and Assign appropriate PIDs for the given model. To Perform meshing with the given Target length and element Quality criteria. After meshing the half model, Do symmetry to the other side for the given model.
Target lengths for the different parts of a model are as follow:
- Body - 3 mm
- Lights - 4 mm
- Grills - 1 mm
- Rims and Tyres - 2 mm
- Optical Rear view mirror - 2 mm
- Window - 2 mm
- Silencer - 3 mm
- Logo - 1 mm
To create a wind tunnel for CFD analysis as per the standard and to perform the surface mesh on the wind tunnel.
Softwares Used:-
ANSA v22.1.0
Procedure:-
- Fisrt of all, need to open the given model and turn and shades.
- Then need to check the geometrical errors in the check manager and there will be lots of erros available which are need to be cleared as per requirement.
- In order to clear the geometrical errors need to clear the single and triple CONS which are shown below in the model.
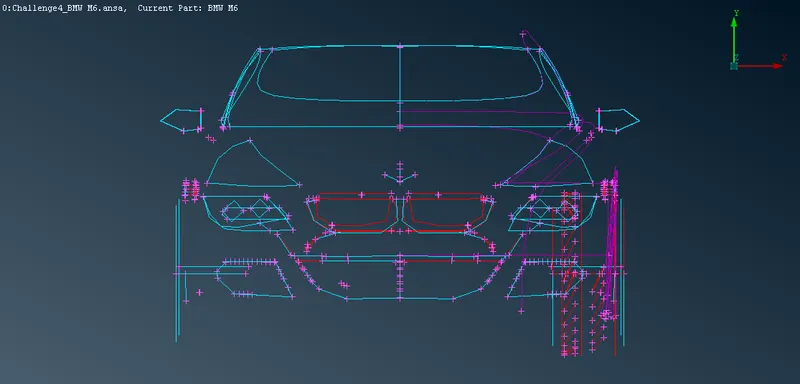
- As per the question we need to clear the respective errors for half portion and need to do symmetry for the other side.
- For that need to delete the half portion of the model as shown in fig.
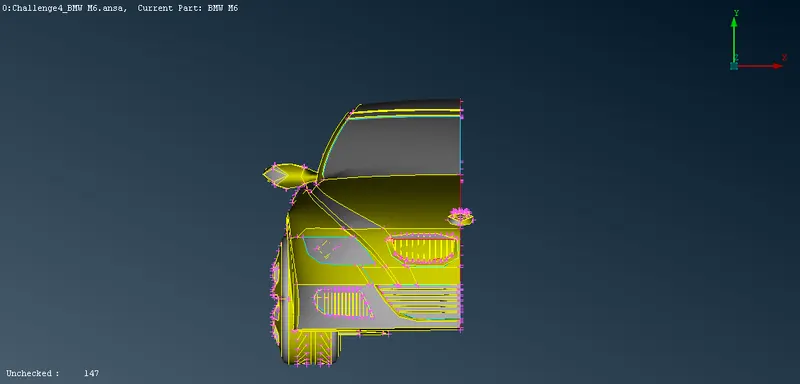
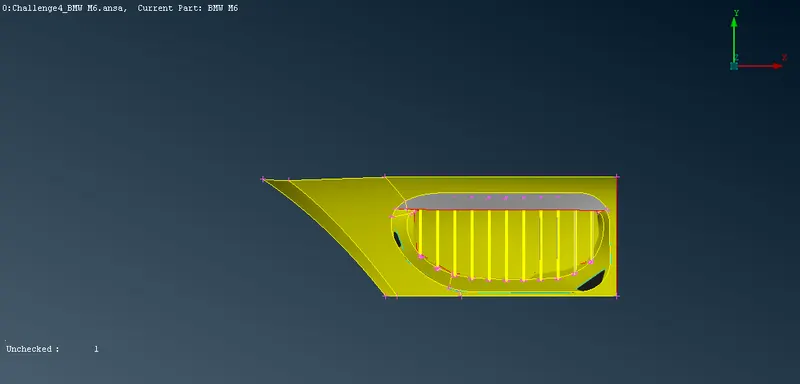
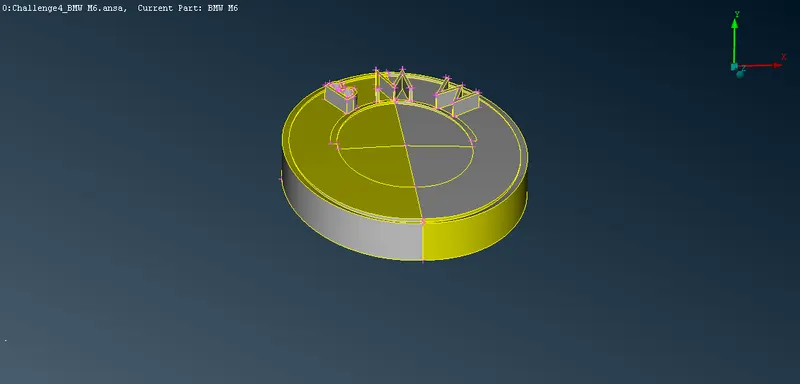
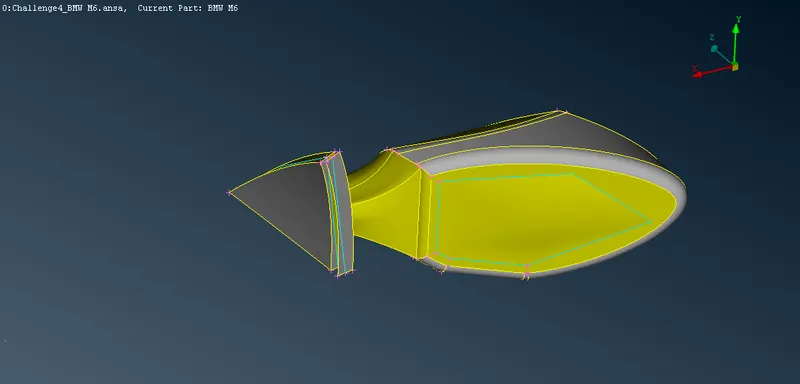
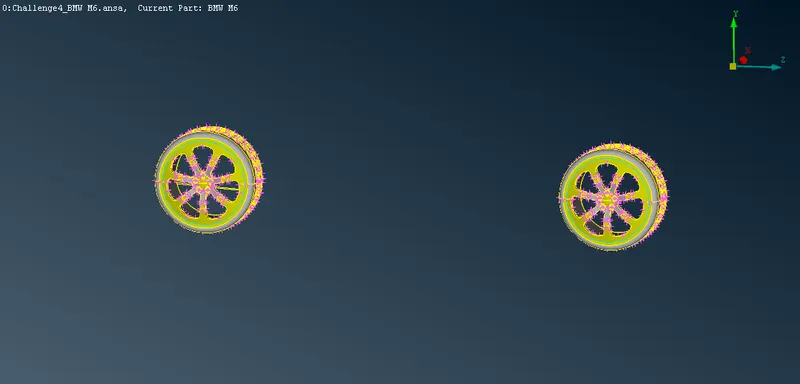
- Then need to perform the geometrical clean up operation for the given model. To simplify the operation need to perform the clean up for all small regions of the model as Grill1, Grill2, Grill3, tyres, side mirrors, lights body, silencer,logo as shown in figs.
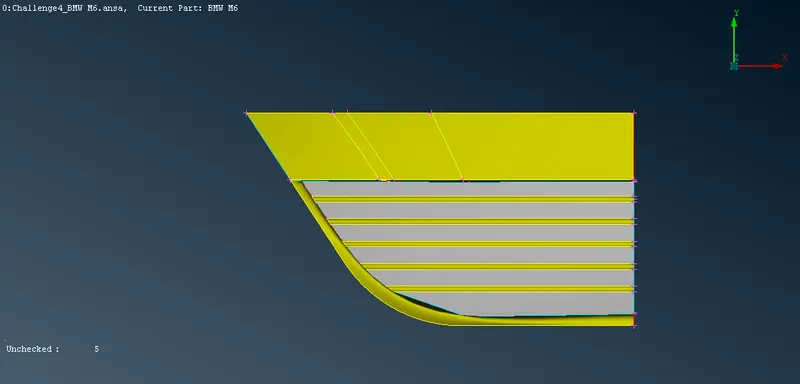
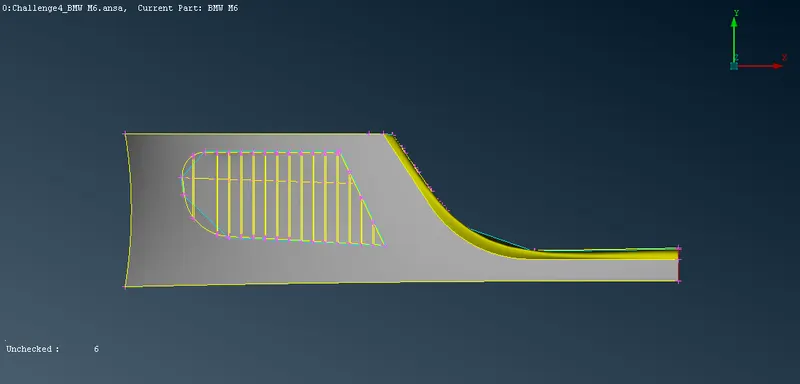
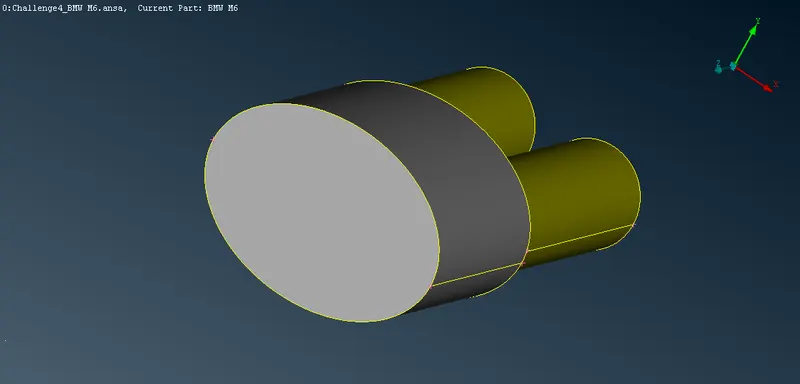
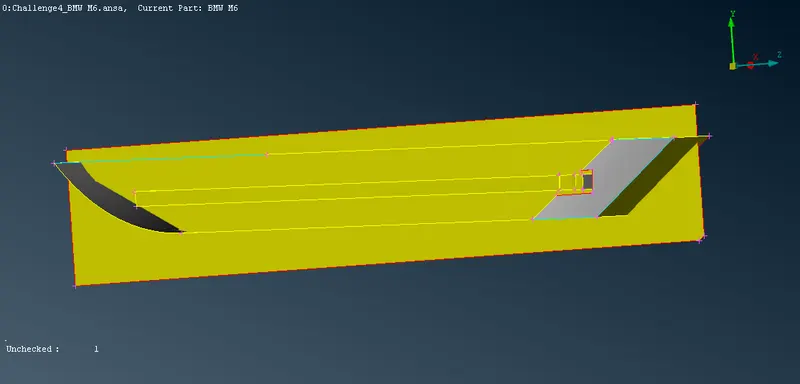
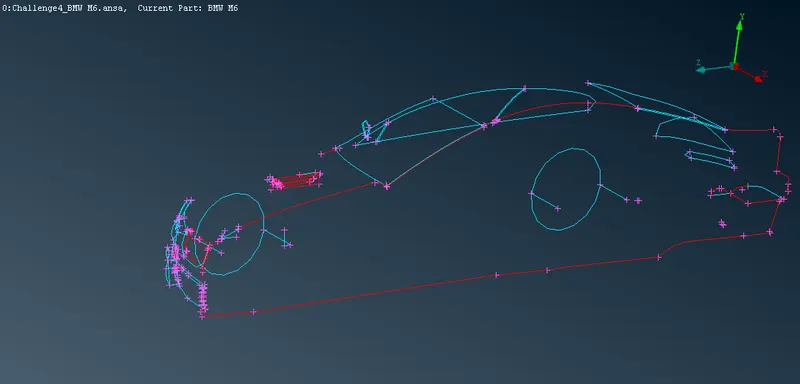
- And in the body there are lots of penetration errors available, need to clear that too.
- Need to clear all the geometrical and penetration errors by using the methods that we learnt from Skill_lync course.
- After the Geometrical clean up need to ensure whether the work has been finished or not by using the check manager option as shown in fig.
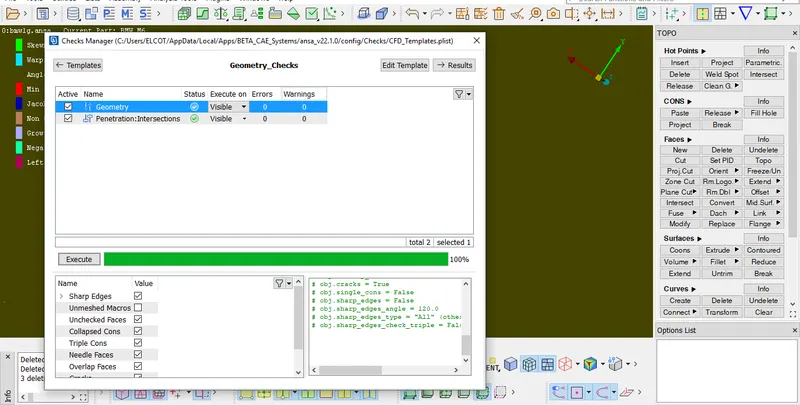
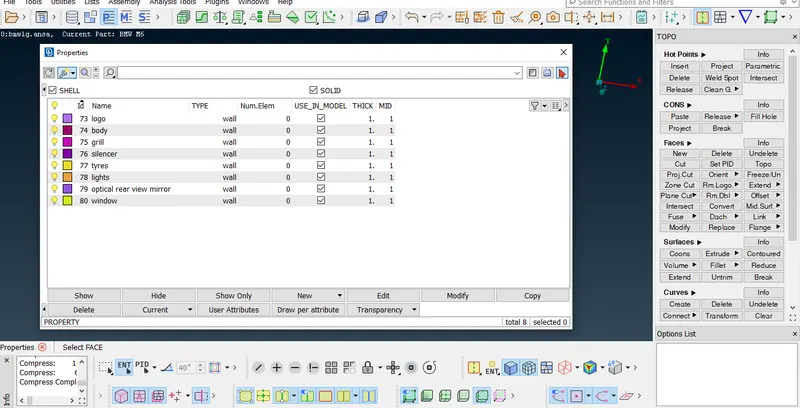
- Then need to assign the PIDs as per requirement as shown fig.
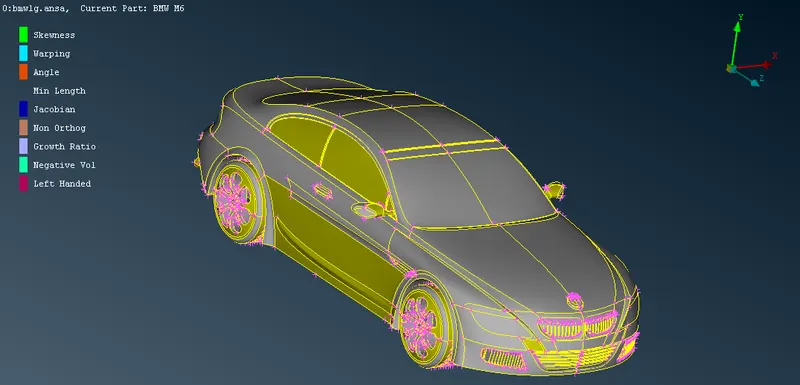
- Then need to do the symmetry operation by using the TRANSFORM>>COPY>>SYMMETRY>>MIRROR 3 POINTS plane option as shown in fig.
- Then need to clear the topological error on the model after symmetry.
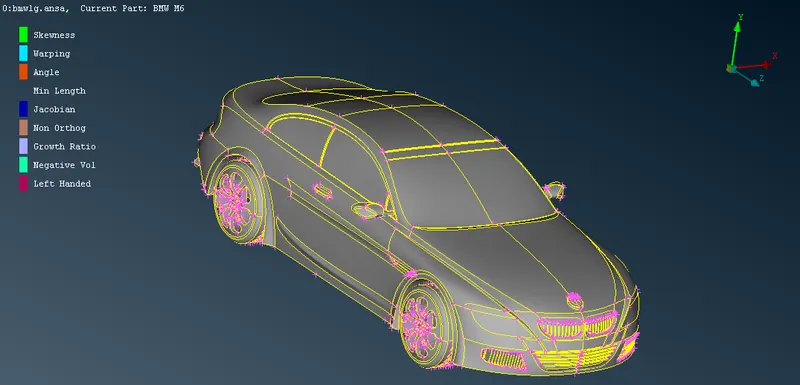
- Then need to make positive outside using ORIENT>>AUTO>>GREY OUTSIDE option as shown in fig.
- Then need to perform surface mesh operation as per the requirement all each PIDs seperately for the given mesh length as given below.
Target lengths for the different parts of a model are as follow:
- Body - 3 mm
- Lights - 4 mm
- Grills - 1 mm
- Rims and Tyres - 2 mm
- Optical Rear view mirror - 2 mm
- Window - 2 mm
- Silencer - 3 mm
- Logo - 1 mm
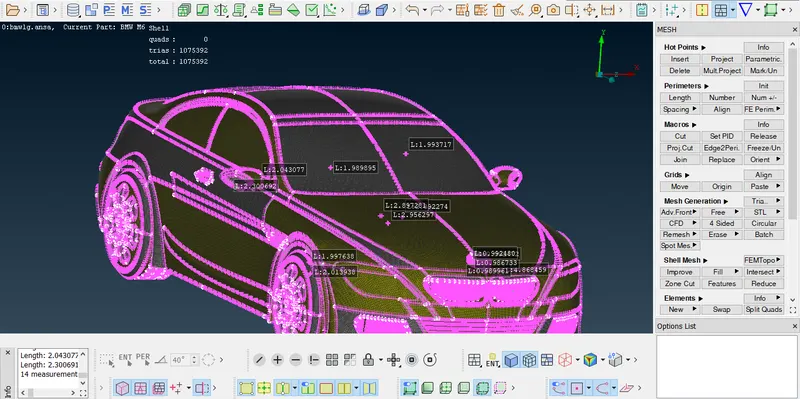
- Need to performm surface mesh for each PIDs after completing the meshing need to freeze the PIds at every time to prevent clash in the end results.
- Need to repeat the same procedure for all PIDs to finish the surface mesh as shown in fig.
- After that there will be lots of off elements available to clear that need to perform improve operation by redefining the quality criteria in permissible range.
- Afer got rid off all the off element need to create the wind tunnel as per requirement.
- The wind tunnel's dimensions are given below as per the usual operations
- Front end = 4 times of car's length from the car's front end
- Back end = 6 times of car's length from the car's back end
- Top end = 3 times of car's height from the car's top end
- Bottom end = ground range
- Two sides = same length as width of the car from each side end
- To create the wind tunnel need to create the 3D points at the required dimensions.
- Then need to create curves to connect the 3D points to create a rectangle shape
- Then need to create the surfaces of the wind tunnel by using new surfaces option.
- Then need to perform the surface mesh operation on the surfaces of the wind tunnel as shown in fig.
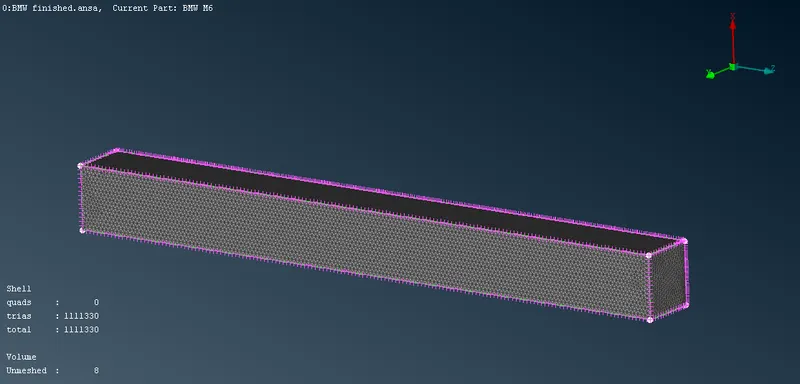
Result:-
The Geometrical clean up and surface mesh operation on the given model had been done there is no off elements presented. The wind tunnel is created and surface meshed as given below
https://drive.google.com/file/d/1n8Qt1uC37PKyqKqXFTeaRQZmxI64YcU6/view?usp=sharing