Week 4-1D Element Creation Challenge
Aim: Mesh the Given component with the Size of 5 Units. Create 1D elements on the following component with given cross-section and DOF
a. Rod element:- Translational DOF should be Constrained with RBE2 link
Cross-Section: BOX- Dimension a= 12 mm
dimension b=10 mm
Thickness t= 0.75 mm
b. Beam element:- All DOF should be constrained with RBE3 link
Cross-Section: I Section- Dimension a= 8 mm
Dimension b= 10 mm
Dimension c= 8.5 mm
Thickness t1= 0.75 mm
Thickness t2= .6 mm
Thickness t3= .6 mm
c. Bar element:- Constrain only x and y DOFs With RBE3 link
Cross-section: X section- Dimension DIM1= 5 mm
Thickness DIM2= 1.2 mm
Dimension DIM3= 10 mm
Thickness DIM4= 1.2mm
d. & e. Apply the mass of magnitude 10 with the RBE2 link
f. Join the two components with Spring elements
Procedure:
1. Import the bracket file and use autocleanup tool
2. Create a midsurface using automidsurface option

3. Create washer splits wherever necessary and then mesh the surface with mixed elements and 5mm element size

4. Create two components for the two parts of the bracket and use ORGANIZE tool to assign the part to their respective properties.

5. Create a material STEEL
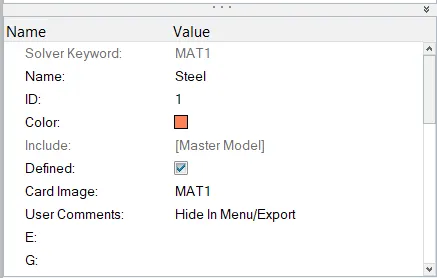
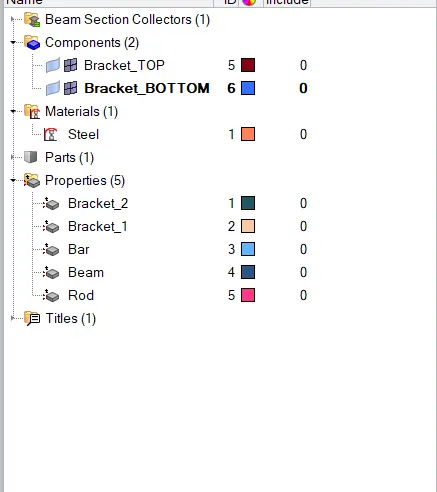
6. Create properties for both the brackets and assign thickness and material to them
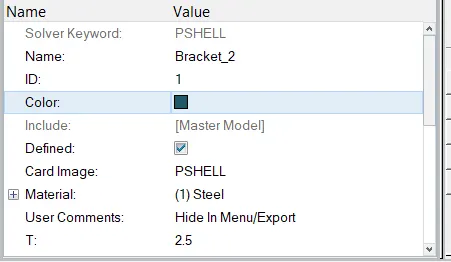
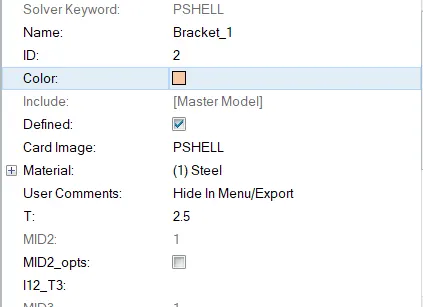
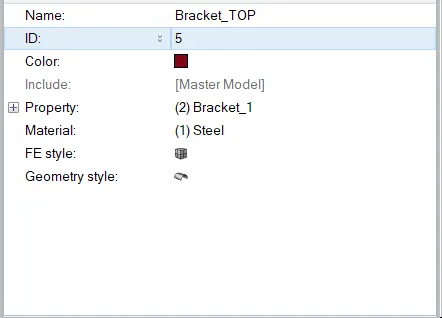
7. Assign these properties to their respective components
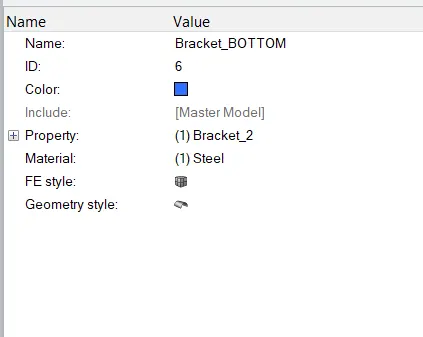
8. Create ROD, BEAM and BAR element with their given dimensions in hyperbeam option
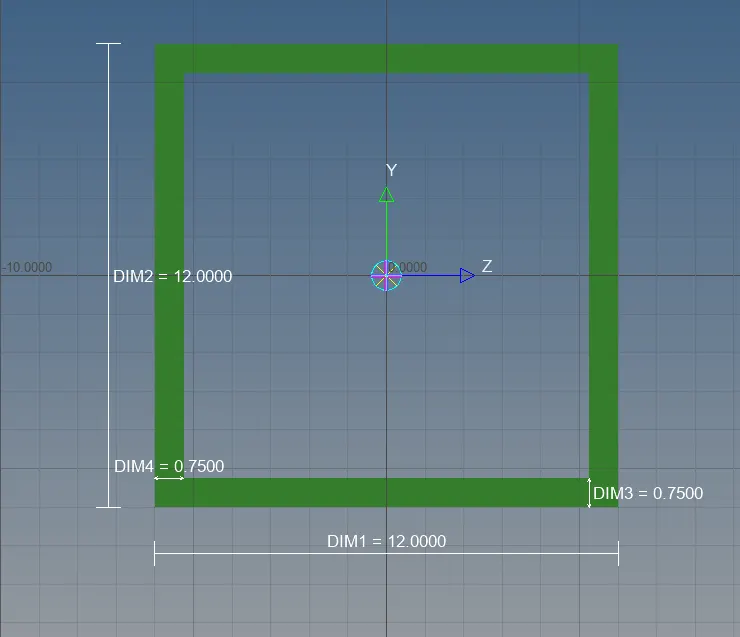
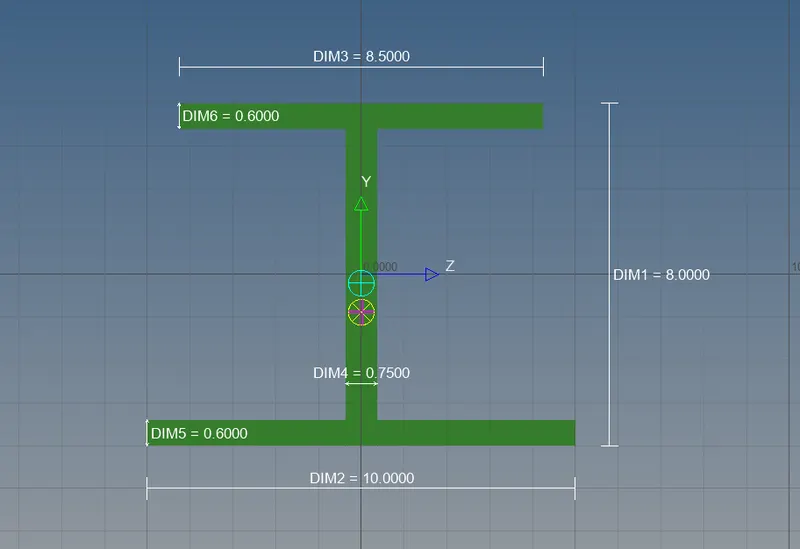
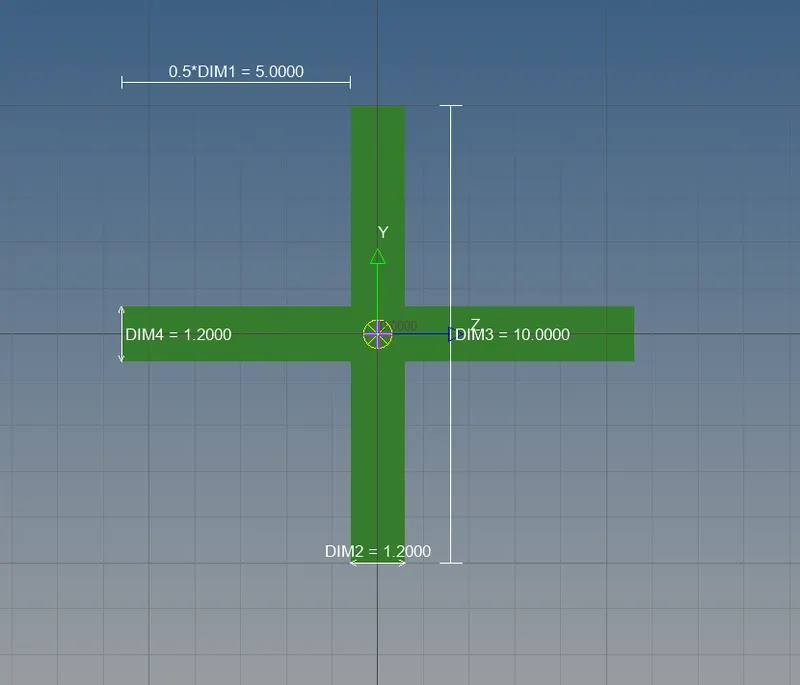
9. Create properties of the created elements and give them their respective card image and assign repectively.
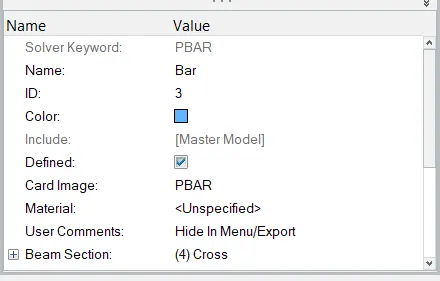
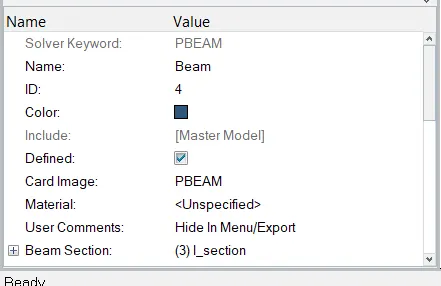
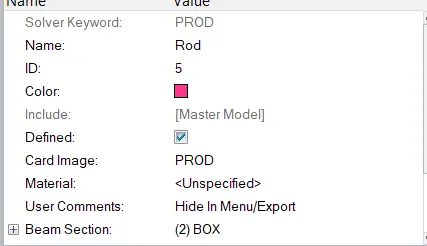
10. Create rigid element by using multiple node option to define the holes as rigid connections as mentioned for the ROD element connection path and create RBE3 elements for the BEAM and BAR element with DOF in z-axis free for BAR element by unchecking DOF5 and DOF6.
11. Create necessary connections as required using multiple options by selecting the required parameters and carefully selecting the card ID, element type and connection property.



12. Create masses on the required points using the masses option and magnitude 10

13. Connect the two components using spring element where required using SPRING option

14. Required model can now be exported
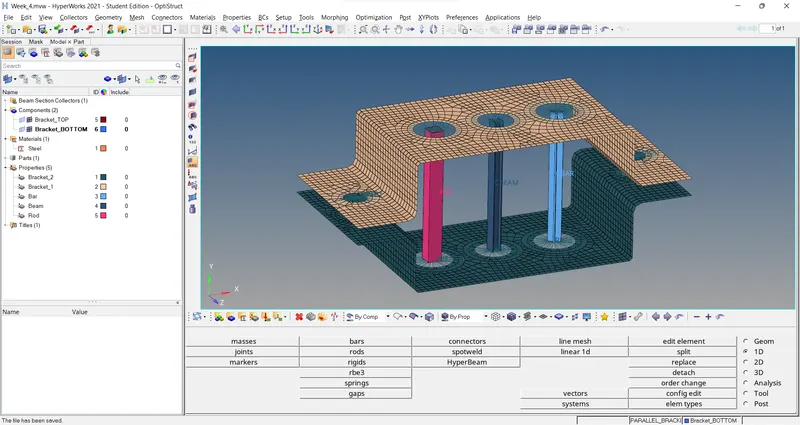
Results:
1. Required model is obtained and can be used for further studies
Learning Outcomes:
1. Familiarity with the solver deck and more tools
2. Learnt about the property tabs and how to use
3. Learnt how to do element connections
The link to the file is attached here