Week 3 Challenge : CFD meshing on Turbocharger
Aim:
To check the geometrical errors to make appropriate volumes. Create and assign PIDs. Perform surface mesh with the given target lengths as per PIDs.
Objectives:
We have to assign the mesh length for given geometry model.
- Blade stage-1 = 1 mm
- Blade stage-2 = 1 mm
- Impeller = 2 mm
- Shaft rotor = 1 mm
- Turbo casing = 5 mm
- Compressor casing = 5 mm
- Inlet casing cover = 5 mm
Definition of turbocharge
Turbo charge is used to supercharge (an engine) by means of a turbine-driven compressor.
Step 1:
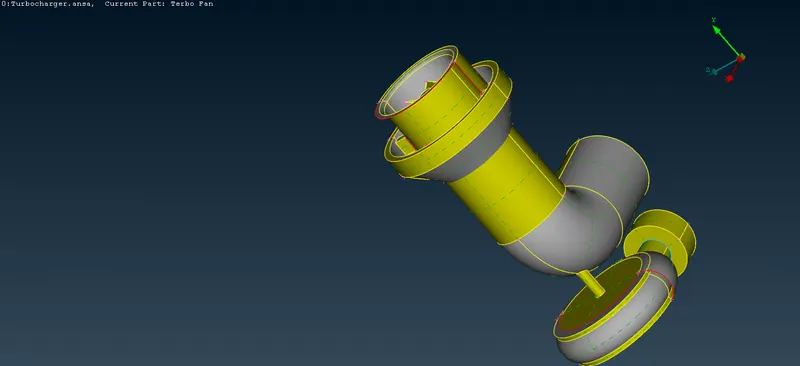
This is the given geometry image first step is we have to uplode the given geometry in ANSA software after that we have to identify the errors in given geometry.
Step 2:
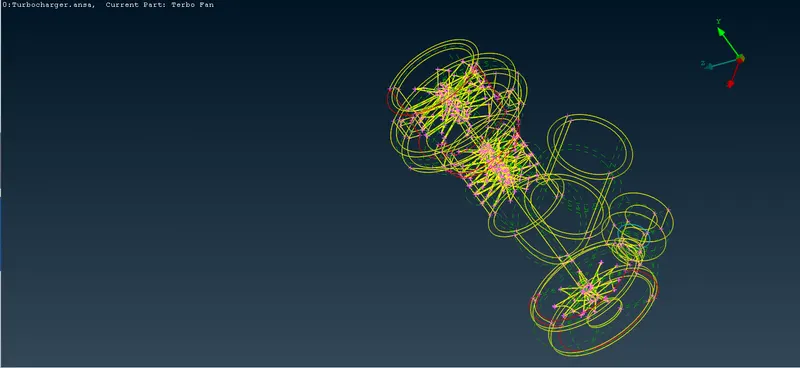
Wireframe mood is used to easily identify the single cons error also triple cons error.
Step 3:
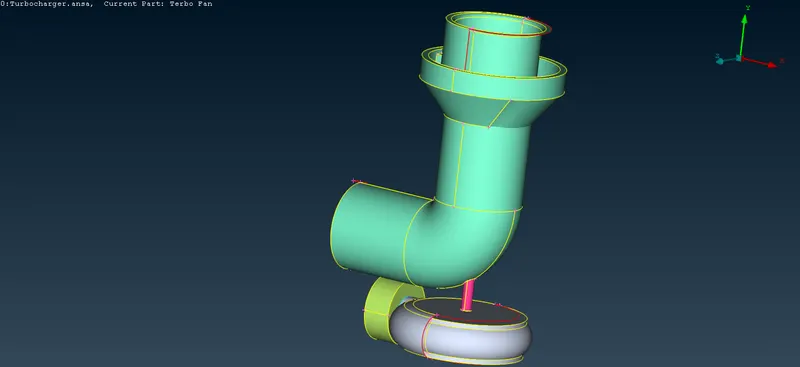
Topo clean up is the first stage of meshing process first we have identify the single cons error.
step 4:
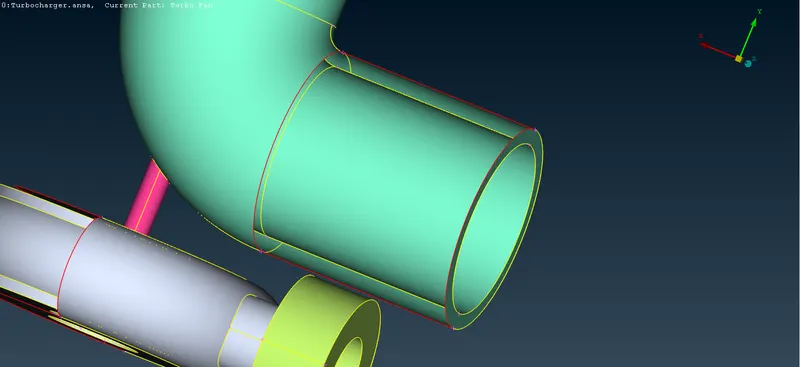
Use New option to create new surface in given geometry
we have to use loop option to select the particular colsed surface
Step 5:
We have delete the extented surface and then we should create the new surface by using coons option
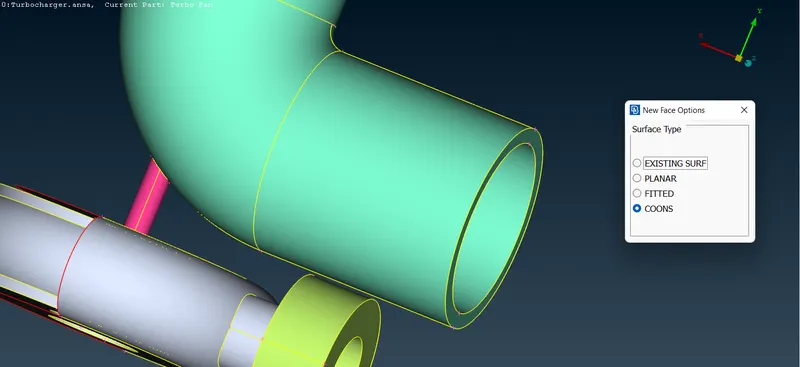
Step 6:
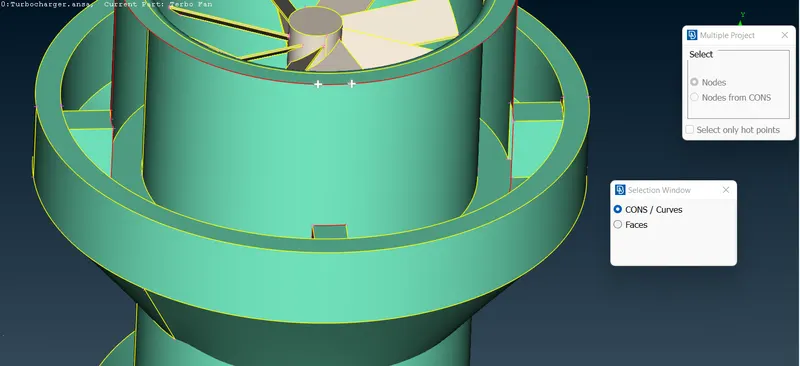
At the bottom we cannot make the phases entire at one time as the ANSA doesn’t predict the correct faces so we need to divide this one as well
If we have to create a new surface some time it's not create properly because the suface is not getting a perfect nodes
so we have to create a perfect by using multiple project option. If we using the multiple project option it will create a perfect nodes for perticular surface.
Sttep 7:
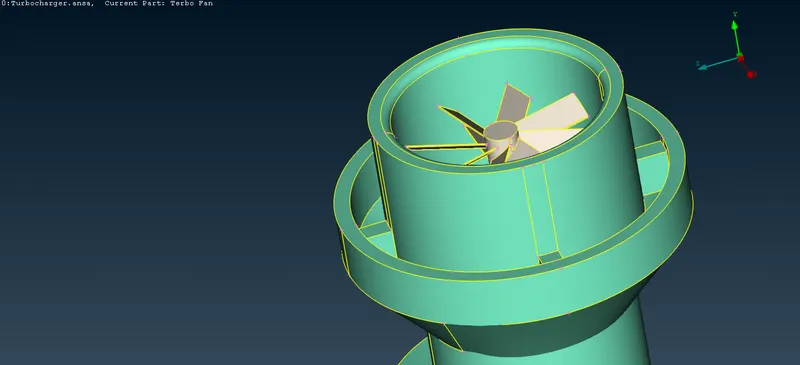
We should create the new surface for topo clean up by using coons option
Step 8:
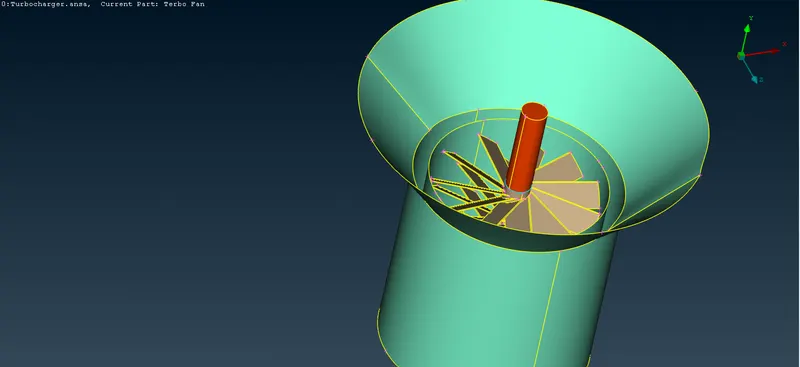
Intersection option will itself show the option to delete the exceeding surface Also, there are further clean-ups to make the geometry ready for meshing for many overlaps surfaces and unwanted surfaces, like in shaft of rotor we need to make the entire shaft in single volume it will help us in volumetric mesh so we need to delete all the surfaces in the between.
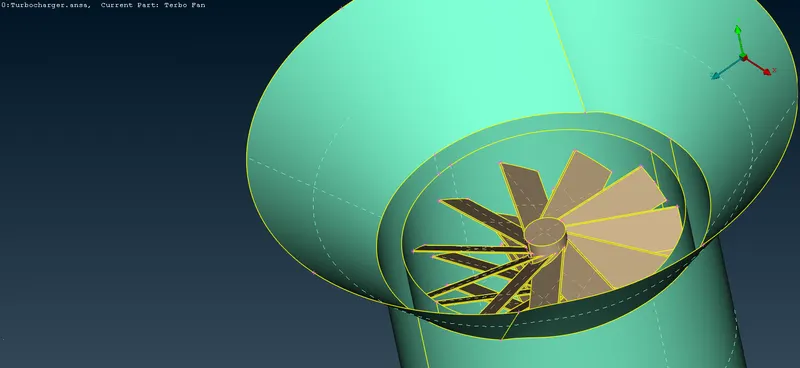
Step 9:
Creating the Hot points to separate the particular surface. And the we are using coons option to create a new surface.
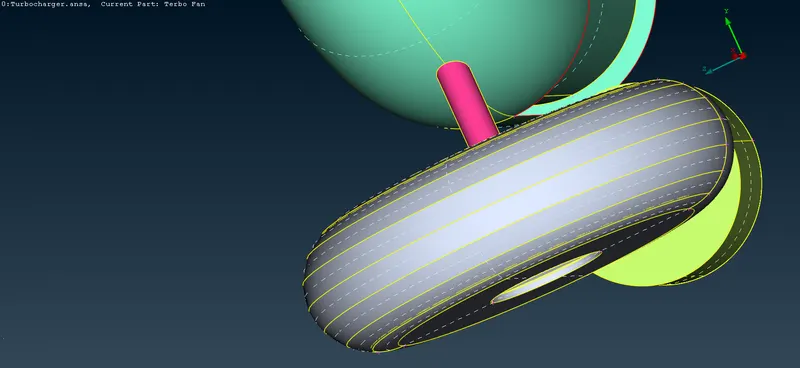
Step 10:
Now we need to check overlap surfaces under all the surfaces we may find some in rotor shaft which we need to cut the shaft in some places by using project cons option and delete option
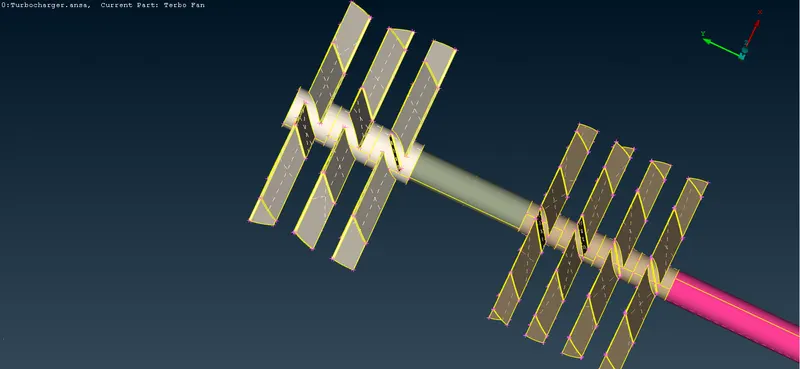
Step 11:
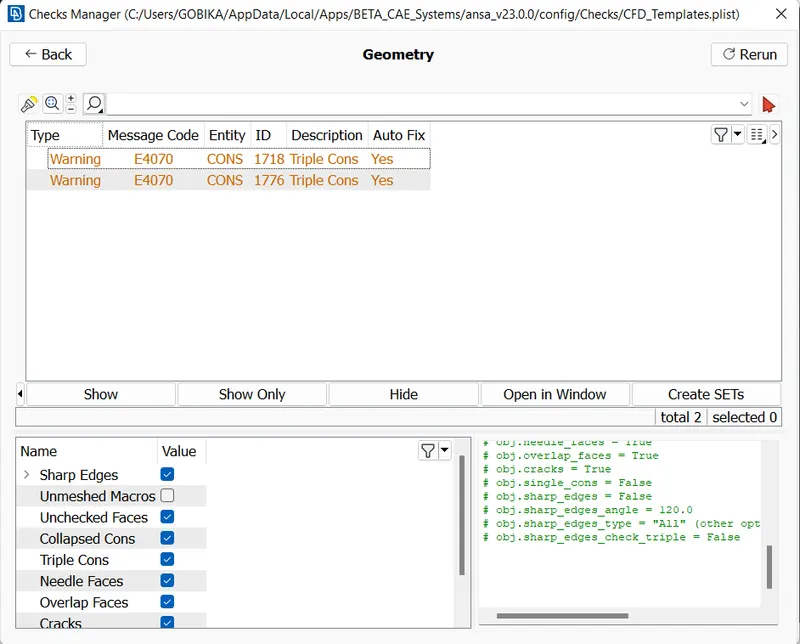
Once you completed the topo clean up again we are going to check the geometry errors. It can easily identify the single cons error present or not.
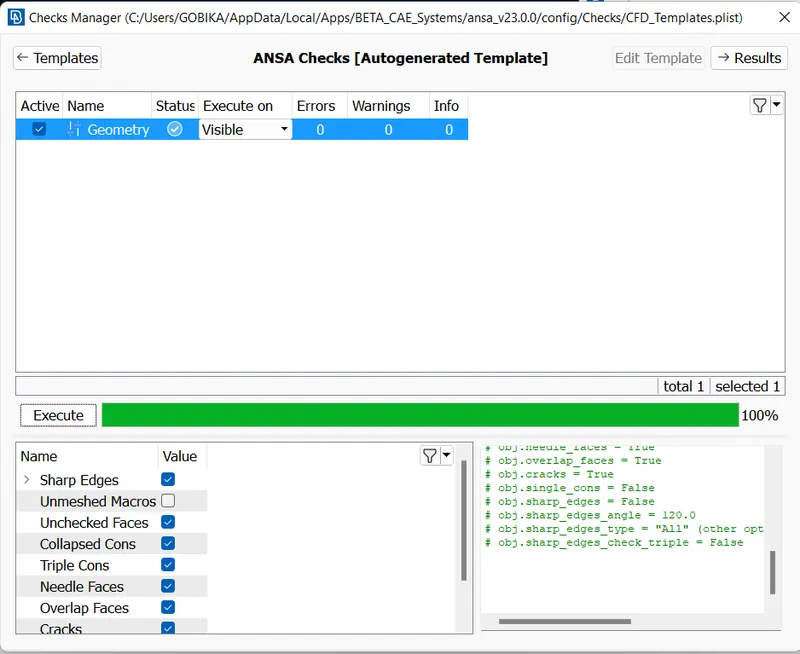
Geometry check up also is used to easily identify the triple cons errors.
Step 12:
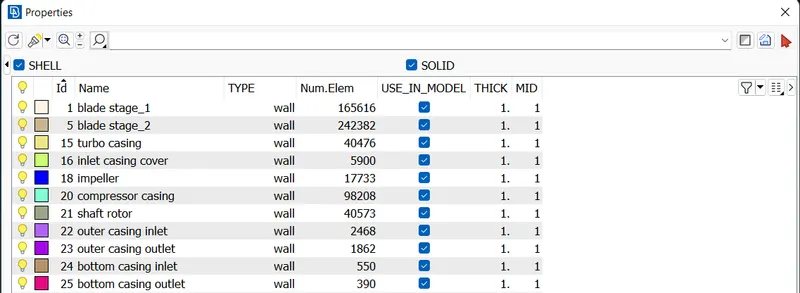
Before meshing we should assign the PIDS for given geometry. PID manager are used to separate geometry and it can easily identify the geometry parts.
Step 13:
- Blade stage-1 = 1 mm
- Blade stage-2 = 1 mm
- Impeller = 2 mm
- Shaft rotor = 1 mm
- Turbo casing = 5 mm
- Compressor casing = 5 mm
- Inlet casing cover = 5 mm
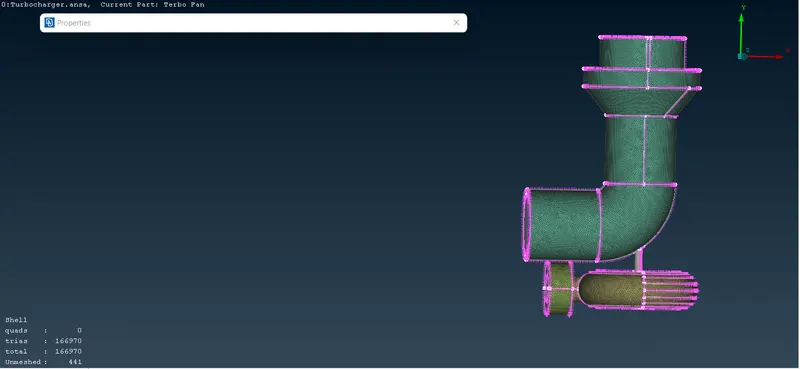
Above all are the given mesh parametric values. While meshing we will use the length and give the perimeter and the macros by selecting the PID and the entity mode and give the length as the element length, the mesh and quality is given as following steps
Step 14:
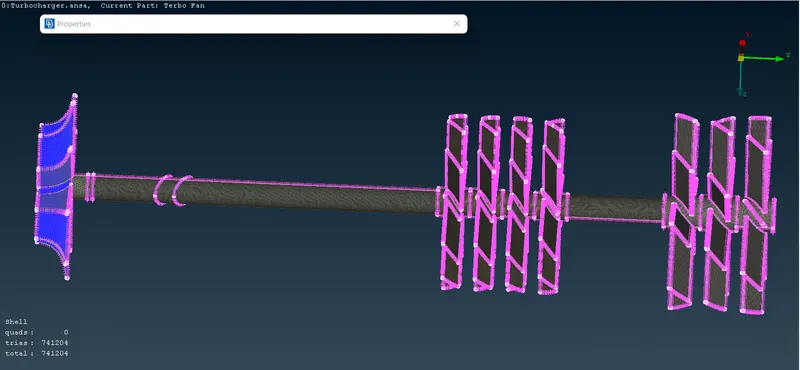
Now we are going to create 1mm mesh in shaft rotor and blades portion and then we should create 2mm mesh in impeller
Step 15:
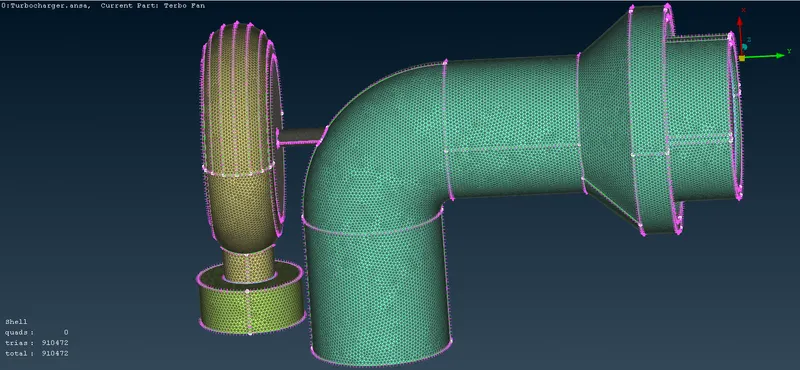
Now, we need to close the geometry and make faces on each inlet and outlet as shown below also close body is important for volumetric mesh as it can detect the volume. In all this process there we can create many single cons which we need to keep on clearing with the help of TOPO option
Step 16:
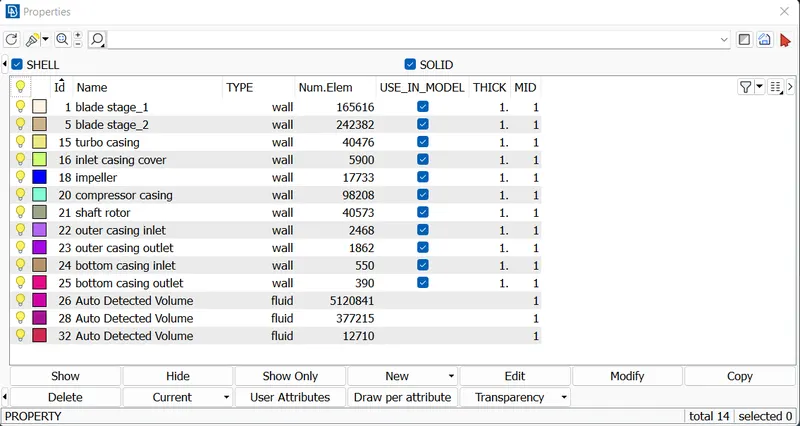
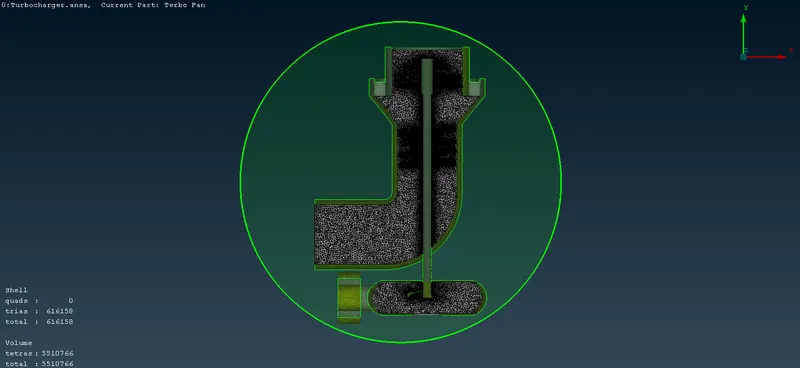
After 2D mesh we have to assign the volumetric PIDS. Below the image is represent the volumetric PIDS also added in PID manager. Volumetric PIDS is used to assigned only fulid flow parts. So we created only three volumetric mesh.
Step 17:
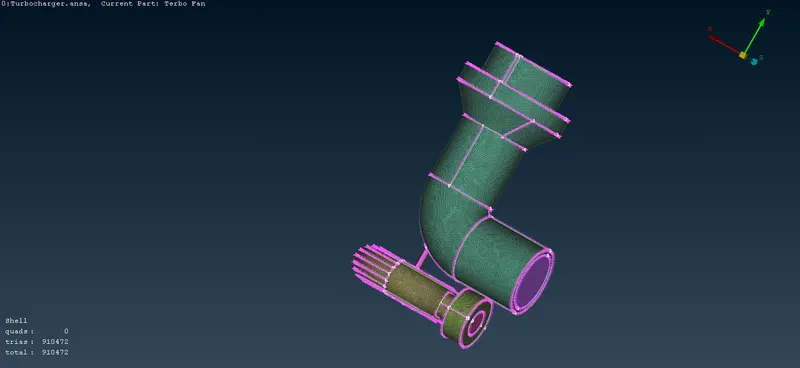
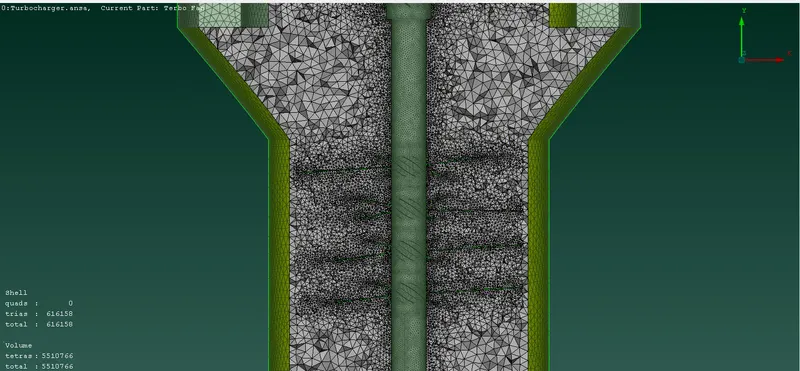
Now we are going to do volume mesh by clicking on to the each and individual volumes and then go to remesh and do tetra CFD- The teta CFD means the element size is of tetrahedral and the application of the element is of the CFD
Step 18:
Now, to do volumetric mesh it is easy we just need to select the PID from list and do right click and select Re- Mesh after that it will ask for type as we need the mesh for CFD purpose we can choose tetra CFD and click ok then the volume will start meshing and as the element size increases the software starts to work slowly for bigger volumes it may take some time
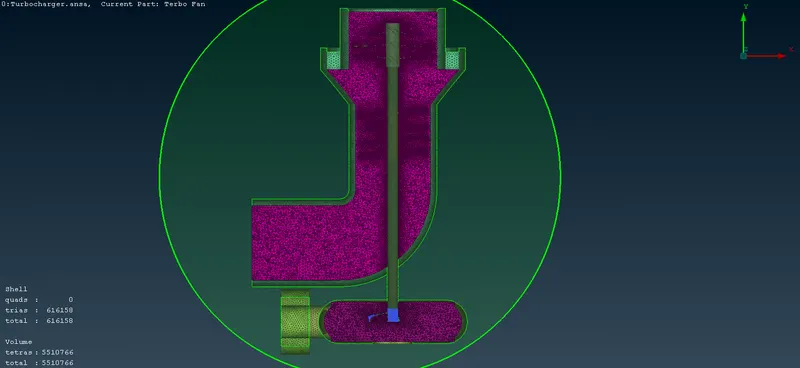
Cross-section image of after Volumetric mesh:
Conclusion:
From this given geometry we learned about more complex tools to clear the geometry and making the geometry suitable for meshing. Finally, Created volumetric mesh.
Drive link: https://drive.google.com/file/d/1pDzRhLz7u4Ah-SSqLpI0mvHsZsFO9lpO/view?usp=sharing