REVIT_Usage of Elements & Properties_week 3
1Q) AIM : To create floor for the previously done project and to align the floor plan with grids.
TOOLS REQUIRE : file, open, architecture tool, floor tool, grids
PROCEDURE :
- Firstly after opening revit software select file tool and open the previous project.
- Now select architecture tool, then click on floor tool and draw the boundaries using foor tool for the layout.
- Now we can see floor is applied for our layout.
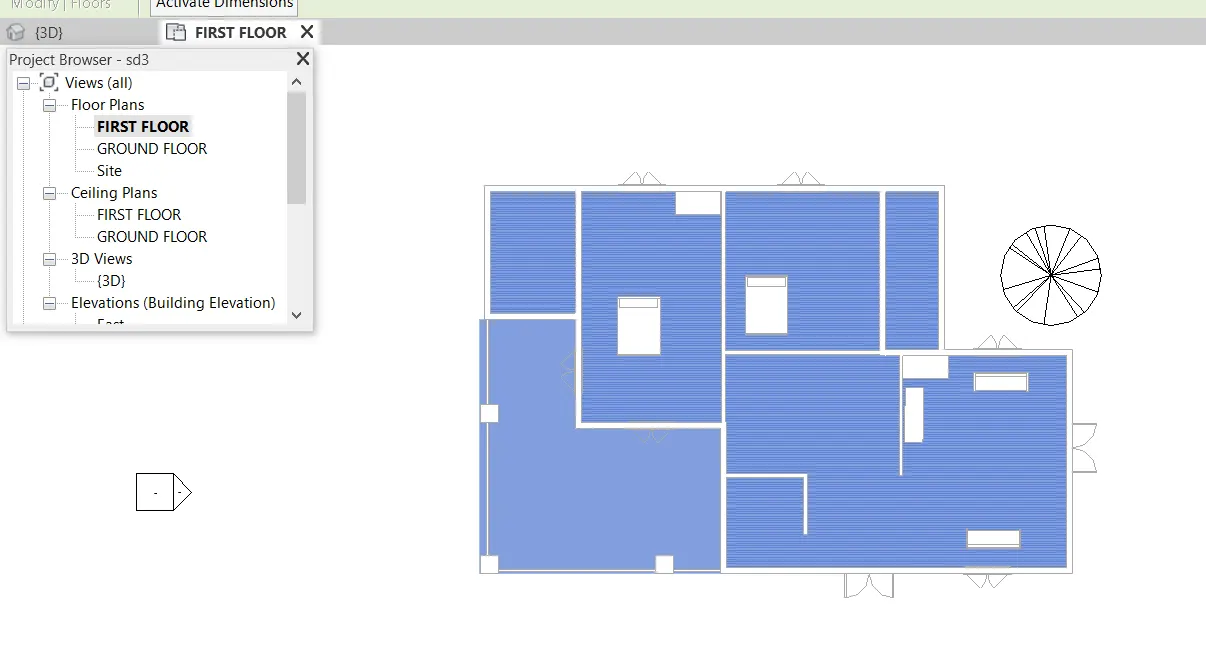
- Next select grid tool from architecture tool and align the floor plan with grids.
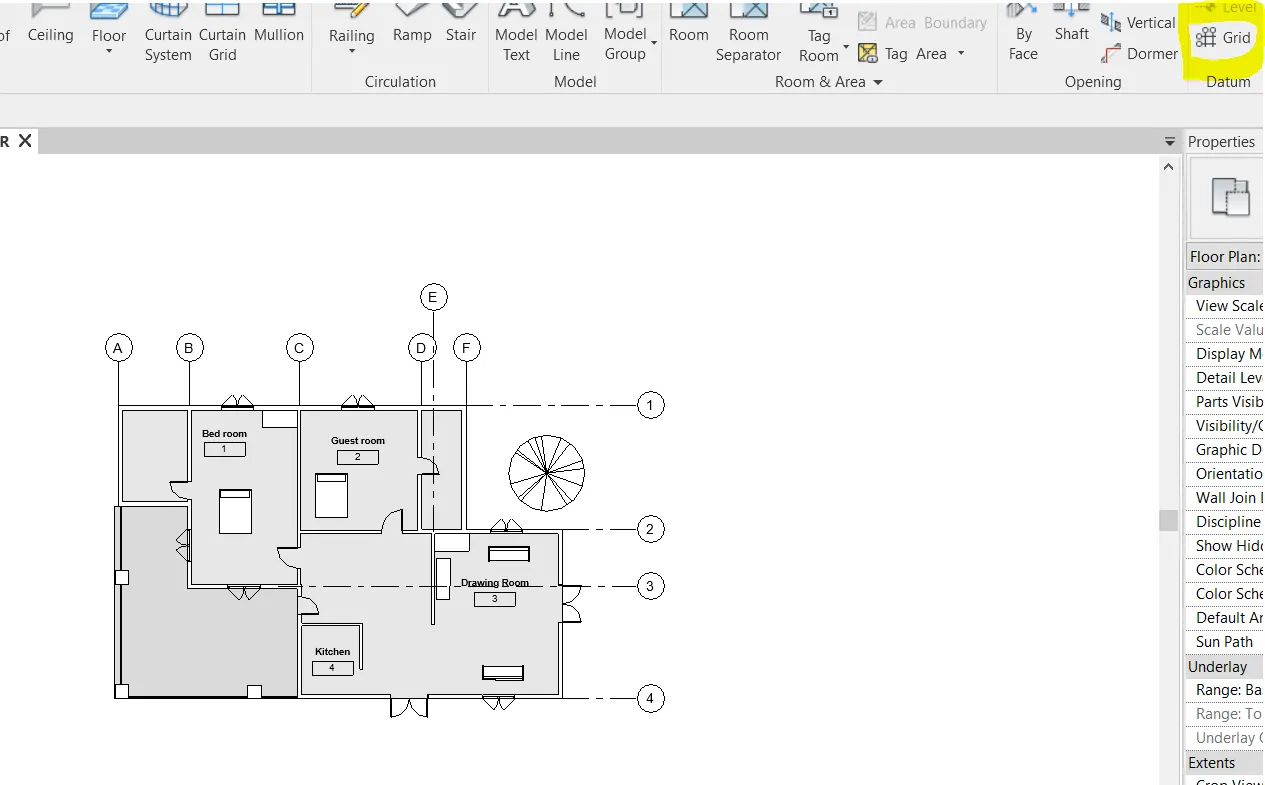
RESULT : floor and grids are drawn for the layout successfully.
2Q)
AIM : To select appropriate material and thickness for walls.
TOOS REQUIRE : Wall, project view, edit type, thickness, 3d view
PROCEDURE :
- Firstly open previously done project.
- After that select wall then check the thickness and materials of the selected wall in project browser.
- Then select edit type option from the property browser, then a pop up window appears with all the properties of the wall.
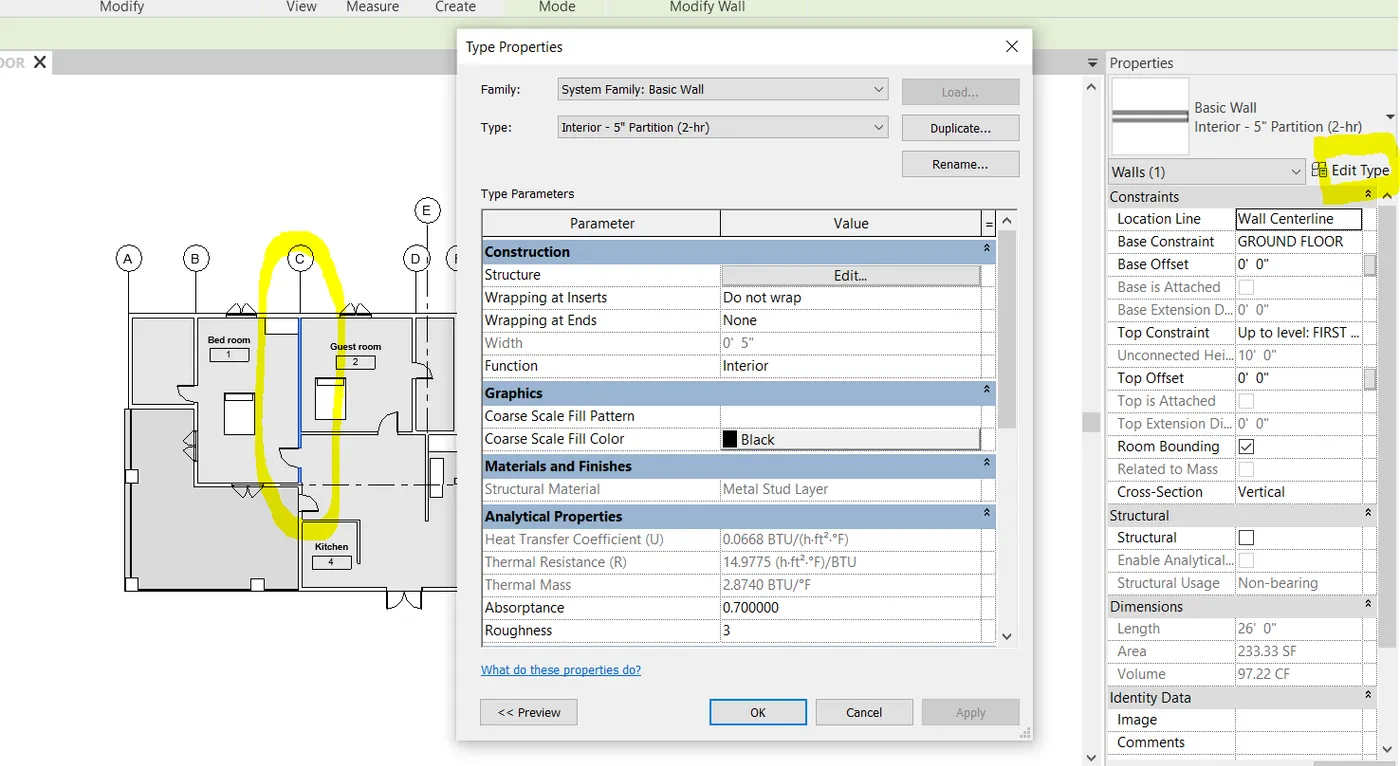
- Then select edit option, which is adjacent to structure. And change thickness and material of the wall accordingly to the layout. And selected 3d view and observed the diffrence.
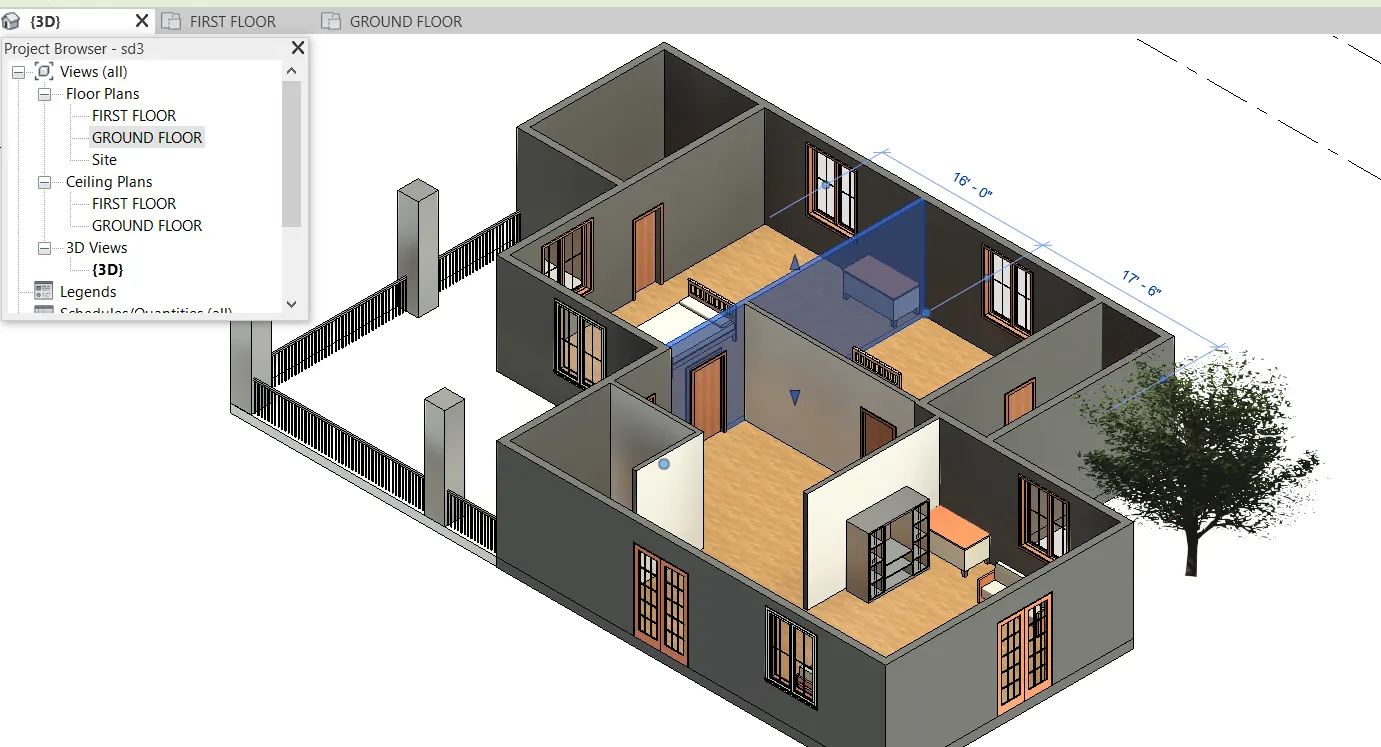
RESULT : walls are selected and changed thickness and materials accordingly to the layout drawn.
a)
It is beneficial in connecting walls with the levels, because it is basic that every thing in this world need support to be strong, so here walls connecting with levels make levels strong enough to continue construction further. We should properly adjust the height and thickness to connect walls with levels.
b)
Modeling walls by height is better than depth because when we use modeling using depth walls will downwards from the current level. It is easier to adjust the height of the walls rather than depth of the walls.
3Q)
AIM : To copy and paste options to align elements to different level using modify tab.
TOOLS REQUIRE : Modify tool, copy, paste
PROCEDURE :
- Firstly select previously used layout.
- Now copy entire ground floor layout by using copy option in modify tab.
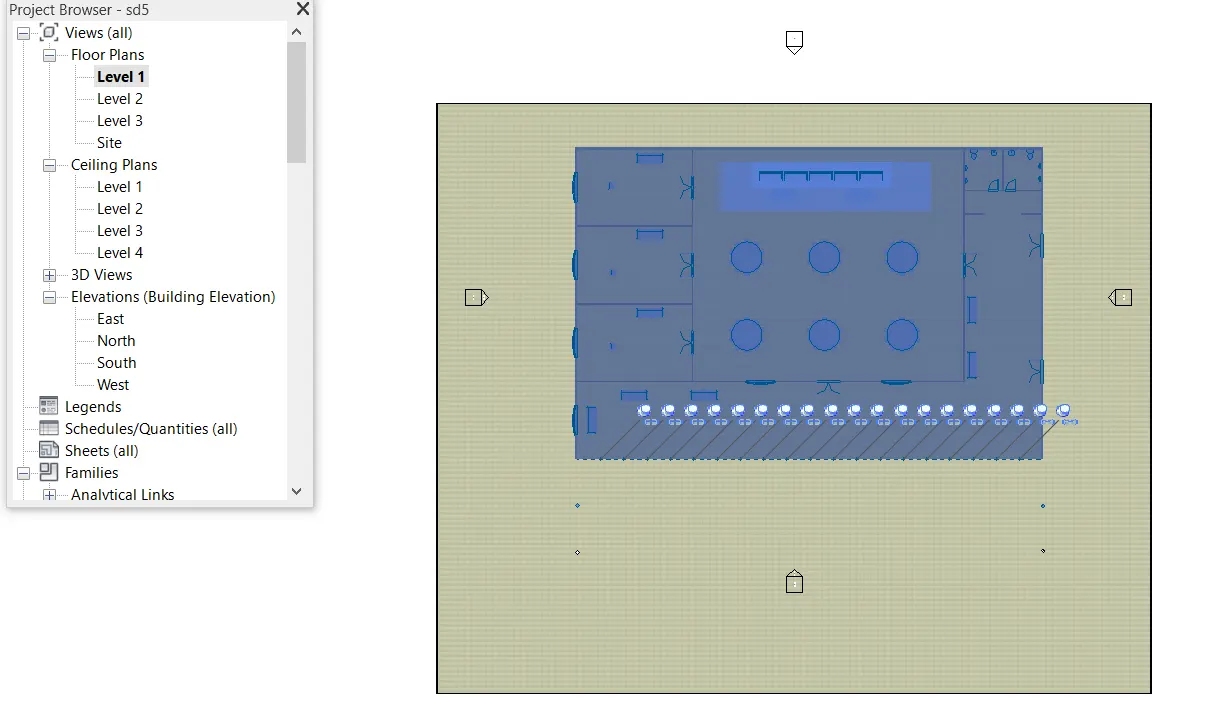
- Then select on first floor floor view and then paste the same layout by selecting aligned from selected levels from paste option.
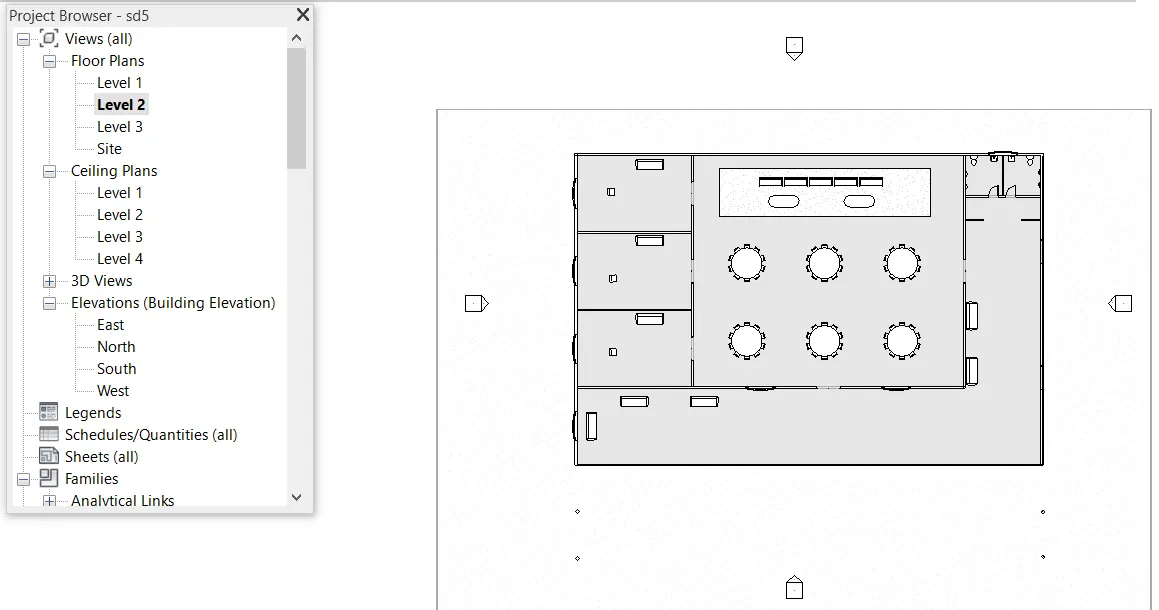
- Now click on 3d view from project browser and observe the differences.
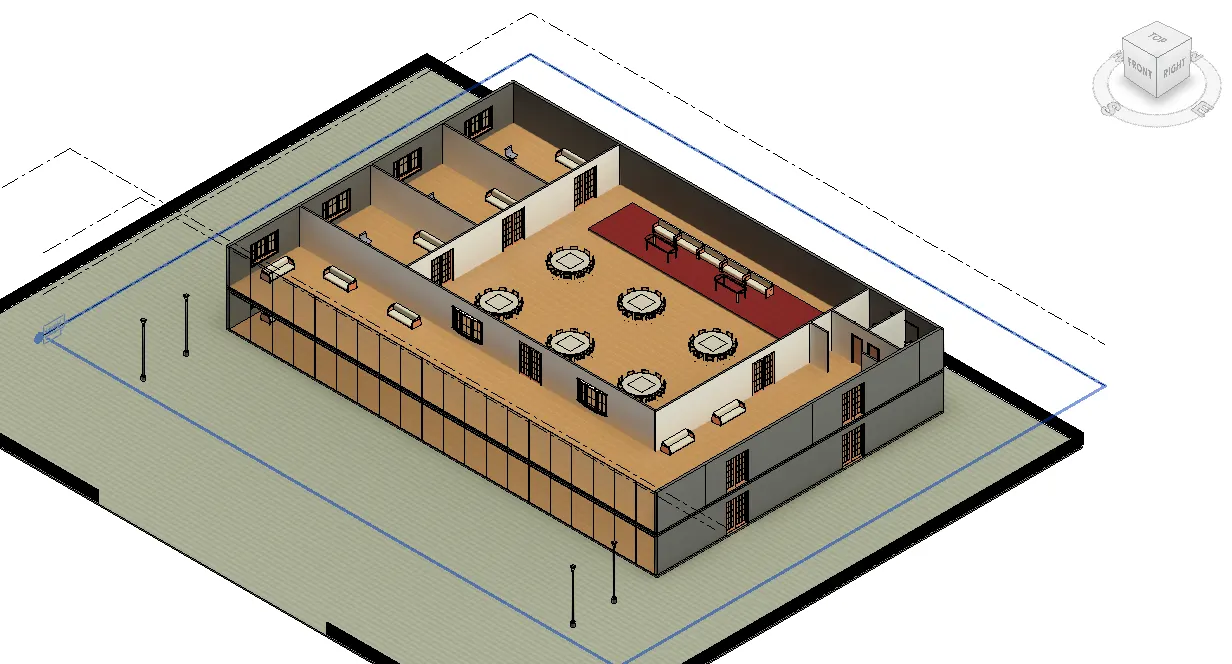
RESULT : Ground floor level is perfectly aligned to first floor.
4Q)
AIM : To create partition walls to separate rooms with in the residential unit.
TOOLS REQUIRE : Wall, edit type, interior walls
PROCEDURE :
- Firstly draw the required layout with good dimensions to live in.
- Then select particular walls in the layout.
- Now click on edit type which is located in project browser.
- And then select required partition walls which will set perfectly for the layout.
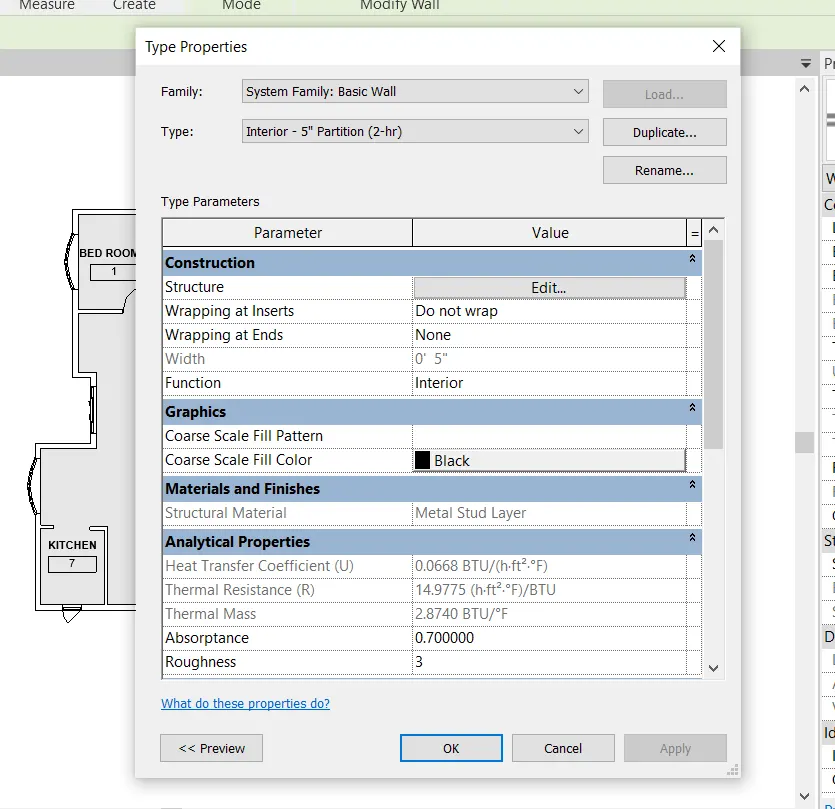
- Now select manage tool option and then choose project units.
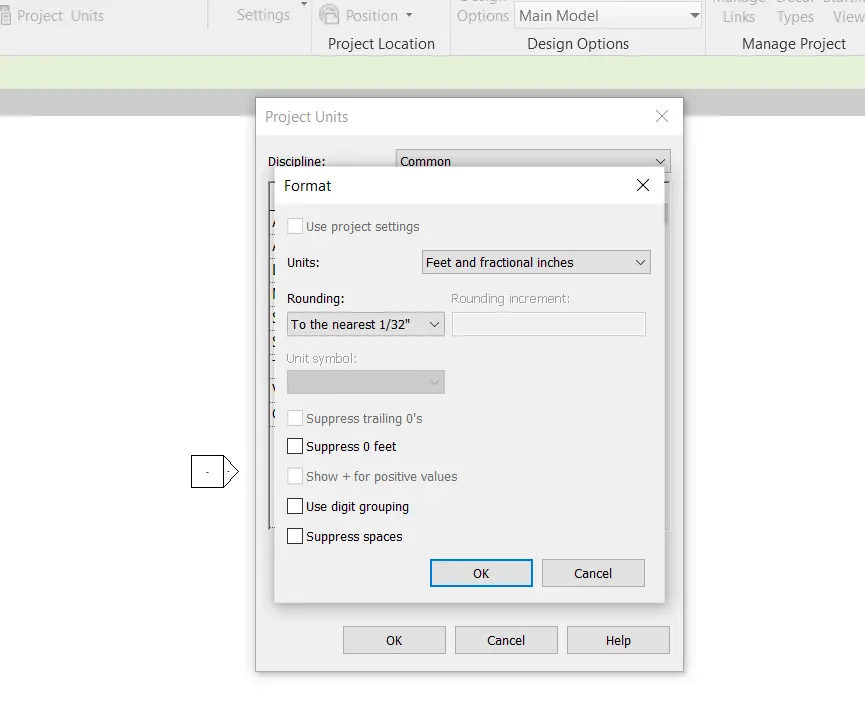
RESULT : Different rooms are separated using partition walls successfully.
5Q)
AIM : To insert different components at appropriate locations.
TOOLS REQUIRE : Insert, load families, components
PROCEDURE :
- Draw the layout using wall tool from architecture tab.
- Now by clicking on insert tool choose load families option.

- Now a pop up window appears.
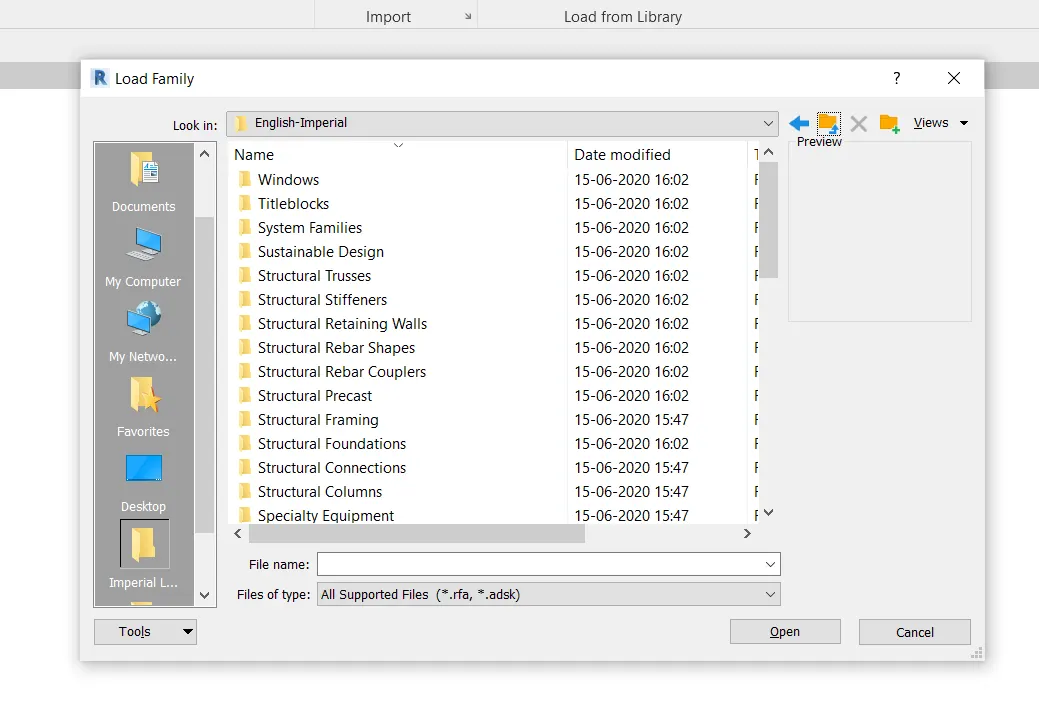
- Now select required elements which are suitable in appropriate locations.
- By adding these components we can add details to our layout.
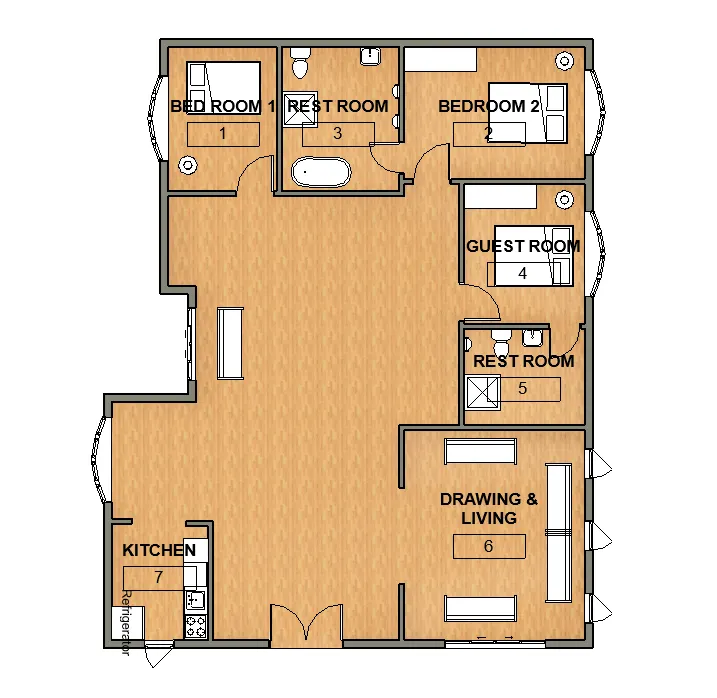
RESULT : different components are placed at appropriate locations successfully.