REVIT_Introduction to REVIT_Week 1
3Q)
- Aim : To create a rectangular layout of walls of about 40’0” x 35’0”.
- Tool Required : Architecture, Wall
- Procedure :
- Firstly to create walls in Revit, we need to select “Architecture” tool from the tool bar layout, and then we should select wall tool which is located in “build” category, after selection draw walls of required dimensions, i.e, 40’0” x 35’0” .
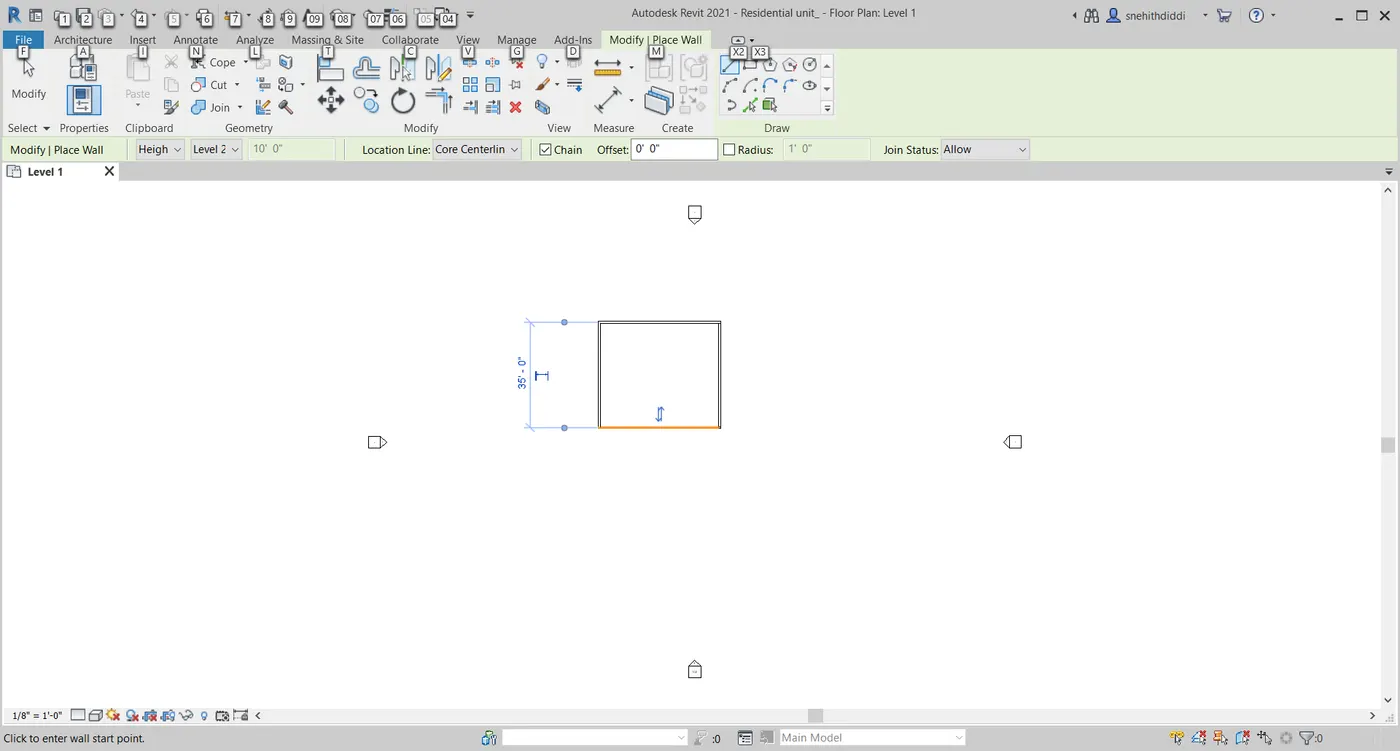
- Result : Rectangle with above dimensions is drawn.
1Q)
- Aim : To create a new project (Architectural/Constructional/Structural templates) and name the project.
- Tools Required : File, New, Project, Save
- Procedure :
- Firstly we should select file option which is exactly above the navigation bar and adjacent to architecture tab.
- Next after selecting file, a pop up box appears, there we can see many options which include New, Open, Save, Save as, print.
- Now select New option, then again a pop up window appears, from that select Project option.
- And for naming the project, we need to save the project.
- For that again select file tab, next select Save as option, then a pop up box appears, select project and another pop up window appears, at bottom we can see file name option, enter a new name to the project and then save it.
- Result : With this we can create a new project and name our project.
2Q)
- Aim : To save the new project file and to open and close using icons from file toolbar.
- Tools Required : File, Save as, Project, File location, Open
- Procedure :
- For saving a project in revit, we need to select file tool bar.
- After that, a pop up box appears, we can see new,open,save,save as options.
- Now select Save as option, then another pop up window appears, at bottom we can see file name option, enter a proper file name to project and save it.
- Later to open requied project, we need to again select file tool bar, and then again a pop up window appears and then we can see open option under new tab, by clicking or selecting on open tab a pop up window appears and then select on project, again a pop up window appears, which shows all the saved project list and then we need to select a project which we need to open.
- Result : With this we can successfully save and open a project in Revit.
4Q)
- Aim : To use aligned option from annotate tool bar and add dimensions to the layout.
- Tools required : Wall, annotate, aligned
- Procedure :
- Firstly draw any required layout for using aligned option, using wall tool.
- After drawing the layout, select annotate tool, which is located adjacent to architecture.
- After selecting lingned tool from annotate tool bar, mark the dimensions using aligned tool.
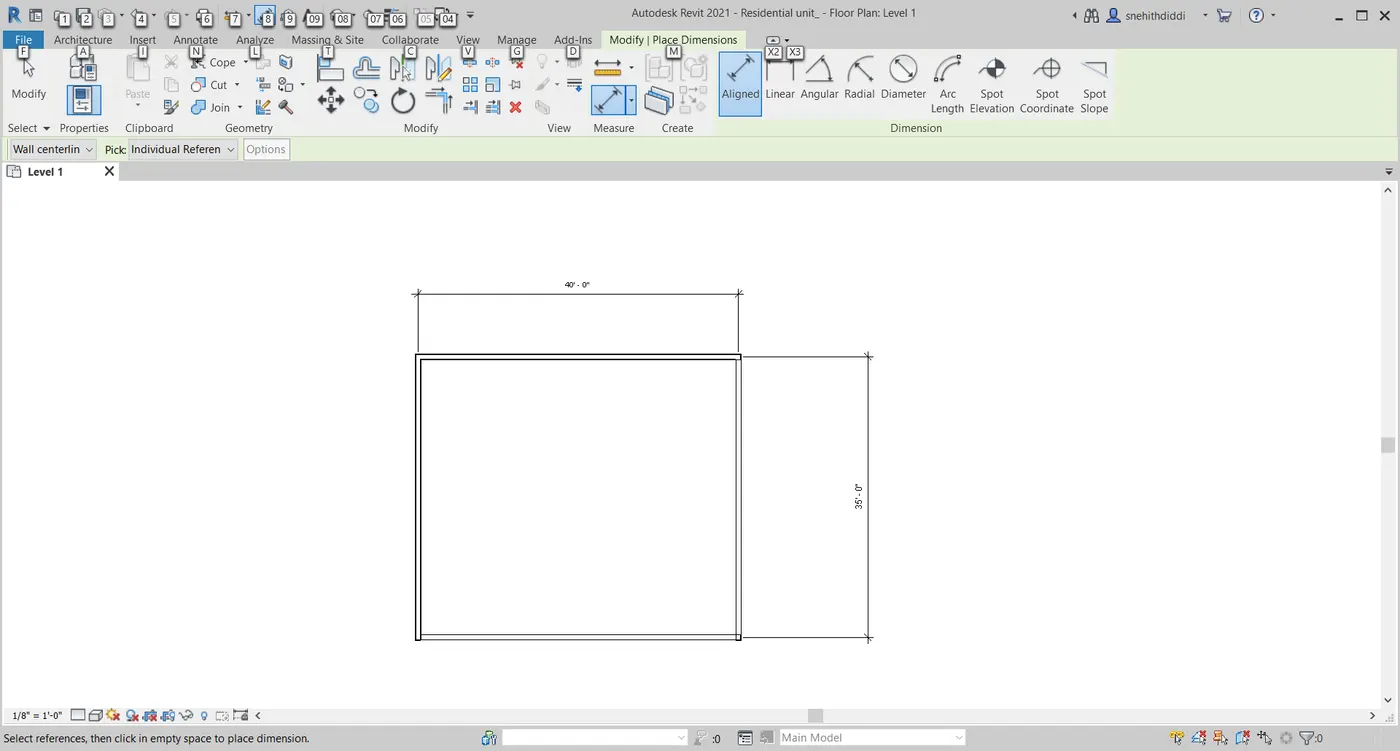
- Result : Therefore exact dimensions are marked using aligned tool.
5Q)
- Aim : To switch different types of walls by using property browser
- Tool Required : Wall, properties, drop down menu icon, wall types
- Procedure :
- First select wall tool from architecture tool bar.
- After that select on basic wall, which is located in properties menu on the left side.
- Then a pop up menu of different types of walls appear.
- Now select required wall from it.
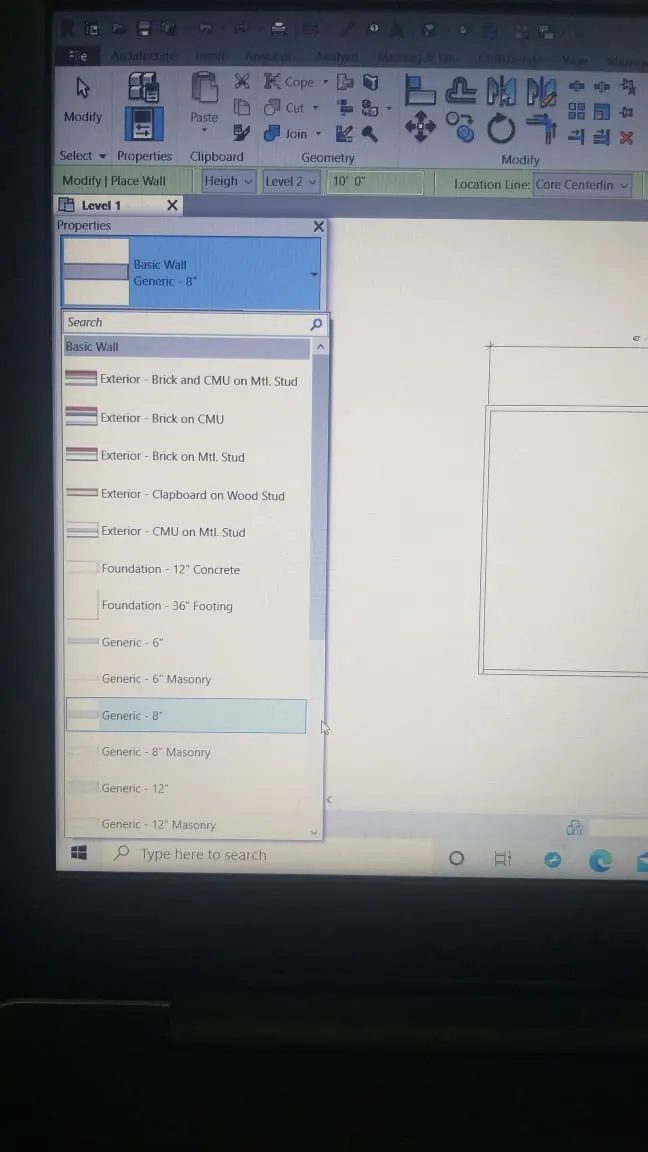
- Result : Different wall types are selected.
6Q)
- Aim : To create 3D view of particular layout and save it with appropriate name.
- Tools required : View, 3D,project browser, rename
- Procedure :
- At first draw the layout
- After that click on view tab and select 3D view from it.
- Go to project browser and select 3D and then {3D} will appear, then right click on it, rename option appears on pop up menu.
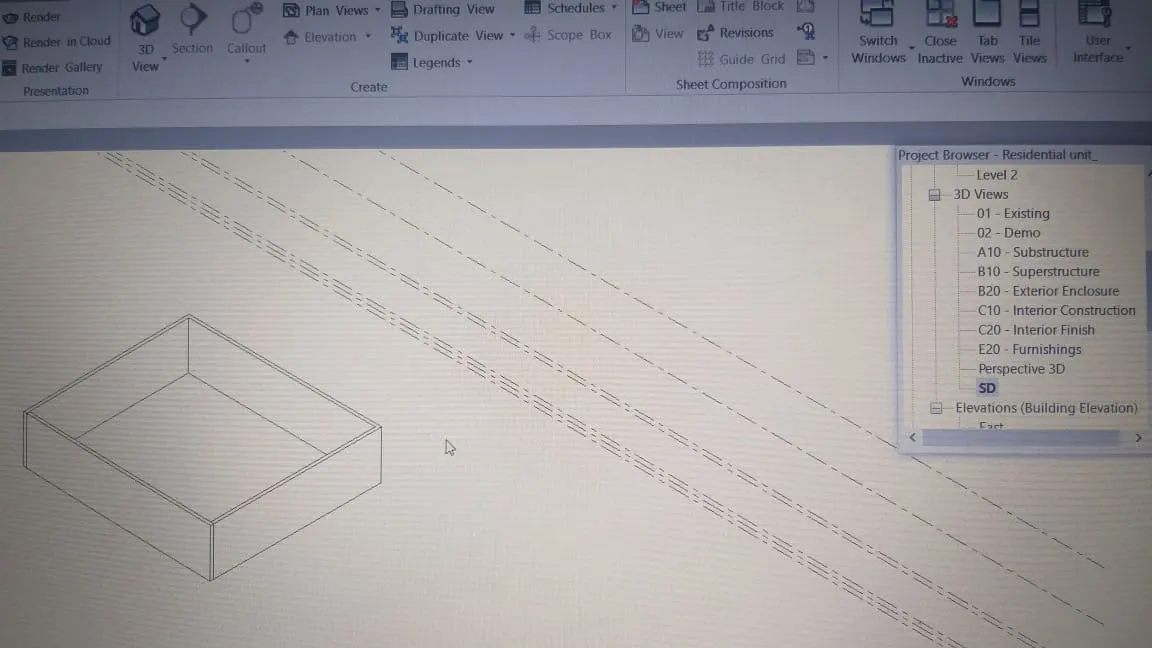
- Result : Finally 3D view is created with specific name and random layout.
7Q)
- Aim : To navigate through the 3D model using view cube and to show pan.
- Tools Required : wall, layout, 3D view, view cube
- Procedure :
- First create a layout and select 3D tool from view bar.
- By using view cube we can open orbit/pan .
- We can control view cube by using mouse also.
- To zoom, we need to scroll on mouse.
- To rotate, we need to press shift and scroll mouse.
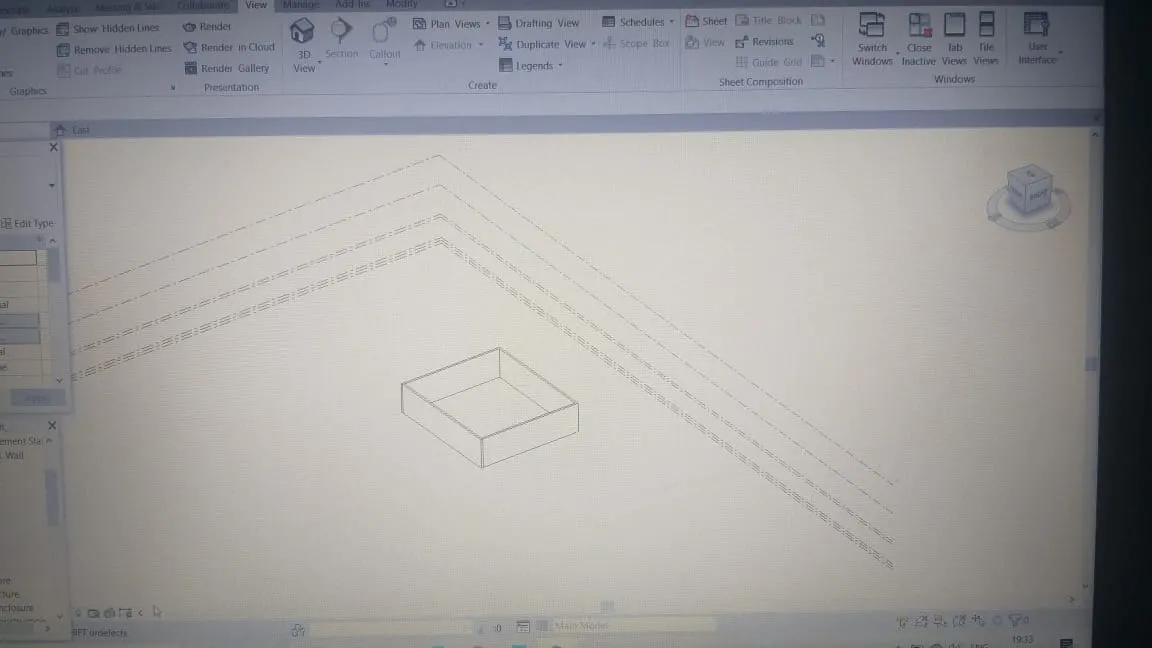
Result : Navigation for 3D model is done using above procedure.
8Q)
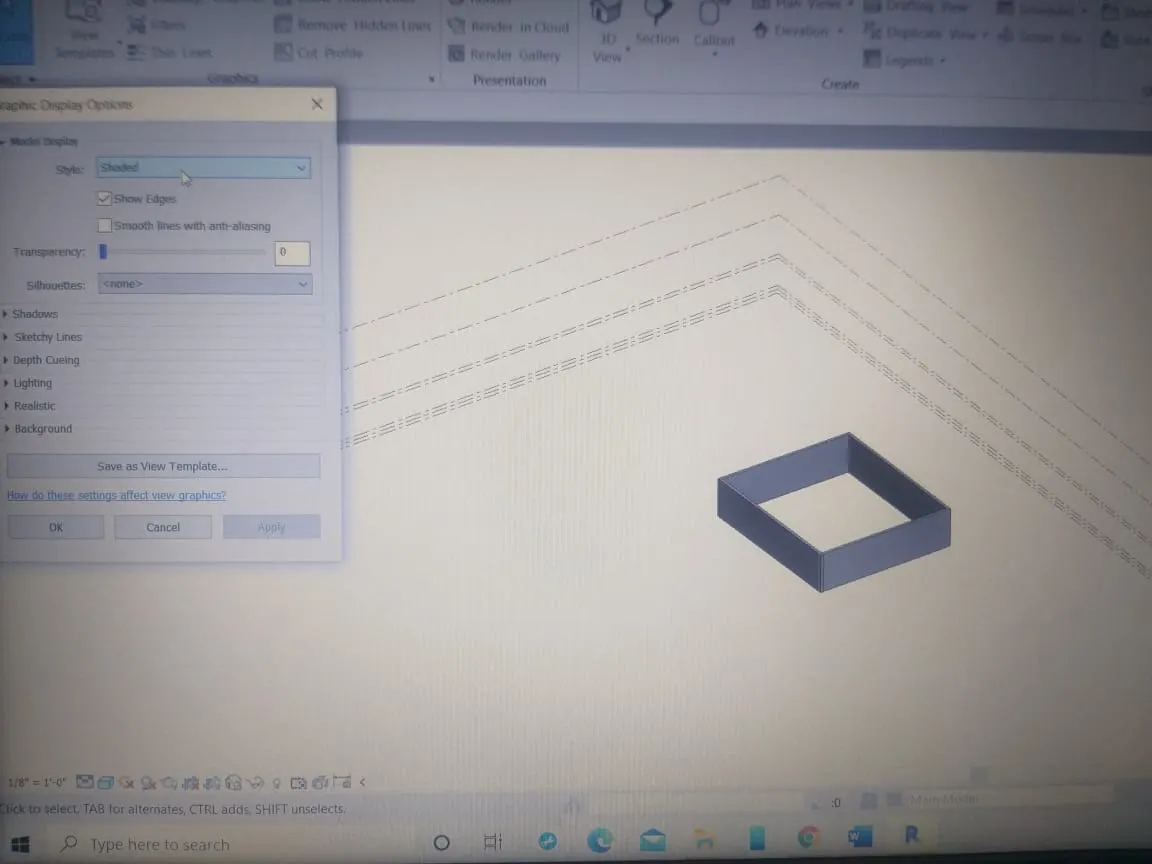
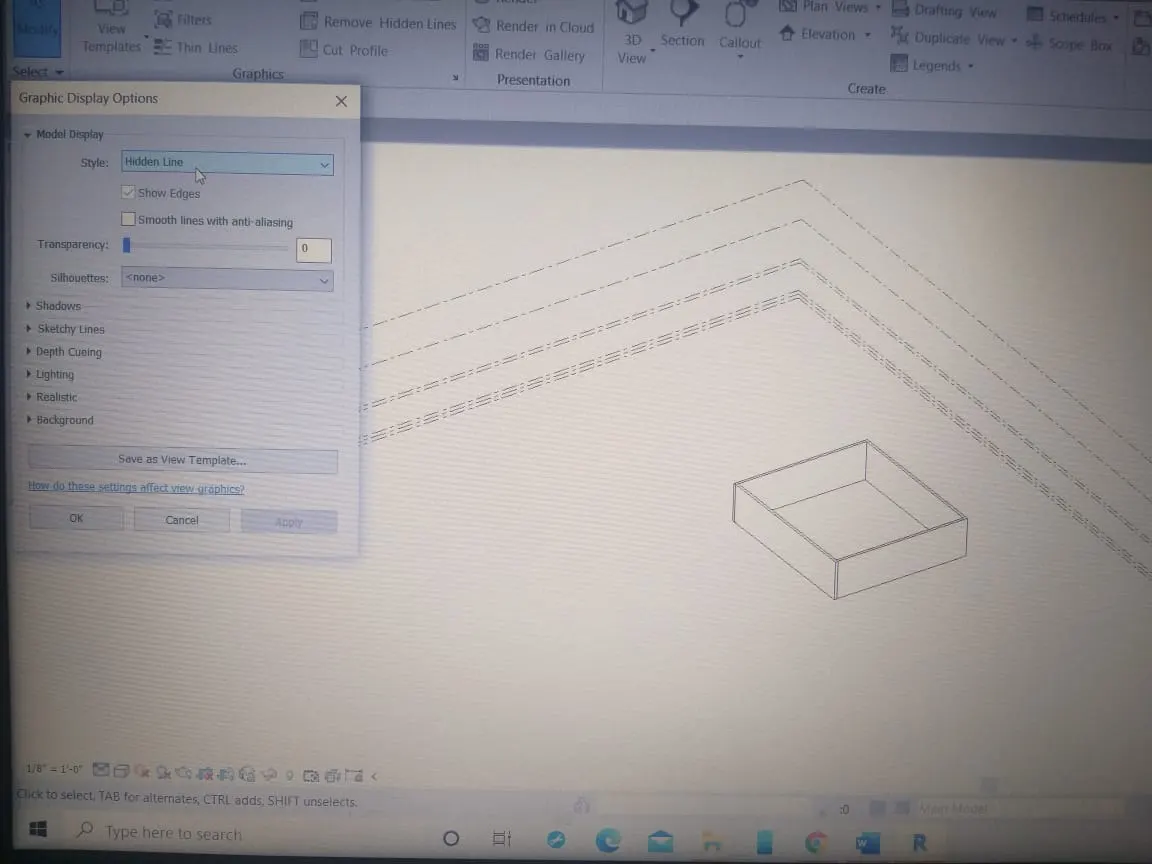
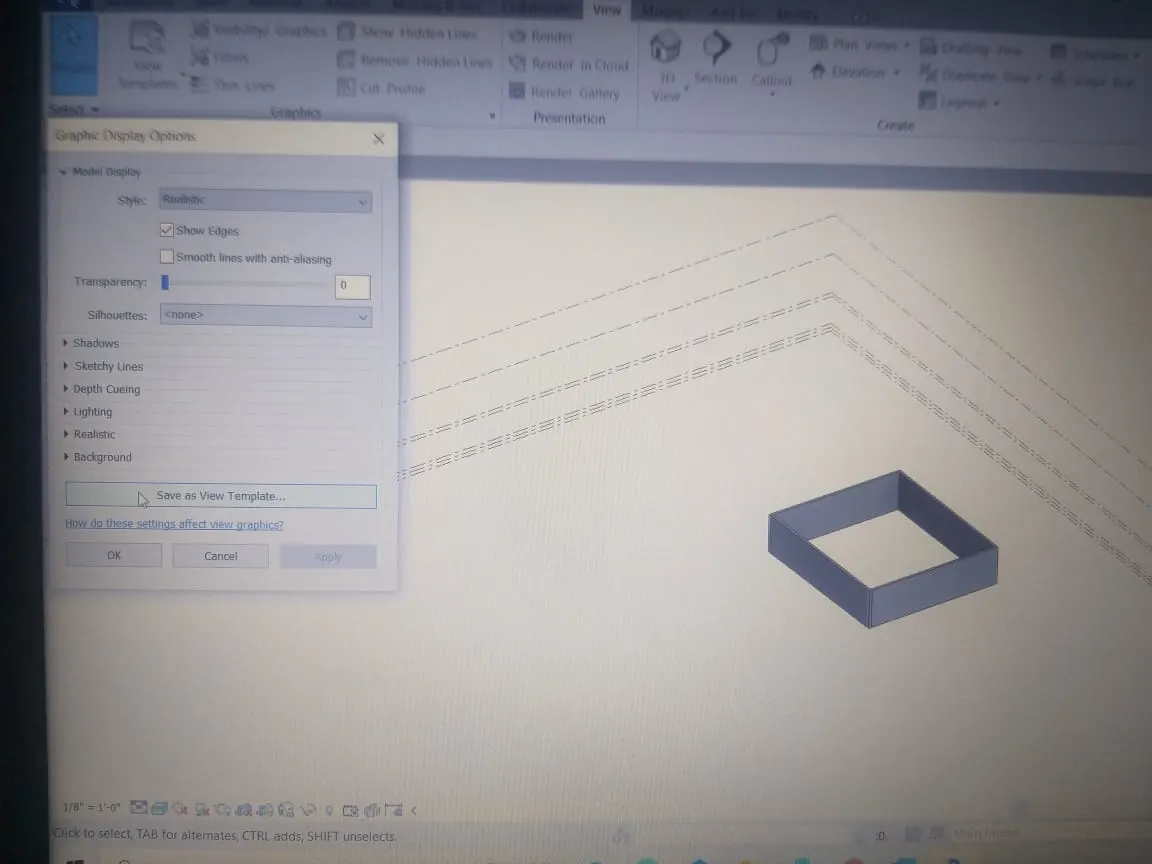
- Aim : To view the layout model in shaded,realistic,hidden lines options using visibility settings.
- Tools required : wall,properties,3D view, graphic display option
- Procedure:
- Firstly draw the layout using wall tool.
- Select 3D view
- Then in properties menu select graphic display option, then a pop up window appears.
- Now select on required visibility options.
- Shaded:
- Hidden lines:
- Realistic:
- Result : For the 3d layout different visibility settings are applied.
9Q)
- Aim : To turn on and turn off sunlight to view shadings.
- Tools required : 3D view, sun path, on and off
- Procedure :
- Firstly draw the layout
- And apply 3D view
- Select sun path which is located in bottom tool bar
- On and off sun path
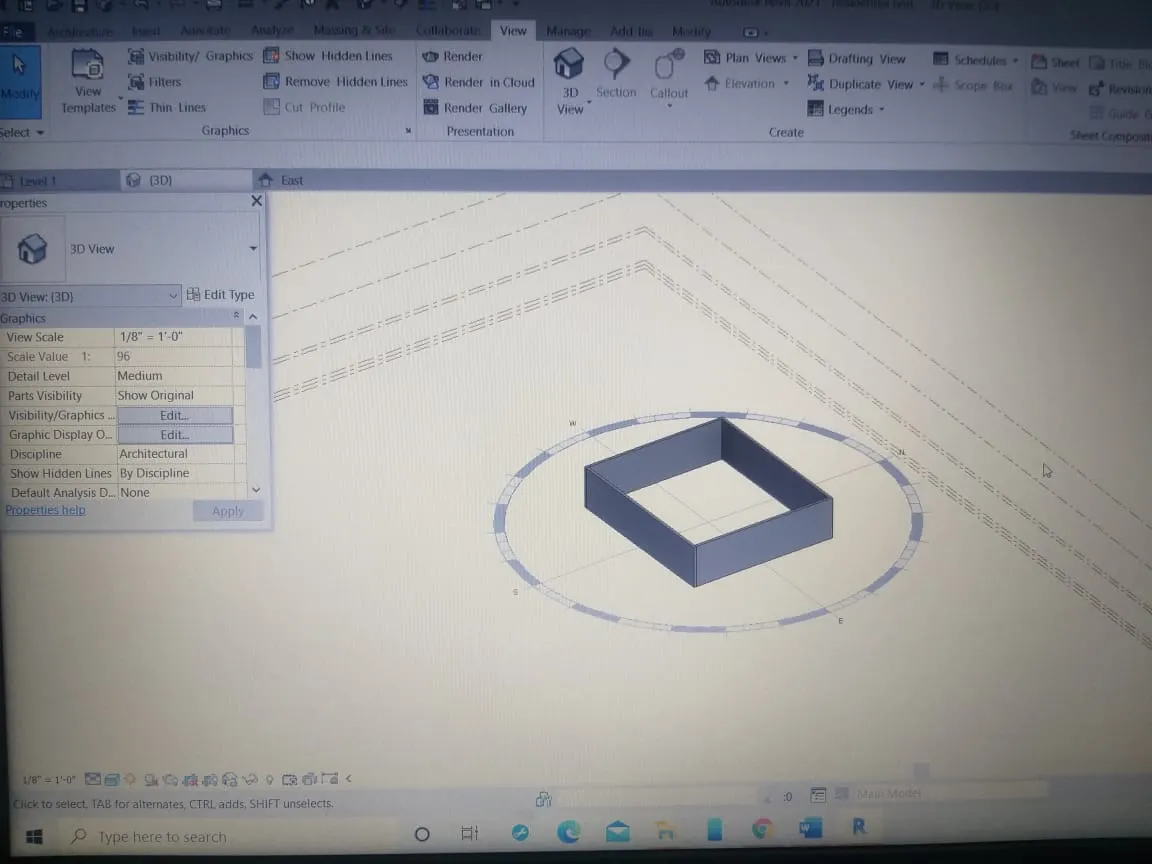
- Result : sun path on and off are applied.
10Q)
- Aim : To enter project settings, project name and project issue date using manage tool bar.
- Tools required : manage, project settings.
- Procedure :
- Select manage tool bar
- Then select project information and fill all the required details of the project.
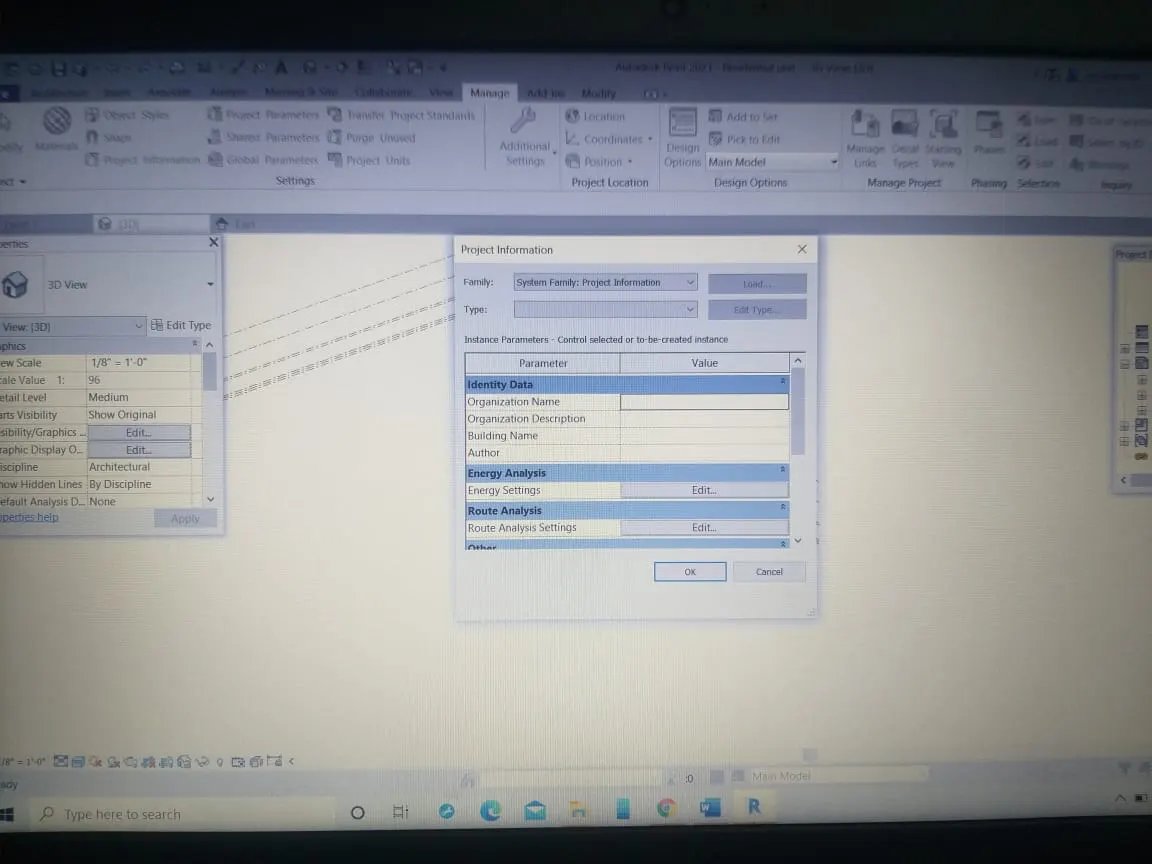
- Result : project information is entered successfully.
12Q)
Link CAD, Link IFC, Link Revit, Link Topography
13Q)
Collaborate tab in Revit is used to collaborate a Revit model that we worked on previously.It is cloud based service. it reduces time and it allows to divide the model into worksets.
11Q) Analyse tool bar is used to analyse various data in revit which includes
area analysis
solar studies
energy analysis
heating and cooling loads analysis
structural analysis etc