REVIT_3D Rendering of a House plan_Project 1
1Q) AIM : To create ceiling from architecture tab above the walls at first floor level.
TOOLS REQUIRE : Architecture tab, ceiling tool, file, offset
PROCEDURE :
- Firsty select file option and open the required revit file.
- Now select first floor from project browser window.
- Now select ceiling tool from architecture tab.
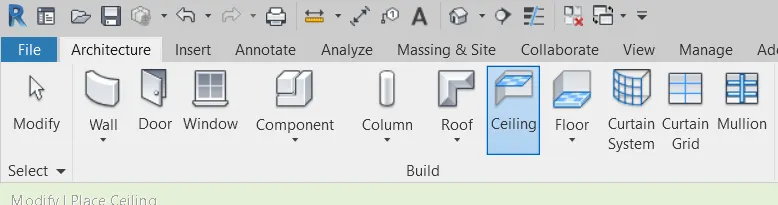
- Select pick lines option from modify tab and then select all the lines properly.
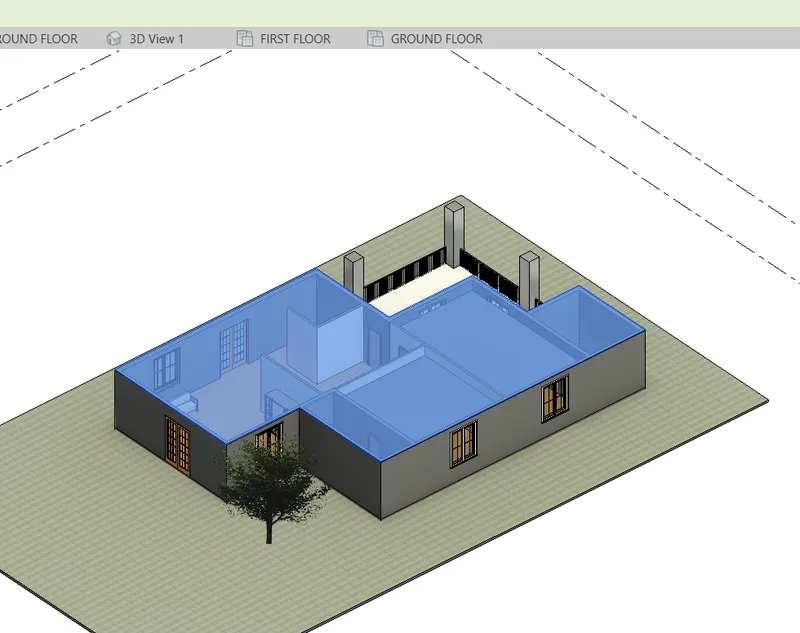
- Now set required offset for the ceiling and adjust it properly.
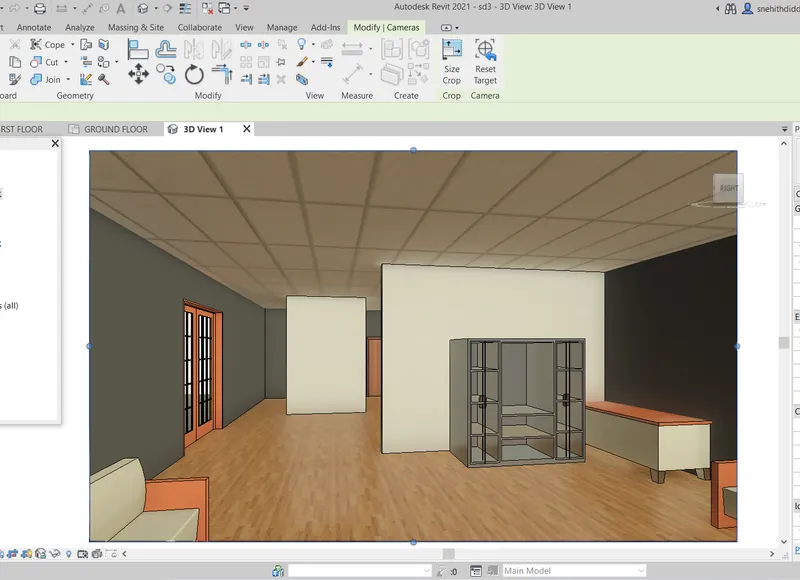
RESULT : Ceiling above the walls at first floor level is drawn successfully.
2Q)
AIM : To draw roof above the ceiling and adjusting the roof slope to 10 degrees.
TOOLS REQUIRE : Architecture tab, roof tool, manage tab, projects units
PROCEDURE :
- Firsty select file option and open the required revit file.
- Now select architecture tab and select roof tool from it.
- Then select roof by foot print option .
- Now select pick lines option from modify tab and draw the required roof for the layout.
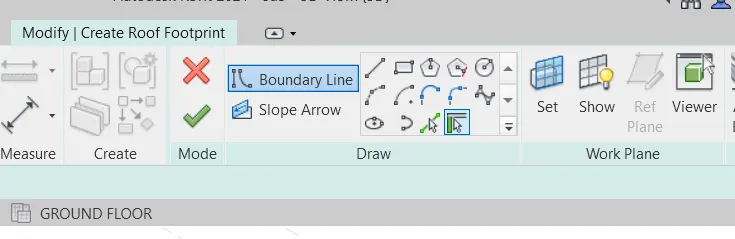
- Now select manage tab and choose project units from it and change the units of slope of the roof from feets to degrees.
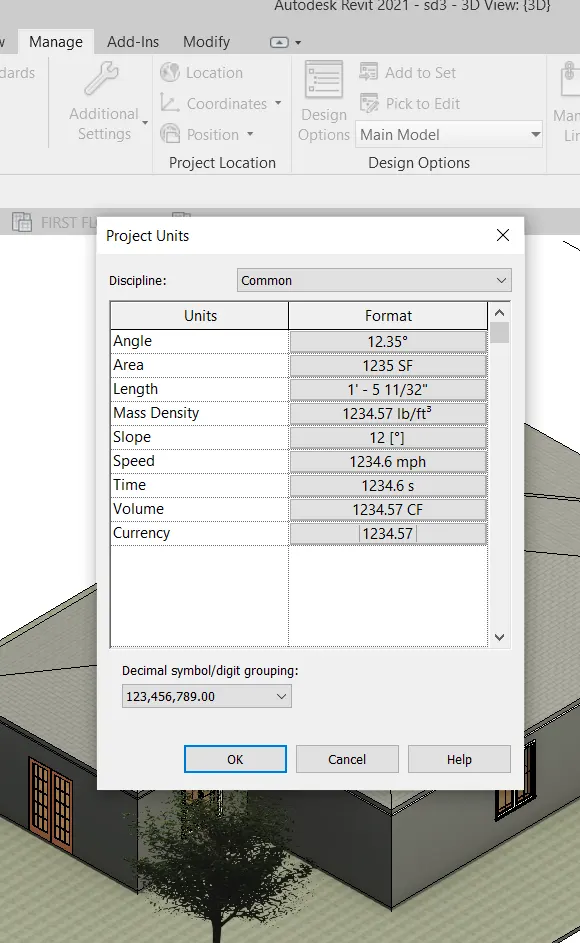
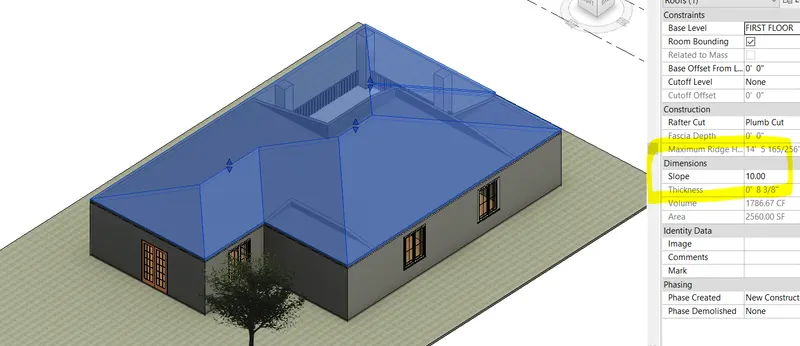
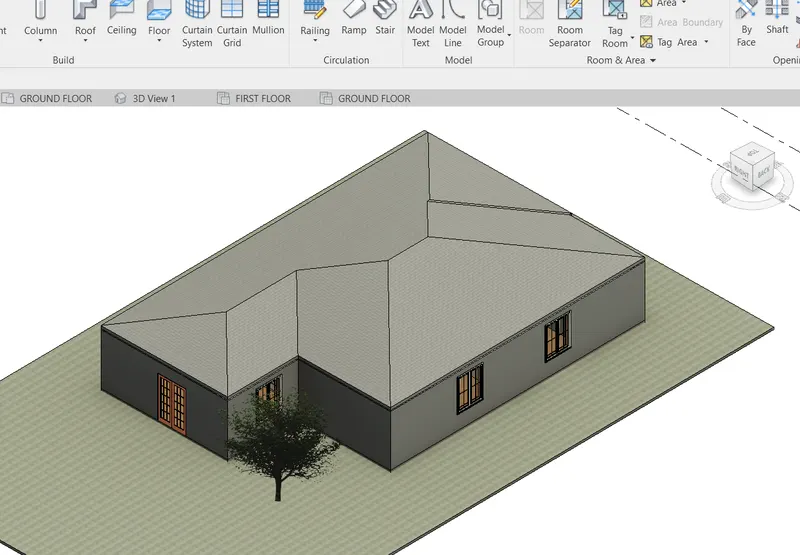
RESULT : Roof is drawn for above layout with required slope successfully.
3Q)
AIM : To create plan view for ground floor level and first floor level.
TOOLS REQUIRE : Plan view, floor plan, wall, load family
PROCEDURE :
- Firstly open previously done project from revit saved projects.
- Now select view tool from tool bar.
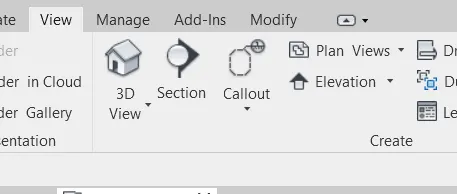
- After clicking on view tool, select plan view from tool bar below view tab.
- Now select floor plan and select required floor plan of the layout.
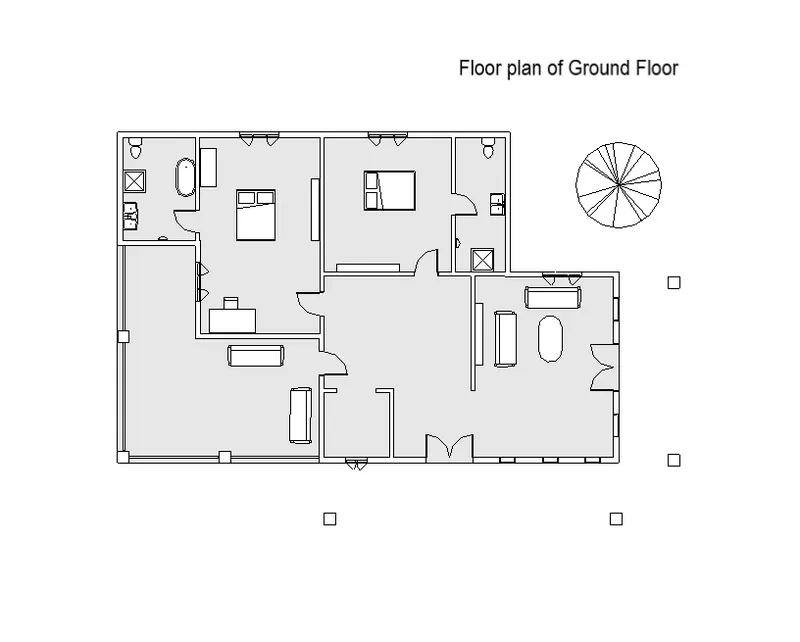
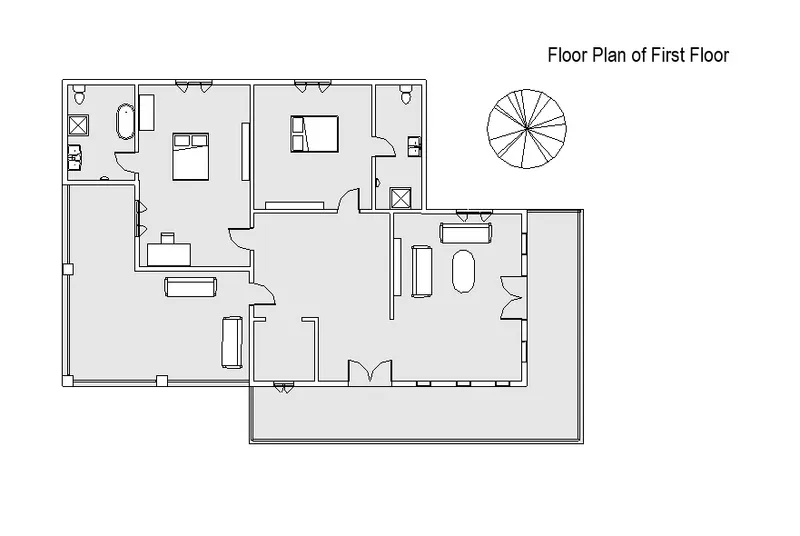
- Now select architecture tool and place required doors and windows in the floor plan, if required.
- Now select insert tool and select required families to insert in the floor plan.
- Follow the same pattern for first floor level also.
RESULT : Architectural plan as been created successfully.
In week 4 sessions we did not learn about structural plan, so I have not included b ans in this.
4Q)
AIM : To add dimensions to all walls and floors with reference to grids.
TOOLS REQUIRE : Grid, annotate, align
PROCEDURE :
- Firstly open previously done project from revit saved projects.
- Now select ground floor plan from project browser window.
- Now from architecture tool bar select grid tool.

- Now select walls and add grids to it.
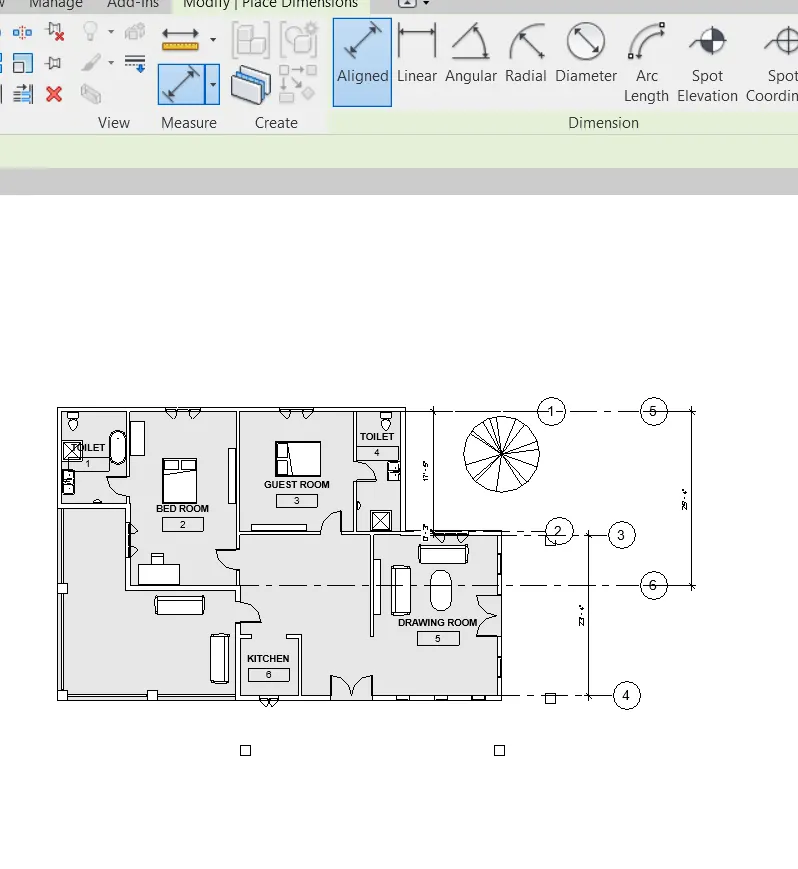
- Now from annotate tool select aligned tool and measure the dimensions of the rooms in the layout.
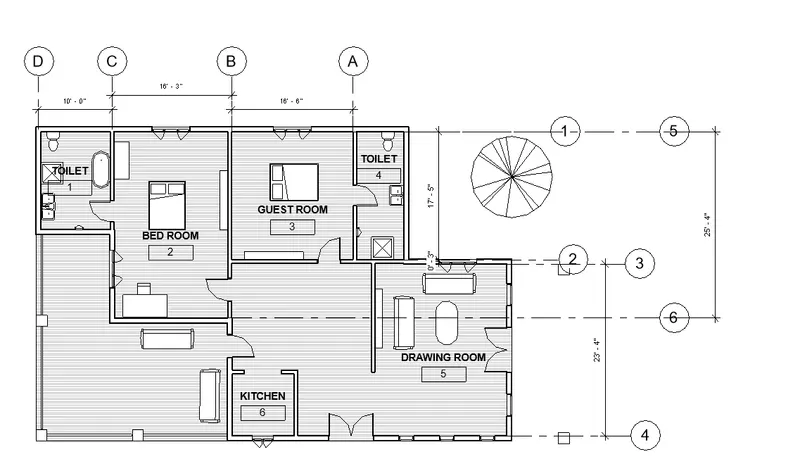
RESULT : Dimensions are drawn by using aligned tool and grids are placed successfully.
5Q)
AIM : To create sheet template from view tab.
TOOLS REQUIRE : View, sheet, load, properties
PROCEDURE :
- Firstly select the requied revit project.
- Now select view tab, from view tab select sheet tool.
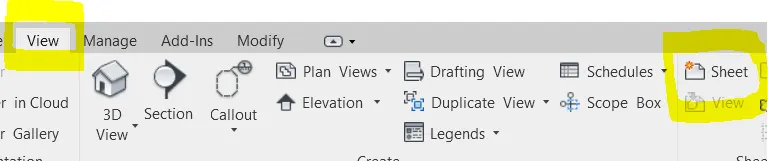
- A pop up window appears.
- Now select required sheet for the layout.
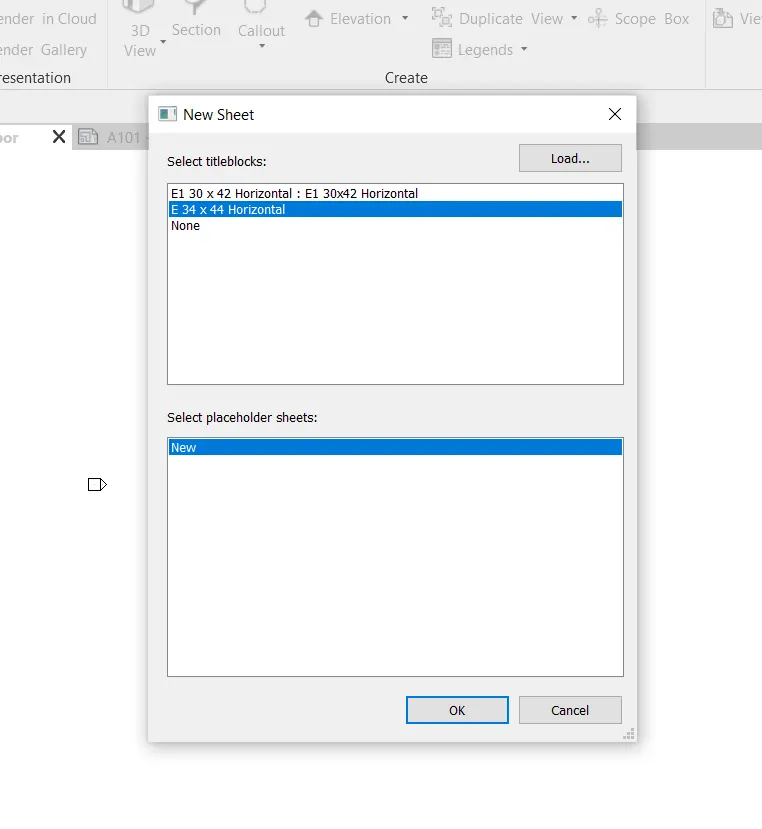
- To change the sheet layout click on load option, then a families window appears.
- Now select tile blocks and then select required sheet dimensions.
- Now after selecting the sheet change the project info. details.
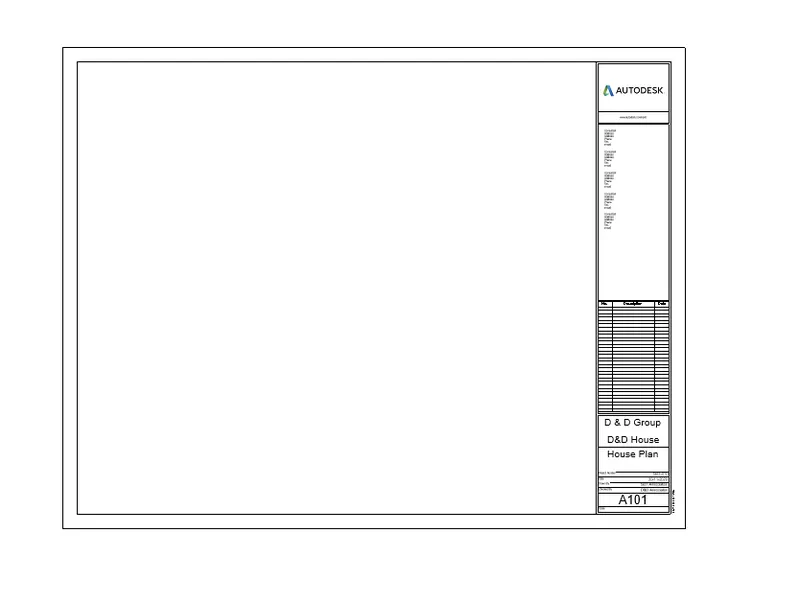
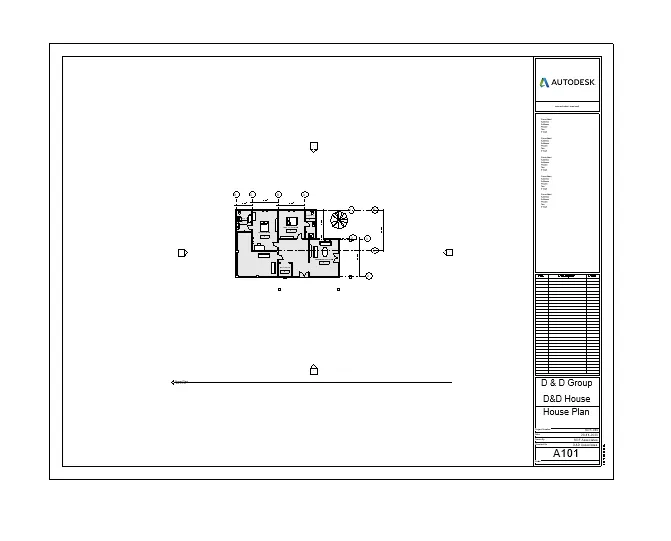
RESULT : Sheet template is created and parameters are adjusted accordingly.
6Q)
AIM : To create elevation views for the building from all the directions.
TOOLS REQUIRE : view, elevation, project browser, rename
PROCEDURE :
- Firstly select the requied revit project.
- Now select view tab, from view tab select elevation tool.
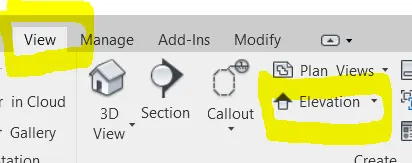
- Now after selecting elevation tool, create new elevations in all four directions.
- Now from project browser select new elevations.
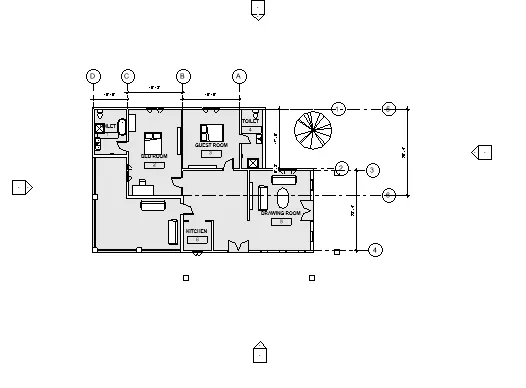
- Rename all the elevations according to the convenience.
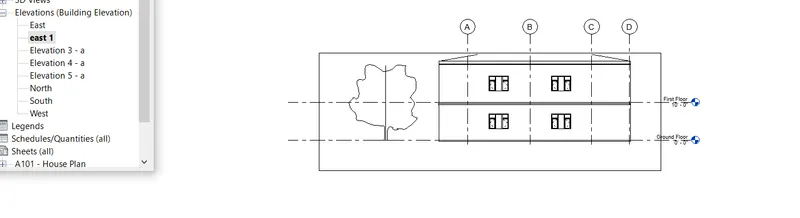
RESULT : Elevation views for the building are created and renamed successfully.
7Q)
AIM : To create section either cutting across longitudinally or in a transverse direction.
TOOLS REQUIRE : view, section, properties browser, rename
PROCEDURE :
- Firstly select the revit project.
- Now select view tab and then select section tool from it.
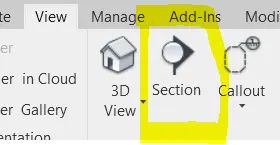
- Now draw the sectional view for the layout drawn.
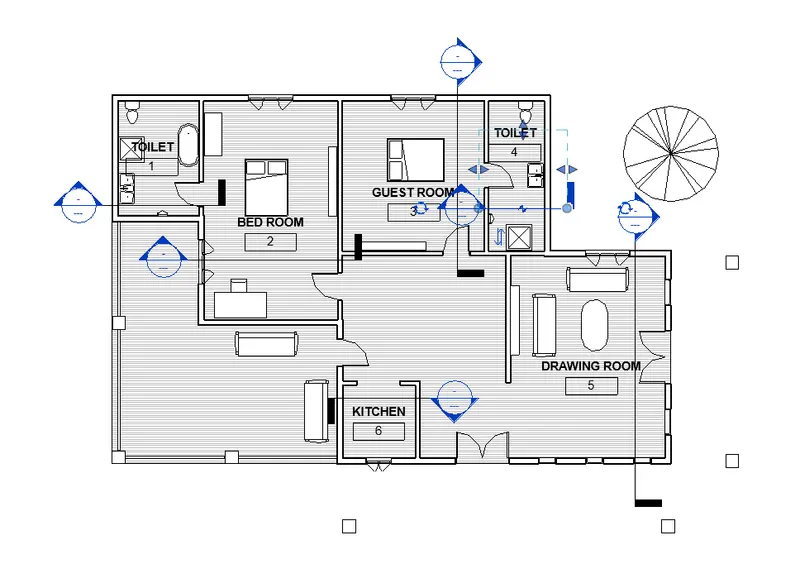
- Now select sectional view from property browser.
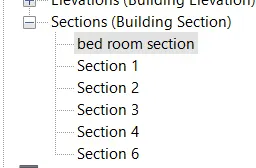
- Now rename the sectional view according to the convenience.
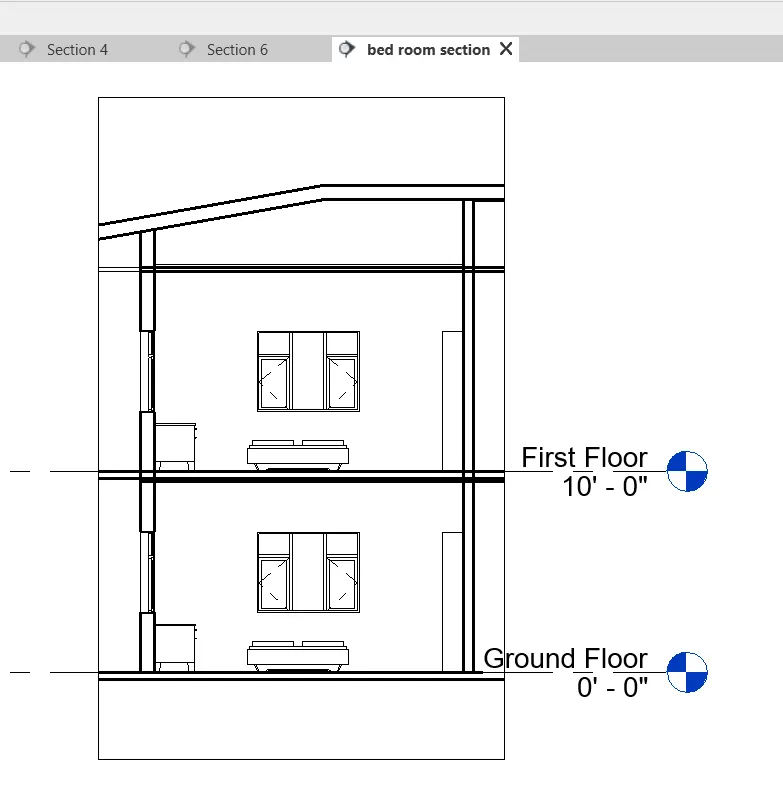
RESULT : Section are created and sectional view are divided according to individual rooms.
8Q)
AIM : To classify view, plan views, section views and elevation views into design or documentation category.
TOOLS REQUIRE : Project browser, browser organisation, design and documentation.
PROCEDURE :
- Firstly open revit project.
- Now select view tab from project browser.
- Now click right key on view tab and select browser organisation.
- Now a pop up window appears, then select new option.
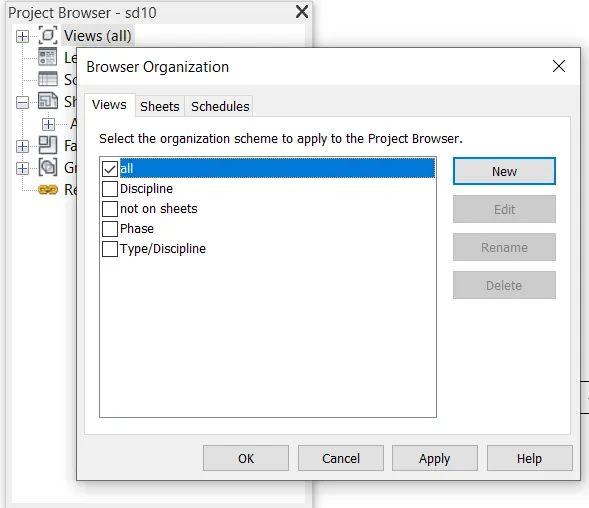
- Now create a new tab by naming design and documentation.
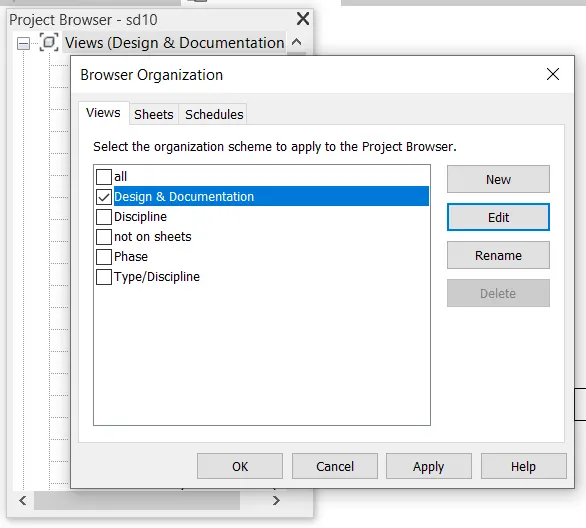
- And then click on ok. Now check project browser for design and documentation views.
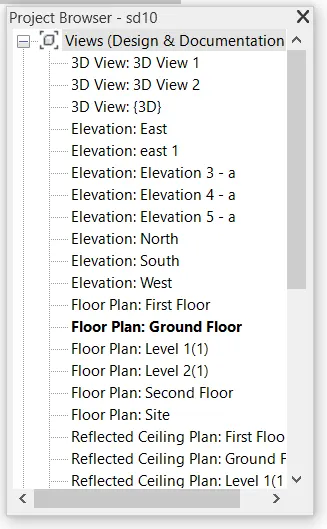
RESULT : Design and documentation category created successfully.
9Q)
AIM : To create sheets based on the sections created.
TOOLS REQUIRE : View, sheets, project browser, rename
PROCEDURE :
- Firstly open revit project.
- Now select view tab, from view tab select sheet tool.
- Then a pop up window appears.
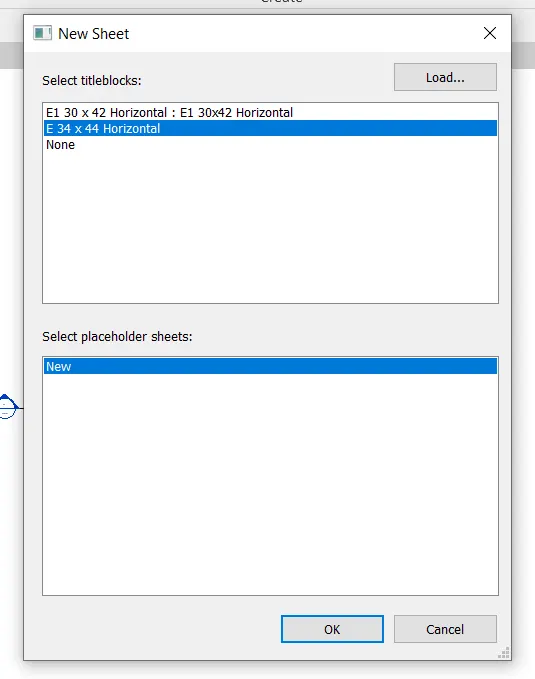
- Now select sheet size and then press ok.
- Now drag the required plan views from project browser to sheets.
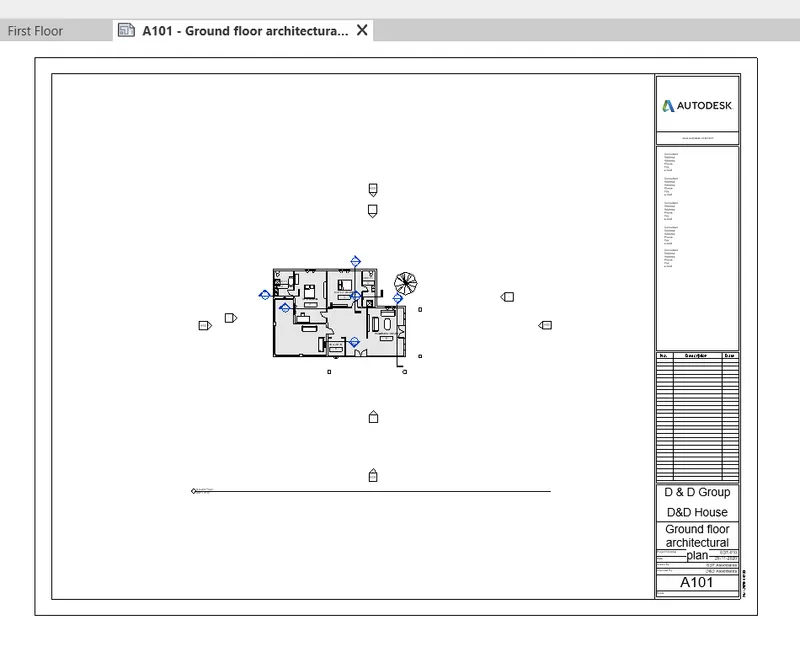
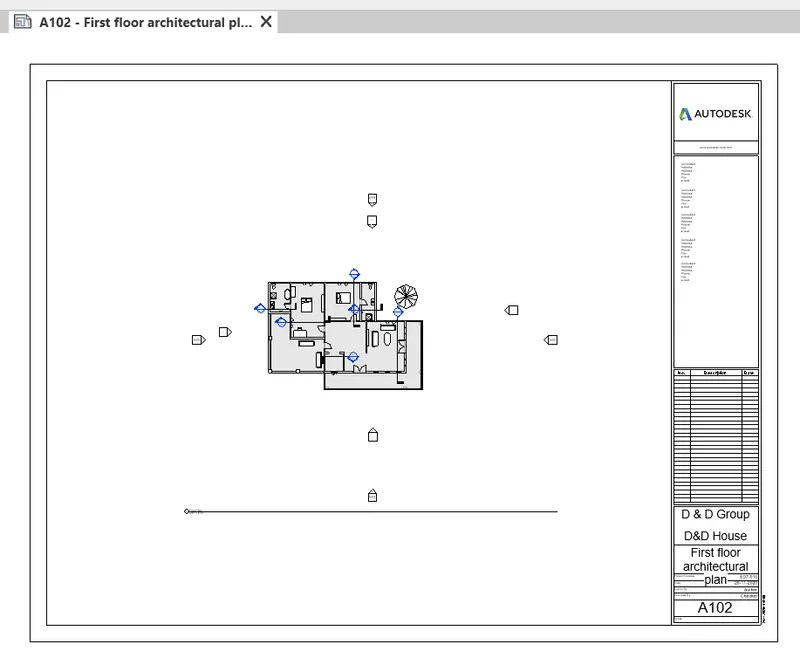
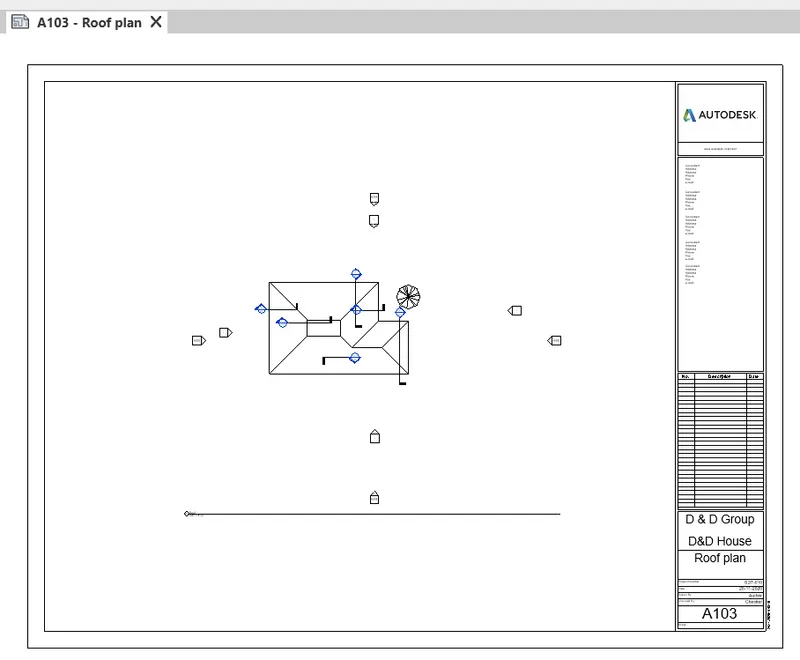
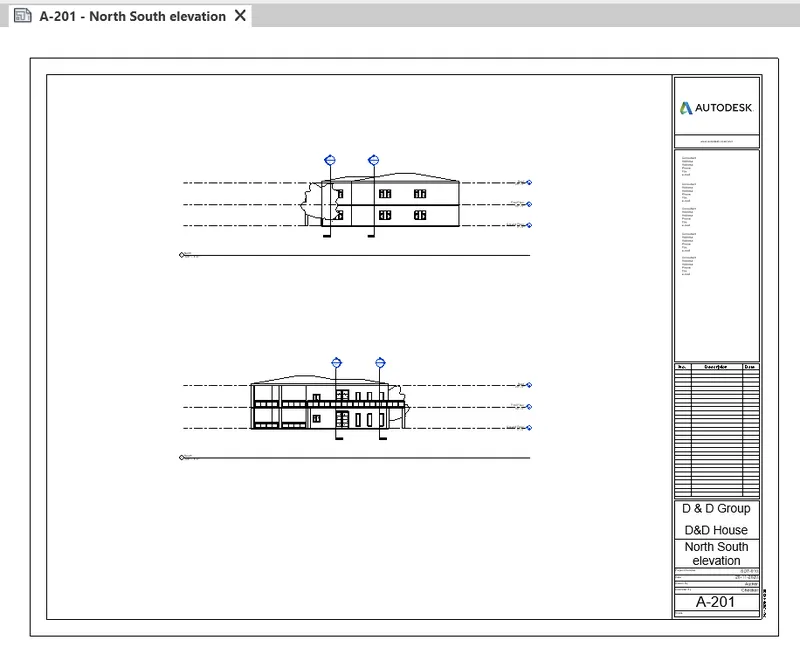
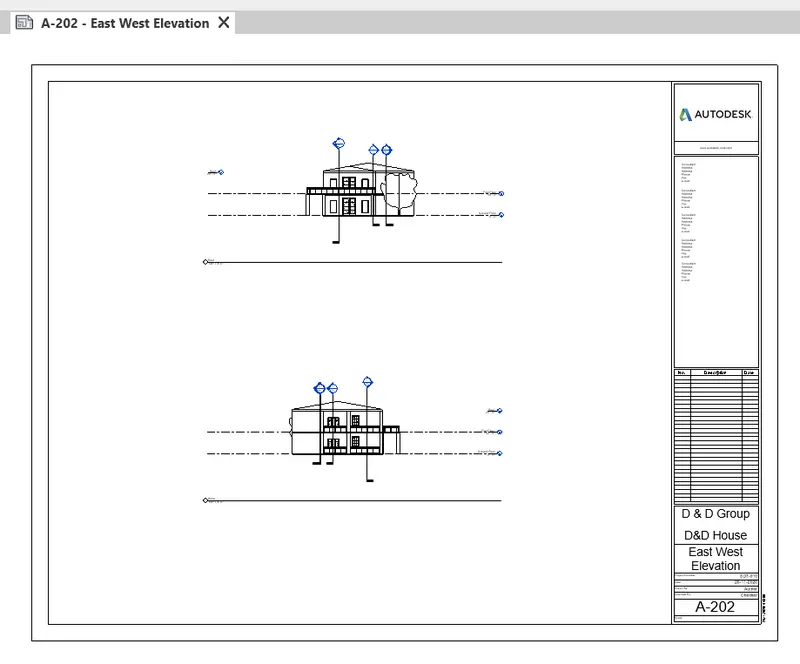
- Now select the sheets from project browser and then rename the sheets accordingly.
RESULT : Sheets for various plans created successfully.
10Q)
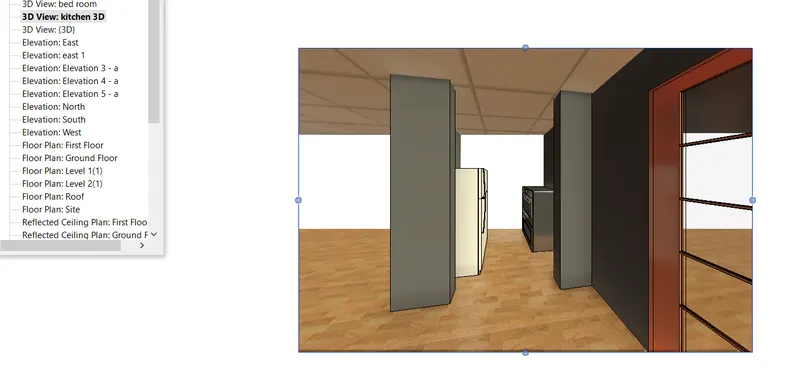
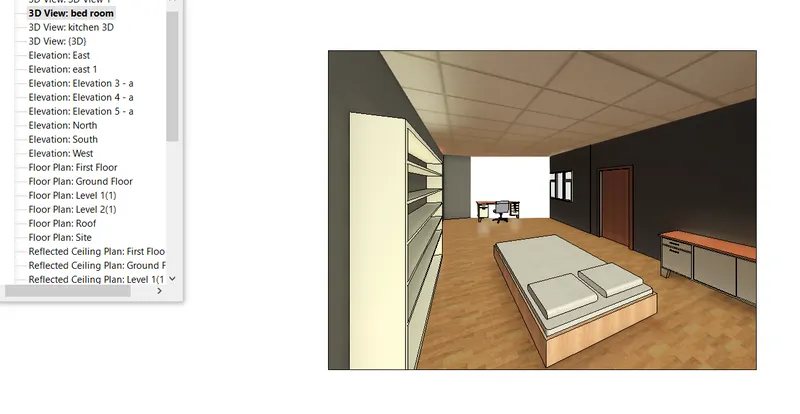
AIM : To create a camera specific view or 3D view in each room and to create sheets.
TOOLS REQUIRE : View, camera view, project browser, sheets, rename
PROCEDURE :
- Firstly open revit file.
- Now select view tab and select camera view from 3D view.
- Place the camera at appropriate position for the view required.
- Now open 3d views from project browser and check the views and rename the views.
- Now select sheet tool from view tab.
- Now select sheet size and then press ok.
- Now drag the required 3d views from project browser to sheets.
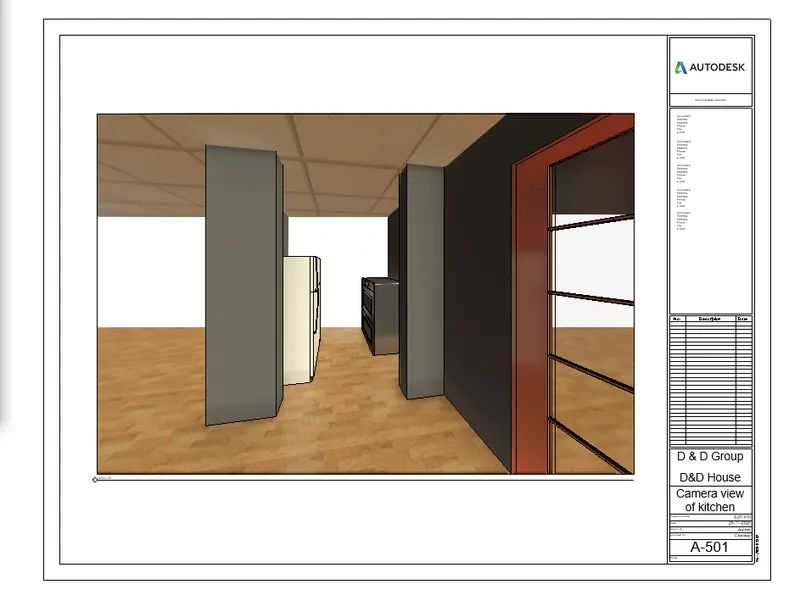
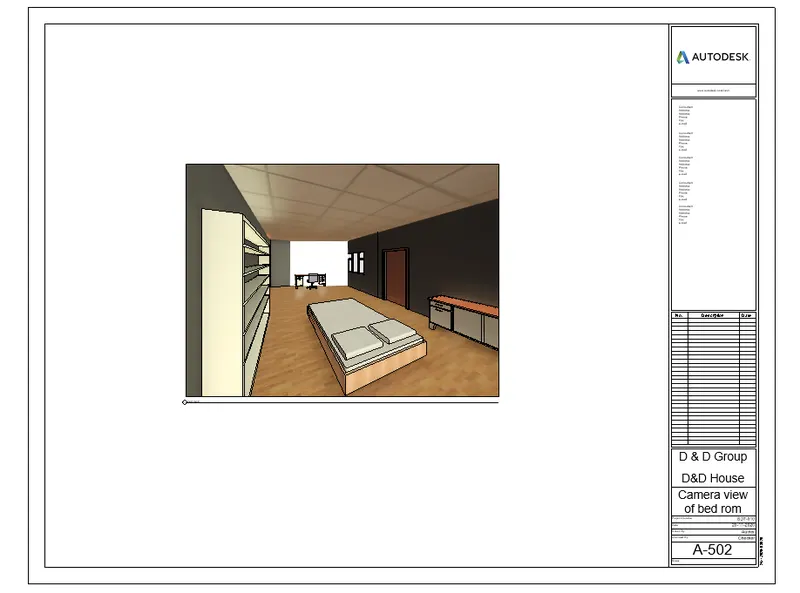
RESULT : 3d views in each room created successfully.