REVIT_Usage of elements and properties_Week 3
1) AIM : To create a layout in the ground floor level using property browser.
TOOLS USED :
- File
- Architecture
- Property browser
PROCEDURE :
- Open revit and click file menu and open the previous project
- Select whole plan view
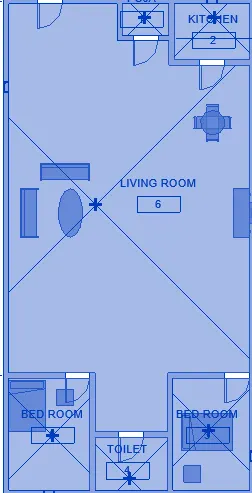
- Go to architecture tab and select floor
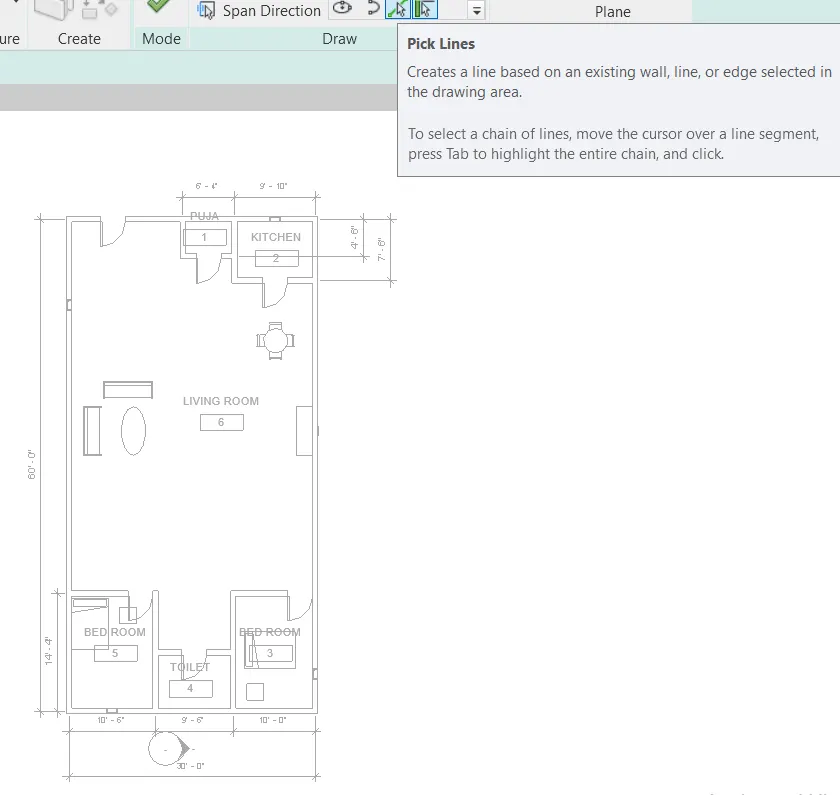
- Now select pick lines and select boundary lines of plan and click finish
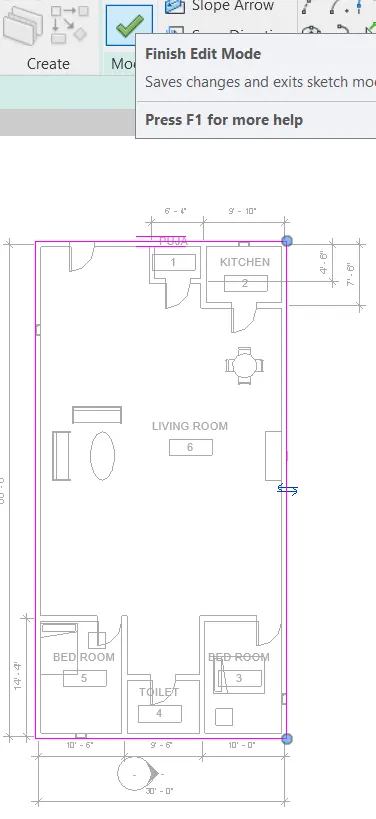
- Click 3D view to check the floor
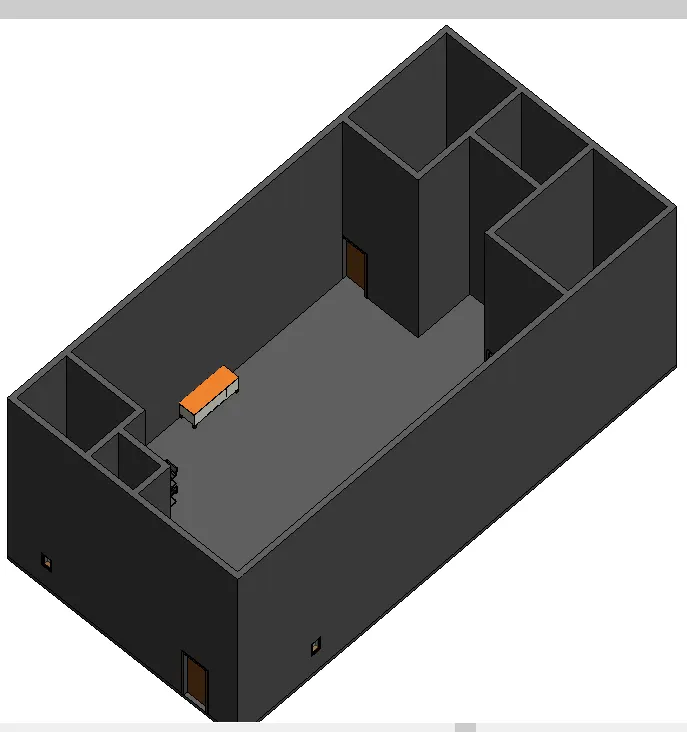
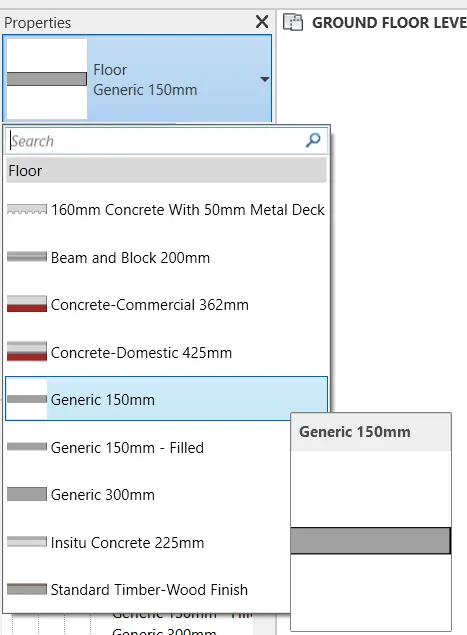
- Select floor and go to project browser to choose thickness and material
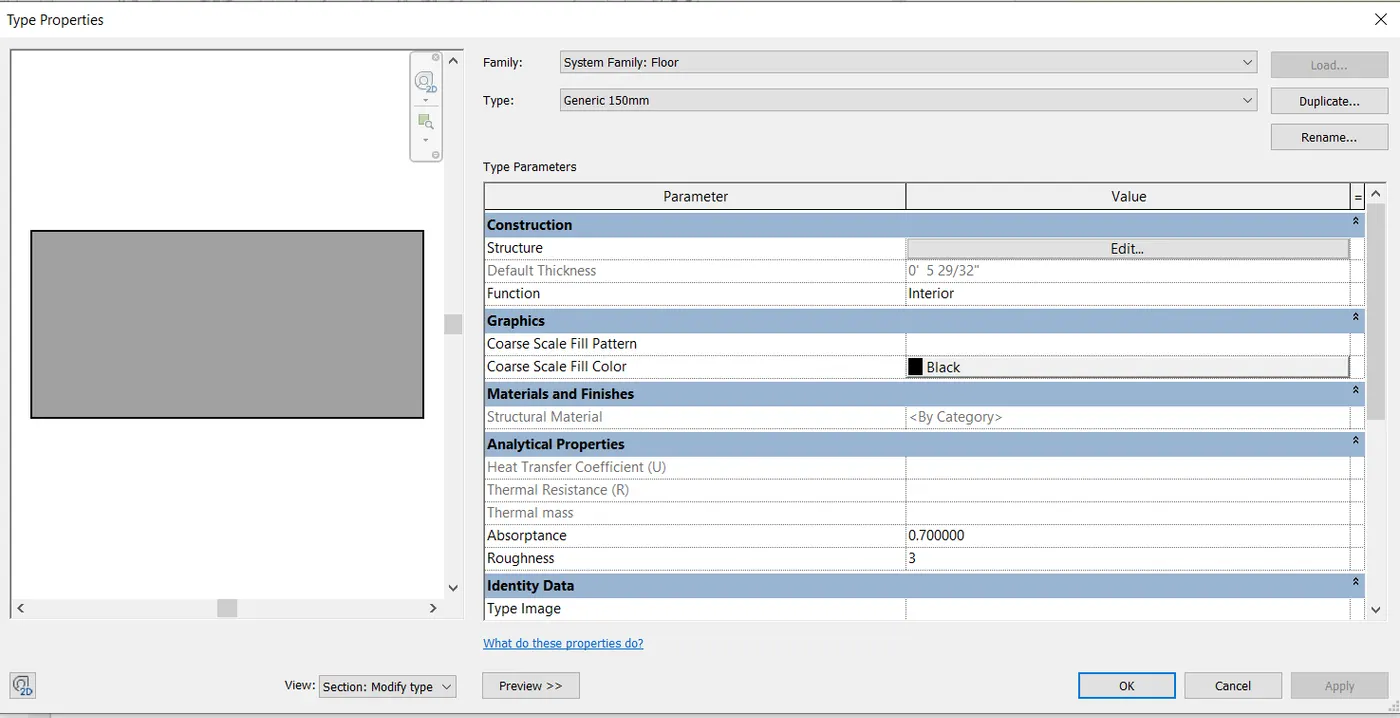
- To select material, go to edit type and select structure to choose the required material
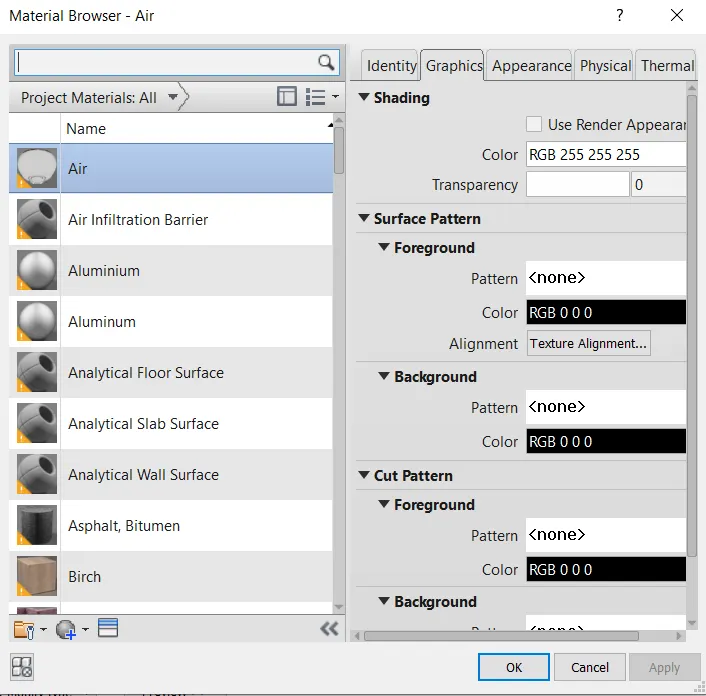
- Draw grids by selecting grids under architecture tab
RESULT : A floor of required thickness and material is created by following above procedure
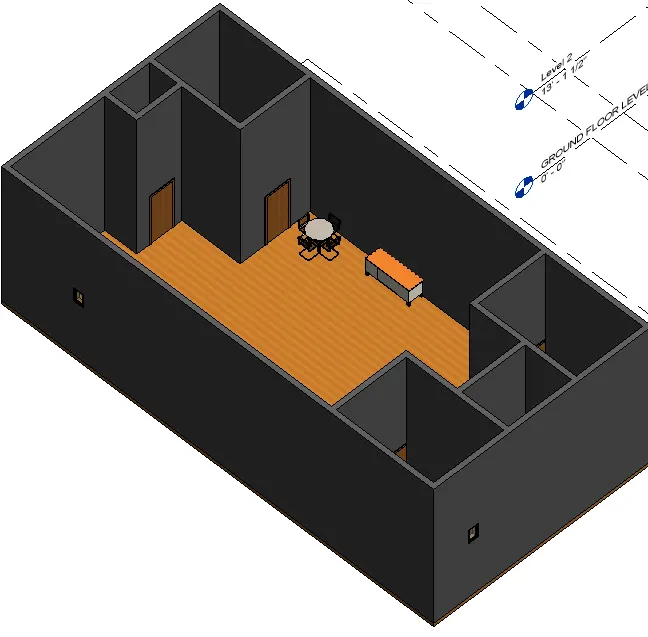
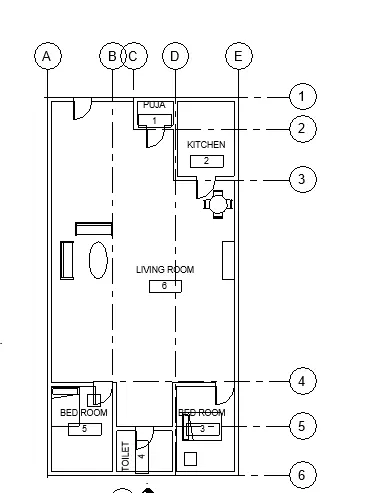
2) AIM : To add walls based on floor layout and to modify the boundary of walls. To select appropriate material and thickness of walls and to verify top and bottom of the walls are constrained
TOOLS USED :
- Architecture
- walls
- Property browser
PROCEDURE :
- Select a wall from the project
- Go to project browser and choose the required thickness and material
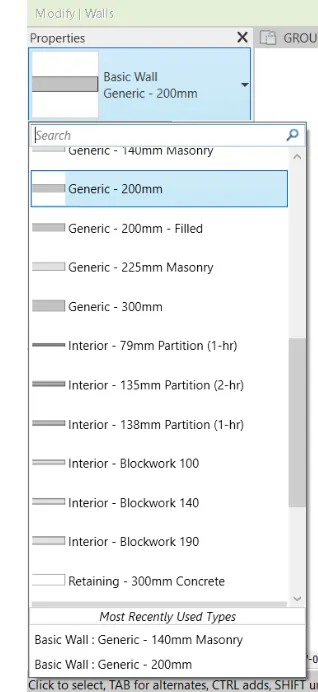
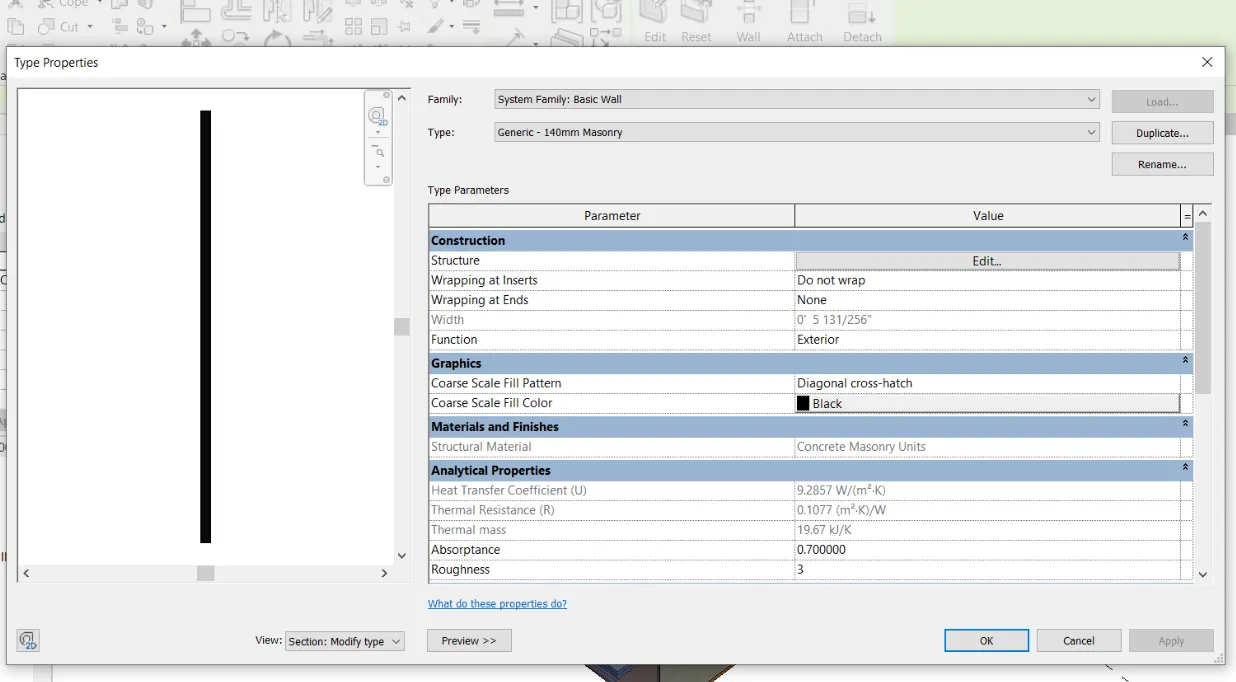
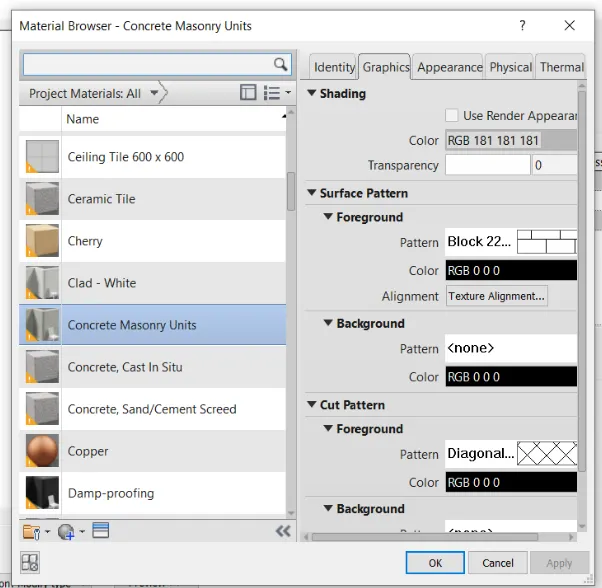
- And apply the required material
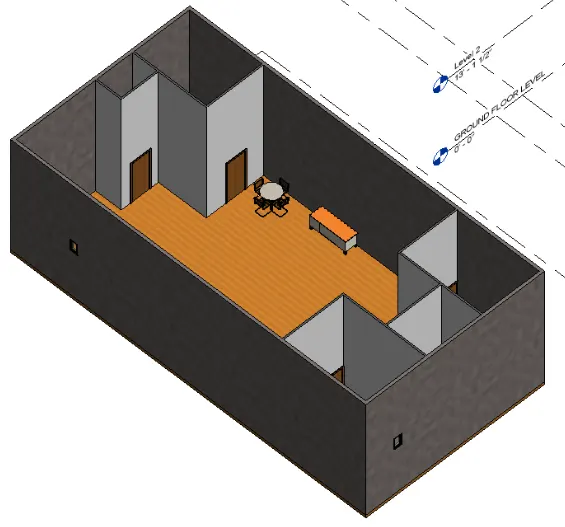
- Check the top and bottom constraints and set them to required level
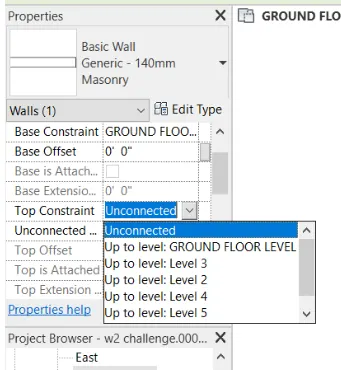
RESULT : Required walls are made using project browser and top constraints are verified
(a) Benefits of connecting walls is that when walls are connected with the constraints ,any changes applied in the height of the building, automaticaly adjusts its height with the building levels. But if walls are unconnected, we have to edit the height of the walls which is time consuming and chance of making mistakes.
(b) According to me, the best way to model walls is by height rather than depth.
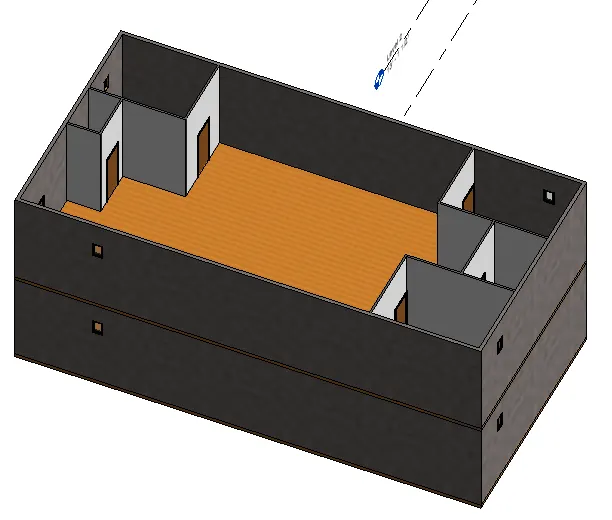
3) AIM : To copy the ground floor model and to paste it aligned to first floor
TOOLS USED :
- Modify
- Copy
- Paste
PROCEDURE :
- Select the ground floor plan view
- Click copy to clipboard under modify tab

- Click paste options and choose the convenient option
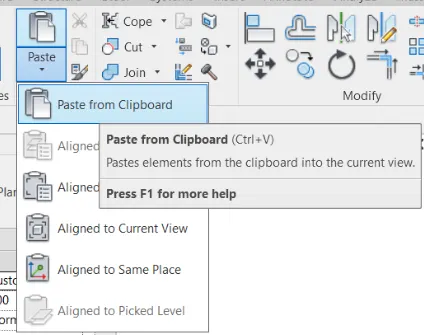
- paste it to the next floor
RESULT : First floor is made by above procedure
4) AIM : To create entry walkway, patios etc.
TOOLS USED :
- Architecture
- Floor
- Columns
- Railings
PROCEDURE :
- Open the project and go to architecture tab
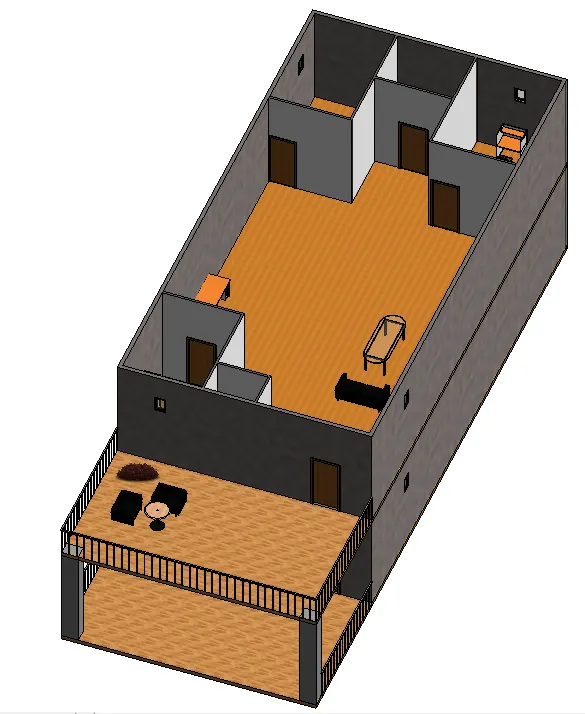
- Click floor and select rectangle to extend the floor in ground floor
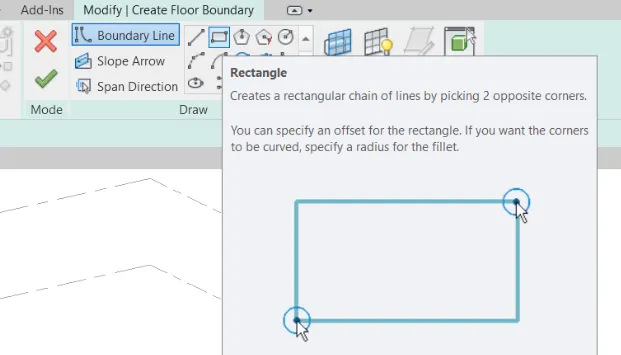
- Choose and apply the required material and thickness for outer area and add columns
- Add railings to the outer region by selecting railings toolbar under architecture tab
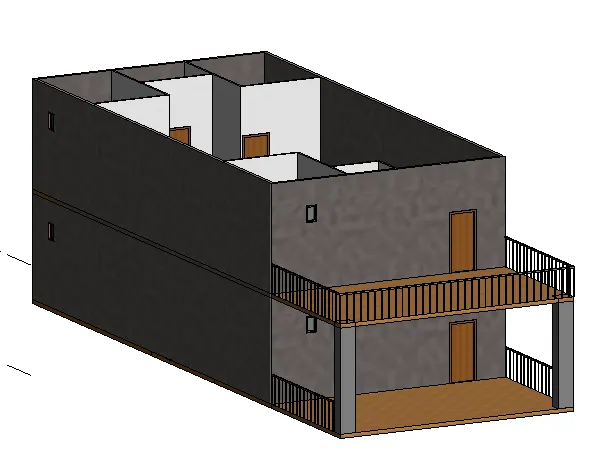
RESULT : Entry walkway is created, columns and railings are added
5) AIM : To place elements at appropriate locations to add details to the model
TOOLS USED :
- Insert
- Load family
- Architecture tab
- Component
PROCEDURE :
- Open the project
- Go to insert tab and select load family
- Choose the required elements to add details to the residential model
- Go to architeccture tab and select component to place the elements at appropriate locations
- Detail elements in living room
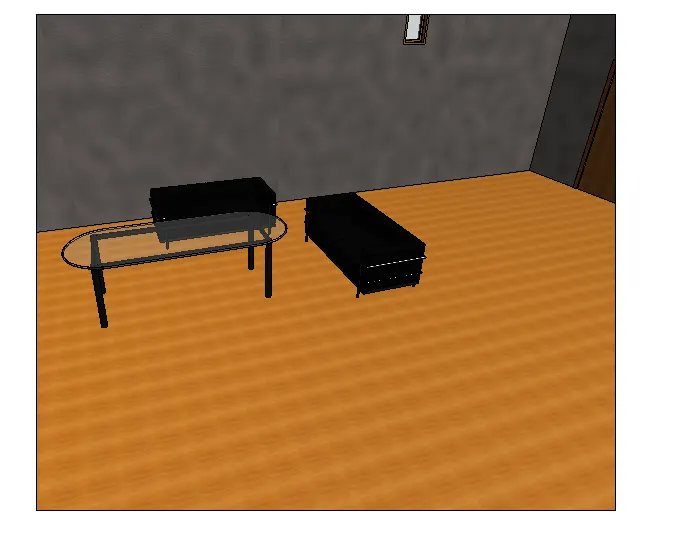
- Detail elements in kitchen
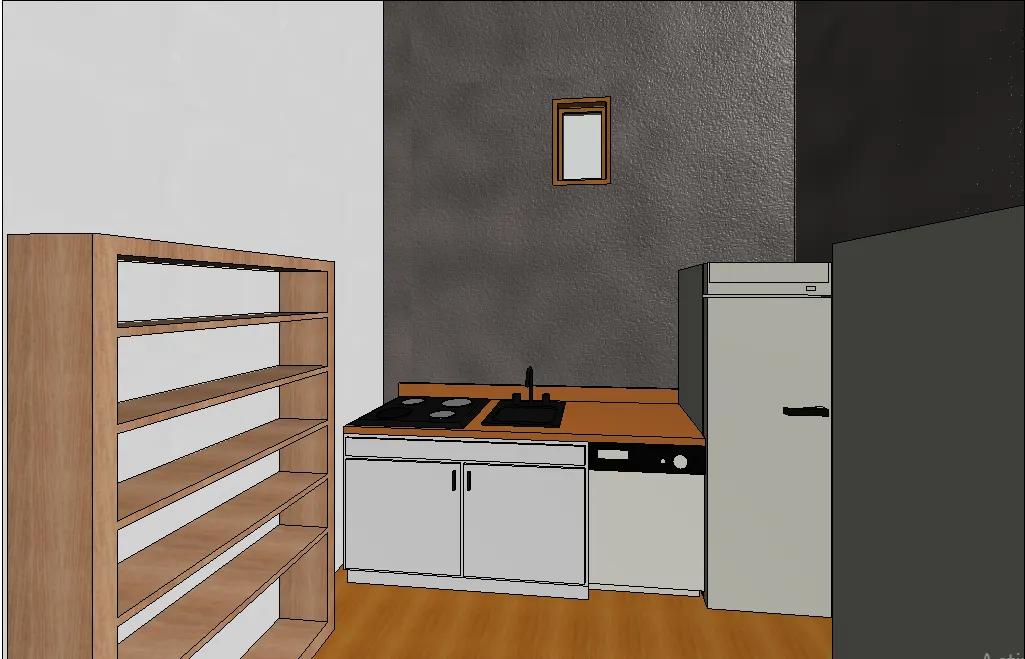
- Detailed elements in bed room 1
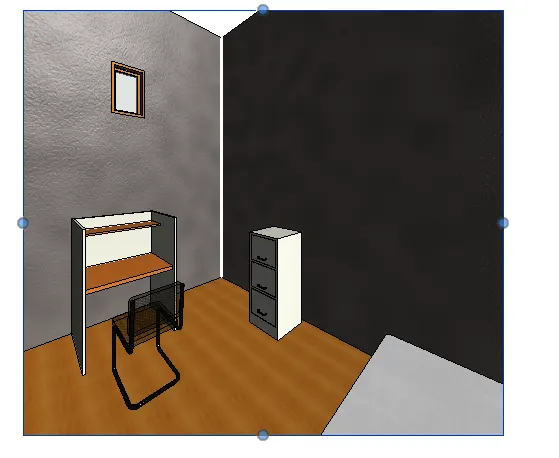
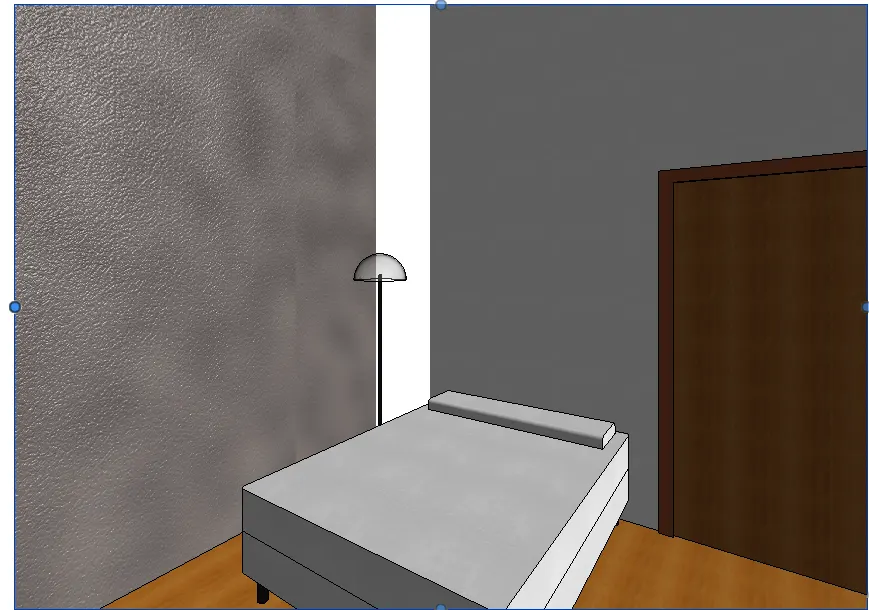
- Detail elements in bed room 2
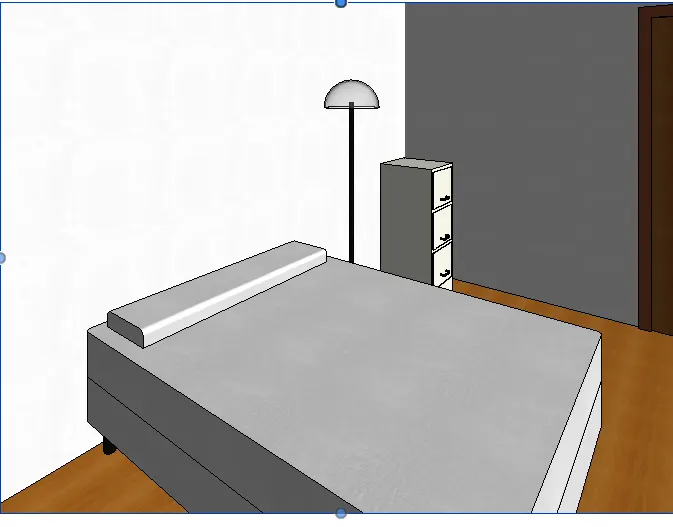
RESULT : All detail elements are added into the rooms.