REVIT_ Creation of Basic Drawing_Week 2
- 1) Building Information Modelling (BIM) is a concept that was created by Autodesk. Autodesk revit is a modelling tool which helps us achieving BIM as a process.
Features of BIM :
- Coordination- Revit helps us in achieving coordination between multiple disciplines like architects, mechanical and structural engineers. They have their independent design team units but they can coordinate and achieve progress in a project as a whole unit.
- Computation- Revit helps us in performing computation such as material schedule or quantity schedule or to perform energy analysis. There are different tools associated with revit, for example, structural analysis helps us in computing response to the loads applied to the building.
Benefits of using BIM over 2D CAD tools :
- Whenever we make changes in the model, it is reflected upon our real time drafting views or quantities or computation.
- For example, if we are using Autocad, if we are making revision in plan view, it is required to make same revision in an elevation view or layout view but in case if we use revit, it is different like when we make a change in model in real time, changes are reflected in elevation view and model space. So, it minimizes time for making those changes repeatedly.
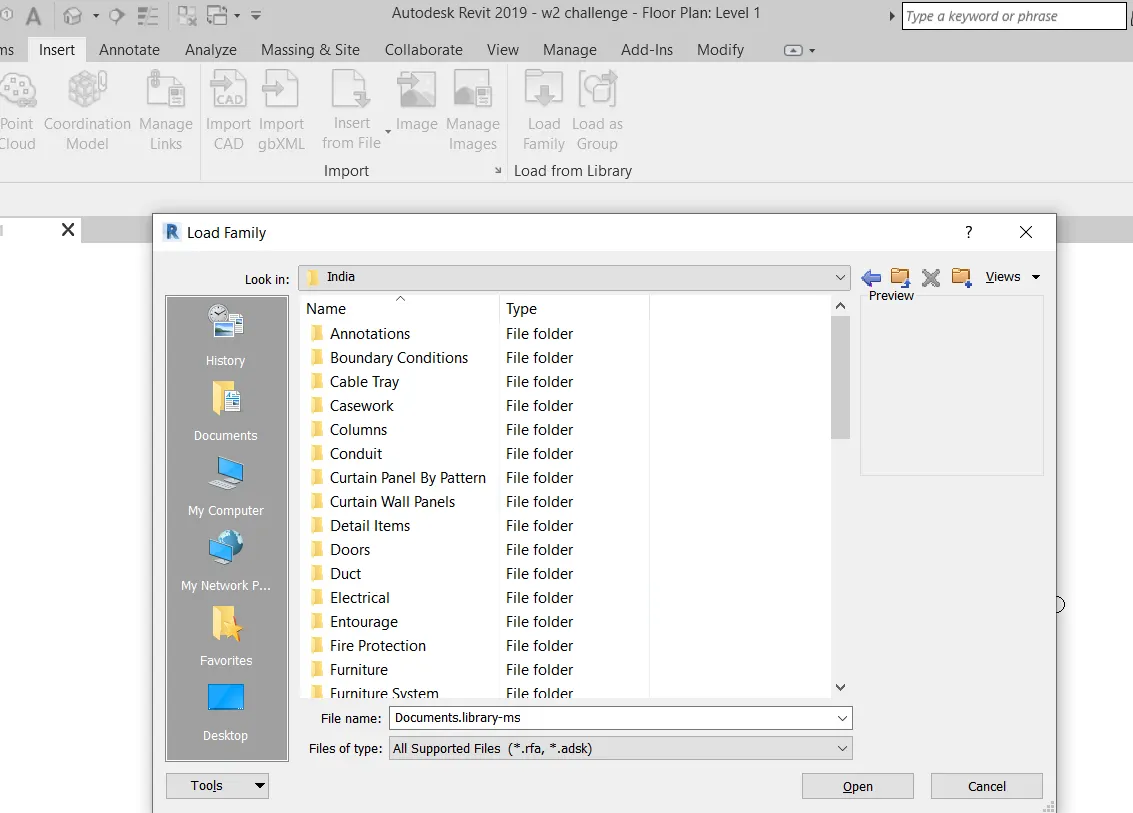
2) The concept of families, elements are the objects under the specific family (like furniture- beds, chairs, tables etc.) are mentioned. These families will be available from insert tab, load families and the popup window will appear and from there we can select the families to insert in the drawing as required.
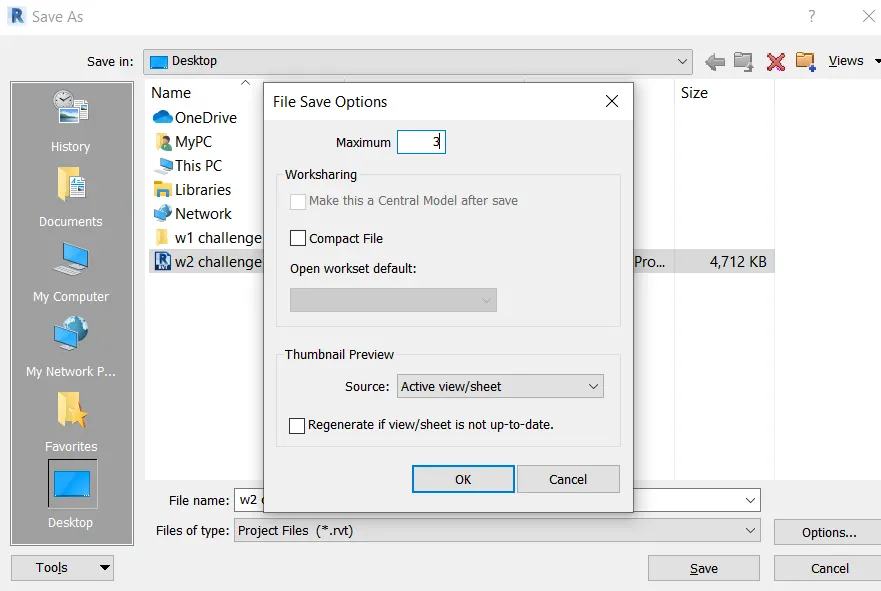
3) AIM : To setup a project- open a project file with architectural template, save the file with appropriate name, setup the project units, to complete project information under manage tab and to setup the maximum backups for project file to 3
TOOLS USED :
- File
- Manage
PROCEDURE :
- Open revit software
- Click file tool bar and select new project as architectural template
- In the file menu save the project with appropriate name
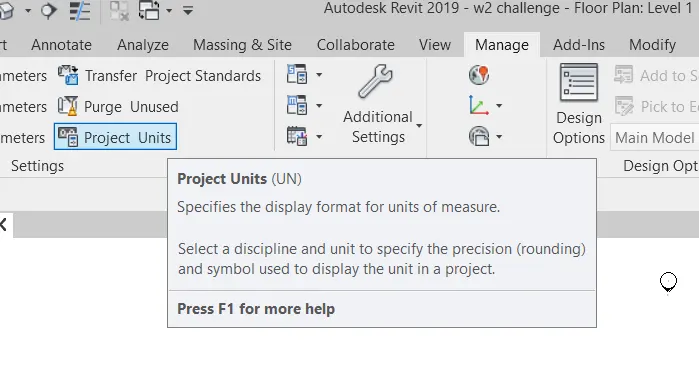
- Select the manage tool bar and click on project units to specify the units we want
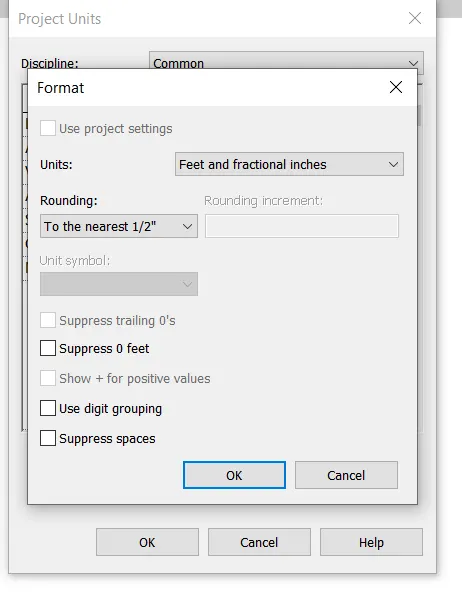
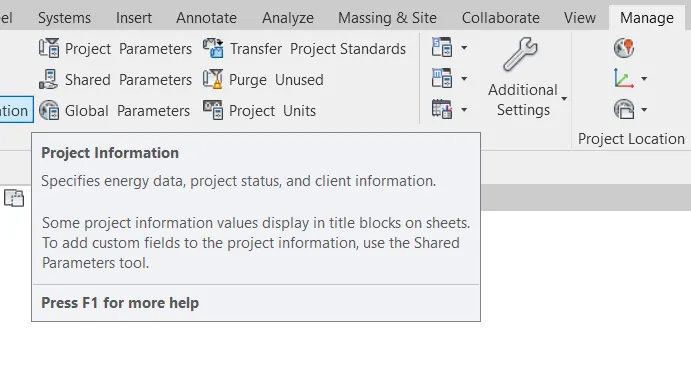
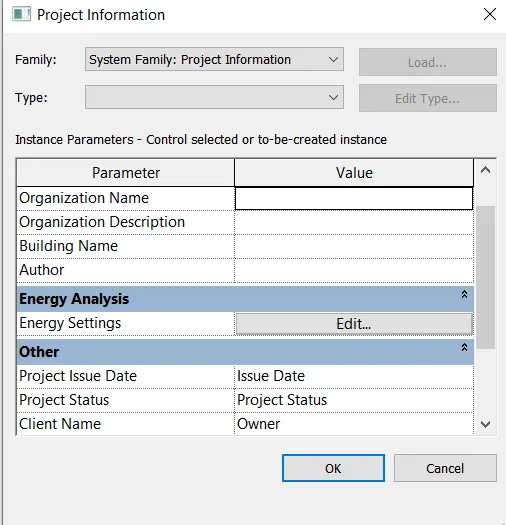
- Click on the project information under manage tab and then give details of the project
- Click on the save as option and then specify maximum backups as 3 of maximum backups
RESULT : A project is set up by following above procedure
4) AIM : To draw levels and grids
- Ground floor @ 0'
- First floor @10'
- Second floor @20'
- Roof @30'
TOOLS USED :
- Architecture tab
- View
PROCEDURE :
- Open revit
- Select the imperial architectural template
- Draw a rectangular wall
- Select the view tab and select section and draw the section
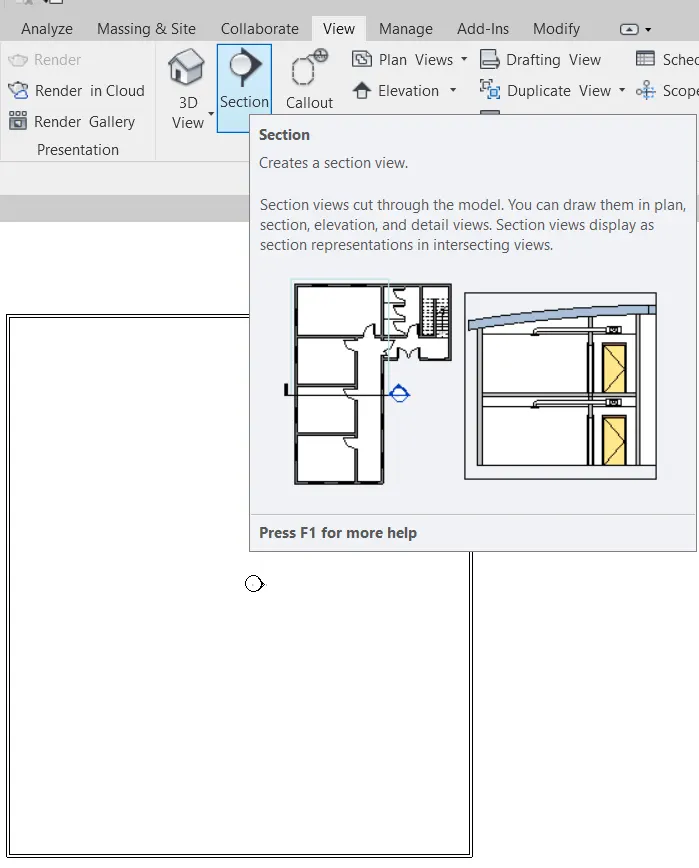
- Select the section and go to architecture tab and select levels
- Click on level and give the name and distance of the levels
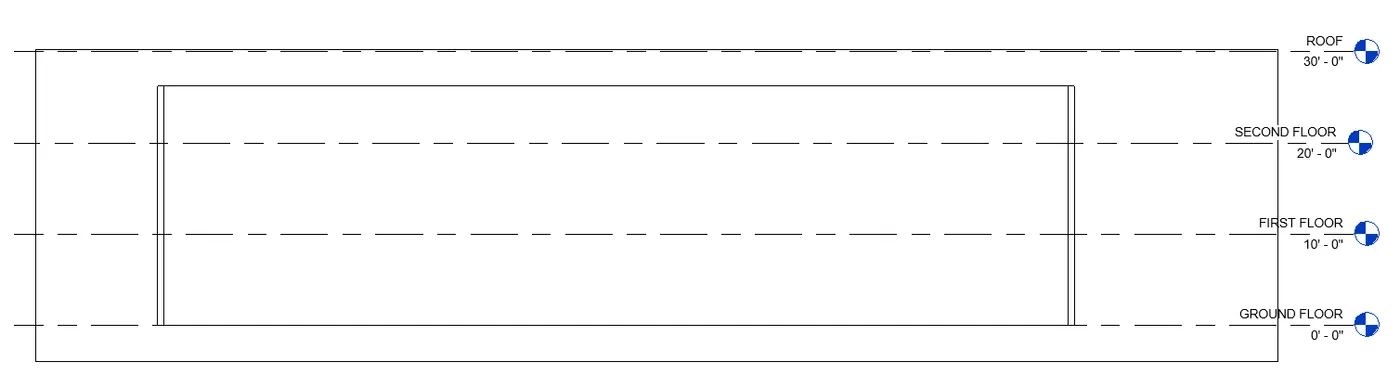
- Again go to architecture tab and select grids and draw the grids
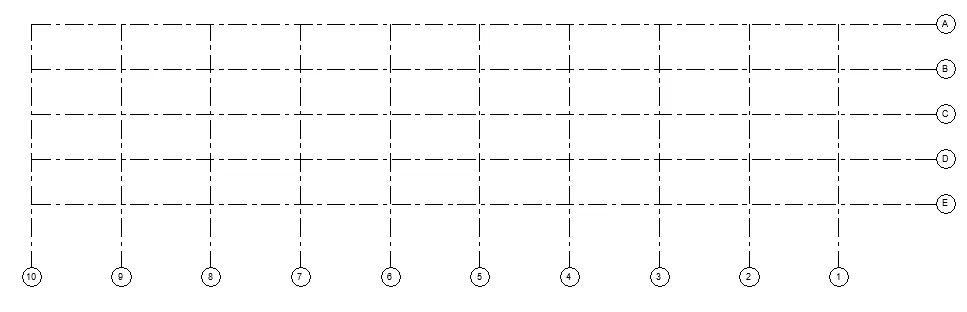
- Specify the distance and name of latitudinal and longitudinal grids
RESULT : Levels and Grids are made
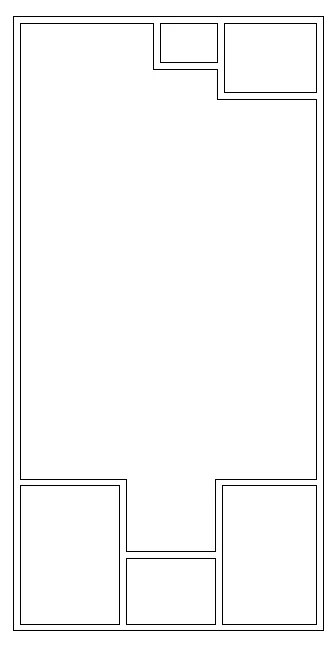
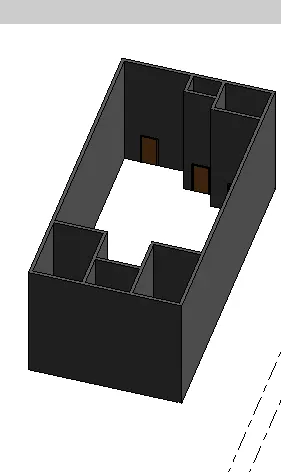
5) AIM : To create the layout of a residential building
TOOLS USED :
- Walls
PROCEDURE :
- Open revit
- Select the architecture tab
- Select architectural wall
- Draw the walls
RESULT :
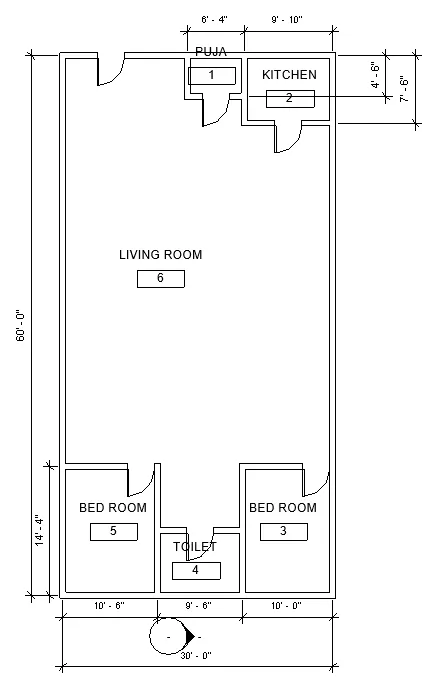
6) AIM : To show the dimensions of the rooms and the components
TOOLS USED :
- Dimension( aligned)
- Rooms
- Tag rooms
PROCEDURE :
- Open the file where layout is made
- Select doors in the ribbon command
- Place the doors at the points wherever required
- Select the dimension and mention the dimension of the rooms
- Select room command and place at every room
- Select tag room and tag each room
RESULT :
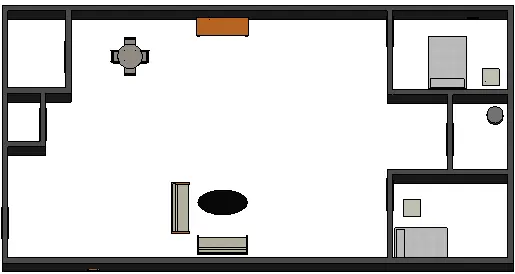
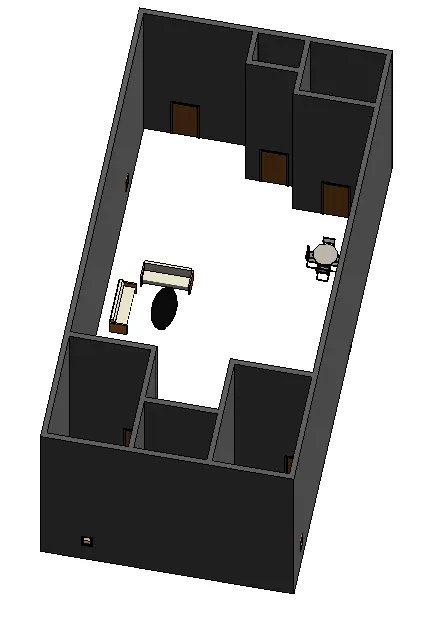
7) AIM : To insert elements such as doors, windows, tables, chairs, couch, bed, lamps in the plan
TOOLS USED :
- Insert
- Load families
- Windows
PROCEDURE :
- Open the file in revit
- Select the doors and place them accordingly
- Select the windows and type of windows to be placed and place them
- Select insert option and load families
- Select furniture and place them wherever required
RESULT :