REVIT_Introduction to REVIT_ Week 1
- 1) AIM : To create a new project using file menu (Structural/ Architectural/ Construction templates) and to name accordingly
TOOLS USED:
- File menu
- Open
PROCEDURE :
- Open the revit software
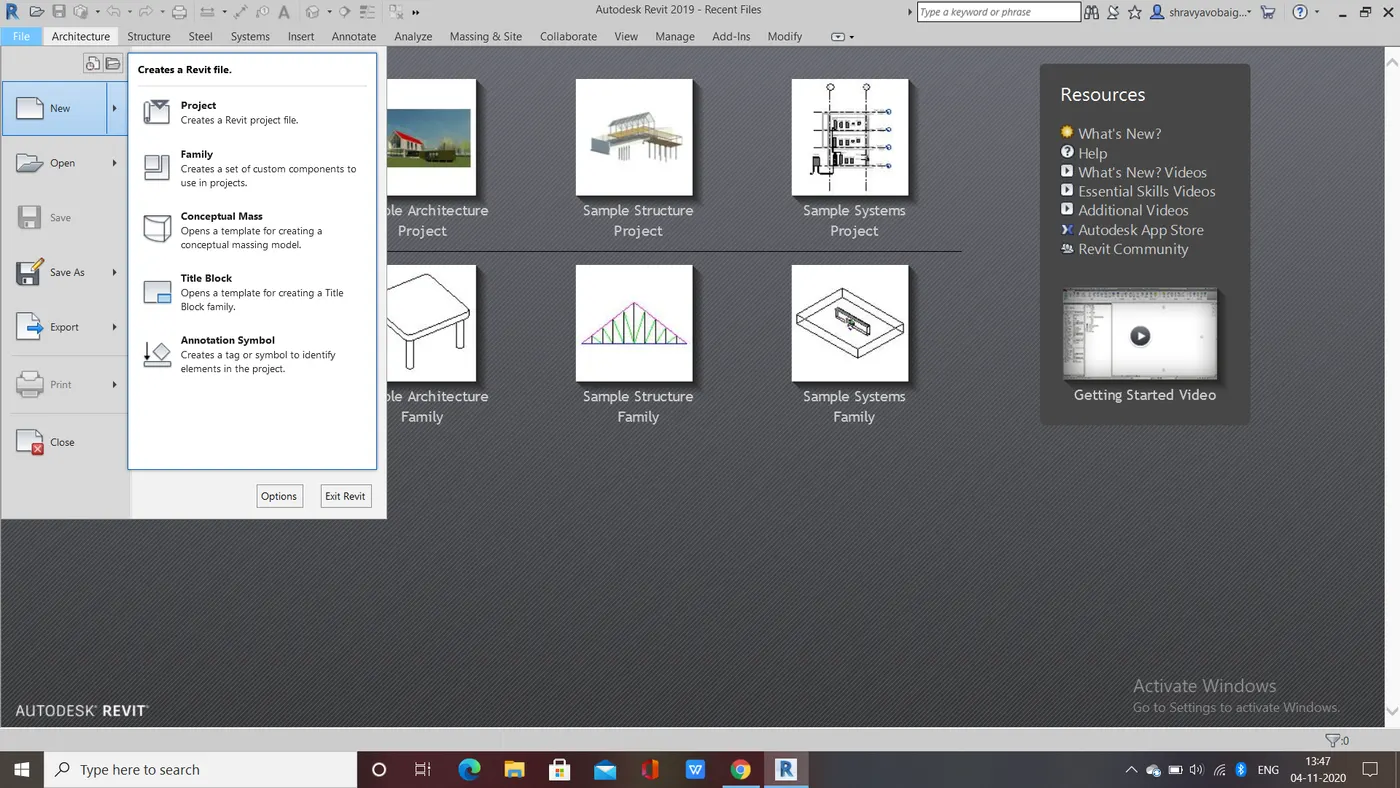
- Click on the file menu
- Click on new and then project
- Select the Construction template
- Select the browse option and name the project
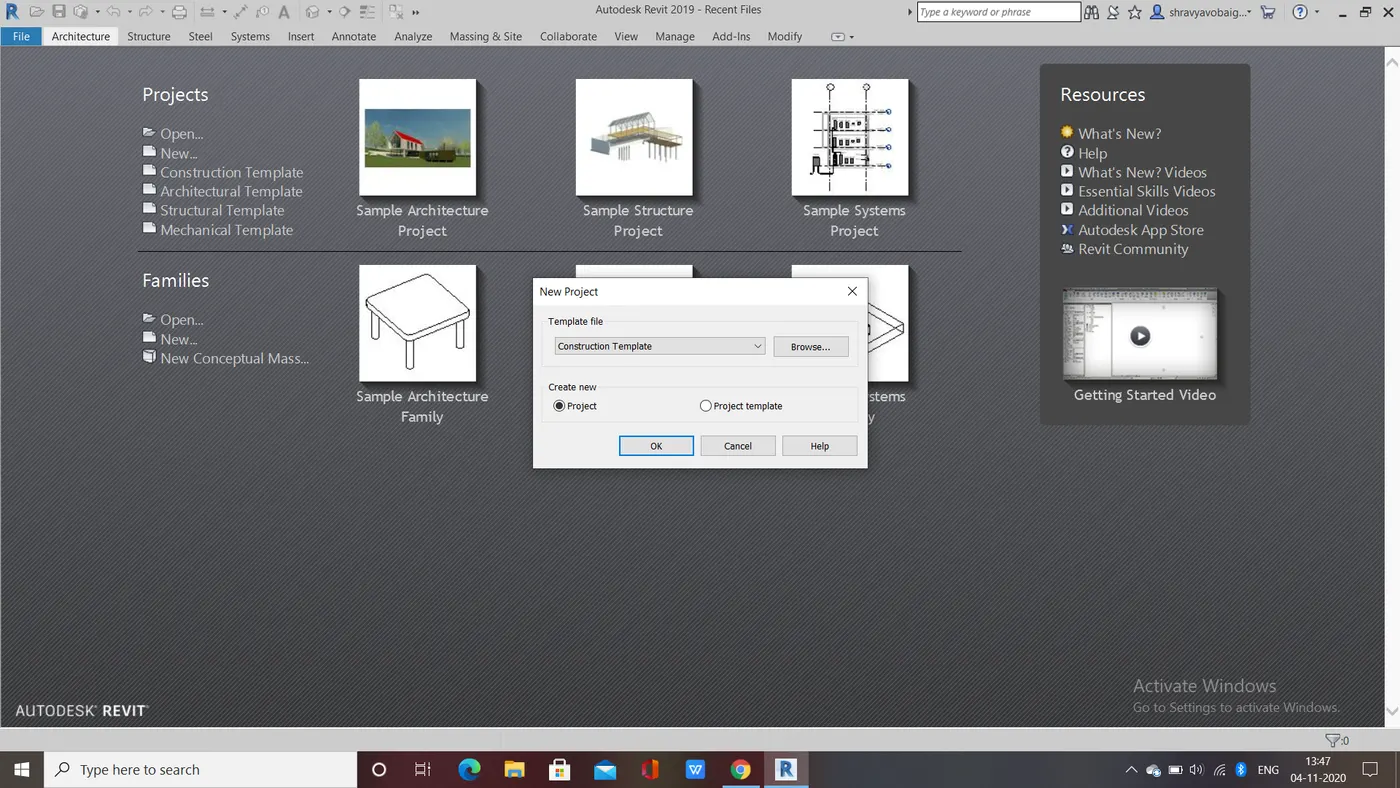
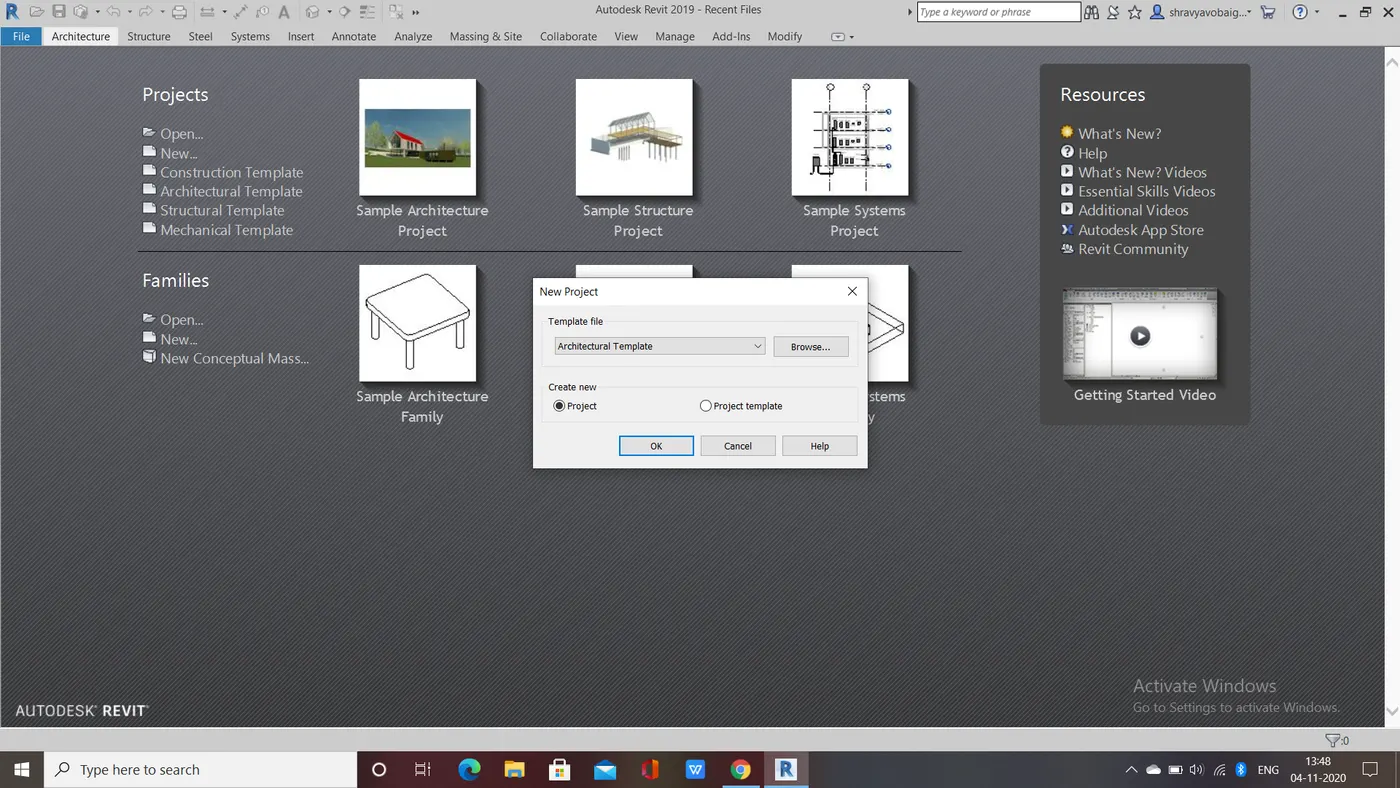
- Select the architectural template and click on browse and name it as required
- Again for Structural template, select the structural template and click on browse and name it as required
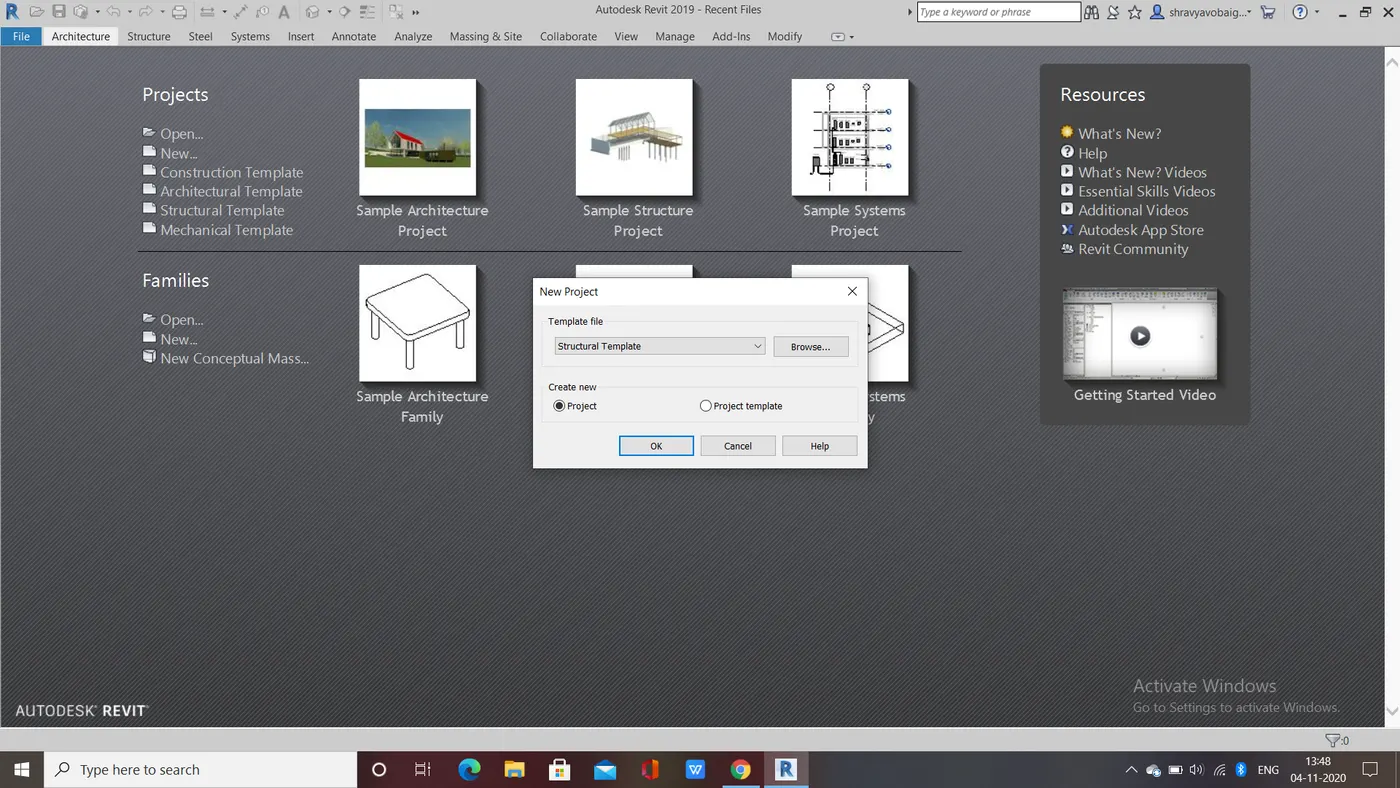
RESULT : The respective templates will be created by the above procedure.
2) AIM : To save the new project file, close and open the file using the icons from file toolbar
COMMANDS USED :
- File
- Save
- Name of the project
PROCEDURE :
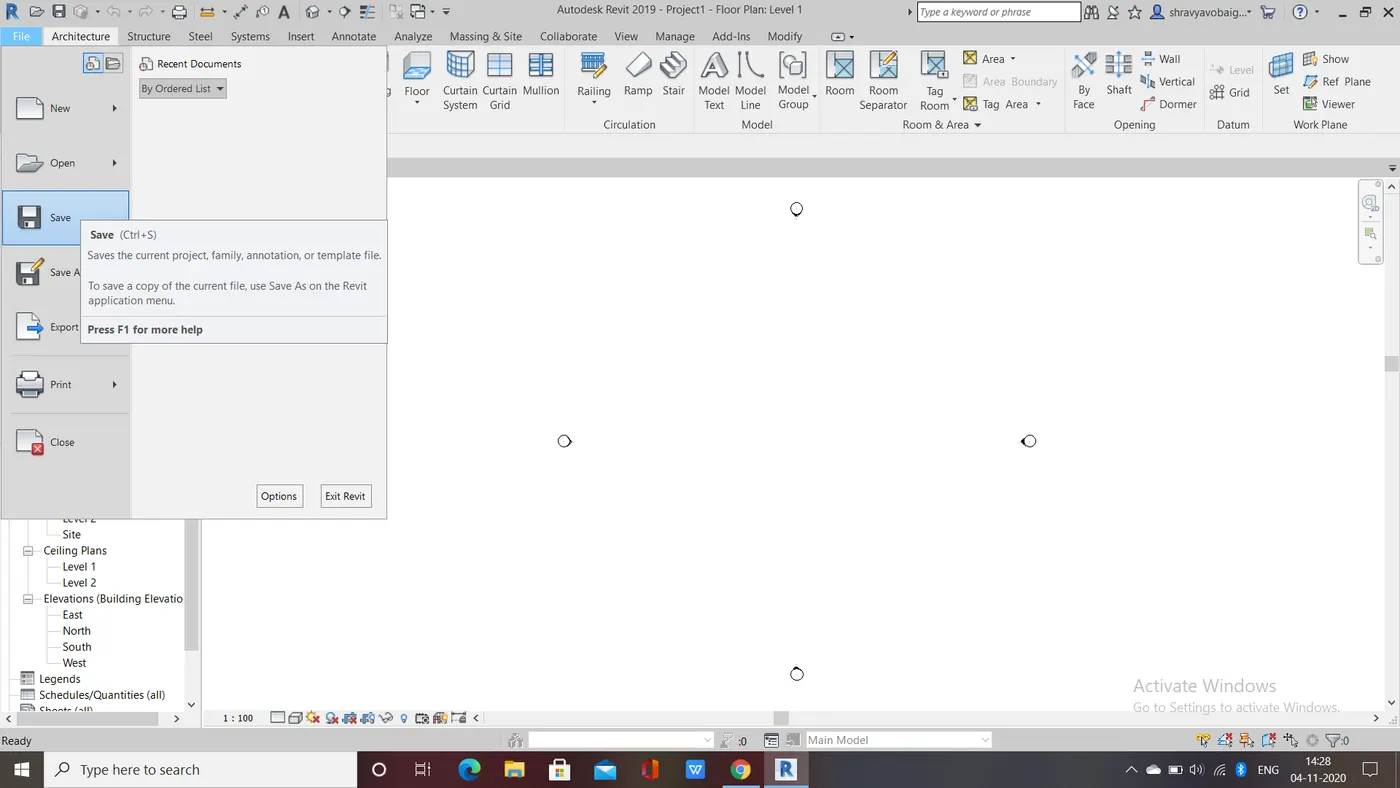
- Click on the file menu
- Click on the save button
- Specify the path where we want to save it
- Name the project and click save
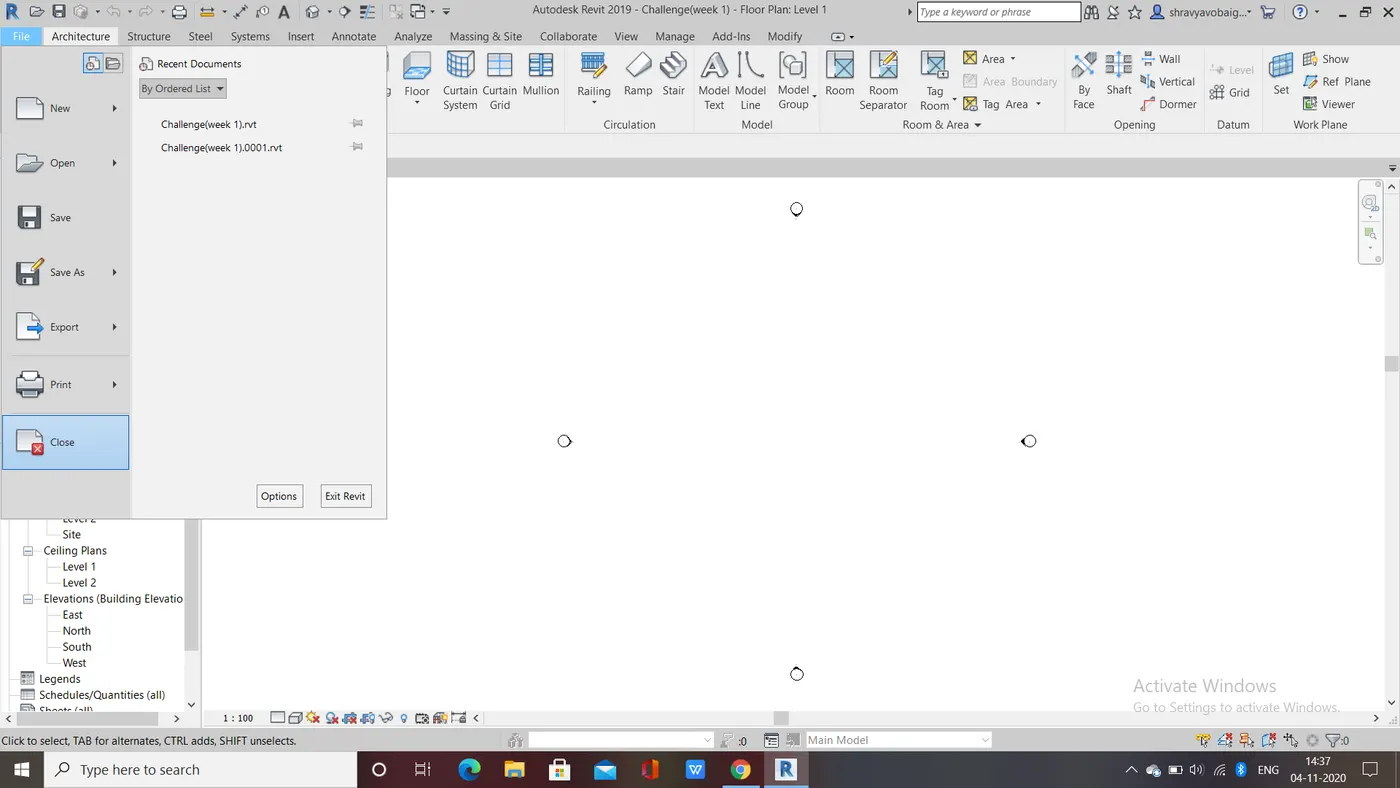
- Now click on file menu and click on close
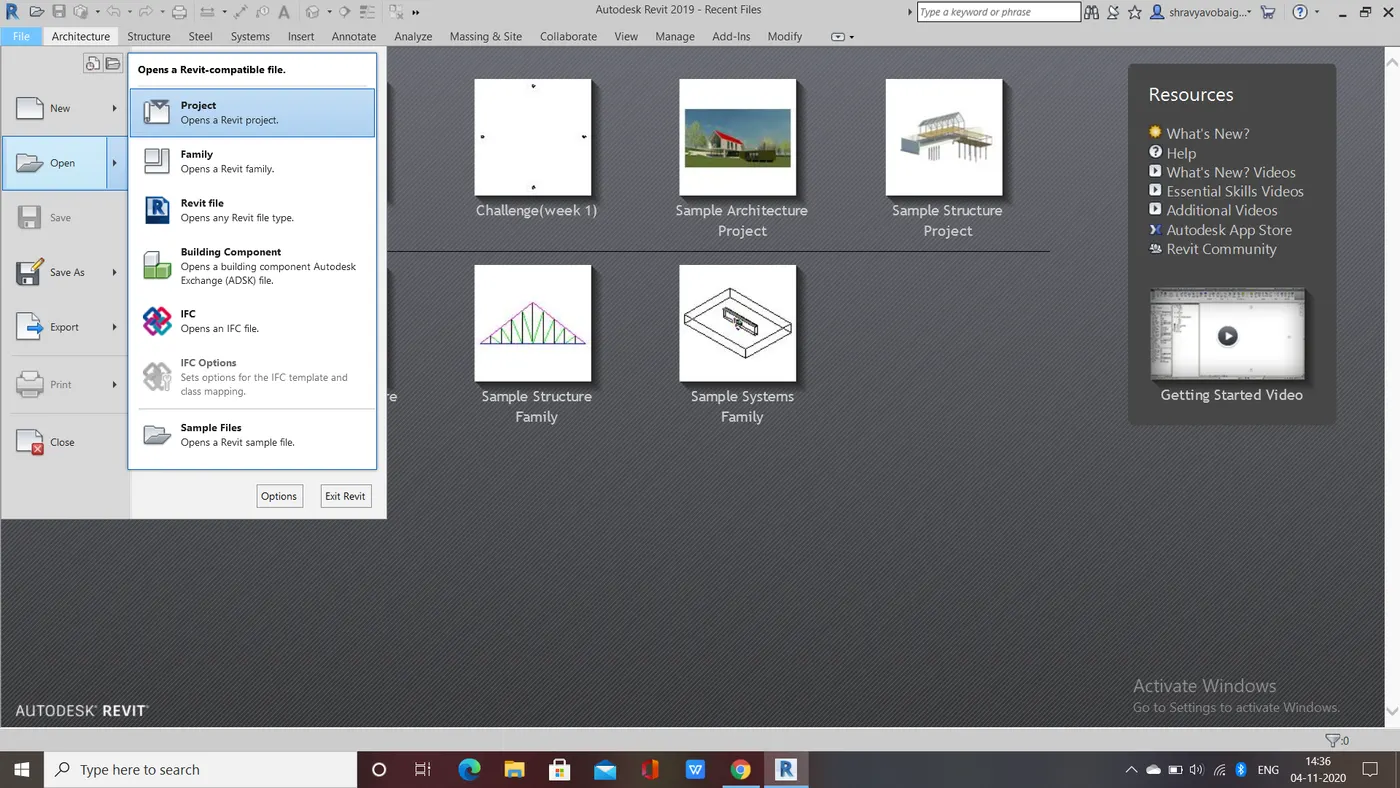
- Click on file menu and then open project by searching required file
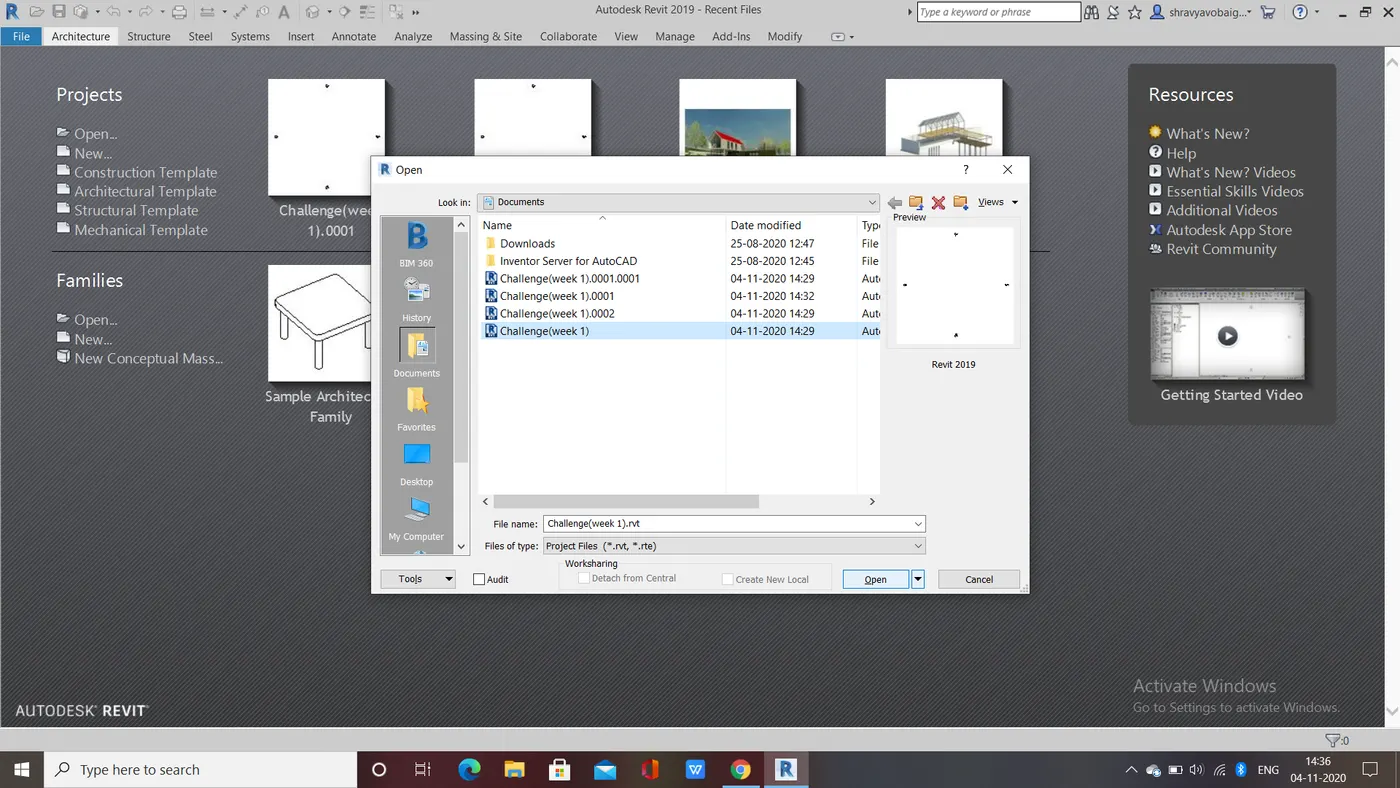
RESULT : Save, close and open options work as mentioned in procedure
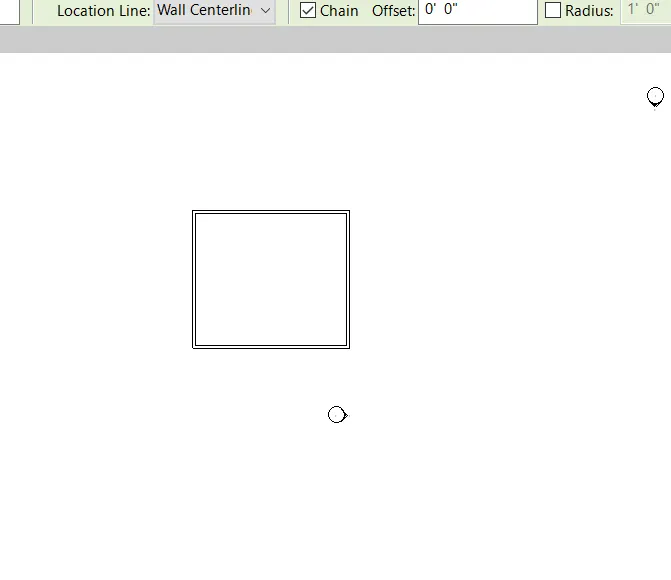
3) AIM : To create a rectangular wall of 40'x35'
COMMANDS USED :
- Architecture
- Wall(architectural wall)
PROCEDURE :
- Open the revit software
- Click on architecture tab and select architectural wall
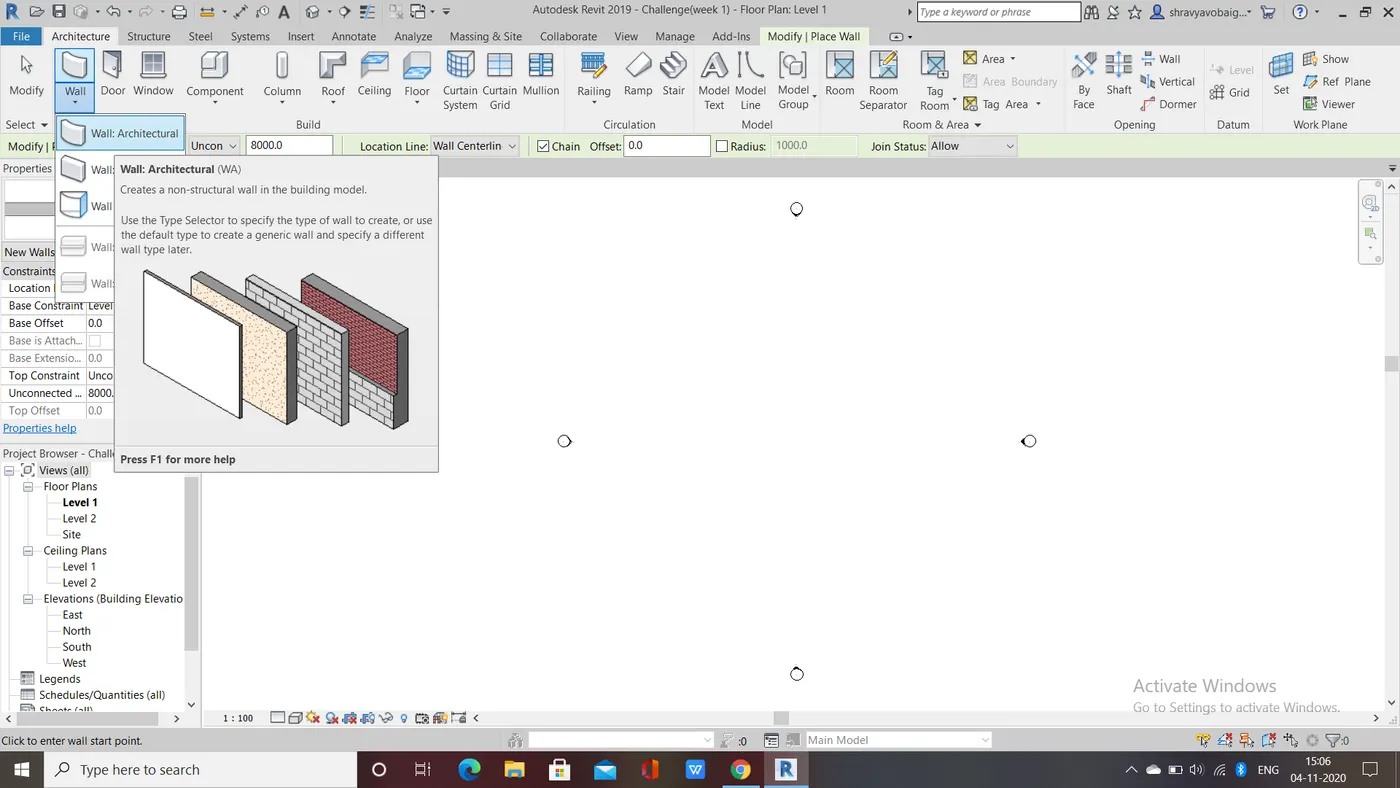
- And specify the first point and type 40' in x direction
- Place the cursor in y direction and type 35' enter
- Follow above two points to get a rectangular wall
RESULT :
4) AIM : To add dimensions to the layout using aligned option
COMMANDS USED :
- Annotate
- Aligned
PROCEDURE :
- Select the annotate tab and then click on aligned option
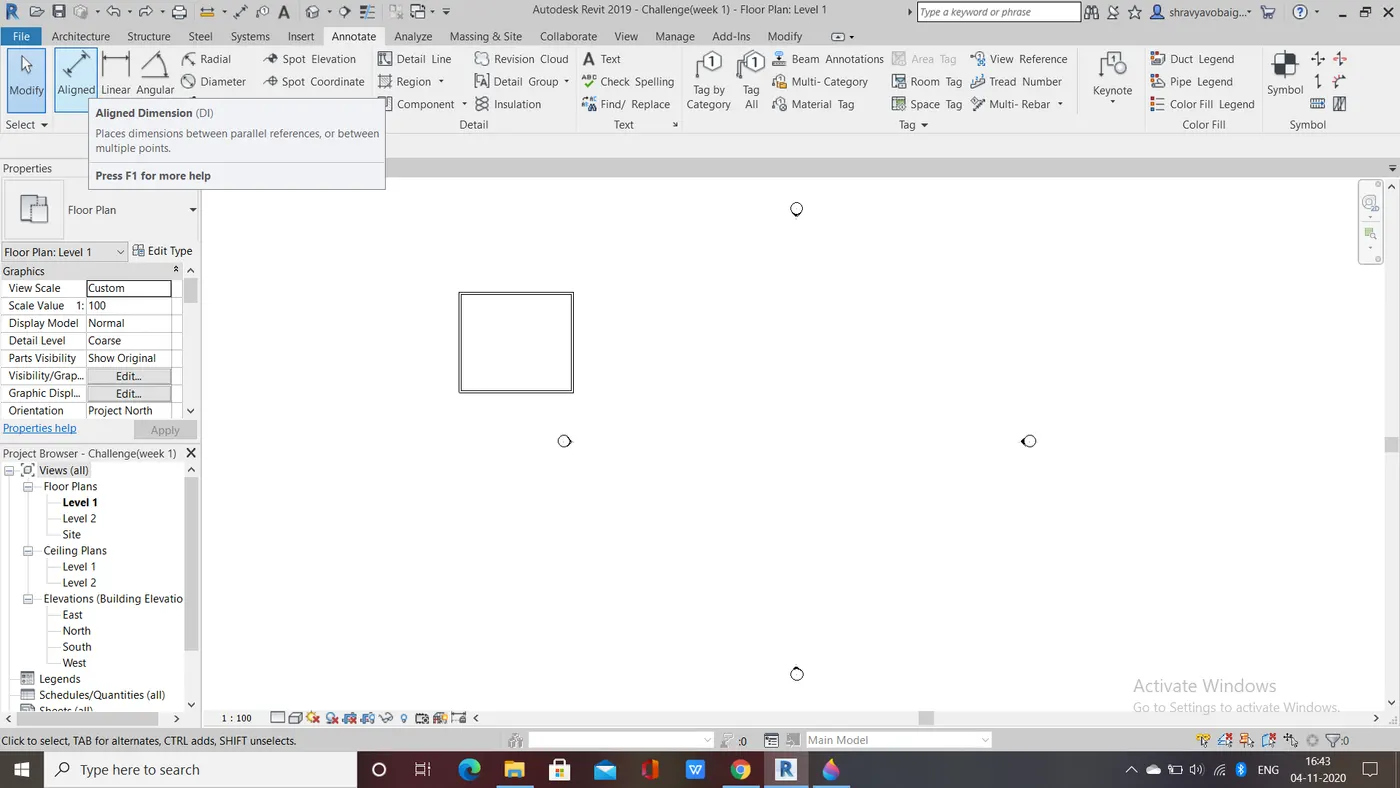
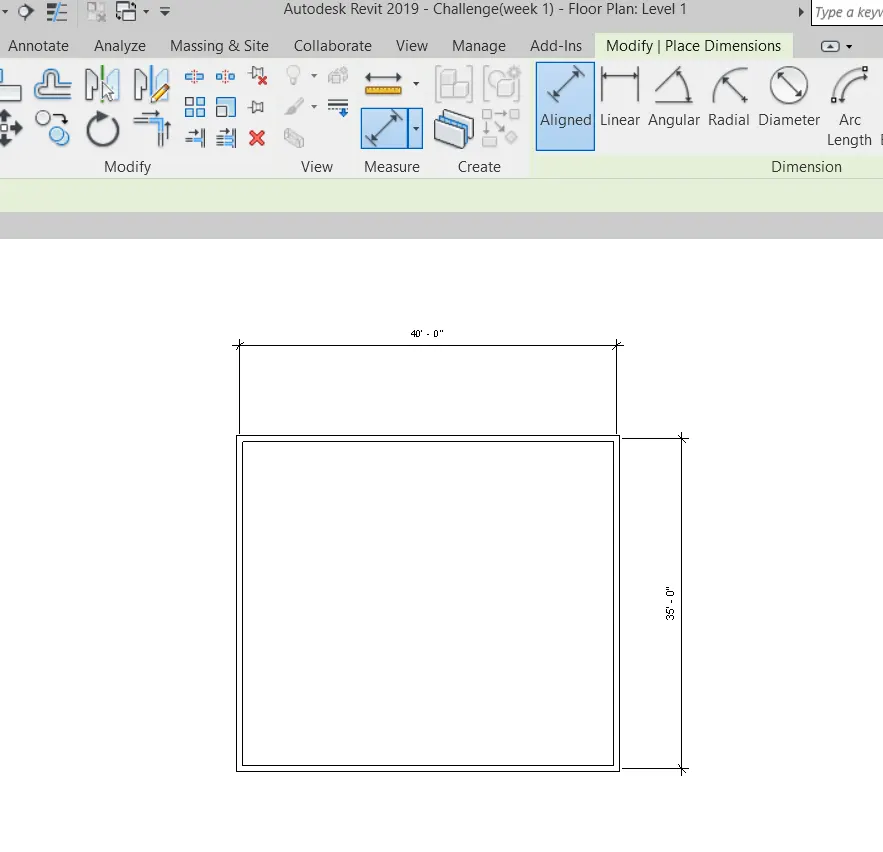
- Select the end of wall to another and click enter
RESULT :
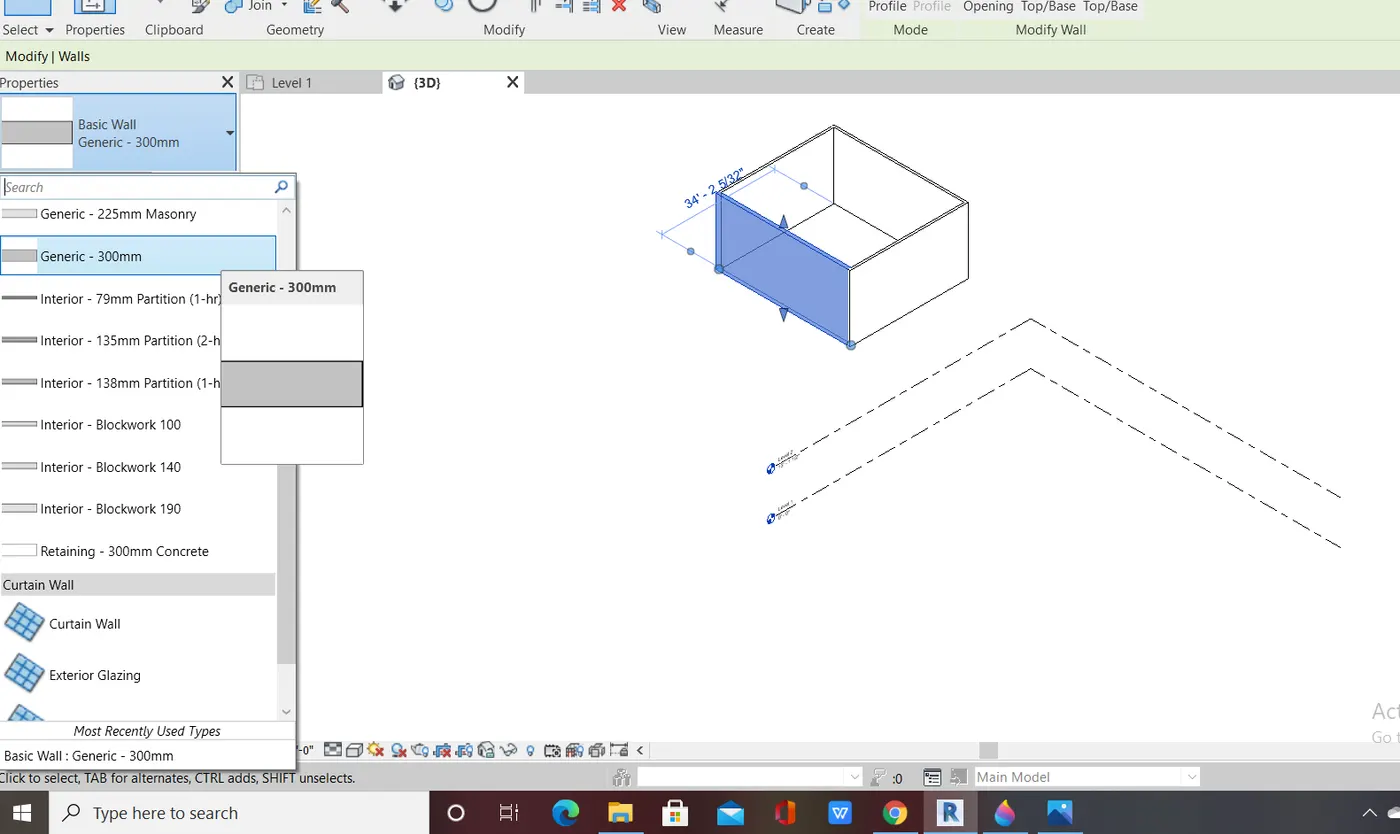
5) AIM : To switch to different wall types using properties browser
COMMANDS USED :
- Properties
PROCEDURE :
- Select the wall in the 3D view
- Properties will appear in the top ribbon bar
- Select the type of wall we want from the option
RESULT :
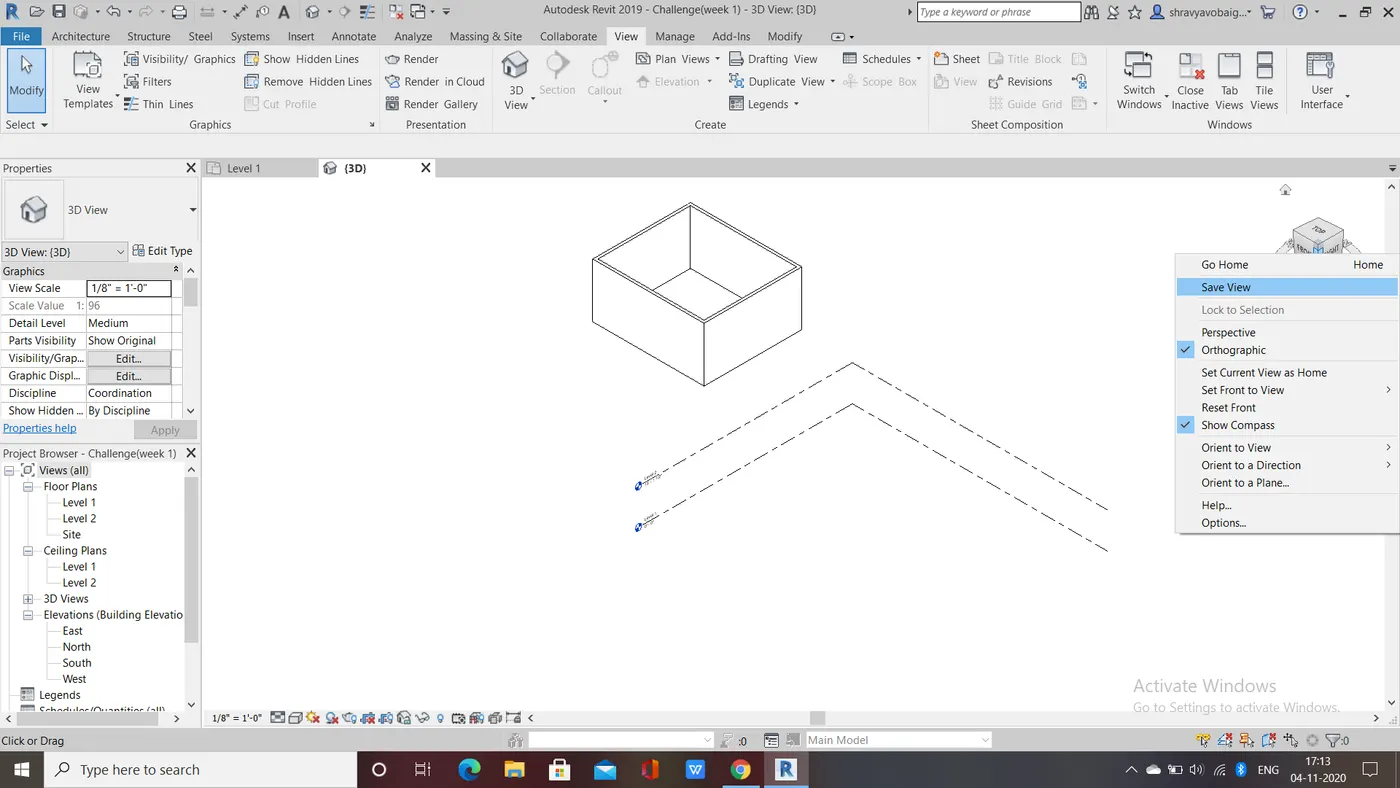
6) AIM : To create a 3D view in the view tool bar
TOOLS USED :
- 3D
- Save
- Rename command
PROCEDURE :
- Select 3D view in the view tool bar
- Right click on ucs bar and select save view
- Rename the view
RESULT :
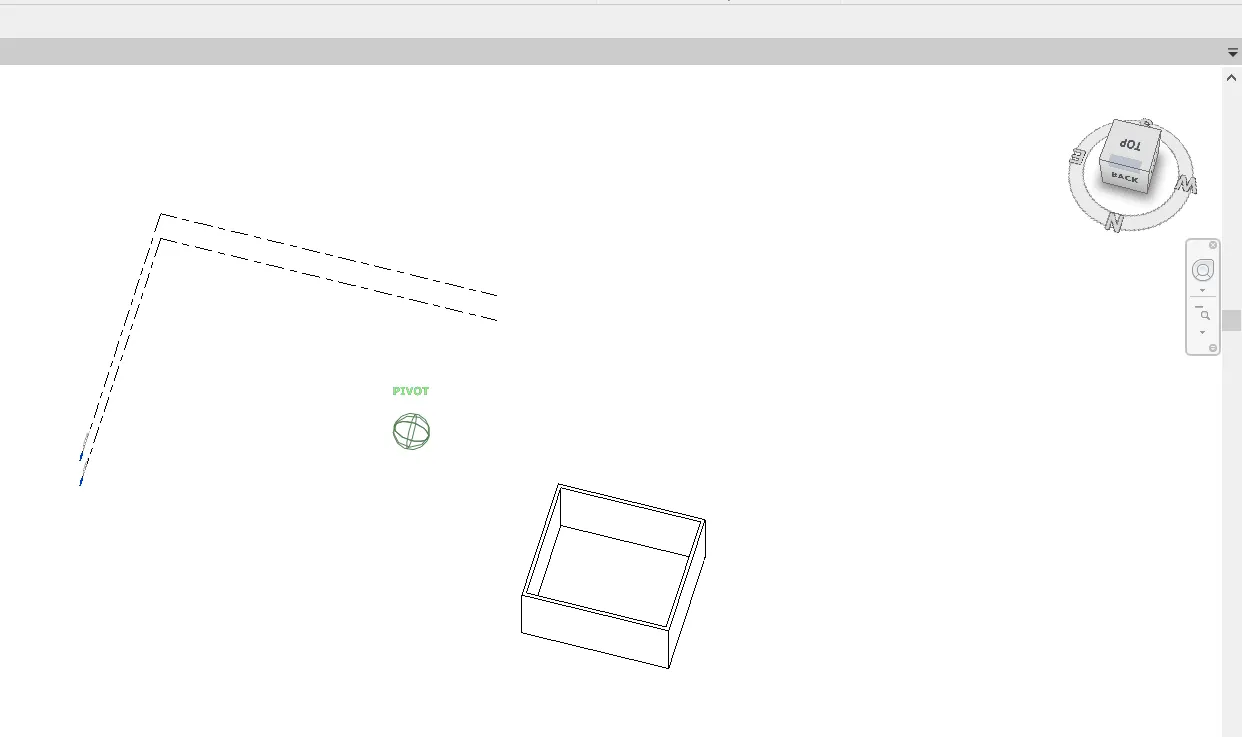
7) AIM : To navigate through the 3D model using view cube
TOOLS USED :
- View
- Navigation wheel
PROCEDURE :
- Select the 3D view
- Click on the navigation wheel
- Select the view in which direction we want to see
- Select the drag button and move the object in any direction to see the object in 360 view
- Also select pan to see in which direction we want
RESULT :
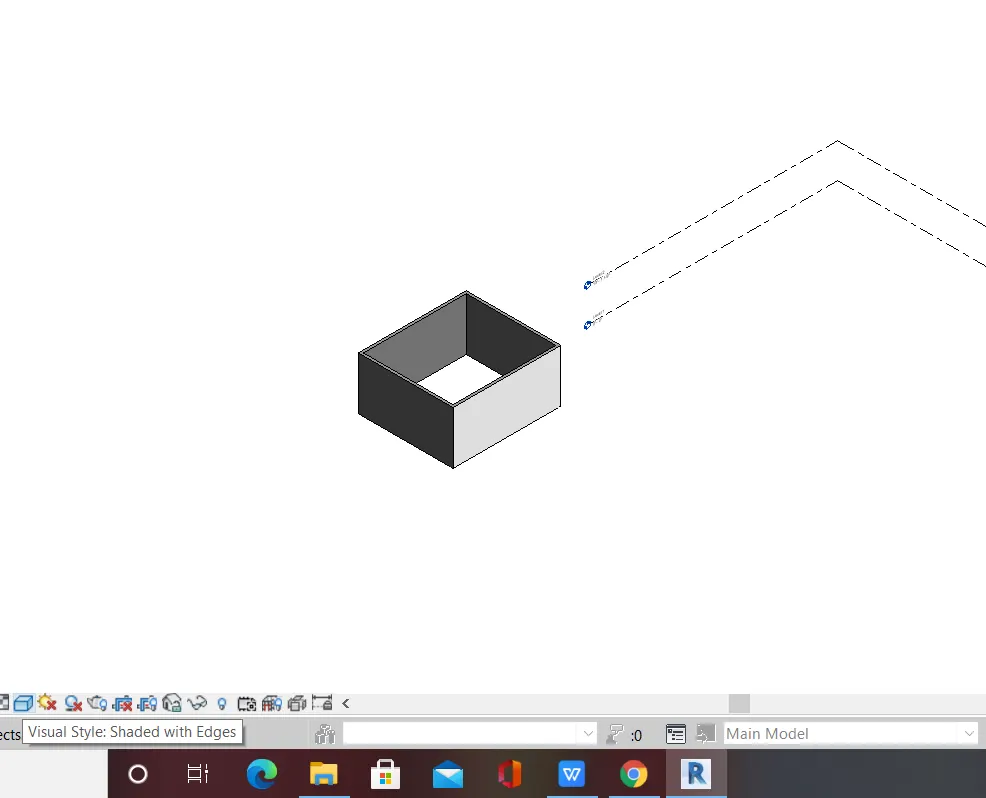
8) AIM: To use the visibility settings option to switch model to shaded, realistic, hidden lines options
TOOLS USED :
- Visibility
- Options
PROCEDURE :
- Select the 3D view option and press enter
- Click on visual style at the bottom and switch to the shade which we want
RESULT :
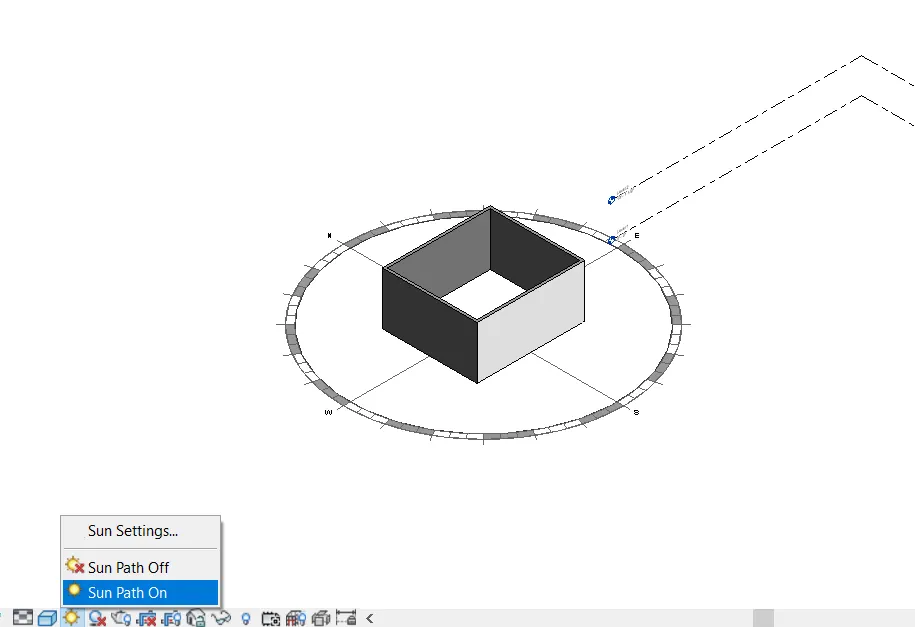
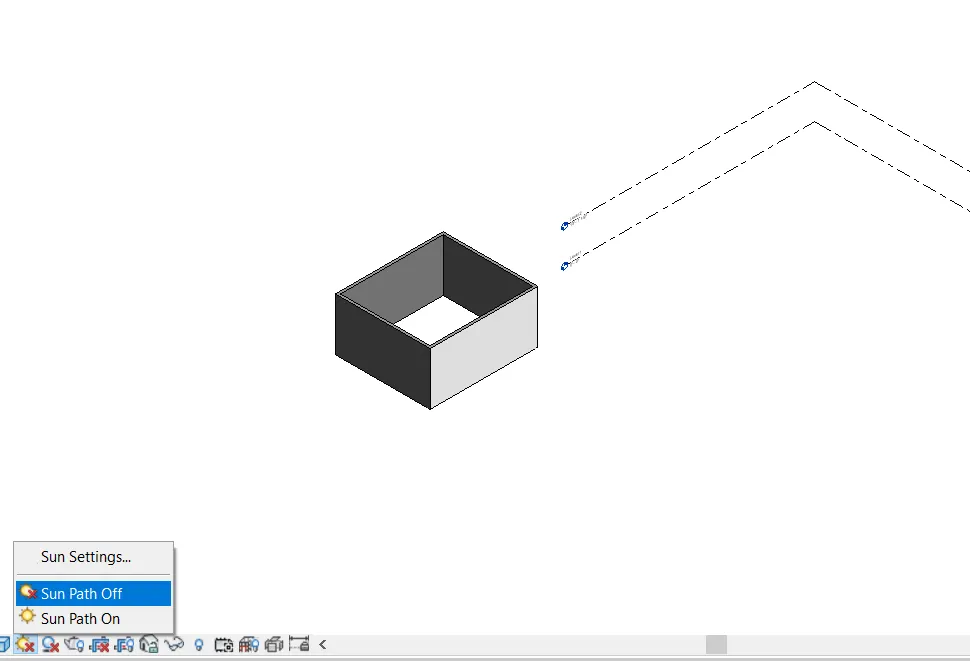
9) AIM : To turn the sunlight on and off to view shadings in the layout created
TOOLS USED :
- Sun path
PROCEDURE :
- Go to the bottom, select sun path
- Click on and off
RESULT :
10) AIM : To use the manage toolbar to enter project settings, project name and project issue date
TOOLS USED :
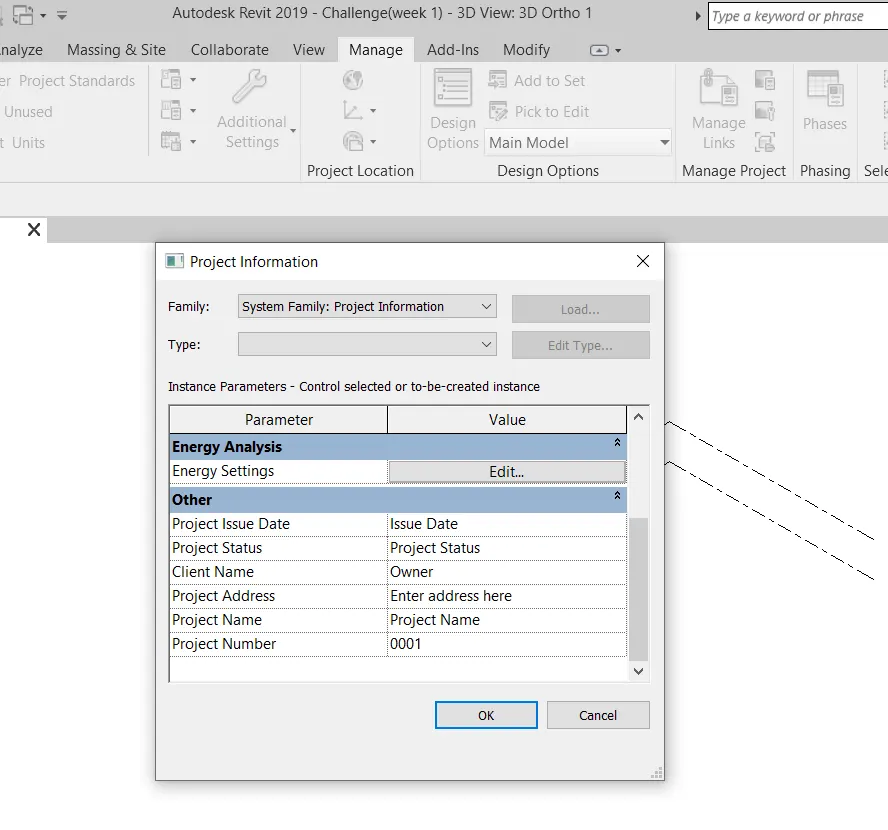
- Manage
- Project information
PROCEDURE :
- Select the manage tool
- Go to the project information bar
- Give the details of the project name and issue date etc.
RESULT :
11) Analyse toolbar is one which is used to analyse the structure with all different loads applied in the object which gives the analysis report as the result.
It also helps to detect load failure in the structure. The options in analyse tool bar:

12) Links that revit supports :
- Link Revit
- Link IFC
- Link Topography
- Link CAD
13) Collaborate tab in revit is a cloud based service which allows any revit users inside or outside the network to collaborate on the revit model.
Many users can work under the same plan or drawing which makes the work more efficient and the productivity is more as many people(electrical,mechanical etc.) can work under one project and time saves in completing the project.