Week 3 Challenge
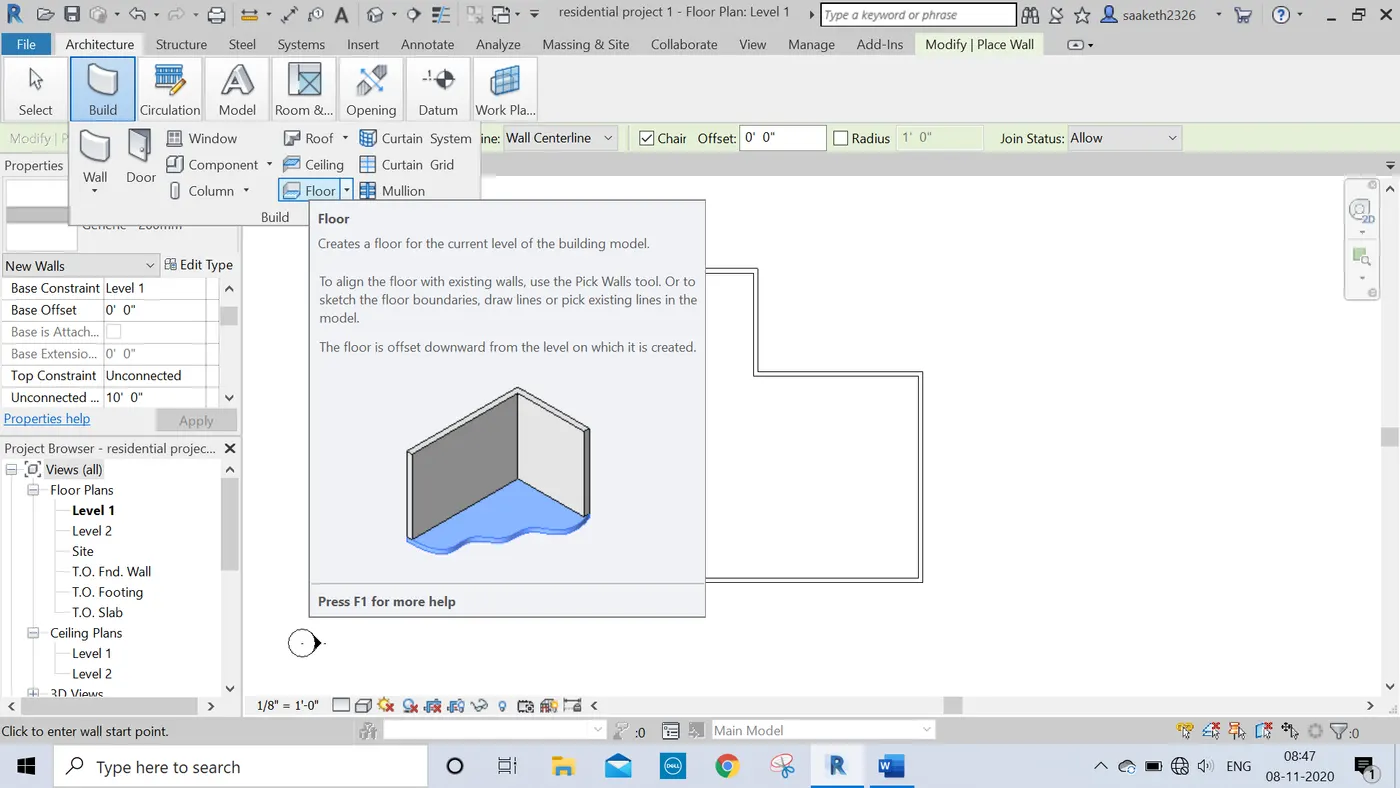
- AIM: to create a floor plan with the help of floor tool and to select material and thickness with the help of property browser. Also to align floor plan with grids.
TOOLS REQUIRED:
- Archicture tab
- Floor tool
- Structure tab
- Grids
PROCEDURE:
- Open the project file from week 2.
- It is a layout created with the walls.
- Now click on architecture tab and select floor tool.
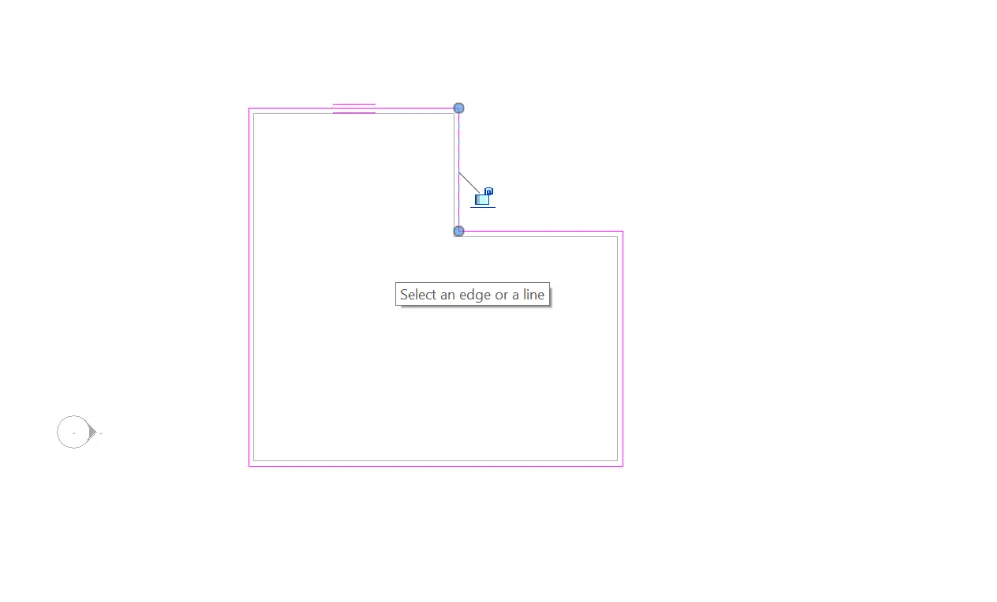
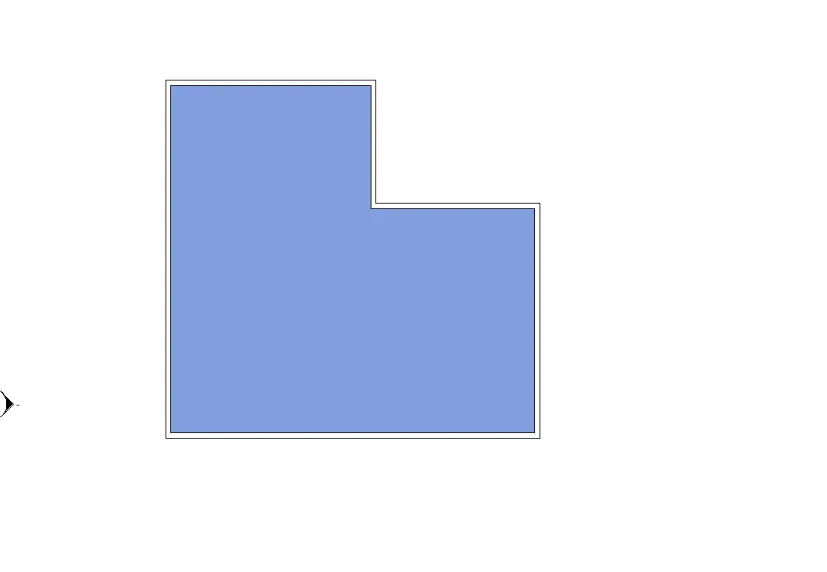
- using pick lines select complete layout and click ok to create floor.
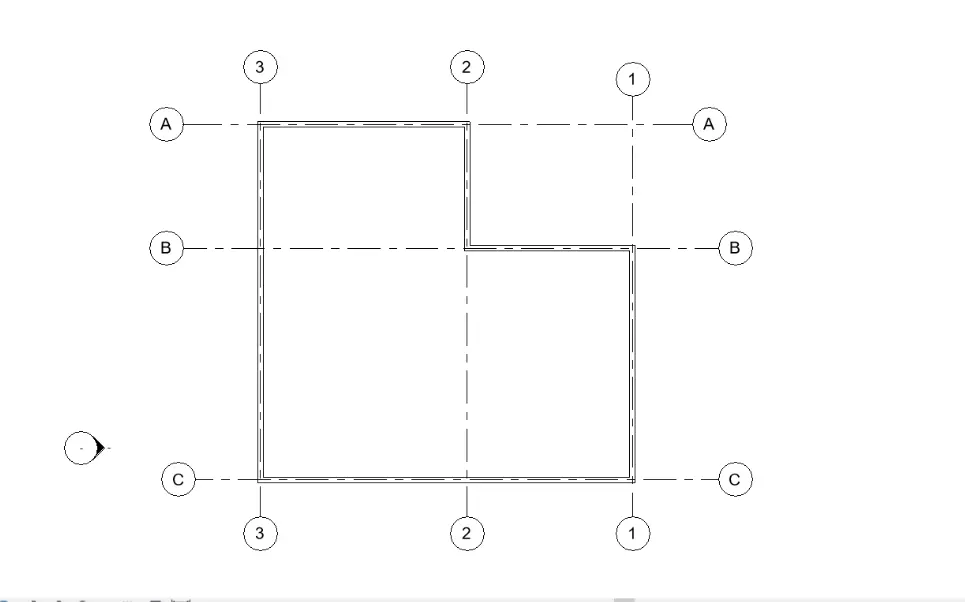
- Now with the help of grids under structure tab align the floor plan with the grids.
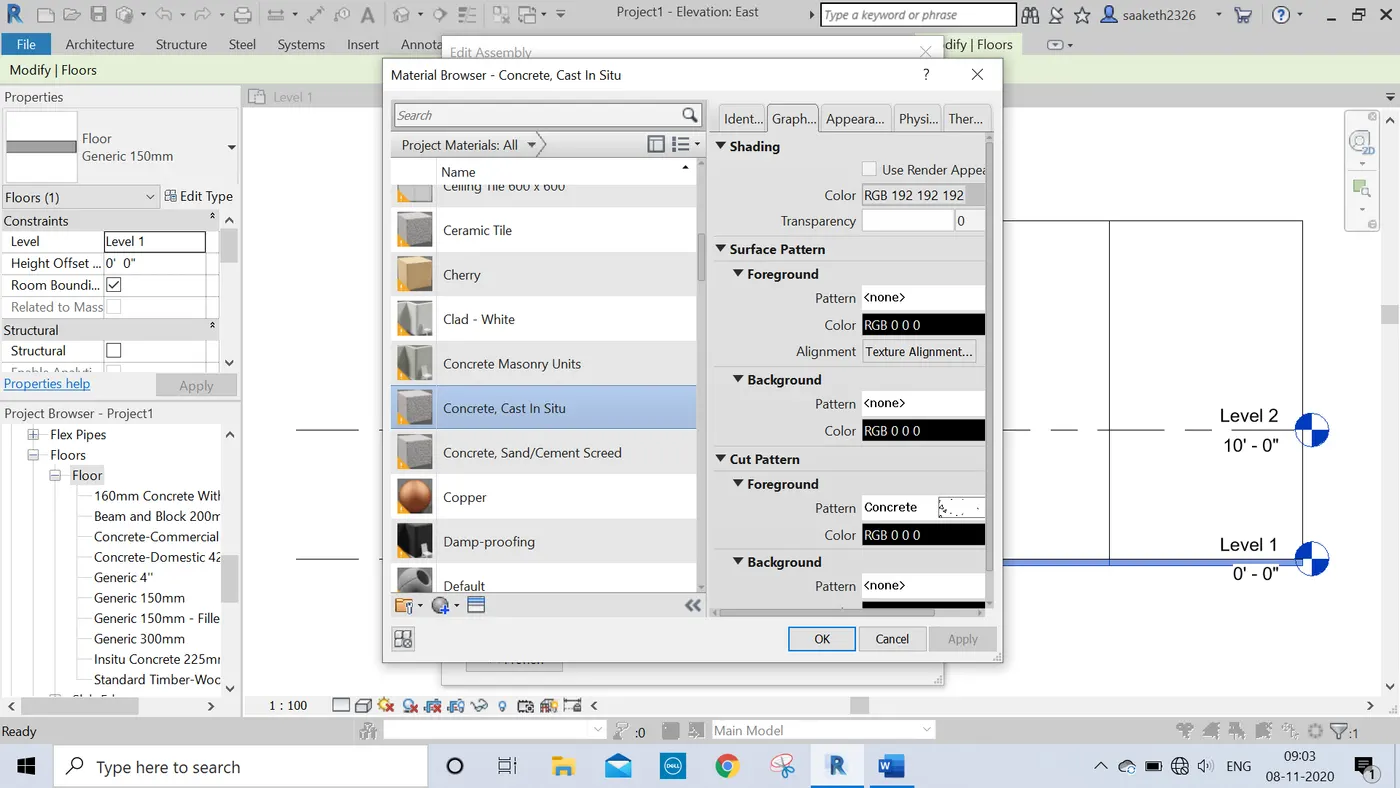
- The material and thickness of the floor can also be changed.
- Select the floor plan click on edit type under property browser.
- Click on duplicate and rename it.
- Now edit the thickness and in he category select material to be used.
RESULT:
In this way, the floor plan is created and the material and thickness is edited. Also the grids are aligned with floor plan.
- AIM: To add walls based on the floor layout a, to use pick lines to modify the boundary of walls. To check if the walls are constrained and select thickness and material for walls.
TOOLS REQUIRED:
- Architecture tab
- Wall tool
- Property browser
PROCEDURE:
- After creating layout with the help of floor, click on wall in architectural tab.
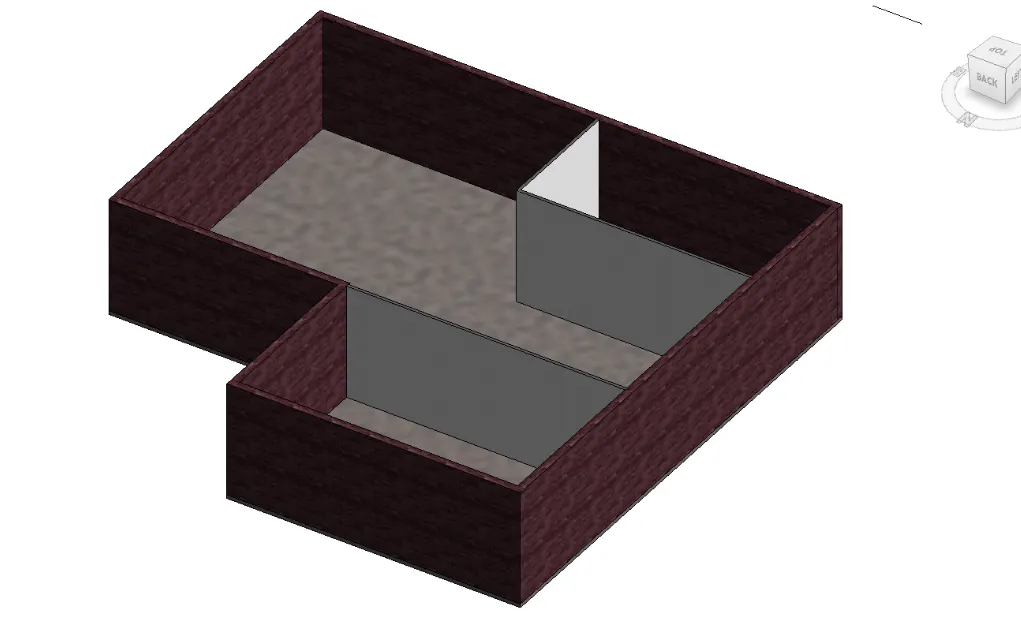
- Using pick lines select complete layout and create walls.
- Also create interior walls accordingly.
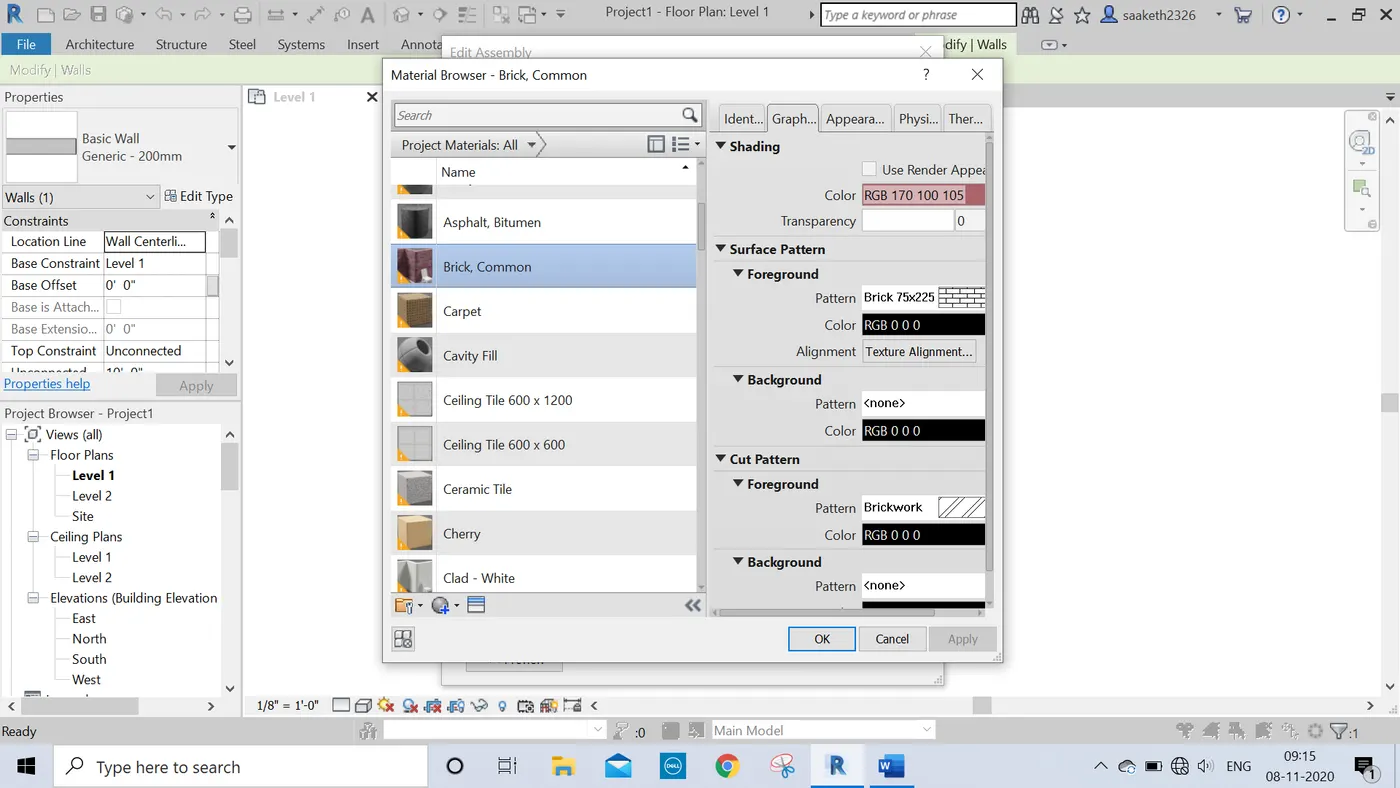
- Now click on the wall and select edit type in property browser.
- Here we can change the thickness and material of walls by creating a duplicate.
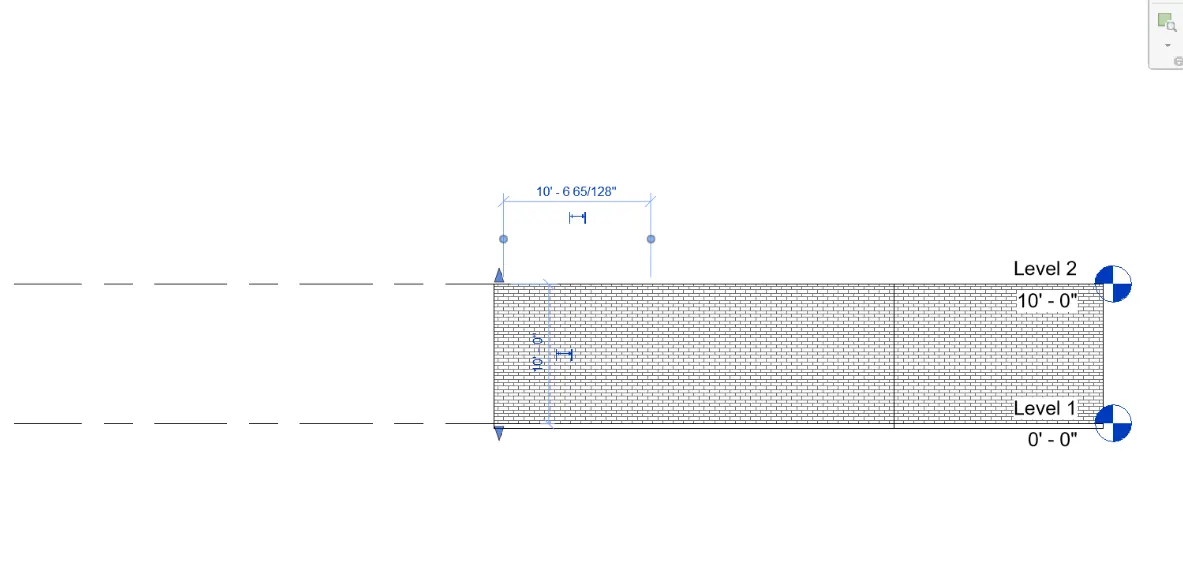
- We can also use the property browser to check if the walls are constrained at the as well as in the bottom.
- If not change the offset height.
RESULT:
We are able to add walls to layout created with floor. And also we are able to check if the walls are constrained.
a) By connecting walls with the associated levels it is easy to change the height of the walls with respect to the levels at a time. Levels can also can be renamed as first floor, roof etc.
b) In my opinion, by height is convenient for modelling walls.
3. AIM: to copy model elements modelled to ground floor level and paste it aligned to first floor level.
TOOLS REQUIRED:
- Modify tab
- Clipboard tool
- Paste option
PROCEDURE:
- Open the project file.
- Select total model and click on clipboard tool in modify tab.
- Now the model elements are copied.
- Now click on paste option.
- Select the first floor level or level 2 and click ok.
- Now another floor is cleared.
- For viewing use 3D view.
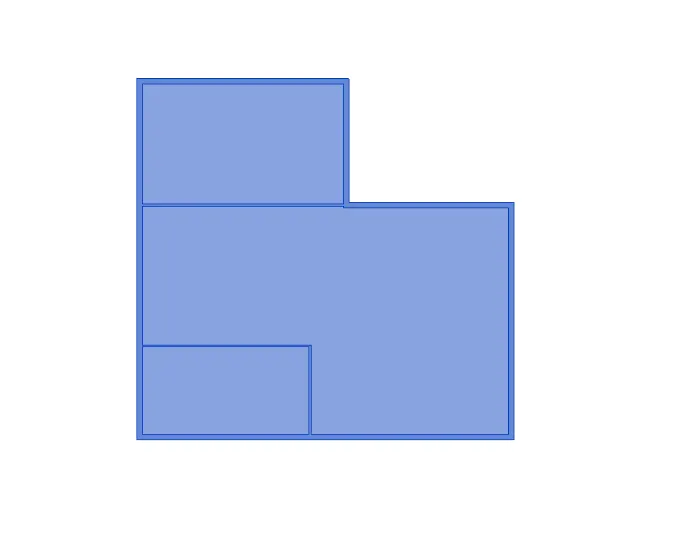
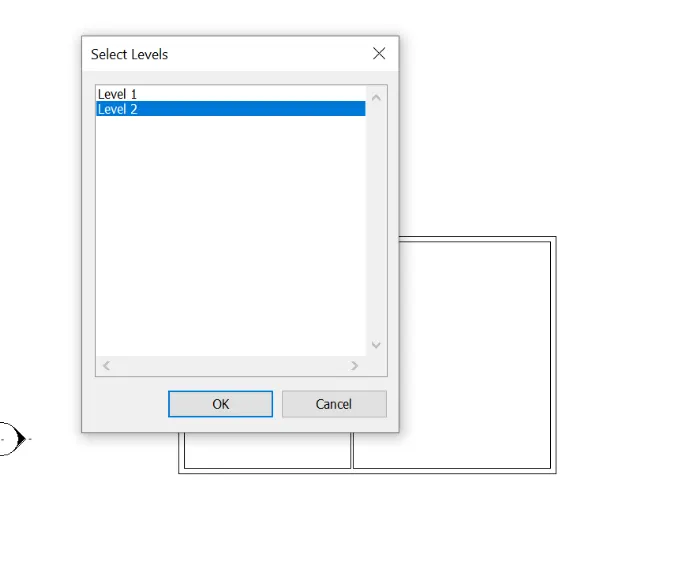
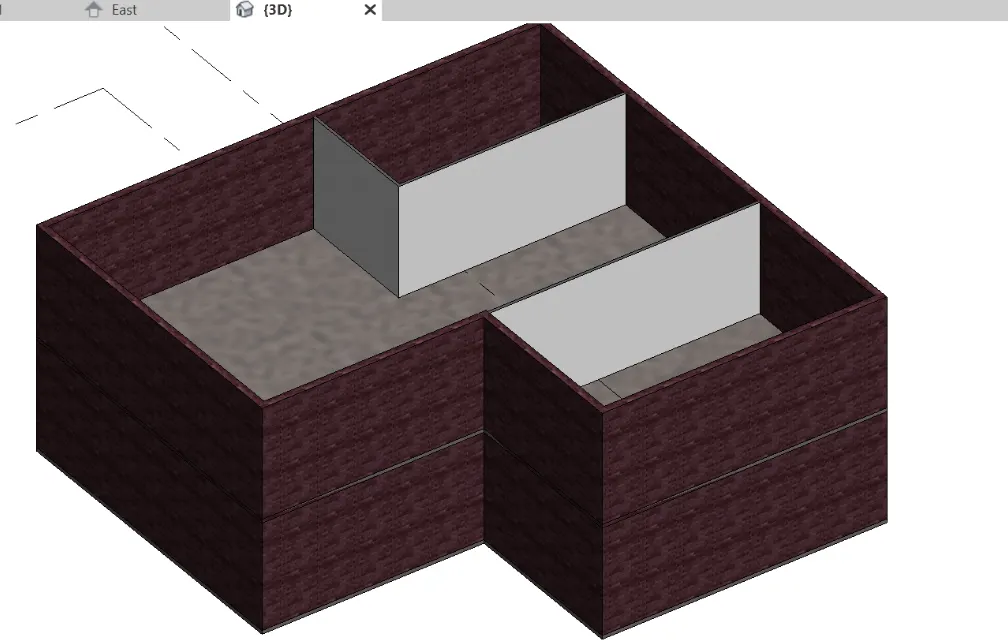
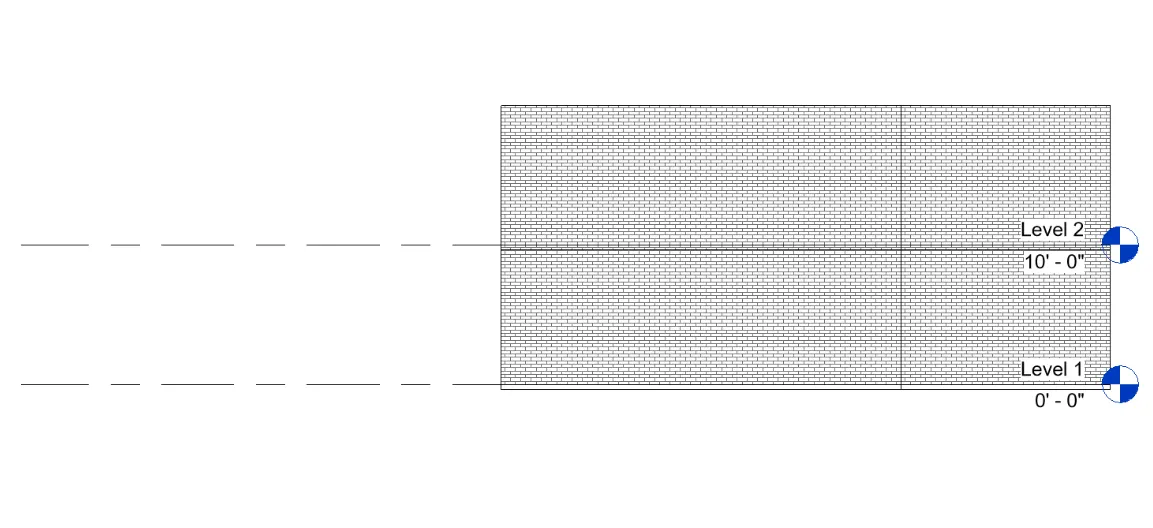
RESULT:
The model elements at ground floor level are copied and pasted to first floor level.
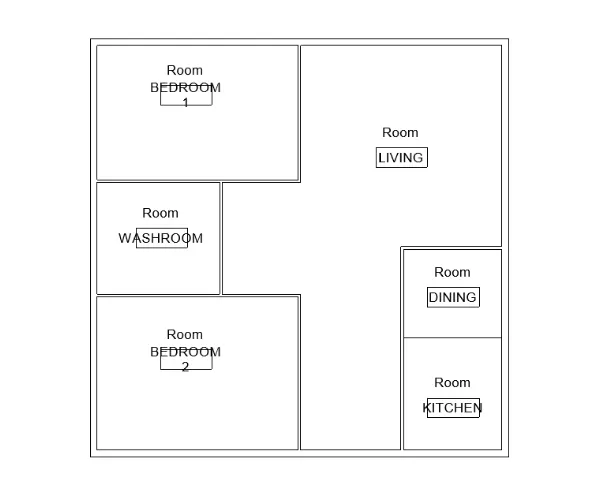
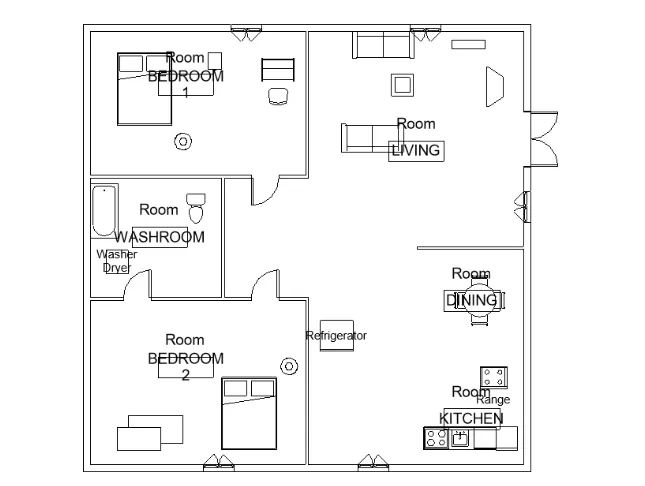
- AIM: to use interior partition walls to create rooms in residential unit. The rooms like living room, bedroom, kitchen,restroom are to be included.
TOOLS REQUIRED:
- Architecture tab
- Walls and floor.
- Interior walls
PROCEDURE:
- At first create a layout with the help of walls. And add floor to it.
- Now select the wall in architecture tab. Change the wall to interior partition wall in property browser.
- Now divide the layout with rooms.
- Now by using room tool in the architecture tab create rooms and name them accordingly.
- We can also convert units in project units under manage tab.
RESULT:
The rooms are created in residential unit by using interior partition walls. And the rooms are named accordingly.
- AIM: to add the components to be included in the residential model. These are to be placed at appropriate locations to add details to the residential model.
TOOLS REQUIRED:
- Architecture tab
- Insert tab
- Load family option
- 3D view
PROCEDURE:
- Open the residential building file.
- Select the doors in the architecture tab and place the doors to walls where ever required.
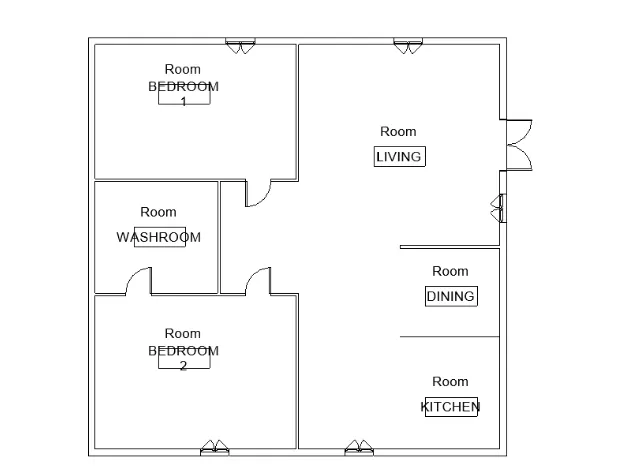
- Now select the windows in architecture tab and place them where ever required.
- Now click on insert tab and select load family.
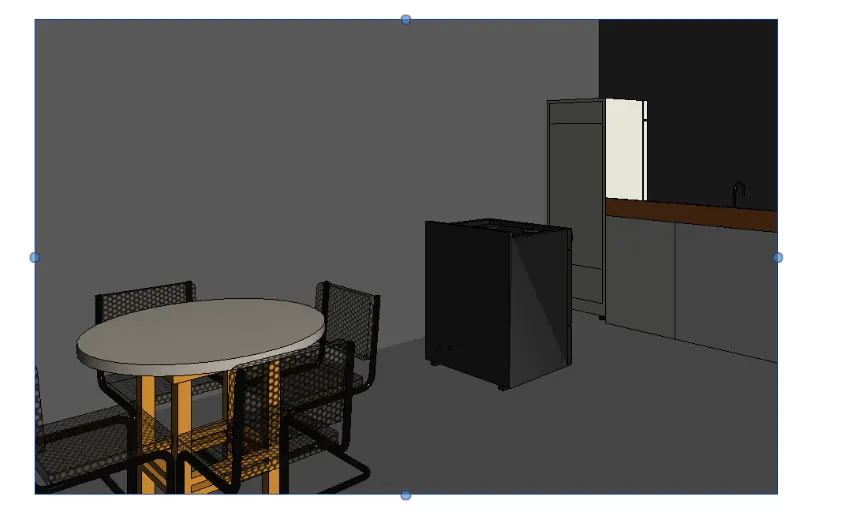
- In tables category select dining table and place it in the dining room.
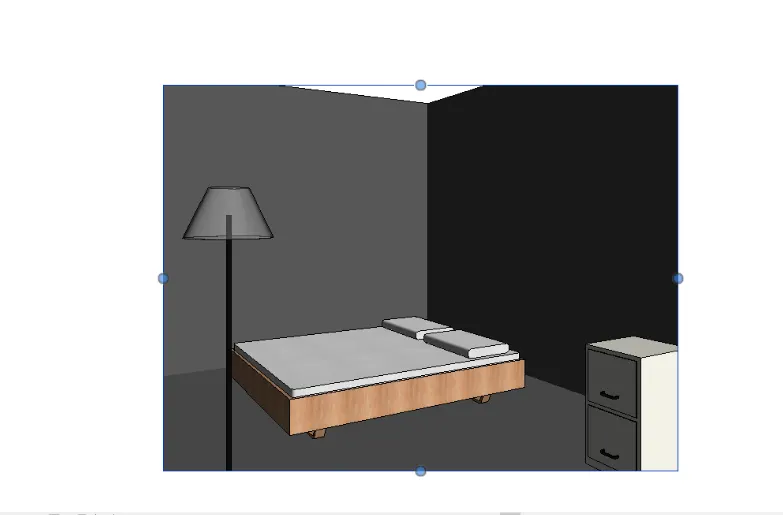
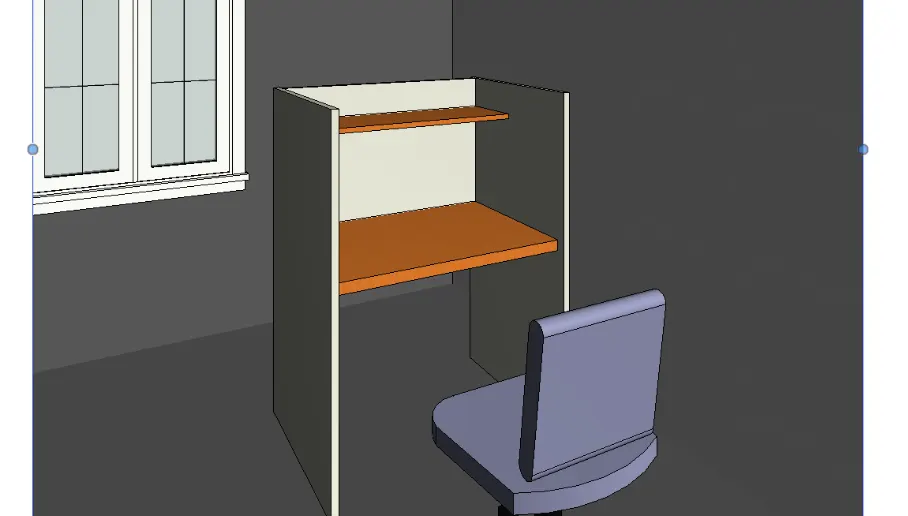
- Now in the furniture category select bed block and place them in both the bed rooms. Also select lamps , study desk and chair to place them in bedroom.
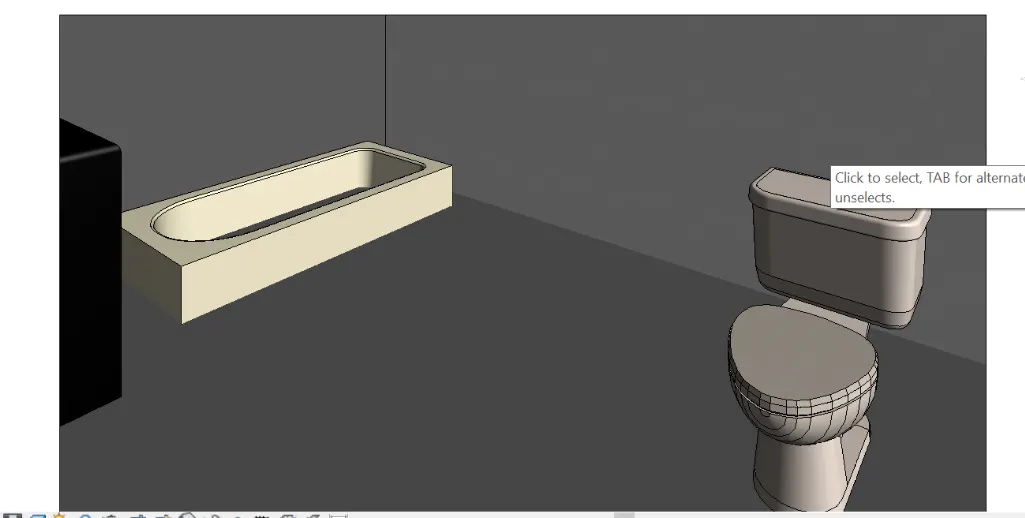
- In plumbing fixtures category select the bathtub and toilet and place them in the rest room.
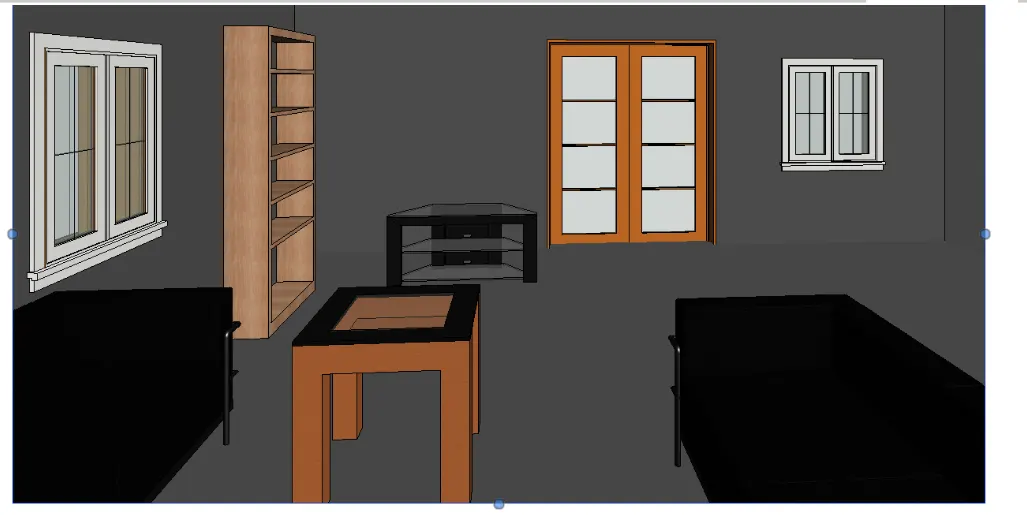
- In living room add furniture like sofas, table, desk and tv desk.
- In kitchen add include the countertops, gas stove cabin and shelves for utensils.
- Also add washing machine and shelves to store clothes in storage room or near rest room.
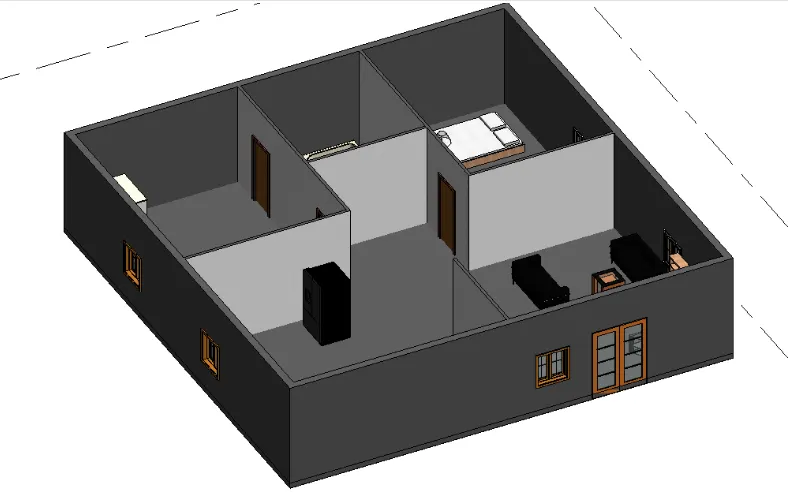
RESULT:
All the components that are available in library are placed in appropriate locations to add details to the residential model.