Week 3 Challenge
1st Answer:
AIM:To create the floorplan for the given layout and allign the floorplan with grids.
TOOLS REQUIRED:Architecture,view,elevation,grids,annotate,align.
PROCEDURE:
a)open the saved layout.
b)in the project browser,we can see elevations,click on one elevation.we have to select the whole layout to level2 by selecting top constraint as upto level2.
c)now,each and every view is similar and the layout is in the suitable dimensions.
d)to create a floor,select floor in the architecture tool.after clicking on it,we are directed to wall boundary in which we can select pick lines to pick the boundary walls.
e)select the exterior side of walls and click on load to view the floor.
f)now click on 3dview to view,we can see the floor there.
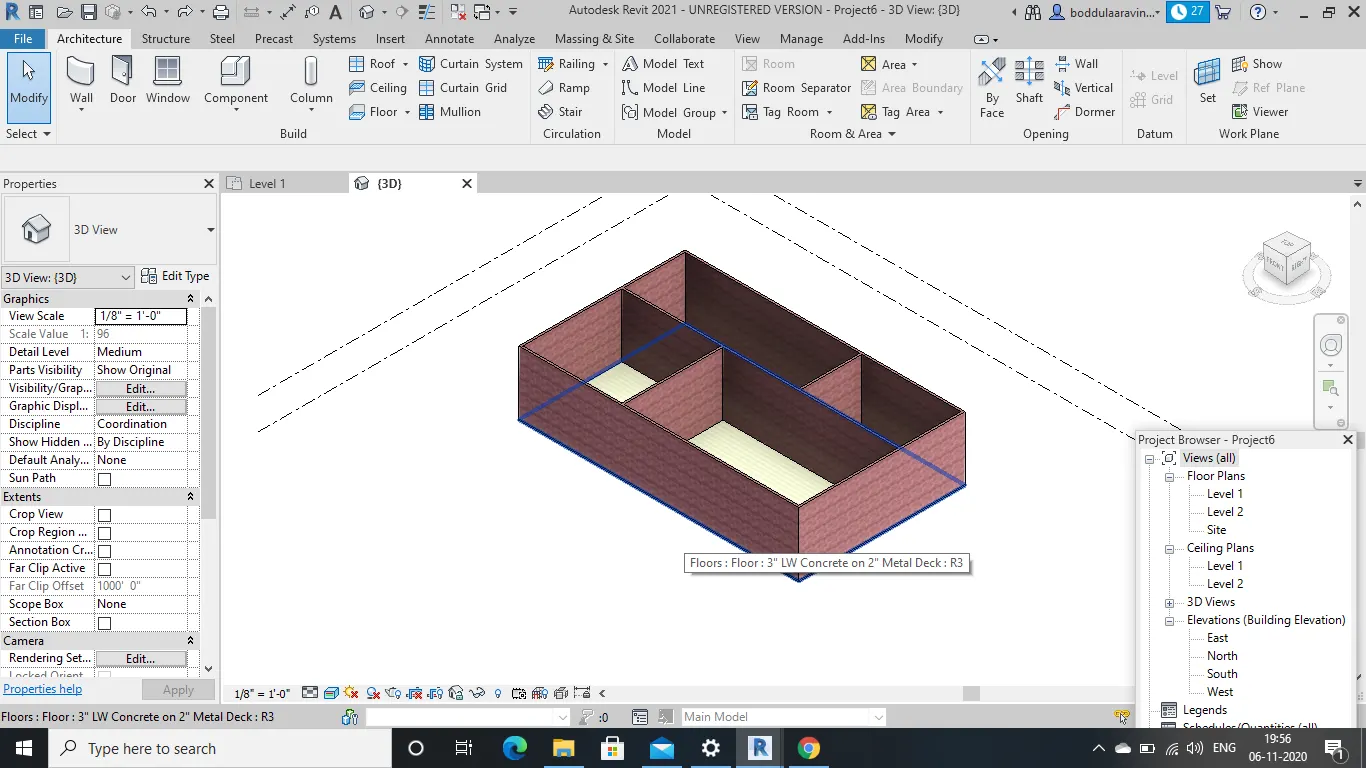
g)to change the material and thickness of floor,click on the floor in the layout,we can see properties in which we have to select edittype to edit,select structure to view different materials.
h)select the required floor material and click on apply.the floor layout is created now.
i) now in architecture tool,select grids option in the right side.
j)we have to select that and draw the grid lines by selecting starting point and ending point of the walls.
k)we have to follow the standard procedure i.e,from top to bottom the gridlines should be named as A,B,C,D,E.... and frpm right to left,the grid lines should be named as 1,2,3,4,5,6....
l)at last,we have to annotate the layout by using align option.
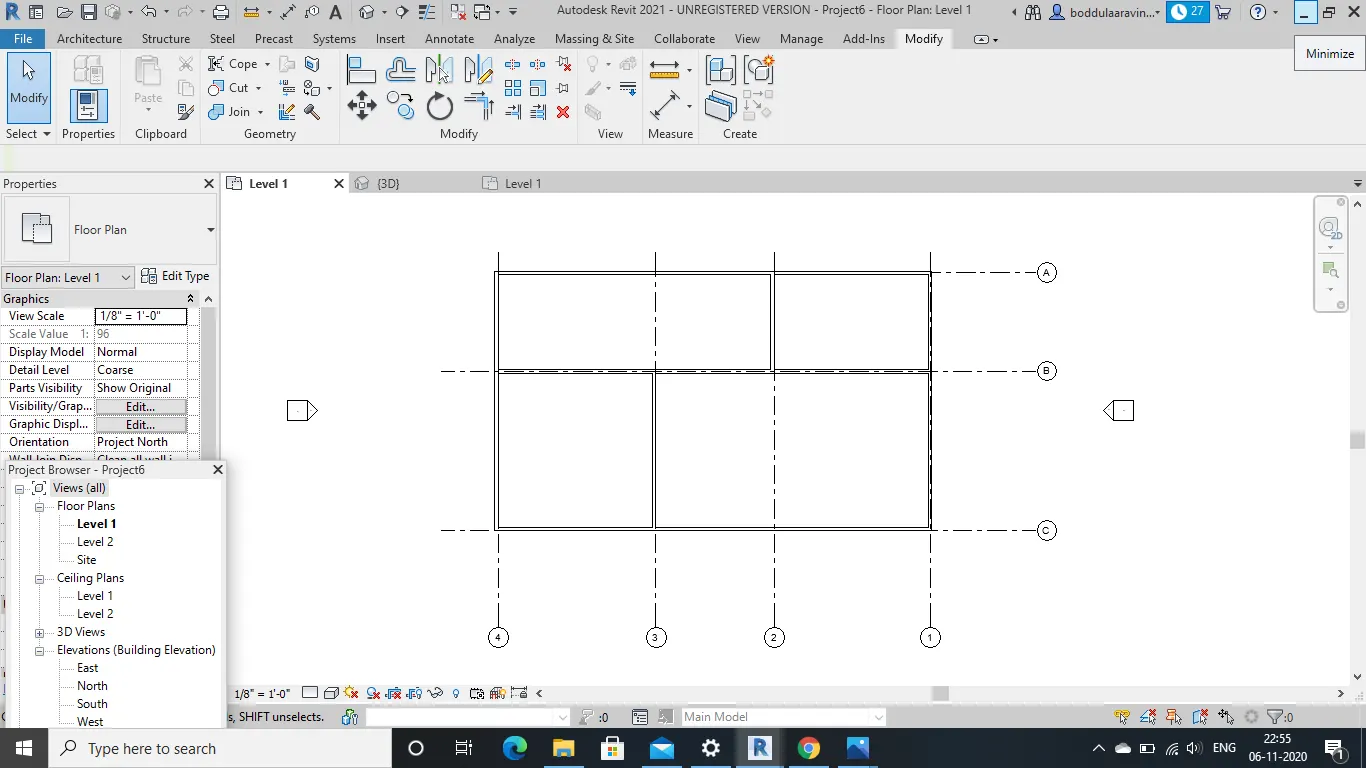
RESULT:the floorplan is created for the layout and floorplan is aligned with grids succesfully.
2nd Answer:
AIM:To modify the boundary of walls,changing the materials and dimensions.
TOOLS REQUIRED:Architecture,Floor,3d view,properties.
PROCEDURE:
a)create a layout using wall icon in architecture tool.
b)now to add floor,click on floor icon in architecture tool.then,we can see the wall boundary in tool bar which was directed to modify.
c)select pick lines in the boundary line and select all the boundary exterior lines of the layout.
d)then we can see the floor clearly in 3d realistic view.
e)now to differentiate walls with floors,click on walls we can see properties of walls.
f)click on editype and select edit ,we are directed to different types of structure and click ok.now we can see wall and floor clearly.
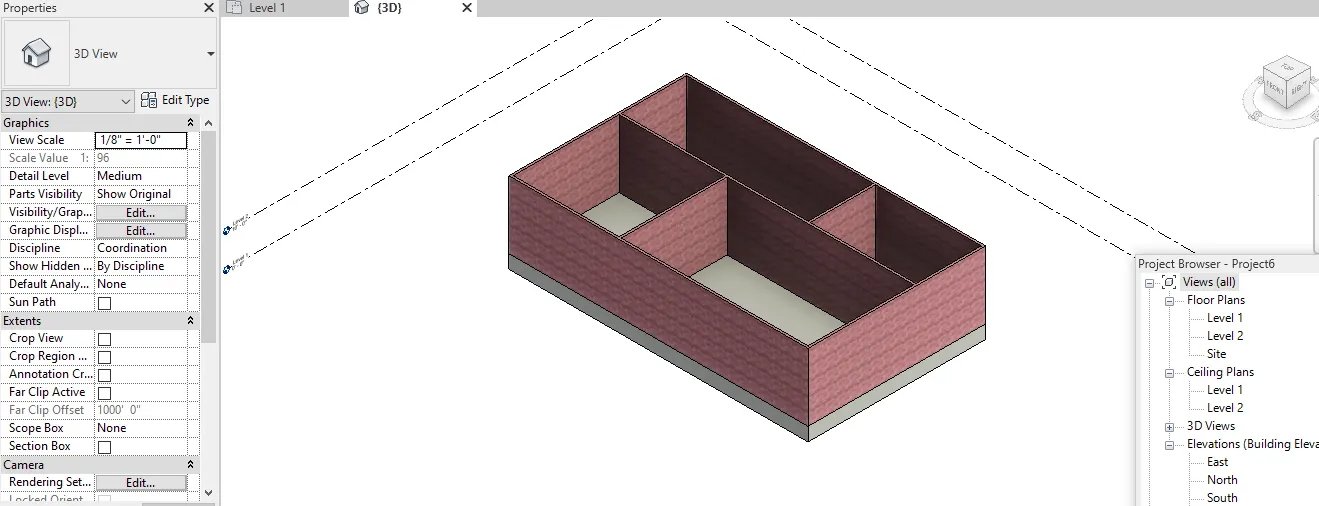
RESULT:differentiation of walls and floors is clearly done and walls has been changed to specific material and dimensions.
A)it is beneficial for connecting walls with associated levels rather than unconnected.because,when we view a 3dview after creating layout,walls are with more height which is not suitable/required.when we click on the wall and select upto certain level in constraints,it will be in the required size.by selecting all the walls and changing the constraints to a level gives required design.hence it is beneficial for connecting walls with associated levels.
B)Height is convenient for modelling walls.because visibility will be clear.
3rd Answer:
AIM:To copy the model elements from groundfloor to first floor.
TOOLS REQUIRED:Elevation,clipboard,paste,project browser.
PROCEDURE:
a)create an architectural template and design a layout having atleast 4rooms.
b)for creating rooms,use wall icon in architectural template with required wall size.
c)after creating the layout,check the elevation view.where we can be able to see the level 1,level 2.
d)to create first floor,first we have to name the level 1 as ground floor,level 2 as first floor.
e)to design the first floor,first we have to create one more level.we can find level icon in architectural template in rightmost corner and click on it and create above level 2 with same height and rename it as roof.
f)now one more level is designed,to copy the same model from groundfloor to first floor,first select the groundfloor layout.
g)we have the clipboard icon where we can copy it .click on it.
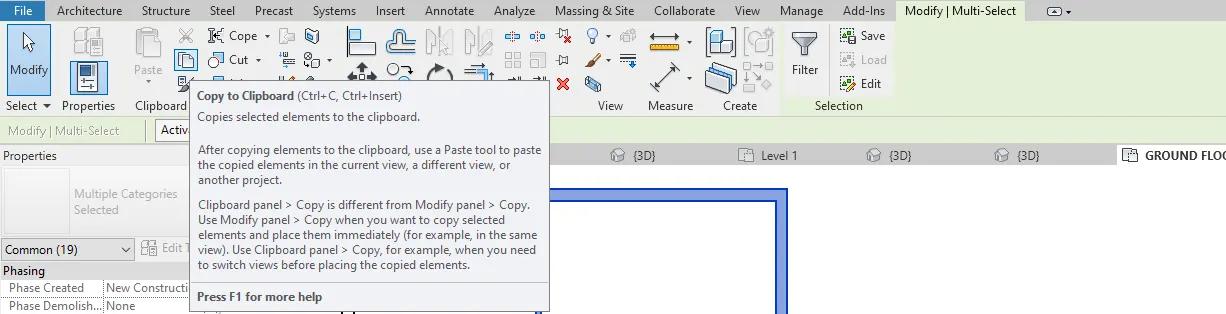
h)the select firstfloor in the project browser and click on paste,we can see option like aligned the levels.click on it.you are asked to select where to copy,click on roof.
i)now,you can see the model in groundfloor is copied to first floor.
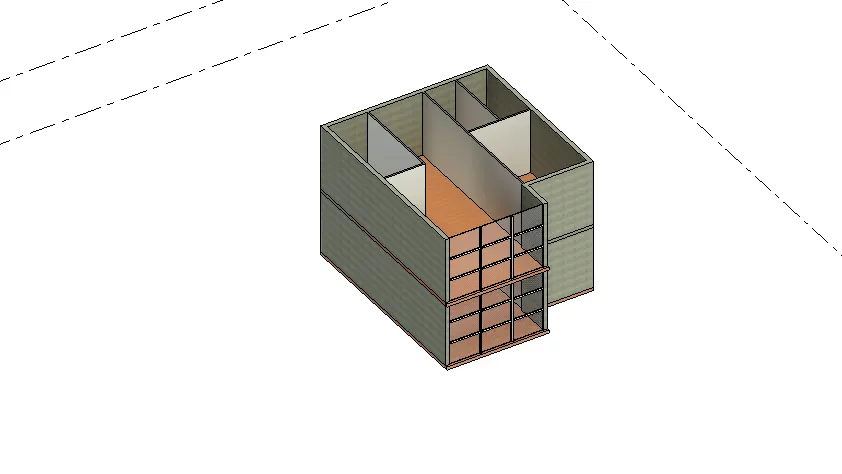
RESULT:copying of the model of groundfloor to firstfloor has been done successfully.
4th Answer:
AIM:To create the seperate rooms within the residential unit.
TOOLS REQUIRED:Architecture,wall,Room,linear.
PROCEDURE:
a)create a new architectural template.
b)design a layout having bedroom,restroom,kitchen,dining room,livingroom etc.
c)design doors to the rooms using door icon in architecture tool.
d)now to make it room,click on room in the architecture template.then drag it to all the rooms.
e)now to name the rooms,click on the box provided with the room and rename it to your convenience.
f)to measure the dimensions of rooms,click linear icon in annotate tool and measure all the rooms dimensions.
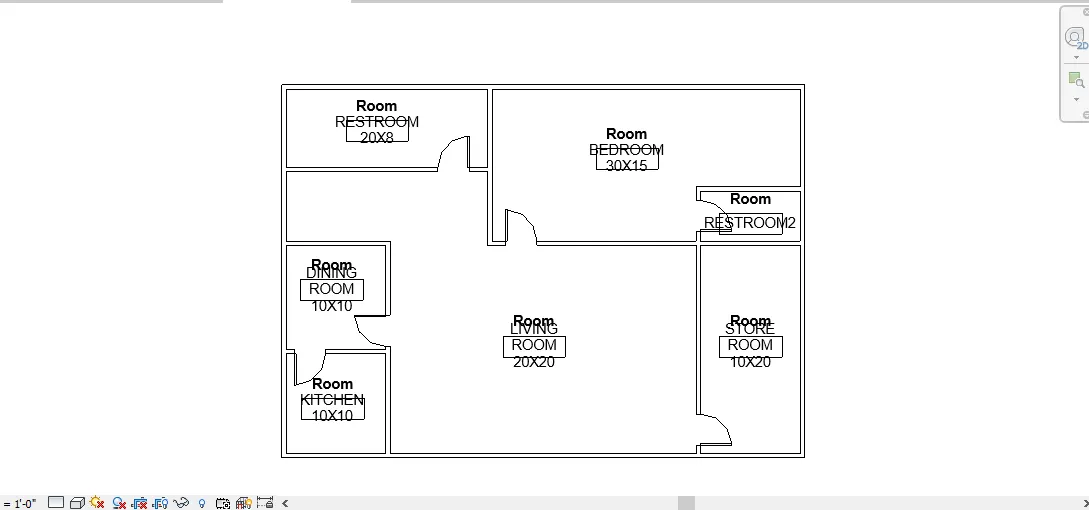
RESULT:we have created seperate rooms within the residential unit with our required dimensions.
5th Answer:
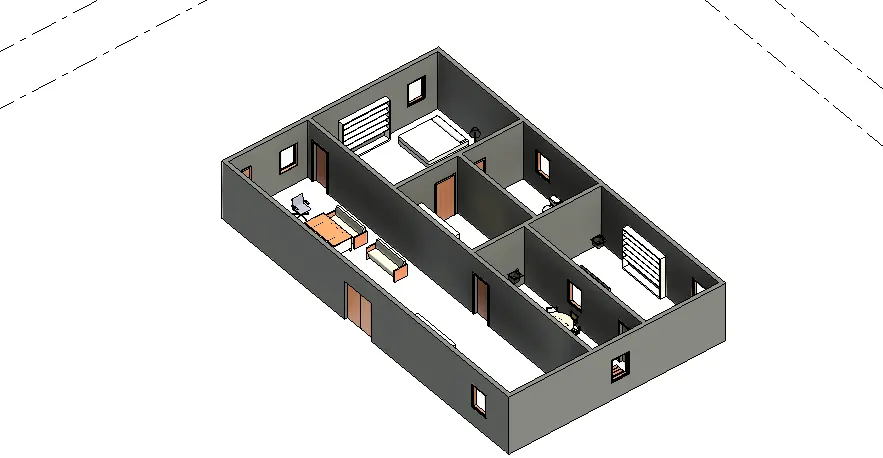
AIM:Placing these following components in appropriate locations to add details to the residential model:
a. Place Doors and windows in the wall at appropriate locations
b. The Living Room must include furniture set, couch table and TV desk and shelf cabinets
c. The Dining Room must include a table and chairs serving the purpose of eating
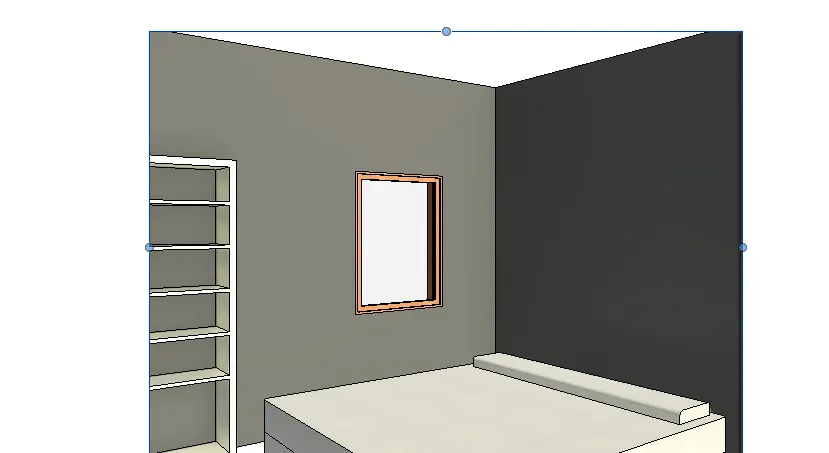
d. Bed Room must include a bed set, shelf, lighting and individual study desk and chair
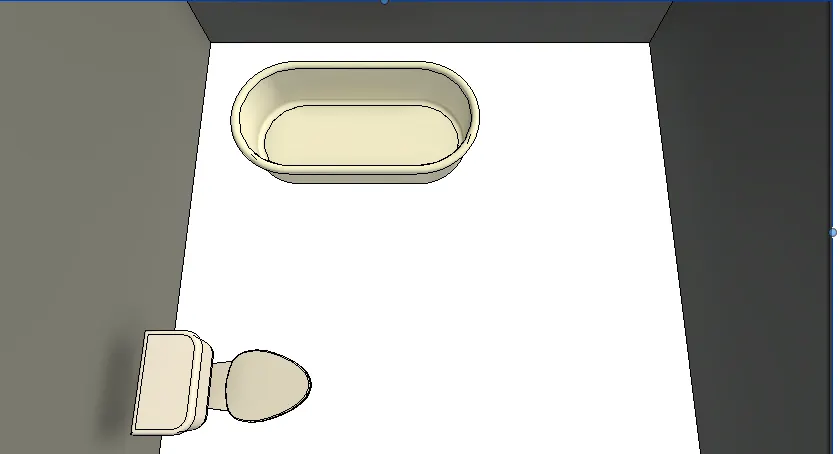
e. Rest room should include bath tub and plumbing fixtures discussed in class
f. Kitchen should include countertops, gas stove cabinet and shelves to store food items
g. The wash/storage room can include washing machines and shelves to store clothes
TOOLS REQUIRED:Load family,component,project browser,rotate.
PROCEDURE:
a)create a layout having a bedroom,restroom,kitchen,diningroom,living room and wash/storage room.
b)check 3dview to see whether they all are in same level and if not,set it to same levels.
c)now to add the furniture set,couch table and tv desk and self cabinets in living room,select insert tool and click on load family in it.
d)you will be directed to the my computer where all the contents are present.to have desk and tables,click on furniture and select the tables and select required lengths and click ok.
e)to add the tables,check in project browser and select the required dimensions and drag into the required living room.similarly,repeat with desk,shelf cabinets and couch table.
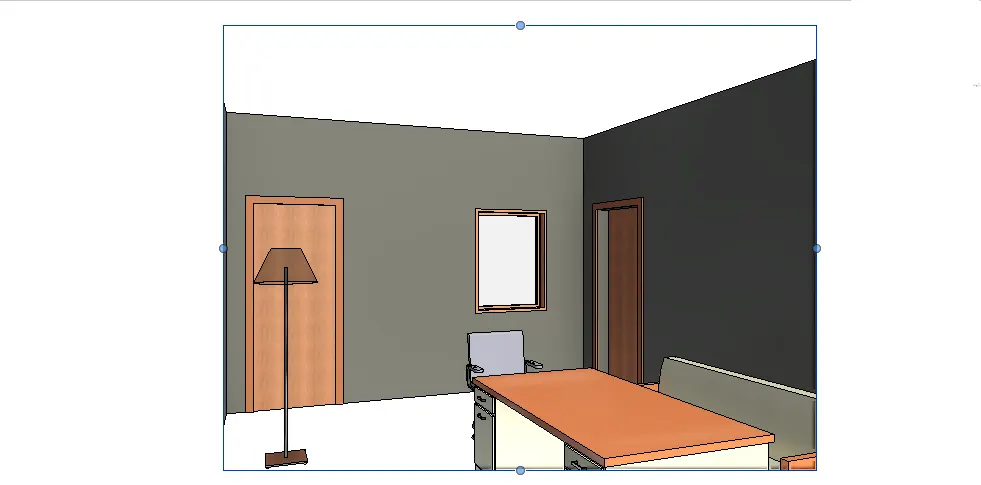
f)to add table and chairs,select load family from insert and the load chairs and tables from the furniture.
g)search in the project browser and select the required dimensions and drag into the dining room.
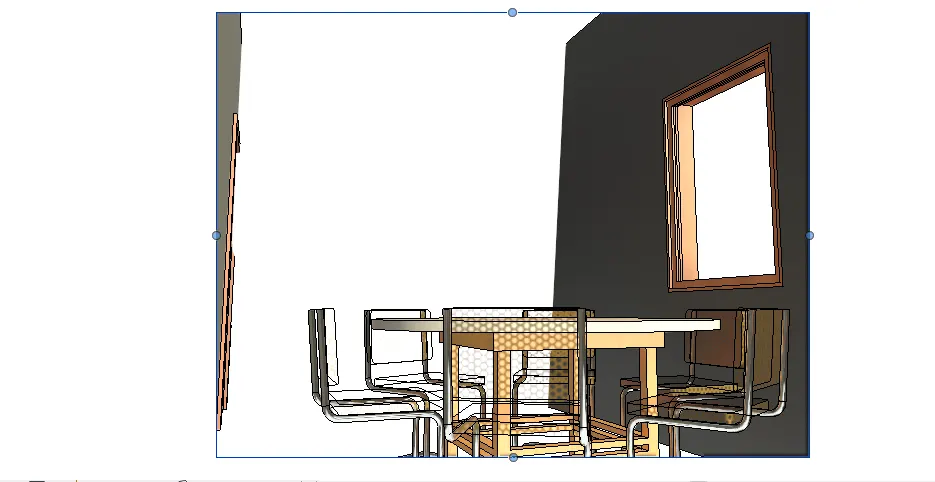
h)to add bedset,study desk and chair,select from the furniture and for lighting,select from lighting.
i)again search in the project browser and drag into the bedroom.
j)to add bathtubs and plumbing fixtures,select from plumbing after clicking on load family.load the required family and then drag into the restroom.
k)to add countertops,gas stove cabinet and shelves,select from the english imperial library by clicking load family.
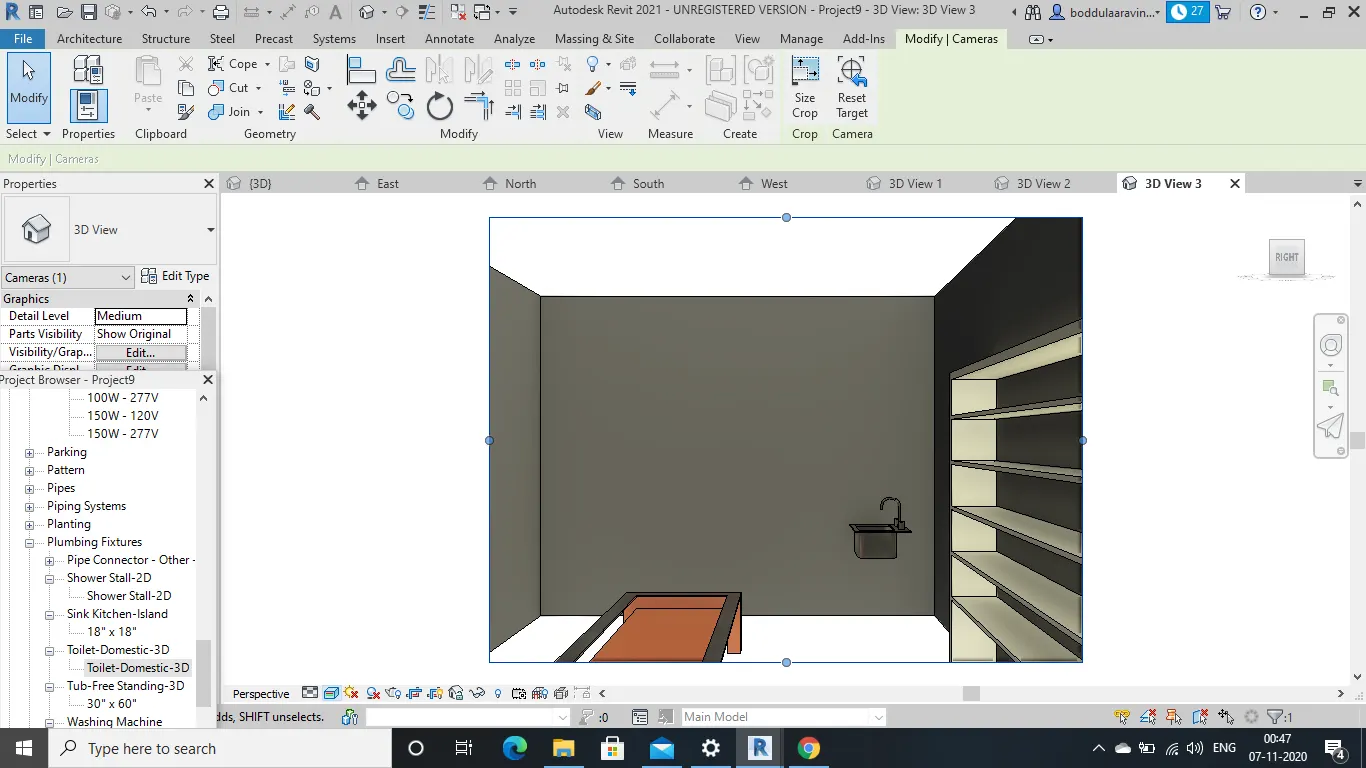
l)to add washing machine and shelves in storage room,select from the plumbing and search in project browser to place in storage room.
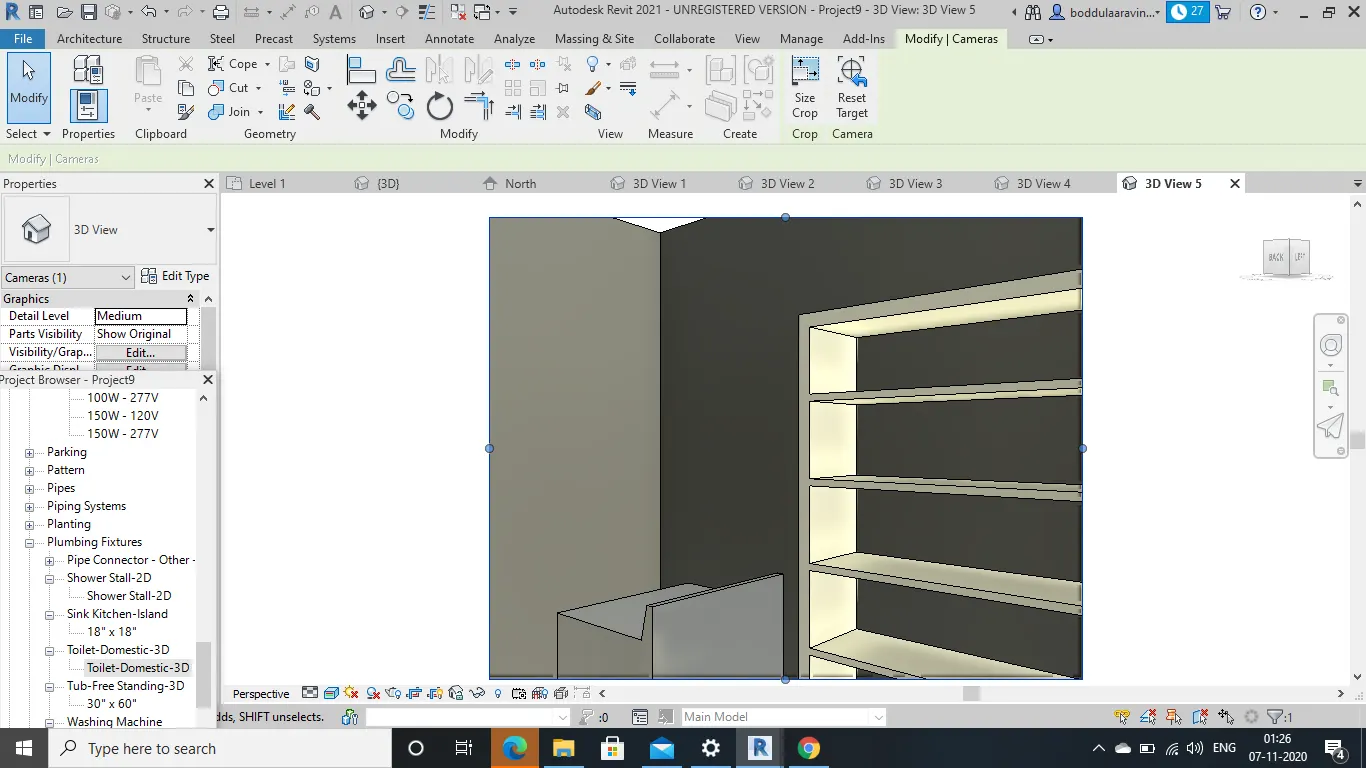
RESULT:the given components are successfully added to the respective positions in the residential unit.