Week 3 Challenge
1A) AIM: flooring the layout, varying floor type if the floor.
TOOLS/COMMANDS REQUIRED:
floor
file
grid
properties
view
3D view
PROCEDURE:
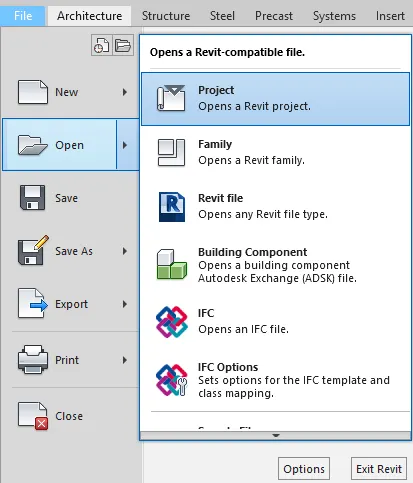
- open the saved file by clicking the open tab after clicking the file menu.
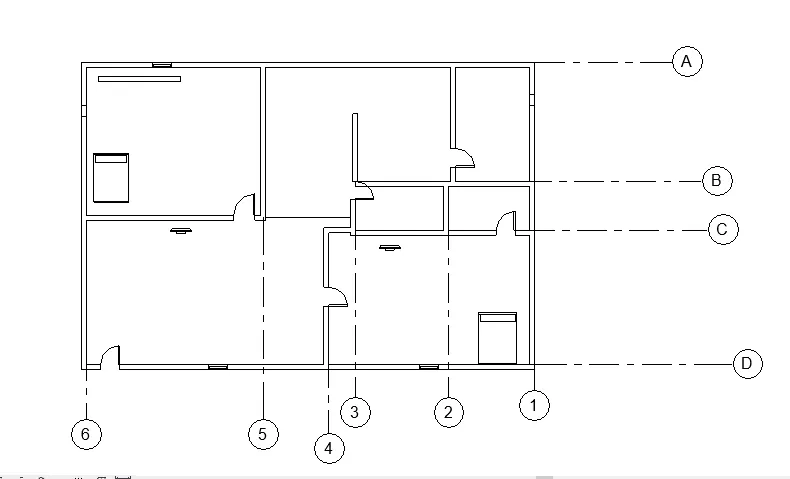
2.then open the ground floor (level-1) view of the layout then use the grid icon to draw grid lines and name the grid lines.
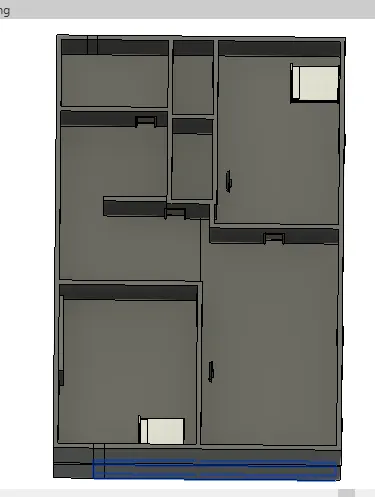
3.Then click the floor icon then place the floor with the help of the properties icon to change its thickness and material.
RESULT:
With the help of gridlines, we have laid the floor.
2A) AIM: to adjust walls after laying the floor and adjust walls using properties, adjusting its dimensions types.
TOOLS/COMMANDS REQUIRED:
floor
wall
properties
dimensions
level
PROCEDURE:
1. create a layout using floor icon after selecting architectural template.
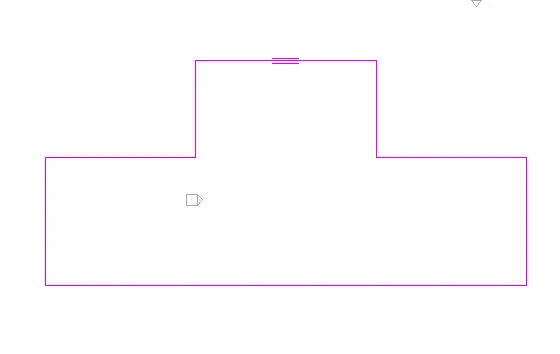
2. Then click on the wall icon and arrange them across the floor.
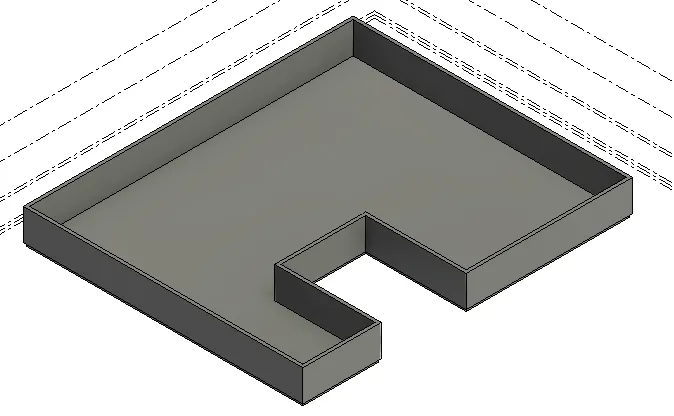
3. then properties of walls like material and thickness, and floors can be changed using properties icon.
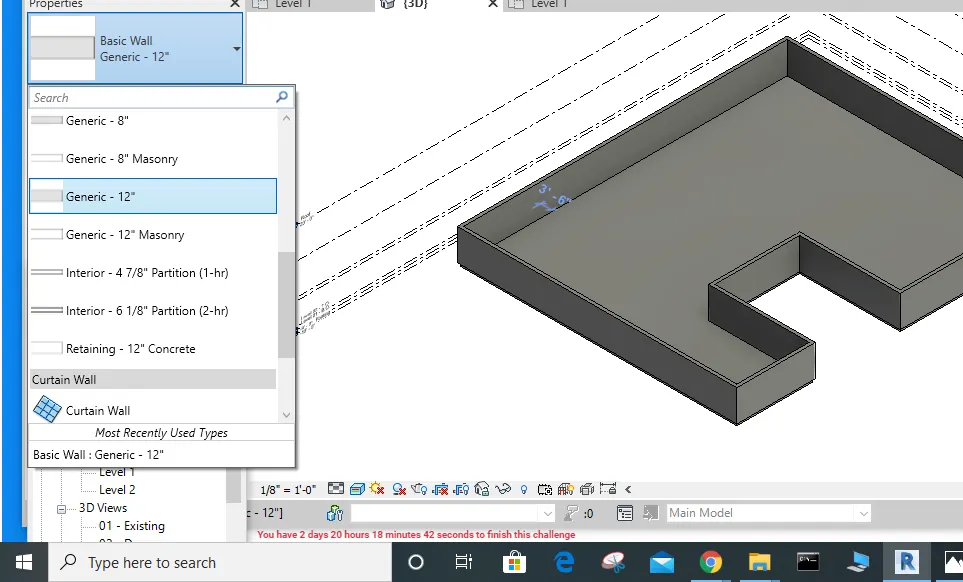
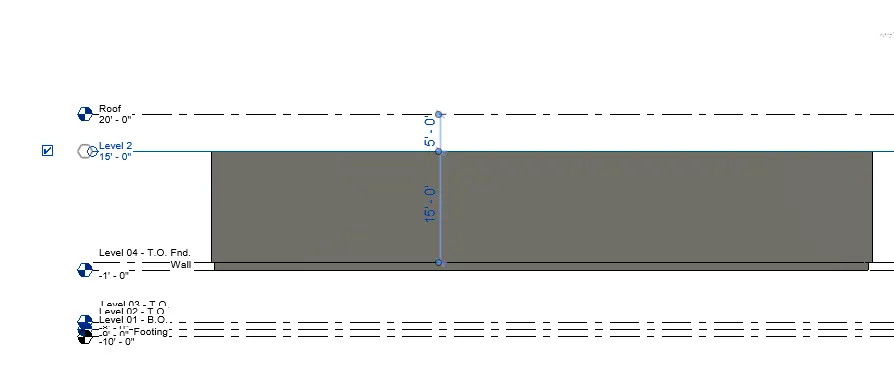
4. use level constrains we can vary the heights of the wall.
RESULT:
we have created a wall to a floor layout and varied its properties.
a) it is beneficial to connect heights with constrains of levels because if it is once connected to a level it becomes easy
to vary heights of all the walls then doing it individually, because varying heights for different members while working for a
big project.
b) in my opinion building walls by height can give us greater convenience and easier because of some reasons like considering topography it is right to select walls by heights then depth and can be connected to levels to raise its heights after considering ground floor by constraining it and adjusting its heights.
3A) AIM: To copy model elements from ground floor to the first floor at a different level.
TOOLs/COMMANDS REQUIRED:
walls
clipboard
levels
paste
view
3D view
PROCEDURE:
1. primarily draw a layout in the groundfloor level.
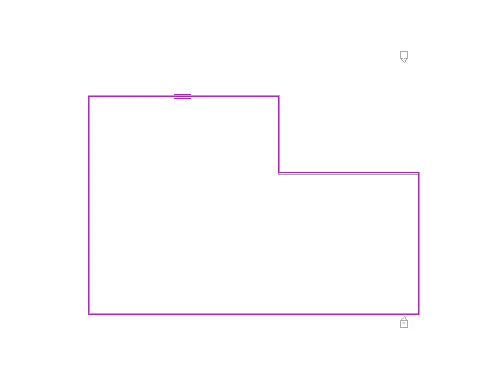
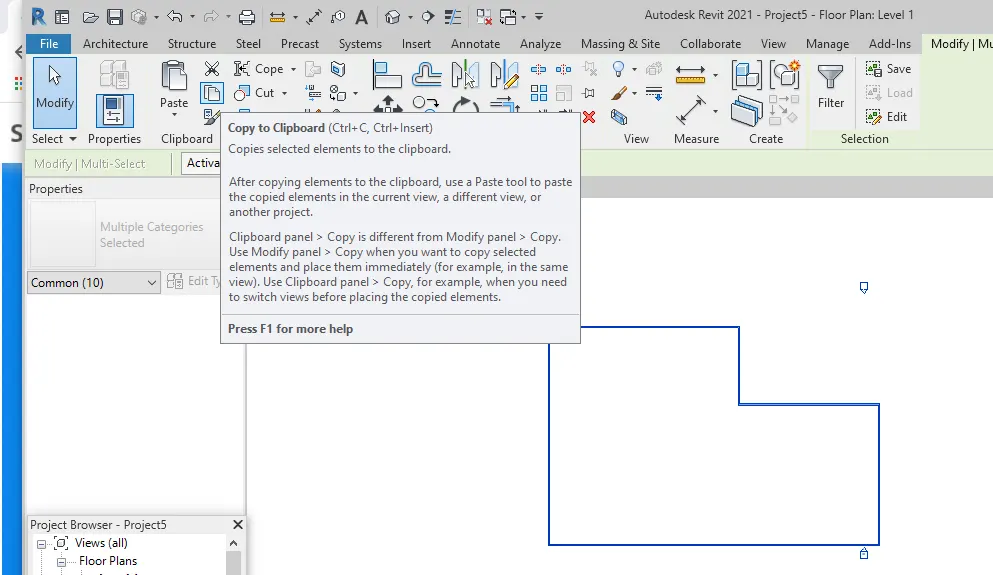
2. Then copy the layout to the icon called the clipboard.
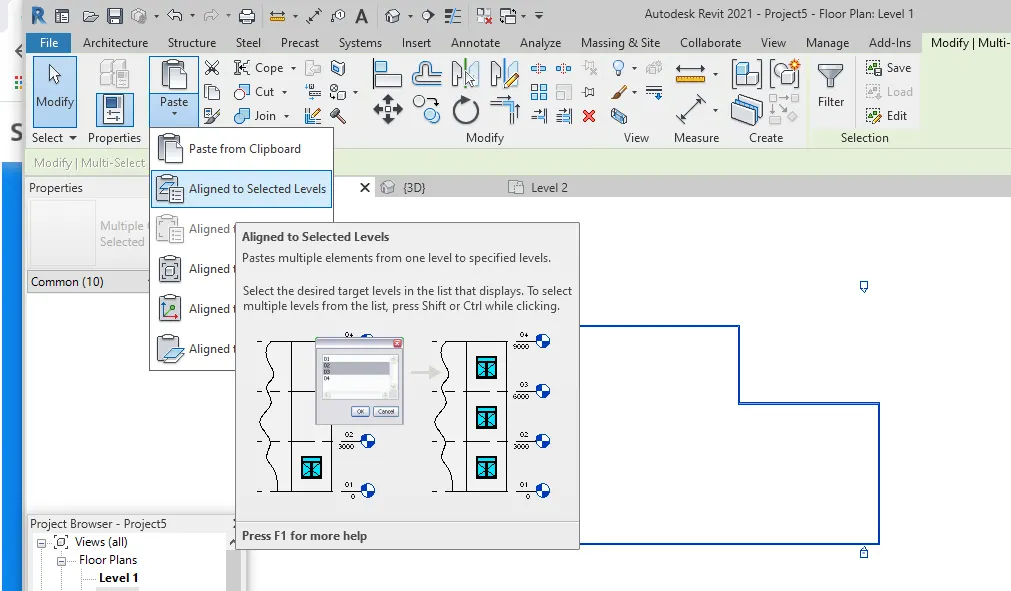
3. then press the icon paste and select the option aligned to select floors and select the level.
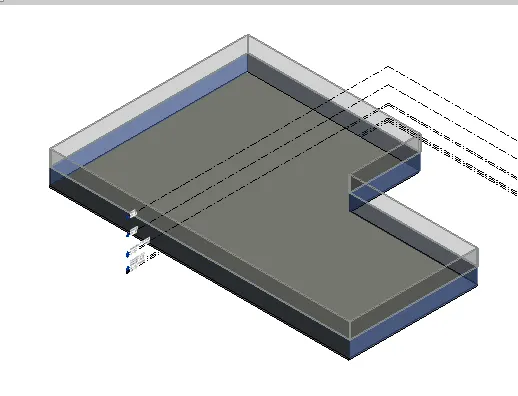
4. then we could view it in the 3D
RESULT:
we have made a multistoried structure layout.
4A) AIM: creating a layout of a residential building.
TOOLS/COMMANDS REQUIRED:
walls
properties
room
room tag
view
3D view
PROCEDURE:
1. create a layout of the residential plot of specified dimensions.
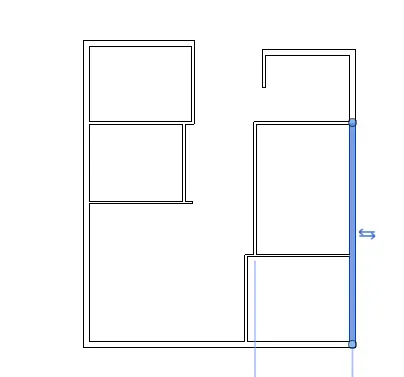
2. then use properties ofwall to arrange different types of walls ( using partition walls, different thickness walls).
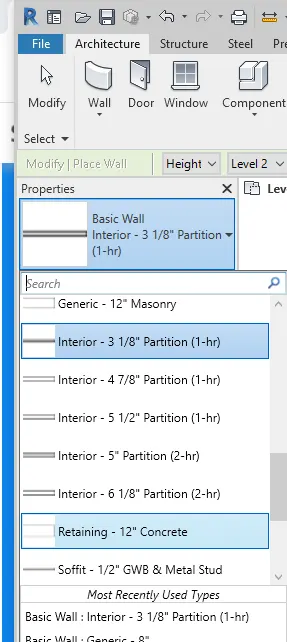
3. select room icon and arrange them and use tagroom icon to specify rooms.
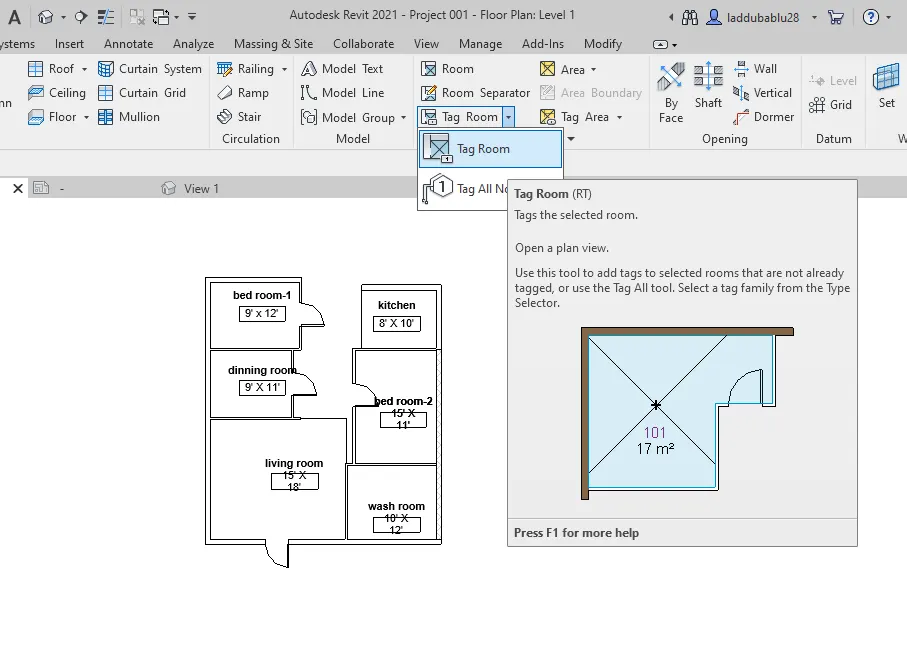
RESULT:
Here we have laid a layout of specific dimensions and used different types of walls for different purposes, and namedrooms.
5A) AIM: adding model alements to the layout.
TOOL/COMMANDS REQUIRED:
file
open
insert
load family
view
3D
PROCEDURE:
1. Open the saved layout file using file icon.
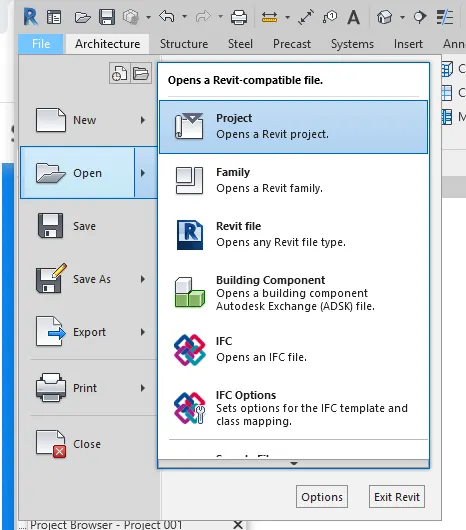
2. click on insert icon then click on the load family tab, there we could see a large no of model elements where we can use them
in our model layout.
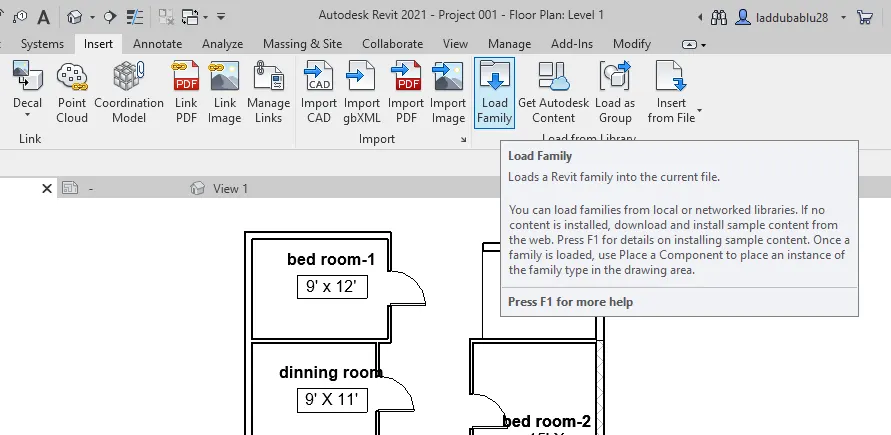
3. then we have to arrange a model elements at the desired location by loading elements.
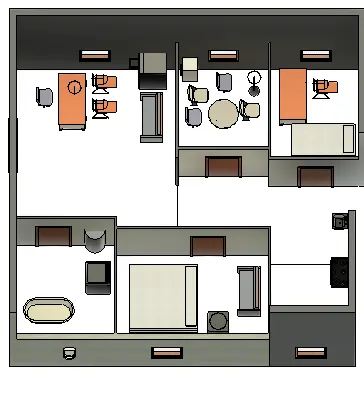
RESULT:
Here we have added model elements to our layout ( for better understanding of the model).