Week 1 Challenge
1A) AIM: To create a new project and naming the project
- TOOLS/ Commands REQUIRED: file
new
project file
manage
project information
PROCEDURE:
A. open the AutoDesk Revit software, then we will find a "file" icon on the top left side of the AutoDesk Revit software.
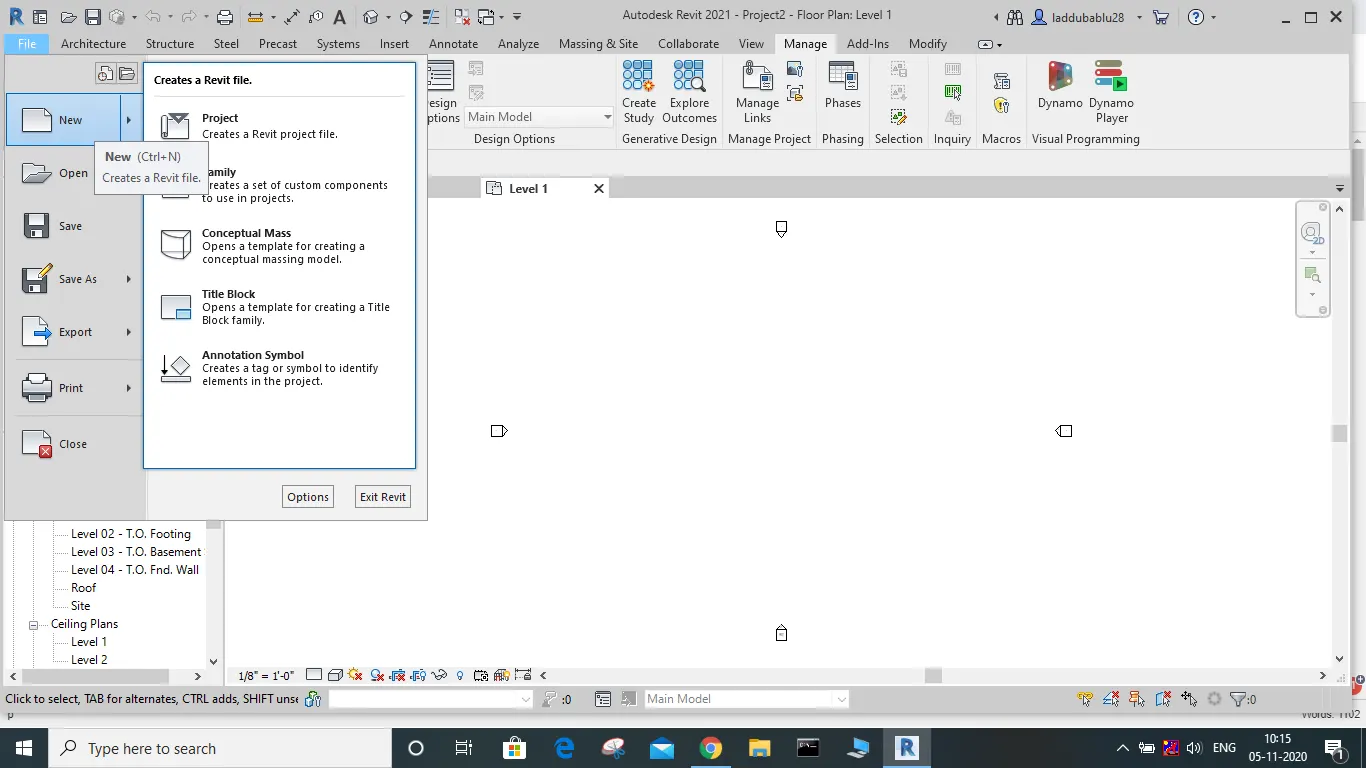
B.On clicking the icon we will get a dropdown menu, then we should click on the new option, and when we click, then we can save the project in which our type of project template we want like such as structural/architectural/construction template.
- C. Then for naming the project we must use the "manage" option and we can find the icon "project information", On clicking it we can save the project name as our interest
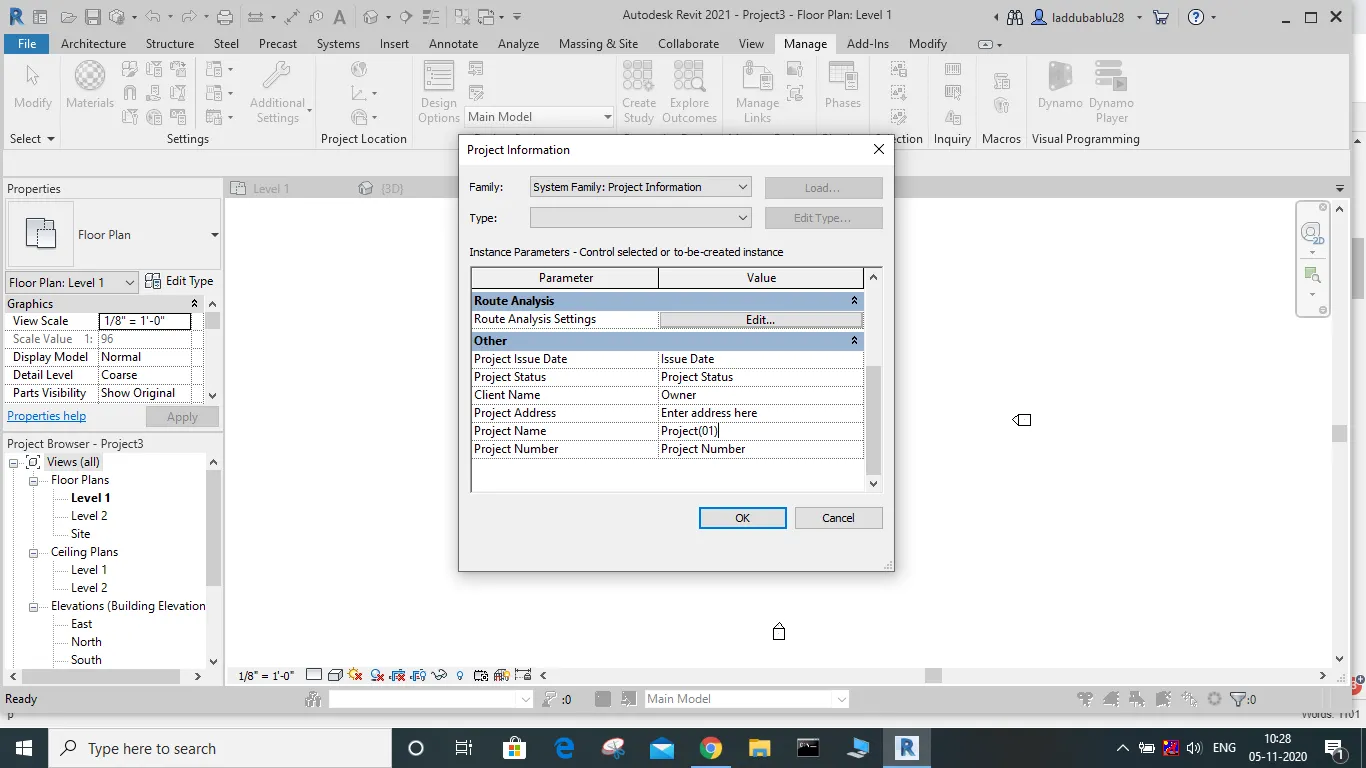
D. I saved the project name as project 21.
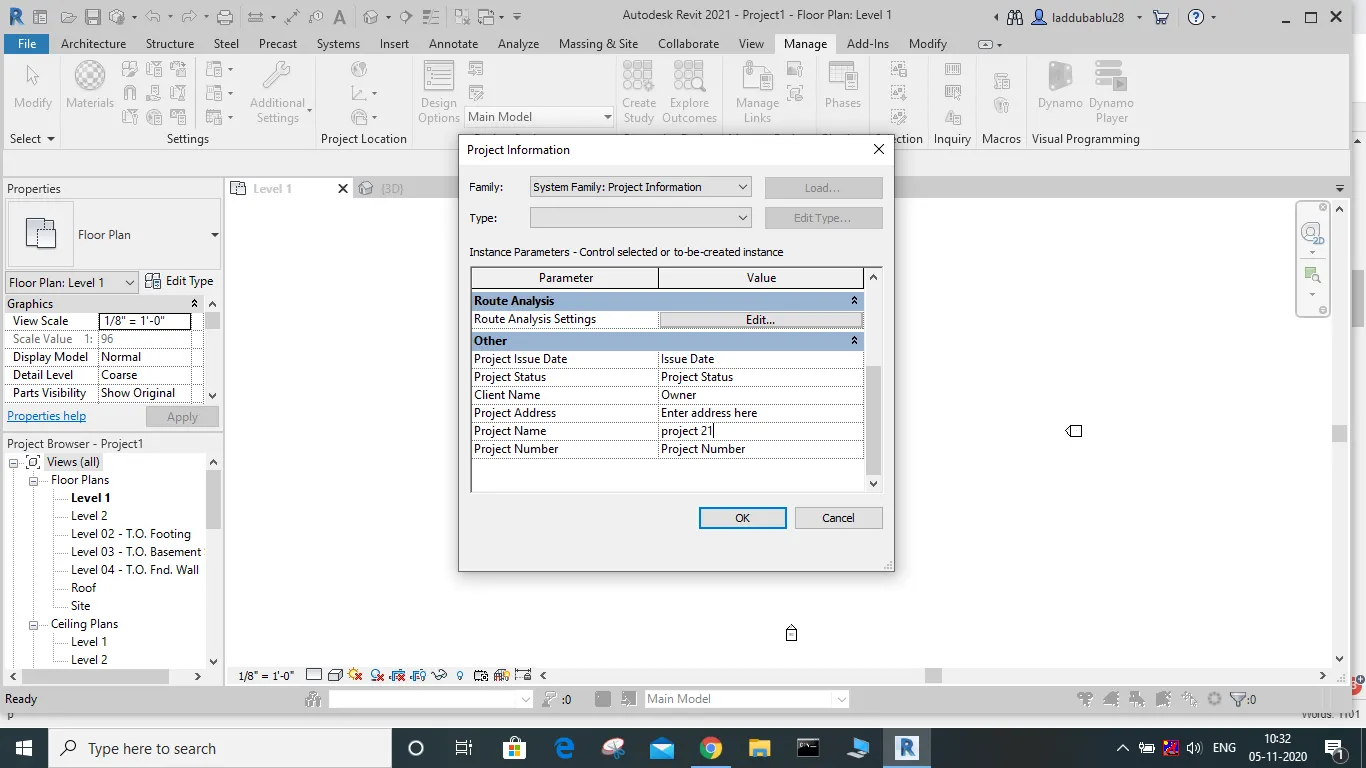
RESULT:
hence we have saved and named the project.
2A) AIM: Save the new project file and access the project file
Tools Required: file
save as
project
file location
save
PROCEDURE :
1. Primarily create a project file and save the project file
2. For saving the project file we should access the file window and then use save as tab.
3. after clicking the save as tab then you can save your project file as a project file.
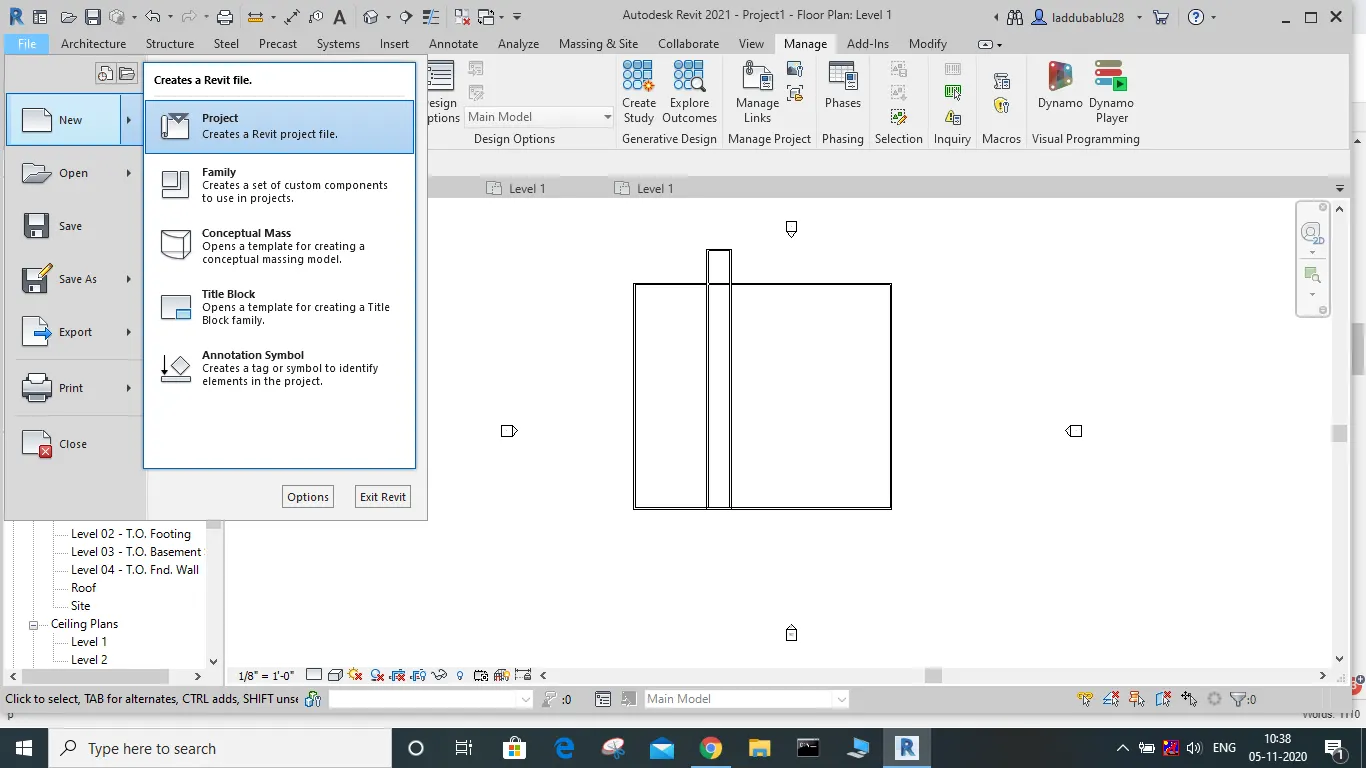
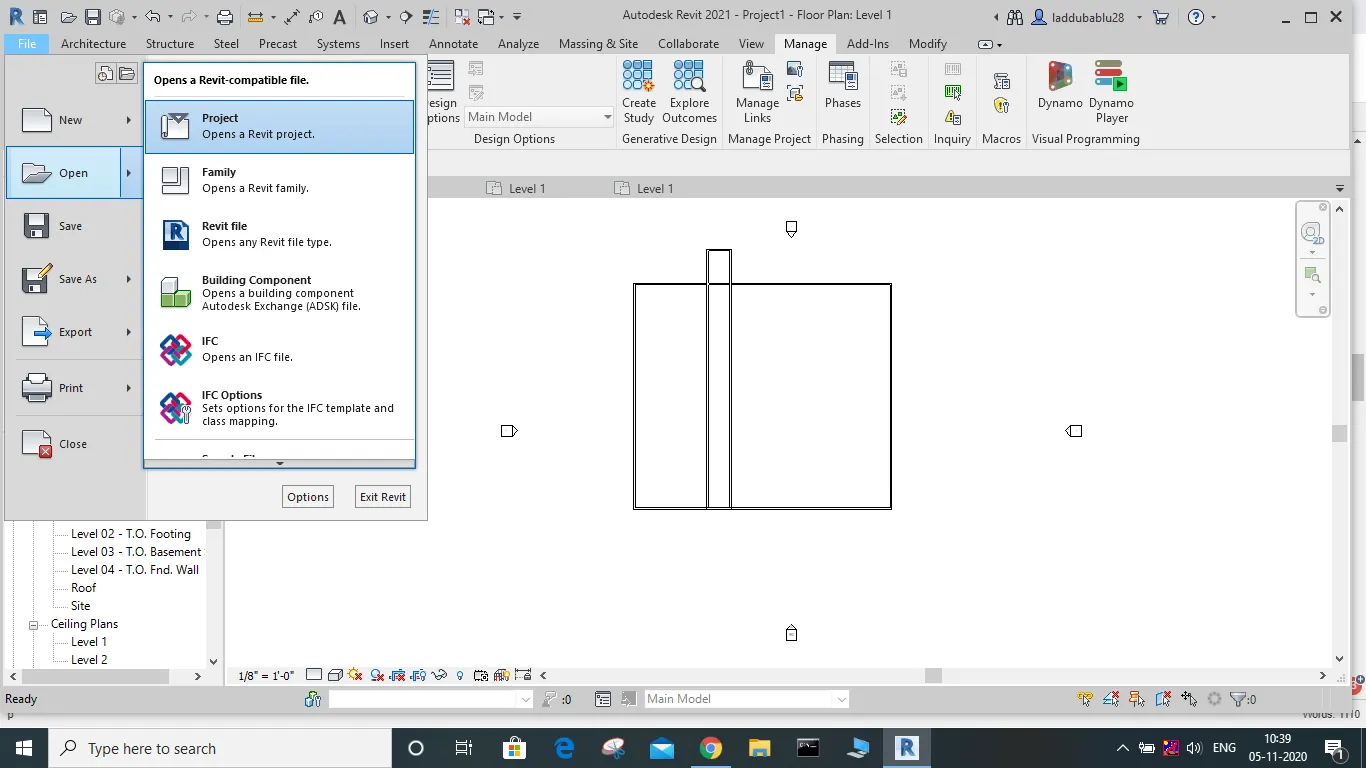
D. use the open tab to access the project.
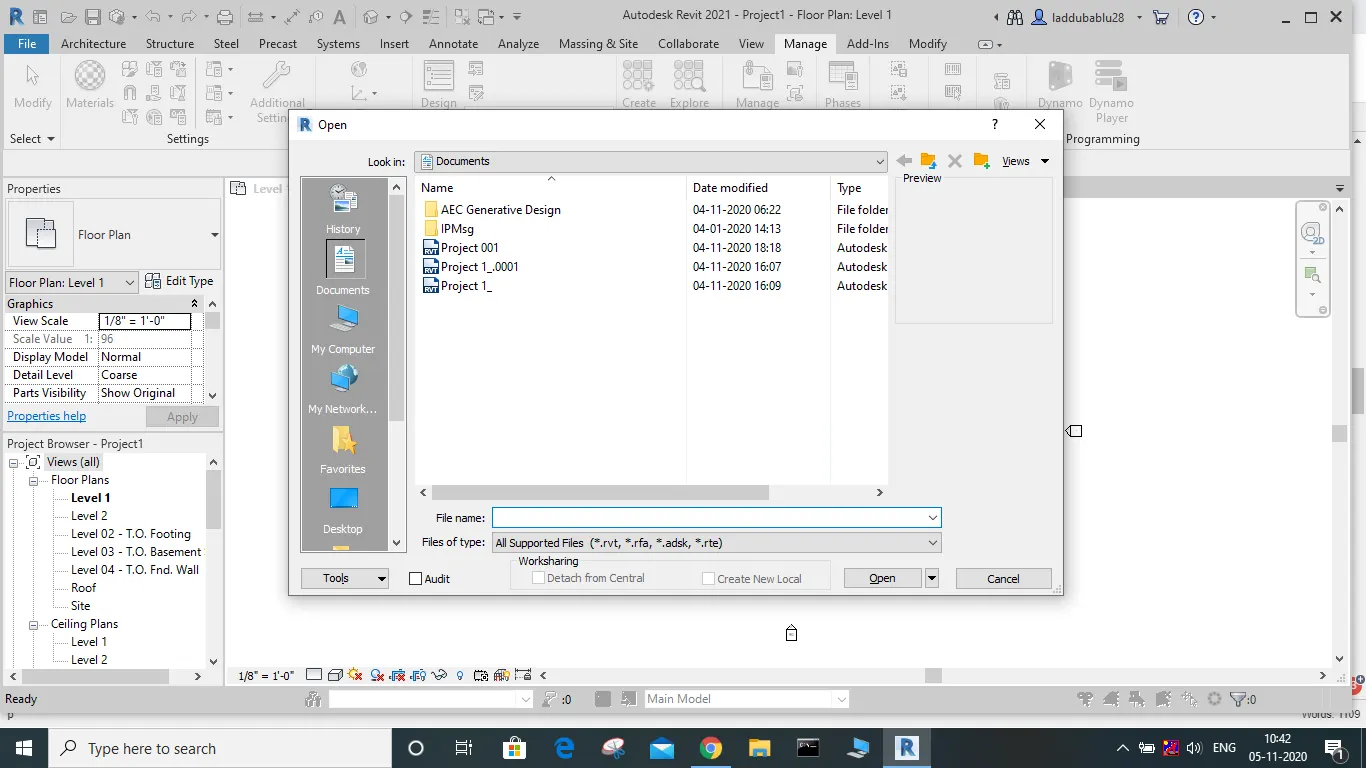
E. access file by typing its name in saved location.
RESULT:
create and save the project file and access the project file.
3A) AIM: To create a rectangular layout of walls of dimension 40'-00" x 35'-00"
Tools/commands Required: Architectural/structural icon
Wall
Procedure :
1. open the Revit software then click either architectural/ structural icon available at icons.
2. Then click on the wall option available beneath the architectural/structural icon.
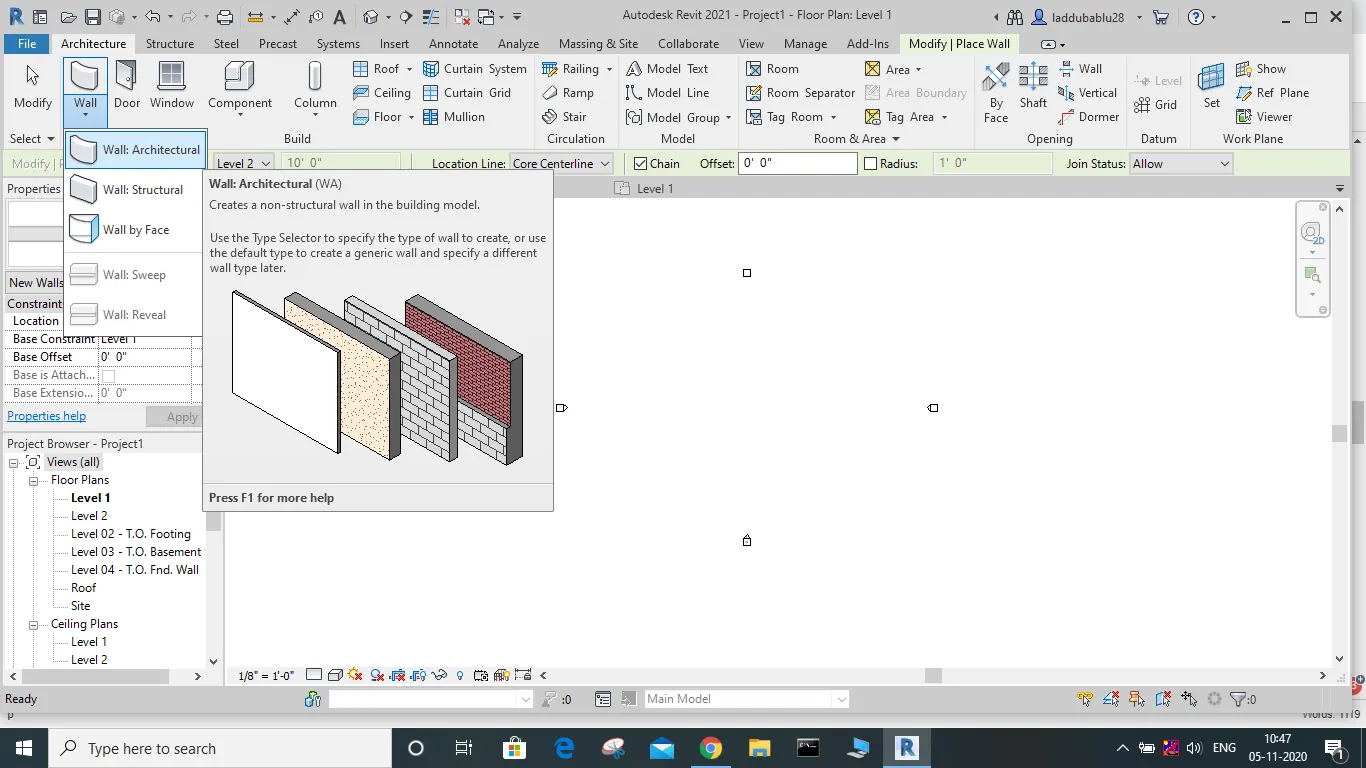
3. then draw a layout of dimension 40'00" x 35'00".
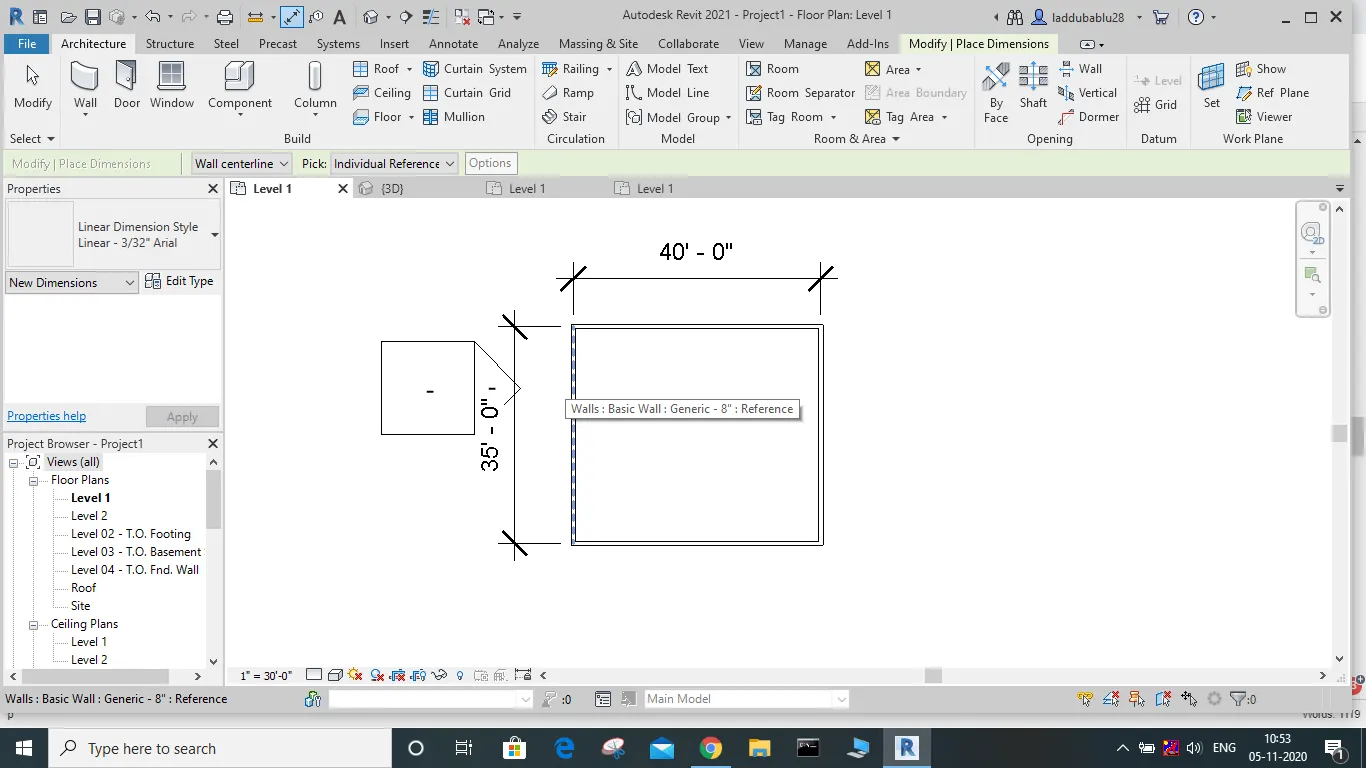
4. Then for changing the wall thickness you can click on the wall and then go to properties where we can change its thickness as per our requirement.
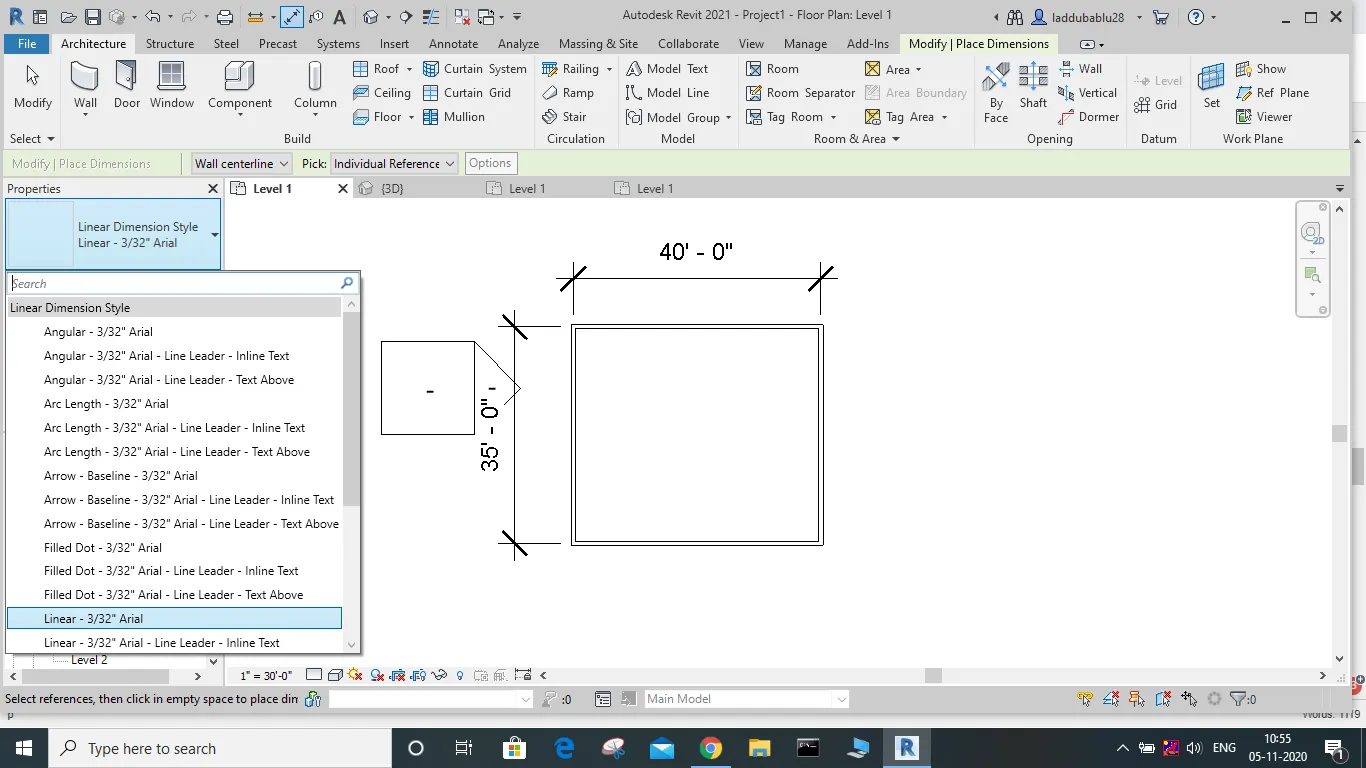
RESULT:
The rectangular layout of dimension 40'00" X 34'00" is created.
4A) AIM: to add dimensions to the layout for aligned figure
Tools/commands required: file
annotate
rectangular property
aligned
wall
Procedure:
1. open Autodesk Revit software then click either click structural or architectural template.
2. Then click the wall and then create a layout of the wall.
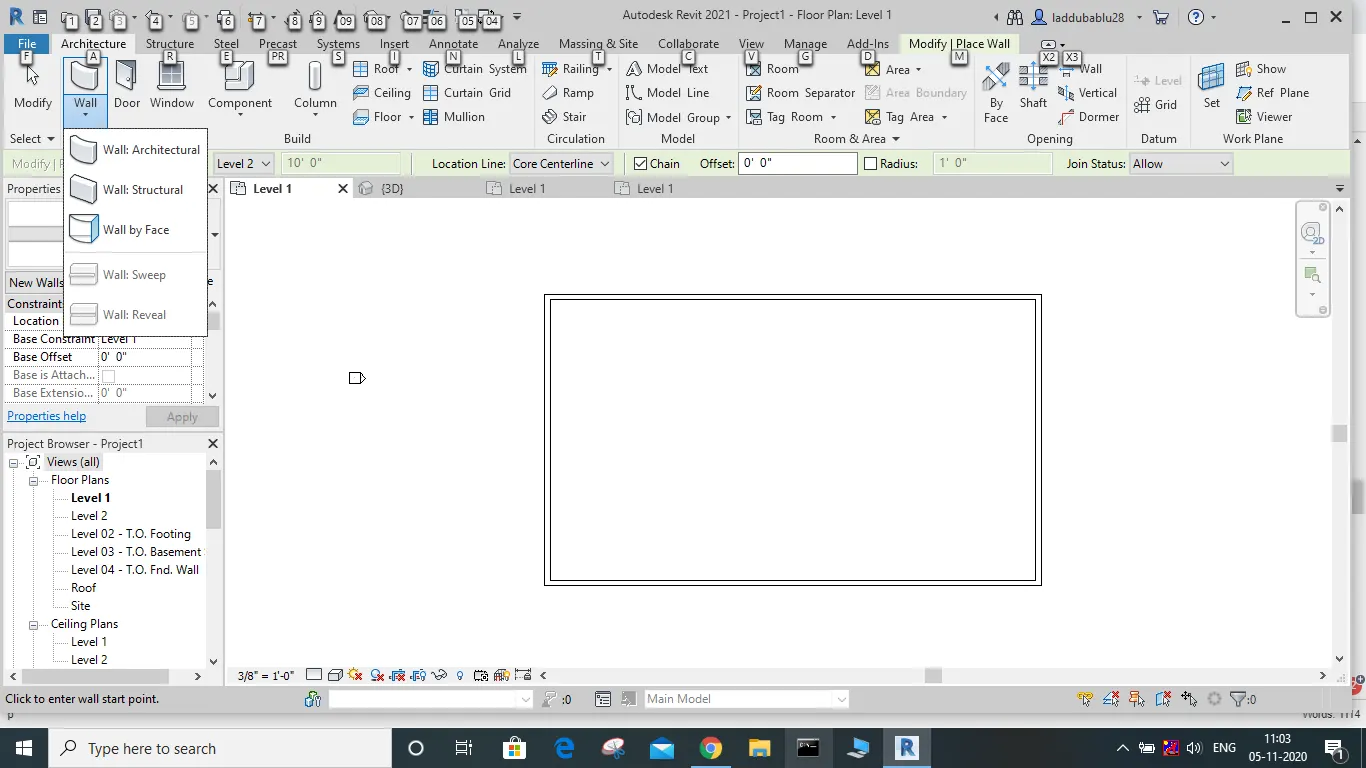
3. then click the "annotate" icon then select the aligned icon present.
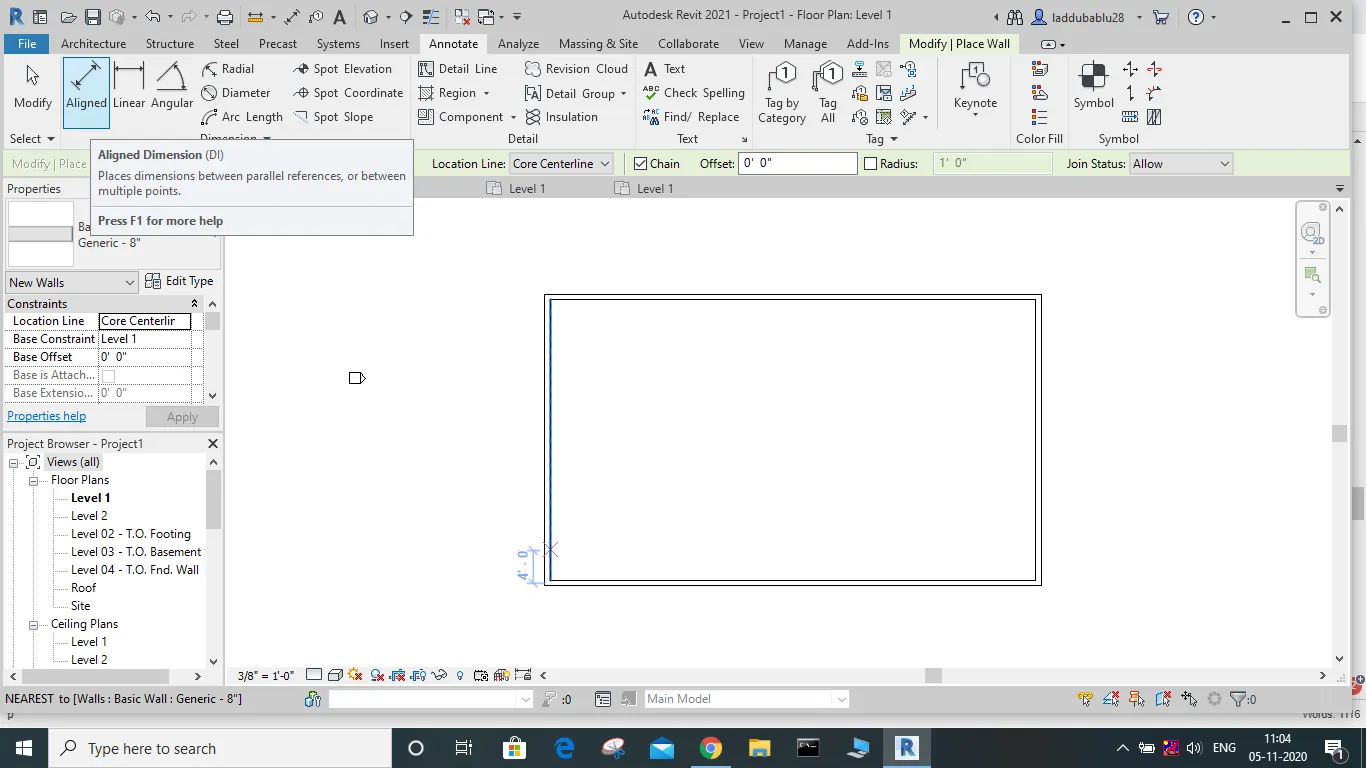
4.after clicking on the aligned icon then click on the two points where we need to give dimensions.
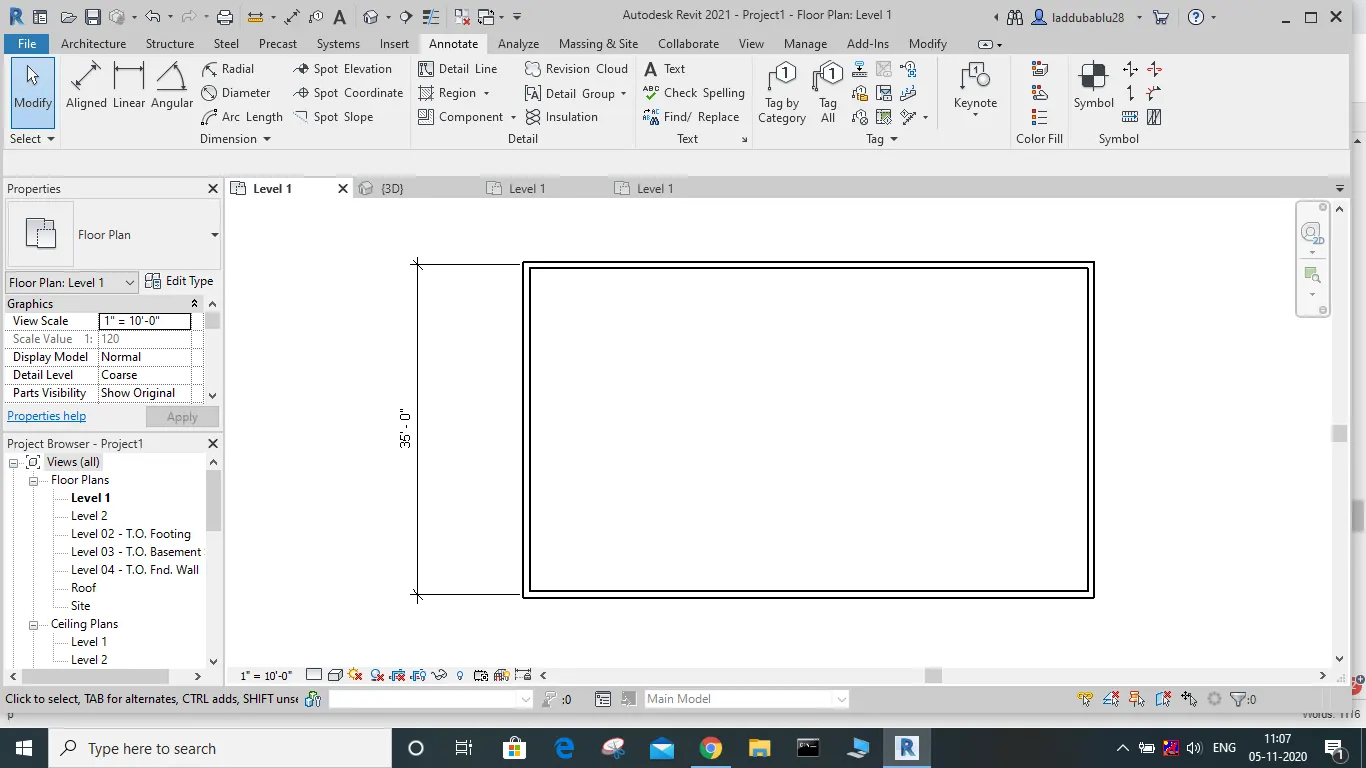
5. use properties to adjust text size.
RESULT:
here we have given the dimension to the layout using the aligned option.
5A) Aim: Switch to different wall types
Tools/commands required: architecture/structure icon
wall
properties
PROCEDURE:
1. click on the architecture/structural icon after opening the software.
2. click on the wall option and draw a rectangular wall.
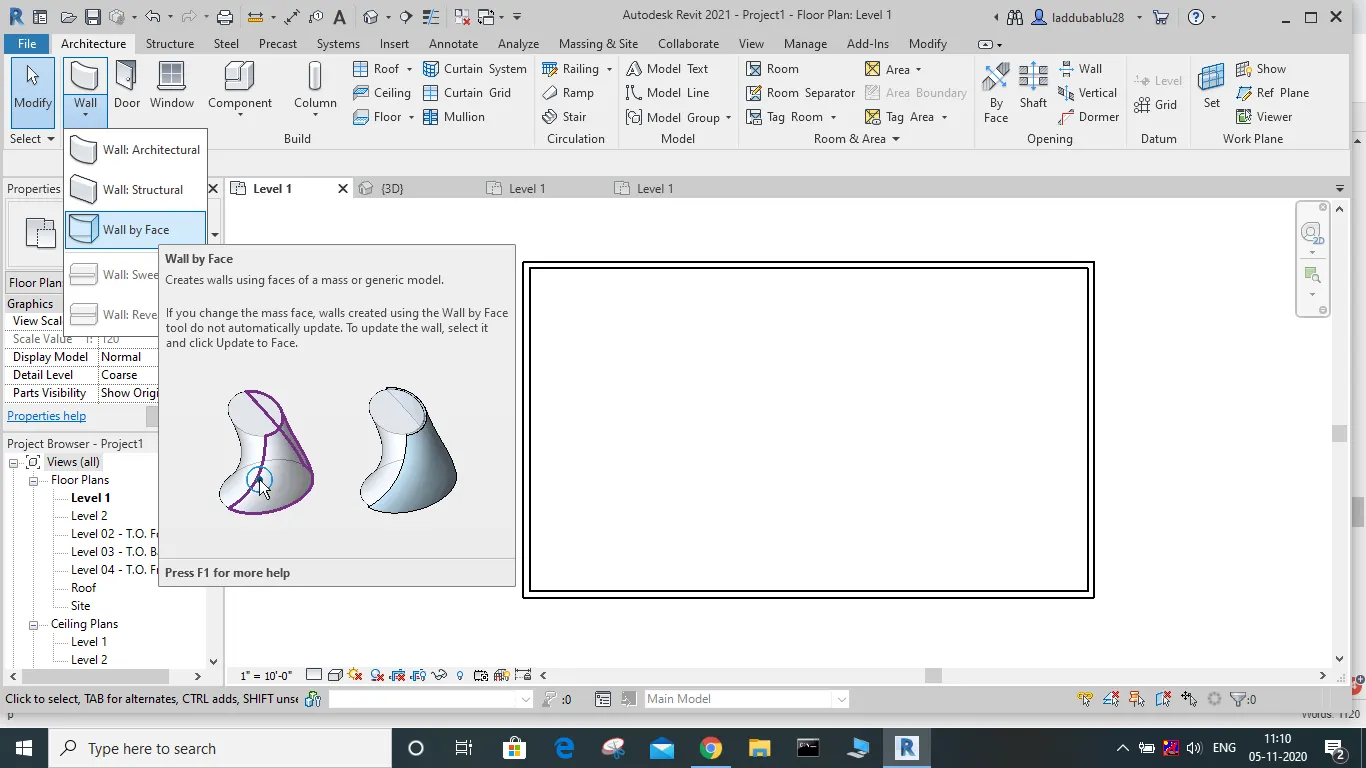
3. then after drawing the wall, go to properties which is present on the left side of the screen.
4. in properties we can find different types of walls (eg: masonry, generic, etc of different dimensions).
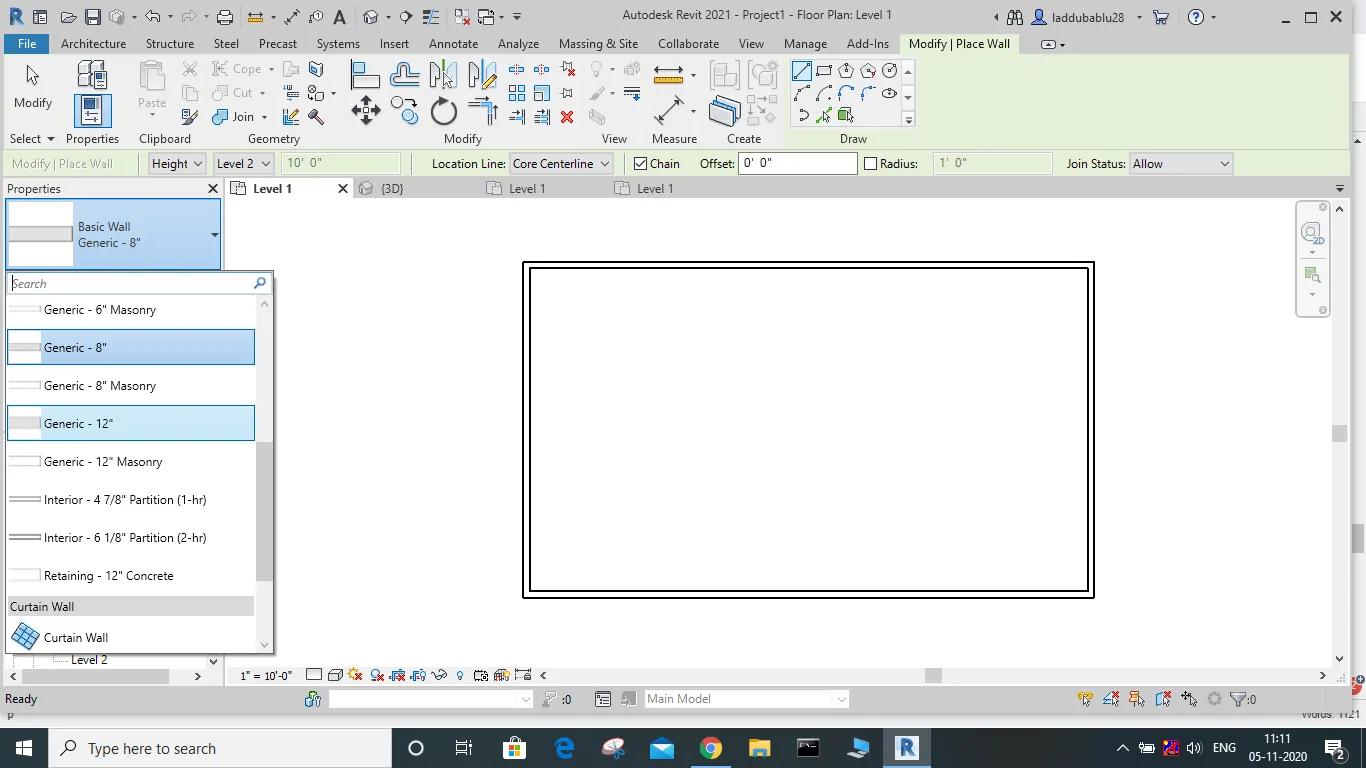
5. we can choose whatever type of wall we want based on our interest.
Results:
walls with different properties are created.
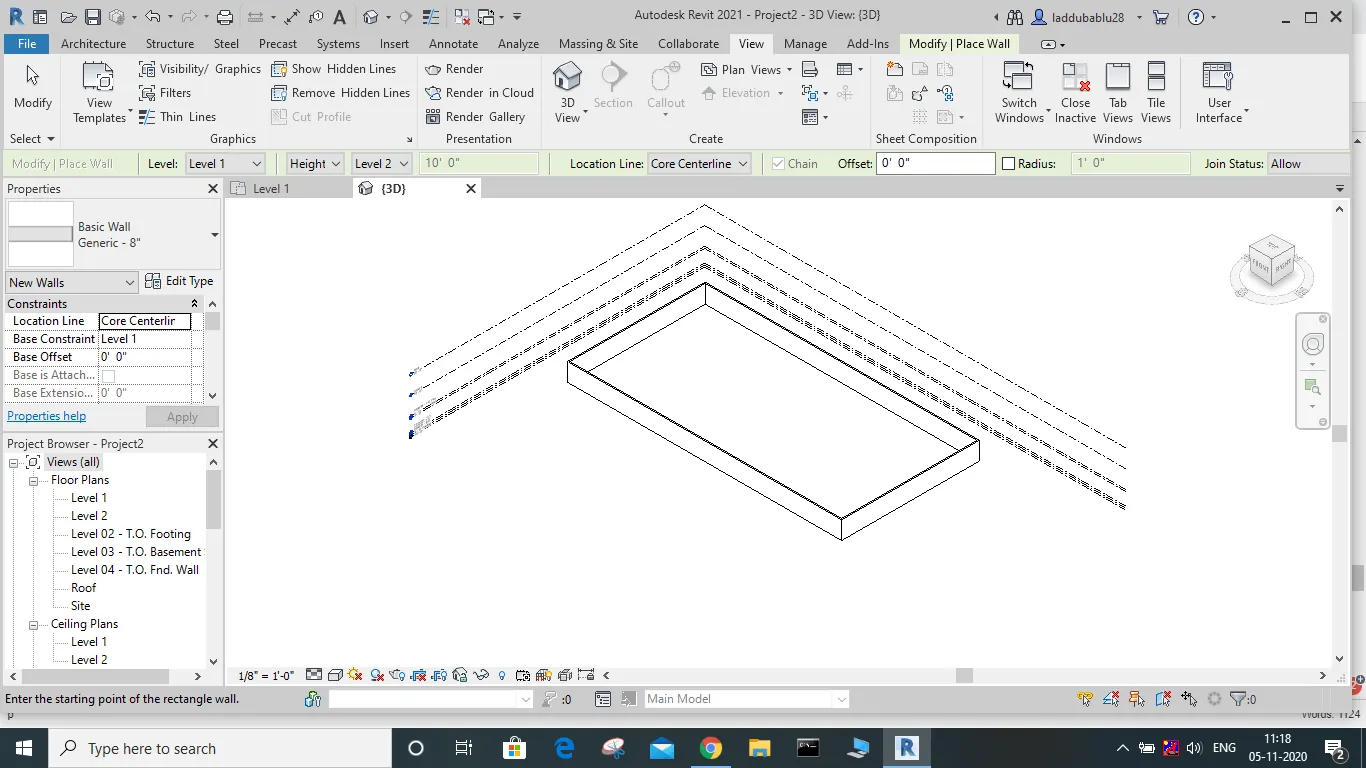
6A) AIM: Create a 3D view of the diagram(walls)
Tools Required: Walls
view
3D view
Procedure:
1. primarily draw a layout of the wall using wall icon.
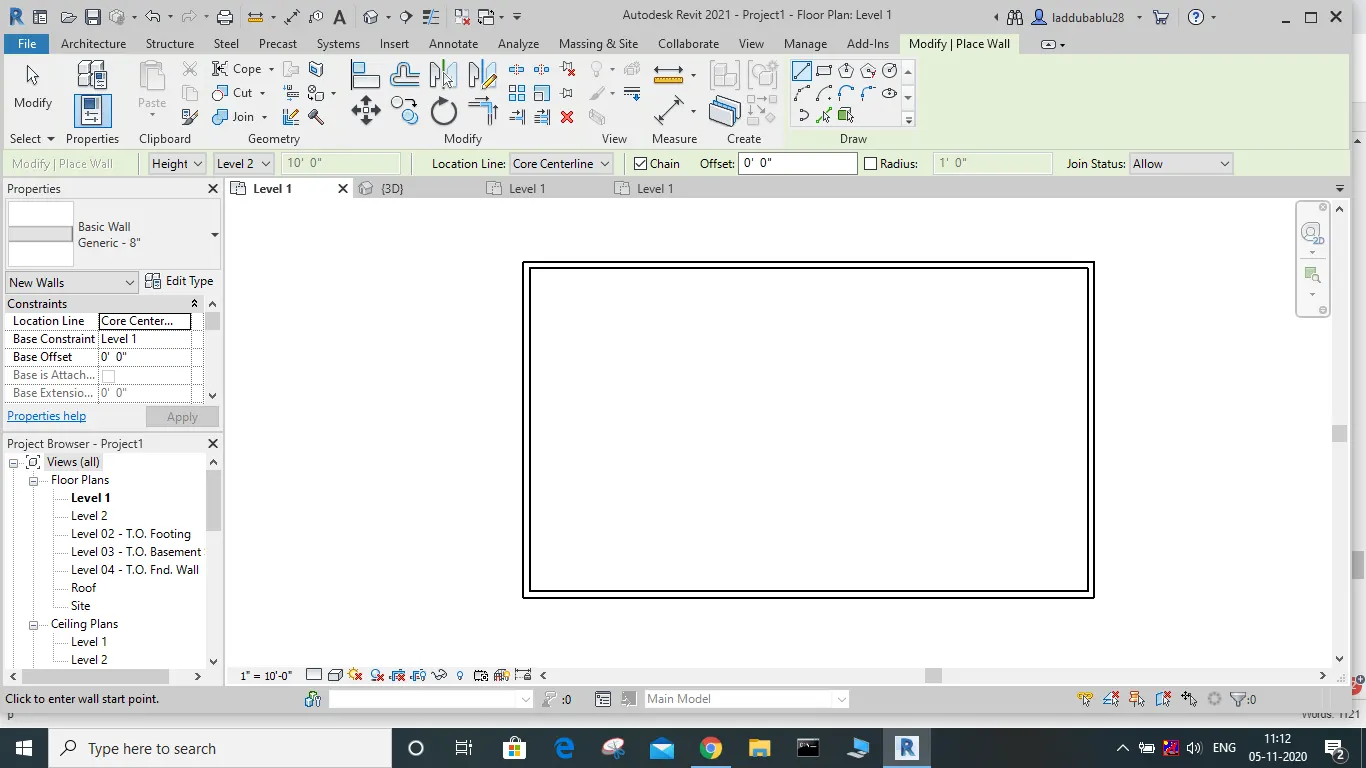
2. then click on the view menu.
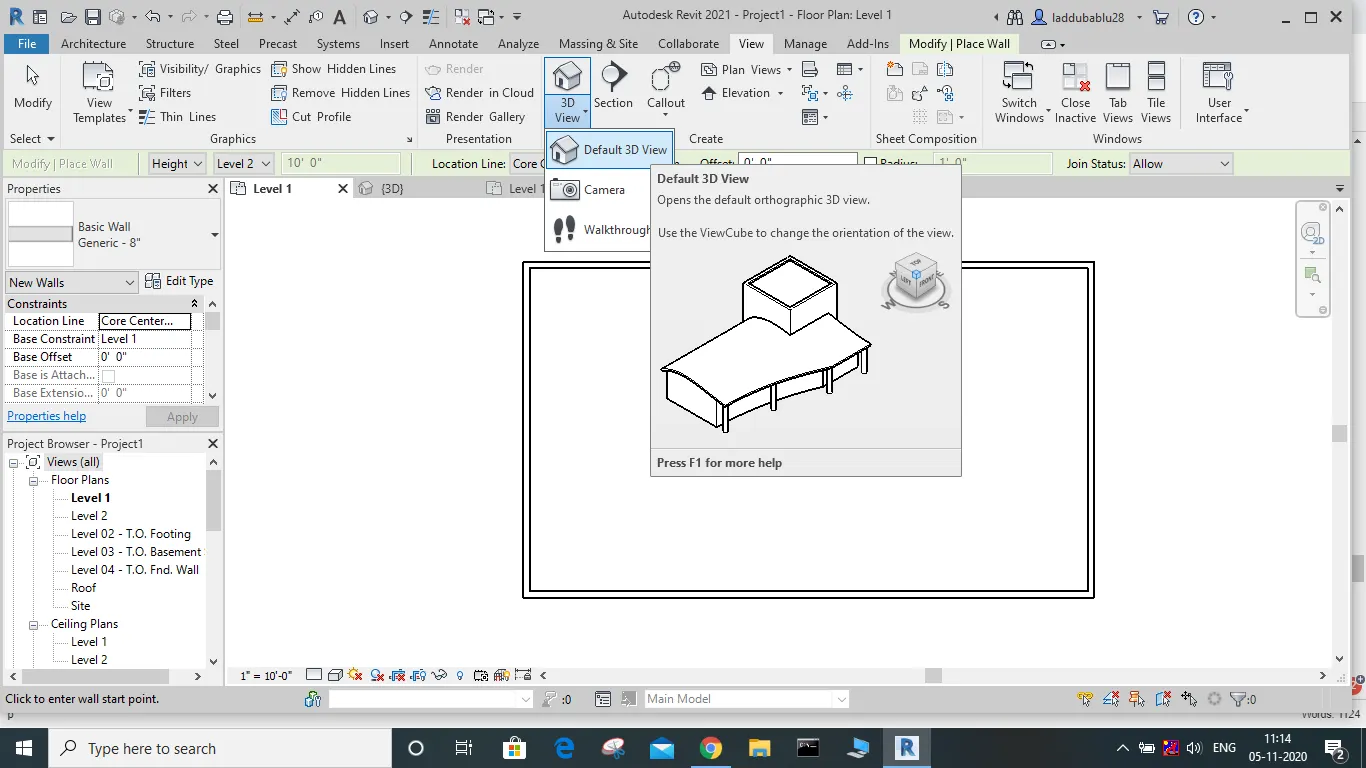
4. then click on the 3D view icon available below the view icon.
RESULTS :
the 3D view of the wall is created
7) AIM: to navigate through the 3D model and navigate to different views using the view cube.
Tools/commands required: view icon
wall
3D Model
view cube
Procedure:
1. create a layout of the wall, then click on the view tab.
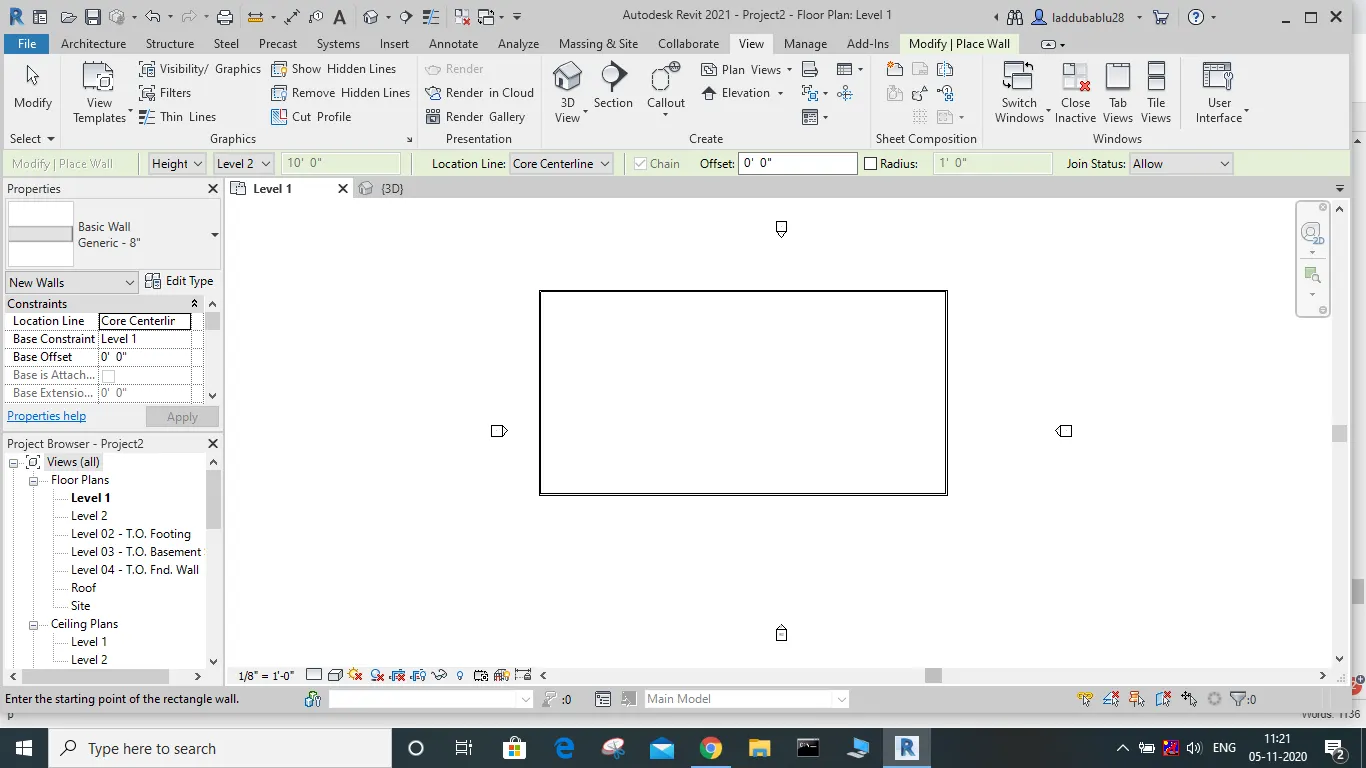
2. After clicking on the view tab we can observe a 3D view icon there, and we can see a 3D view of the layout.
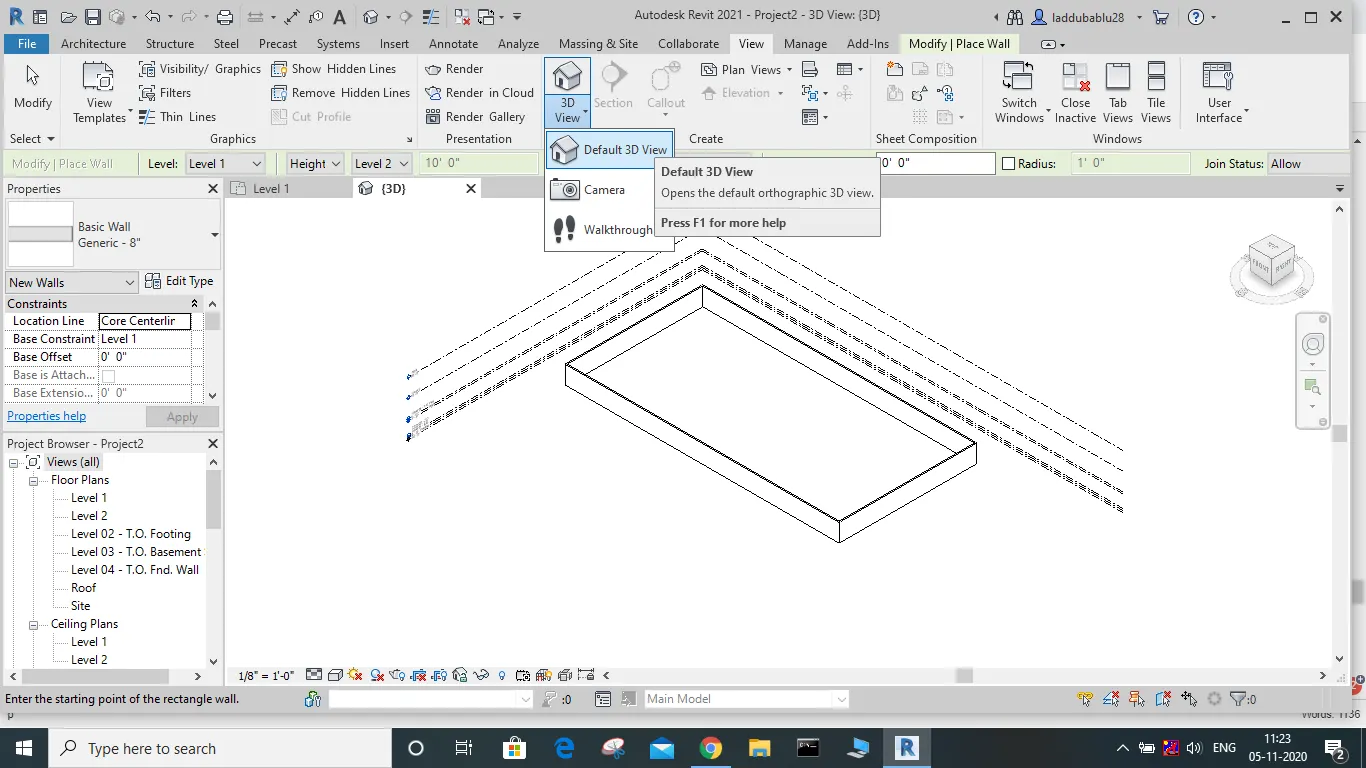
3. then there is a cube beside the layout which is called view cube.
4. we can navigate to any face or side of the layout by using this cube.
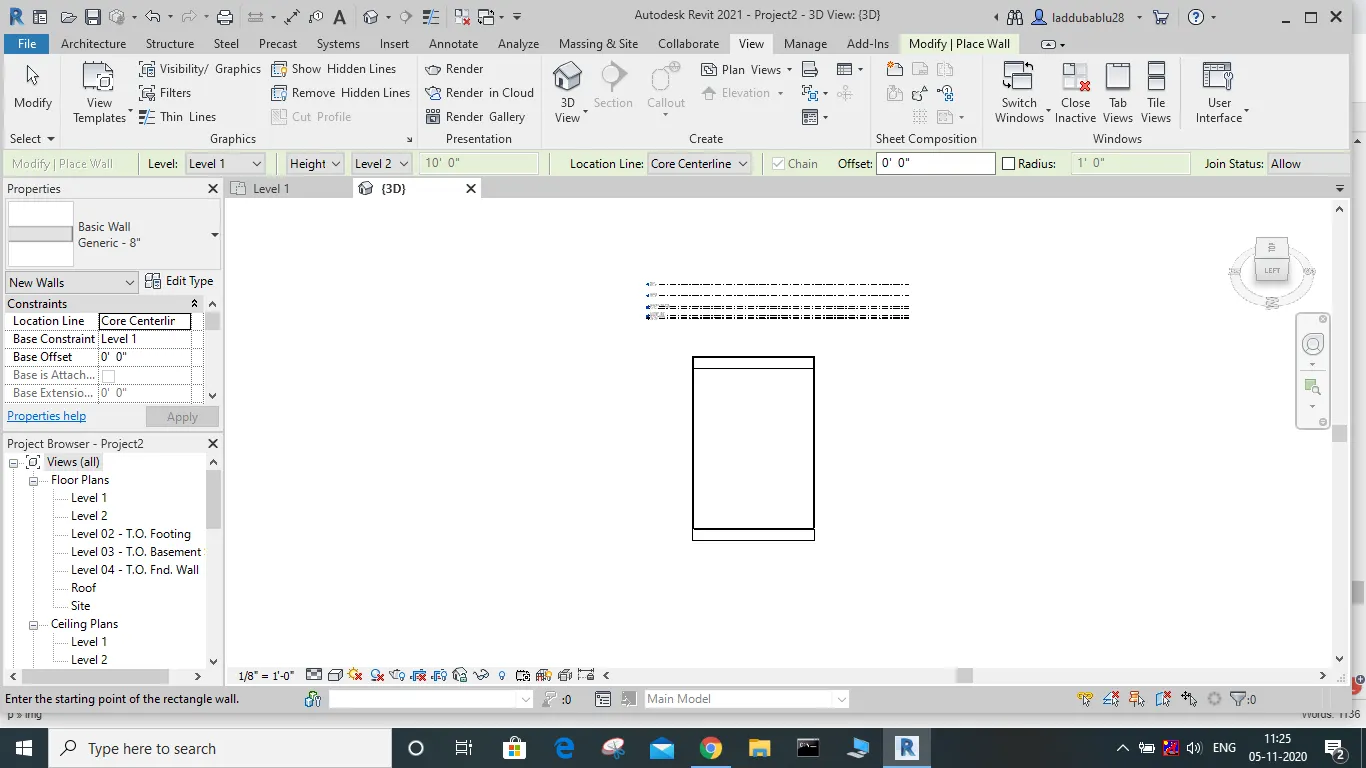
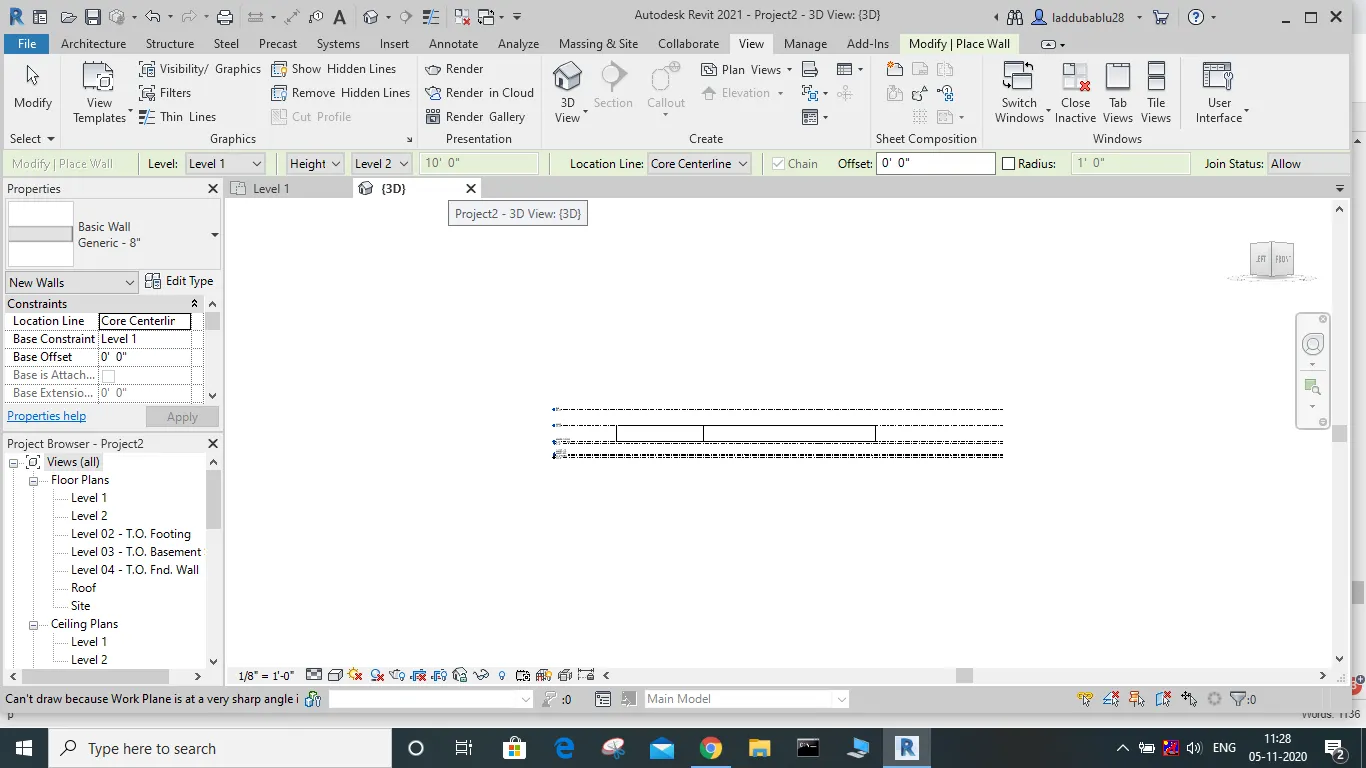
5. we can view the top view, side view, and front view of the structure.
RESULT:
The navigation for the 3D model is done using orbit/pan.
8) Aim: To switch model to shaded, realistic, hidden lines option.
Tools/commands required: visibility settings
walls,
shaded
realistic,
hidden line
Procedure:
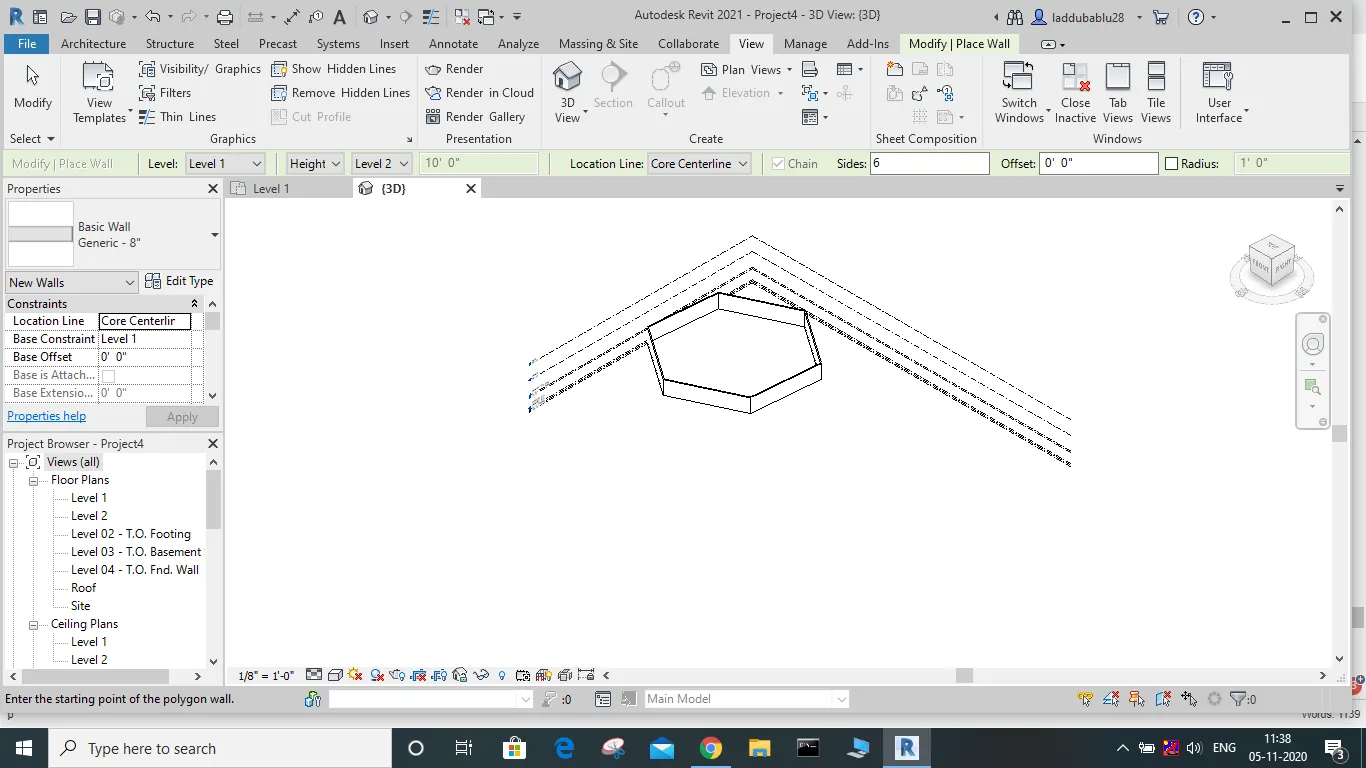
1. create a layout ( of a rectangular wall layout).
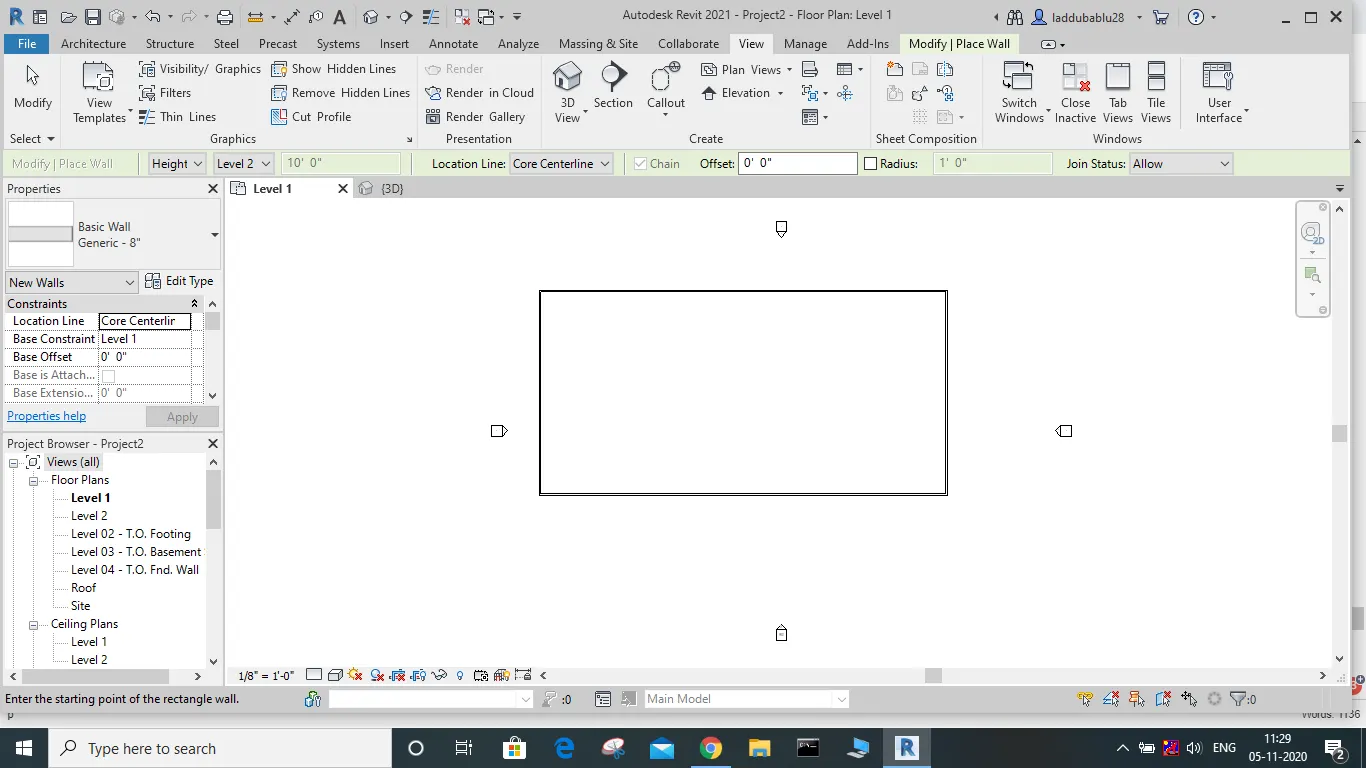
2.Then click the visibility setting option available at the bottom of the software after you choose "3D view".
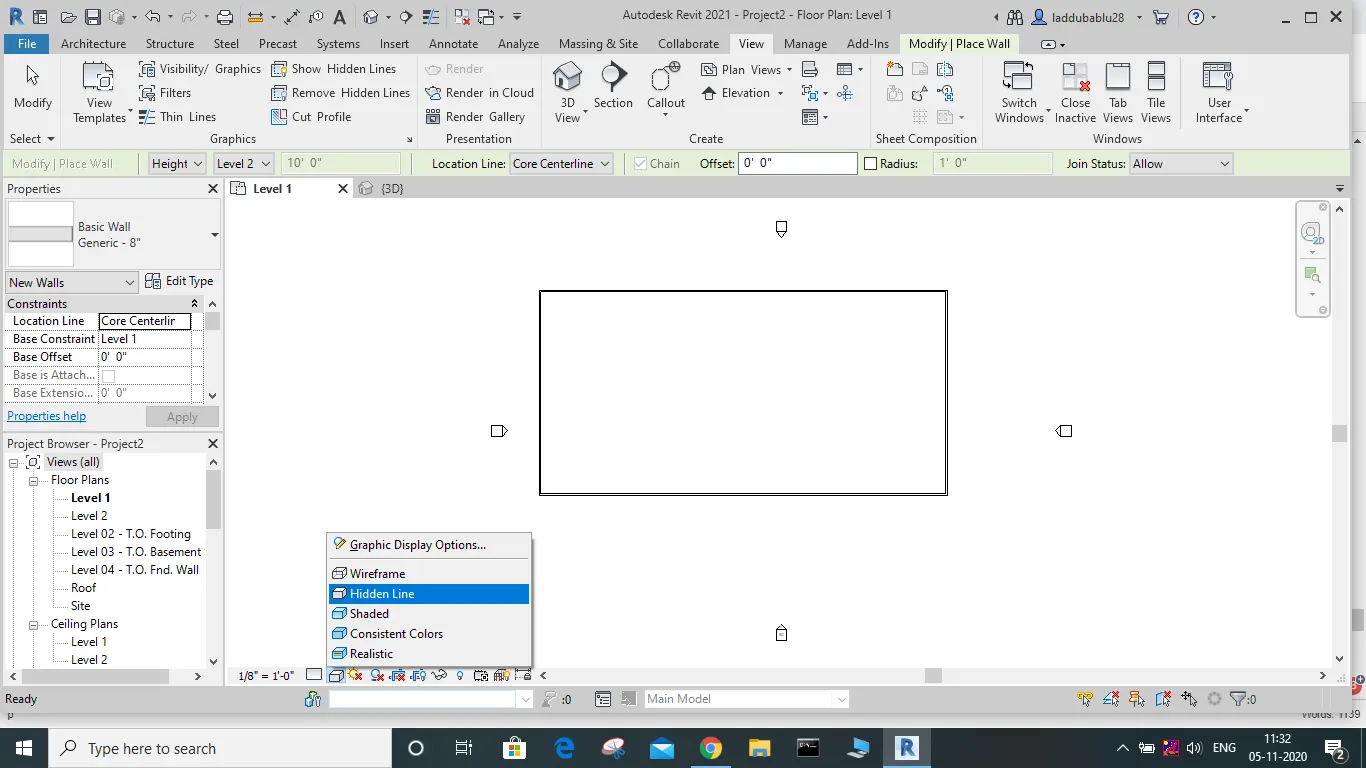
3.then click the type to which the model is to be shifted( hidden line, realistic, hidden line).
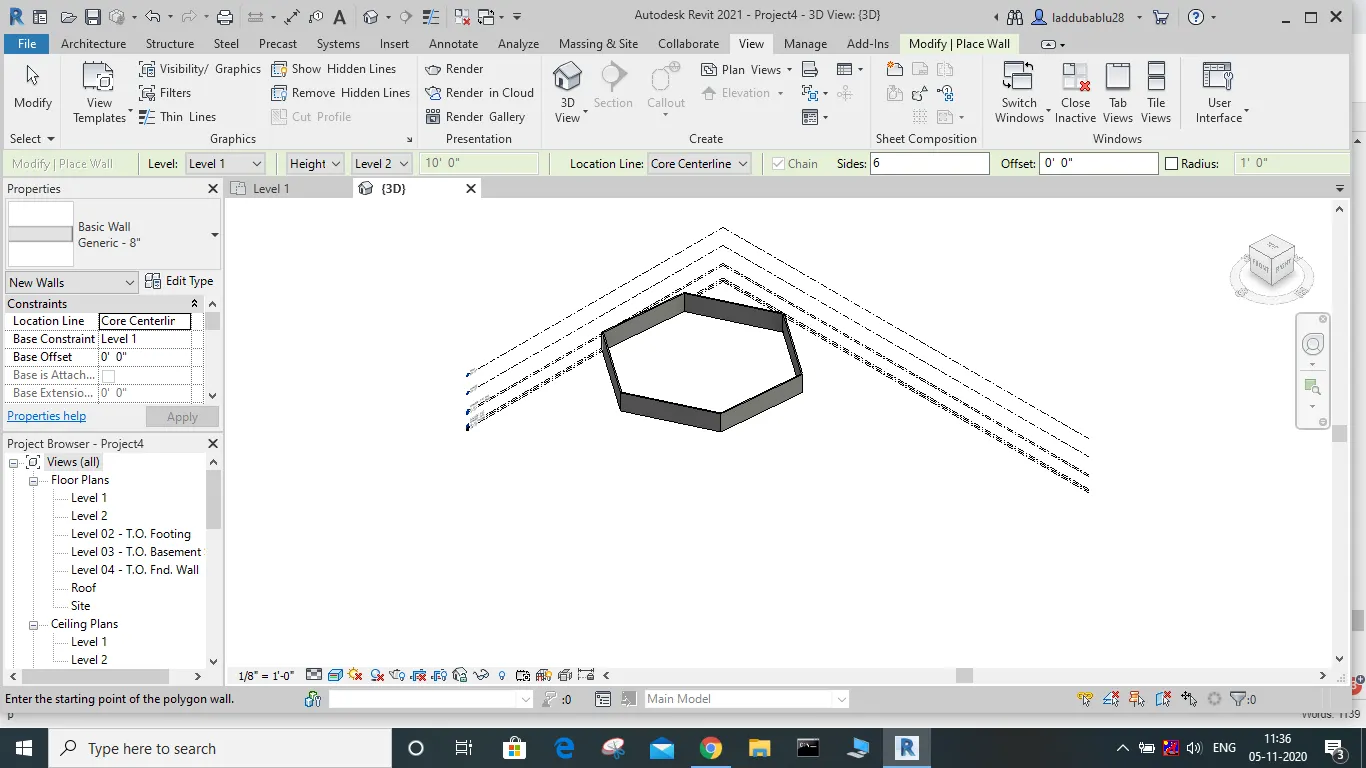
RESULTS:
the model is converted to a shaded, realistic, hidden line.
9. Aim: to turn off and on sunlight to view shadings in the layout
Tools/commands Required: architecture/structural/construction template
walls
sunlight icon
PROCEDURE:
1. create a rectangular layout of wALLS
2.THEN CLICK ON VIEW ICON FOLLOWED by the 3D view.
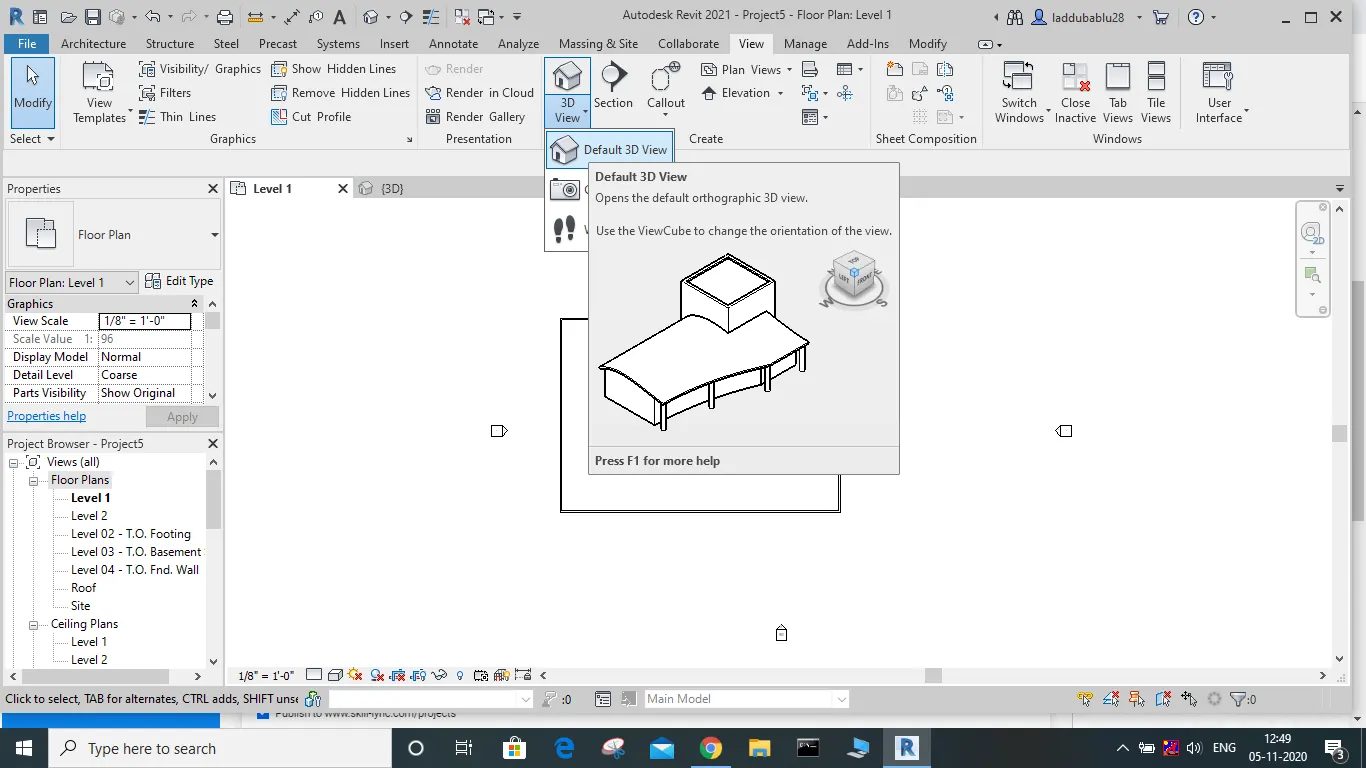
3. then click on the sunlight option which is beside the visibility settings icon.
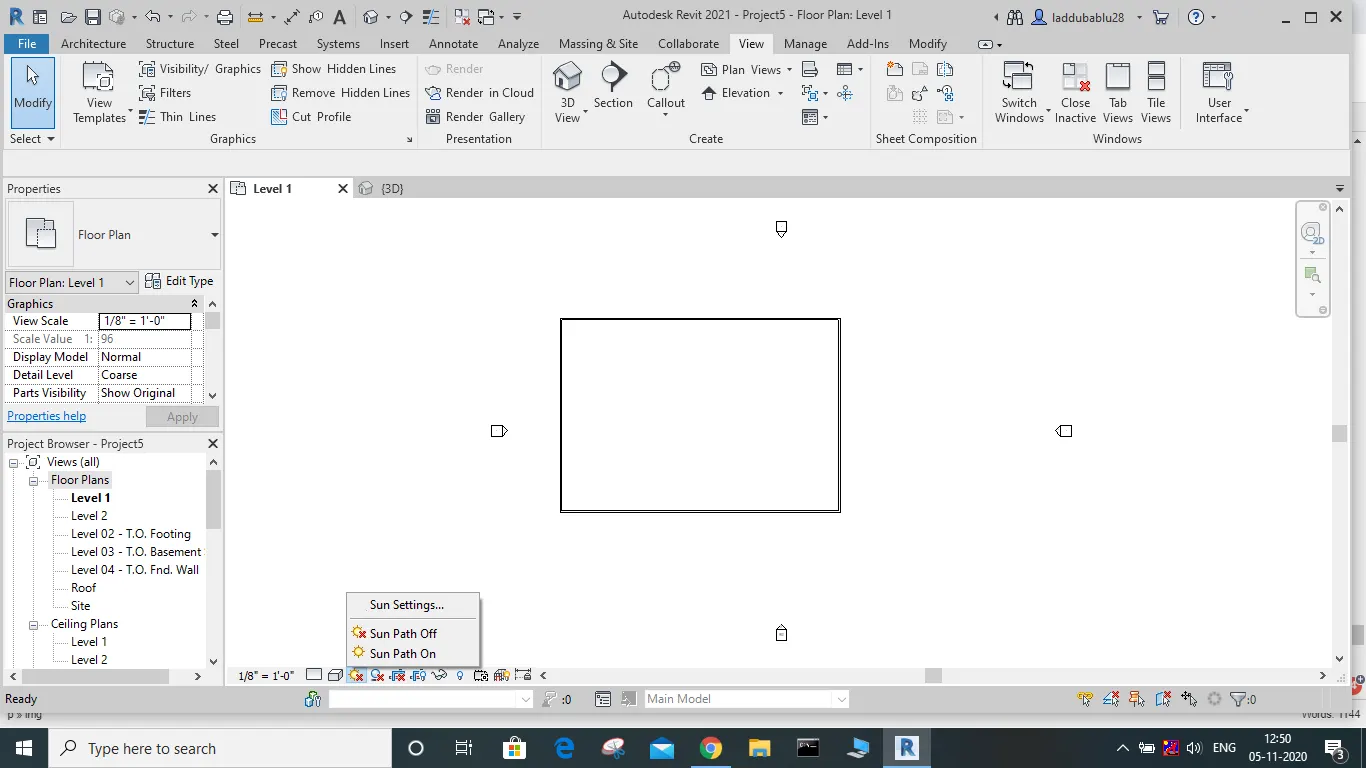
4. then observe the shading of the layout when the sunlight is on and off.
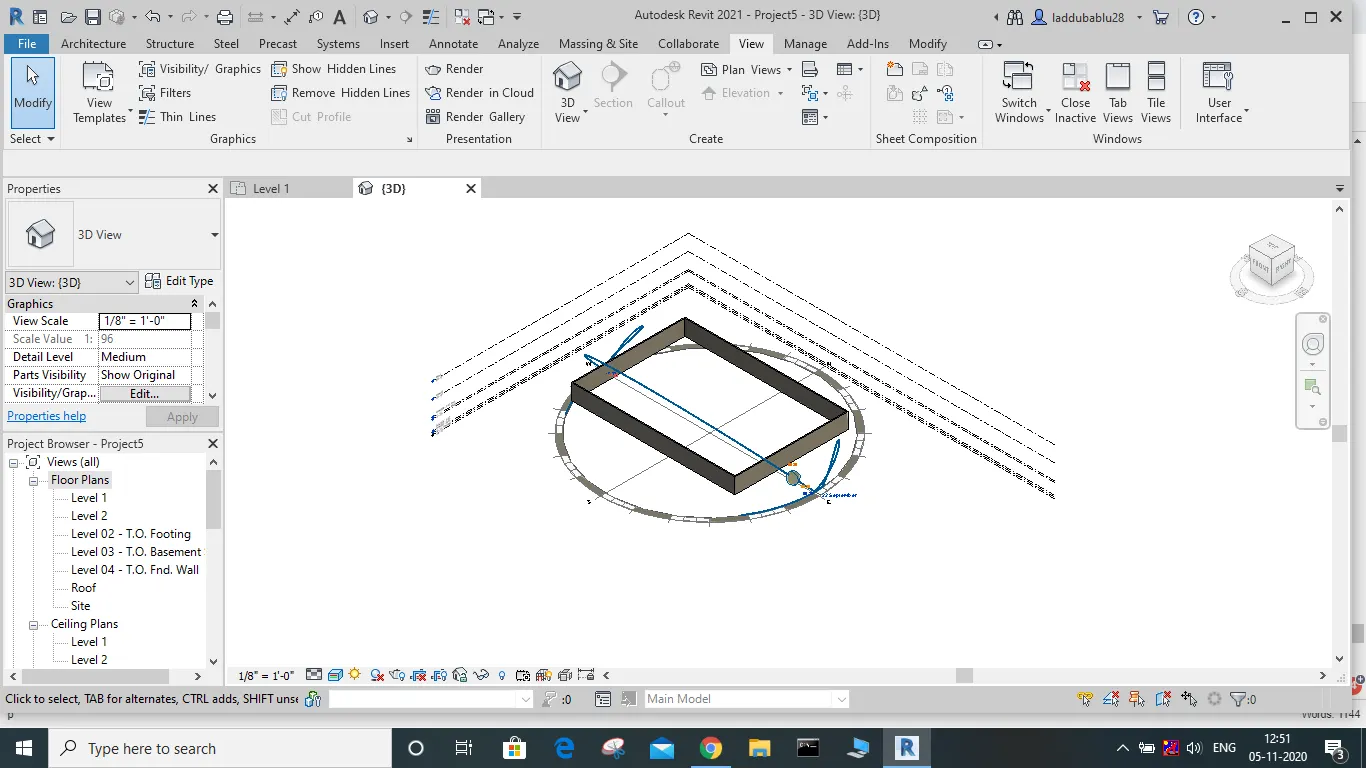
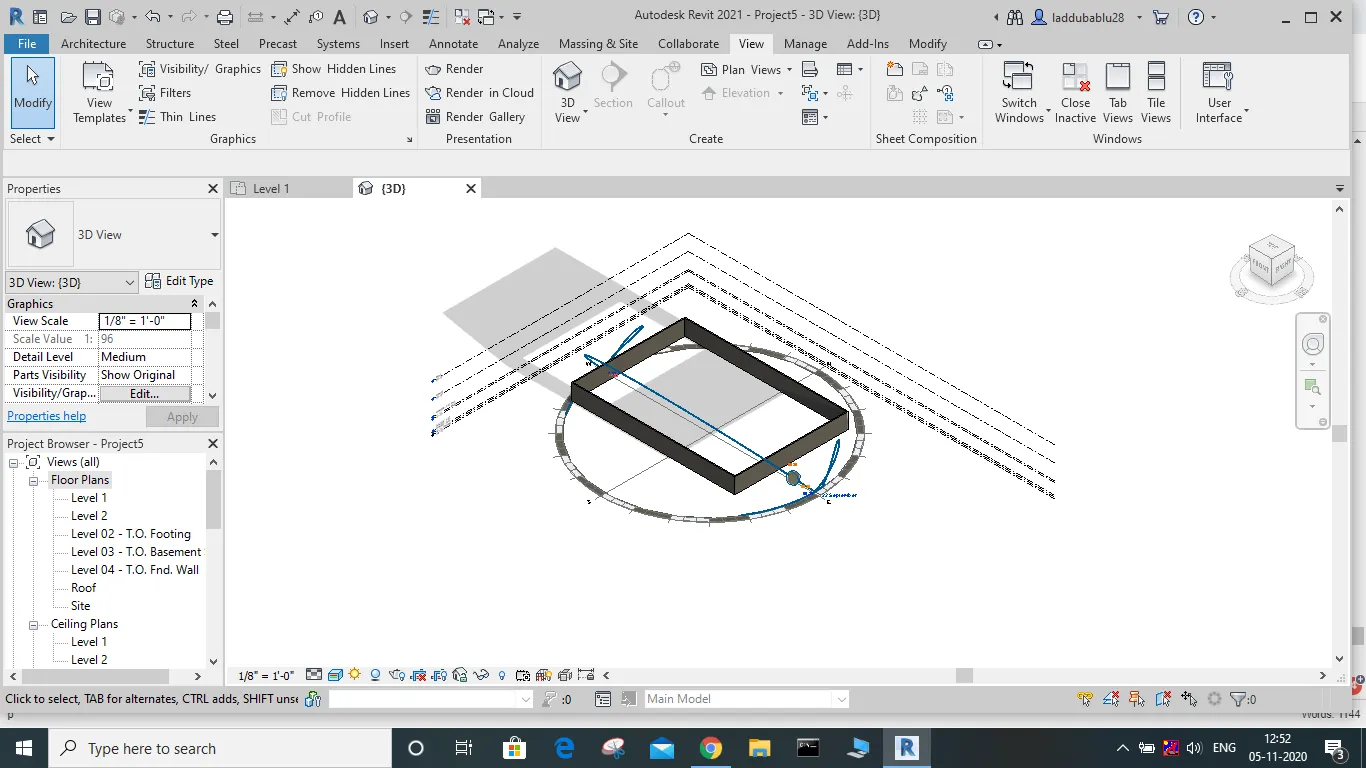
when sunlight is off.
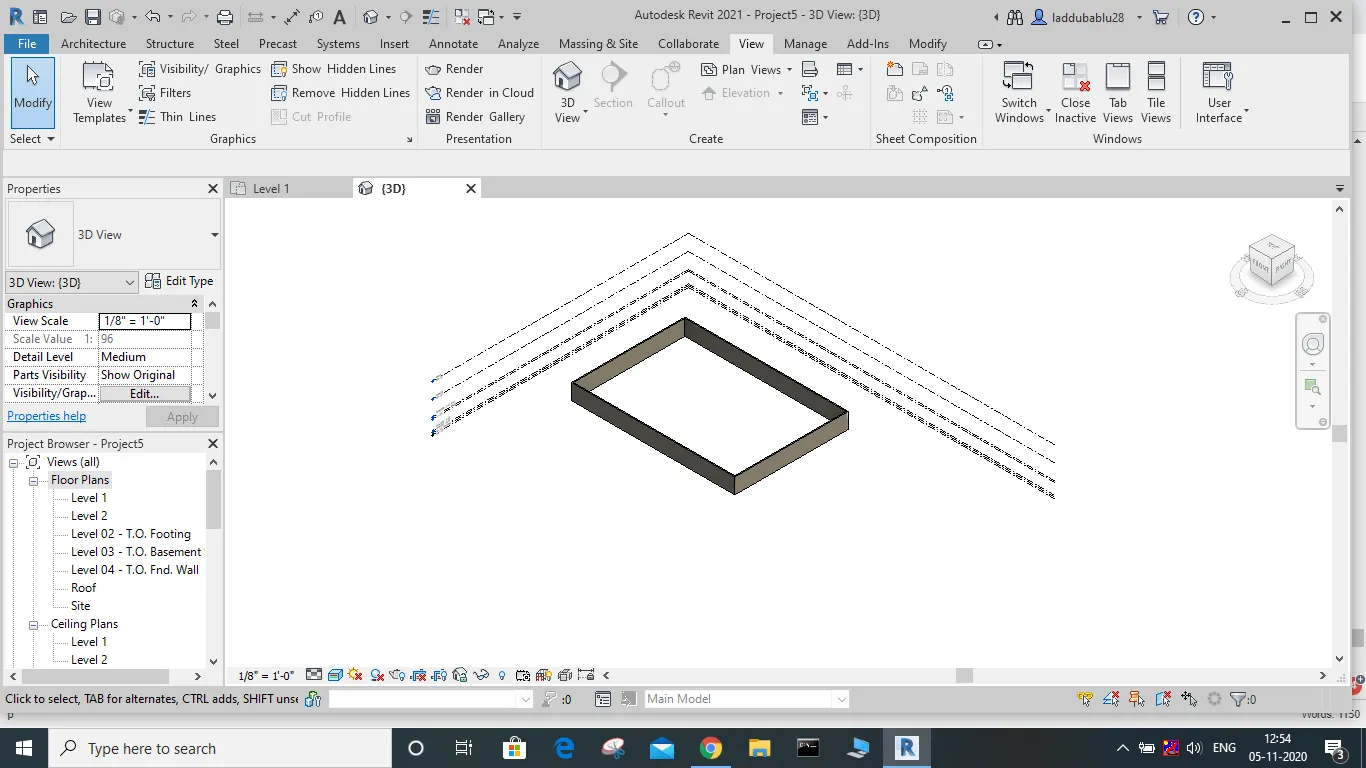
Result:
Observing the shading of the layout when the sunlight is on and off at various times.
10. AIM: To enter project details.
Tools/commands required: file
save as
manage
project information icon
PROCEDURE:
1.create a file and save it as a project.
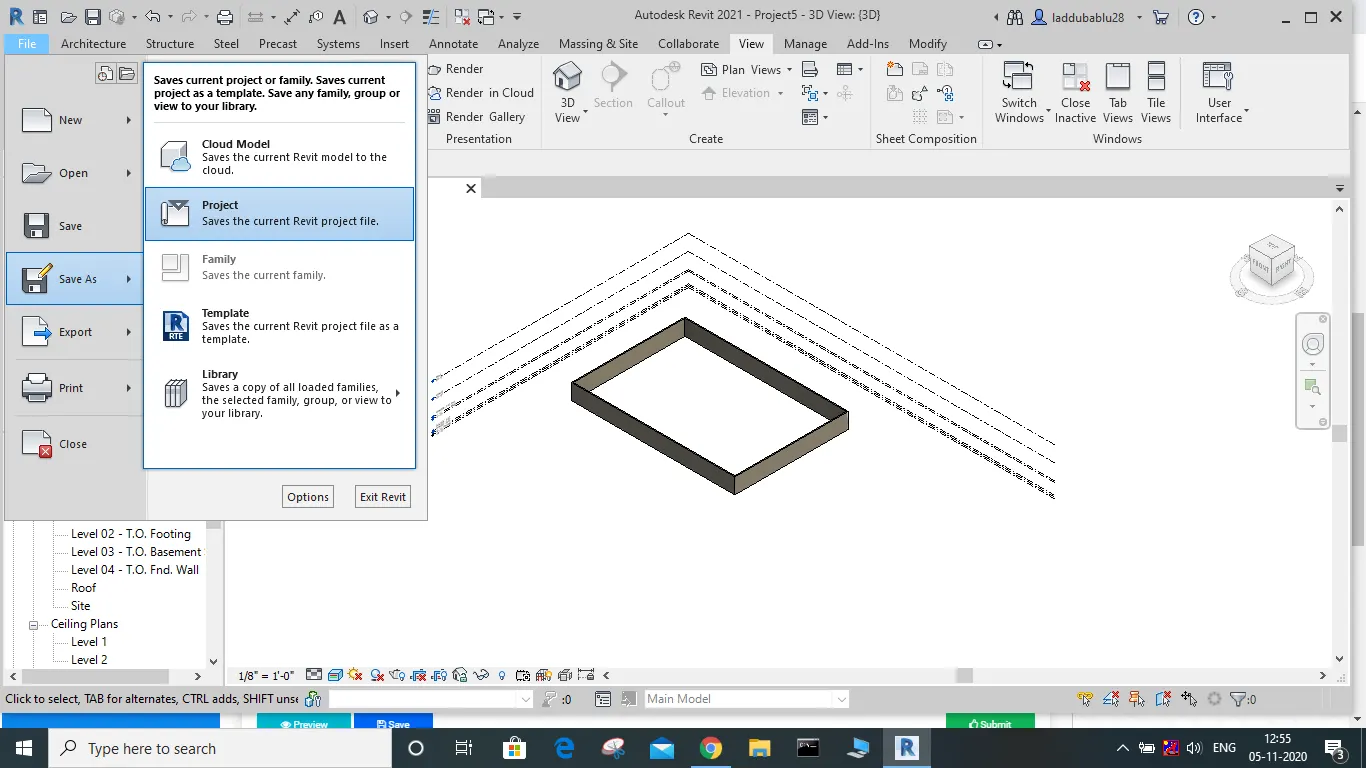
2. go to the manage icon and click it.
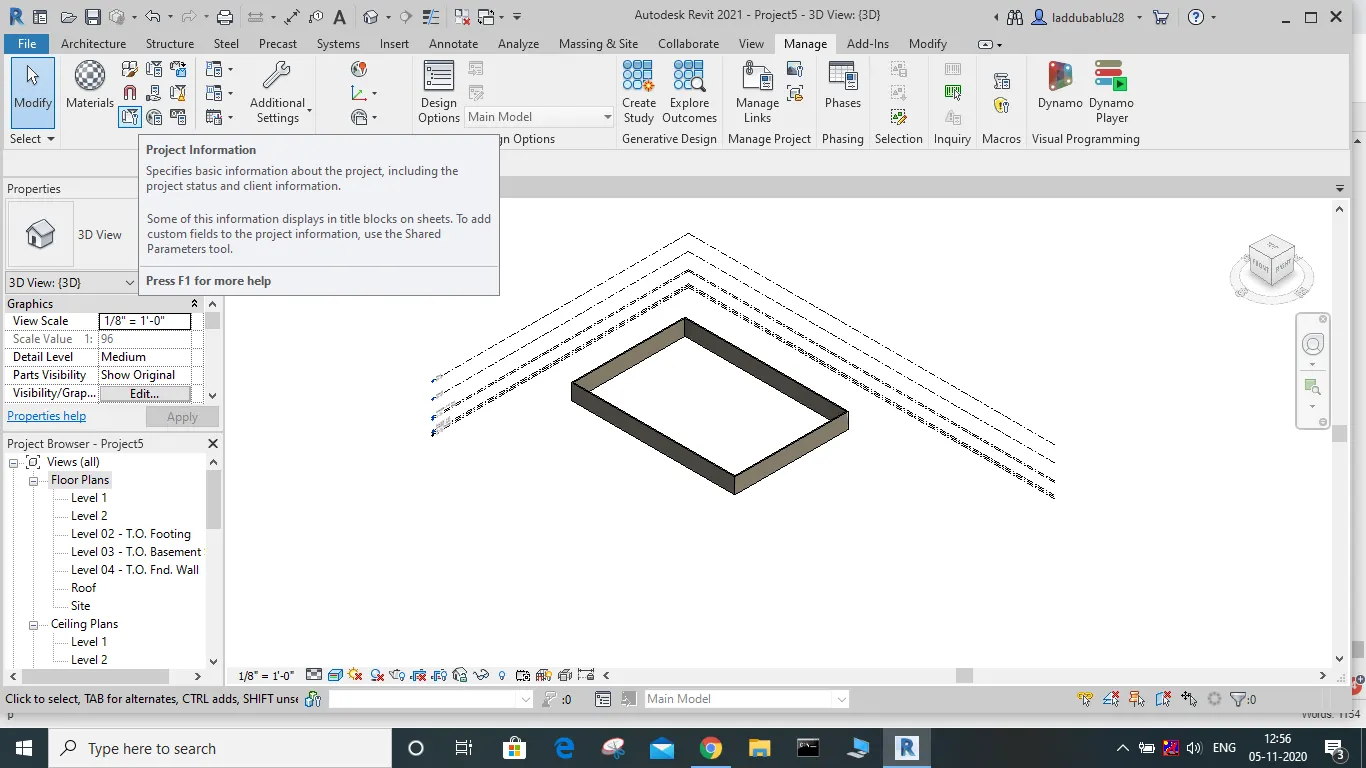
3. then we can see that an icon named project details is visible ., click it then fill in the details regarding the project.
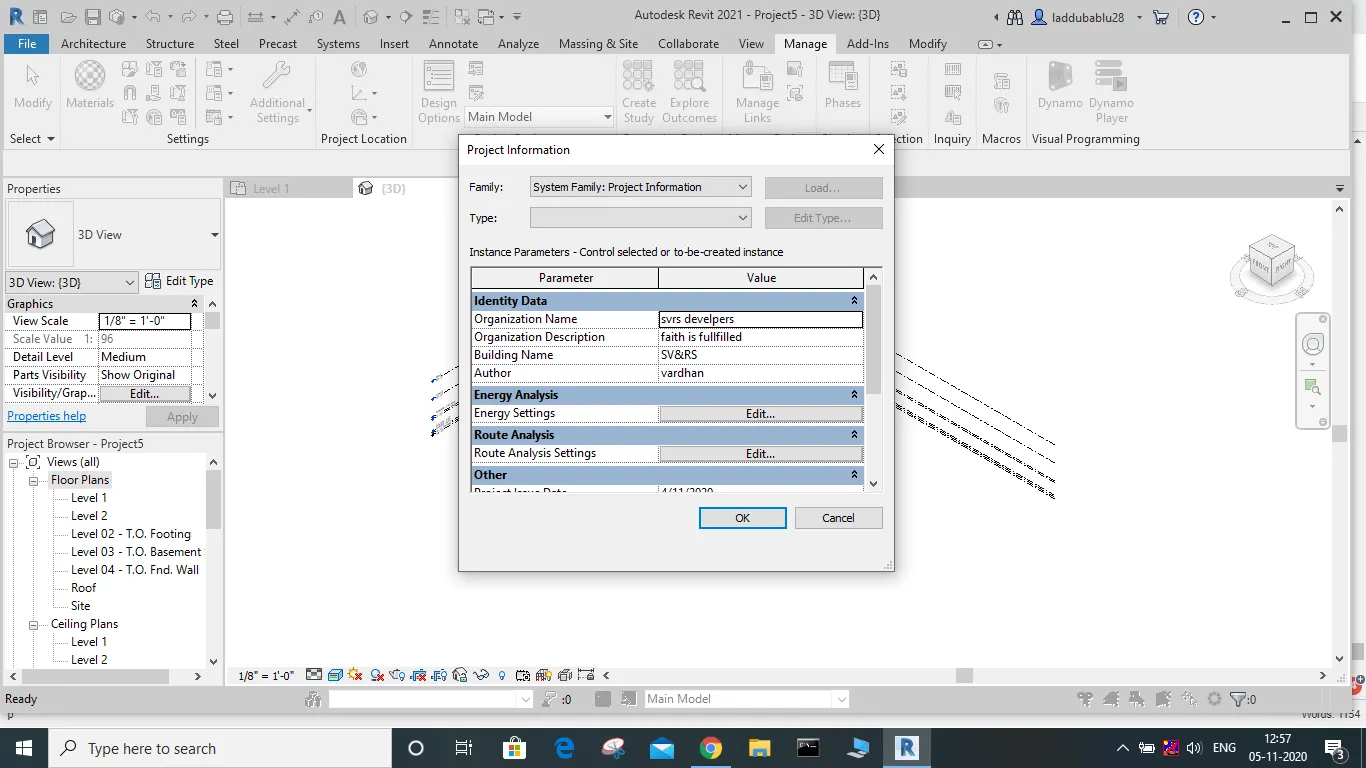
RESULTS:
the project details are updated in the form of a sheet.
11) What is the analysis toolbar used in Revit? How it is beneficial for design and modeling?
A) The analyzed toolbar used in Revit are present in the top of the properties that include boundary condition,loads, supports etc
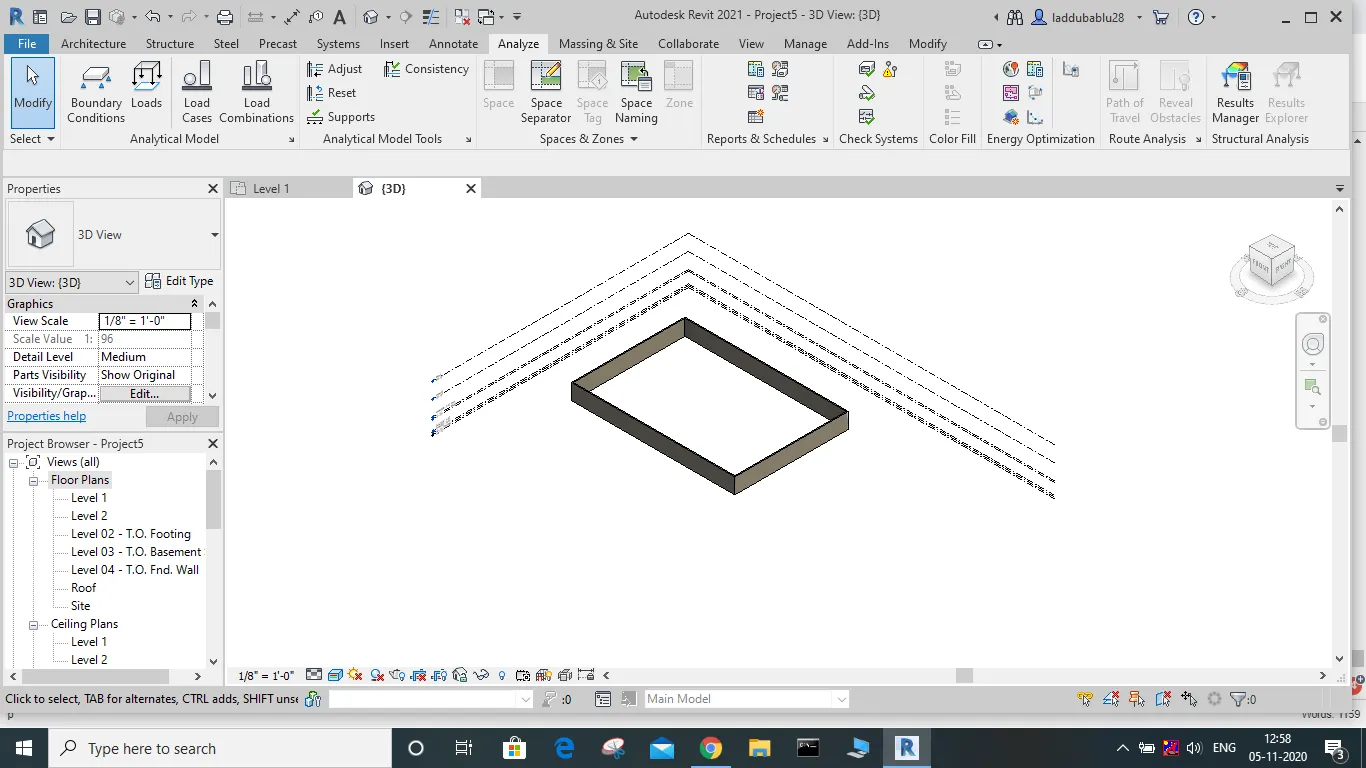
The Analyze toolbar is the tool which helps to combine different loads, forces acting on the structure which can be helpful in knowing the load combinations, cases, capacity, and various other aspects which can result in
failure of the structure if it is not analyzed, so this analysis toolbar can facilitate designing and modeling the structure in an efficient way.
12A) The links that Revit supports to be linked to the model are
- Link REVIT
- Link IFC
- Link Topography
- Link CAD
13) why do you collaborate tab in Revit? How it supports modeling and its efficiency
A) collaborate in Revit is a tab in Revit which allows any user to collaborate on the same model. this makes Revit a multi-discipline,
- where many users can work under the same plan or drawing, which results in more effective and productive work.
- For example, a civil engineer and mechanical engineer can work together for designing a factory using this collaborate tab.