Meshing of a Car Hood using ANSA
- INTRODUCTION
Almost every car has a front hood in different shapes and designs. It serves various purposes including covering the engine parts from wind and rain, ensuring its safety from external dirt particles, and providing a smooth flow of wind over the car, while it is running, which helps in providing the car a good aerodynamic shape. These are some of the most important functions of the front hood part. Another important function of it is to absorb the energy which comes accidentally with front or side impact.
The front bumper and hood are some of the parts of the car which are designed by the design engineers with an aim that it will absorb most of the energy when the car is impacted by any obstacle. This results in the minimal transfer of energy to the driver. As a minimum the energy is transferred to the driver, the maximum the driver will be safe from impact. To check the incidence that could happen in the worst-case like road accidents, earlier crash tests were used to perform putting dummies of the driver and the passengers in the car. The results were useful but the problem was with the cost it incurs on the company and the time limit. Moreover, they couldn’t make slight changes in the environment to see the results. CAE or computer-aided engineering is the field of engineering which works from designing a part or assembly, keeping in mind the manufacturing process available to its virtual testing using programmed mathematical algorithms.
The most important advantage of using virtual testing is that we can change the kind of force or the amount of force, the material, or we can make slight changes in design to check the after-effect, just by changing the boundary conditions or defining different materials, etc. Such things would be very costly with the actual testing procedure. However, it doesn’t mean that actual testing is not necessary. Prototype testing or actual testing and virtual testing always work coherently.
- Aim
To prepare the hood model for the virtual analysis of its strength and/or deformation under various boundary conditions by discretizing it into a finite number of elements.
- Objective
To discretize the hood model into a finite number of elements for analyzing its strength under various boundary conditions using pre-processor software viz. ANSA.
- PROCEDURE
The hood model was composed of 5 parts including the upper hood part, the lower hood part, the latch part, and two other small regions. Each part was kept under different PIDs or property IDs. For discretizing or meshing the complete model each part had to mesh separately. The lower hood had many different shapes; thus, it was taken firstly for meshing.
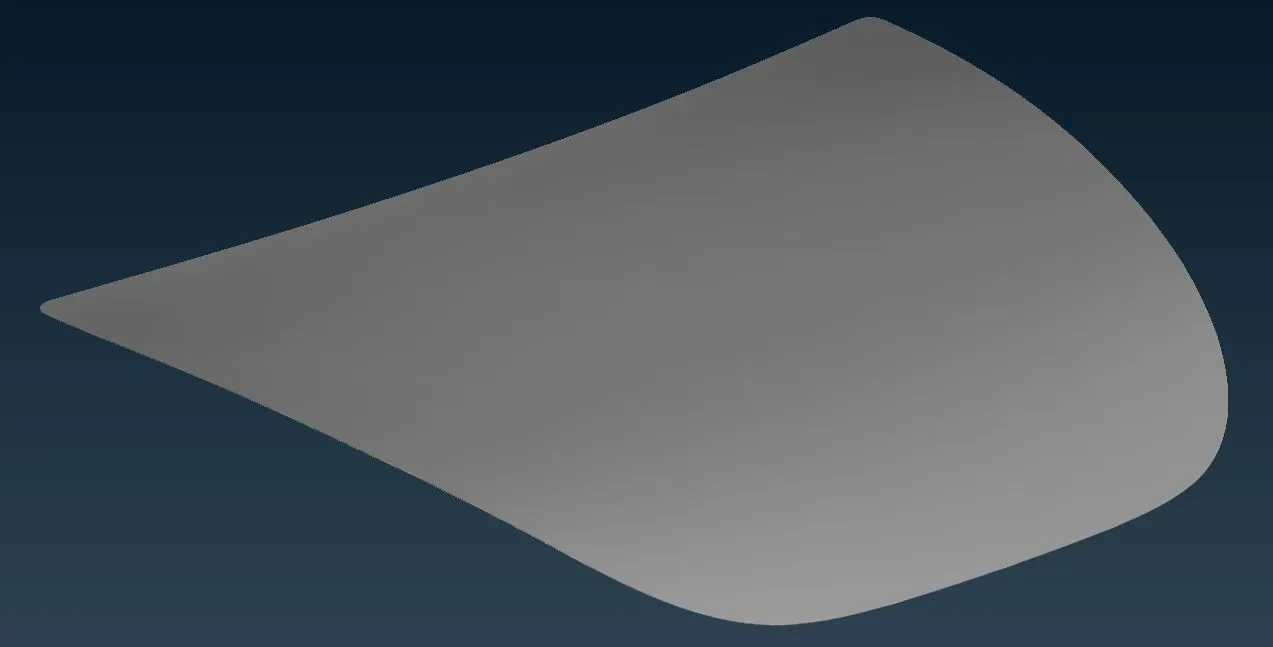
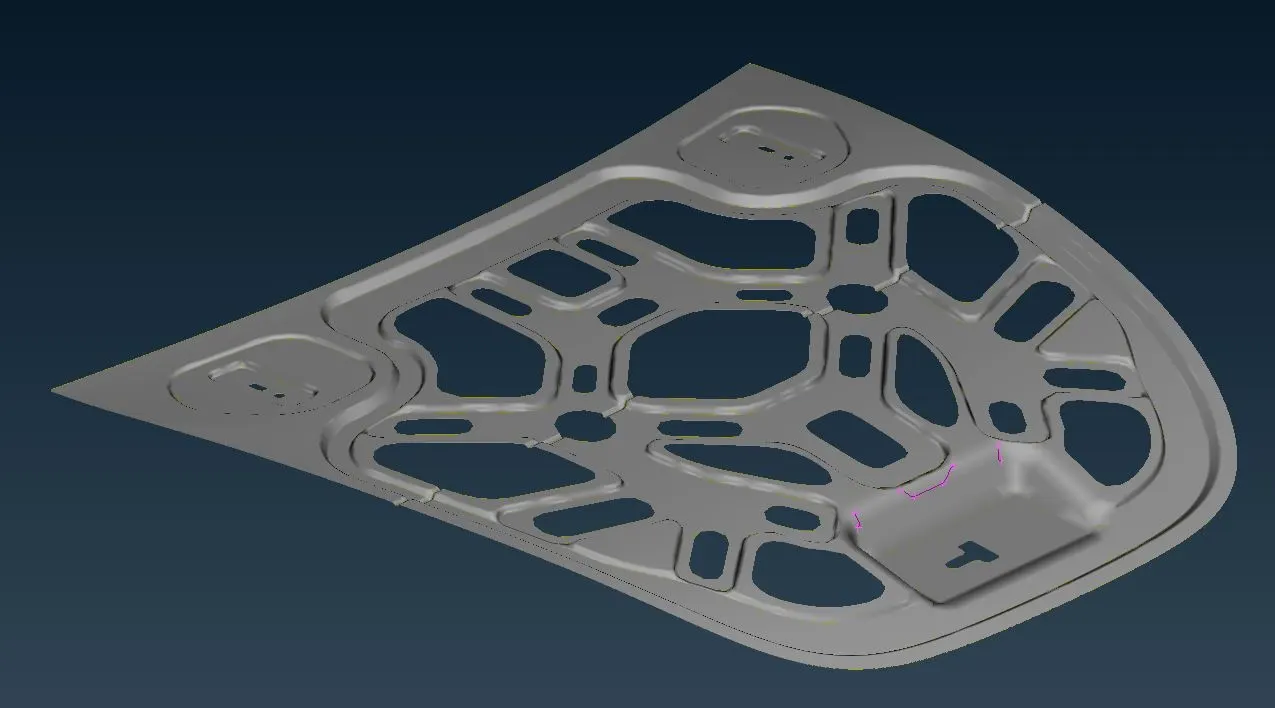
| Figure 1: Hood's upper part. | Figure 2: Hood's lower part. |
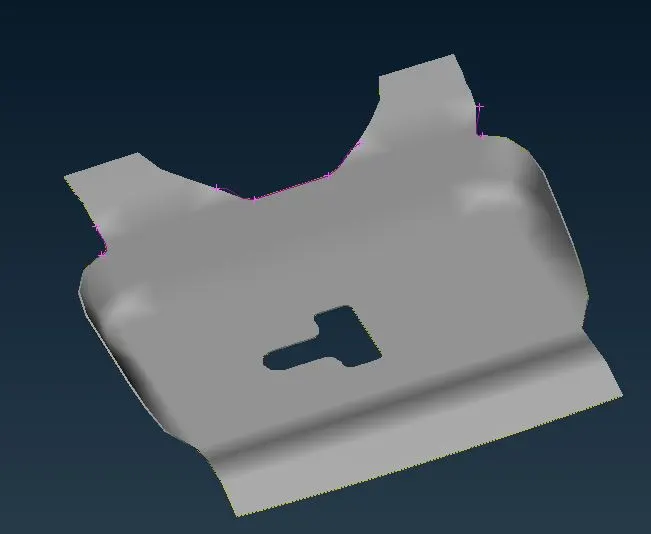
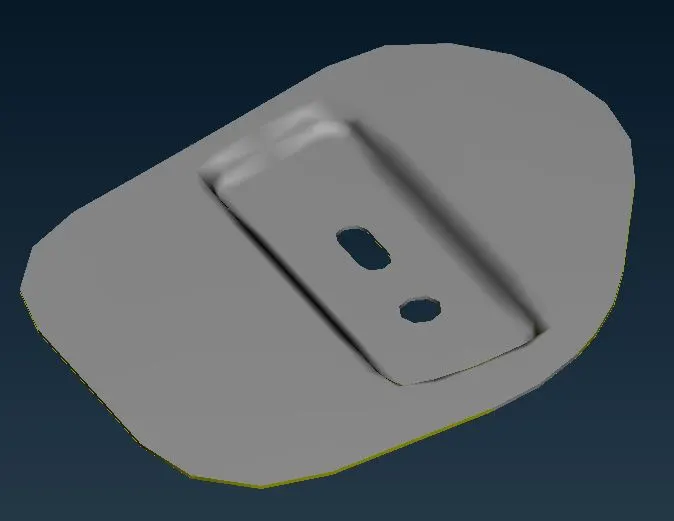
| Figure 3: Latch part. | Figure 4: Side part. |
- Geometry Clean-up
The very first part of the procedure for meshing is the geometry clean-up. When the part is created in one software and opened in another then because of a change in the format of the file some errors occur in the geometry. This includes over-constrained lines, under-constrained lines, missing faces or duplicate faces, etc. Any face or geometry is defined by a line, which is also called a con. In the assembly of faces, each face has to be connected with the neighboring faces. So, in connection, two single cons are merged in each other, and it is called a double con. In these connections, if any two neighboring faces are not connected the software represents it as the presence of a single con which is not acceptable. Moreover, between two faces if more than two cons are present the software represents it as a triple con which is also not acceptable. These errors are removed using release and topo options in ANSA software. Errors like the presence of duplicate face or absence of face can be removed by deleting the duplicate face or creating a new face respectively. Errors have to fix before proceeding to the meshing part.
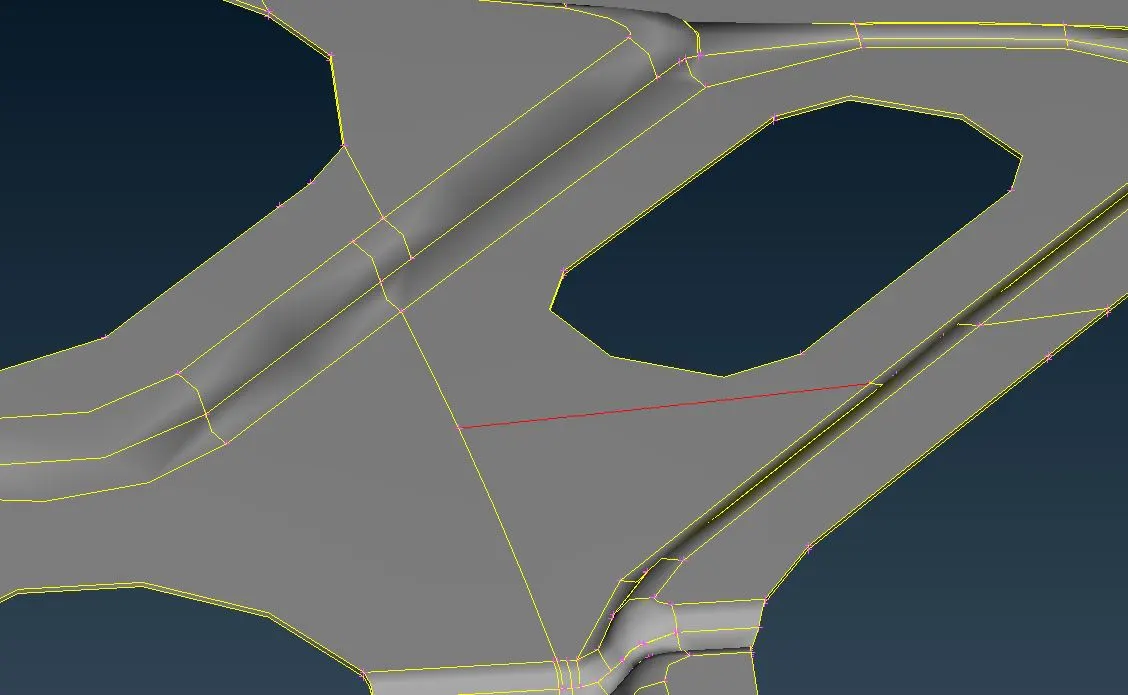
Figure 5: The figure shows the presence of a single con(in red color).
- Extracting Mid-surface
After cleaning the geometry, the next part of the procedure is to extract the mid-surface of the complete part. As the name itself indicates, it is the middle-most surface of the sheet metal part. One of the reasons behind extracting the mid-surface is to reduce computational time. 3-d elements take more time to solve the problem compare to 2-d elements. Depending on the type of geometry 2-d or 3-d elements are decided. In the geometry of sheet metal parts, generally, 2-d elements are used, after extracting the mid-surface. Another reason behind extracting the mid-surface is to transform the 3-d part into a 2-d part. Because until sheet metal geometry is having a thickness, it is a 3-d part. Once the mid-surface is extracted, the geometry can mesh with 2-d elements. These are some of the many reasons behind extracting the mid-surface.
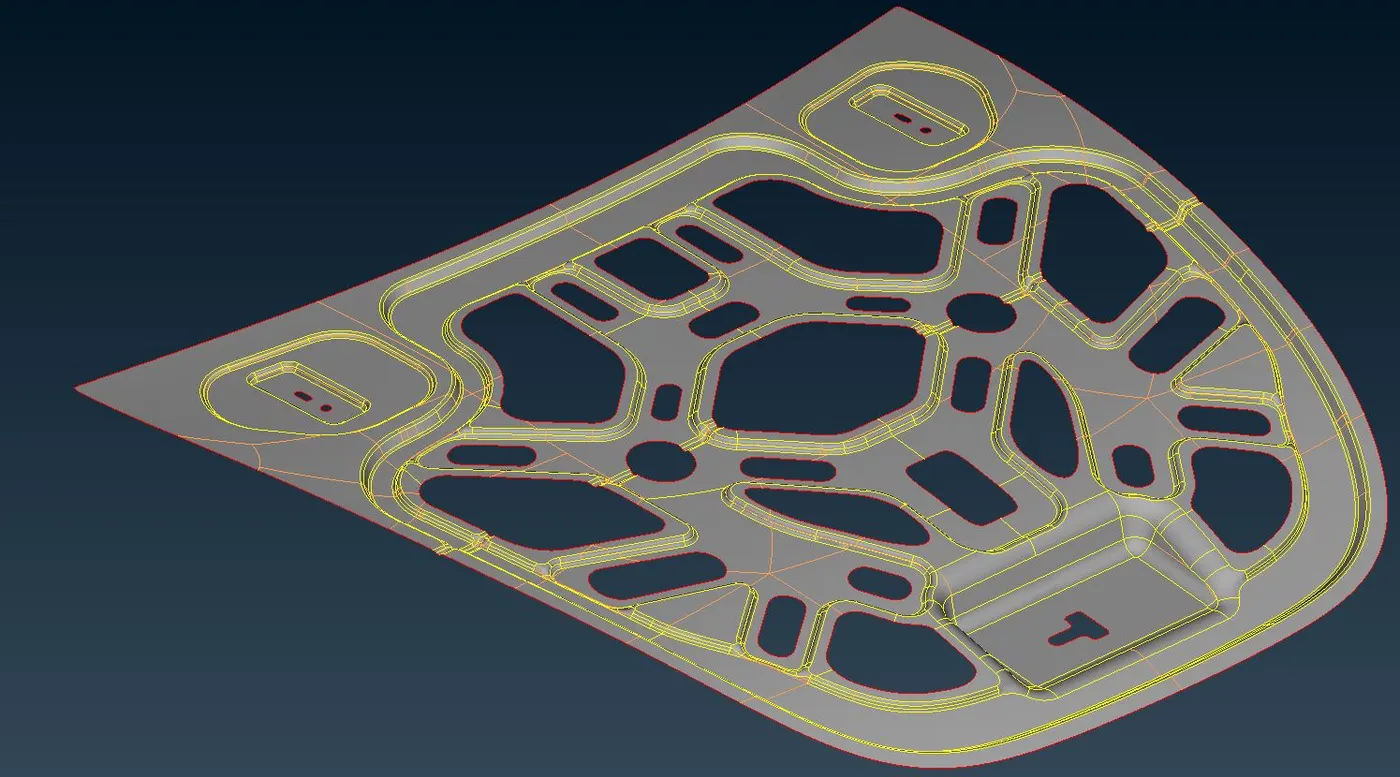
Figure 6: Mid-surface of hood's lower part.
There were two methods to extract the mid-surface in ANSA. One was the automatic method and another was by offsetting the surface. In the automatic method, two surfaces, whose mid-surface is to be extracted, and the thickness surface has to be selected. After clicking okay, it automatically extracts the mid-surface of the complete part. Another method is by offsetting the surface. The surface is selected to offset it to its middle. It is the manual technique in which each surface has to be selected manually and do the offset.
- Preparation for meshing
While meshing a part, attention has to be given at some important points like the flow of elements should be smooth, no trias should be facing each other, trias shouldn’t be present at the perimeter, etc. Tria elements are generally kept limited because it is a stiffer element, thus the flow of energy is misguided leading to inaccurate results by these elements. Therefore, to mesh the complete geometry with good quality mesh flow and elements, the geometry is split into a number of smaller parts bearing in mind that it will not affect any feature of the geometry. Thus, meshing and observing the smaller parts becomes easier. Gradually meshing smaller parts one-by-one will lead to the meshing of complete geometry.
- Setting Quality Criteria
Any parts basically mesh with two types of elements viz. quads and trias (or squares and triangles) in shell parts. In 3-d parts brick, tetra, hex, etc. elements are used. As good the quality of the elements as good the results we get after solving the problem. Quality includes the aspect ratio, the warpage, the minimum, and maximum length, etc. of an element. Quality criteria required are set by the design department and it is provided to the CAE team. Depending on the criteria, the part has meshed. The criteria provided for this part is as shown in the below table:
Table 1: Quality criteria for elements.
| Target/Average length | 5 mm |
| Minimum length | 2 mm |
| Maximum length | 7 mm |
| Aspect | 3 |
| Warpage | 15 |
| Skewness | 45 |
| Jacobian | 0.7 |
| Minimum Quad Angle | 45 |
| Maximum Quad Angle | 135 |
| Minimum Tria Angle | 30 |
| Maximum Tria Angle | 120 |
| Tria Percentage | 15% |
- Discretization or Meshing
For meshing a part, a whole geometry, parts are meshed one-by-one. Generally, the innermost part is taken and then the flow is taken to the outer perimeter. The quality set for the elements has to be paid attention to. Poor quality elements are highlighted in different colors.
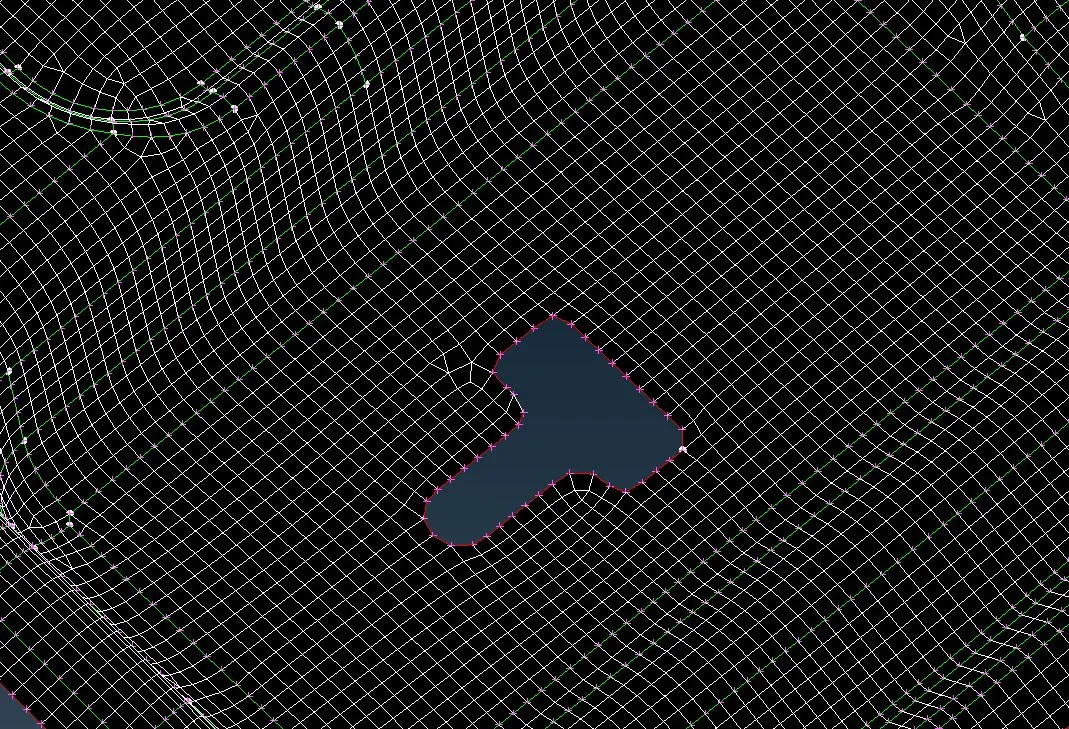
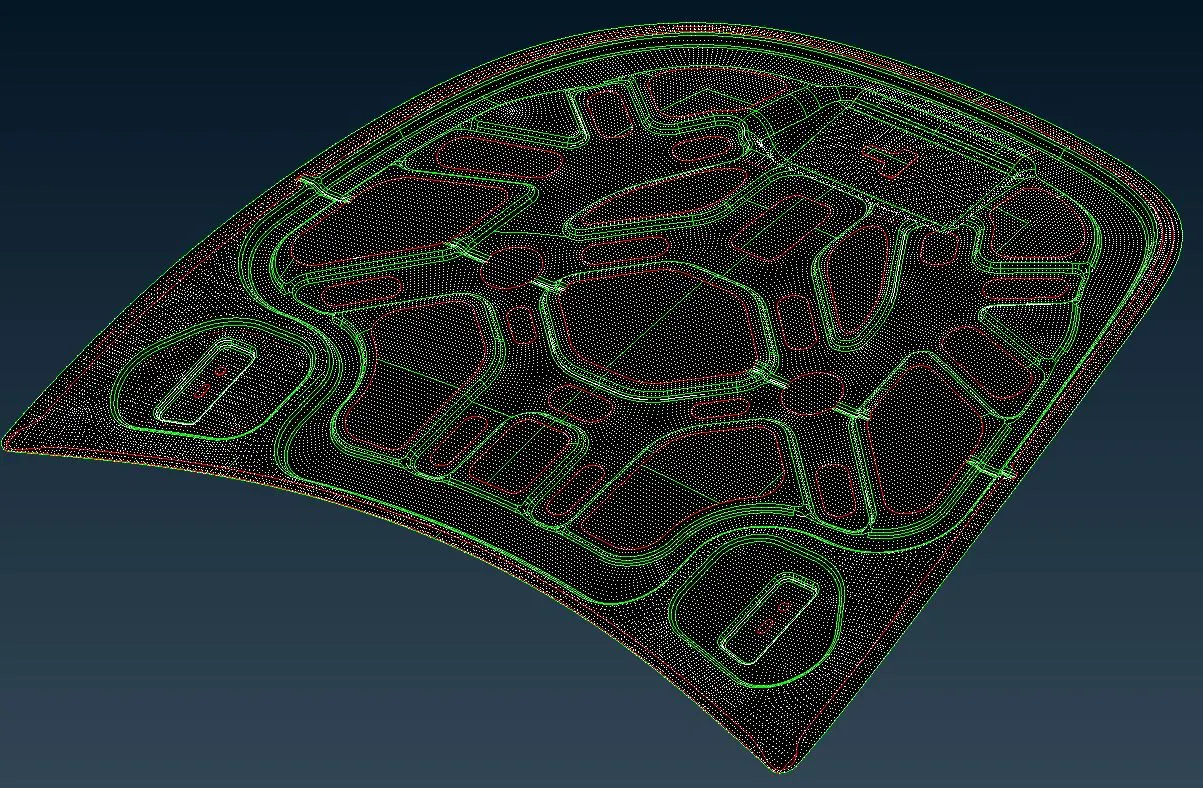
| Figure 7. Mesh flow pattern. | Figure 8: Completely meshed geometry. |
- CONCLUSION
Meshing a geometry is the necessary part of the virtual testing. Thus, while meshing the geometry with quad/tria elements, attention should be given to check the kind of elements we are meshing it with and towards the mesh flow. Because if it has gone wrong, the complete time spent on pre-processing would be a waste which could be a heavy loss for any industry.